

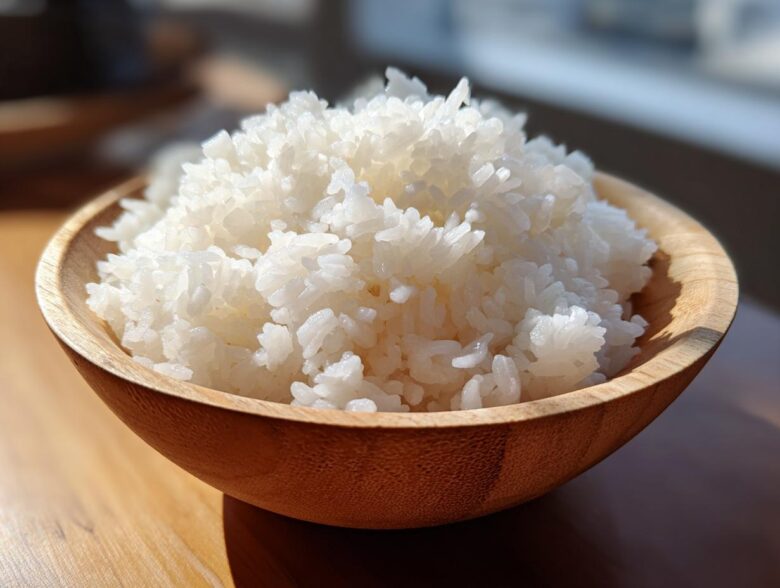
Listen, I remember the first time I tried making that sticky, perfect rice for sushi rolls at home. Wow, was it a disaster! It ended up either a soupy mess or like tiny, hard pebbles. Getting restaurant-quality texture felt impossible until I cracked the code. It’s not just about the rice itself; it’s about the ritual. Trust me, once you master this, homemade sushi night becomes the best night of the week. This guide is my absolute foolproof method for making fantastic sushi rice—the kind that holds together but still melts in your mouth. And don’t worry, I’m showing you how to nail it whether you’re using your reliable rice cooker or just a pot on the stovetop. We are going to get that glorious stickiness right!
You can check out some other fun recipes while your rice is cooling down, like my Mason Jar Taco Salad if you need a fresh idea for a quick meal later this week!
Why This Homemade Sushi Rice Recipe Delivers Perfect Results
The difference between okay rice and incredible rice is all in the technique—seriously, it’s not magic! People struggle with homemade sushi rice recipe because they skip the details. We are aiming for rice that clings together beautifully but still lets you feel every distinct, fluffy grain. That’s why the seasoning balance is critical; we don’t want sweet rice, we want perfectly balanced rice. I think that’s why this easy sushi rice tutorial works so well for beginners.
If you’re looking for some more baking inspiration, swing by my general blog page later. You can find all sorts of helpful cooking guides there!
Selecting the Best Rice for Sushi
You absolutely cannot cheat on the rice itself. If you want that classic sticky texture, you need short-grain Japanese rice. Don’t grab the long-grain stuff; it just doesn’t have the right starch content to hold together properly. You are looking for rice specifically labeled as “sushi rice.” When you see “Koshihikari” or “Calrose” on the bag, you know you’re on the right track. That starch helps everything bind when we fold in the dressing later.
The Importance of Washing Sushi Rice
Okay, this step is non-negotiable if you want to avoid gummy rice. The wash sushi rice importance can’t be overstated! The water that comes off the rice initially is pure surface starch, and that starch turns into actual glue if you cook it. Rinse it repeatedly—I usually aim for seven times—until the water running off is nearly clear. It takes patience, but trust me, draining that cloudy water stops your final product from turning into cement. It ensures you get that perfect, separate, yet sticky consistency.
Ingredients Needed for Authentic Sushi Rice
Gathering the few ingredients you need is the easiest part of this whole process, but make sure your measurements are spot on! For a standard batch that feeds about four hungry people, you’ll need two cups of that glorious short-grain sushi rice. You’ll also need two cups of cold water for cooking it up. Don’t worry about the seasoning mix yet; we’ll handle those few sweet and salty components separately!
Preparing the Sushi Rice Vinegar Dressing
This dressing is what separates your weeknight rice from the real deal. For two cups of dry rice, you’ll mix up about a half cup of pure rice vinegar, three tablespoons of granulated white sugar, and one teaspoon of fine sea salt. When you heat this up, remember: we aren’t boiling it! We just need to warm it gently until that salt and sugar completely disappear. That’s the key to how to season sushi rice without cooking the dressing flavors!
Step-by-Step Instructions for Cooking Sushi Rice
Alright, here’s where we turn that rinsed rice into something truly special. This whole process, which is part of my easy sushi rice tutorial, requires two main paths: the trusty machine or the original stovetop method. Whichever you pick, the goal is the same: plump, perfectly cooked grains. Just make sure you’ve given your rice a good 30-minute soak after rinsing; that hydration step is key to starting right!
If you made too much rice, or if you need some great dinner ideas for later, check out my Chicken Caesar Wraps post—they’re a family favorite!
Cooking Sushi Rice Using a Rice Cooker
If you have a rice cooker, you are golden! Combine your drained, soaked rice and the two cups of cold water right in the pot. Don’t overthink it here; just press the standard white rice button and walk away. The most important part, though, is after it beeps! You must let the rice steam, covered, for a full 10 minutes once it’s done cooking. Seriously, do not open that lid early, or you’ll break the texture right when it’s setting up.
Cooking Sushi Rice on Stovetop: A Fluffy Rice Technique
If you’re doing this the old-fashioned way, grab a heavy pot with a lid that seals tightly. Combine your rice and water, crank the heat up until it reaches a rolling boil—you want to see serious bubbling. Then, the second it boils, you immediately reduce the heat down to the absolute lowest setting possible. Cover it up tight and let it simmer for exactly 15 minutes. Do not, I repeat, DO NOT lift that lid during the 15 minutes. That trapped steam is what gives us that beautiful fluffy rice technique.
How to Season Sushi Rice for the Best Flavor
Now that the rice is perfectly cooked, we move to the stage that makes it true sushi rice: seasoning! If you made your fancy sushi rice vinegar dressing while it was cooking, now is the time to use it while the rice is still piping hot. Transfer that fluffy goodness into the biggest non-metallic bowl you own. I swear by my giant wooden sushi oke (or just a big wooden salad bowl if you don’t have one!), because metal can react with the vinegar. You don’t want that!
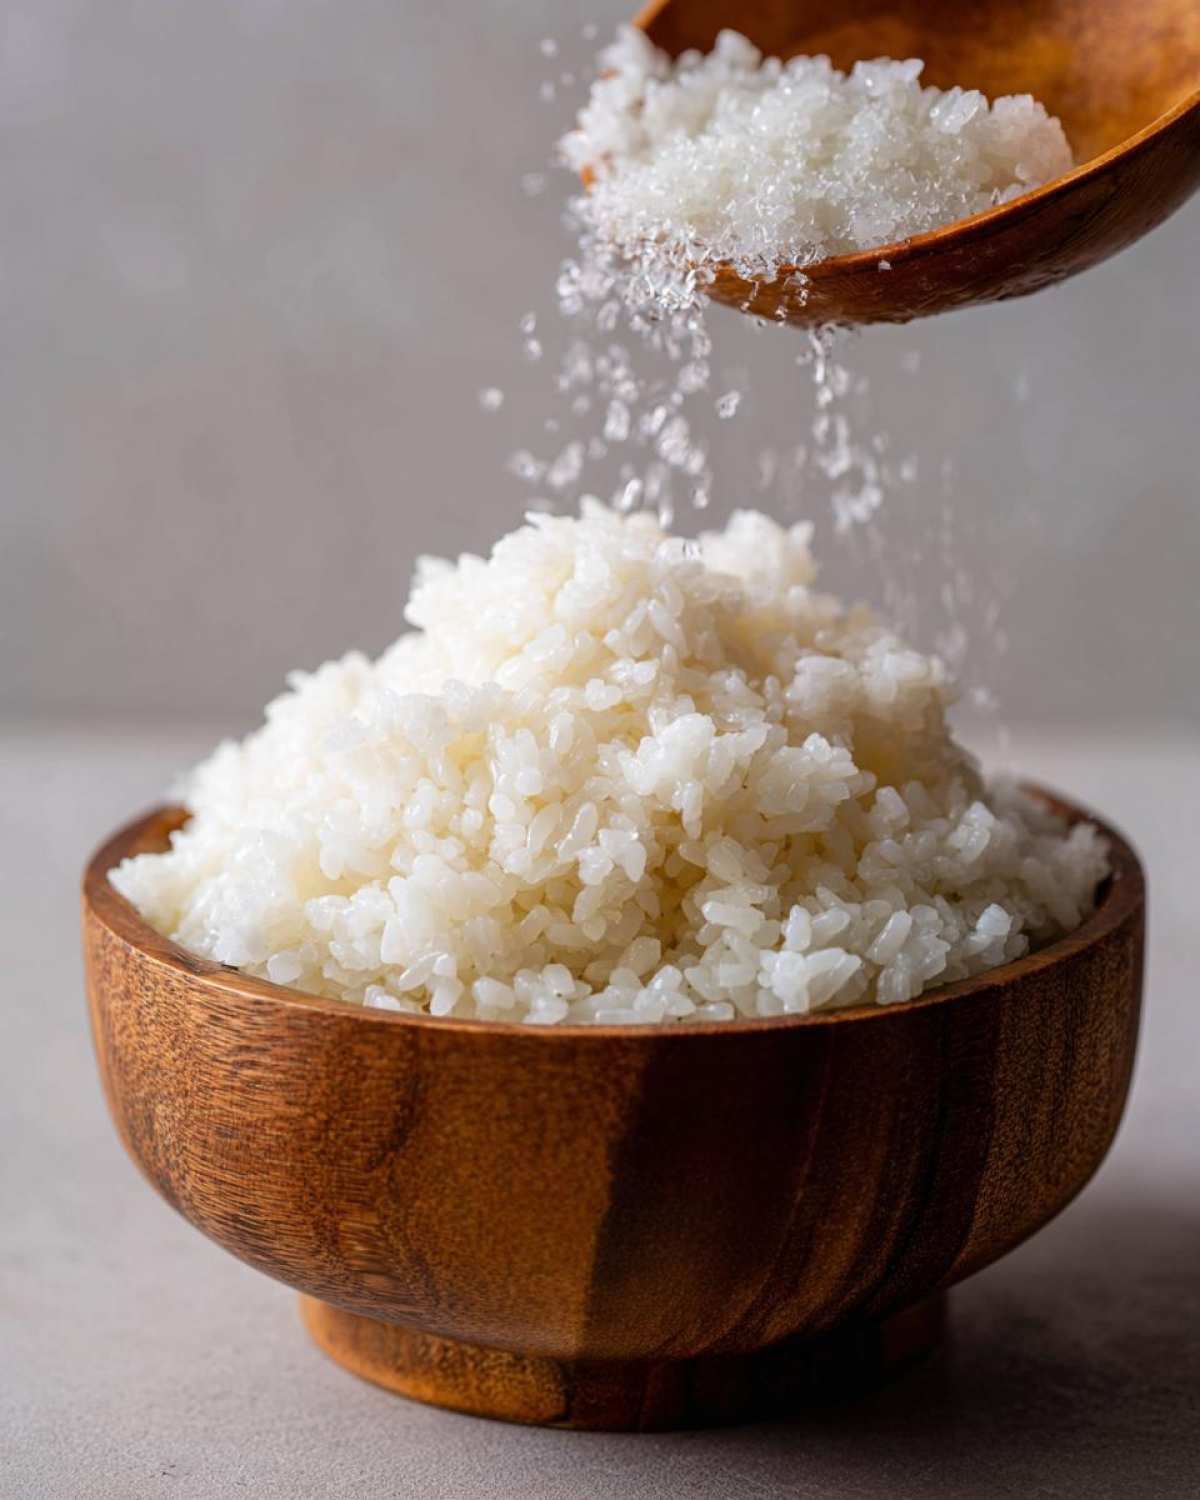
Pour that warm liquid evenly over the surface. Here is the most critical part for how to season sushi rice correctly: forget stirring! You need to use a paddle and gently slice down through the rice and fold it over. Think of it like you are trying to gently turn layers over, not mash them into paste. This ‘cutting motion’ coats every grain without crushing them. I always keep a piece of cardboard handy—I fan the rice like crazy while I fold. Fanning cools it down fast and gives it that beautiful, shiny, restaurant-quality gloss. Keep folding and fanning until it’s cooled down to room temperature. It should feel sticky but still individual.
If your stove is getting busy, keep the spirit going with my Spicy Korean Chicken Thighs recipe later this week; they are fantastic for using up leftovers!
Tips for Perfect Sticky Rice for Sushi Preparation
We’ve seasoned it, now we rest it—that’s how you ensure you’ve got the ultimate perfect sticky rice for sushi ready to go! Listen, once you’re done folding in that vinegar dressing, you must let the rice cool completely to room temperature. If you try to use it hot, it will literally steam itself into mush, which is the opposite of what we want for beautiful rice preparation for maki rolls.
When it is finally cooled down, cover the bowl tightly. Grandma always used a damp tea towel, and I think that’s the best hack. The moisture keeps the grains from drying out and hardening up too fast. Don’t even think about putting this away in the fridge! Seriously, don’t. Cold temperatures turn good sushi rice into sad, hard little rocks. Keep it covered at room temp until you are rolling!
Need a side dish that isn’t rice? My Cajun Shrimp Alfredo Pasta is probably the best comfort food on the site, so bookmark that one!
Storage and Serving Suggestions for Your Sushi Rice
Okay, we’ve made the perfect sticky rice, but how do we keep it fantastic until it’s time to eat? The absolute number one rule: never stick your finished sushi rice in the refrigerator! I know it sounds crazy when we refrigerate everything else, but the cold air ruins the texture and makes it hard as a rock. Keep your bowl lightly covered with a damp paper towel or cloth at cool room temperature.
This rice is obviously amazing for rolls, but don’t just stop there! Make yourself a vibrant sushi rice bowls base instead. Layer it with some chopped avocado, spicy salmon, edamame, and a drizzle of mayo—wow, what a lunch! If you need another fun, make-ahead idea for lunches, check out my Greek Quinoa Salad Jars for your next meal prep day!
Frequently Asked Questions About Making Sushi Rice
I get so many emails about little hiccups people run into when they first try this homemade sushi rice recipe, so I thought I’d tackle a few common ones right here. Don’t worry if you mess up the first time; everyone does until you get the feel for it! Let’s get you ready to make some absolutely authentic Japanese rice.
If you’re wondering about the folks behind these tips, you can always check out my About Us page!
Can I substitute the rice vinegar in the sushi rice dressing?
You can, but please don’t if you can avoid it! The whole balancing act of how to season sushi rice relies on the mild, slightly sweet tang of true rice vinegar. If you substitute it with white distilled vinegar, it will be way too sharp and aggressive against the sugar we used. If you are truly stuck, a very light, mild apple cider vinegar is the absolute *least* offensive swap, but for that true flavor, stick to the rice vinegar, please!
What happens if I skip soaking the rice after washing?
Oh, you definitely notice if you skip the 30-minute soak after washing—I found that out the hard way once! When you start cooking without soaking, the outside of the grains cooks way too fast, but the inside stays hard and raw after the 10-minute rest period on the stovetop. That’s not how you achieve the standard for making authentic Japanese rice. You end up with a mix of mushy and crunchy grains, which is terrible for rolls. That resting/soaking time is essential for even cooking!
My rice turned out too sticky/mushy. What did I do wrong?
Nine times out of ten, this is one of two things: either you didn’t rinse enough starch off (see the washing section above!), or you stirred the rice too aggressively when you added the seasoning. Remember, we aren’t stirring soup; we are *cutting* and *folding*. Mashing the rice activates more starches and makes it gluey. Be gentle, fan it hard, and you’ll have that perfect sticky rice for sushi next time!
Nutritional Estimates for Homemade Sushi Rice
Look, while this rice is absolutely heavenly, I know some of you are trying to keep track of what goes into your body, especially if you’re turning this into a huge batch for several sushi rice bowls base throughout the week. So, I pulled the numbers from my standard calculations, but remember, these are just estimates based on the ingredients you use. Precision is tough when you’re dealing with rice absorption, but this gives you a good ballpark figure for what one standard serving looks like.
I usually make a huge batch when I’m getting ready to host game day parties, and people always ask for the recipe! If you ever need to get in touch to ask about substitutions or anything else, you can always reach out via the contact page; I love hearing from you guys!
Here is a breakdown based on a half-cup serving of the finished, seasoned rice:
- Calories: Around 180
- Carbohydrates: About 40 grams (That’s where the energy is!)
- Protein: Just over 3.5 grams
- Fat: Super low, less than 0.5 grams total
- Sugar: Roughly 8 grams (This is mostly from the dressing we added, so keep that in mind!)
- Sodium: About 150 mg
It’s a fantastic base for almost any meal—healthy fats from avocado or fish top it off perfectly. Seriously, this stuff is almost pure fuel!
Share Your Perfect Sushi Rice Creations
Wow, we made it through the whole process! You’ve got the perfect, glossy, delicious sushi rice now, and I am so proud of you. I’d absolutely love to see what you create with it—whether it’s tucked into perfect maki rolls or sitting pretty as a base for your new favorite bowl. Please drop a rating below and let me know how the cooking and seasoning went for you! If you have a sec, share a photo on social media; seeing your results makes my day. And if you need to check out site policies later, the privacy policy is always linked at the bottom!
PrintHow to Make Perfect Sushi Rice: The Foolproof Guide to Sticky, Seasoned Rice
Follow these steps to prepare authentic, restaurant-quality sushi rice at home, focusing on proper washing, cooking, and seasoning for the perfect sticky texture.
- Prep Time: 40 min
- Cook Time: 25 min
- Total Time: 65 min
- Yield: About 4 cups cooked rice
- Category: Side Dish
- Method: Stovetop or Rice Cooker
- Cuisine: Japanese
- Diet: Vegetarian
Ingredients
- 2 cups short-grain Japanese sushi rice
- 2 cups cold water (for cooking)
- 1/2 cup rice vinegar
- 3 tablespoons white granulated sugar
- 1 teaspoon fine sea salt
Instructions
- Measure the rice into a large bowl. Rinse the rice under cold running water, gently swirling it with your hand. Drain the cloudy water and repeat this process 5 to 7 times until the water runs mostly clear. This removes excess starch.
- Drain the washed rice completely using a fine-mesh sieve and let it sit for 30 minutes to hydrate.
- If using a rice cooker: Combine the drained rice and 2 cups of cold water in the cooker pot. Cook using the standard white rice setting.
- If using a stovetop: Combine the rice and 2 cups of water in a heavy-bottomed pot with a tight-fitting lid. Bring to a boil over medium-high heat. Once boiling, immediately reduce heat to the lowest setting, cover, and simmer for 15 minutes without lifting the lid.
- After 15 minutes of simmering (stovetop) or when the cooker finishes (rice cooker), remove from heat and let the rice steam, covered, for another 10 minutes. Do not lift the lid during this time.
- While the rice rests, prepare the seasoning. In a small saucepan, combine the rice vinegar, sugar, and salt. Heat gently over low heat, stirring until the sugar and salt fully dissolve. Do not boil the mixture. Remove from heat and let it cool slightly.
- Transfer the hot cooked rice to a large, non-metallic bowl (wood or glass is best).
- Pour the prepared vinegar dressing evenly over the rice.
- Using a cutting or folding motion with a rice paddle or wooden spoon, gently incorporate the dressing into the rice. Avoid stirring or mashing the grains, as this breaks them down and makes the rice mushy. The goal is to coat every grain while cooling the rice quickly.
- Continue folding and fanning the rice (using a hand fan or piece of cardboard) until it cools to room temperature. The rice should be shiny, sticky, and slightly glossy.
- Cover the seasoned rice with a damp cloth or paper towel until ready to use for rolls or bowls.
Notes
- Use only short-grain Japanese rice labeled specifically as ‘sushi rice’ for the correct starch content and stickiness.
- Never refrigerate finished sushi rice; it will harden and lose its texture. Keep it covered at room temperature until serving.
- For a milder seasoning, reduce the sugar by one teaspoon.
Nutrition
- Serving Size: 1/2 cup cooked
- Calories: 180
- Sugar: 8
- Sodium: 150
- Fat: 0.3
- Saturated Fat: 0.1
- Unsaturated Fat: 0.2
- Trans Fat: 0
- Carbohydrates: 40
- Fiber: 0.5
- Protein: 3.5
- Cholesterol: 0