

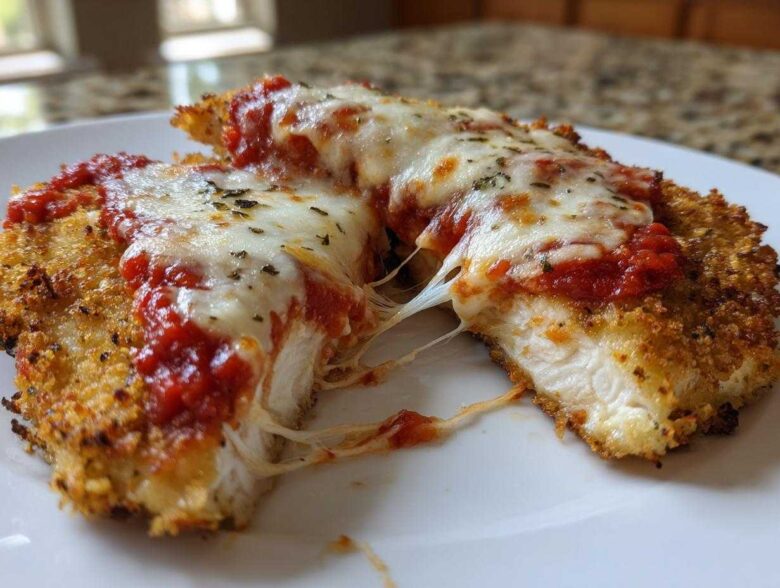
Are you tired of staring into the fridge at five o’clock, dreading the effort required to make something truly satisfying? Trust me, I’ve been there, staring at takeout menus while Ethan suggests something impossibly complicated. But we found the peace treaty! This Easy Chicken Parmesan recipe is the result of my need for a solid, researched plan and Ethan’s need for that perfect, instinctual flavor pop. We’ve taken what used to be a multi-step frying nightmare and turned it into a genuinely simple, baked dish that delivers restaurant-quality Italian comfort food at home. It’s our absolute favorite fix for those busy evenings, and it comes together faster than delivery. You can see more about how we merged our cooking styles over at our About Us page!
Why This Easy Chicken Parmesan Recipe Is Your New Weeknight Hero
When you look for an easy chicken dinner idea, you usually have to sacrifice something, right? Usually, that means giving up the crispiness we all crave. Not here! My research showed that deep frying is messy, and frankly, I don’t always want that extra oil floating around on a Tuesday night. This quick chicken parmesan uses a genius two-step process: a fast sear followed by baking. It’s fast enough for a weeknight but tastes special enough for company. It’s the perfect blend of my systematic approach and Ethan’s need for speed!
The Secret to Crispy Breaded Chicken Breast Without the Fryer
Forget submerging these beautiful cutlets in hot oil! We found the sweet spot for that perfect crunch. We lightly dredge them, dip them in egg, and then make sure that panko breadcrumb mixture is pressed on *hard*. That initial quick sear in just a tablespoon of oil locks the coating on. When it hits the hot oven, the breadcrumbs toast up beautifully, giving you that truly satisfying crispy breaded chicken breast texture without waiting for a giant pot of oil to heat up safely.
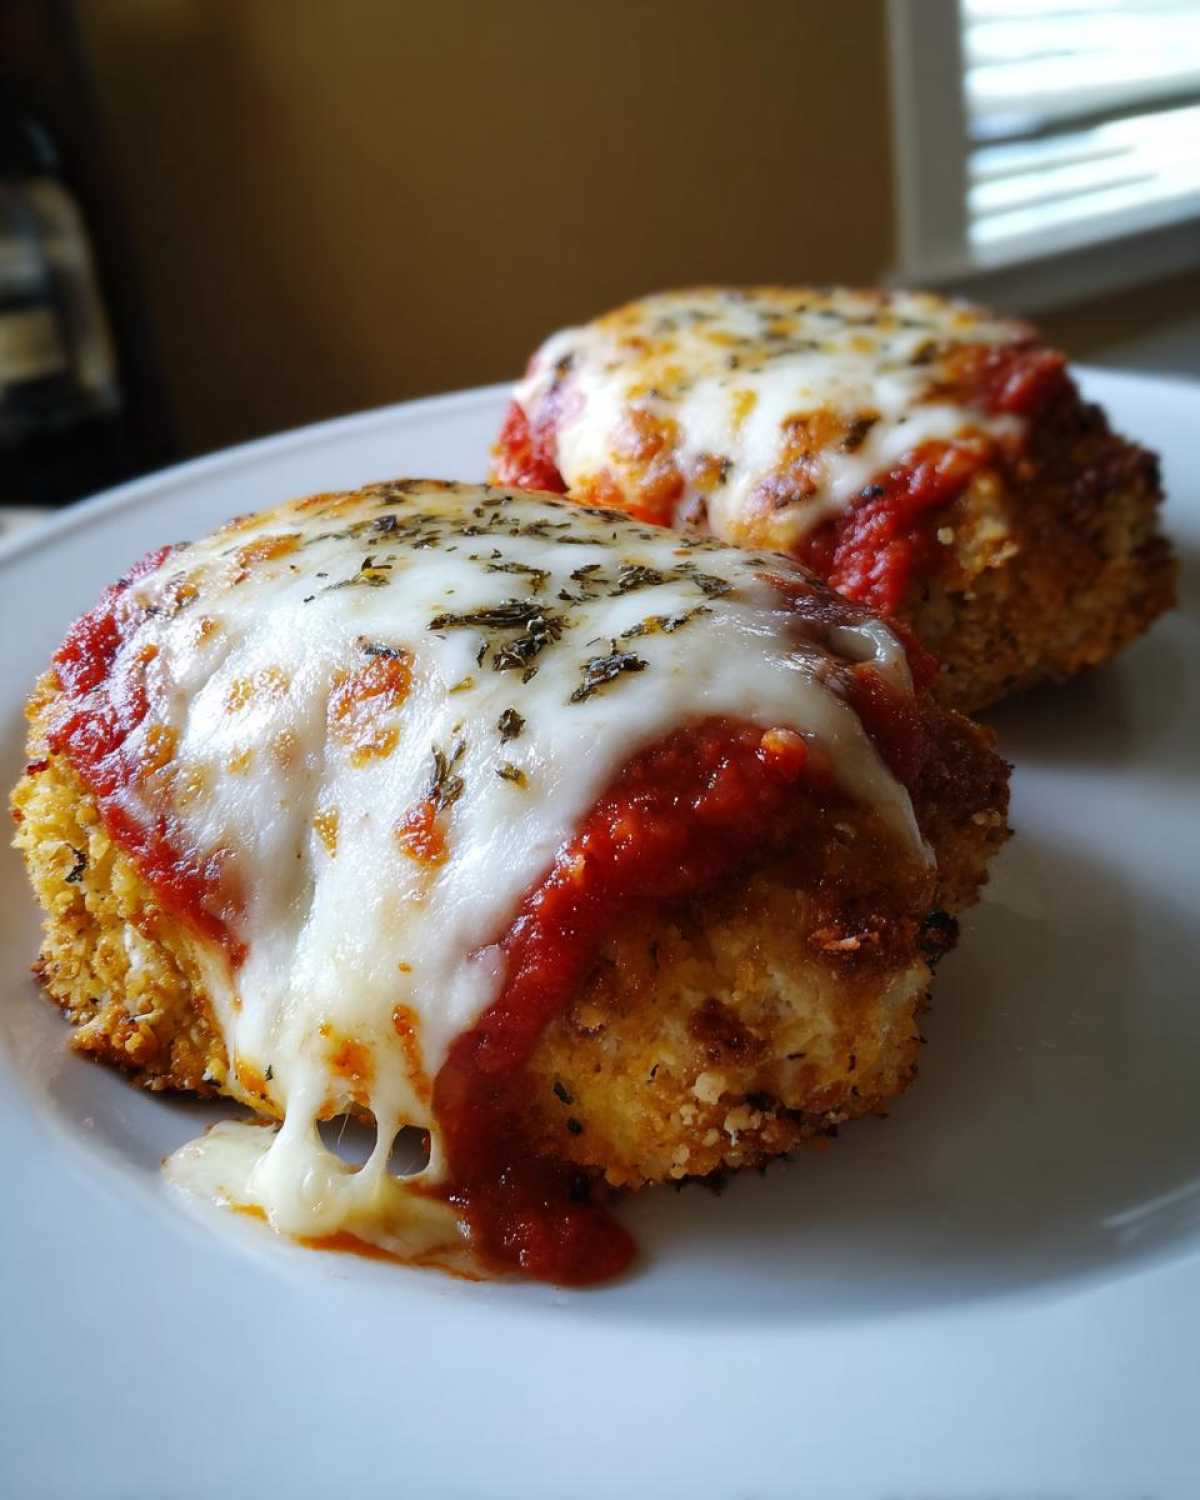
Gathering Your Ingredients for Easy Chicken Parmesan
The beauty of this Easy Chicken Parmesan is that it relies on fantastic, common ingredients that you might already have in the pantry. We treat the basic components with respect, which is where Ethan’s intuition shines. He always says, “Don’t overcomplicate the sauce, Maya; pick a jar with good tomatoes and let the Parmesan and crispiness do the heavy lifting.” We stick to chicken breasts pounded thin because that ensures the chicken cooks quickly and evenly alongside the melted cheese. That’s the 35-minute win right there!
Ingredient Notes and Substitutions for Cheesy Chicken Cutlets
First things first: that chicken needs to be uniform! You absolutely must pound your chicken breasts to about a half-inch thickness—otherwise, the outside burns before the center is done. We encourage using your absolute favorite jarred marinara here; this isn’t the time for scratch prep during the week! For the cheese, please choose fresh mozzarella if you can find it; it melts into those lovely, gooey puddles that make these cheesy chicken cutlets so satisfying. If you are out of Panko, regular Italian breadcrumbs will work in a pinch, but I promise you’ll notice the difference in crispness!
Step-by-Step Instructions for Perfect Easy Chicken Parmesan
This is where the magic happens, and it moves fast! I laid out the blueprints, and Ethan executes with speed. We want that restaurant-quality finish on our baked chicken parm recipe using the oven, not a deep fryer. The key here is organization—set up your station once so you can move quickly from flour to egg to that glorious panko mix. Don’t let the steps intimidate you; it’s actually very straightforward! I’ve written down every precision step we use, and you can see a few of our other favorite chicken dishes, like my creamy skillet version, when you check out my thoughts on Garlic Parmesan Chicken.
Setting Up Your Breading Station and Pounding the Chicken
Grab three shallow dishes, seriously! One for flour, one for your whisked eggs, and the last for the breadcrumbs mixed with our spices and Parmesan. Before anything touches the coating, you need those cutlets pounded out—a good half-inch thick is the goal here. When you press the chicken into the Panko, really press it! You want all those sharp edges clinging on for dear life; that’s what guarantees coverage and the final crispy coating that makes this Easy Chicken Parmesan what it is.
The Sear: Creating Texture for Your Easy Chicken Parmesan
We aren’t trying to cook the chicken all the way through here; we are just setting the texture! Heat a tablespoon of oil over medium-high heat. Sear each side for just two minutes until they’re beautifully golden brown—that’s the external seal happening. You might need to work in batches here, which is fine, just make sure the pan stays hot enough. This quick sear gives our Easy Chicken Parmesan that incredible structural integrity before it heads into the oven.
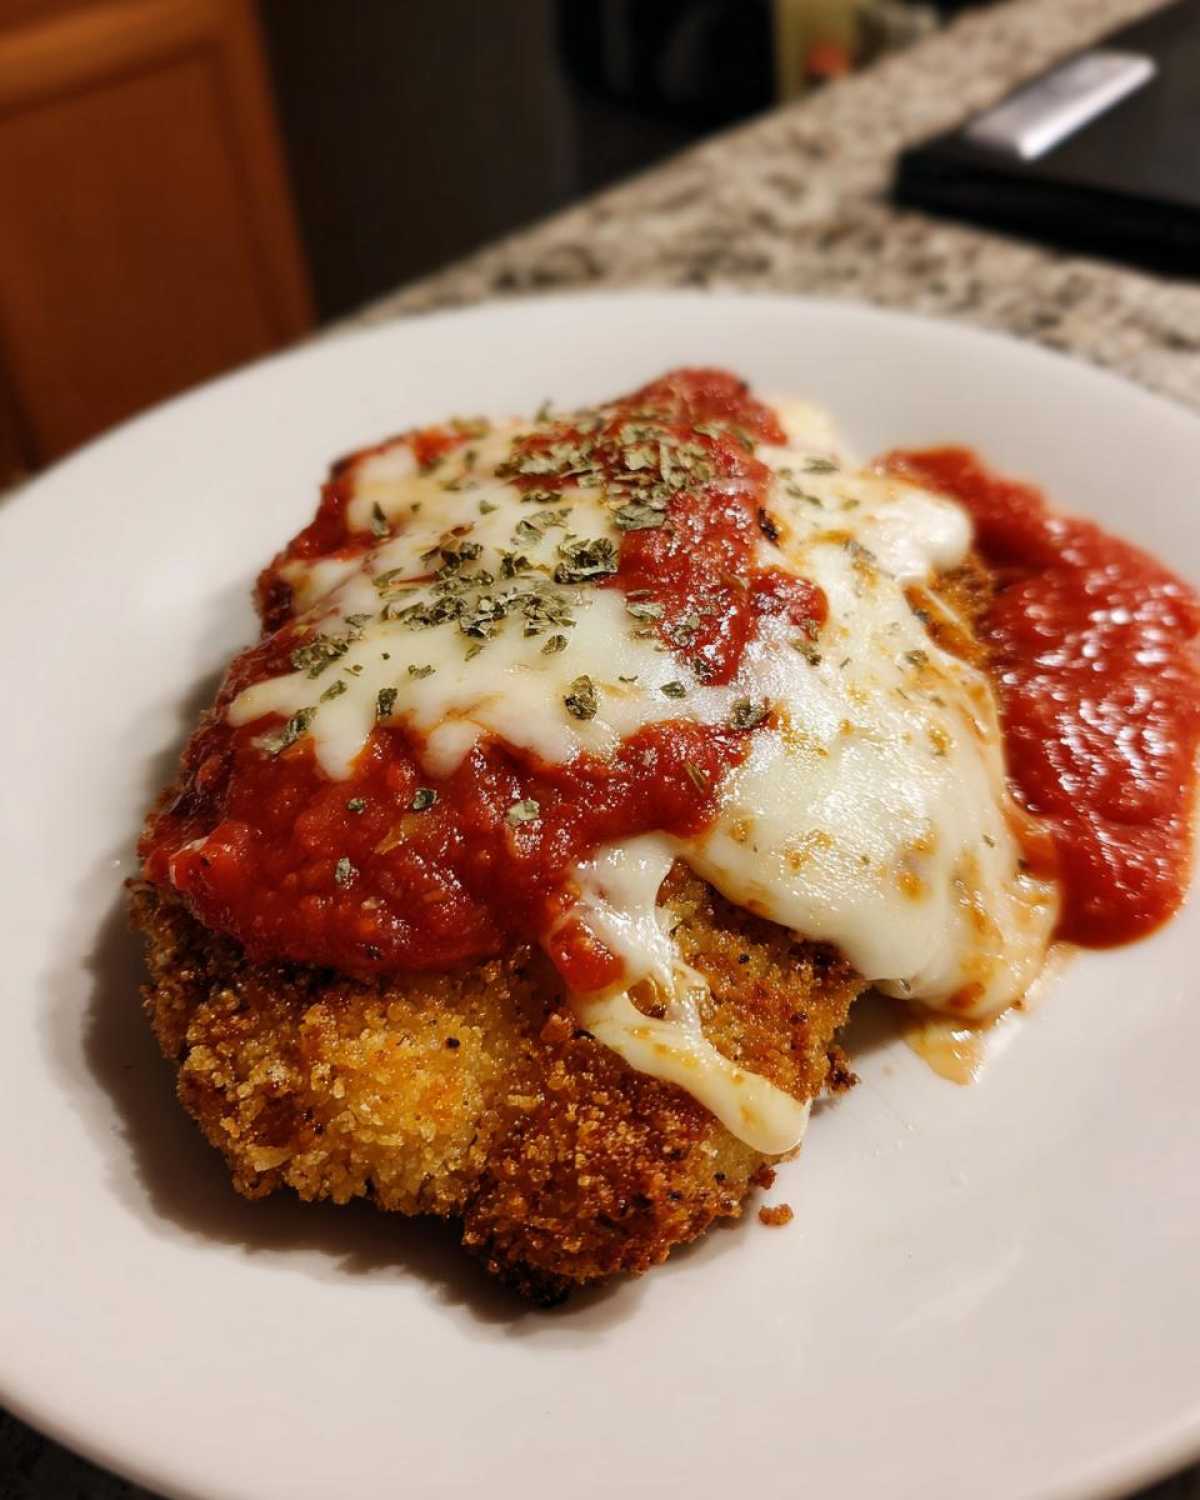
Assembling and Baking the Cheesy Chicken Cutlets
Now, arrange your seared cutlets on the baking sheet. Spoon a generous dollop of your favorite marinara over the top of each one—don’t drown it, but cover it nicely. Next, layer on those slices of fresh mozzarella, followed by a final sprinkle of that extra Parmesan cheese for a salty crust. Pop the tray into the 400-degree oven for about 12 to 15 minutes. We are shooting for that internal temp of 165 degrees and cheese that’s completely melted and perhaps just starting to bubble. Let them rest for five minutes before you serve these gorgeous cheesy chicken cutlets over pasta!
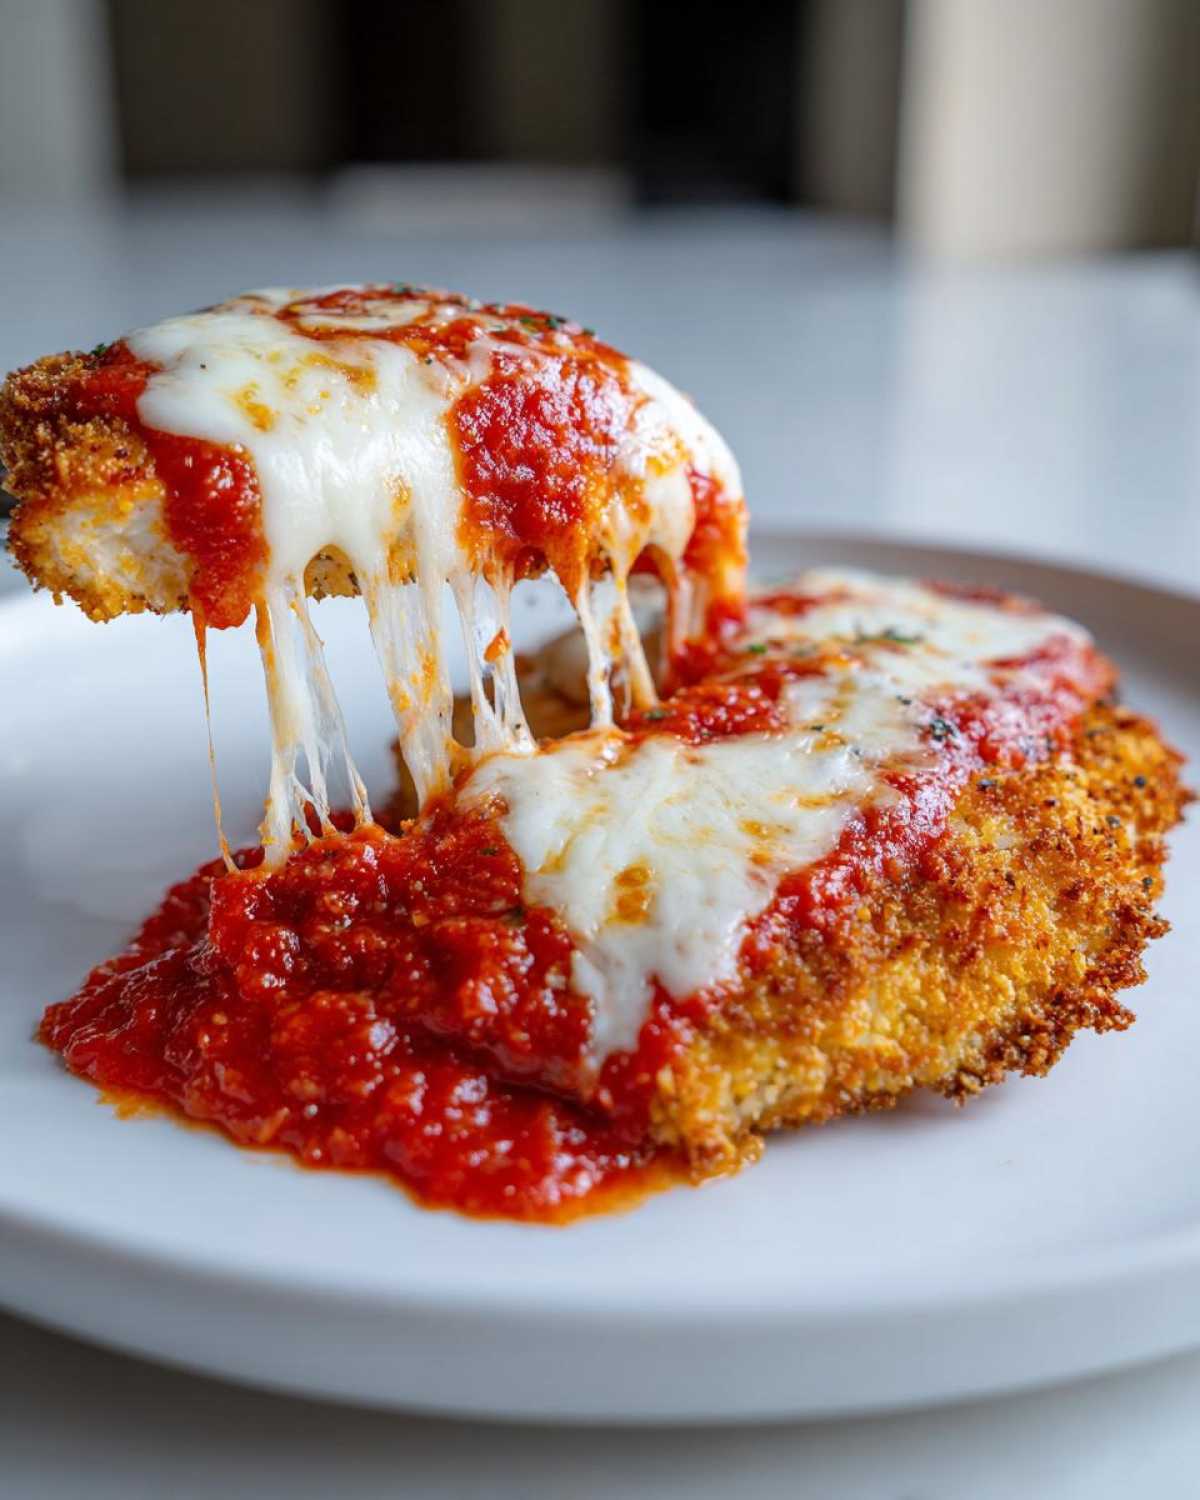
Tips for Making Easy Chicken Parmesan Even Better
Even with a solid blueprint like this, Ethan always has a little something extra he wants to try. That’s the fun of our partnership, right? You have the Easy Chicken Parmesan recipe set up for a win, but these little tweaks just make the meal feel like it came from an actual trattoria, not just my oven. We’ve tested these alternatives endlessly, so trust me when I say they are absolutely worth the two seconds it takes to try them out. Feel free to poke around our main blog for more kitchen conversations!
The Quick Alternative: Skipping the Sear on Your Baked Chicken Parm Recipe
Look, some days, two minutes per side searing feels like too much work, I get it! If you are racing the clock and need the absolute quickest path to dinner, you can skip searing altogether. Just cover the cutlets with the sauce and cheese as usual, but you do need to brush the breading lightly with a bit of olive oil first. Because we are skipping that initial heat blast, the total baking time for your baked chicken parm recipe goes up slightly, usually to about 20 to 25 minutes until everything is cooked through and bubbly. It won’t be *quite* as crispy as seared, but it’s still miles better than soggy takeout!
Serving Suggestions for Your Family Friendly Pasta Night
Okay, you’ve got this glorious, cheesy tower of Italian comfort food on the counter, and now you need the supporting cast! For a true family friendly pasta night, you can’t really beat classic spaghetti or linguine swimming in a little extra marinara—it’s the perfect bed for soaking up all those delicious chicken drippings. If you’re looking to shake things up without abandoning the comfort vibe, Ethan suggested a creamy element last time. We tried this chicken over a light sauce, and it was amazing; you can check out his lightened-up version with my creamy lemon pasta recipe on our blog!
If pasta isn’t your immediate go-to, roasted green veggies are fantastic here. A simple side of roasted broccoli or asparagus tossed with garlic and that last dribble of olive oil just cuts through the richness beautifully. Steamed green beans tossed with salt and pepper work too. Honestly, whatever you choose, make sure you have garlic bread on standby for scooping up every last bit of sauce!
Storage and Reheating Instructions for Easy Chicken Parmesan
We always hope for zero leftovers because these portions are just too good, but let’s be real—sometimes we need to save some for lunch the next day! If you know you’re going to have leftovers of this Easy Chicken Parmesan, try to store the components separately if you can. Keep the crispy chicken cutlets stored in an airtight container away from the marinara and cheese. If you stored it all assembled, just make sure the container is sealed tight!
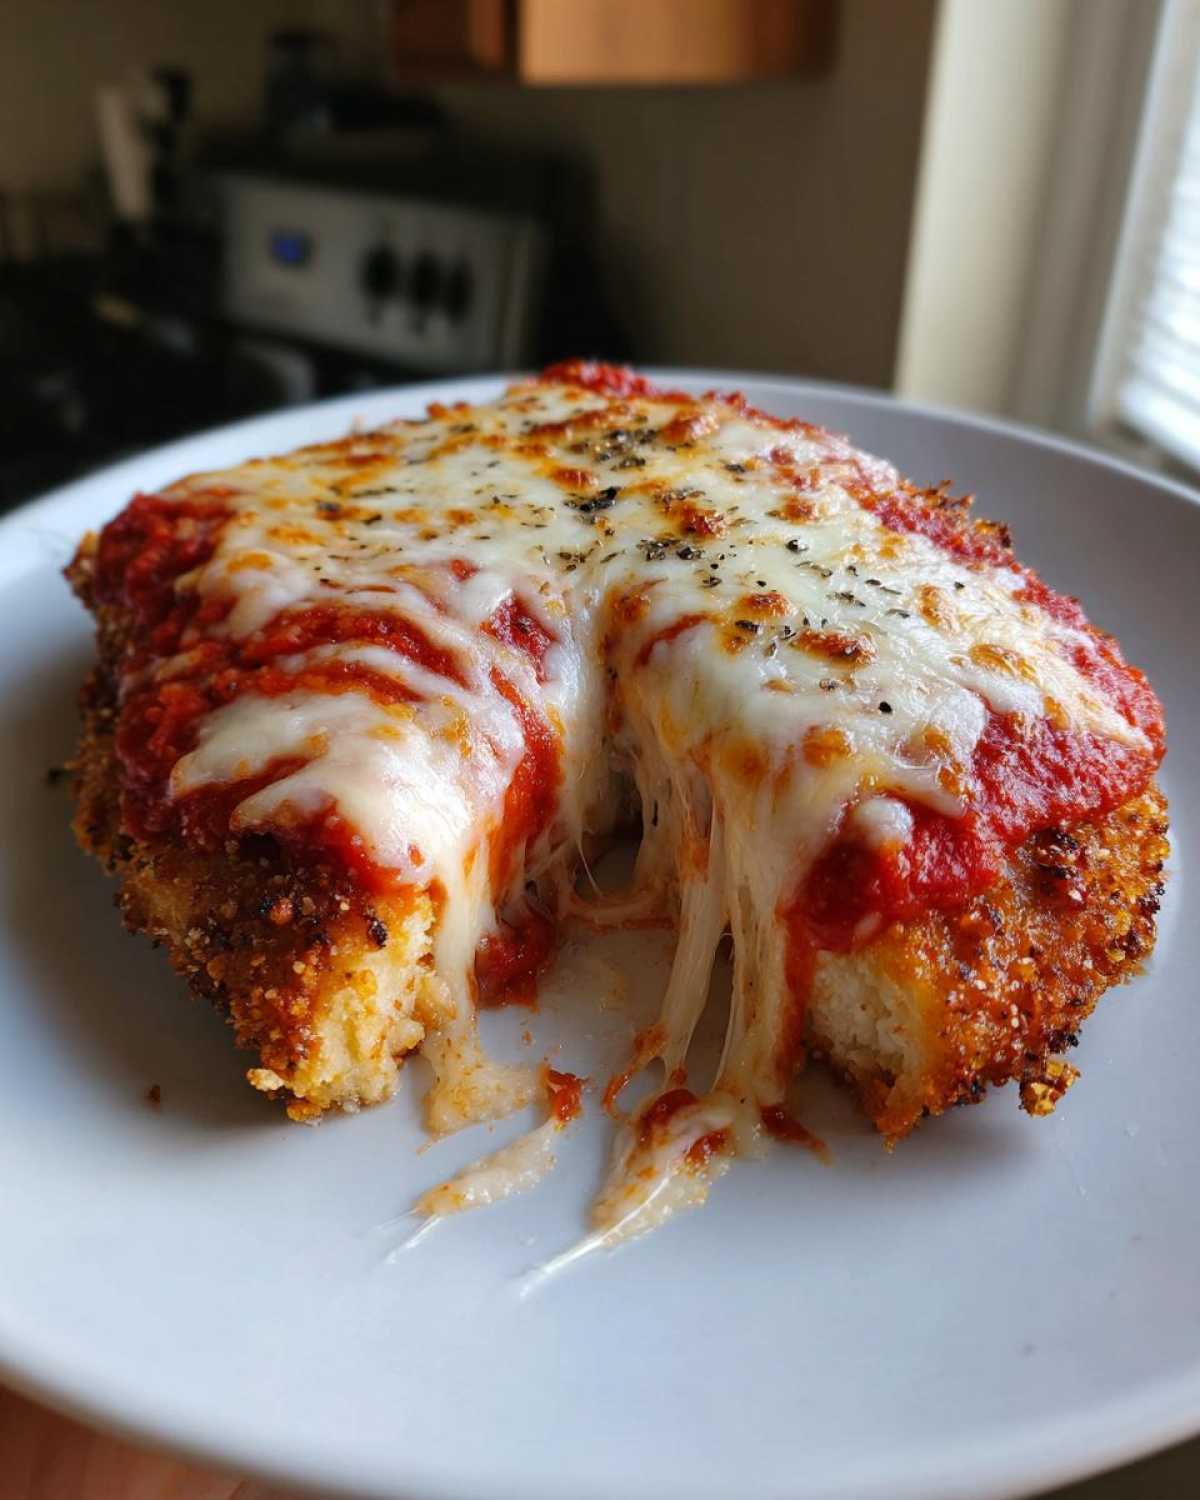
When you’re ready to reheat those cheesy chicken cutlets, ditch the microwave! That’s the instant path to soggy breading, which we simply cannot allow. Your best bet is actually reheating in a 375-degree oven for about 10 minutes, or even better, toss them into an air fryer for about 5 minutes. That will bring back a lot of that crispy texture we worked so hard to achieve during the sear!
Troubleshooting Common Issues with Crispy Breaded Chicken Breast
Even with our fantastic blueprint for this crispy breaded chicken breast, sometimes things just don’t go quite as planned in the kitchen. That’s okay! That’s just food science in action, and we’ve worked through the glitches before. Don’t panic if your first attempt isn’t museum-worthy; a few tweaks usually fix everything right up.
The number one complaint I hear is usually about soggy coating. If your breading is falling off or getting mushy, go back to the breading station steps. Did you press that panko onto the chicken firmly enough? It needs to be practically glued on! Also, ensure your initial sear is hot enough—that two minutes on each side is essential for locking that crispiness in before the moistness of the sauce hits it in the oven.
Next up: the cheese! If your mozzarella isn’t melting into that beautiful, bubbly sheet, you were probably too shy with it, or maybe you used pre-shredded instead of slicing fresh cheese. For the best results on this easy chicken parmesan, slice the mozzarella thick and place it on right after the sauce. If you wait too long, the chicken might finish cooking before the cheese even flattens out!
Frequently Asked Questions About This Quick Chicken Parmesan
I know you’ve got questions, because I certainly did when I first started trying to streamline Ethan’s instinctive cooking methods into something I could rely on for a Tuesday. This quick chicken parmesan is designed to be fast, but a few little structural questions always come up! We tested all these scenarios so you don’t have to guess. If you want to see how we handle another classic, check out our recipe for Easy Baked Crispy Chicken Cordon Bleu!
Can I make this Easy Chicken Dinner Idea ahead of time?
This is where you need to be careful if you want that crispiness! You can certainly do all the prep work ahead of time. Go ahead and pound the chicken, set up your breading station, and coat all the cutlets. You can even do the sear step two hours ahead of time! But listen, don’t top them with the sauce and cheese until you are ready to bake them. The absolute best texture comes when that baking step finishes right before you sit down to eat. Otherwise, that moisture starts turning your crispy breading soft!
What is the best cheese to use for this Italian Comfort Food at Home?
I’ve seen people try to cheat this by using pre-shredded low-moisture mozzarella, and honestly, the results are just sad. It gets oily and doesn’t give you that classic, beautiful, decadent covering. For the best experience replicating that restaurant quality Italian comfort food at home, you need fresh mozzarella that you slice yourself. It contains just the right amount of moisture to melt perfectly over the sauce and brown slightly under the heat. Slice it about a quarter-inch thick, and you won’t regret it!
Estimated Nutritional Data for Easy Chicken Parmesan
So, let’s talk numbers, because even when we’re embracing comfort food, knowing what’s on the plate helps, right? Ethan always laughs because I get super focused when calculating this part! The figures below are our best estimates based on the recipe list for one serving. Remember that these numbers will shift a little based on the brand of marinara sauce you grab or how much extra Parmesan I sprinkle on top—and sometimes I sprinkle a lot!
- Calories: 450
- Fat: 20g (Saturated Fat: 9g)
- Protein: 45g
- Carbohydrates: 25g (Fiber: 3g)
- Sodium: 650mg
This is a solid, protein-packed meal that feels hearty without needing deep frying. Keep in mind, these estimates don’t include any pasta or sides you might add for your official easy chicken dinner idea, so factor those in if you’re counting!
PrintEasy Baked Chicken Parmesan for a Weeknight Win
Make restaurant-quality chicken parmesan at home with this simple, baked recipe. Get crispy, cheesy cutlets without the fuss.
- Prep Time: 15 min
- Cook Time: 20 min
- Total Time: 35 min
- Yield: 4 servings
- Category: Dinner
- Method: Baking
- Cuisine: Italian
- Diet: Vegetarian
Ingredients
- 4 boneless, skinless chicken breasts, pounded to 1/2 inch thickness
- 1 cup all-purpose flour
- 2 large eggs, lightly beaten
- 1 1/2 cups panko breadcrumbs
- 1/2 cup grated Parmesan cheese, plus more for topping
- 1 teaspoon garlic powder
- 1/2 teaspoon dried oregano
- Salt and black pepper to taste
- 2 tablespoons olive oil, divided
- 1 1/2 cups marinara sauce (your favorite jarred sauce works great)
- 8 ounces fresh mozzarella cheese, sliced
- Fresh basil, for garnish
Instructions
- Preheat your oven to 400 degrees Fahrenheit. Lightly grease a baking sheet or line it with parchment paper.
- Set up your breading station with three shallow dishes. Place the flour in the first dish. Whisk the eggs in the second dish. In the third dish, combine the panko breadcrumbs, 1/2 cup Parmesan cheese, garlic powder, oregano, salt, and pepper.
- Take one pounded chicken cutlet and dredge it thoroughly in the flour, shaking off any excess. Dip it into the egg mixture, letting the excess drip off. Finally, press the cutlet firmly into the panko mixture to coat both sides completely. Repeat with the remaining chicken.
- Heat 1 tablespoon of olive oil in a large skillet over medium-high heat. Sear the breaded cutlets for 2 minutes per side until golden brown. This step creates that essential crispy breaded chicken breast texture. You may need to work in batches.
- Arrange the seared cutlets on your prepared baking sheet. Spoon about 3 tablespoons of marinara sauce over the top of each cutlet.
- Top each piece of chicken with slices of fresh mozzarella cheese. Sprinkle a little extra Parmesan cheese over the mozzarella.
- Bake for 12 to 15 minutes, or until the chicken is cooked through (internal temperature reaches 165 degrees Fahrenheit) and the cheese is melted and bubbly.
- Let the cheesy chicken cutlets rest for 5 minutes before serving. Garnish with fresh basil. Serve over your favorite pasta for a complete family friendly pasta night.
Notes
- For extra flavor in your breading, Ethan suggests adding a small pinch of cinnamon to the panko mix; it really brings out the tomato sweetness in the sauce.
- If you prefer a less hands-on approach, you can skip the searing step and bake the chicken for 20-25 minutes, brushing lightly with oil before baking.
- Use high-quality panko breadcrumbs for the best crispy results, even when baking.
Nutrition
- Serving Size: 1 cutlet
- Calories: 450
- Sugar: 8
- Sodium: 650
- Fat: 20
- Saturated Fat: 9
- Unsaturated Fat: 11
- Trans Fat: 0
- Carbohydrates: 25
- Fiber: 3
- Protein: 45
- Cholesterol: 140