

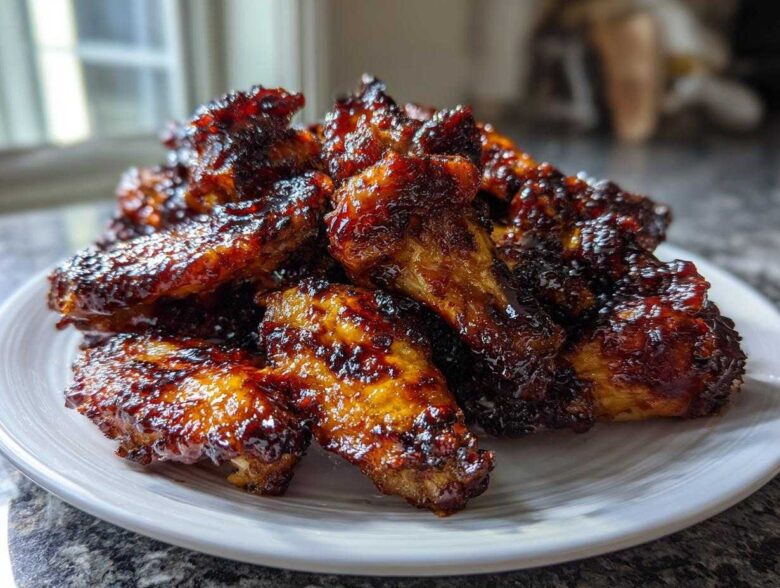
Listen, I know the struggle. You want that perfect takeout experience—wings so crispy they crackle, coated in a sauce so sweet and savory it makes your eyes roll back. But you don’t want the mess, the splatter, or the workout of deep-frying. I’ve been there, staring down a tray of sad, rubbery wings that refused to crisp up in the oven. Forget that drama! We are conquering this together.
This recipe, Sticky Teriyaki Chicken Wings Oven Baked, is the one that finally changed my weeknight menu for the better. We’re using a genius two-step technique that gets the skin perfectly rendered and crispy first, then we layer on that thick, irresistible glaze. Trust me, this system means your wings will be unbelievably flavorful and wonderfully sticky every single time. Check out my main recipe guide for the full breakdown!
Why This Recipe Delivers the Ultimate Sticky Teriyaki Chicken Wings Oven Baked
I’m obsessed with this method because it solves the eternal wing challenge: getting that perfect combination of crispness and intense, clinging sauce. We aren’t cutting corners here; we’re respecting the process so you get incredible results without turning on the deep fryer. It’s all about preparation, which is why this recipe is so reliable.
Here’s what makes this approach the absolute best for getting those sticky teriyaki flavors just right:
- It builds flavor in layers. We cook the wings dry first, which is non-negotiable if you want skin that actually pops when you bite it.
- We use a secret weapon coating—a tiny bit of cornstarch plus baking powder—that pulls moisture off the skin while baking. Seriously, try this if you’re looking for crispy baked wings no fry!
- The sauce isn’t just poured on; it’s built up. We simmer the base to deepen that soy and mirin flavor before thickening it dramatically.
- Everything is designed to work together: the high initial heat renders the fat, and the final broil caramelizes the sugar in the glaze perfectly.
Achieving Crispy Baked Wings No Fry
Okay, the wire rack isn’t fancy, but it’s crucial! When the wings sit on a rack above the pan, the hot air circulates *all around* the wing, not just the top. This allows the fat to drip away and lets those dry ingredients—the cornstarch and baking powder—do their job of creating texture.
Don’t skip that initial 25-minute bake at 400°F. That time is dedicated solely to making the wings structurally sound and crispy. We don’t even touch the sauce until that’s done. It’s painful waiting, but worth it, I promise!
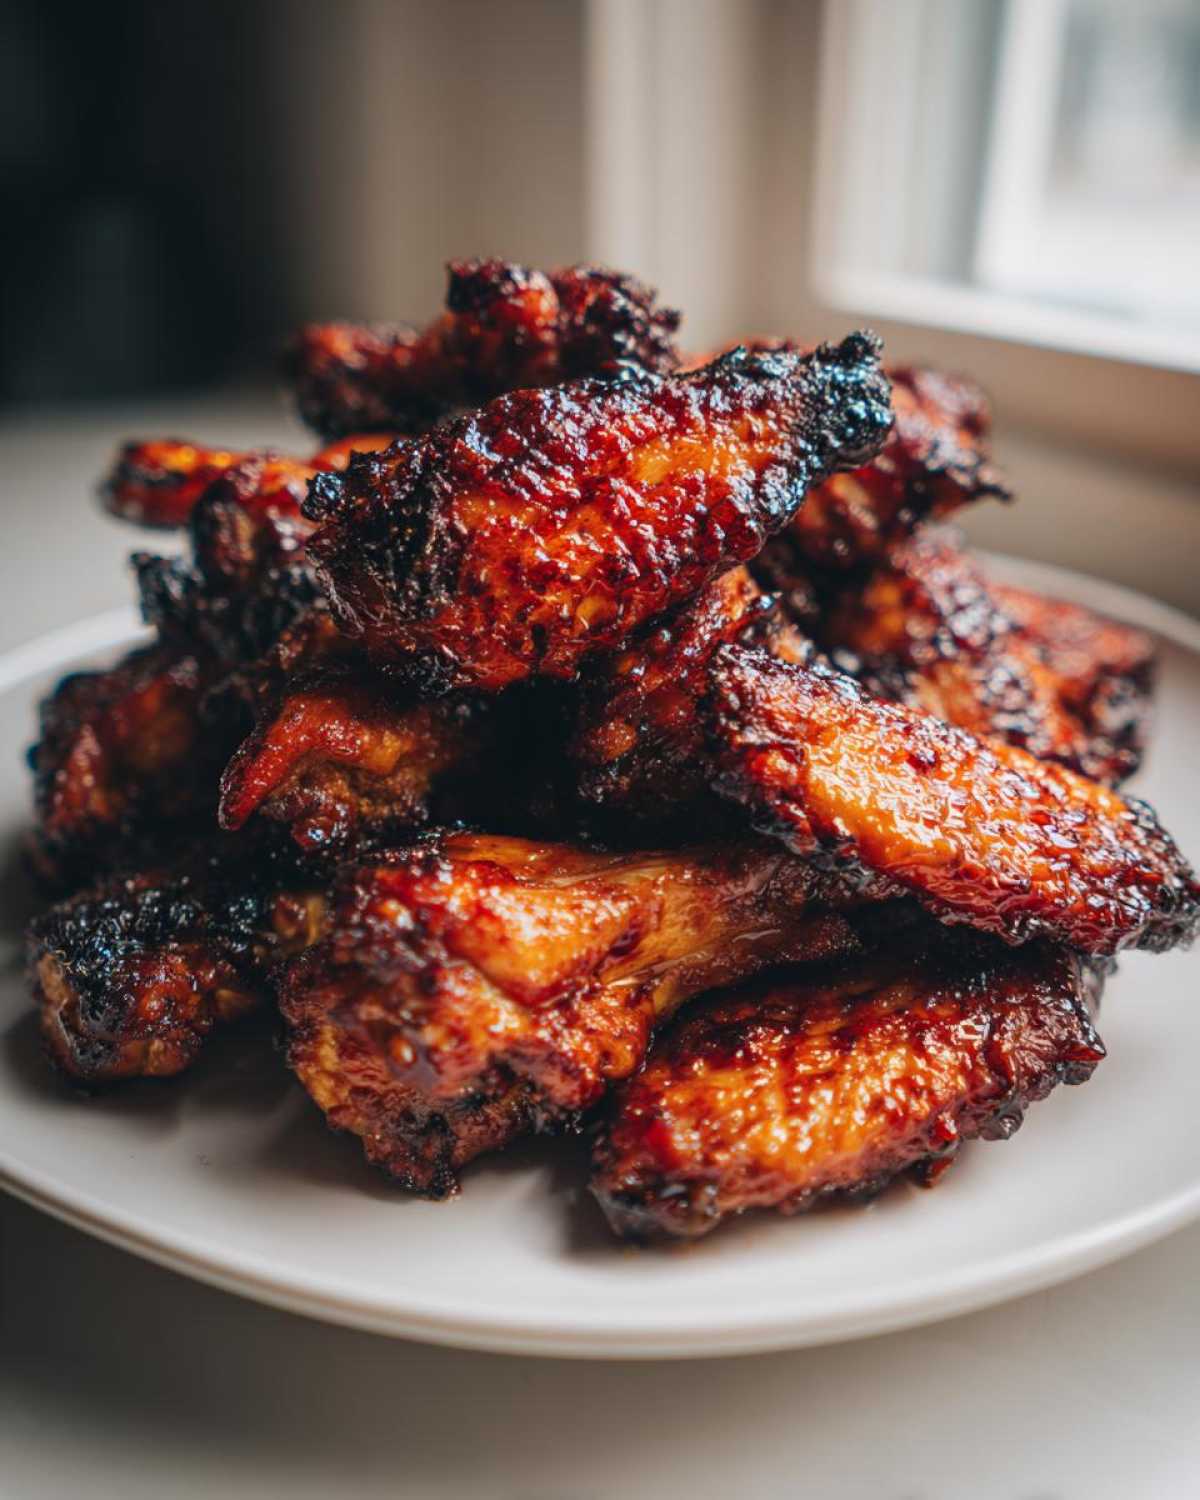
The Secret to Thick Teriyaki Glaze Recipe
This is where most people mess up the sticky glazed wings recipe. You can’t just dump thin sauce on cooked wings and expect it to stick! My method involves two major stages for the sauce.
First, we simmer everything—the soy, mirin, brown sugar—to let the flavors marry and slightly reduce volume. Then, and this is huge, we use a cornstarch slurry right at the end. Whisking that cold starch slurry into the simmering liquid converts it from a thin liquid into that gorgeous, thick, clinging coating we are aiming for. It needs to be thick enough to coat the back of a spoon before you even pull it off the heat!
Ingredients for Sticky Teriyaki Chicken Wings Oven Baked
Now that you know the method works, let’s talk about what you actually need to buy. I always tell people that for Asian chicken wing recipes like this, the quality of your base ingredients really shines through, especially the soy sauce in that teriyaki blend. If you can manage it, grab a slightly better soy sauce—it makes a noticeable difference in the final homemade teriyaki sauce for wings.
This recipe is divided into two small ingredient lists: the wings prep and the glaze components. Don’t panic about the number of ingredients; it all comes together really fast!
For the Wings Prep (getting them ready for that first bake):
- A solid 2 pounds of chicken wings (make sure you separate all those flats and drumettes so they cook evenly!
- 1 heaping tablespoon of cornstarch—this is key for crispiness!
- 1 teaspoon of baking powder—this is totally optional, but if you want crispy baked wings no fry, you should throw it in.
- Just a little salt and fresh black pepper.
For our incredible Teriyaki Glaze (it makes a little extra, which is great for dipping!):
- A half cup of good quality soy sauce. Seriously, this anchors the flavor for our sticky sweet chicken wings.
- A half cup of mirin, which gives us that beautiful shine and sweetness.
- A quarter cup of sake—if you don’t cook with sake often, don’t worry, it cooks right off! Water works as a pinch-hitter if you really need to substitute.
- A quarter cup of packed brown sugar. Don’t use white sugar here; brown sugar gives us that depth perfect for a thick teriyaki glaze recipe.
- Two cloves of garlic, minced super fine.
- One teaspoon of fresh ginger, grated. Fresh is non-negotiable for this fragrant flavor!
- Two tablespoons of honey or maple syrup for extra stick factor.
- And for thickening: 1 tablespoon of cornstarch mixed into 2 tablespoons of cold water. This slurry is what takes the sauce from ‘sauce’ to ‘glaze’!
Essential Equipment for Oven Baked Chicken Wings Teriyaki
You don’t need a smoker or a deep fryer for this recipe, thankfully! Keeping things simple is what makes this one of my favorite weeknight chicken dinner ideas. But there are a few pieces of equipment that are absolutely non-negotiable if you want that crispy texture when making our oven baked chicken wings teriyaki. If you skip these basics, you’re going to end up with soggy bottoms, and we absolutely cannot have that!
For the best results with minimal cleanup, I highly recommend setting up your pan just so. If you’ve ever made my sheet pan shrimp boil, you know I love heavy-duty protection against spills. For this one, you’ll want:
- Heavy-Duty Aluminum Foil: I always recommend heavy-duty foil over the regular stuff. When you’re baking at higher temperatures and then broiling, you don’t want thin foil tearing and making a sticky mess you have to scrub later. Cover your baking sheet completely.
- A Sturdy Wire Cooling Rack: This is the backbone of our crispy wing success! You need a rack that fits inside your baking sheet. This rack separates the wings from the rendered fat dripping off them, allowing air to circulate underneath. If you don’t give them room to breathe, they steam instead of crisp!
- One Large Mixing Bowl: You need one big enough to toss 2 pounds of wings with the dry seasoning without having the pepper fly everywhere. You want every single wing evenly coated in that cornstarch/baking powder mix.
- A Medium Saucepan: This is just for making the teriyaki glaze. Nothing fancy needed here, but a pan with a decent weight helps prevent the sugars from scorching once we start reducing the sauce.
- Silicone Brush: You’ll need this later for slathering on that gorgeous sticky glaze recipe. A good silicone brush lets you get into all the crevices without losing half your sauce!
See? Nothing intimidating! Just standard kitchen gear used in a specific, smart way. These tools are what separate the good baked wings from the truly phenomenal ones!
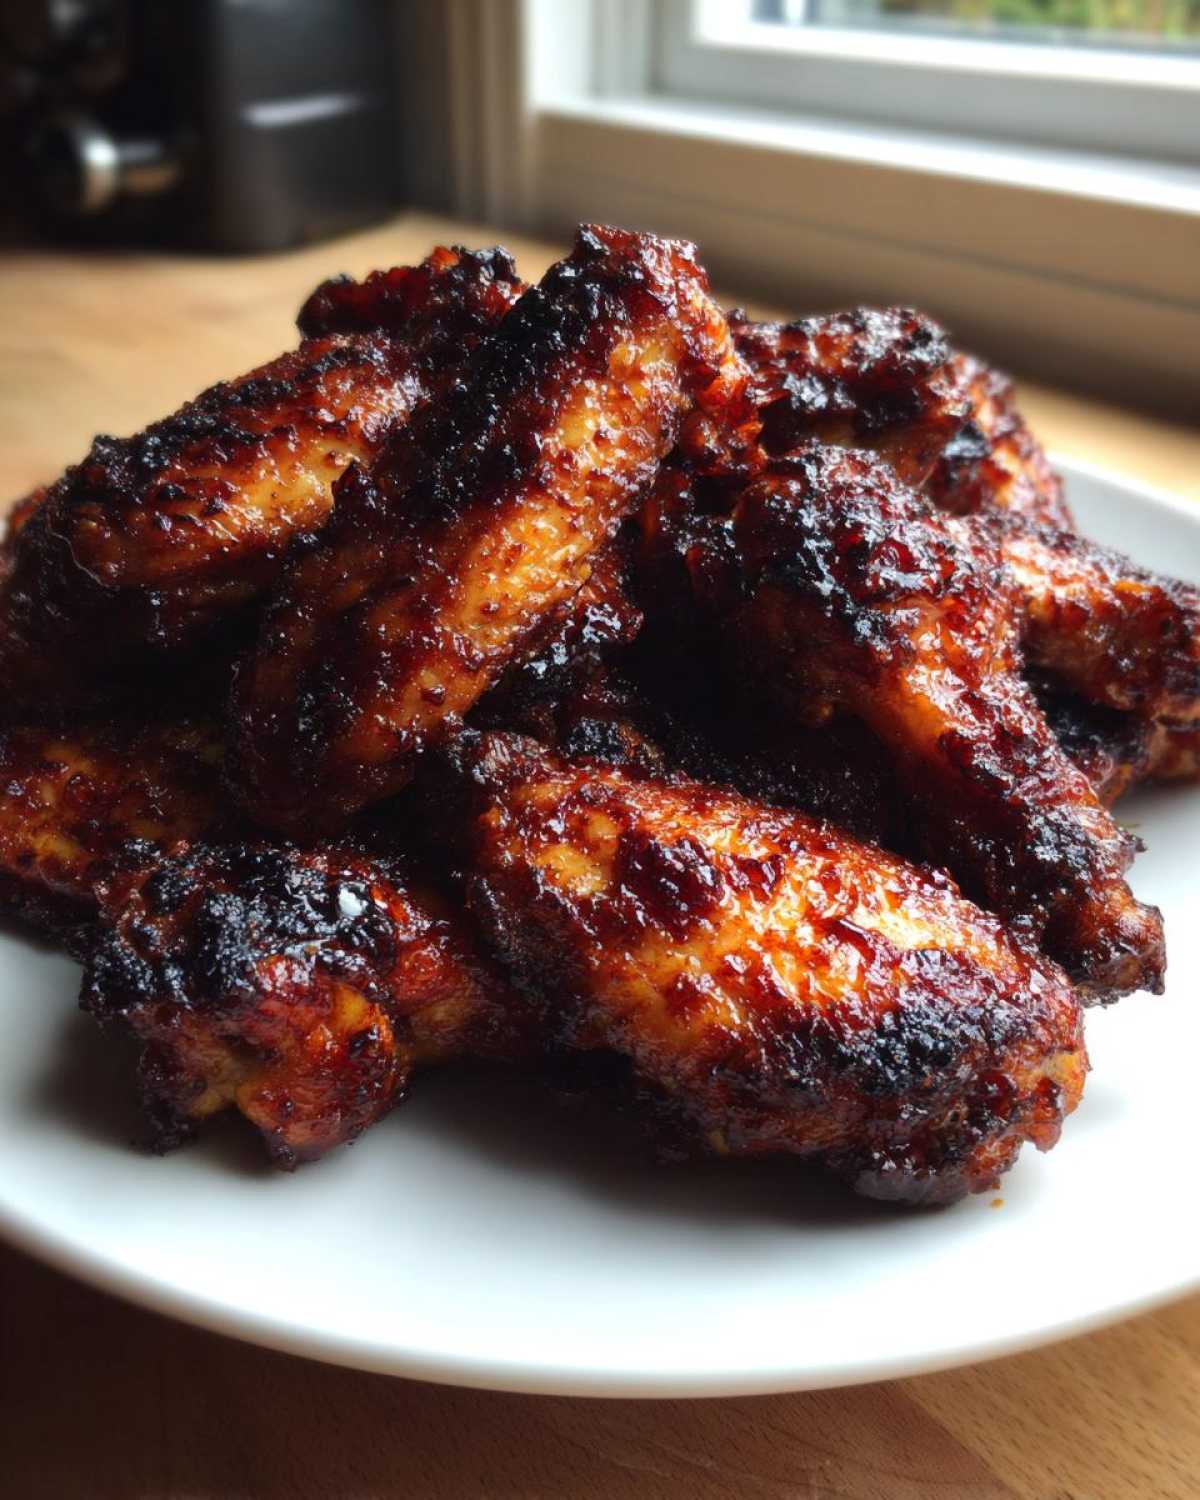
Step-by-Step Instructions: How to Bake Sticky Wings
Alright, this is where the magic happens! Getting those phenomenal sticky teriyaki chicken wings oven baked means we have to move in stages. We can’t just coat them in sauce and hope for the best; that’s a recipe for steam and sadness. We need to bake them hard first to dry out the skin, then apply the glaze, and finish with a quick blast under the broiler. It feels like a lot, but honestly, most of the time is hands-off. You can prep your sauce while the wings are doing their initial bake!
You can find my full, detailed method on keeping things clean and efficient right here, but let’s walk through the critical stages together.
Preparing the Wings for Maximum Crispness
First things first for those crispy baked wings no fry: grab a ton of paper towels and pat every single wing piece seriously dry. I mean bone dry! Moisture is the enemy of crispiness. Once dry, toss them in your bowl with the cornstarch, baking powder (if you’re using it!), salt, and pepper. Make sure everything is evenly dusted—you’re looking for a light, thin coat, not heavy clumps.
Prep your baking sheet by lining it with foil and setting that wire rack on top. Arrange the wings on the rack in a single layer. They shouldn’t be touching at all! They go into the 400°F oven for 25 minutes. This gets them halfway cooked and starts crisping up that skin beautifully.
Making the Thick Teriyaki Glaze Recipe
While those wings are rendering some fat, get your sauce going on the stovetop. Combine your soy sauce, mirin, sake, brown sugar, garlic, ginger, and honey in a saucepan. Bring that mix up to a simmer over medium heat, stirring until all that sugar melts down. Let it simmer gently for about 5 to 7 minutes. This reduces the liquid slightly and concentrates the amazing Japanese flavor chicken profile.
Now for the stickiness! Whisk that cornstarch and cold water slurry together until it’s totally smooth—zero lumps. Slowly drizzle that into your simmering sauce while stirring like crazy. It will immediately start thickening up. Once it’s glossy and coats the back of your spoon, take it off the heat. It’s ready for glazing!
The Double Bake and Glazing Technique for Sticky Teriyaki Chicken Wings Oven Baked
After the initial 25 minutes, pull those wings out! They should look pale but starting to brown a bit. Now, crank the heat up to 425°F (220°C). Brush them aggressively with about half of your gorgeous, thick teriyaki glaze—get it on all sides. Back into the hot oven they go for 10 more minutes.
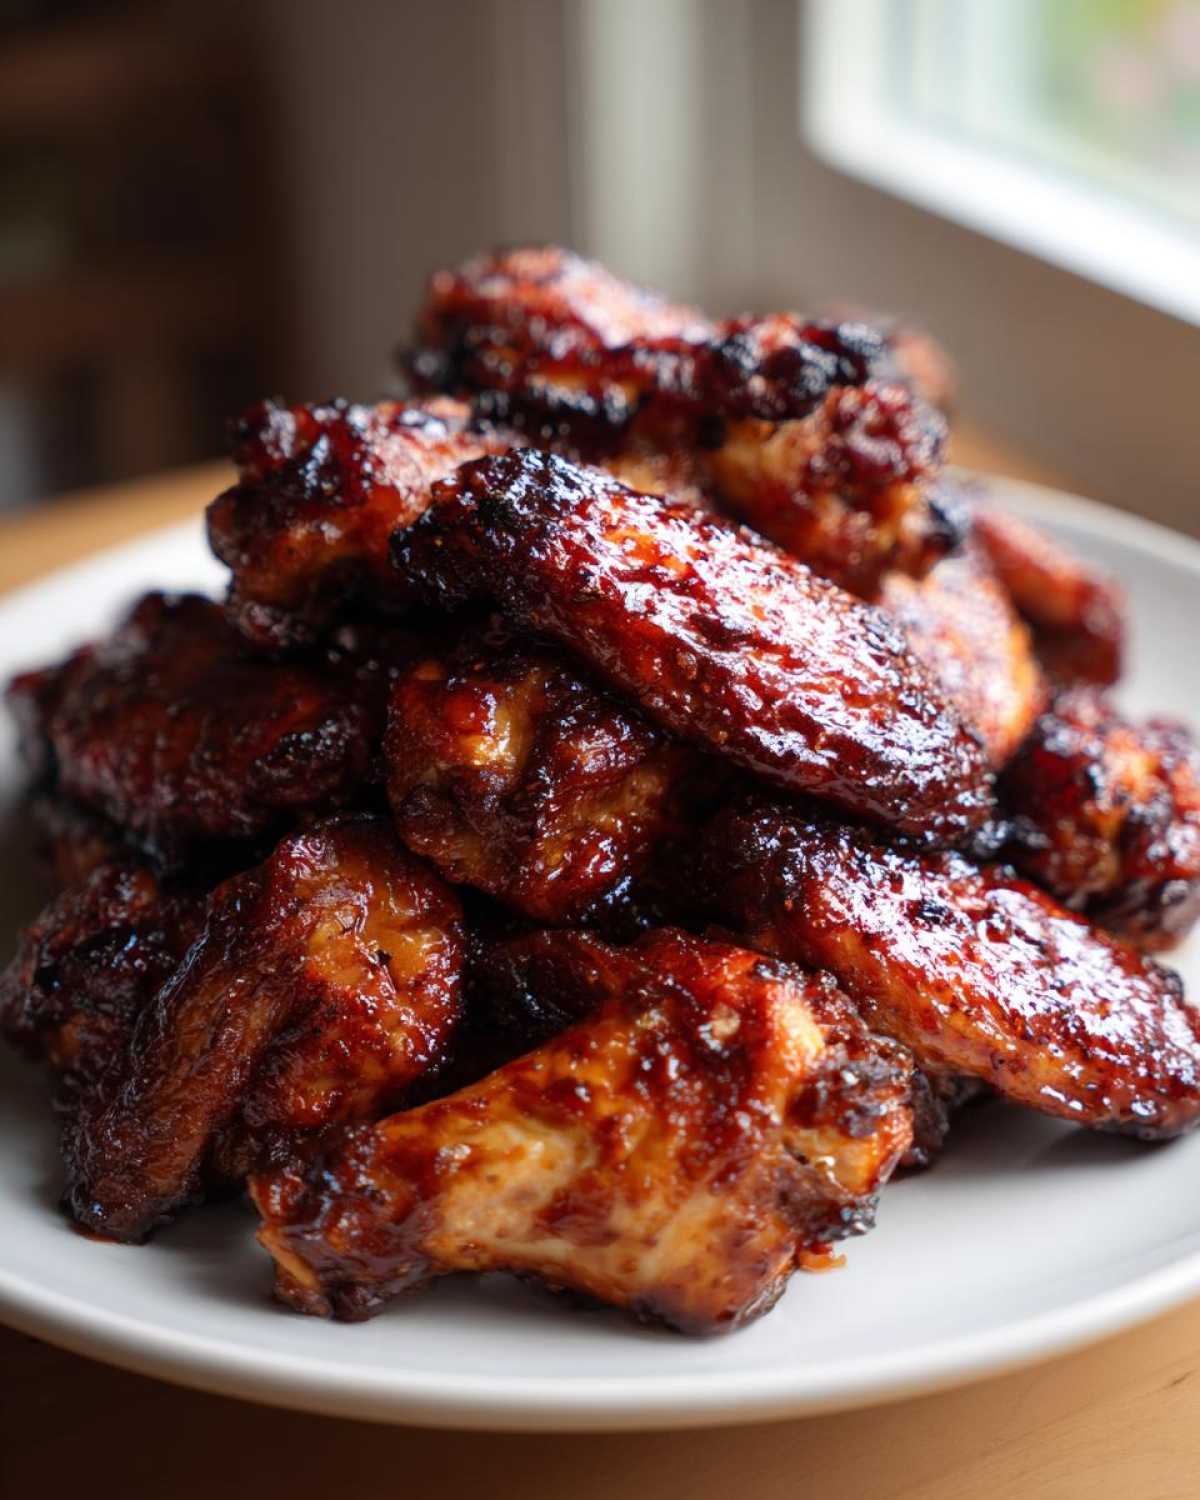
The final, most exciting step is the broiler! Pull them out one last time, brush them with any remaining sauce, and slide them under the broiler. This is crucial: stand right there! Seriously, 1 to 3 minutes, max. You want the glaze to bubble up, darken to a deep amber color, and get beautifully sticky, but if you walk away for five seconds, you’ll end up with bitter charcoal wings. Watch them like a hawk! Pull them out when they look perfectly caramelized, toss them one last time in the pan drippings if you want extra flavor, and serve right away!
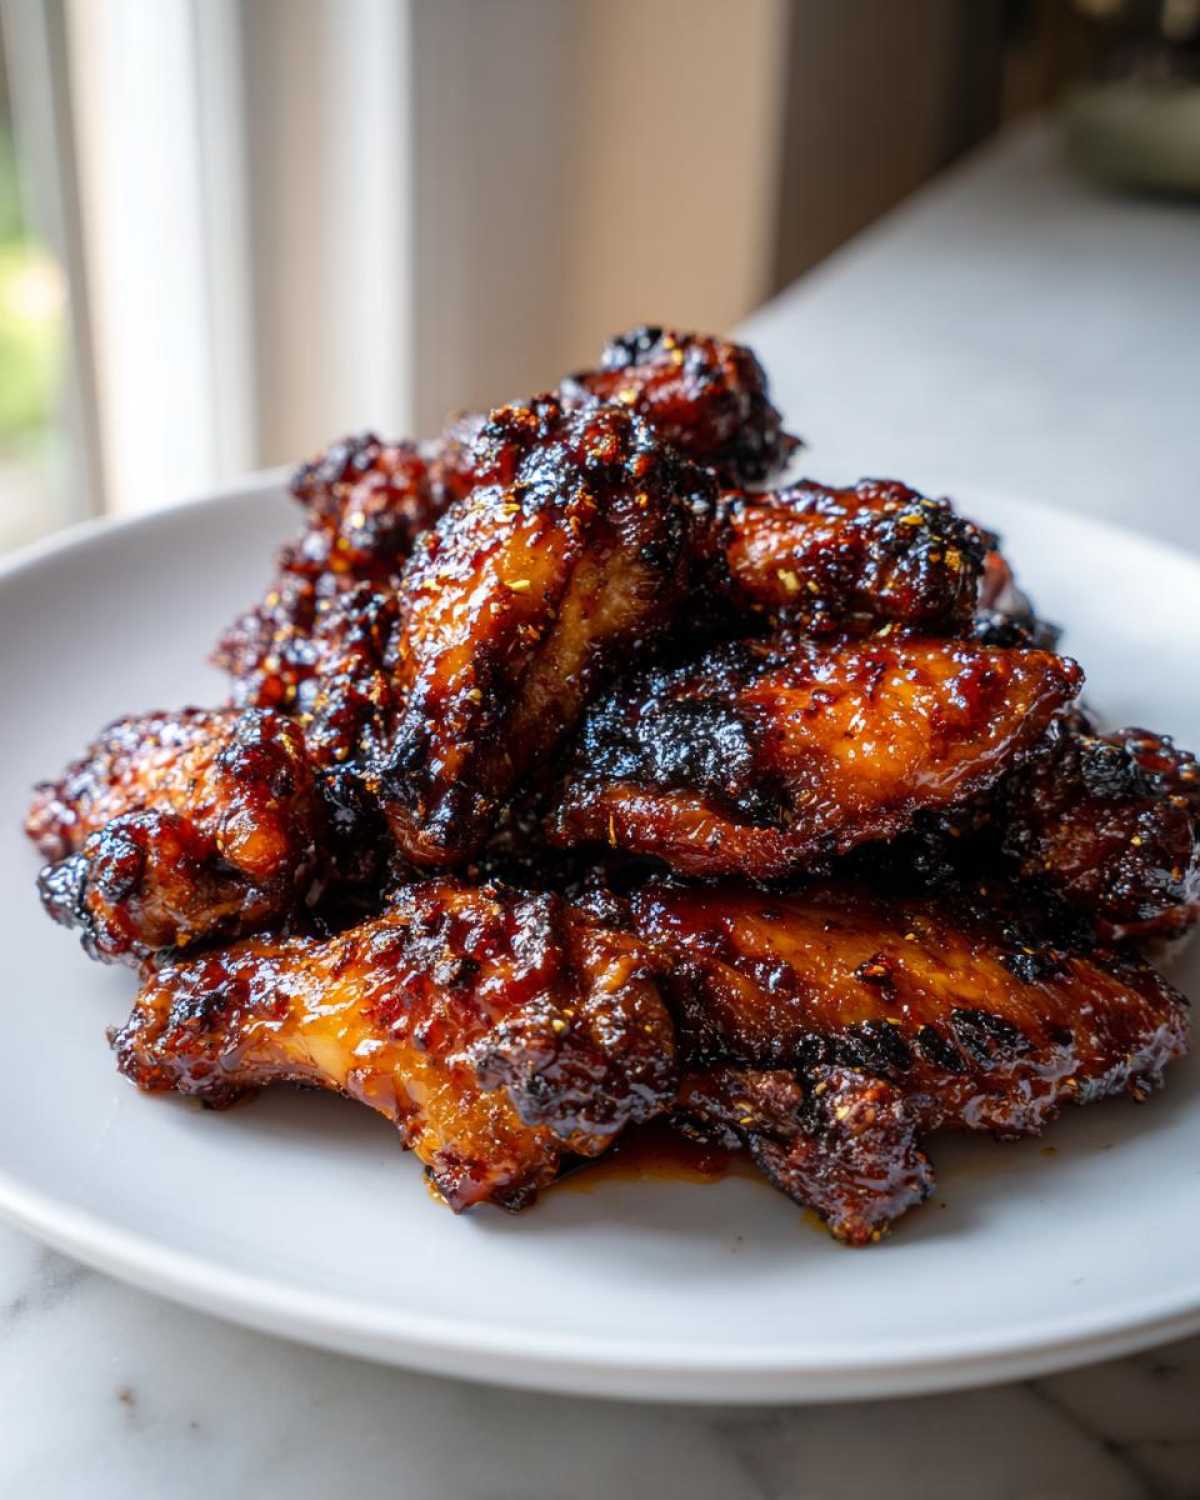
Tips for Success with Your Sticky Glazed Wings Recipe
You’ve got the recipe down, but success in the kitchen sometimes comes down to those tiny, nagging details, right? I’ve made enough batches of these sticky teriyaki chicken wings oven baked to know exactly where things can go sideways. If your wings aren’t turning out exactly how mine do, check these points—they are game-changers!
First and foremost, I cannot stress this enough: Pat those wings dry! I mean it! Get out the paper towels and dab every piece of chicken until you think you’ve dried it enough, and then dry it one more time. Excess moisture means steam, and steam means you will never achieve those desirable, crispy baked wings. If you skip this step, you’re essentially pre-seasoning them for sogginess.
When you’re coating them in that cornstarch/baking powder mix, remember, light and even is the name of the game. You aren’t breading them for deep frying; you’re just giving the skin a little extra texture assist. Toss them gently in the bowl so you don’t smash the wings together. For more simple and reliable recipes like this, check out my collection of easy chicken wing recipes.
When it comes to the glaze at the end, remember that sugar burns fast! That final broil is super quick, usually clocking in under three minutes. If your wings are thick or you decide to skip the initial 400°F bake (don’t!), they might need more time under the glaze, but always err on the side of under-broiling rather than over. You can always pop them back under for 30 seconds if needed, but you can’t un-burn caramelized honey!
Also, if you’re making a giant batch, stick to the rack space! Overcrowding the pan traps steam again, even with a rack underneath. If you need to make a double batch, use two separate baking sheets instead of piling them high on one. Air circulation is key for that amazing texture!
Storage & Reheating Instructions for Sticky Teriyaki Chicken Wings Oven Baked
Oh, leftovers! Sometimes those leftover wings are even better the next day when the flavors have completely settled into the meat. But we face the sad truth: the glorious crispiness from the oven tends to vanish when wings are refrigerated. Don’t despair, though! I have a couple of tricks for reviving these beauties so they taste almost brand new. These aren’t the kind of wings you want to eat cold straight out of the fridge, no matter how tempted you are.
First off, storage. Keep those glorious sticky teriyaki chicken wings oven baked in an airtight container in the fridge. They should be good for about three, maybe four days, max. I rarely have them last that long, but you need to make sure that container seals tightly so they don’t absorb any strange fridge odors. For more great meal ideas featuring wings, check out my guide on weeknight chicken dinner ideas.
Now, the reheating! Please, please, please promise me you won’t use the microwave if you care about texture even a little bit. Microwaving turns that delicate crisp we worked so hard for into hot rubber bands. If you want to honor the effort we put into making these perfect, you need dry heat for revival.
The Air Fryer Revival Method
If you have an air fryer, this is absolutely the best way to restore 80% of that original crust. Set your air fryer to about 375°F (190°C). Lay the wings in a single layer—don’t try to cram too many in there, or they steam again! Cook them for about 5 to 7 minutes. The circulating hot air crisps up the exterior and gets the glaze sticky again without burning it, especially since the glaze is already set.
When I pull mine out after 6 minutes, they are usually perfect—hot, slightly firm on the outside, and clinging beautifully to that sweet teriyaki.
The Oven Reheat: For Crispier Results or Larger Batches
If you don’t have an air fryer, or if you’re attempting to reheat a giant platter of wings, the oven is your next best friend. Preheat your oven back up to about 400°F (200°C). You want the rack placed in the center position.
Lay the wings out on a foil-lined baking sheet—you don’t need a rack this time unless they are soaking wet with residual sauce. Bake them for about 8 to 10 minutes. Resist the urge to brush them with more sauce unless they look totally dry. The goal here is just to heat the meat through and dry out the exterior skin that softened in the fridge. Keep an eye on them past the 8-minute mark, because those sugars can still go from glazed to burnt pretty fast!
Serving Suggestions for Asian Chicken Wing Recipes
Our sticky teriyaki chicken wings oven baked are intensely flavored, right? They hit that perfect spot between salty, sweet, and savory, which means they sometimes need something light and cool alongside them to really balance out the richness. If you just eat wings straight, you’ll overload your palate pretty fast, so having some smart sides is essential for making this a complete meal or a killer appetizer spread!
Since this is deeply rooted in Japanese flavor chicken profiles, we want sides that offer contrast—texture and temperature contrast are your friends here. You don’t want heavy starches fighting the sticky glaze!
Steamed Rice: The Perfect Absorber
If you’re serving these wings over a whole meal, you absolutely need rice. But not just any rice! You need rice that’s perfect for soaking up any extra glaze that drips off the wing, or for cooling your mouth down between bites. I swear by making perfect sushi rice, even if I’m not making sushi! It gets that ideal slightly sticky, slightly vinegary edge that cuts right through the heavy sweetness of the teriyaki.
The nice thing is that rice is incredibly easy to make while your wings are finishing their final broil. You just need a good pot and patience. Check out my full guide on how to make perfect sushi rice; it’s much easier than people think, and it makes these wings feel like a real dinner rather than just a snack!
Cool and Crunchy Veggies to Cut the Sweetness
You need something refreshing. My go-to side for anything heavily glazed or sweet, like our sticky sweet chicken wings, is always a simple cucumber salad. It’s crunchy, it’s watery, and it’s often seasoned with just rice vinegar and maybe a tiny bit of sesame oil. It cleanses the palate beautifully.
If you don’t want to chop lettuce, try these quick veggie pairing ideas that I often prepare:
- Quick Pickled Daikon or Carrots: Toss thinly sliced daikon (white radish) or carrots in a mixture of vinegar, water, and a pinch of sugar. Give it 30 minutes and it’s ready. It brings the necessary sour brightness.
- Blanched Edamame: Tossed lightly with sea salt, edamame shells are fun to eat and provide a nice pop of green.
- Simple Sesame Spinach: Flash-blanch some spinach, drain it really well, and toss it with a drizzle of sesame oil and a tiny pinch of salt. Light, healthy, and needs almost no attention while you’re wrestling with the broiler.
Balancing the Plate for Party Appetizer Wings
If you’re setting these out as part of a big spread for a game day or a party—and you should, they make incredible party appetizer wings—you need more variety than just pickles. People look for textures. Include some salty chips or crackers, maybe some lighter veggie sticks like bell peppers or celery for dipping into residual sauce, and definitely something clean and crunchy like crispy rice crackers.
The goal is variety. You want guests rotating between the intense, sticky, savory wings and something light and cooling. It makes the whole spread feel more complete and lets people eat more!
Frequently Asked Questions About Sticky Teriyaki Chicken Wings Oven Baked
I totally get it; when you find a good recipe like this, you want to make sure you can tweak it slightly or troubleshoot if something feels off. I’ve answered the most common questions I get about making sure these sticky teriyaki chicken wings oven baked come out perfect every time—especially when it comes to texture, since that’s what we work so hard for!
Can I skip the wire rack when making these Oven Baked Chicken Wings Teriyaki?
Technically, yes, you can skip the wire rack, especially if you’re in a pinch! But oh my goodness, the results won’t be the same, and my heart hurts for you if you try! The whole point of the rack is to separate the wings from the pan drippings. If the bottom of the wing sits directly on the foil, the rendered fat creates steam underneath, and you end up with soft, slightly rubbery bottoms.
If you absolutely must skip the rack for your oven baked chicken wings teriyaki, you have to be vigilant about flipping them. Instead of just flipping once halfway through the glaze stage, I would honestly flip them every 5 minutes while they are baking dry, and then flip them again right after the first glaze application. You’ll introduce more handling, but it’s the only way to let the air dry out the bottom side!
How can I make the glaze spicier?
That’s an easy fix! If you love a little kick alongside all that sweet and savory flavor in your sticky glazed wings recipe, you need to add heat during the sauce simmering stage. My favorite way is to whisk in about a teaspoon or two of Sriracha sauce right after you add the mirin and soy sauce.
You can also use dried chili flakes, but those can sometimes look a little gritty if they don’t fully dissolve. If you want a cleaner heat, use a dash of high-quality chili garlic sauce. Since the sauce simmers for a while, the heat integrates beautifully. Just taste it before you add the slurry, and adjust the heat level until it perfectly balances that sweetness for your preference!
What is the best way to ensure the glaze is truly sticky?
If you’re worried about your sauce being too runny when you move onto the glazing phase, you need to trust the cornstarch slurry and the final broil! The slurry is what chemically changes the sauce from thin liquid to thick, clinging thick teriyaki glaze recipe. Make sure you mix your slurry—cornstarch and cold water—until it’s completely smooth before adding it to the simmering pot.
Once you add the slurry, keep it simmering for a full minute, stirring constantly, so it activates. If it doesn’t look visibly thick (like slightly thick maple syrup), it’s not ready! Then, the final key is that short, intense blast under the broiler. We aren’t just heating the wing; we are caramelizing the sugars in the sauce layer. That high, direct heat bakes that glaze onto the skin, making it truly sticky for the best party appetizer wings! Just watch it closely—that’s the final guardian duty before serving!
Estimated Nutritional Data for Sticky Sweet Chicken Wings
I always include this section because I believe in transparency about what we’re eating, even when it’s wings! We did our best to keep these sticky sweet chicken wings on the lighter side by baking them instead of frying, but hey, there’s brown sugar and honey involved, so we have to be realistic, right?
These numbers are just estimates, based on standard serving sizes and ingredient measurements. If you use extra honey or a different brand of soy sauce, things might shift a bit. For a full breakdown on how these numbers look, especially concerning sodium levels, you can always check out my general disclaimers on ingredient sourcing and nutrition.
Based on a serving size of 4 wings, here’s what you’re generally looking at per serving in our Sticky Teriyaki Chicken Wings Oven Baked recipe:
- Calories: Roughly 350
- Protein: A solid 22 grams! That’s great for wings.
- Fat: About 18 grams total fat.
- Saturated Fat: Around 5 grams.
- Carbohydrates: About 25 grams.
- Sugar: Coming in close to 20 grams (this is where our sticky glaze lives!).
- Sodium: This is higher, around 750 mg, mainly due to the soy sauce base.
- Fiber: About 1 gram.
See? Decent protein for an appetizer! And because we aren’t deep-frying, we avoid a lot of unnecessary saturated fat you get from submerging them in oil. I think that makes them feel a little less guilty, even when we’re doubling up on servings!
PrintUltimate Sticky Teriyaki Chicken Wings Baked to Perfection (Crispy Oven Method)
Make sticky, flavorful teriyaki chicken wings in your oven. This recipe uses a two-step baking process to ensure crispy skin and a thick, sweet glaze.
- Prep Time: 15 min
- Cook Time: 40 min
- Total Time: 55 min
- Yield: 4 servings
- Category: Appetizer
- Method: Baking and Broiling
- Cuisine: Japanese
- Diet: Low Lactose
Ingredients
- 2 lbs chicken wings (flats and drumettes separated)
- 1 tablespoon cornstarch
- 1 teaspoon baking powder (optional, for extra crispiness)
- 1/2 teaspoon salt
- 1/4 teaspoon black pepper
- 1/2 cup soy sauce
- 1/2 cup mirin
- 1/4 cup sake (or water)
- 1/4 cup packed brown sugar
- 2 cloves garlic, minced
- 1 teaspoon fresh ginger, grated
- 2 tablespoons honey or maple syrup
- 1 tablespoon cornstarch mixed with 2 tablespoons cold water (for slurry)
Instructions
- Preheat your oven to 400°F (200°C). Line a baking sheet with foil and place a wire rack on top.
- In a large bowl, toss the chicken wings with 1 tablespoon of cornstarch, baking powder (if using), salt, and pepper until evenly coated.
- Arrange the wings in a single layer on the wire rack.
- Bake for 25 minutes.
- While the wings bake, prepare the teriyaki sauce: Combine soy sauce, mirin, sake, brown sugar, garlic, ginger, and honey in a small saucepan. Bring to a simmer over medium heat, stirring until the sugar dissolves.
- Reduce the heat to low and simmer for 5 to 7 minutes until the sauce slightly thickens.
- Whisk the cornstarch slurry and slowly pour it into the simmering sauce while stirring constantly. Cook for 1 minute until the sauce becomes thick and glossy. Remove from heat.
- After the initial 25 minutes of baking, remove the wings from the oven. Increase the oven temperature to 425°F (220°C).
- Brush the wings generously on all sides with about half of the prepared teriyaki sauce.
- Return the wings to the oven and bake for another 10 minutes.
- Remove the wings again. Brush with more sauce. For the final step, switch the oven setting to broil (high). Broil for 1 to 3 minutes, watching closely, until the glaze is deeply caramelized and sticky. Do not burn.
- Remove from the oven, toss with any remaining sauce if desired, and serve immediately.
Notes
- For the crispiest skin, pat the wings very dry with paper towels before seasoning.
- If you do not have a wire rack, you can bake the wings directly on a foil-lined sheet, but flip them halfway through the first bake.
- If you prefer a less sweet glaze, reduce the brown sugar amount slightly.
Nutrition
- Serving Size: 4 wings
- Calories: 350
- Sugar: 20
- Sodium: 750
- Fat: 18
- Saturated Fat: 5
- Unsaturated Fat: 13
- Trans Fat: 0
- Carbohydrates: 25
- Fiber: 1
- Protein: 22
- Cholesterol: 90