

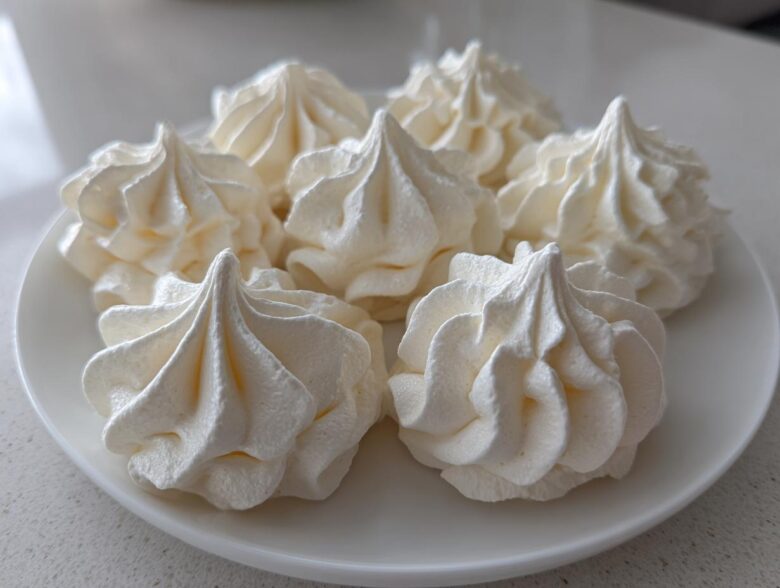
There is just something magical about desserts that defy gravity, isn’t there? I’m talking about those treats that manage to be intensely sweet but feel like you are eating pure air. If you’ve ever been intimidated by making meringue cookies because you think they’ll deflate or weep the second they touch moisture, stop worrying right now. Ethan and I have put our heads together—his natural instinct and my obsessive testing—to bring you the absolute easiest, most foolproof guide for light, airy cookies. Our goal? That perfect texture: crisp on the outside, completely melt-in-your-mouth soft inside. Trust me; you can nail this.
Why You Will Love These Easy Meringue Cookies
I know, I know—meringue sounds fancy, like something only French pastry chefs should attempt. But honestly, this Meringue Cookie Recipe is the simplest sweet treat you’ll ever make. Ethan thinks they’re great because they use just a handful of basic pantry items, and I love them because the science is sound once you know the trick!
- Foolproof Texture: Crispy Meringue Treats
We guarantee these meringue cookies won’t weep or collapse on you, provided you follow the low-and-slow drying instructions. They bake up perfectly light and airy cookies—crisp and crackly outside, yet they truly melt in your mouth. Bonus? They are naturally gluten free meringues!
- Simple Egg White Desserts Foundation
Forget fancy flavorings or powders (though we cover those later!). The base recipe is so pure. You only need four real ingredients to pull off these Simple Egg White Desserts. It’s pure sugar and egg whites doing all the heavy lifting!
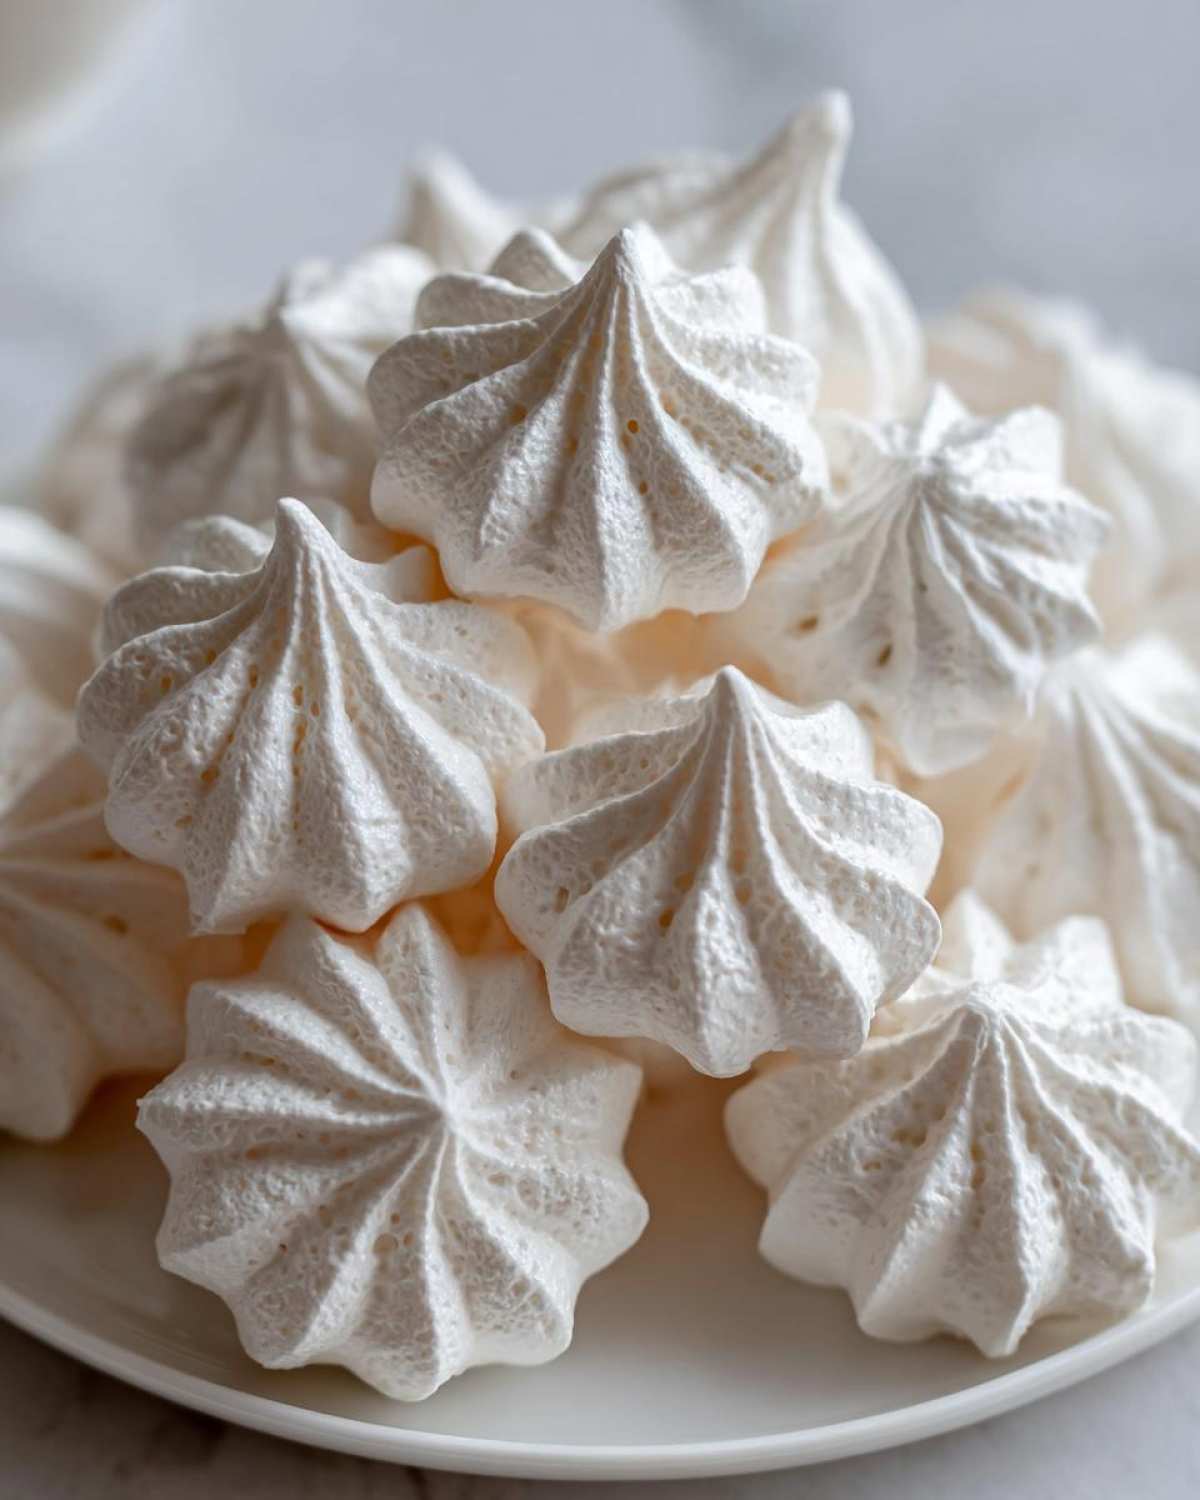
Equipment Needed for Perfect Meringue Cookies
Before we even look at the oven settings, we need to talk about setup. This is where Ethan and I agree completely: when you’re making something as delicate as meringue cookies based on the French method, cleanliness is absolutely essential. Any trace of grease from a dirty bowl will instantly destroy your beautiful egg whites, turning them into sad, flat foam instead of stiff, glossy peaks.
So, gather your gear now so you aren’t scrambling later. Having the right tools makes the whole process of learning how to make meringue so much less stressful!
- A stand mixer is your best friend here. If you don’t have one, a powerful hand mixer will work, but you’ll be whisking for longer, so be patient!
- Your mixing bowl *must* be spotless. If you’re worried about grease, give the bowl and whisk a quick wipe down with a paper towel dipped in white vinegar or lemon juice before starting.
- Piping bags and tips are wonderful for making those classic, pretty meringue kisses. A large plain tip or a star tip—like the Wilton 1M—looks professional, though you can honestly just use two spoons!
- Plenty of parchment paper. And I mean *plenty*. Meringues spread a little bit while baking and they stick like crazy if you try to bake them directly on a silicone mat or greased pan. We need a good, clean surface to dry them on.
- A flexible rubber spatula is handy for scraping down the sides of the bowl when you’re adding the sugar in slowly.
Ingredients for the Ultimate Vanilla Meringue Recipe
Okay, are you ready for the best part? The ingredient list for these meringue cookies is so wonderfully short, it’s almost unbelievable that they turn into something so elegant! We’re sticking to the classic foundation here, but please, pay close attention to one major rule Ethan insists on: your egg whites need to be at room temperature. Seriously, don’t skip this step. Cold egg whites just won’t whip up to the incredible volume we need for these light and airy cookies.
For the base batch, you’ll need:
- Four large egg whites. And that’s it for the structure!
- A full cup of granulated sugar. This needs to be measured precisely, as it’s what stabilizes everything.
- One teaspoon of pure vanilla extract—use the good stuff if you can!
- A quarter teaspoon of cream of tartar. This is our little insurance policy to keep that foam steady.
- Just a tiny pinch of salt to balance out the sweetness.
See? Super straightforward! This combination provides the perfect structure for those gorgeous, crispy meringue treats.
Ingredient Notes and Substitutions for Meringue Cookies
While the vanilla version is classic, half the fun of meringue cookies is customizing them! If you look back at the little notes we keep tacked up near the mixing station, you’ll see a few genius swaps that Ethan figured out over time.
If you want color and flavor without the fuss, try adding about one teaspoon of Jello powder right in when you add the sugar. People go crazy for those vibrant, brightly flavored Jello Meringue Cookie Recipe results!
If you’re baking for the holidays, you absolutely have to try the peppermint swirl idea. Swap out the vanilla extract for about half a teaspoon of peppermint extract. Then, *gently* fold in a tablespoon of finely crushed hard peppermint candy right before piping. They become the most festive Peppermint Meringue Cookies, perfect for gift boxes.
And here is a non-ingredient tip that’s vital: humidity is the absolute enemy of crisp baked goods. If it’s storming outside when you plan to bake your meringue kisses recipe, maybe wait until tomorrow. High moisture in the air means your cookies will likely stay sticky, no matter how perfectly you bake them!
Step-by-Step Instructions for Making Meringue Cookies
Alright, this is where the magic happens, but it’s also where we need to be patient! We are using what’s called the French meringue technique, which is basically the most straightforward way to make these meringue cookies. I always tell people: stick closely to the whipping times, and you’ll have the most perfectly shaped, light and airy cookies that look like they came straight from a bakery case. Remember the golden rule of baking with egg whites: absolutely no grease allowed! Trust me; you can nail this.
First things first, get your oven breathing. Preheat it to the absolute lowest temperature your oven will go—we are talking 170°F to 200°F, max. If you go too hot, your meringues will get those ugly brown spots or crack everywhere when they deflate. Line two baking sheets with fresh parchment paper; this seriously saves you headache later on.
- Get those clean whisks going with your room-temperature egg whites and that tiny pinch of salt. Start them on medium speed until they get foamy, like bathwater bubbles almost.
- Now, toss in the cream of tartar. This helps everything stabilize, especially if your kitchen is a little warm. Keep whipping until you hit soft peaks—they look like soft hills that flop over when you stop. This is a good time to start adding the sugar.
- Slowly add the granulated sugar, just one tablespoon at a time! I’m serious, wait 30 seconds between each spoonful. If you dump it all in at once, you’ll deflate all the air we just worked so hard to build up. Patience pays off big time here.
- Once all that sugar is in? Crank the mixer to high speed! Beat it until the mixture is brilliantly glossy, stiff, and holds a firm peak straight up when you lift the whisk. We’re talking mountain peaks here, not little hills!
- Quickly beat in your vanilla extract. You don’t want to over-mix once the vanilla is in.
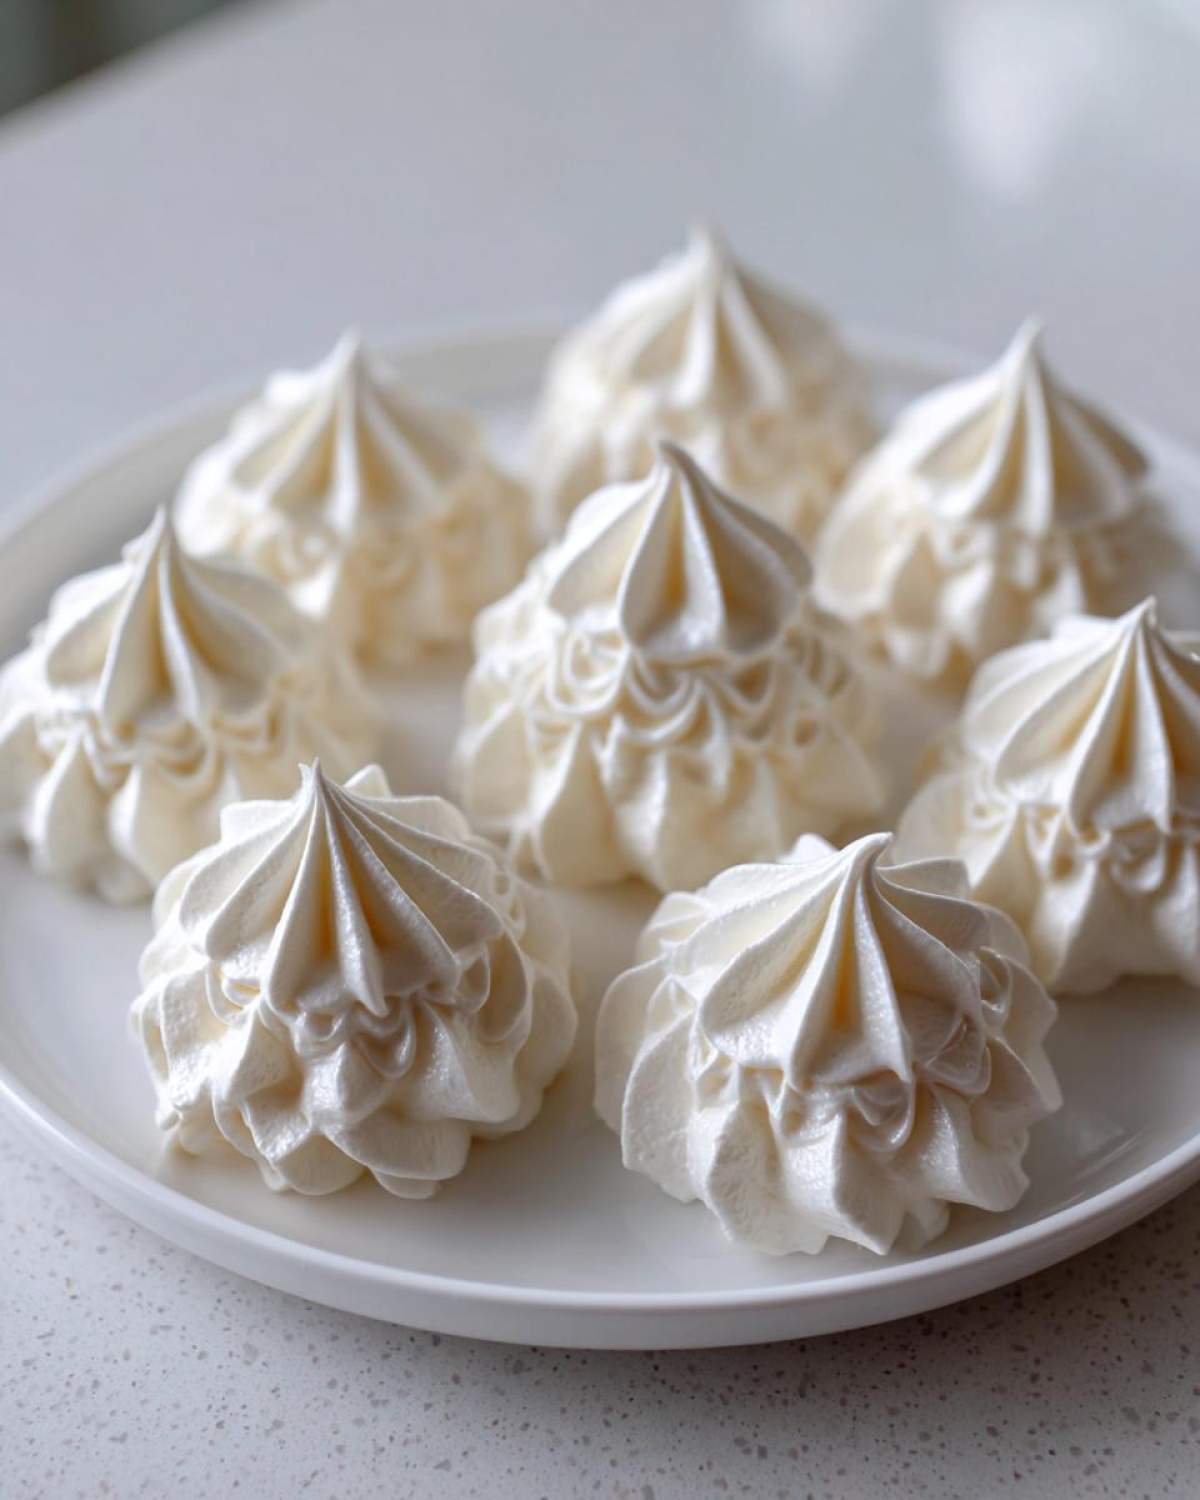
- Time to pipe! Transfer that beautiful, stiff meringue into your piping bag fitted with that star tip. Pipe small kisses or swirls onto your parchment-lined sheets, leaving about an inch of space between each one—they won’t spread much, but they like their personal bubble.
- Bake (or dry out!) for about an hour and a half to two hours. You aren’t trying to *bake* them; you are trying to completely dry them out so they become those wonderful crispy meringue treats.
- When you think they are done, turn the oven OFF. Prop the oven door open slightly—a wooden spoon works perfectly! Leave them inside the cooling oven for at least another hour, or frankly, overnight. This slow cooling prevents them from cracking instantly when they hit room temperature, which is key for that perfect meringue texture.
Whipping to Stiff Peaks: The Science Behind French Meringue Cookies
This whipping part is the core of learning how to make meringue, truly. I found a fantastic overview about the French method that explains the science well if you want to geek out on it! When you whip egg whites, you are forcing air into the proteins, creating a web structure that traps the air. That foamy stage is just the start. When you slowly add sugar, those sugar crystals dissolve into the water in the egg whites, but they also physically support the protein network. If the sugar isn’t dissolved, the structure becomes weak, and that grittiness you feel when you rub the meringue between your fingers means the sugar hasn’t fully incorporated. That leads to weeping or collapsing later on. So, be patient when adding sugar; it literally creates the skeleton for your cookie!
Piping and Drying Your Delicate Sweet Treats
When applying the meringue, don’t make your cookies too big if you are new to this. Smaller puffs bake faster and dry more evenly, giving you those beautiful, uniform meringue cookies we want. If you’re going for festive shapes, keep them small—maybe an inch across. The drying part is non-negotiable, especially for beginners. You want them looking firm and feeling completely light when you pick them up. If they still feel slightly soft or tacky on the bottom, they need more time in that slightly cracked, warm oven environment. We need them dry all the way through!
Tips for Success When Making Meringue Cookies
Okay, we’ve whipped it perfectly, we’ve piped it beautifully, and now it’s in the oven—but we aren’t done yet! I want to give you a couple of Ethan’s favorite pro-tips that took us years to learn through trial and error. These are the golden rules for avoiding the two biggest meringue meltdowns: weeping (when little beads of syrup form on the cookies) and cracking.
First, let’s hit that humidity warning again because I cannot stress this enough! If you can smell rain in the air, put the egg whites away. Humidity is the sworn enemy of crispy meringue treats. If you absolutely must bake on a damp day, you might need to increase that drying time by an extra 30 minutes, and make absolutely sure you crack that oven door wider during cooling.
When they look done—meaning they aren’t actively browning and have slightly puffed up—it’s time for the final check. Ethan taught me the ‘tap test.’ Gently tap the side of one of the cookies with your fingernail or the back of a spoon. If you’ve done everything right, it should sound completely hollow inside. If it makes a soft, dull thud, it means there’s still moisture trapped in the middle. Give it 15 to 30 more minutes in that low oven.
Also, once you turn the oven off and prop that door open, do not rush it. Don’t peek and take them out early just because you’re hungry! That sudden rush of room-temperature air right after baking causes the temperature gradient inside the cookie to crash, which inevitably leads to cracking. They need to cool down gradually along with the oven to set that airy structure properly. Those melt in your mouth cookies can wait an extra hour, I promise!
Storage and Gifting Homemade Meringue Cookies
So, you’ve made a huge batch of these beautiful, delicate little snow-white peaks—congratulations! They are perfect for gifting, whether you are putting together little bags for neighbors or prepping a big tray for a holiday party. But here’s the thing about meringue cookies: they are incredibly fussy when it comes to their environment, and that environment is everything! Humidity is the absolute nemesis of crispiness. If you store these where there’s too much moisture, they will start absorbing it, and those beautiful, light bites will quickly turn into sticky, chewy puddles.
To keep your meringue kisses recipe results tasting factory-fresh, you need to be diligent about storage. Always use an airtight container. I mean a *really* good one—the kind with the latch and the heavy rubber seal. We layer ours between sheets of parchment or wax paper so they don’t rub against each other, but the main thing is keeping them sealed off from the outside air.
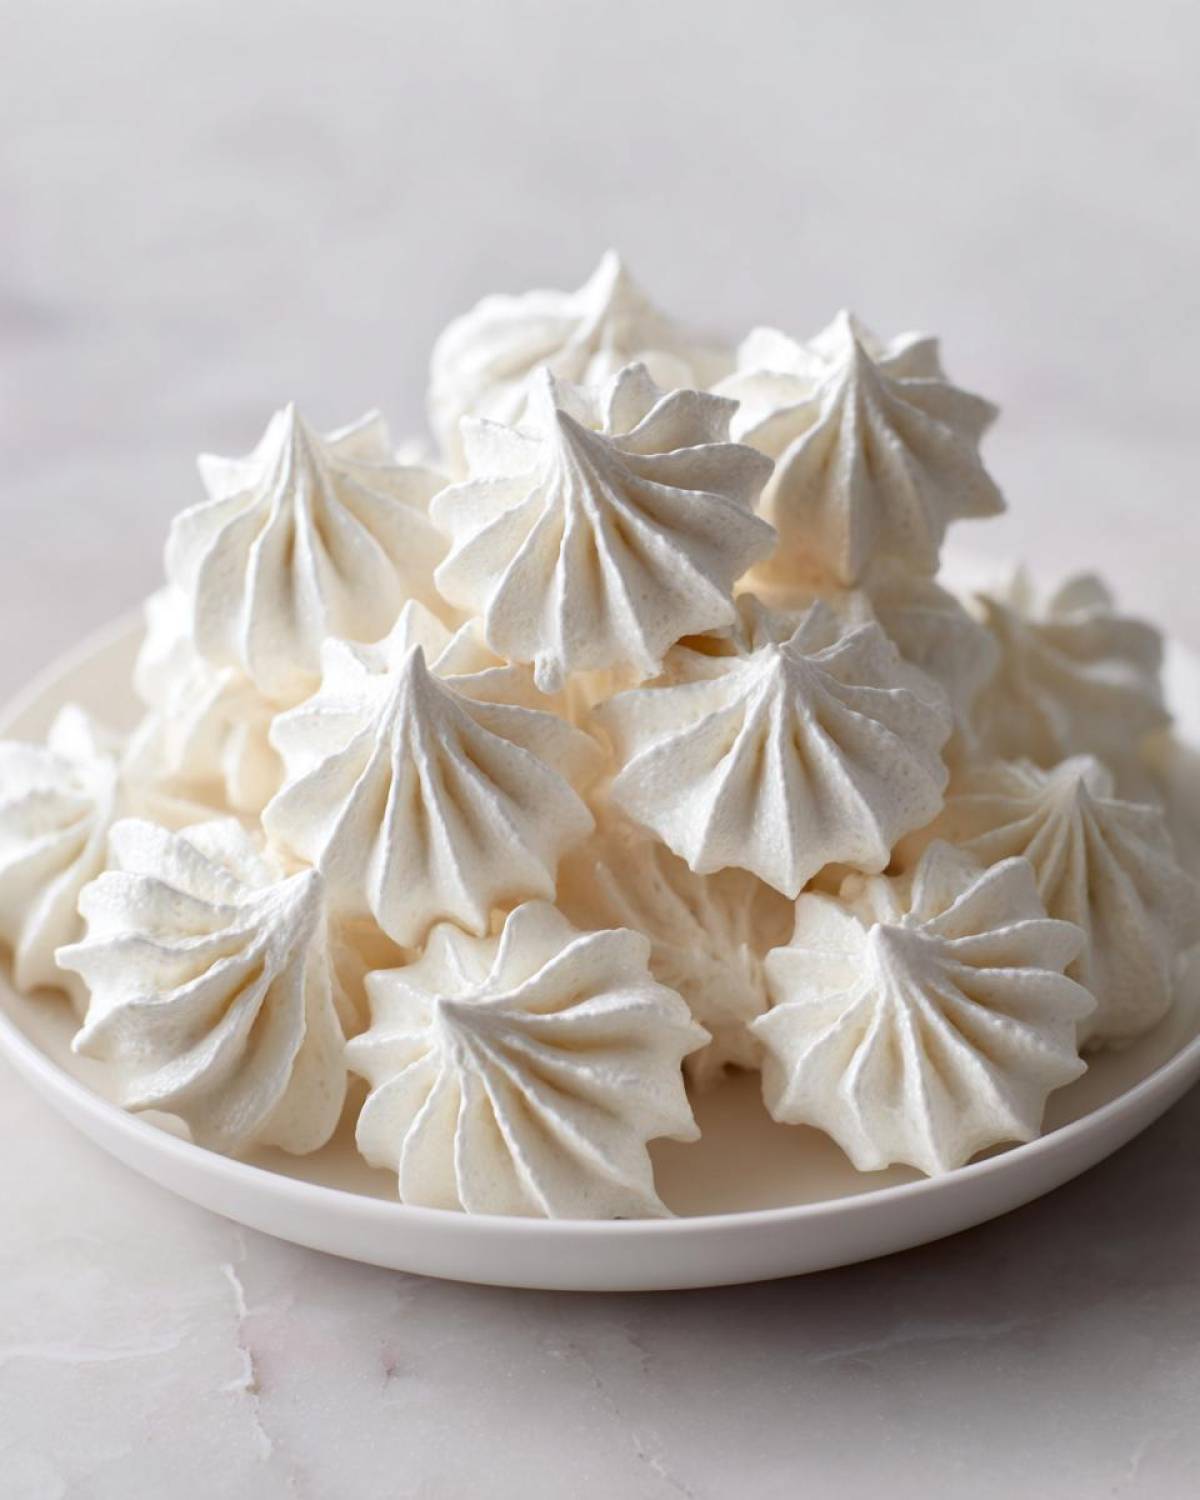
If you are making these for Homemade Meringue Gifts, make sure you package them up on a dry day, even if you have to wait until mid-morning when the dew has burned off! I try to leave them in the sealed container on the counter at room temperature for up to two weeks. We’ve never had them last that long, honestly, because Ethan always sneaks a few while watching TV!
Never, ever put them in the refrigerator! That environment is way too humid, and they will definitely melt. For the ultimate protection, if you live somewhere very damp, you can even toss an unopened, food-safe silica gel packet into the container with them—that’s what they call going the extra mile for perfect Holiday Meringue Cookie Ideas! This just ensures every single one of those crispy meringue treats stays exactly how we want them: light, airy, and shatteringly crisp.
If you’re looking for more great behind-the-scenes looks at how we store our favorite bakes, check out our general tips over on the blog! We cover everything from freezing puff pastry to storing shortbread, ensuring everything comes out perfect.
Frequently Asked Questions About Meringue Cookies
I always get emails asking about tricky parts of this recipe, which is totally normal when you’re dealing with something as delicate as egg whites! Ethan says if you can separate an egg well, you are halfway there. Here are the hang-ups we hear about most often regarding these meringue cookies.
Can I make meringue cookies without a stand mixer?
Oh, absolutely you can! We use the stand mixer because we’re usually whipping up a huge batch, but my mother-in-law still insists on her trusty big hand mixer. The simple truth is that yes, using a hand mixer is totally possible for this Meringue Cookie Recipe. You just need to be prepared for more effort! Getting those stiff, glossy peaks for these *meringue cookies* might take you a good 10 to 12 minutes of continuous, vigorous beating, depending on the power of your machine. My shoulders always ache just thinking about it, but the result is just as good if you have the stamina!
Why are my meringue cookies sticky after baking?
Ugh, this is the worst feeling, right? You pull them out, they look perfect, but when they cool, they feel tacky instead of truly crisp. Almost 99% of the time this happens, it means they were under-baked, or more commonly, that you cooled them too quickly or baked them in a humid environment. Remember how we keep talking about drying versus baking? They need hours at a very low temperature to completely dehydrate. If they are tacky, pop them back in the turned-off oven with the door cracked open for another hour or two. We want them to be those perfect Melt in Your Mouth Cookies, not chewy puffs!
Are these meringue cookies safe for gluten-free diets?
That is a fantastic question! And here is some great news for your holiday trays: Yes, this entire Meringue Cookie Recipe is naturally gluten-free! Since the base is just egg whites and sugar, we don’t introduce any flour or wheat products whatsoever. This makes them an incredibly easy and impressive addition to any dessert table when you have guests needing Gluten Free Meringues. Just double-check whatever extract or flavoring you might add, but the vanilla base is perfectly safe!
Serving Suggestions for Your Crispy Meringue Treats
Now that you’ve mastered making these absolutely divine, crispy meringue treats, I know you are probably wondering how best to show them off! While Ethan and I stand guard in the kitchen, sneaking bites right off the cooling rack while they’re still slightly warm, they are truly delicious served in so many ways.
The simplest way to enjoy these meringue cookies is, of course, just as they are. They pair unbelievably well with a strong cup of coffee in the afternoon. The intense sweetness of the meringue just cuts through the bitterness of the coffee perfectly—it’s such an elegant little break in the day!
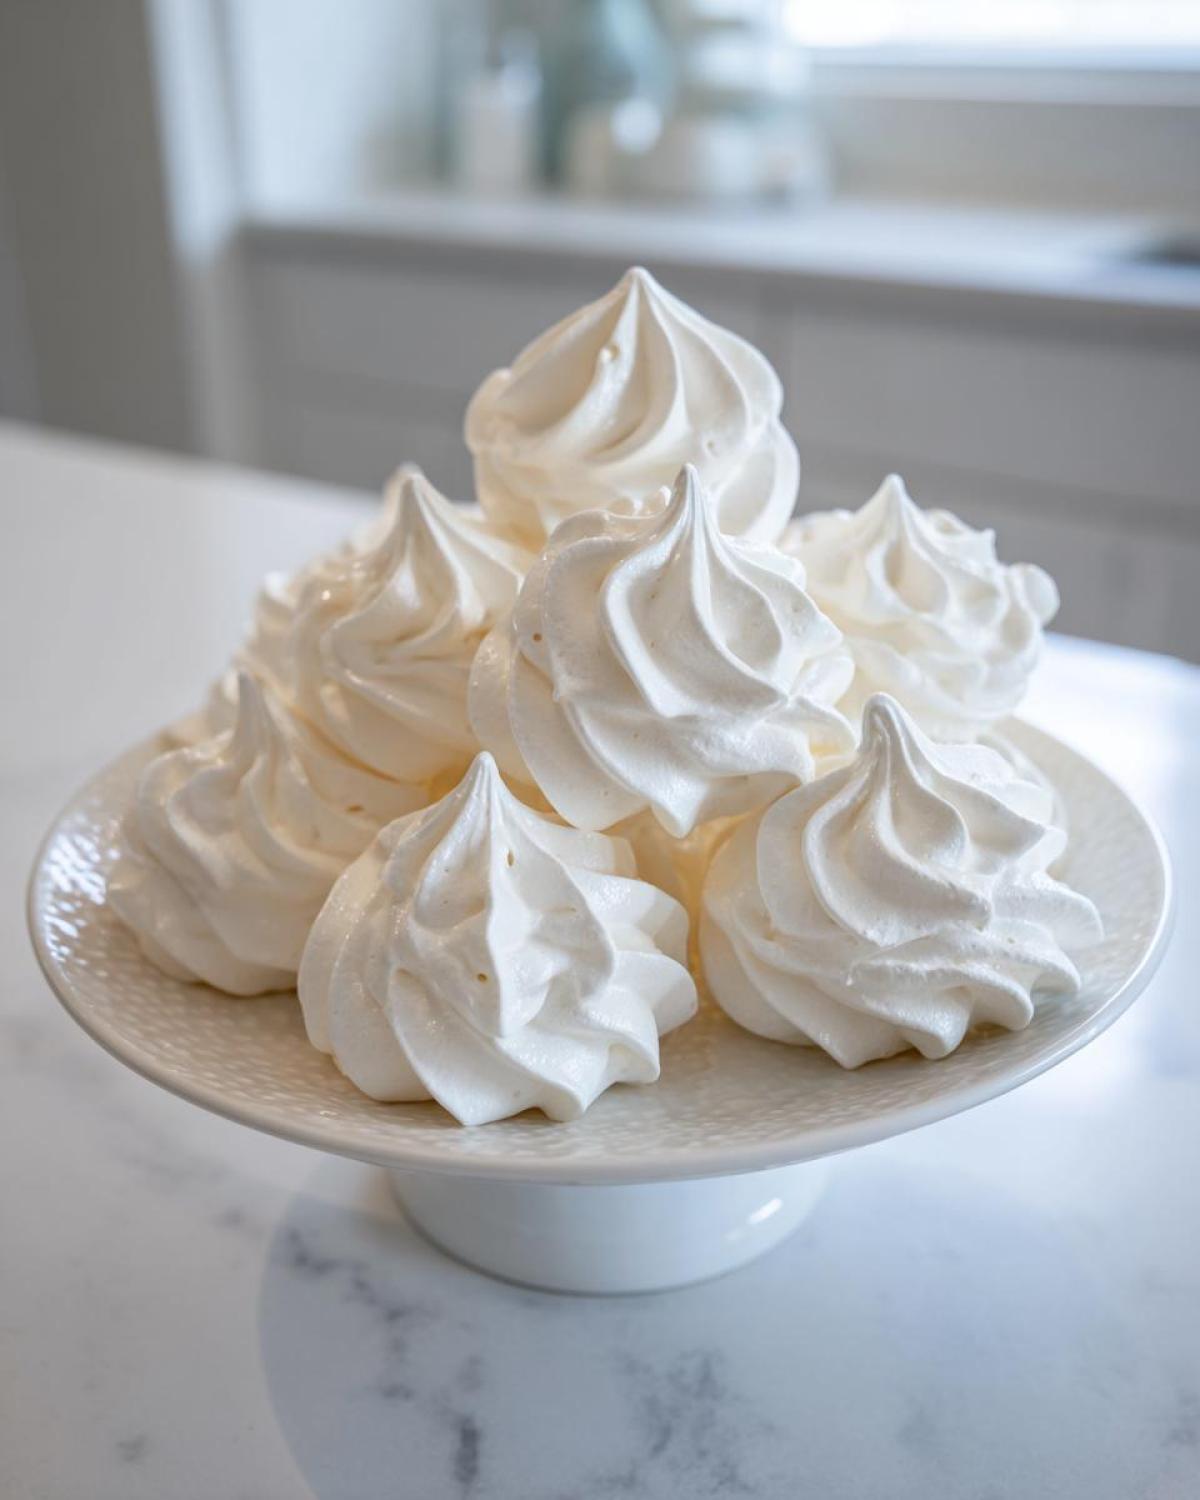
But don’t stop there! Because they are so light and airy, they make incredible garnishes. If you happen to be whipping up a rich dark chocolate mousse or a tart lemon curd, topping that dessert with one or two little meringue kisses adds height, texture, and a beautiful visual contrast. They look so sophisticated on top of something heavy!
For a lighter pairing, try serving them alongside fresh berries. A small bowl of raspberries or sliced strawberries offers a tart, juicy counterpoint to the meringue’s pure sweetness. It makes for a wonderful, light dessert when you don’t want anything too heavy after dinner.
And if you’re making those colorful Jello Meringue Cookie Recipe variations, try serving them nestled with homemade vanilla ice cream. The coldness of the ice cream really makes the crisp shell of the meringue pop before it melts right on your tongue. If you’re looking for other ways to elevate simple desserts using unexpected flavor combinations, you should definitely check out Ethan’s amazing French Onion Soup recipe—he sneaks a little secret ingredient into that too, showing that flavor contrast always wins!
Nutritional Estimate for Homemade Meringue Cookies
I always feel a little sheepish giving out nutritional estimates because, honestly, if you’re going to enjoy these delicate little meringue cookies, you should just enjoy every sweet bite! They are mostly air and sugar, which means they are incredibly low in fat, which is pretty cool for a dessert. But I know some of you are curious, so here is what the numbers look like based on the four core ingredients.
This estimate is based on making approximately 3 dozen cookies, with one cookie being one serving size. Remember, these are just approximations, depending on how big you pipe them and exactly how much sugar dissolves versus stays suspended!
- Serving Size: 1 cookie
- Calories: Approximately 45
- Sugar: About 11 grams (Yes, that’s the main component, unsurprisingly!)
- Fat: 0 grams (See? That’s the one we love to see!)
- Protein: About 0.5 grams
- Carbohydrates: Approximately 11 grams
- Sodium: Very low, around 5mg
The best part of these simple egg white desserts is, as you can see, they contain virtually no fat or cholesterol. They’re a wonderful choice when you want something strictly sweet but light. Just try not to eat the entire batch in one sitting—though I certainly won’t judge you if you do!
PrintThe Ultimate Easy Meringue Cookies Recipe: Light, Crisp, and Perfect Every Time
Learn how to make light, airy meringue cookies that are crisp on the outside and melt in your mouth soft on the inside using this simple French meringue technique. This recipe is foolproof for beginners.
- Prep Time: 20 min
- Cook Time: 2 hours
- Total Time: 2 hours 20 min
- Yield: About 3 dozen
- Category: Dessert
- Method: Baking
- Cuisine: American
- Diet: Gluten Free
Ingredients
- 4 large egg whites, room temperature
- 1 cup granulated sugar
- 1 teaspoon pure vanilla extract
- 1/4 teaspoon cream of tartar
- Pinch of salt
Instructions
- Preheat your oven to the lowest setting, usually between 170F and 200F (75C to 95C). Line two baking sheets with parchment paper.
- Ensure your mixing bowl and whisk attachment are completely clean and grease-free. Add the room temperature egg whites and the pinch of salt to the bowl.
- Begin whipping the egg whites on medium speed until they become foamy. Add the cream of tartar and continue whipping until soft peaks form.
- Slowly begin adding the granulated sugar, one tablespoon at a time, while the mixer runs on medium-high speed. Wait about 30 seconds between each addition. This slow addition is key for stable meringue.
- Once all the sugar is incorporated, increase the speed to high. Whip until the meringue is stiff, glossy, and holds firm peaks. When you lift the whisk, the peak should stand straight up without curling over. Rub a small amount between your fingers; it should feel completely smooth, not gritty.
- Beat in the vanilla extract quickly.
- Transfer the meringue to a piping bag fitted with a large star tip (like a Wilton 1M) or use a spoon for rustic dollops.
- Pipe small kisses or swirls onto the prepared baking sheets, leaving about an inch between each cookie.
- Place the baking sheets in the preheated oven. Bake (or dry out) for 1.5 to 2 hours, depending on the size of your cookies and your oven’s temperature accuracy. The goal is to dry them completely, not brown them.
- Turn the oven off, but leave the meringue cookies inside the oven with the door slightly ajar (prop it open with a wooden spoon) for at least 1 hour, or until completely cool and dry. This prevents cracking.
- Store the finished meringue cookies in an airtight container at room temperature.
Notes
- For a festive twist, add 1 teaspoon of Jello powder along with the sugar for flavored, colorful meringue cookies.
- If you want peppermint meringue cookies, substitute the vanilla extract with 1/2 teaspoon of peppermint extract and gently fold in 1 tablespoon of crushed hard peppermint candies at the very end.
- Humidity affects meringue. Bake on a dry day for the best crisp texture.
- These are naturally gluten free meringues, making them a great option for various diets.
Nutrition
- Serving Size: 1 cookie
- Calories: 45
- Sugar: 11
- Sodium: 5
- Fat: 0
- Saturated Fat: 0
- Unsaturated Fat: 0
- Trans Fat: 0
- Carbohydrates: 11
- Fiber: 0
- Protein: 0.5
- Cholesterol: 0