

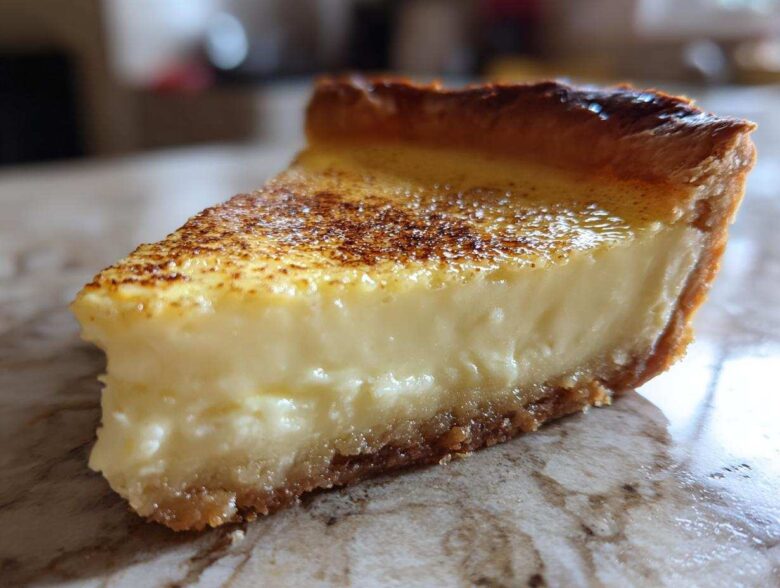
There’s just something about an old fashioned dessert that wraps you up like a soft, warm blanket, isn’t there? When I think about comfort food, my mind always lands on a perfect slice of baked custard. This recipe, my friends, is the one we landed on after much discussion—Maya’s research meeting Ethan’s ancestral instinct—and I’m thrilled to call it the Old Fashioned, Fail-Proof Baked Egg Custard Pie. It’s the creamiest, silkiest egg custard you will ever make, and I promise you, it sets up beautifully every single time. You can read a bit more about how we figured out the perfect ratio over on our About Us page!
Why This Old Fashioned Egg Custard Pie is Fail-Proof
I know what you’re thinking: custard is intimidating! People worry constantly about curdling or getting that weird, bubbly top. Ethan’s family always made pie, and they swore by a few simple rules that turn this into the most reliable classic baked custard you’ll ever try. We tested every variable so you don’t have to worry. This pie is truly easy, sticking to proven methods that guarantee that gorgeous, smooth texture.
You’ll see these secrets woven into the recipe, but here are the big three that make all the difference:
- We never over-beat the eggs—we just want them *combined*, not frothy!
- We warm the milk gently before adding it to the eggs. Trust me on this one.
- We always, always strain the final mixture. This is the ultimate insurance policy for a perfect bake, which leads us right into our first tip!
Following these small steps ensures you master the smooth custard technique on your first try. You can save this recipe knowing you’ve got a winner in your back pocket, just like the one referenced over at The Dinner Inspiration!
The Science Behind a Creamy Egg Custard Filling
When you pour cold milk into eggs, the temperature difference shocks them, which is how you get those little cooked bits of egg—yuck! Warming the milk gently prevents that little custard crime. Then, straining is non-negotiable; it catches any tiny threads of albumen that might try to firm up too fast. These two steps together practically guarantee that lovely, creamy egg custard filling that melts in your mouth.
Gathering Ingredients for Your Simple Custard Recipe
Okay, time to gather supplies for this wonderfully simple custard recipe! Because this dessert is so straightforward, the quality of these core ingredients really shines through. No pantry diving needed here, just the basics for a gorgeous, authentic texture. Make sure you have everything ready before we start whisking! We need just a few things to make this magic happen:
- 1 unbaked 9-inch pie crust
- 3 large eggs (we will treat these gently, I promise!)
- 1/2 cup granulated sugar
- 2 2/3 cups whole milk
- 1 teaspoon pure vanilla extract
- 1/4 teaspoon salt
- 1/4 teaspoon ground nutmeg (this is only for sprinkling on top—keep it separate for now!)
Step-by-Step Instructions for Your Homemade Egg Custard
Now that we have our simple ingredients lined up, let’s put this custard pie from scratch together! We need to move with a little gentle purpose here, especially when dealing with those eggs. Remember that we’re aiming for silky perfection, not a scramble! This process comes together so fast, especially since we’re aiming for that fantastic homemade egg custard finish.
We follow the recipe card pretty closely for the best results. You can always find a great reference for these steps over at Citrus Oven, but here is exactly how we do it:
- First thing: get that oven preheated to 350 degrees F. We want it ready when our pie is. Then, place your unbaked pie crust into your 9-inch pie plate.
- In your medium bowl, lightly whisk those 3 large eggs until they are just combined. Seriously, stop whisking the second the yolks and whites are friends.
- Whisk in the 1/2 cup of sugar, the salt, and the vanilla extract into those barely-whisked eggs until the sugar starts to look like it’s dissolving.
- Take the milk and gently warm it on the stove over low heat until it feels warm to the touch. Do not let it simmer or boil!
- Slowly, slowly, slowly pour that warm milk into your egg mixture while you keep whisking continuously. This gentle introduction is what keeps everything smooth.
- Pour the whole mixture through a fine-mesh sieve into a measuring cup. This catches anything sneaky that might have clumped up.
- Carefully pour the strained egg custard mixture into your waiting unbaked pie crust.
- Sprinkle the top evenly with that 1/4 teaspoon of ground nutmeg—that’s the classic finish!
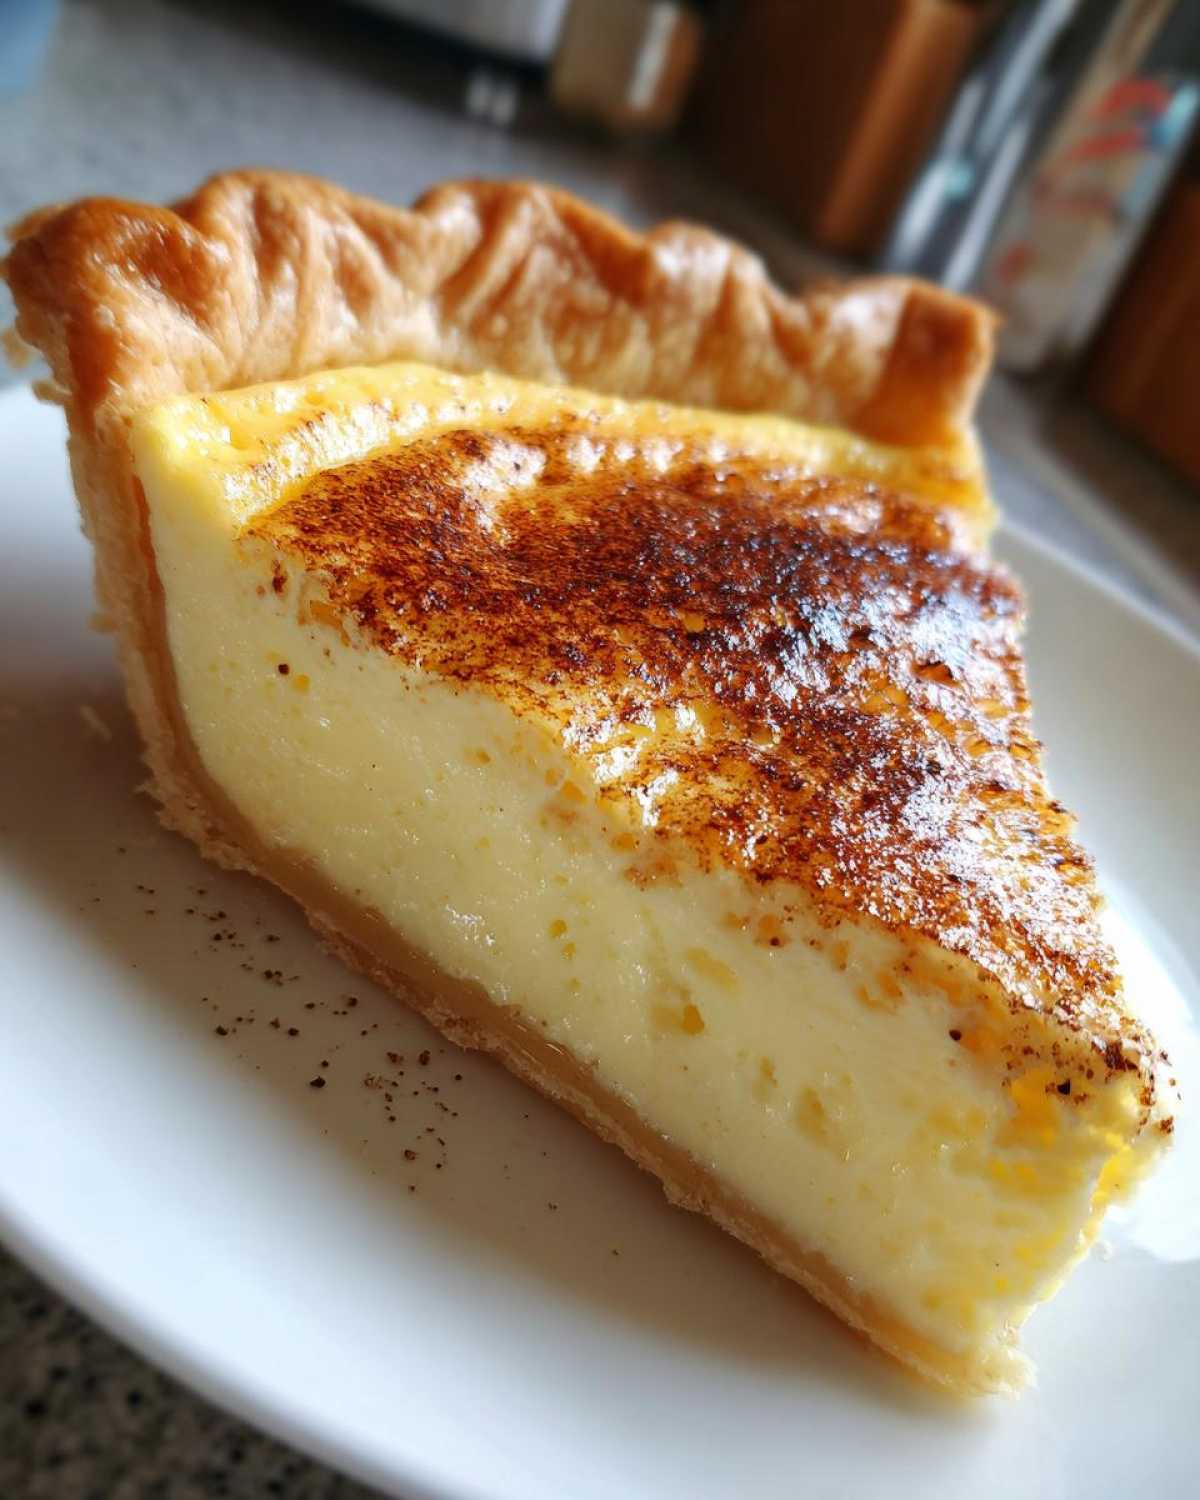
- Bake for about 40 to 50 minutes. You’re looking for the edges to be set, but the very center still needs a tiny wobble when you nudge the pan gently. The internal temperature needs to say 175 degrees F on your thermometer!
- Pull that beauty out and let it cool completely on a wire rack. It sets up a ton as it cools, which is where the final magic happens.
Mixing the Custard Base: Avoiding Over-Beating
This is where Ethan always jumps in! He warns me constantly: when you mix the eggs for this egg custard, all you’re doing is combining. If you use the mixer on high, you beat air into it. That trapped air tries to escape while baking and causes those dreaded cracks on top. Gentle whisking is all you need to make sure your base stays flat and wonderfully creamy.
The Crucial Step: Tempering for Perfect Egg Custard
I used to skip warming the milk when I was in a rush, and Maya would always find little bits of cooked egg white floating around—fail! Warming the milk first—this is called tempering—means the eggs don’t panic when the liquid hits them. Then, when you pour that warm milk in slowly while whisking, you are creating that truly impeccable, creamy egg custard filling. It’s the single biggest trick for a smooth bake!
Essential Tips for Perfect Baked Egg Custard
We’ve done the hard mixing, but a few extra details can elevate this traditional custard dessert from good to absolutely unforgettable. These little bits of wisdom are the kind of fail proof baking tips Maya adds to every recipe blueprint. For instance, since this is a wet bake, I always tell Maya to put the pie dish on a larger baking sheet before it goes into the oven. If your crust seals a little too eagerly around the edges, catching a boil-over is a lifesaver!
We also have strict rules about the crust browning. If you notice those edges getting too dark halfway through the baking time, just grab a ring of aluminum foil and gently place it over the rim. This shields the crust while the middle finishes setting up perfectly.
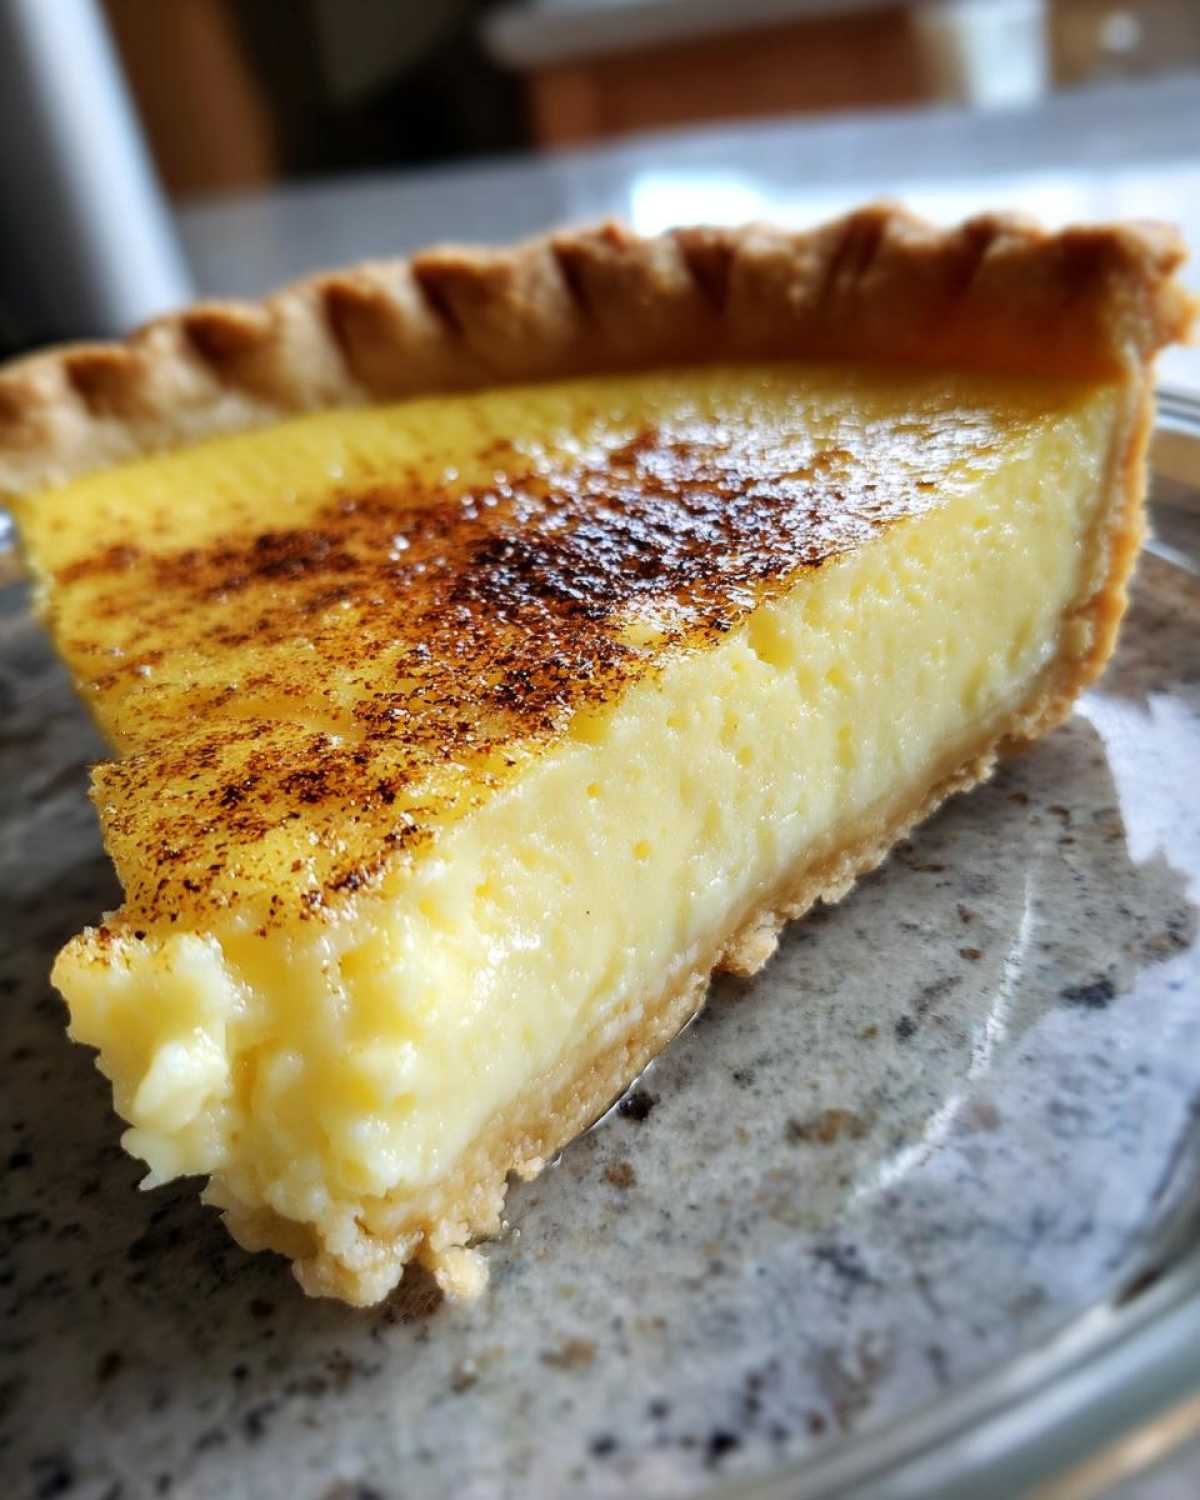
And here’s one of our own tips: Once the custard is set (that slight jiggle is key!), do *not* touch it or move it around too much. Let it cool completely, and I mean *completely*, on the counter. Ethan swears the slow transition from oven heat to room temperature is what locks in the silkiest possible texture. Trust us, waiting those extra few hours is worth it. You can find more heirloom secrets like this over at Savory Discovery!
Variations on the Classic Egg Custard Pie
While there’s nothing wrong with sticking to the tried-and-true vanilla custard recipe (it’s perfect!), sometimes a little tweak keeps things interesting, especially if you’re serving this nutmeg sprinkled dessert for the hundredth time! If nutmeg isn’t your absolute favorite spice, try swapping a tiny pinch of it for cinnamon—it gives the filling a warmer, almost brown sugar vibe even though we use white sugar.
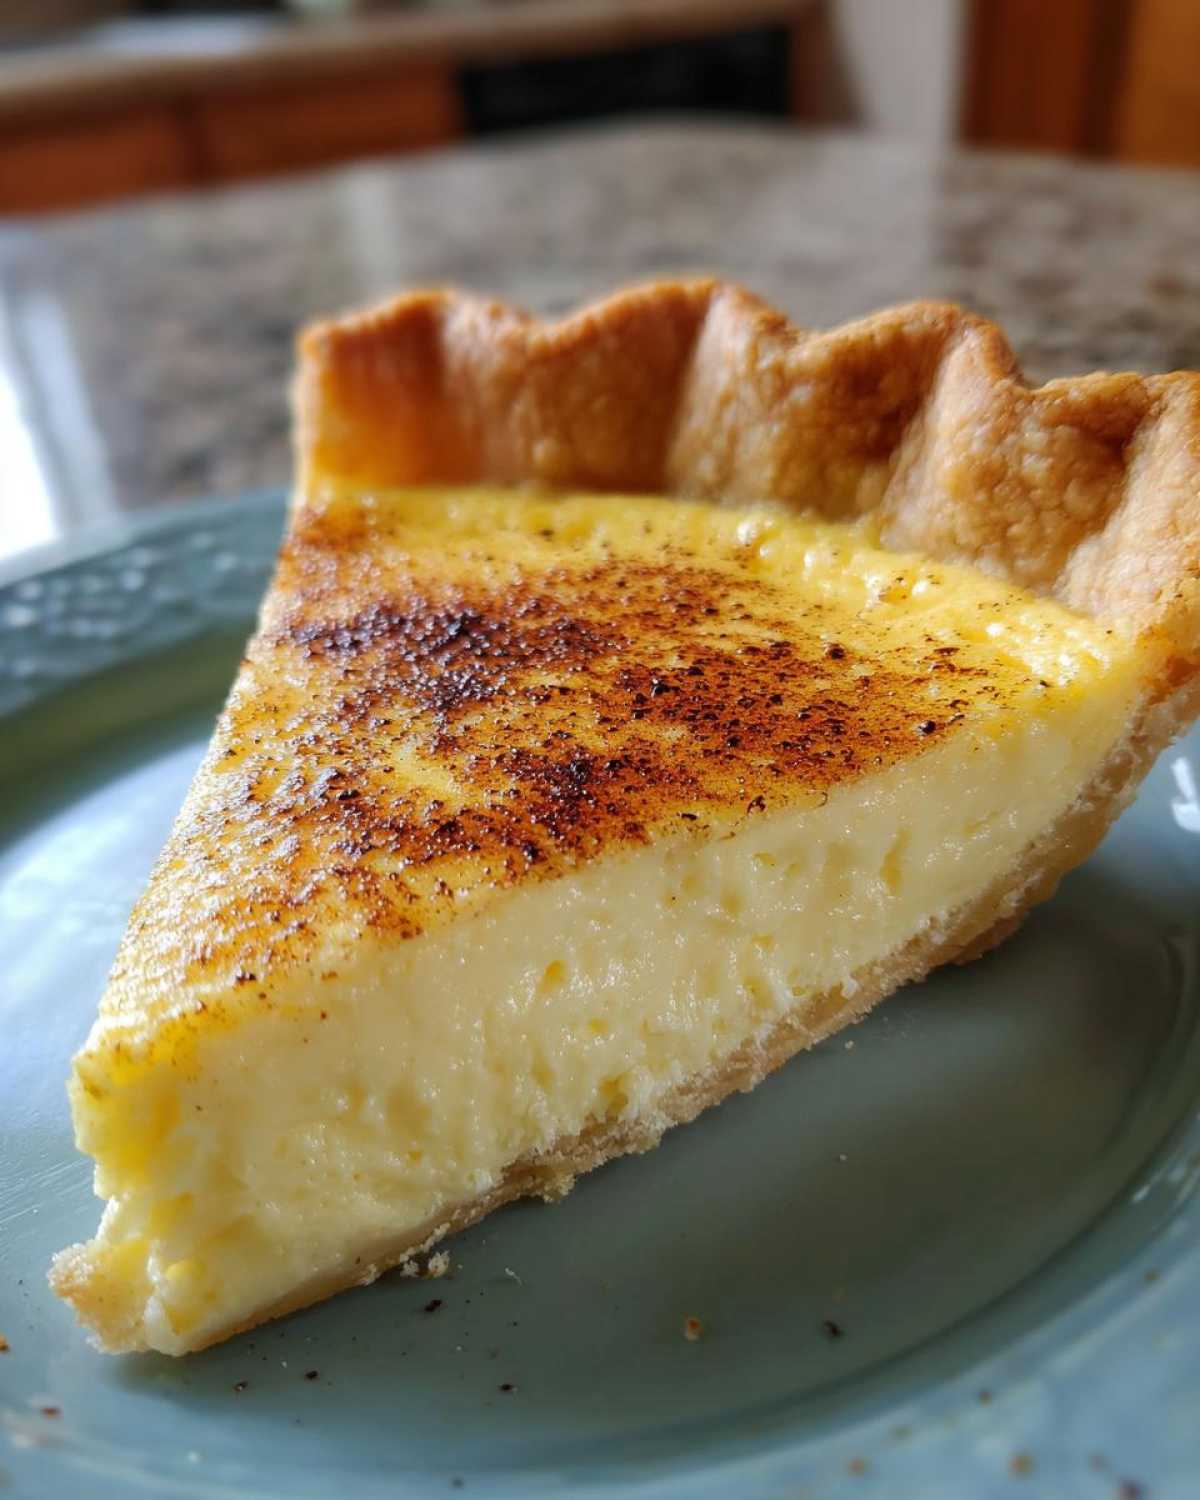
My favorite little change, though, is swapping out half the vanilla extract for pure almond extract. Just be careful! You only need about a quarter of a teaspoon of almond, but that nutty note blends beautifully with the baked eggs. It turns an easy egg custard recipe into something that tastes fancy without adding any extra work. You see? Ethan’s love for experimenting really helps shake things up sometimes!
Serving Suggestions for This Old Fashioned Dessert
The beauty of a perfect slice of this creamy egg custard is how versatile it is! Because it’s such a wonderfully simple old fashioned dessert, it pairs well with almost anything bright or airy. We almost always serve it chilled, maybe with a generous dollop of homemade whipped cream—it just cuts through the richness so nicely.
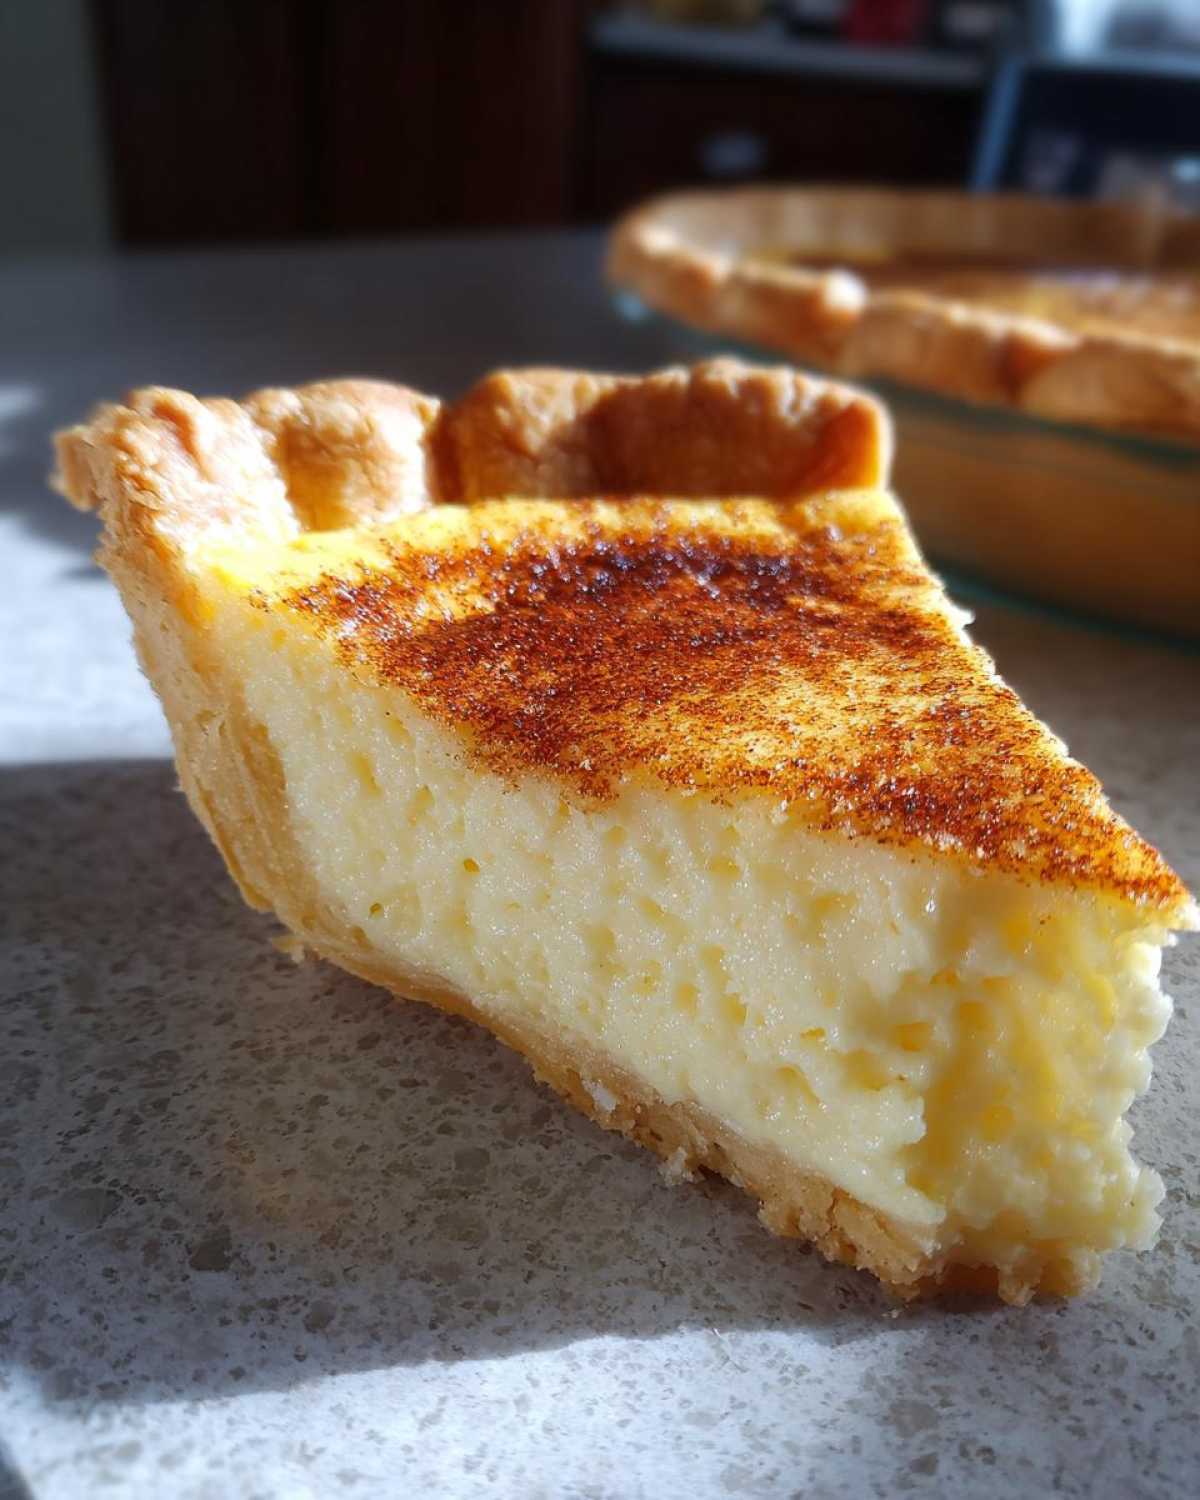
If you’re serving it in the summer, a handful of fresh, slightly tart berries—raspberries or blackberries—are fantastic on the side. They provide a lovely color contrast too! If you’re feeling extra fancy, a little dusting of powdered sugar after the pie has completely cooled is all the decoration you need. For more ideas on holiday pairings, check out Ethan’s thoughts on pairing desserts over at our blog!
Storage and Reheating Instructions for Your Egg Custard
Because this is a true custard pie from scratch, keeping it fresh is important! Any leftovers need to go straight into the fridge. Make sure you cover the pie dish lightly with plastic wrap or foil—we don’t want that beautiful nutmeg topping getting sticky. It holds up great for about three days, and honestly, it’s divine served cold right from the chill. If you do want it warmed up later, just a few seconds in the microwave will do the trick, but it’s honestly best enjoyed cool!
Frequently Asked Questions About Making Egg Custard
Can I use heavy cream instead of milk for this simple custard recipe?
You absolutely can! If you want to transform this already wonderful dessert into something super rich, swapping whole milk for heavy cream will give you an incredibly decadent texture. It creates a much denser, almost pudding-like homemade egg custard. Just be warned, it will be quite heavy, so you might want to use less sugar, or Maya suggests halving the milk and using half heavy cream for a nice middle ground!
Why did my custard crack after baking?
Oh, the dreaded crack! This usually happens for one of two reasons, both related to heat management. First, you might have baked it too hot or for too long, causing the edges to overcook while the middle was still trying to set. Second, if you beat the eggs too vigorously, you introduced too much air, and as the air rushed out during cooling, the top split. Remember our advice on gentle whisking for that creamy egg custard filling? That’s your best prevention!
Can I make the egg custard without a pie crust?
Yes, you totally can make this work as a traditional baked custard without the crust; it turns it into a lovely Ramekin dessert! Just grease your oven-safe dishes—ramekins or a small baking dish—and pour the mixture right in. You might want to check the baking time sooner, as individual dishes cook faster than a whole pie. You can read some extra secrets on achieving a flawless texture for these smaller batches over at this article.
What is the difference between this and a Keto Egg Custard?
Our recipe aims for that old fashioned dessert flavor profile, which means granulated sugar—that’s the main difference! If you look at recipes specifically labeled Keto, they are swapping that white sugar for a zero-calorie alternative, like erythritol or monk fruit blend. The texture remains similar because the structure comes from the eggs and milk, but the sweetness profiles change. If you want to try modifying ours, check out the helpful guides on substitutions found in guides similar to the one at Good For Recipes!
Estimated Nutrition for This Simple Baked Dessert
Alright, let’s talk numbers for a minute! Since we are dealing with a classic recipe that uses whole milk and a bit of sugar for that perfect comforting taste, I always like to give a little heads-up on what to expect nutritionally. Keep in mind that these figures are just estimates, you know? They change based on the exact crust you use and the specific brand of milk we grab! This data is based on dividing the entire recipe into 8 decent-sized slices of this wonderful simple baked dessert.
Here’s the general breakdown we calculated:
- Serving Size: 1 slice
- Calories: 220
- Sugar: 18g (You can always adjust that sugar down if you’re watching your intake!)
- Fat: 10g
- Protein: 8g
- Carbohydrates: 25g
It’s the perfect, manageable slice of deliciousness. Because this dessert relies on simple dairy and eggs, it’s quite balanced compared to heavy, overly frosted cakes. It’s truly a lovely way to end any meal!
Share Your Perfect Egg Custard Creation
Okay, friends, that’s it! You’ve made the egg custard, you’ve let it cool slowly (I hope!), and now it’s time to enjoy the fruits of your labor. This classic baked custard is so satisfying, and I genuinely want to know how it turned out for you. Did you try spiking the vanilla with almond, like Maya suggested? Or maybe you skipped the nutmeg topping? Tell us everything!
Please take a moment to leave a star rating right below this section. Ratings are so helpful for other cooks wanting to try out this easy egg custard recipe for the first time. If you ran into any issues or have an adjustment that made it even easier for you, pop over to our main blog page and let us know in the comments!
We built this site based on sharing kitchen conversations. Seeing your successes with this homemade egg custard is honestly the best part of our day. Happy baking!
PrintGrandma’s Fail-Proof Old Fashioned Egg Custard Pie

Make a smooth, creamy, and comforting classic baked egg custard pie using this simple, fail-proof recipe. This traditional dessert is easy to prepare and perfect for any gathering.
- Prep Time: 15 min
- Cook Time: 50 min
- Total Time: 65 min
- Yield: 8 servings
- Category: Dessert
- Method: Baking
- Cuisine: American
- Diet: Vegetarian
Ingredients
- 1 unbaked 9-inch pie crust
- 3 large eggs
- 1/2 cup granulated sugar
- 2 2/3 cups whole milk
- 1 teaspoon pure vanilla extract
- 1/4 teaspoon salt
- 1/4 teaspoon ground nutmeg (for sprinkling)
Instructions
- Preheat your oven to 350 degrees F. Place the unbaked pie crust into a 9-inch pie plate.
- In a medium bowl, lightly whisk the 3 large eggs until they are just combined. Do not over-beat the eggs, as this can introduce too much air and cause cracking.
- Whisk in the 1/2 cup of sugar, 1/4 teaspoon of salt, and 1 teaspoon of vanilla extract into the eggs until the sugar begins to dissolve.
- Gently warm the 2 2/3 cups of milk in a saucepan over low heat until it is warm to the touch, but not boiling. This step helps prevent the custard from curdling.
- Slowly pour the warm milk into the egg mixture while continuously whisking. Pouring slowly is a key step for a smooth custard filling.
- Strain the custard mixture through a fine-mesh sieve into a large measuring cup or bowl. This removes any small bits of cooked egg or unmixed solids, ensuring a silky texture.
- Pour the strained custard mixture carefully into the unbaked pie crust.
- Sprinkle the top evenly with 1/4 teaspoon of ground nutmeg.
- Bake for 40 to 50 minutes, or until the edges are set but the center still has a slight jiggle when gently nudged. The internal temperature should reach 175 degrees F.
- Remove the pie from the oven. Let it cool completely on a wire rack before slicing. The custard will continue to set as it cools.
Notes
- For a truly fail-proof result, place the pie dish on a baking sheet before putting it in the oven. This helps catch any potential spills.
- To achieve a creamy egg custard texture, avoid high heat. Baking slowly at 350 degrees F is essential.
- If you are worried about the crust browning too quickly, cover the edges with aluminum foil halfway through the baking time.
- This recipe creates a classic baked custard; for a low-carb option, substitute the sugar with your preferred keto sweetener equivalent.
Nutrition
- Serving Size: 1 slice
- Calories: 220
- Sugar: 18
- Sodium: 150
- Fat: 10
- Saturated Fat: 5
- Unsaturated Fat: 5
- Trans Fat: 0
- Carbohydrates: 25
- Fiber: 1
- Protein: 8
- Cholesterol: 95