

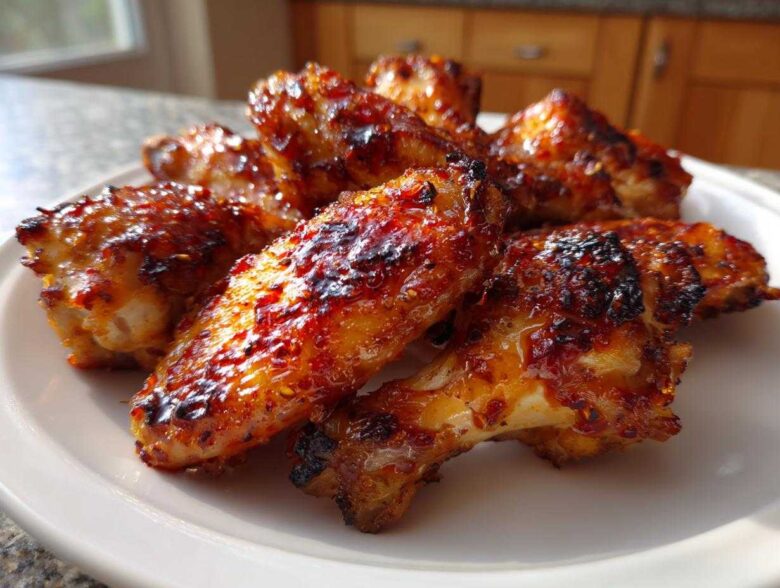
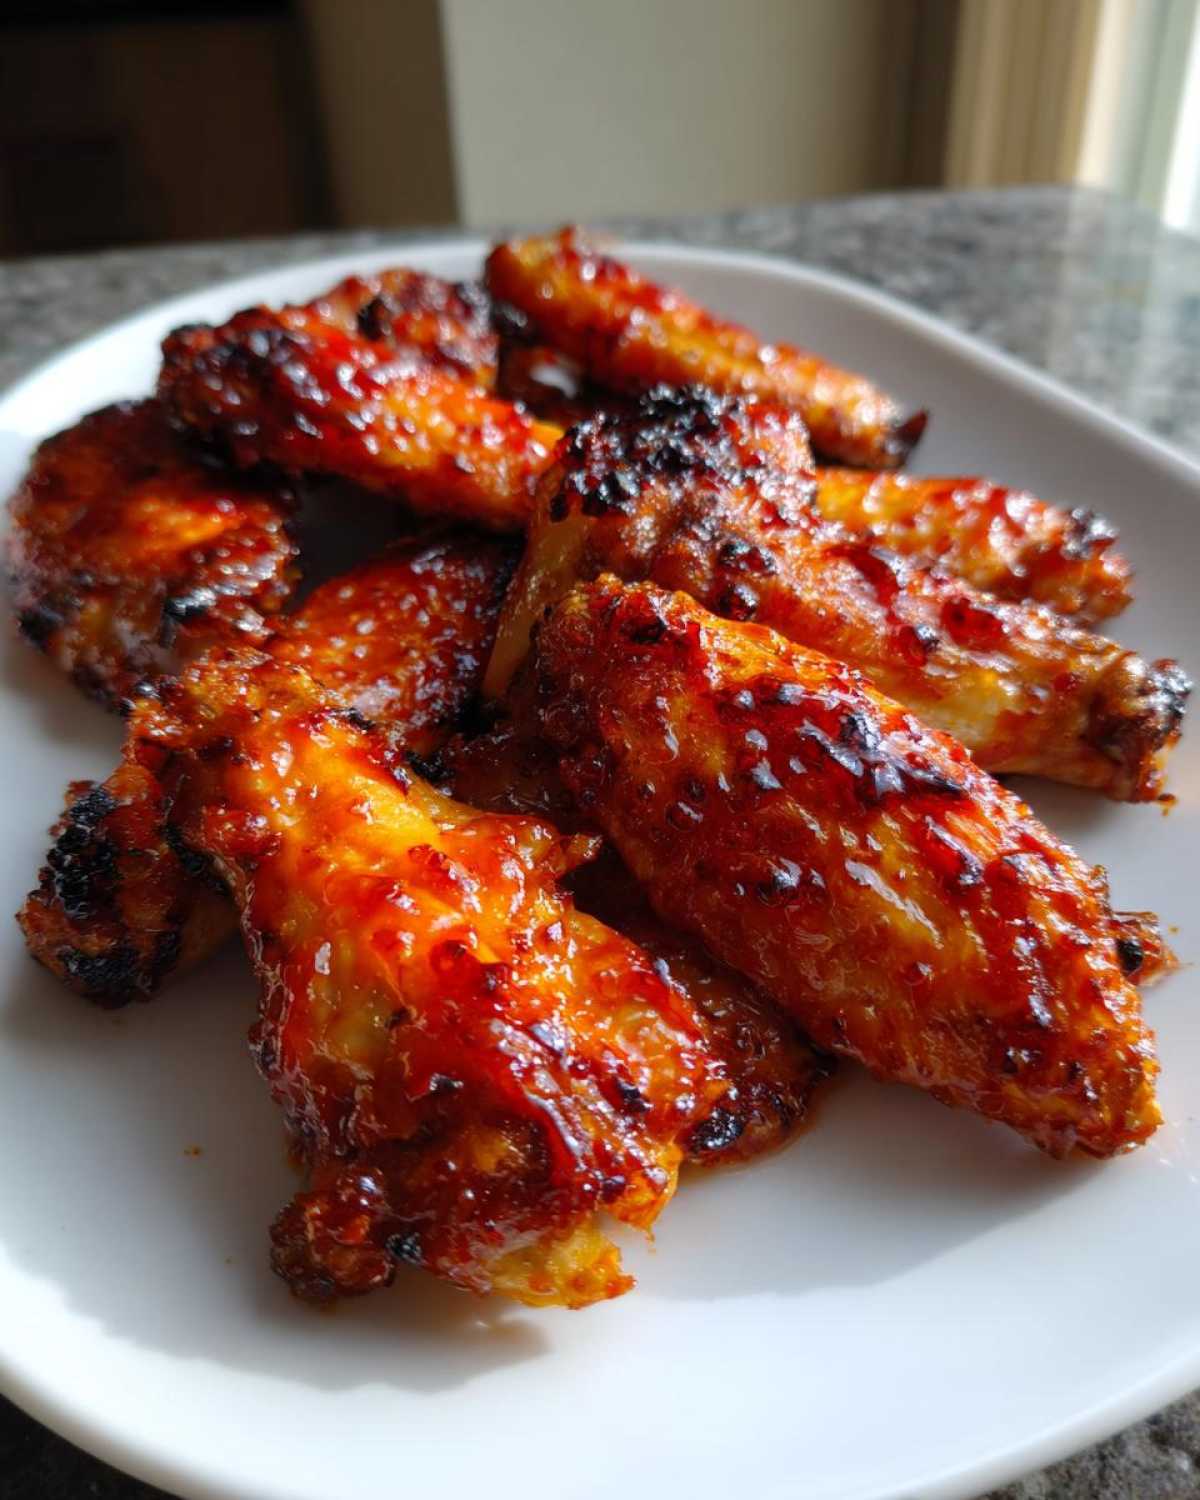
Oh my gosh, I know that craving! You want that incredible shatteringly crisp skin and that thick, sweet, spicy coating that drips everywhere, but your deep fryer is gathering dust in the garage. Trust me, I used to think crispy wings *only* happened submerged in hot oil. Then I spent months trying to crack the code on getting that level of golden perfection right in my regular oven. I finally figured out the magic combination! This recipe for Sticky Sweet Chili Chicken Wings Oven Baked isn’t just good—it’s game-changing. We’re getting maximum crunch and that amazing glaze set tight, all thanks to a couple of special tricks that make cleanup almost painless. Be sure to check out more of my baking adventures over at my baking resource page for more tips!
Why This Sticky Sweet Chili Chicken Wings Oven Baked Recipe Works (E-E-A-T)
When you are aiming for the Best Baked Chicken Wings, you have to stop treating the oven like a gentle warming drawer! We need serious heat and specific ingredients to mimic the results of frying, and that’s exactly what we do here. This method ensures you get that glorious, ultra-crispy texture along with fully set, clingy sauce—the hallmarks of amazing Sticky Sweet Chili Chicken Wings Oven Baked. If you want to see other oven techniques that deliver massive crunch, check out my baked crispy chicken recipe!
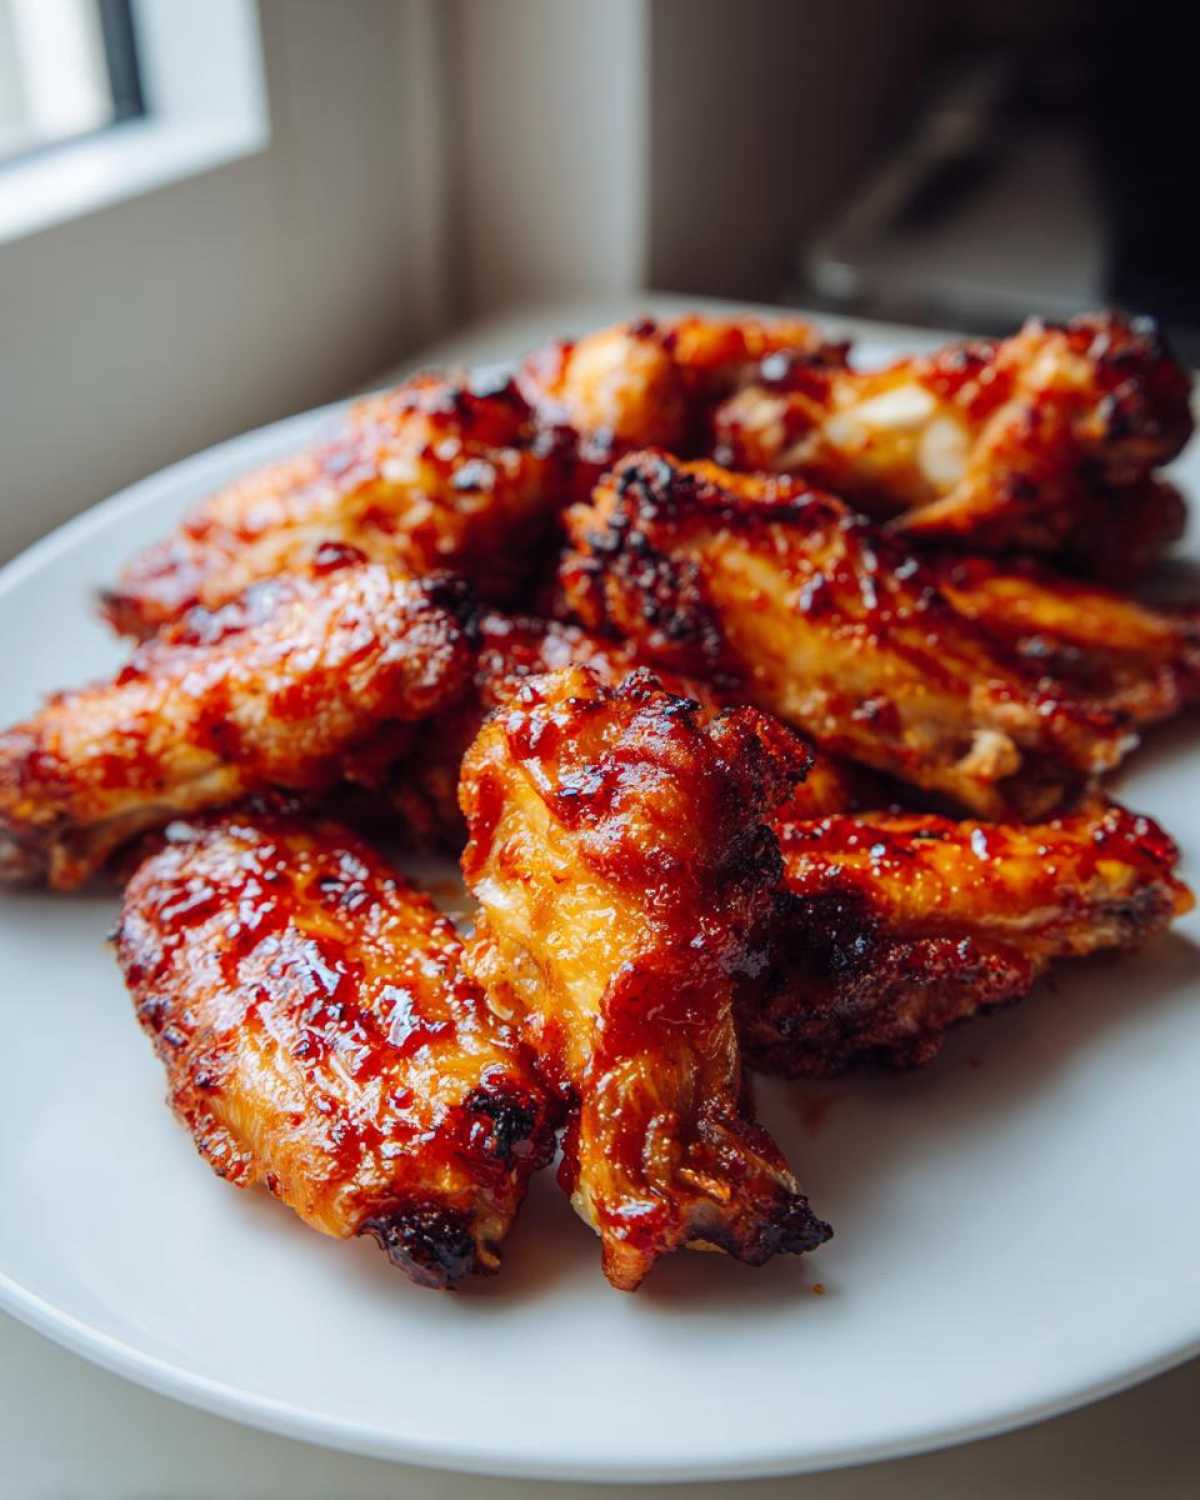
The Secret to Crispy Skin on Oven Baked Chicken Wings Recipe
The real game-changer for any Crispy Baked Wings Recipe is the baking powder—specifically aluminum-free, please! Patting those wings bone-dry first is non-negotiable; moisture is the enemy of crispiness. When you toss the wings with that tiny bit of baking powder, it raises the pH level of the skin. What does that mean for you? It aggressively dries out the skin surface during the initial high-heat bake, creating those little bubbles and cracks that turn beautifully golden brown.
Achieving the Perfect Sticky Sweet Chili Glaze Consistency
Making a fantastic Easy Sweet Chili Glaze is only half the battle; making it *stick* is the other. If you just brush on regular sauce, it runs right off or burns before the wing is cooked. We fix this in two ways. First, we use a cornstarch slurry to create a thick base that clings tight during the first toss. Second, we do that crucial second bake at 450°F. That blast of heat caramelizes the sugars in the glaze directly onto the skin, locking it in place so it becomes wonderfully sticky.
Ingredients for Sticky Sweet Chili Chicken Wings Oven Baked
Okay, gathered around the counter? This list looks simple, but every element plays a specific role in making these wings amazing. We aren’t messing around with complicated marinades here. This is about seasoning dry, glazing hot, and baking twice! You’ll want to make sure you have your ingredients prepped before you even think about turning on that oven. Seriously, have everything measured out. We don’t want any scrambling when that first baking stage is done!
This list covers what you need for the wings themselves and the glaze that brings all that sweet heat together. Don’t forget to hop over and check out how I use simple ingredients in my sheet pan shrimp for another quick dinner idea!
- 2 lbs chicken wings, separated into flats and drumettes (You want them all roughly the same size for even cooking!)
- 1 tablespoon baking powder (aluminum-free—this is key for the crispiness, don’t substitute aluminum-containing kinds!)
- 1 teaspoon salt
- 1/2 teaspoon black pepper
Now for the sticky stuff that makes this Sticky Sweet Chili Chicken Wings Oven Baked recipe absolutely irresistible:
- 1/2 cup sweet chili sauce (Use your favorite brand, I like the ones with visible seeds!)
- 2 tablespoons soy sauce
- 1 tablespoon rice vinegar
- 1 tablespoon brown sugar (Packed firmly!)
- 1 teaspoon grated fresh ginger (Fresh is non-negotiable here, trust me!)
- 1 clove garlic, minced
- 1 teaspoon cornstarch mixed with 1 tablespoon cold water (This is your slurry, mix this really well so there are no dry clumps!)
How to Prepare Sticky Sweet Chili Chicken Wings Oven Baked Step-by-Step
This is where the magic happens! Getting these Glazed Chicken Wings without Frying right comes down to timing and using the right surface. We’re using a two-stage baking method because if you just load them up with sauce from the start, the sugar burns before the wing cooks through. Read these three steps carefully—they are the backbone of getting Perfectly Baked Chicken Wings every single time!
Preparing the Wings for Maximum Crispiness
First things first: grab your paper towels and go to town drying those wings. I mean *really* dry. Any surface moisture ruins the baking power effect! Once they are dry, toss them in a bowl with your baking powder, salt, and pepper. Make sure every single piece is coated in that dusty white film. Then, arrange them on a wire rack set over a foil-lined baking sheet—that rack lets the air circulate underneath, which helps that skin crisp up beautifully. Now, slide them into an oven cranked up to 425°F (220°C) for 25 minutes. Go check on that sauce!
Making the Easy Sweet Chili Glaze
While those wings are getting a head start, whisk together your sweet chili sauce, soy sauce, vinegar, brown sugar, ginger, and garlic right in a small saucepan. Get it simmering gently over medium heat. Once it’s bubbling, slowly whisk in your cornstarch slurry. Keep stirring constantly—seriously, don’t walk away! It thickens up lightning fast, usually in about a minute or two. You want it thick enough that it coasts the back of a spoon. Pull it off the heat immediately, and you’ve got your base for that Easy Sweet Chili Glaze.
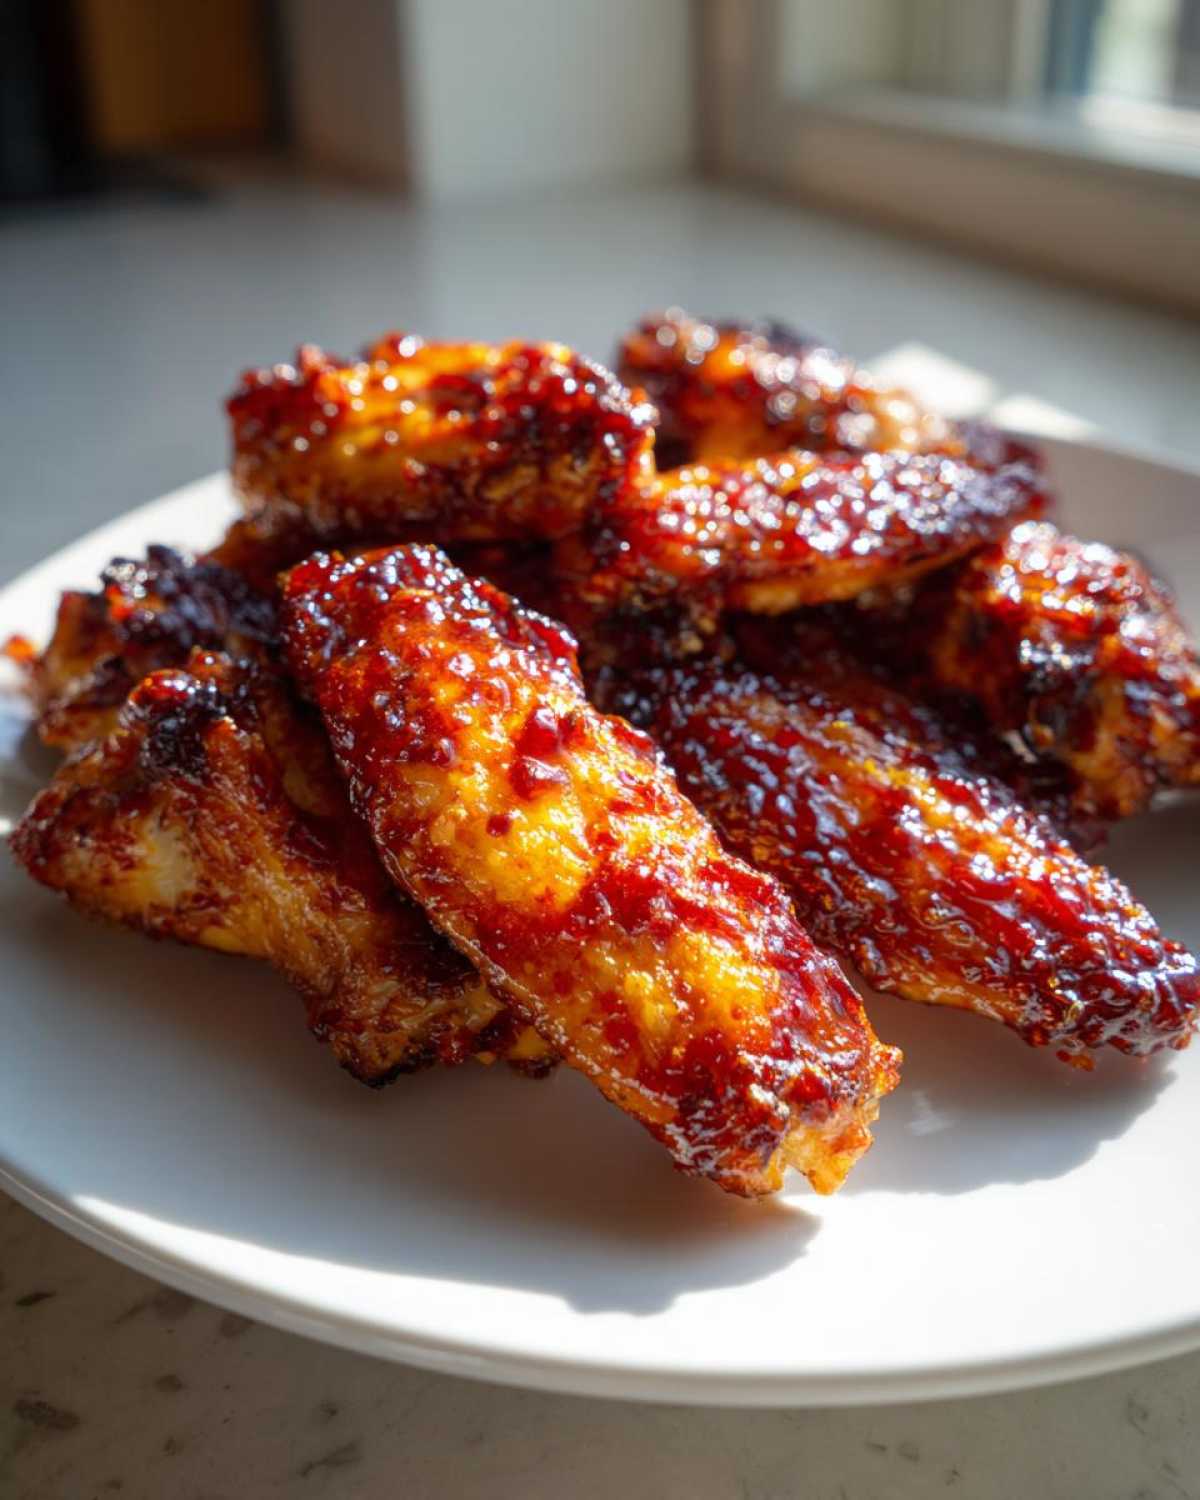
The Double-Bake Method for Perfectly Baked Chicken Wings Recipe
When the timer goes off after that first 25 minutes, pull those wings out. Crank your oven heat way up to 450°F (230°C)! Now, toss the hot wings in about half of that thick sauce you just made. Toss them thoroughly—they should look shiny! Put them *right back* on the rack. This second bake, about 10 to 15 minutes more, is what seals the deal and creates that sticky texture everyone craves when they want How to Make Sticky Wings in Oven. Once they hit 165°F internally, pull them out, toss them in the remaining sauce for a final coat, and serve them hot!
If you want some other fantastic inspiration for oven cooking, take a peek at my guide on juicy roasted chicken—the principles of dry skin and high heat are similar!
Tips for Success with Sticky Asian Chicken Wings
I’ve tried this recipe more times than I can count, mainly to test the limits of how sticky we can make them! Based on all that tireless tasting, here are the absolute must-do tips to guarantee your Sticky Asian Chicken Wings come out perfectly every time. Think of these as my little secrets I’ve learned so you don’t have to mess up a batch or two!
My grandmother always said that a good baker never skips the prep work, and that rings especially true for these wings. If you want that restaurant-quality crunch without the fryer, pay attention to these details. For more tried-and-true kitchen wisdom, head back to my main blog page!
- For extra crispiness, ensure the wings are completely dry before seasoning with baking powder. Seriously, use a whole roll of paper towels if you have to! If they feel cold and damp, they will steam instead of bake crisply.
- Do not skip the second baking period after the first glaze application; this sets the stickiness. That 10 to 15 minutes at 450°F is when the sugars beautifully caramelize and stop being runny.
- If you prefer a thicker sauce, let the glaze reduce longer *before* adding the cornstarch slurry. The slurry thickens fast, so if you want it super thick, take time simmering the base ingredients first.
- Here’s my extra tip: If you hate scrubbing baked-on sauce off your wire rack (and who doesn’t?), try lining your *foil* with a sheet of parchment paper before setting the rack on top. The foil catches the drips, but the parchment keeps the rack surprisingly cleaner for you! It helps with cleanup for your next batch of Glazed Chicken Wings without Frying.
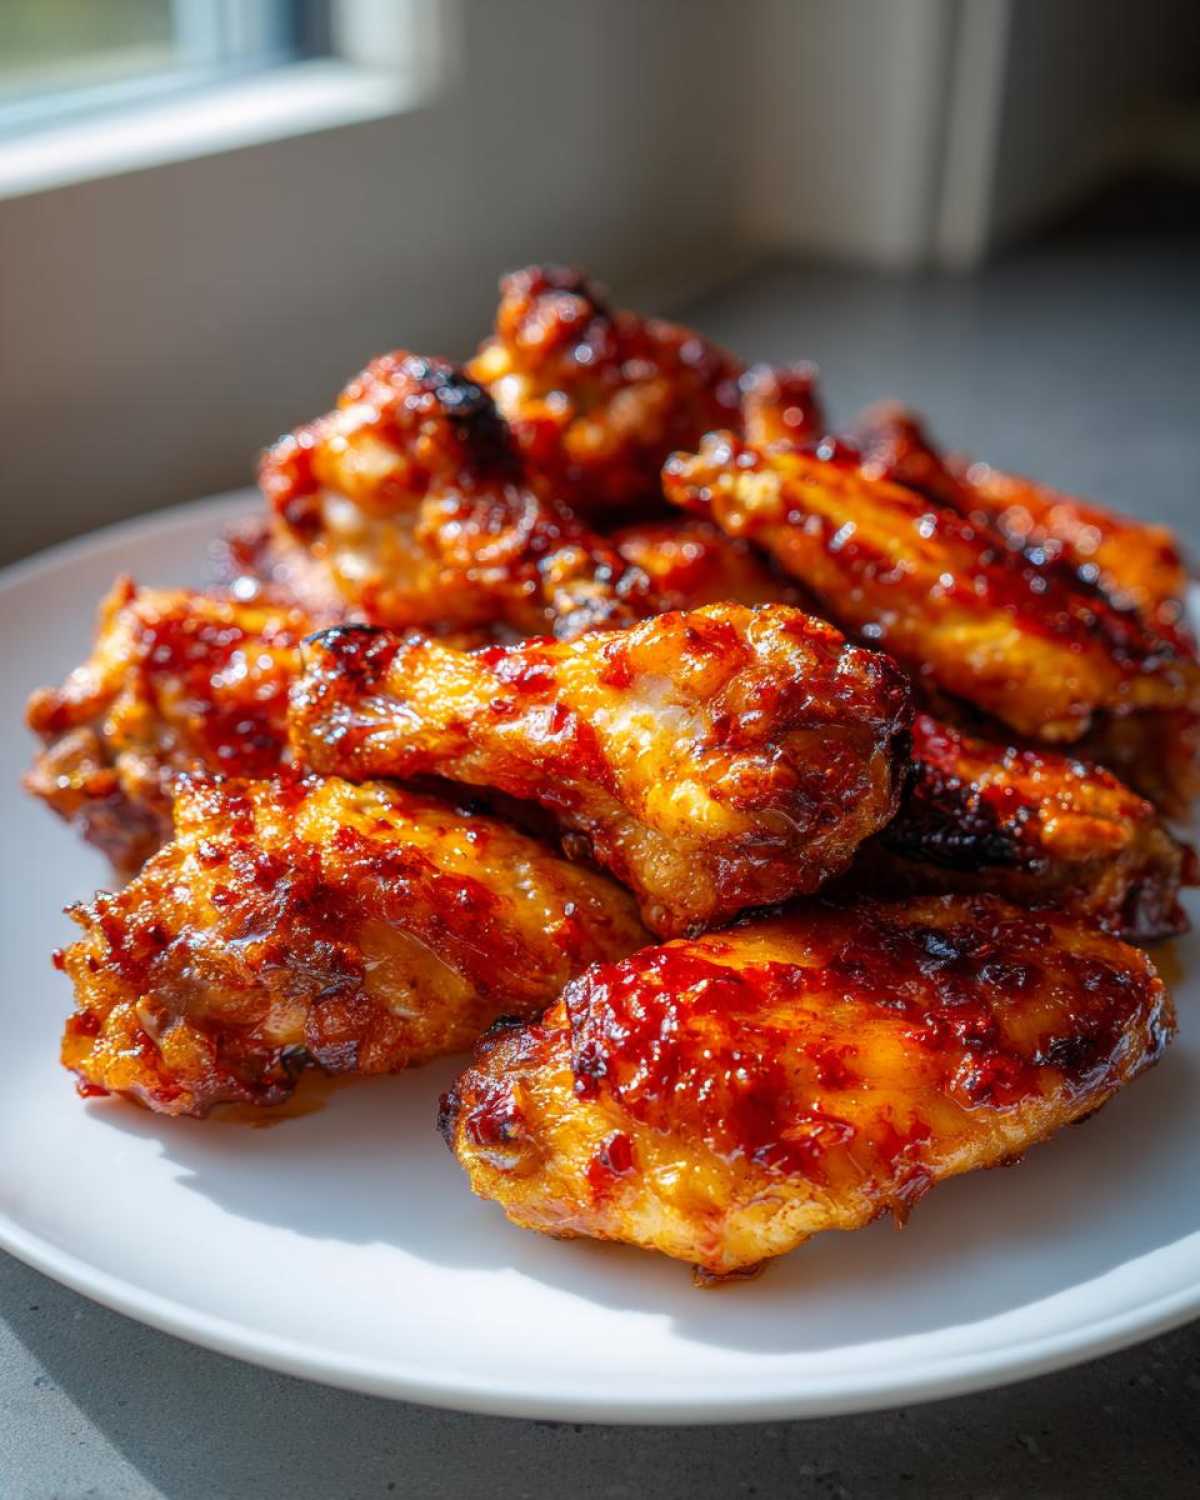
Serving Suggestions for Your Sticky Sweet Chili Chicken Wings Oven Baked
These wings are so intensely flavorful and wonderfully sweet and spicy. That means the perfect side dish needs to be something cool, refreshing, or maybe just plain starchy to soak up any extra glaze that escapes. They are fantastic served hot right off the rack, but they are hearty enough to anchor a whole meal!
If you’re making these for a serious game-day spread, you naturally need a ton of napkins. But if you are turning these into a full Weeknight Chicken Wing Dinner, try these pairings. They really cut through the richness and leave you wanting more!
- Cool Cucumber Salad: This is my absolute favorite side. I take thinly sliced cucumbers, a splash of rice vinegar, a pinch of sugar, and maybe some toasted sesame seeds. The coolness is the perfect foil for the heat of the sweet chili. So simple, so effective!
- Garlic-Sesame Green Beans: Quickly blanch green beans until they are bright green and still have a good snap. Toss them hot with a tiny bit of sesame oil and minced garlic. They keep that little bit of crispness that complements the wings.
- Sticky Rice: If you’re feeling it, a simple bowl of perfectly steamed white or brown sticky rice is divine. It’s basically the perfect sponge for any rogue sauce that drips off your fingers.
- A Zesty Dip: Sometimes you just need something creamy to dip into! If you want a homemade sauce that leans into the lime and brightness, I shared my recipe for Cilantro Lime Sauce that goes surprisingly well with the Asian-inspired glaze. It’s unexpected but so refreshing!
No matter what you pair them with, these Sticky Sweet Chili Chicken Wings Oven Baked are guaranteed to be the star of the show!
Storage and Reheating Instructions for Glazed Chicken Wings without Frying
As much as I want you to inhale these the minute they come out of the oven because they are honestly that good, sometimes you have leftovers—or, let’s be real, you make a huge batch because they’re the ultimate Baked Game Day Appetizer. How do you keep these Glazed Chicken Wings without Frying tasting almost as good the next day?
The number one rule for storage is simple: let them cool completely before you try to seal them up. If you put hot, glazed wings into an airtight container, the steam gets trapped, and that beautiful crispiness you worked so hard for turns instantly soggy. Bummer, right? Once totally cool, pop them into any airtight container. They’ll stay tasting great in the fridge for about three to four days. If they are still delicious a few days later, maybe try making some quick pickles—I use this recipe for crispy garlic dill pickles to balance out the leftovers!
How to Reheat to Bring Back the Stick and Crisp
Okay, here’s the most important part about leftovers: DO NOT, I repeat, DO NOT microwave these wings if you want any texture left! The microwave turns the glaze gummy and steams the skin until it’s mushy. We need dry, high heat to wake up that crispiness again.
You have two great options here, both relying on getting the oven hot again:
- The Oven/Toaster Oven Method (Best Results): Preheat your oven (or toaster oven, which is faster for small batches) to about 375°F (190°C). Place the wings directly on a wire rack set over a foil-lined pan. You only need about 8 to 10 minutes. This dry heat allows the moisture in the skin to evaporate, and it gently heats the sugary glaze until it gets sticky again without burning.
- The Broiler Flash (For Quick Crisp): If you are only reheating four or five wings and you need them fast, you can try the broiler! Place them on a rack about 6 inches below your broiler element. Watch them like a hawk—literally stand there! It might only take 2 to 3 minutes per side, but the direct heat aggressively crisps the exterior. Pull them immediately once they look glossy and hot.
When you reheat them, you’ll notice they might be a little less aggressively sticky than day one, but they will absolutely still be flavorful and have a satisfying chew, which is fantastic for a quick snack or a simple Weeknight Chicken Wing Dinner reheat!
Frequently Asked Questions About Sticky Sweet Chili Wings
Even when you follow the steps for the Sticky Sweet Chili Chicken Wings Oven Baked exactly, questions always pop up! It’s totally normal because we’re tricking the oven into behaving like a deep fryer, and that takes a little guidance. I’ve gathered some of the most common things people ask me when they are whipping up this Simple Oven Wings Recipe.
Can I use frozen wings for this Oven Baked Chicken Wings Recipe?
Yes, you absolutely can! We’ve all been there, right? You want wings *now*, and the package is still icy hard. If you start with frozen wings for this Oven Baked Chicken Wings Recipe, you must thaw them completely first. Stick them in a bowl in the fridge overnight, or use the defrost setting on your microwave until they are floppy. Once thawed, the most critical step returns: pat them absolutely, relentlessly dry with paper towels! If they are damp when you add the baking powder, they will steam and never get truly crispy.
How do I adjust the heat level for the Sweet and Spicy Wing Sauce?
I made this recipe to hit that perfect middle ground—sweet enough for the kids, spicy enough for me! If you love serious heat, you have a couple of super easy ways to amplify that kick in your Sweet and Spicy Wing Sauce. You can sneak in a teaspoon or two of Sriracha when you are making the sauce, or—my favorite—simply add a generous pinch of crushed red pepper flakes along with the brown sugar during the simmering phase. Adjusting the heat is easy once you have the base glaze down!
What temperature should I bake wings to ensure they are done?
Food safety is super important, even when we are aiming for crispy skin! The recipe guides you through a two-stage bake, starting at 425°F and finishing at 450°F. While the high heat gets the skin looking amazing, you need to make sure the inside is cooked safely. Always check the thickest part of the drumette or flat with a meat thermometer. We are aiming for an internal temperature of 165°F (74°C). If you hit that number, you know you have perfectly cooked, safe, and delicious Sticky Sweet Chili Chicken Wings Oven Baked!
Estimated Nutritional Data for Sticky Sweet Chili Chicken Wings Oven Baked
Alright, let’s talk fuel! Now, I always want to make sure you know that because we’re using specific ingredients like soy sauce and homemade glaze, these numbers are exactly that—estimates. I am a cook, honey, not a nutritionist, so please take this with a huge grain of salt, but it gives you a good ballpark when planning meals!
These values are based on breaking the recipe down into four servings, which means about four wings per person. If you eat six, you have to adjust your math, got it? These figures nicely illustrate why these Sticky Sweet Chili Chicken Wings Oven Baked make such a great part of a balanced Weeknight Chicken Wing Dinner when paired with a pile of fresh veggies!
For more details on how I handle privacy and site data, you can always check out my full privacy policy. Always eat deliciously, but eat smart!
Estimated Nutritional Breakdown (Per Serving – Approx. 4 Wings)
- Calories: 350
- Fat: 20g (A good amount because we need fat for flavor and crispiness!)
- Protein: 25g (Hello, wings!)
- Carbohydrates: 15g
- Sugar: 18g (That’s where all that lovely sticky sweetness comes from!)
- Sodium: 650mg (Be mindful here, soy sauce adds up fast!)
We’re looking at a decent amount of protein and fat, which keeps you full, but that sugar content is something to be aware of since we are using that sweet chili sauce. If you lower the amount of glaze you use, that sugar total drops down fast, giving you a slightly less sticky, but perhaps healthier, batch of Perfectly Baked Chicken Wings!
Share Your Perfectly Baked Chicken Wings Experience
Whew! That’s it! You’ve conquered the oven, you’ve mastered the double-glaze, and now you have the most incredible batch of Sticky Sweet Chili Chicken Wings Oven Baked right in front of you. I truly hope they tasted exactly how you dreamed they would—sweet, spicy, and unbelievably sticky!
Now, I live for hearing about how my recipes turned out in *your* kitchens. Did the wings get crispy enough? Did your family steal them all before you could take a proper picture? Come tell me all about it!
If you loved these wings, please take a quick minute to hit the stars and give this recipe a rating! Your feedback helps other cooks find what works best. And if you snap a photo once you get them coated in that gorgeous glaze, tag me on social media! I absolutely love seeing your beautiful creations.
If you have any questions about the process—maybe you tried substituting sugar or swapping the ginger—drop a comment below. I try to answer everyone who reaches out, so don’t hesitate to drop by my contact page if you need a quick clarification!
Enjoy those wings—you totally earned them!
PrintSticky Sweet Chili Chicken Wings Oven Baked
Follow this recipe to make flavorful chicken wings coated in a sticky, sweet chili glaze using only your oven.
- Prep Time: 15 min
- Cook Time: 40 min
- Total Time: 55 min
- Yield: 4 servings
- Category: Appetizer
- Method: Baking
- Cuisine: Asian-inspired
- Diet: Low Lactose
Ingredients
- 2 lbs chicken wings, separated into flats and drumettes
- 1 tablespoon baking powder (aluminum-free)
- 1 teaspoon salt
- 1/2 teaspoon black pepper
- 1/2 cup sweet chili sauce
- 2 tablespoons soy sauce
- 1 tablespoon rice vinegar
- 1 tablespoon brown sugar
- 1 teaspoon grated fresh ginger
- 1 clove garlic, minced
- 1 teaspoon cornstarch mixed with 1 tablespoon cold water (slurry)
Instructions
- Preheat your oven to 425°F (220°C). Line a baking sheet with aluminum foil and place a wire rack on top of the foil.
- Pat the chicken wings very dry using paper towels. This step helps achieve crispier skin.
- In a medium bowl, toss the wings with baking powder, salt, and pepper until evenly coated.
- Arrange the wings in a single layer on the wire rack.
- Bake for 25 minutes.
- While the wings bake, prepare the glaze. Combine the sweet chili sauce, soy sauce, rice vinegar, brown sugar, ginger, and garlic in a small saucepan. Bring the mixture to a simmer over medium heat.
- Stir in the cornstarch slurry. Cook, stirring constantly, until the sauce thickens enough to coat the back of a spoon, about 1 to 2 minutes. Remove from heat.
- After the initial 25 minutes of baking, remove the wings from the oven. Increase the oven temperature to 450°F (230°C).
- Toss the hot wings in about half of the prepared sweet chili glaze until well coated.
- Return the glazed wings to the wire rack. Bake for another 10 to 15 minutes, or until the internal temperature reaches 165°F (74°C) and the glaze is sticky.
- Remove the wings from the oven. Toss them immediately with the remaining glaze before serving.
Notes
- For extra crispiness, ensure the wings are completely dry before seasoning with baking powder.
- Do not skip the second baking period after the first glaze application; this sets the stickiness.
- If you prefer a thicker sauce, let the glaze reduce longer before adding the slurry.
Nutrition
- Serving Size: 4 wings
- Calories: 350
- Sugar: 18
- Sodium: 650
- Fat: 20
- Saturated Fat: 6
- Unsaturated Fat: 14
- Trans Fat: 0
- Carbohydrates: 15
- Fiber: 0
- Protein: 25
- Cholesterol: 90