

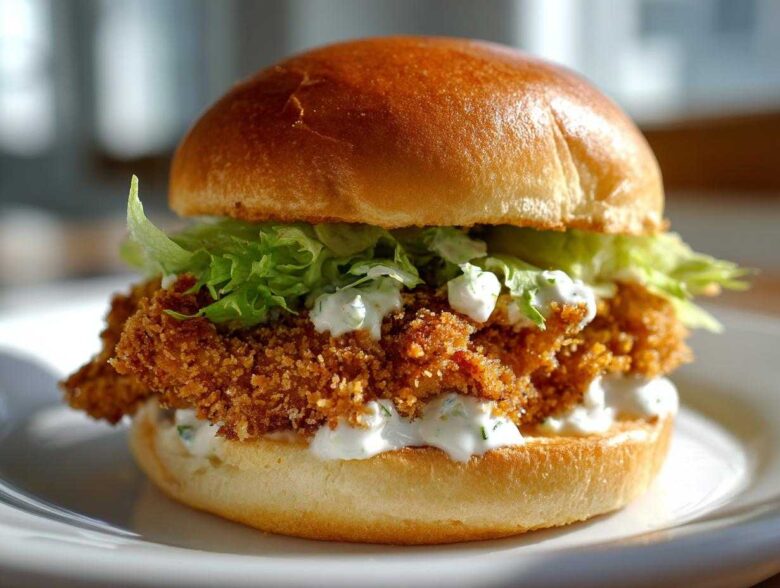
Oh my gosh, you guys, if you think you know sliders, you haven’t tried these yet! Forget dry, boring little sandwiches. I’m talking about the ultimate crowd-pleaser: Crispy Chicken Sliders with Garlic Sauce. I’ve spent way too many weekends perfecting the crunch factor on my chicken until I finally nailed that shatteringly crisp coating that holds up until the very last bite. If you want to see some other easy tips while you’re here, check out my main recipe hub!
These aren’t just appetizers; they’re little flavor bombs. We’ve got juicy chicken, incredible texture from the panko, and then, the magic—that creamy, punchy homemade garlic sauce drizzled over everything. Trust me, once you make these, they’ll become your go-to for game days or when you just need a seriously satisfying dinner that feels way fancier than it actually is!
Why You Will Crave These Crispy Chicken Sliders with Garlic Sauce
Why settle for good when you can have spectacular? These sliders deliver everything you want in a comfort food:
- The crunch is serious! We use panko breadcrumbs, which are way better than regular breading for that long-lasting crispiness.
- That sauce, oh wow—the homemade garlic sauce takes these from basic to gourmet in seconds. You won’t want any other sandwich topping after trying this garlic punch!
- They are perfectly sized. Serve them up as amazing party slider recipes or just make a stack for an easy weeknight meal.
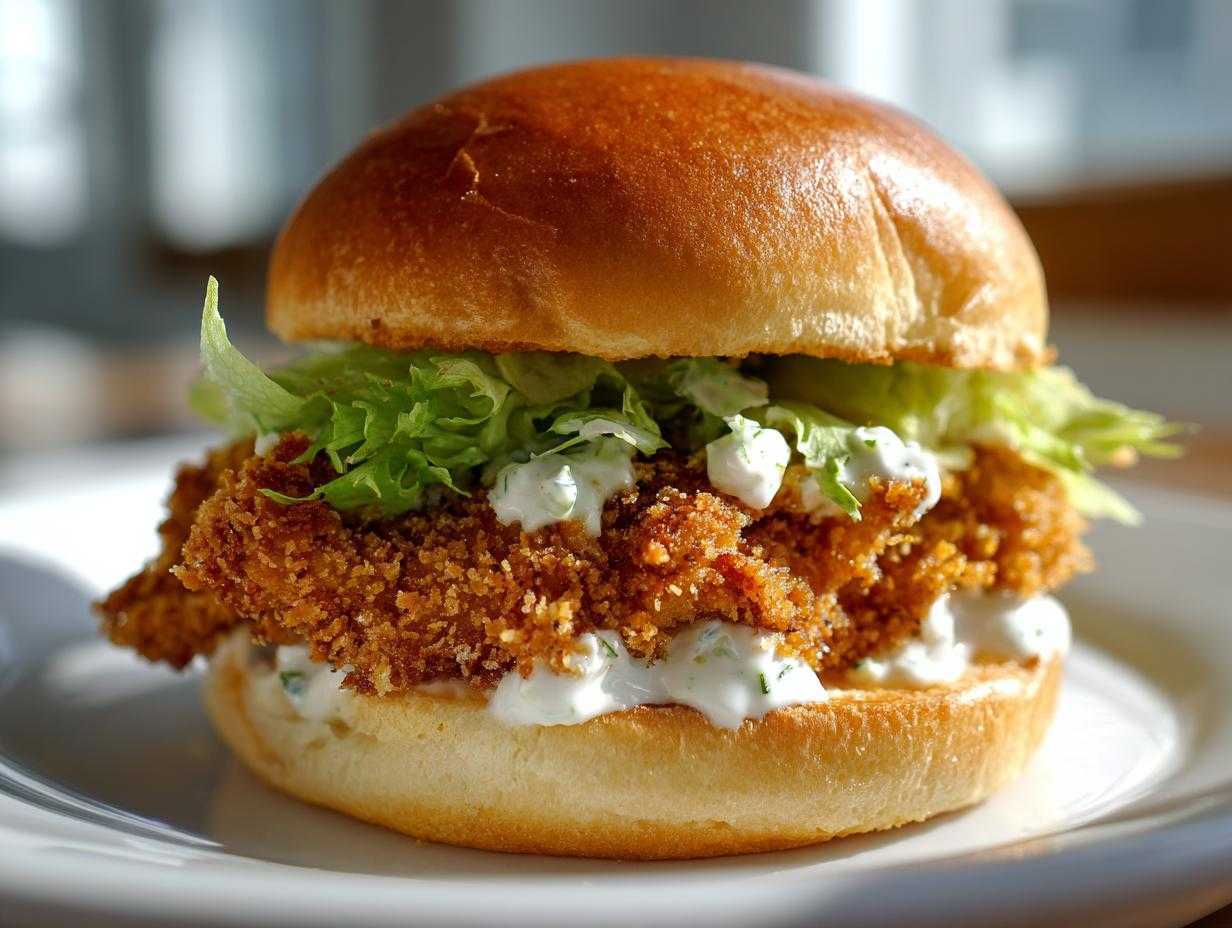
Essential Ingredients for Crispy Chicken Sliders with Garlic Sauce
Okay, gathering your ingredients is half the fun! Don’t even think about using pre-cut chicken or garlic powder for the sauce—we need that fresh flavor, remember? This list covers everything you need for 12 perfect little sandwiches. If you’re looking for other ways to use creamy chicken, you should peek at my creamy garlic skillet recipe!
For the Crispy Chicken Coating and Patties
This is where we build the crunch! You’ll want:
- 1.5 lbs boneless, skinless chicken breasts, cut carefully into 12 small, uniform patties.
- 1 cup all-purpose flour.
- 1 teaspoon salt, 1 teaspoon black pepper, 1 teaspoon paprika, and 1/2 teaspoon garlic powder—these go right into the flour.
- 2 large eggs, given a good beating.
- 1 cup buttermilk (don’t skip this, it helps everything stick!).
- 2 cups panko breadcrumbs. Don’t even think about swapping these out for standard crumbs!
For the Homemade Garlic Sauce
This sauce deserves some respect! We are using fresh everything here:
- 1/4 cup mayonnaise for the base.
- 2 tablespoons sour cream for a little tang.
- Absolutely 2 cloves of garlic, minced so finely they practically disappear into the sauce—fresh is non-negotiable!
- 1 teaspoon lemon juice for brightness.
- Just a little pinch of salt and pepper to taste.
For Slider Assembly and Toppings
The final layer of deliciousness is all about the build:
- 12 slider buns—small, soft, and ready for toasting.
- Optional but recommended: Some crisp, shredded lettuce.
- Optional but essential for me: Sliced dill pickles. They cut through the richness of the sauce perfectly!
Step-by-Step: Making the Best Crispy Chicken Sliders with Garlic Sauce
Alright, buckle up! This is where the magic happens, and I promise, the three-step breading process is easier than it sounds. Just follow my lead, and you’ll have perfectly crunchy chicken patties that stand up to that amazing garlic sauce. If you’ve ever made a classic fried chicken steak, you’ll recognize the setup, but we do it smaller here! Speaking of classics, don’t forget to check out my recipe for Chicken Fried Steak if you love that Southern-style crunch!
Preparing the Chicken Dredging Stations
We need three bowls ready to go. Seriously, set these up first! In Dish One, mix your flour, salt, pepper, paprika, and garlic powder really well. That’s our seasoning layer. Next, Dish Two needs those beaten eggs and the buttermilk—give that a good whisk until it’s a little frothy. Finally, Dish Three is just the panko breadcrumbs. No seasoning in the panko yet, that’s how we keep that outside super shaggy and crunchy!
Take one chicken patty at a time. First, dredge it in the seasoned flour, shaking off any huge clumps. Then, a quick dip into the egg wash, letting the excess drip back into the bowl—we don’t want soaking wet chicken! Finally, press that patty *firmly* into the panko. I mean it, really press it in there so that breadcrumb coating really grabs hold. This tight seal is crucial for preventing sogginess later.
Achieving Maximum Crispiness When Cooking the Chicken
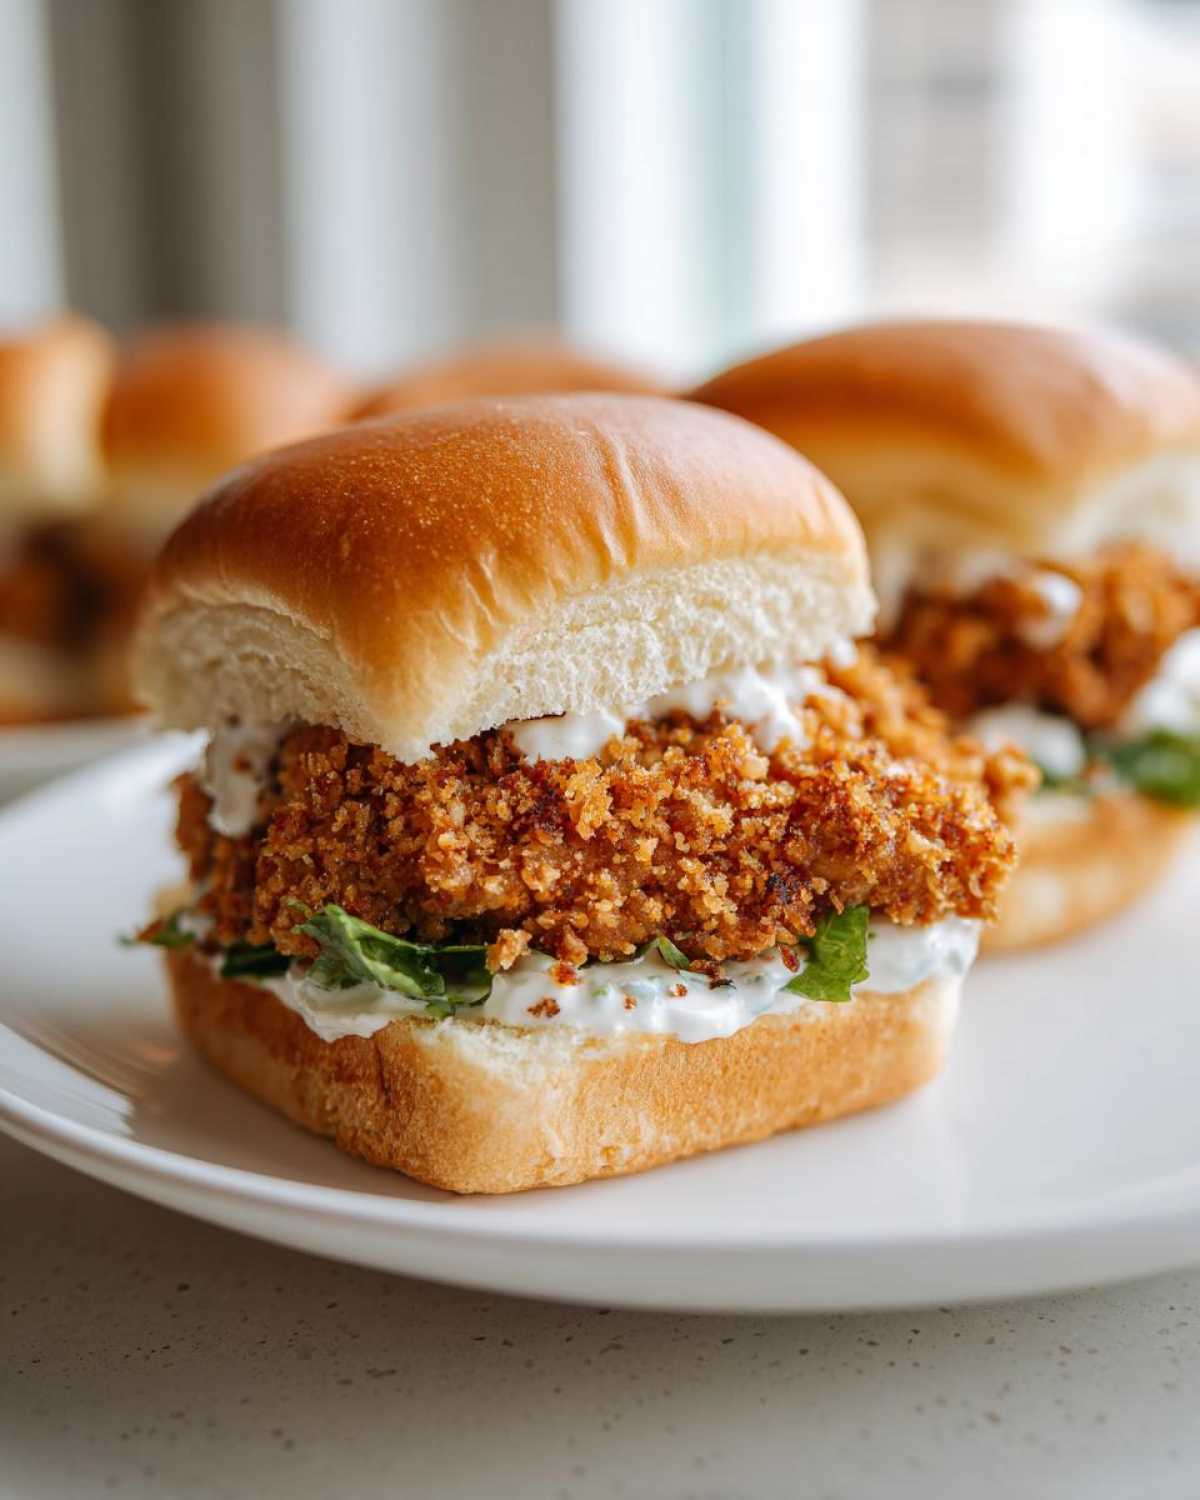
This is the moment of truth! You need about an inch of vegetable oil in a heavy skillet, and you want that heat right around 350°F (175°C). If you don’t have a thermometer, the oil should ripple slightly when you test it with a sprinkle of flour. Carefully place your breaded patties in—don’t crowd the pan, or the temperature will drop fast, and they’ll get greasy!
Fry them for about 3 to 4 minutes per side. You are looking for that gorgeous deep golden color. Once they hit that color, pull them out immediately and place them on a wire rack—not paper towels! The rack lets air circulate underneath, which keeps the bottom crispy. Make sure they hit 165°F internally for safety.
Now, if you’re trying to keep the cleanup down, you can absolutely air fry these! Set your air fryer to 375°F (190°C). Give the patties a light spritz of cooking spray, and cook them for about 12 to 15 minutes total, making sure you flip them halfway through so both sides get that beautiful crunch. They do really well in the air fryer!
Whipping Up the Creamy Garlic Sauce
While the chicken is resting (or even while it’s air frying), let’s make your new favorite condiment. Grab a small bowl. Put in your mayo, sour cream, the two cloves of finely minced fresh garlic, that teaspoon of lemon juice, and a tiny pinch of salt and pepper. Just stir it all together until it looks smooth and luscious. Taste it! If you want more punch, add another tiny speck of salt or just a hair more lemon. This sauce should really taste like garlic, but creamy, not harsh.
Assembling Your Crispy Chicken Sliders with Garlic Sauce
Ready for the best part? If you have a minute, lightly toast those slider buns—you can do this in the same pan you might have used to warm up the oil, wiped clean, or quickly under the broiler. Toasting creates a nice barrier so the sauce doesn’t make the bread soggy immediately.
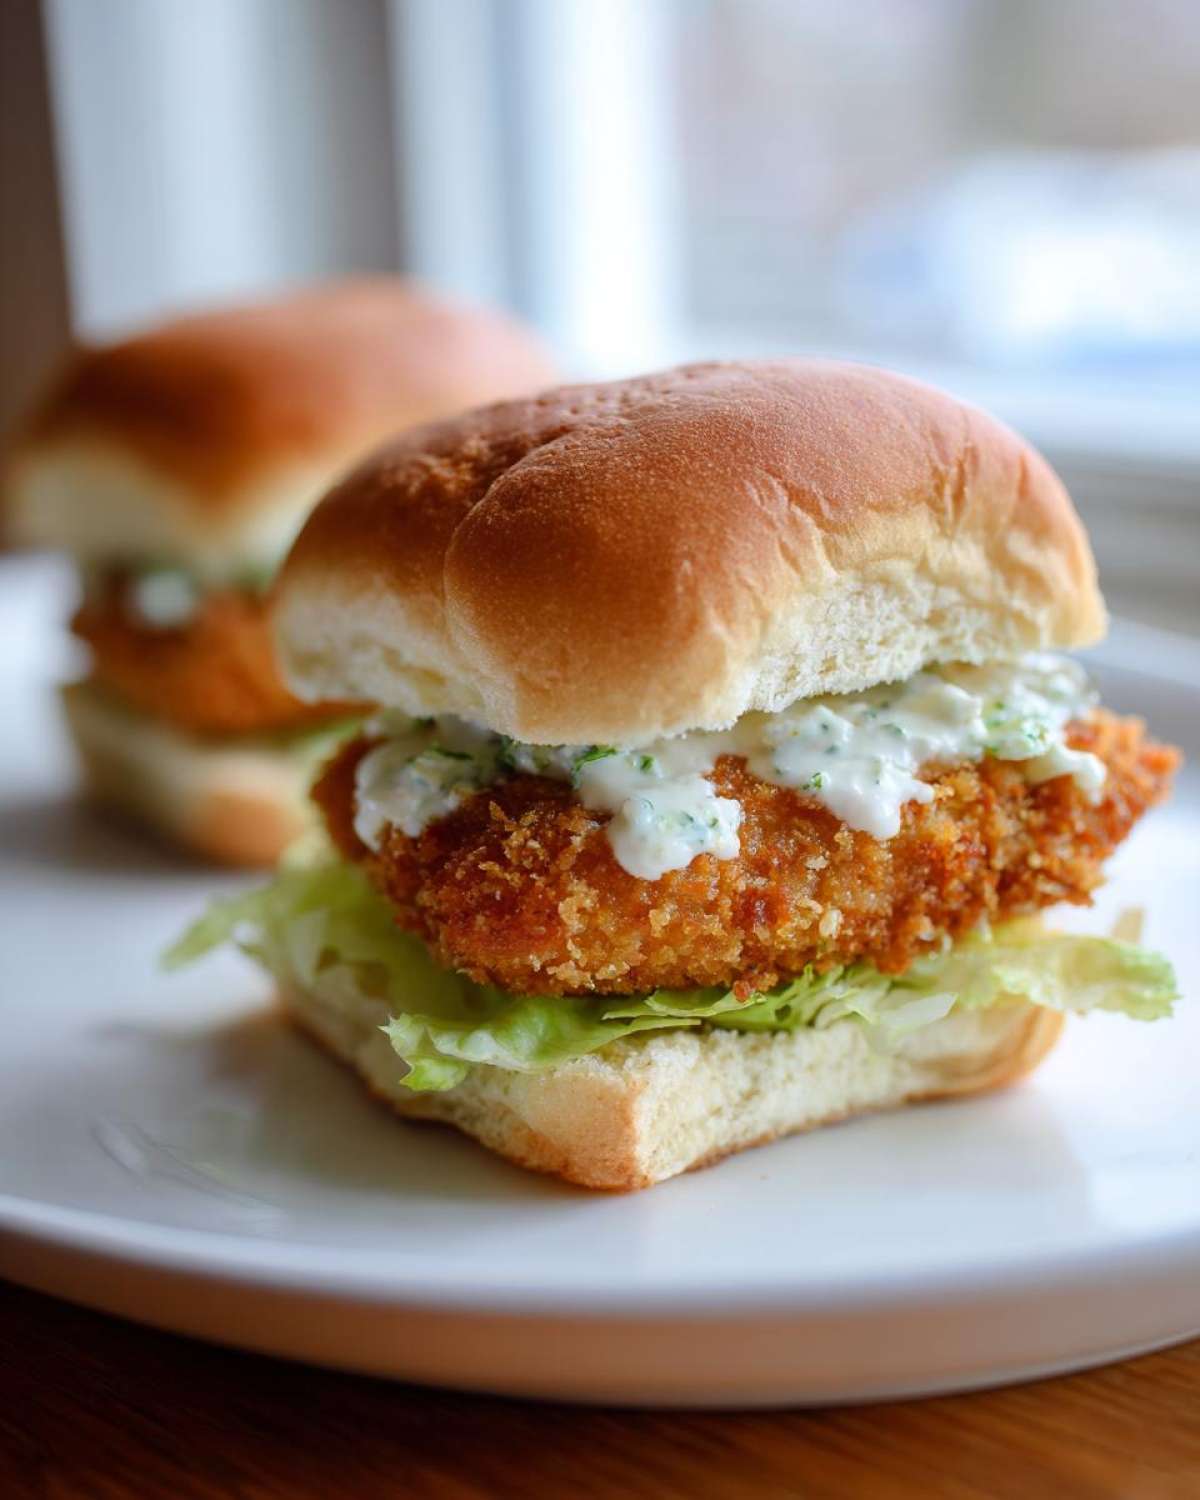
Next, sauce generously! Spread a good layer of that homemade garlic sauce on both the top and bottom buns. Seriously heap it on the bottom! Then, layer your warm, crispy chicken patty right on top of the bottom sauce. If you’re using toppings, add your shredded lettuce and a couple of pickles next. Cap it with the top bun and serve these beauties immediately while they are piping hot and crunchy!
Tips for Perfect Crispy Chicken Sliders with Garlic Sauce
You’ve got the recipe down, but the difference between a good slider and an absolutely legendary one is all in the small details. I’ve got a few tricks up my sleeve from testing dozens of batches of crunchy chicken. If you’re serious about texture, you need to pay attention to these moments. For more fantastic crunch inspiration, you have to check out my recipe for ultimate crispy Southern fried chicken wings!
Ingredient Substitutions for the Garlic Sauce
The sauce is easy to customize depending on what you have or what flavor profile you’re chasing. If you want to lighten this up just a touch, you can totally swap out half the sour cream with plain Greek yogurt. It gives it a little more tang, which is nice.
But if you want bold flavor, try this: roast your garlic first! Just cut the top off a head of garlic, drizzle it with oil, wrap it up loosely in foil, and bake it at 400°F until it’s totally soft—usually about 30 minutes. Then just squeeze those sweet, mellow cloves right into your sauce mixture. Wow, that roasted garlic flavor adds so much depth without being overpowering. It makes the whole thing feel super gourmet, honestly.
Techniques for Ultra-Crunchy Coating
I’ve tested this a million times: Panko breadcrumbs are king for Crispy Chicken Sliders with Garlic Sauce. They are flakier and absorb less oil than traditional fine breadcrumbs, leading to that signature light, shatteringly crisp shell.
But the absolute biggest secret, the one I always use, is chilling the coated chicken. Once you’ve dredged and panko-coated all 12 patties, don’t just throw them straight into the hot oil. Put them on a plate, cover them loosely with plastic wrap, and pop them in the fridge for at least 15 minutes. I often leave mine for 30 minutes if I’m getting the oil up to temperature slowly.
Why do we do this? That chilling time allows the buttermilk and egg wash to fully hydrate the flour and the panko. This creates a solid, almost glue-like bond between the chicken and the crunchy coating. When that solid shield hits the hot fat, it sets instantly, making it much harder for the coating to fall off or get soggy during frying. It’s worth the wait, I promise!
Storage and Reheating Instructions for Leftover Crispy Chicken Sliders with Garlic Sauce
Look, nothing beats these sliders fresh from the oil, but if you manage to have leftovers (which is rare in my house!), we have to treat them right. Don’t even think about microwaving that poor chicken; it’ll just turn sad and rubbery! Store the leftover crispy chicken patties and the garlic sauce in completely separate, airtight containers in the fridge.
When you’re ready for round two, reheat the chicken in an oven preheated to 400°F or popped back into the air fryer for about 5–7 minutes until it’s hot all the way through and that crunch is resurrected! You can refresh your buns and add your sauce, or try dipping the reheated chicken straight into the sauce. For more make-ahead tips, take a look at my guide on freezer-friendly meals!
Gourmet Slider Ideas and Flavorful Chicken Slider Variations
So you’ve mastered the base recipe for these unbelievably delicious Crispy Chicken Sliders with Garlic Sauce, and now you’re ready to start experimenting? That’s the spirit! These chicken patties are basically blank canvases begging for new flavors. They are perfect for when you need some easy Game Day Food Inspiration, but you want to kick it up a notch from standard fare.
When I get bored (which doesn’t happen often with this recipe, trust me!), I love twisting the sauce or changing the toppings. Since we nailed the crunch factor here, we can focus completely on building incredible flavor combinations!
Here are a few ways I like to change things up when serving these crunchy chicken appetizers:
- The Buffalo Kick: Skip the garlic sauce completely for a second batch. Instead, when the chicken is piping hot out of the oil, toss it lightly in your favorite Frank’s RedHot style sauce. Then top it with blue cheese crumbles and a thinly sliced celery slaw instead of pickles. It’s a fantastic and quick savory bite! If you love that vibe, you need to check out my recipe for Buffalo Chicken Wraps too.
- Cheesy Southern Style: For a richer experience, melt a slice of sharp white cheddar right onto the hot chicken patty before adding it to the bun. I’ll swap the garlic sauce for a thin layer of spicy brown mustard on the bottom bun and add some thinly sliced pickled jalapeños for heat. This turns it into a fantastic gourmet treat.
- Asian Inspired Slaw Topper: This variation is all about texture contrast. Keep the garlic sauce, but ditch the lettuce and pickles. Instead, top the chicken with a crunchy, slightly sweet Asian slaw made from shredded cabbage, carrots, and a dressing using rice vinegar, sesame oil, and a touch of honey. It’s a totally different but equally killer experience for your flavorful chicken slider variations.
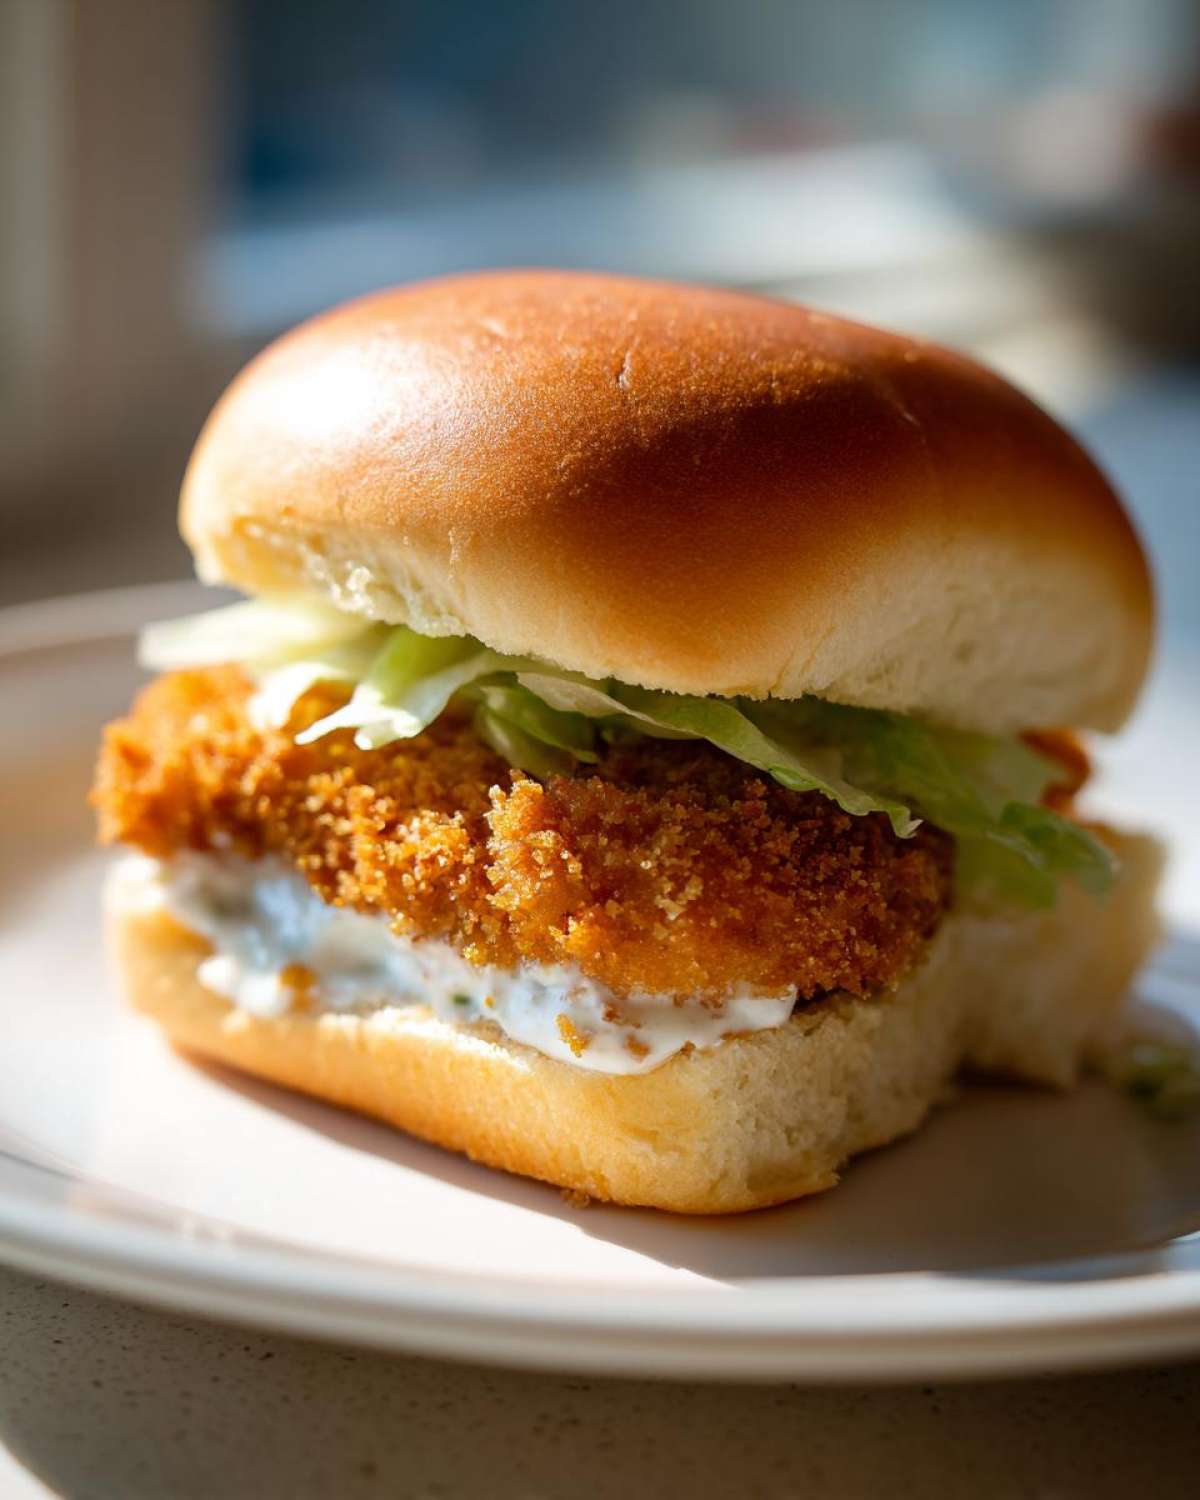
See? These are so versatile! The key is keeping that chicken perfectly crispy, no matter what you decide to serve on top of it.
Frequently Asked Questions About Crispy Chicken Sliders with Garlic Sauce
It’s totally normal for questions to pop up when you’re trying a new recipe, especially one this exciting! Everyone wants to know the tricks to getting that perfect crunch and sauce balance. Here are answers to the ones I hear the most. If you need more ideas, I have another great recipe using an air fryer you should definitely check out: Air Fryer Crispy Chicken Sliders!
Can I make the garlic sauce ahead of time?
Oh yes, you absolutely can! The garlic sauce is actually better if it sits in the fridge for an hour or two so those garlic flavors can really mingle and deepen. Keep it stored in an airtight container. Because we used sour cream and mayo, it should last happily in the fridge for up to four days. Remember, though, on day four, it might need a tiny splash of lemon juice or water to loosen it up before you slather it on your homemade chicken sliders!
What is the best way to ensure the chicken stays crunchy?
This is my favorite topic! It all comes down to two things we talked about: the breading and the oil temperature. Make sure you are *pressing* that panko breading onto the chicken—don’t just roll it! That hard press creates a solid shell. Then, the most important step for truly crunchy chicken is the mandatory 15-minute chill in the fridge after breading but before cooking. This sets the whole armor in place so it doesn’t flake off when it hits the hot oil. And never crowd the pan!
Are these sliders suitable for Game Day Food Inspiration?
Are you kidding me? These are practically mandatory for any proper Game Day Food Inspiration spread! They are handheld, they are savory, and they disappear fast. For a huge crowd, you can easily double the recipe and just cook the chicken patties in batches. A great tip for parties is to keep the chicken warm in a 200°F oven on a wire rack while you finish the rest. Then, leave the garlic sauce and the buns set up buffet-style so everyone can build their own perfect slider!
Estimated Nutritional Information for Crispy Chicken Sliders with Garlic Sauce
Now, let’s talk numbers for a second. Because we’re deep-frying these beauties and using a rich garlic sauce, they are definitely an indulgence, not a daily diet food! But hey, everything in moderation, right? I always calculate these things out of curiosity, but remember, these are just my best estimates for one slider based on the ingredients I listed. For the full legal lowdown on how I calculate this stuff, you can always check out my official disclaimer page.
When you’re planning your feast, this breakdown should give you a good idea of what you are serving up:
- Serving Size: 1 slider
- Calories: About 380—that’s a great number for such a satisfying bite!
- Fat: Around 18g total, with about 3g of that being saturated fat.
- Carbohydrates: 35g, mostly coming from the bun and the breading.
- Protein: A hefty 22g thanks to that boneless chicken breast!
- Sugar: Only about 4g, which is surprising considering how sweet the overall flavor profile is.
- Sodium: This one is a bit higher at 650mg, which is something to watch if you are sensitive, but boy, that salt is what makes the crust pop!
These values rely heavily on what kind of slider buns you use and how much of that incredible garlic sauce you slather on your crispy chicken sliders. If you use lighter mayo or skip the bun for a lettuce wrap, those numbers change instantly!
Share Your Homemade Chicken Sliders Experience
Okay, my friends, now it’s your turn! I’ve given you my absolute best secrets for making those perfectly crisp chicken patties and that heavenly garlic sauce. I can’t wait to see what you create. Did you go classic, or did you dive into one of those gourmet variations we talked about?
When you finish up your batch of Crispy Chicken Sliders with Garlic Sauce, please, please share a picture! Snap a photo of your assembly—especially if you got a great shot of that crunchy exterior—and tag me on social media. I absolutely love seeing your beautiful creations come to life in your own kitchens.
And don’t be shy about telling me what you thought! Head down to the comments section below. Did the garlic sauce blow your mind? Did you stick to frying or did you try the air fryer method? Drop your star rating and any personal twists you added. You can always reach out directly if you need a little help through my contact page too!
Happy cooking, and enjoy every single crunchy, garlicky bite!
PrintCrispy Chicken Sliders with Garlic Sauce
Make crunchy, flavorful chicken patties and serve them on small buns with a homemade creamy garlic sauce.
- Prep Time: 20 min
- Cook Time: 15 min
- Total Time: 35 min
- Yield: 12 sliders
- Category: Appetizer
- Method: Frying
- Cuisine: American
- Diet: Low Lactose
Ingredients
- 1.5 lbs boneless, skinless chicken breasts, cut into 12 small patties
- 1 cup all-purpose flour
- 1 teaspoon salt
- 1 teaspoon black pepper
- 1 teaspoon paprika
- 1/2 teaspoon garlic powder
- 2 large eggs, beaten
- 1 cup buttermilk
- 2 cups panko breadcrumbs
- Vegetable oil, for frying (or cooking spray for air frying)
- 12 slider buns
- 1/4 cup mayonnaise
- 2 tablespoons sour cream
- 2 cloves garlic, minced
- 1 teaspoon lemon juice
- Pinch of salt and pepper
- Optional: Shredded lettuce, sliced pickles
Instructions
- Prepare the chicken: Season the flour mixture with salt, pepper, paprika, and garlic powder in one shallow dish. In a second dish, whisk the eggs and buttermilk. In a third dish, place the panko breadcrumbs.
- Dredge each chicken patty first in the flour mixture, shaking off excess. Dip into the egg/buttermilk mixture, letting excess drip off. Finally, press firmly into the panko breadcrumbs to coat completely.
- Cook the chicken: Heat about 1 inch of vegetable oil in a large skillet over medium-high heat to 350°F (175°C). Carefully place the coated patties in the hot oil, ensuring not to overcrowd the pan. Fry for 3-4 minutes per side until golden brown and cooked through (internal temperature of 165°F or 74°C). Remove and drain on a wire rack. (Alternatively, air fry at 375°F (190°C) for 12-15 minutes, flipping halfway).
- Make the garlic sauce: In a small bowl, combine the mayonnaise, sour cream, minced garlic, lemon juice, salt, and pepper. Mix until smooth.
- Assemble the sliders: Lightly toast the slider buns if desired. Spread a generous amount of the garlic sauce on both the top and bottom buns. Place one crispy chicken patty on the bottom bun. Top with lettuce and pickles, if using, and place the top bun on.
- Serve the sliders immediately.
Notes
- For extra crispiness, chill the breaded chicken patties for 15 minutes before frying.
- You can substitute buttermilk with regular milk mixed with 1 teaspoon of white vinegar or lemon juice.
- If you prefer a thinner sauce, add a teaspoon of water to the garlic sauce mixture.
Nutrition
- Serving Size: 1 slider
- Calories: 380
- Sugar: 4
- Sodium: 650
- Fat: 18
- Saturated Fat: 3
- Unsaturated Fat: 15
- Trans Fat: 0
- Carbohydrates: 35
- Fiber: 1
- Protein: 22
- Cholesterol: 75