

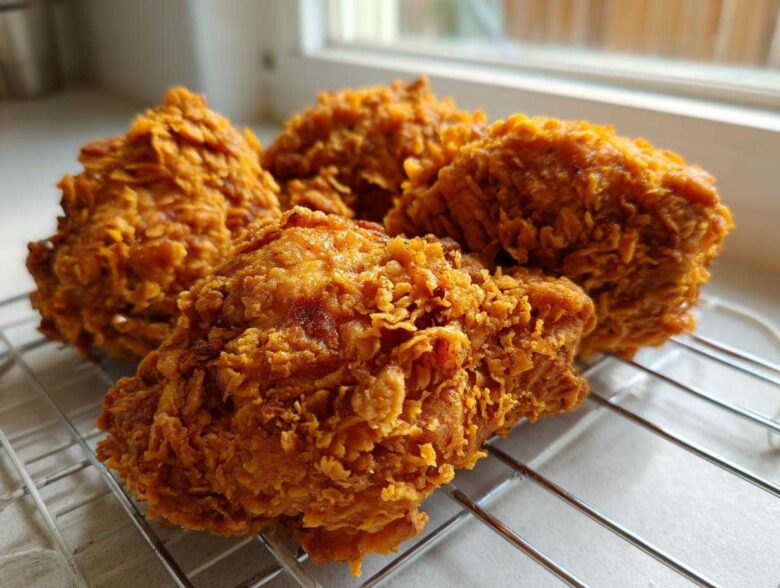
I swear, the quest for the perfect bite of fried chicken is a national obsession, right? We’ve all been there—soggy skin, dry meat, or a coating that just falls right off in the oil. Well, I’m happy (thrilled, actually!) to tell you that Ethan and I think we finally nailed it with this Ultra-Crispy Buttermilk Southern Fried Chicken. This recipe gives you that impossible combination: meat so juicy it practically melts, wrapped in a crust that is criminally crunchy and beautifully craggy. Maya’s research side nailed the science of the brine, while Ethan added his “pinch of this” intuition to perfect the dredge. Together, we built what might just be the best homemade fried chicken you’ll ever make. You can read more about how our two styles finally clicked over on our About Us page. Come see how we did it!
Why This Buttermilk Southern Fried Chicken Recipe Works
We get asked all the time how we manage to get that perfect balance of juicy and crispy chicken every single time. Honestly, it’s not magic, it’s physics, which is why I insisted Ethan follow my testing protocols! This recipe hinges on two non-negotiable steps that guarantee success, whether you are making thighs or breasts.
The Power of Buttermilk Brined Chicken
That long soak isn’t just for flavor, though the spice infusion is great! The lactic acid in the buttermilk actually goes to work on the protein fibers in the meat. My research shows this acts as a gentle pre-tenderizer. When you pull that chicken out after at least four hours, it’s already so much more tender, meaning it stays incredibly moist while it fries.
Achieving the Crunchy Chicken Coating
This is where Ethan’s flair for texture comes in. We don’t just use flour! Adding cornstarch to our dredge is the secret weapon. Cornstarch helps absorb surface moisture faster when it hits the hot oil, which creates that instantly hard, crunchy chicken coating we are obsessed with. Press the flour on hard, and you’ll get those beautiful, craggy bits in the final product!
Gathering Ingredients for Perfect Fried Chicken
Okay, let’s talk supplies! You can’t make the best Southern Fried Chicken without having everything lined up beforehand. When Ethan starts pulling things out haphazardly, I stop him! For this recipe, we need exact amounts—no guessing the buttermilk, please! We’re using bone-in, skin-on pieces—thighs and drumsticks are amazing—because we want real flavor soaking into the meat. Don’t forget the star players: buttermilk, flour, and that crucial cornstarch for that ultimate crunch. Have your 4 cups of buttermilk ready to go!
- 4 lbs bone-in, skin-on chicken pieces (thighs, drumsticks, breasts)
- 4 cups buttermilk
- 2 tablespoons kosher salt
- 1 tablespoon black pepper
- 1 tablespoon smoked paprika
- 1 teaspoon cayenne pepper (optional, for a kick)
- 3 cups all-purpose flour
- 1/2 cup cornstarch
- 1 tablespoon garlic powder
- 1 tablespoon onion powder
- Vegetable oil or shortening, for frying (about 4-6 cups)
Step-by-Step Instructions for Ultra-Crispy Fried Chicken
Now for the fun part! This is where we put all that prep work to use and learn exactly how to make fried chicken that people will talk about for weeks. The timing here is really important to get that perfect crust and ensure everything cooks evenly. Don’t rush your pre-steps, or you’ll lose the moisture we worked so hard to build!
Marinating the Chicken for Tenderness
First things first: the soak! Remember, you combine your buttermilk with all those lovely seasonings—salt, pepper, paprika, cayenne if you’re feeling spicy. Submerge your chicken pieces completely and tuck them into the fridge. While four hours is the minimum timeframe, I’m telling you, going overnight makes a huge difference. That buttermilk is working magic down to the bone just waiting for the heat!
The Double-Dip Dredge Technique for Fried Chicken
Get your flour and cornstarch mixture ready in a wide, shallow dish. Take the chicken directly from the buttermilk—don’t shake off the excess, let it drip a bit! Coat that piece thoroughly in the flour mix. Now, here’s where Ethan insists on the extra step: quickly dip it back into the buttermilk for just a second—like a quick kiss—and right back into the flour. Press that final layer on HARD. This is how you build that thick, gorgeous, craggy coating that fries up perfectly hard. Set those beauties on a wire rack while the oil heats up.
Frying to Golden Brown Chicken Perfection
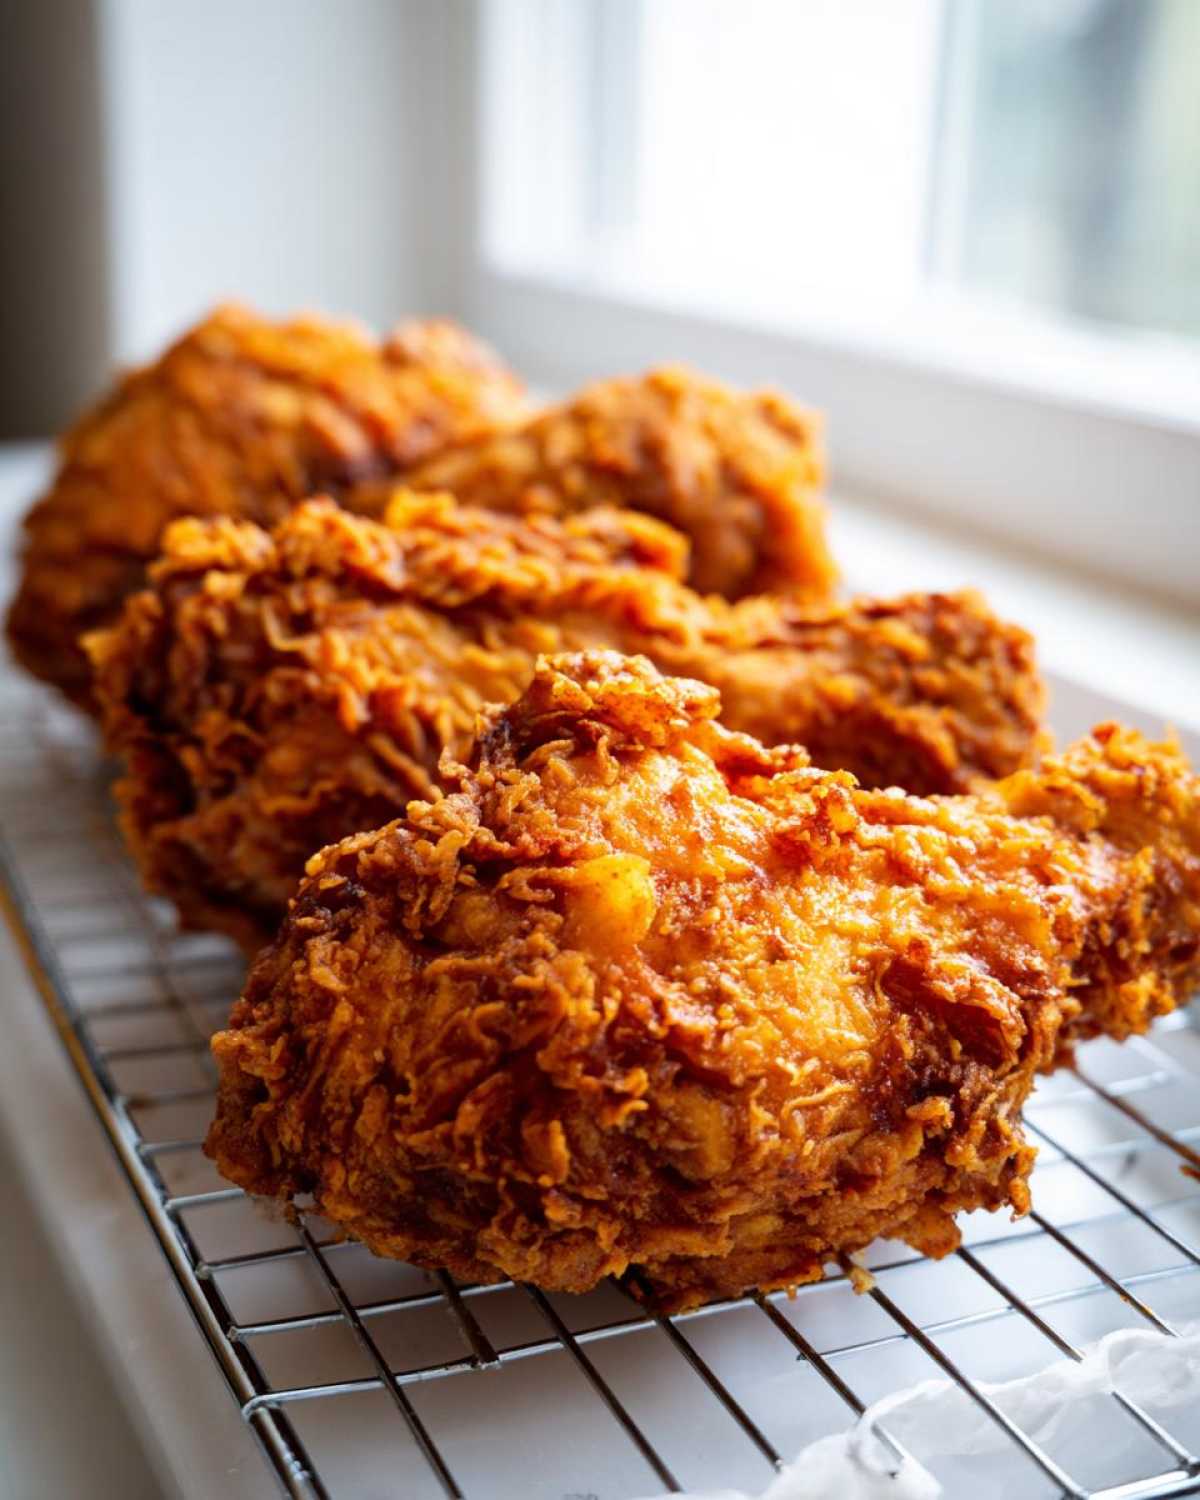
This part demands a thermometer; I’m serious! You need your oil—vegetable or shortening is best—at a steady 325 degrees Fahrenheit. If it’s too cool, you get greasy chicken; too hot, and the outside burns before the inside is cooked. Drop just three or four pieces in at a time; overcrowding kills the oil temperature instantly. Let those pieces fry for about 12 to 15 minutes, turning carefully so they become that magnificent golden brown chicken. Once done, pull them out onto that wire rack—never paper towels—to drain. For more tips on deep frying safety and technique, check out my guide to crispy wings!
Expert Tips for the Best Homemade Fried Chicken
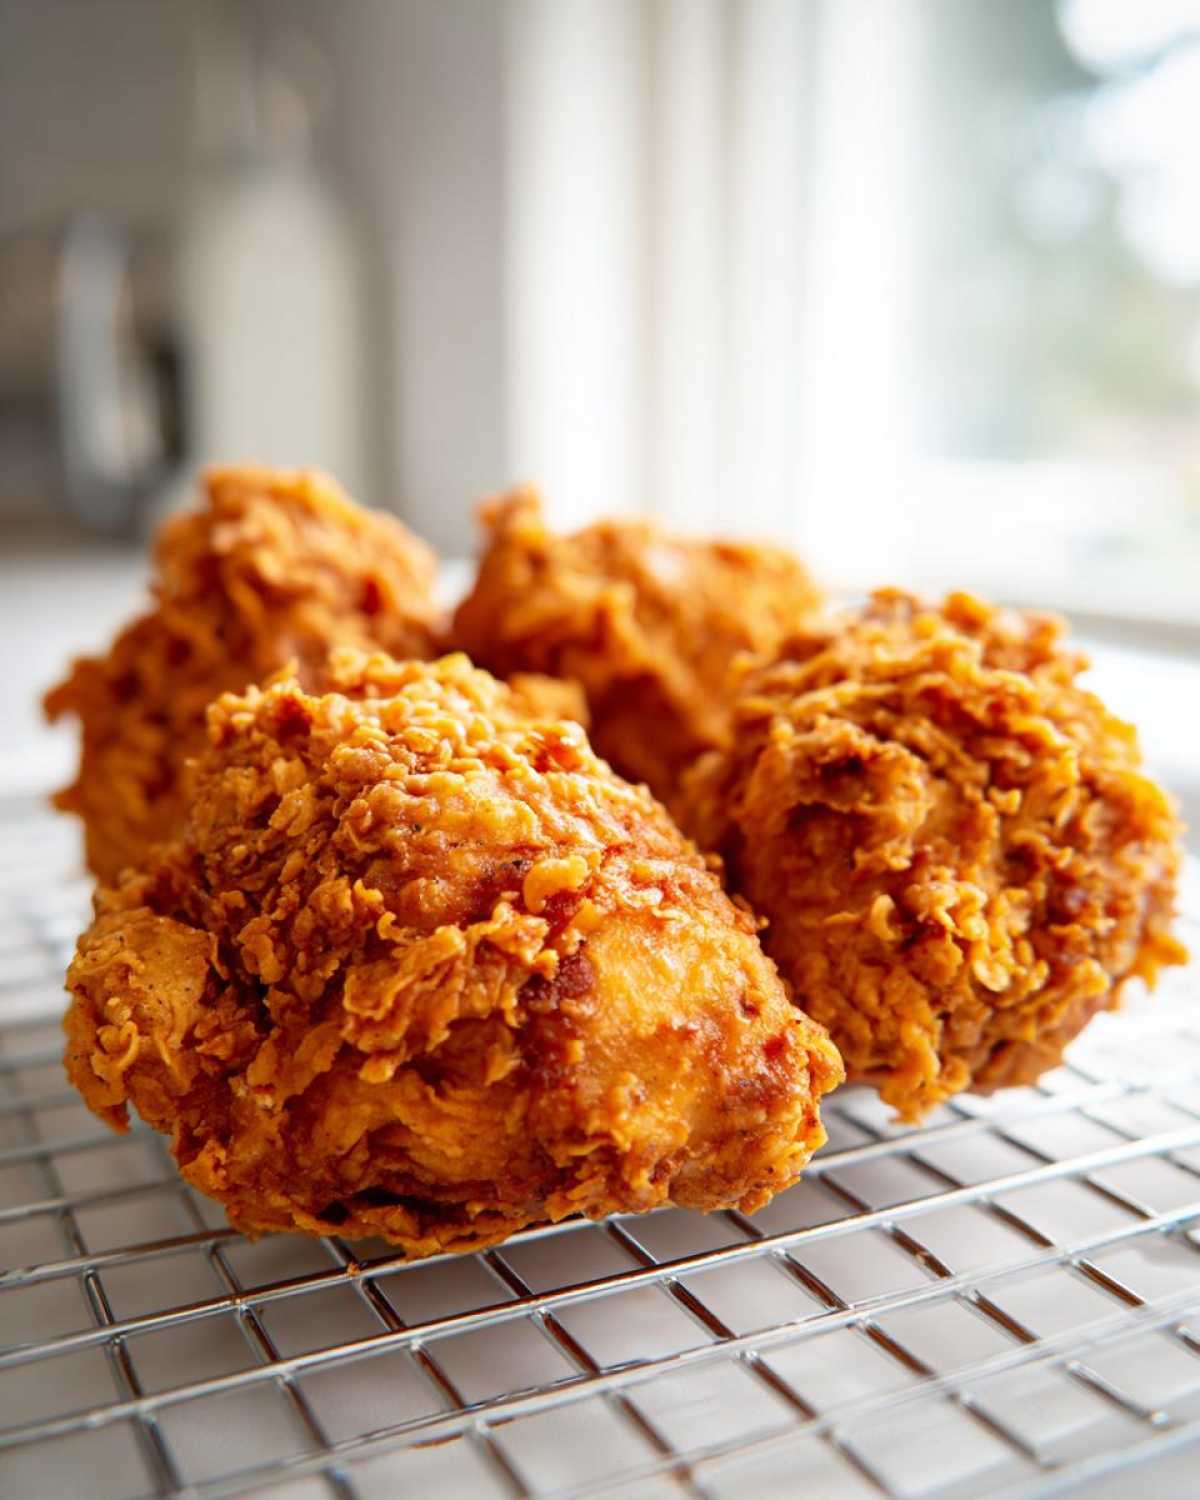
We’ve made batches of fried chicken so numerous I’ve lost count, and these little things are what separate good home cooking from truly next-level stuff. If you want the absolute best homemade fried chicken, you have to treat the process with respect! For instance, Ethan swears by using his biggest cast iron skillet. It holds that heat so much more consistently than stainless steel, which is huge when you’re dropping cold chicken in there.
Another crucial pro tip we learned from making big batches is managing leftovers while you keep frying. Don’t just stack the finished pieces on a plate! Pull the cooked chicken onto a wire rack set inside a baking sheet, and pop that whole setup into an oven set super low—like 200 degrees Fahrenheit. They’ll stay piping hot and, more importantly, the crust stays crisp while you finish the rest of the batch. Don’t forget to check out other great dinner ideas on our main recipe blog index!
Variations on Classic Fried Chicken
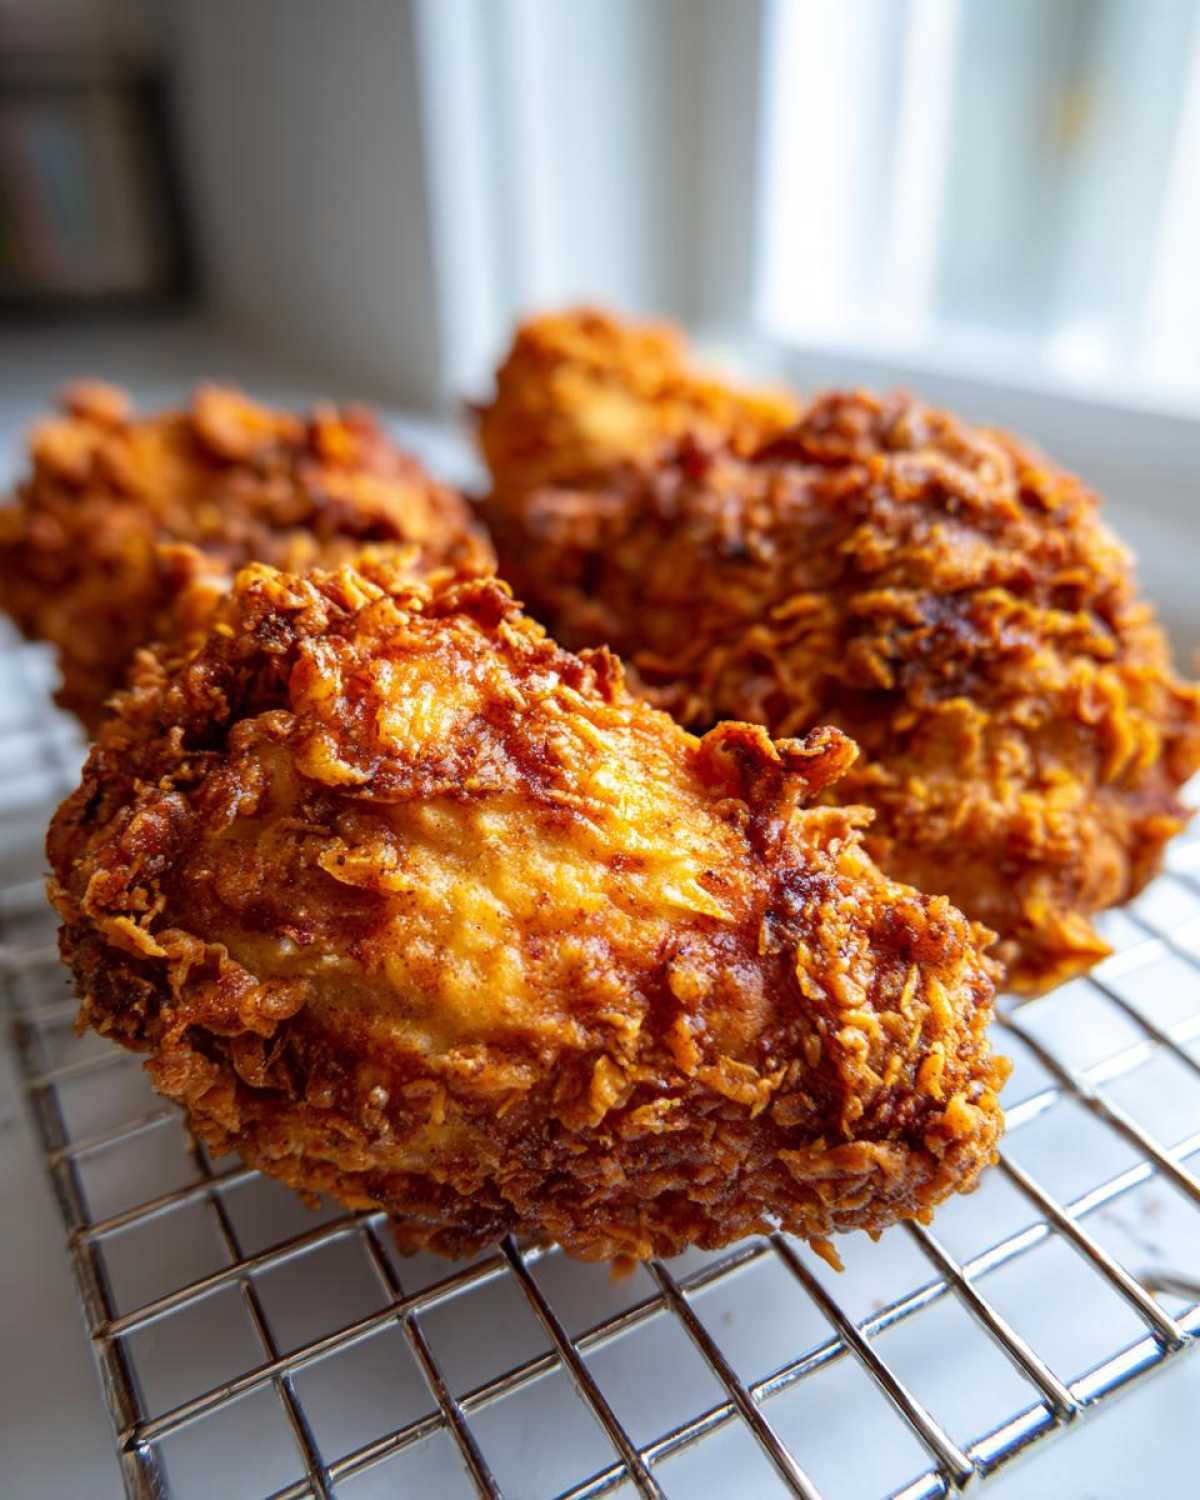
Even though this recipe gives you the absolute pinnacle of a bone-in, skin-on Southern Fried Chicken dinner, I know people are always looking for ways to switch things up for different savory chicken dinner ideas, right? We’ve dabbled in a few variations over the years, and I wanted to share where this recipe can take you.
Some folks only want that familiar, hyper-seasoned flavor profile that reminds them of the Colonel. While our dredge is packed with flavor, if you want to dive deep into achieving that specific taste, you might want to check out some dedicated copycat recipes out there—like this one Ethan found for copycat KFC fried chicken. It achieves a slightly different texture, but it’s great for a craving!
Making Country Fried Chicken with Gravy
Now, Country Fried Chicken (or Chicken Fried Steak style) is a little different because it’s usually served smothered in gravy, and often utilizes thinner cuts like boneless breasts or cutlets. If you wanted to adapt this recipe for that experience, the modification is pretty simple. You’d need to take your boneless, skinless chicken breasts and pound them nice and thin—maybe half an inch thick—before they even hit that buttermilk brine. That thinner cut cooks super fast! Then, make sure you whip up a rich, creamy white gravy to smother it immediately after frying. That gravy soak is what makes the dish!
If you’re looking for other ways to use simple chicken cuts in crispy ways, you should definitely check out our recipe for baked Chicken Cordon Bleu. Different cooking method, same commitment to crunch!
Storing and Reheating Your Fried Chicken
I know, I know. The odds of having any leftovers of this ultra-crispy fried chicken are slim to none, but we have to talk proper storage just in case. If you managed to save a few pieces, the way you store and reheat them is critical to protecting that hard-won crunch. The most important thing I learned when writing this up with Maya is: never store leftover chicken on paper towels!
I learned this the hard way when I used to stack them up right after frying. Putting them on paper towels traps all that steam escaping from inside the chicken right against the crust, and overnight, that steam turns your beautiful golden coating into sad, limp sadness. Who wants that?
Instead, even for temporary draining, we told you to use a wire rack. For storage, keep it simple. Once the chicken is completely cool, lay the pieces out still on a wire rack if you can, and loosely tent them with foil or even just put a paper towel loosely over the container before sealing it. This lets a little air circulate while still keeping things relatively contained.
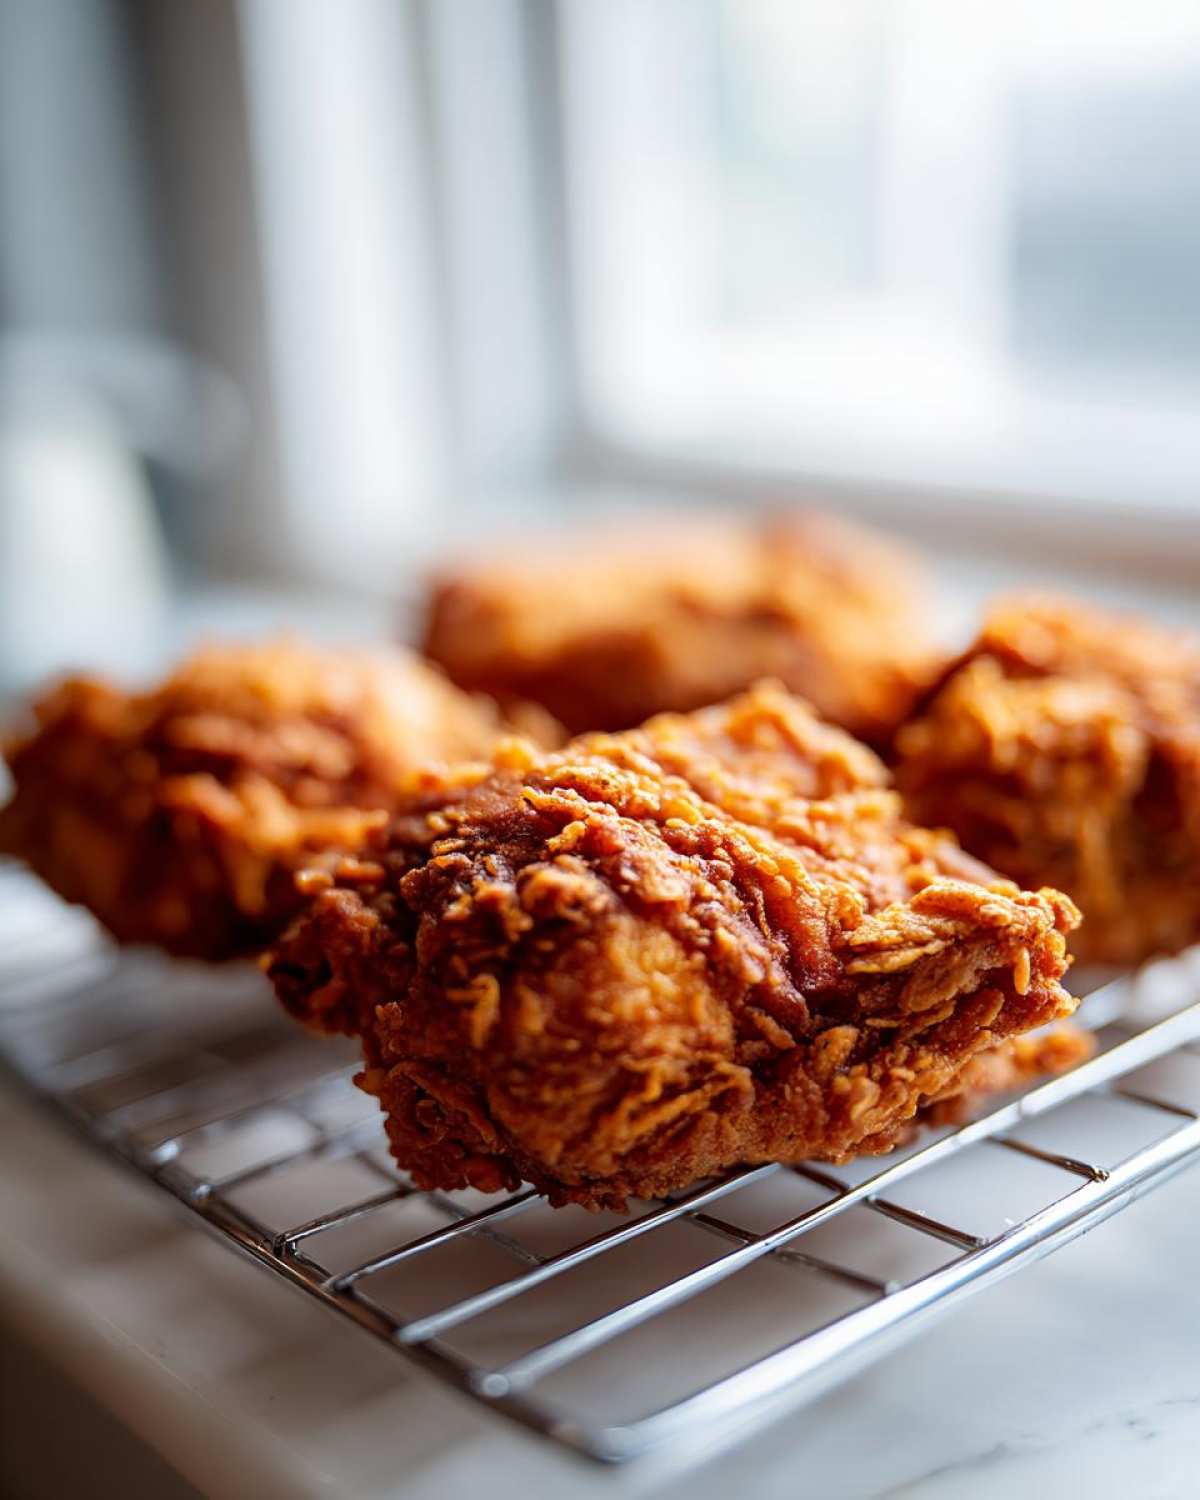
When it comes to reheating, Ethan discovered the oven method is vastly superior to the microwave—the microwave is the enemy of crispiness! Set your oven to about 375 degrees Fahrenheit. Place the cold chicken pieces directly back on a clean wire rack set over a baking sheet. Pop it in for about 10 to 15 minutes depending on the size of the piece. It heats through gently while the dry heat of the oven works to re-crisp that exterior. Seriously, try it; it brings it back almost perfectly!
Frequently Asked Questions About Making Fried Chicken
We get lots of questions when readers try this recipe for the first time, and honestly, that’s fantastic! I always tell Ethan that if people aren’t asking questions, they probably didn’t try making it yet. Here are a few things Maya and I hear most often about getting that perfect batch of comfort food chicken recipes.
Can I skip the buttermilk soak for this fried chicken?
You technically *can*, yes. If you are in a massive rush, you can swap the buttermilk for a quick dip in regular milk seasoned with salt and pepper. But listen to me: don’t! The whole point of the buttermilk is to tenderize that meat through gentle acidification. Skipping it means you jump straight to the result of just plain, less flavorful chicken. If you want the truly juicy and crispy chicken promised here, give it the full soak time. It’s worth every minute of planning!
What is the safest way to check if my fried chicken is done?
This is so important! We are dealing with bone-in chicken pieces, and the last thing we want is undercooked meat. While the ‘golden brown chicken’ outside is a major clue, it’s not foolproof because oil temperature can fool you sometimes. The absolute safest, most foolproof method any of us cooks have is using an instant-read meat thermometer. You are aiming for an internal temperature of 165 degrees Fahrenheit right where the meat is thickest, near the bone but not touching it. That reading confirms everything is safe and cooked perfectly through—no guesswork involved!
If you’re looking for other simple dinner ideas that require less precision, you can check out how we approach our easy creamy chicken enchiladas. Sometimes you just need a break from deep frying!
Nutritional Estimates for This Fried Chicken
Okay, time to get scientific for a minute—this is my favorite part, actually! Ethan usually just yells, “It tastes like happiness and salt!” when I ask about nutrition, but I track this stuff because I like to know what I’m putting into my body. Since this is fried chicken, it definitely falls into the indulgence category, but knowing the breakdown helps me balance things out later in the week.
Keep in mind, these numbers are just estimates. They are based on one average-sized thigh cooked exactly according to the recipe—double dredge and all that good stuff. The oil you use, the exact cut of meat, and how much salt you use definitely shift things around! We used standard vegetable oil for our testing, so if you sneak a bit more fat onto that wire rack while draining, these counts might go up a touch.
- Serving Size: 1 piece (thigh)
- Calories: 450
- Sugar: 3g
- Sodium: 650mg
- Fat: 28g
- Saturated Fat: 8g
- Unsaturated Fat: 20g
- Trans Fat: 0g
- Carbohydrates: 15g
- Fiber: 1g
- Protein: 32g
- Cholesterol: 110mg
See? A solid source of protein to go along with that amazing crunch! We’re keeping the sugar low, which is great, and sticking to whole ingredients really helps keep things honest. It’s a celebration meal, and now you know why it feels so satisfying!
Share Your Ultra-Crispy Fried Chicken Experience
Alright, my friend, that’s everything we know about making the most incredible, shatteringly crisp, ultra-juicy Southern Fried Chicken. We’ve poured years of trial-and-error—Maya’s spreadsheets and Ethan’s instincts—into this recipe, and now it’s yours!
But honestly, the fun doesn’t stop here. We absolutely love hearing how this recipe works out in your kitchen. Did you stick with the overnight brine? Did the double-dip technique give you the craggy crust you dreamed of? Please, don’t be shy!
Drop down to the comment section below and let us know! Give this recipe a star rating so other home cooks know what to expect from our ultimate fried chicken guide. Even small personal tips you discovered—maybe you used lard instead of shortening, or perhaps you found the perfect side dish—are super valuable to us and the whole Tasty Tipster community. We read every single note!
If you ran into any snags or have those leftover burning questions that our FAQ somehow missed, please don’t hesitate to reach out via our contact page. We are always here to help troubleshoot!
PrintUltra-Crispy Buttermilk Southern Fried Chicken

Achieve the ultimate comfort food with this Southern Fried Chicken recipe. We combine a long buttermilk soak with a special double-dredge technique to give you incredibly juicy meat and a golden, crunchy, craggy crust every time.
- Prep Time: 20 min
- Cook Time: 45 min
- Total Time: 4 hours 5 minutes (includes overnight marination)
- Yield: 4 servings
- Category: Dinner
- Method: Deep Frying
- Cuisine: Southern American
- Diet: Low Lactose
Ingredients
- 4 lbs bone-in, skin-on chicken pieces (thighs, drumsticks, breasts)
- 4 cups buttermilk
- 2 tablespoons kosher salt
- 1 tablespoon black pepper
- 1 tablespoon smoked paprika
- 1 teaspoon cayenne pepper (optional, for a kick)
- 3 cups all-purpose flour
- 1/2 cup cornstarch
- 1 tablespoon garlic powder
- 1 tablespoon onion powder
- Vegetable oil or shortening, for frying (about 4-6 cups)
Instructions
- Combine the buttermilk, kosher salt, black pepper, smoked paprika, and cayenne pepper in a large bowl or zip-top bag. Add the chicken pieces, ensuring they are fully submerged. Cover and refrigerate for at least 4 hours, or preferably overnight. This step is key for juicy and tender chicken.
- In a separate shallow dish, whisk together the flour, cornstarch, garlic powder, and onion powder. This is your dry dredge.
- Remove the chicken from the buttermilk, letting excess drip off, but do not wipe it dry.
- Dredge each piece of chicken thoroughly in the flour mixture, pressing the flour onto the chicken to create a thick coating.
- For the double-dip (our secret for extra crispiness): Dip the floured chicken back into the remaining buttermilk mixture for just a few seconds, then immediately return it to the flour mixture. Press firmly again to build a thick, craggy crust. Set the coated chicken on a wire rack while you heat the oil.
- Pour enough oil or shortening into a large, heavy-bottomed skillet or Dutch oven to reach a depth of about 1.5 to 2 inches. Heat the oil to 325 degrees Fahrenheit (160 degrees Celsius). Use a thermometer to monitor the temperature; maintaining this heat is crucial for crispy fried chicken.
- Carefully place 3-4 pieces of chicken into the hot oil, ensuring you do not overcrowd the pan, which lowers the oil temperature. Fry drumsticks and thighs for about 12-15 minutes, turning occasionally, until deeply golden brown and cooked through (internal temperature of 165 degrees Fahrenheit). Adjust cooking time for breasts.
- Remove the cooked chicken and place it on a clean wire rack set over a baking sheet to drain excess oil. Do not place it on paper towels, as this traps steam and softens the crust.
- Allow the chicken to rest for 5 minutes before serving. Repeat the frying process with the remaining chicken, adjusting the heat as necessary between batches.
Notes
- For the best results, use a cast iron skillet. It holds heat better than other pans.
- If you are making Chicken Fried Chicken, you will need to prepare a simple white gravy to serve over the crispy cutlets immediately after frying.
- To keep the chicken warm while you finish frying the rest, place the cooked pieces in a 200 degree Fahrenheit oven on a wire rack.
Nutrition
- Serving Size: 1 piece (thigh)
- Calories: 450
- Sugar: 3
- Sodium: 650
- Fat: 28
- Saturated Fat: 8
- Unsaturated Fat: 20
- Trans Fat: 0
- Carbohydrates: 15
- Fiber: 1
- Protein: 32
- Cholesterol: 110