

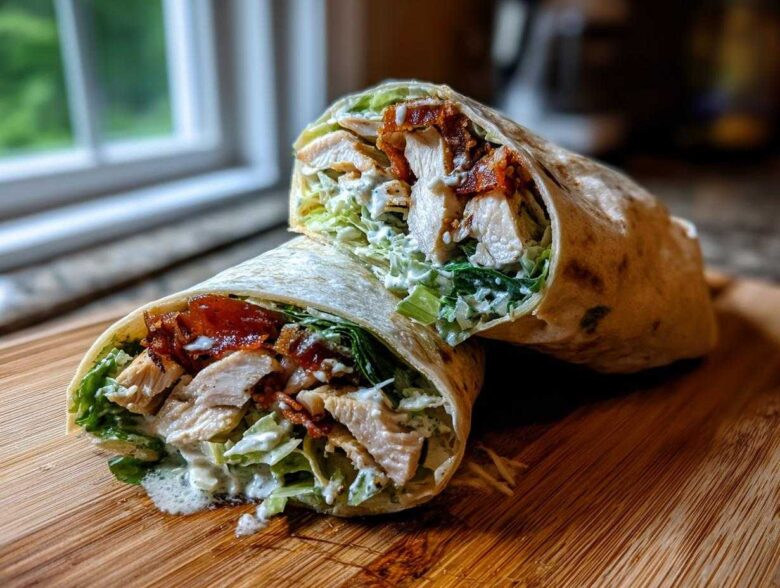
Oh, you know those days? You’re craving that perfect take-out-style crunch, but you don’t want to spend twenty bucks or wait an hour for delivery. I’ve been there! That’s why I dedicated serious time in my kitchen to master the ultimate Crispy Chicken Caesar Wrap with Parmesan. Seriously, I tested so many sad, soggy wraps before landing on this method. Trust me when I say the secret is all in the double-duty Parmesan coating and the careful frying technique. When you tear into this bad boy, you’ll get that amazing crunch followed by cool, creamy Caesar goodness. You won’t believe you made this homemade! If you love this style of wrap, you absolutely have to check out my general tips on amazing Chicken Caesar Wraps too!
Why This Crispy Chicken Caesar Wrap with Parmesan Recipe Works
I know there are a million chicken Caesar recipes out there, but this one *works* because we aren’t cutting any corners on texture. This isn’t just a quick weeknight meal; it’s about capturing that perfect, audible crunch you usually only find at your favorite sports bar. We focus on three things: the coating, the heat, and the assembly order. You’ll find my full breakdown of why these choices matter below. If you’re interested in the general theory behind making great meals, you can dig into my latest food blog ramblings too!
Achieving Peak Crunch in Your Chicken
Forget standard breadcrumbs! We are using Panko, which are those big, airy Japanese flakes. They absorb less oil and create those spiky, sturdy edges we all love. The real game-changer, though, is mixing a quarter cup of finely grated Parmesan right into that Panko mix. This creates a salty, savory barrier that seals in the chicken juices and gets incredibly golden and crunchy when it hits the right oil temperature. Aim for 350°F (175°C)—too cold and it soaks up grease; too hot and the outside burns before the inside cooks.
The Secret to a Non-Soggy Crispy Chicken Caesar Wrap with Parmesan
This is the step everyone messes up! The minute you introduce wet ingredients to the tortilla, the clock starts ticking on sogginess. Here’s my rule: lettuce first. The lettuce acts like a moisture barrier between the dressing and the tortilla itself. You only want a *thin* brush of Caesar dressing right onto the greens, not spread across the whole tortilla. We assemble quickly and eat immediately, or, if we’re making them ahead, we keep the chicken completely separate!
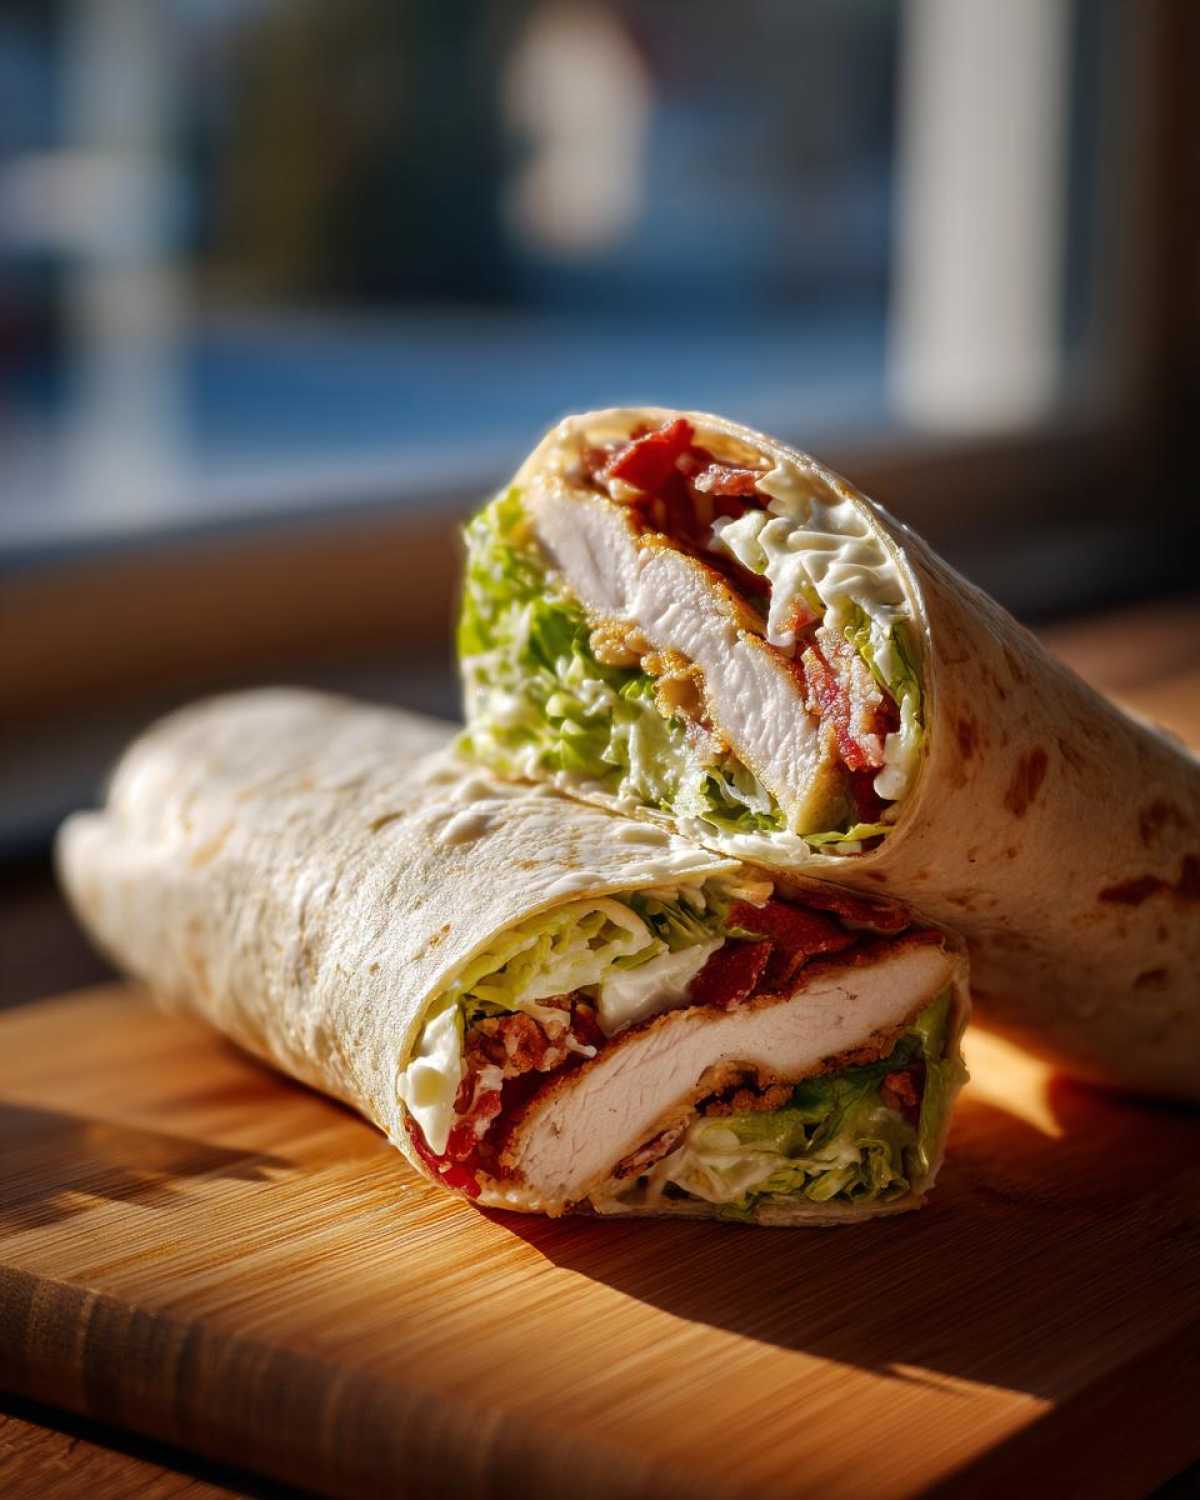
Essential Ingredients for the Crispy Chicken Caesar Wrap with Parmesan
You can’t throw just anything in a wrap and call it a day, right? Because we are going for restaurant quality here, we need specific players on our team. I’ve broken down the list so you know exactly what goes where, especially since we are using two forms of Parmesan! If you’re looking for the absolute best foundation for your wraps, I wrote a whole guide on the best tortilla for wraps that handles all that filling.
For the Parmesan Crusted Chicken
This is where the crunch starts! You’ll need two boneless, skinless chicken breasts, but cut them into strips—that way they cook faster and fit better in the wrap. For the dredge, grab one cup of plain flour, salt, pepper, and just a whisper of paprika for color. Then, your two eggs, beaten up nice and loose. The star of the show for the crust is one cup of Panko breadcrumbs mixed with exactly a quarter cup of finely grated Parmesan cheese. That cheese melts right into the Panko!
For Assembling the Best Homemade Caesar Wrap
The assembly crew is simple but important. Get four large flour tortillas—the burrito-sized ones work best so they don’t burst when you wrap them tight! You need about a cup of crisp romaine lettuce, chopped small. Then, your dressing—about half a cup. Lastly, for that salty bite right on top, grab some thinner, shaved Parmesan; this is different from the grated stuff in the breading, and it makes a difference!
Step-by-Step Instructions for Crispy Chicken Caesar Wrap with Parmesan
Okay, let’s get this wrapped up! I promise, once you see all the moving parts laid out, it’s super straightforward. We’ve got three main stages: coating the chicken, frying it until it screams crunch, and then rolling it all up fast. If you want to make your own dressing for this masterpiece, I have a killer recipe for a simple Caesar dressing recipe for wraps that elevates the whole thing. Just make sure everything is ready to go before you start frying!
Breading and Coating the Chicken for Maximum Crisp
Set up three shallow dishes. Dish one is your dry mix: flour, salt, pepper, and paprika. Dish two is just your beaten eggs. Dish three is the magic combo: Panko breadcrumbs mixed thoroughly with that grated Parmesan. Take your chicken strips and dredge them completely in the flour first—shake off the extra so it doesn’t clump! Then dip them into the egg, making sure they are coated evenly. Finally, press them firmly into the Panko mix. I mean really press them! You want those little flakes totally stuck to the chicken; that’s your armor against soggy.
Frying Technique for Golden, Cooked-Through Chicken
Get about an inch of oil heating in a nice, heavy skillet over medium-high heat until it hits precisely 350°F (175°C). If you don’t have a thermometer, test it with a drop of batter—it should sizzle immediately but not smoke furiously. Carefully drop your crusted chicken into the hot oil, but don’t pack the pan in! Give them space. Fry them for about 3 to 4 minutes per side. Once they’re beautifully golden brown—and they hit that safe 165°F internal temp—pull them out right away. Set them on a wire rack or paper towels to let that excess oil drip away. You need them dry before they even think about lettuce!
Assembling Your Perfect Crispy Chicken Caesar Wrap with Parmesan
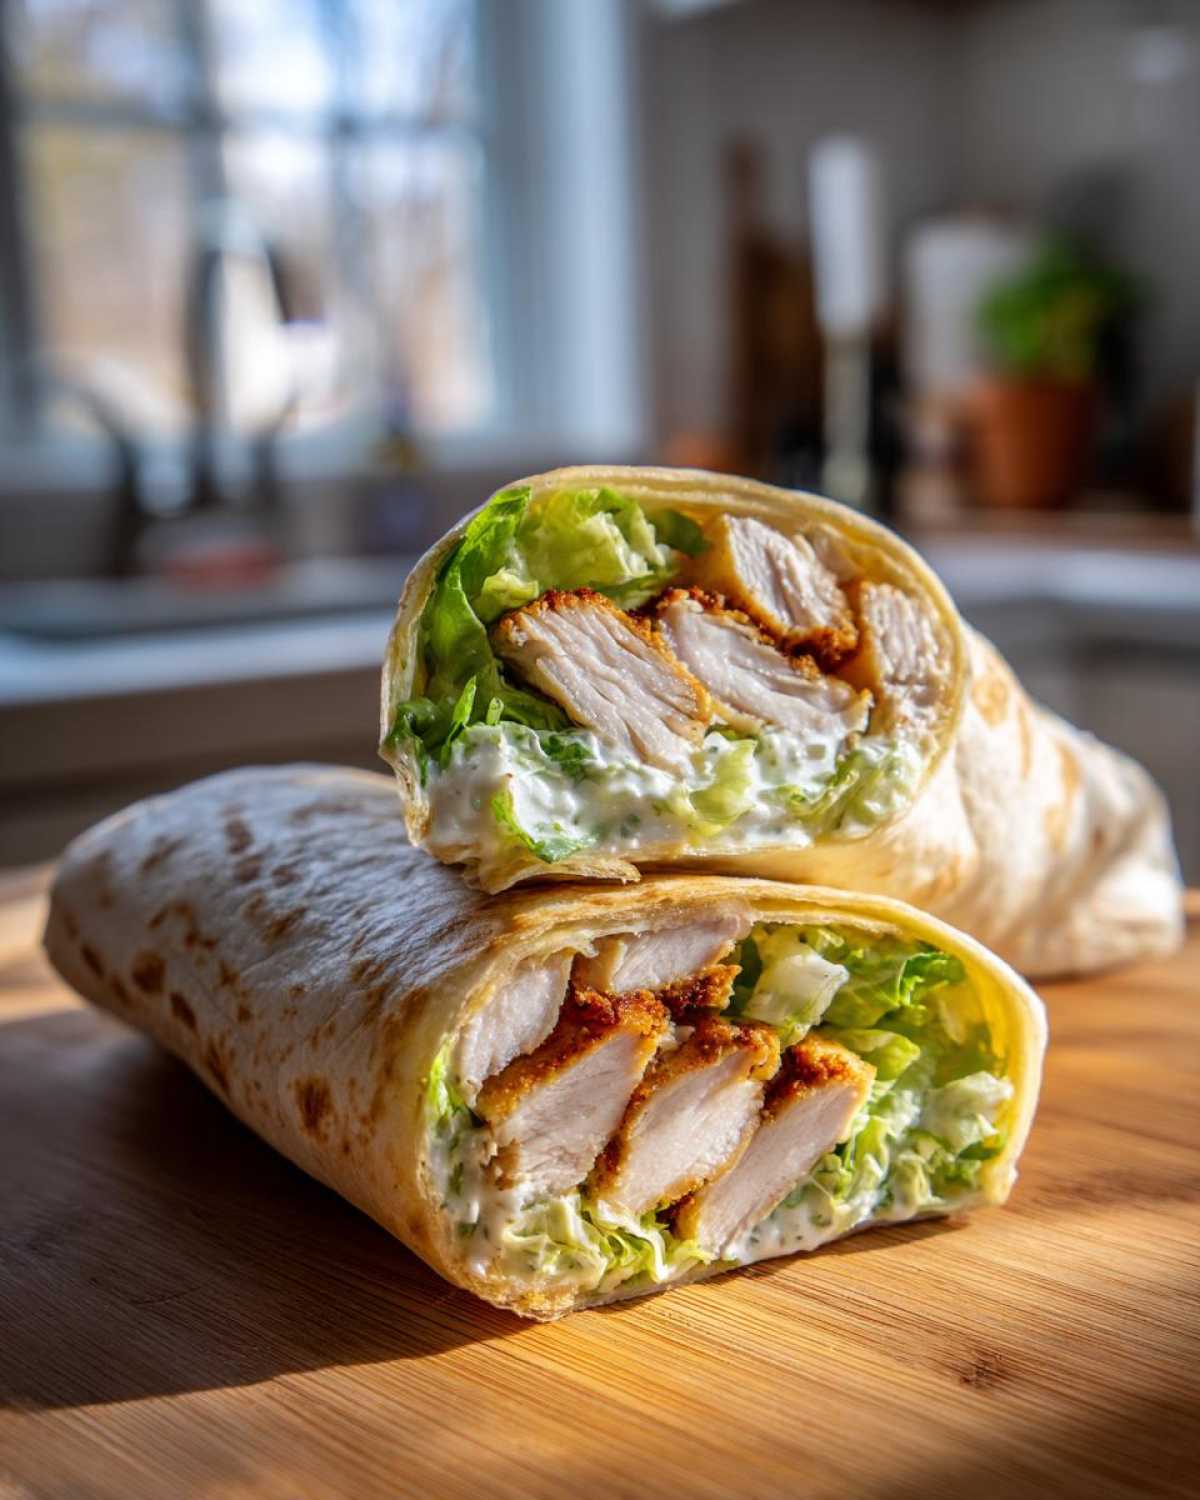
Quickly warm your tortillas—this makes them bendy and prevents tearing. Now, build fast to keep that crisp factor high! Lay the warm tortilla down. First, spread a very thin layer of Caesar dressing right down the center line—don’t go edge-to-edge! Next, pile on the chopped romaine lettuce. Place 3 or 4 pieces of that hot, crispy chicken on top of the lettuce. Finish with a sprinkle of those lovely shaved Parmesan pieces. Fold those sides in like you’re wrapping a present, then roll it tightly from the bottom up. Slice it diagonally and get ready for crunch!
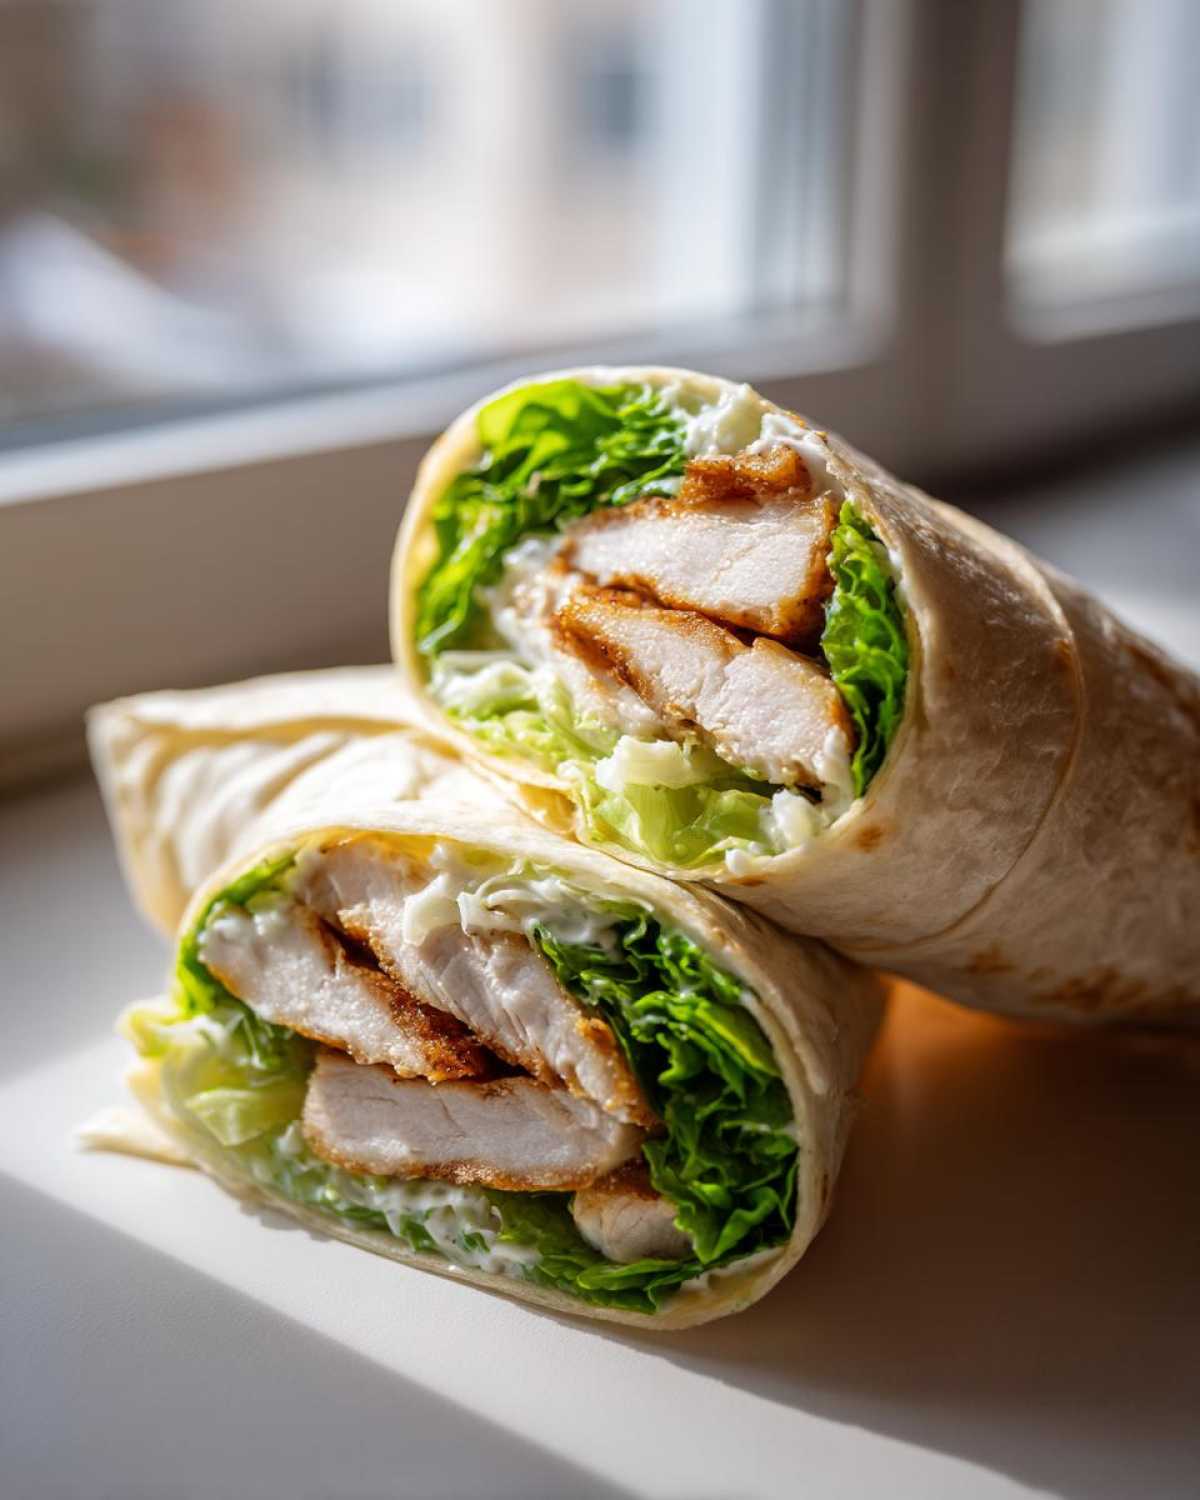
Tips for Success Making a Crunchy Chicken Sandwich Wrap
Look, getting that incredible golden crunch is the whole point of the Crispy Chicken Caesar Wrap with Parmesan, right? So when you’re busy or just don’t want to deal with the frying oil, I have a couple of tricks up my sleeve to keep that texture locked in. Achieving that peak crunch doesn’t always require a skillet, thank goodness! If you’ve already breaded your chicken perfectly using the Panko and Parmesan mix, you’re halfway there.
Alternative Cooking Methods: Air Fryer Crispy Chicken Wrap Options
If deep frying just isn’t your speed, the air fryer is a lifesaver for making air fryer crispy chicken wrap options. You’ll just need to give those crusted strips a light spritz of cooking spray—don’t drown them, just coat them lightly! Pop them into your air fryer basket, making sure you don’t stack them up, because they need air circulation to get fully crispy. Pop them in at 400°F (200°C) and let them run for about 12 to 15 minutes. Just remember to flip them halfway through so both sides get that beautiful golden color. You can find a lot more detail on this method on my dedicated Air Fryer Crispy Chicken Wrap Options page!
Make Ahead Chicken Caesar Wrap with Parmesan Strategy
Listen, I totally get it. Sometimes you need these phenomenal wraps ready for lunchboxes or packed lunches for the week. Trying to make a Crispy Chicken Caesar Wrap with Parmesan fresh at 7 AM is just not happening for most of us! The absolute key to making these ahead of time, and I mean *absolute* key, is keeping the crunch separate from the wet parts. If you assemble the whole thing and stick it in the fridge, you’ll end up with a glorified, sad chicken salad tortilla. Don’t let that happen!
For the prep work, the best thing you can do is fry or air fry all your chicken strips completely, let them cool down fully, and then store them in an airtight container in the fridge. If you want to get even fancier, you can even make the chicken a day ahead and keep it chilled. The dressing, lettuce, and cheese should also be kept separate. I usually keep my lunchbox wrap recipes very modular.
When it’s time to eat, just take your chilled crispy chicken, warm it up for two minutes in a toaster oven or air fryer—never the microwave, please!—and then assemble your wrap fresh. It takes literally two minutes to roll it up once the chicken is hot, and then you get that glorious, fresh crunch again. This way, your wrap assembly is fast, and you preserve all that hard work we put into making that Panko-Parmesan crust perfect!
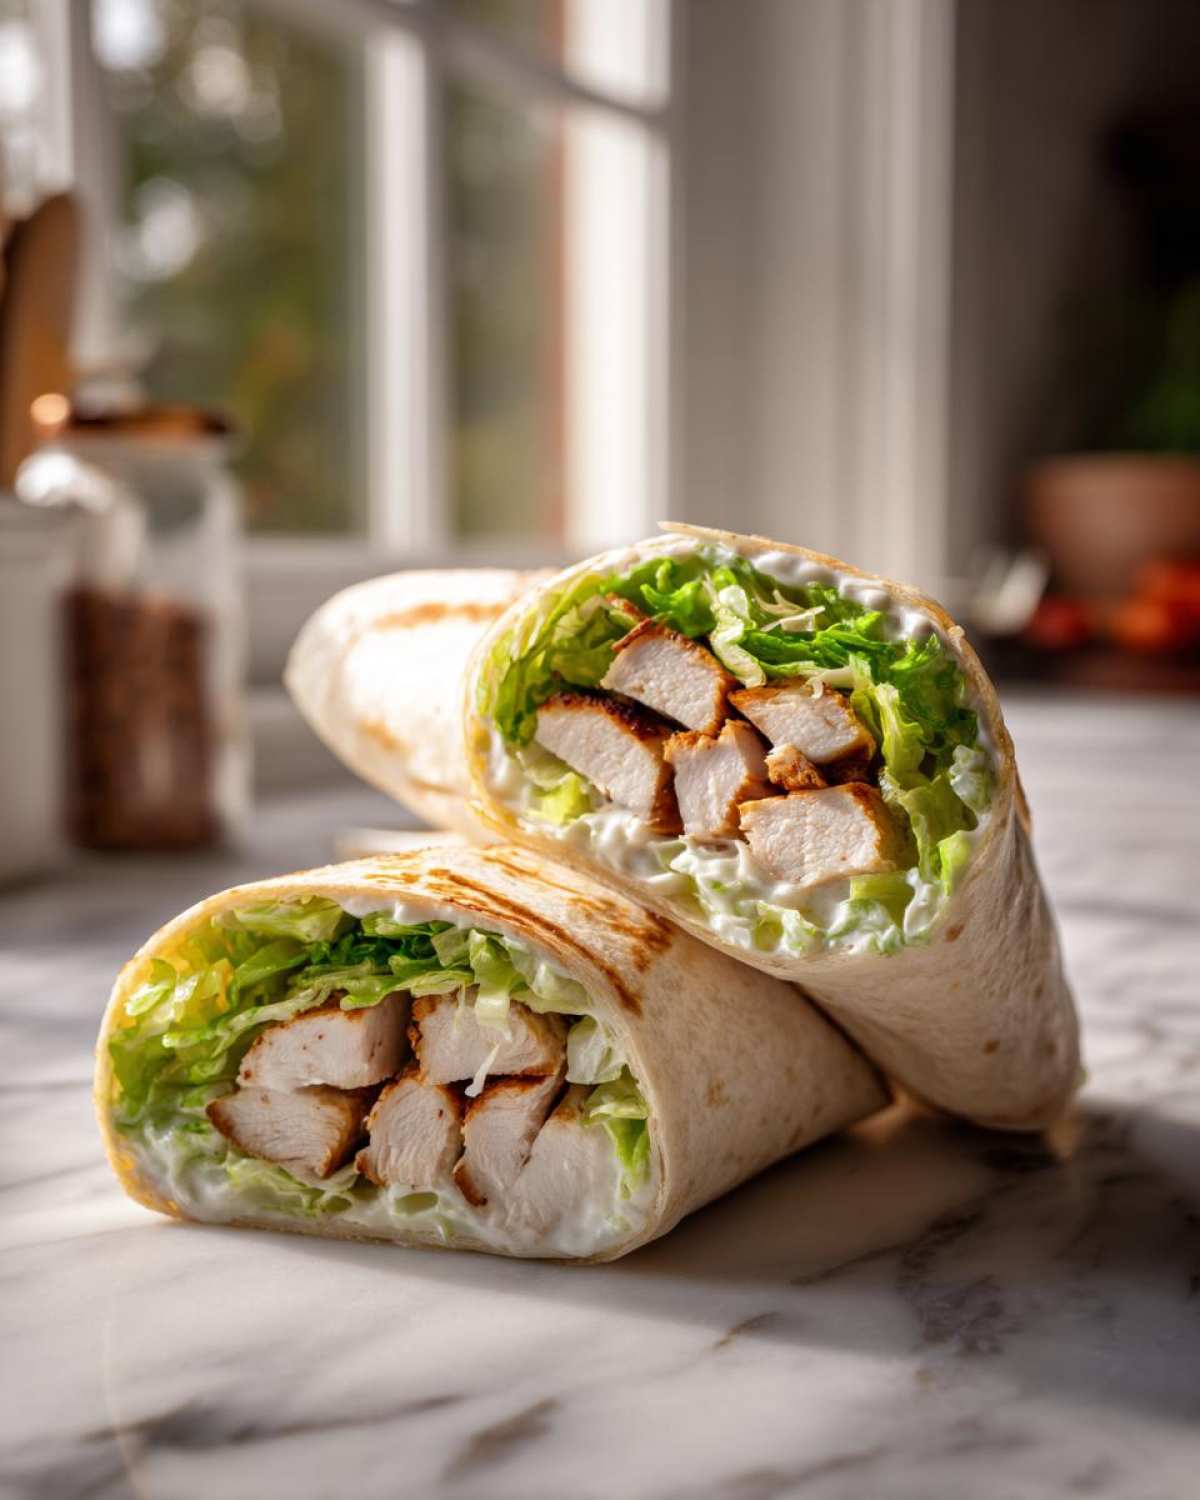
Serving Suggestions for Your Crispy Chicken Wrap
Honestly, once you nail this Crispy Chicken Caesar Wrap with Parmesan, sometimes you just want to eat the wrap and call it a meal—it’s hearty enough! But if you’re serving this up for a family dinner or want to pack it with a little something extra for lunch, I always stick to sides that don’t compete with the savory, garlicky punch of the Caesar dressing. We want quick, practical pairings, especially if we’re making these on a busy night.
If you need something fresh to cut through the richness, a simple side salad tossed with just lemon juice and a drizzle of olive oil is fantastic. It gives you that green component without adding another heavy dressing. For something warmer, I sometimes pair these if I’m making them for dinner alongside some oven-roasted sweet potato fries. They bake up nice and quick while you’re frying the chicken!
Since this wrap is already such a powerhouse of flavor and protein, you don’t need a huge spread. Think simple crunch and brightness. If you’re looking for more ideas on serving wraps for dinner, I compiled a list of my best weeknight dinner wrap recipes that might give you some other inspiration for busy nights!
Storage and Reheating Instructions for Leftover Crispy Chicken
Okay, let’s talk about leftovers, because sometimes we do need to save half the batch for tomorrow. This is where everything we just talked about—the crunch, the cheese, the assembly—comes into sharp focus. If you have any hopes of enjoying a genuine, crunchy experience later, you absolutely must keep the components separate. I cannot stress this enough: any moisture touching that beautiful Parmesan crust while it’s sitting in the fridge will turn it into something sad and chewy. No one wants that!
For the best results, store everything in individual, airtight containers. Put the dressing in a tiny separate jar. Keep the chopped lettuce crisp and dry. And most importantly, keep the leftover crispy chicken strips completely bare. If you successfully followed the assembly guide on avoiding a soggy wrap, this storage step is straightforward. For more on keeping things dry, check out my guide on how to make a soggy free chicken wrap entirely!
Now, for the crucial part: reheating the chicken for your second-day Crispy Chicken Caesar Wrap with Parmesan. The microwave is the absolute enemy here; it just steams everything and wipes out all that wonderful texture we worked so hard to create with the Panko and oil. Instead, you have two better options.
First, the oven or toaster oven is fantastic. Spread the chicken pieces out on a baking sheet, maybe give them a tiny spritz of oil if they look dry, and heat them at about 375°F (190°C) for 6 to 8 minutes. They’ll crisp right back up! Alternatively, the air fryer is even faster—about 4 minutes at 380°F (195°C) should bring that crunch right back to life.
Once the chicken is hot and crunchy, then—and only then—do you assemble your fresh wrap with cold lettuce and dressing. Trust me, taking those extra 5 minutes to reheat properly is the difference between a satisfying lunch and a mushy disappointment!
Frequently Asked Questions About This Recipe
I get so many questions about this wrap because everyone wants that perfect crunch! I’ve gathered up a few of the most common ones I hear about making the absolute best Parmesan Crusted Chicken Wrap. If you’re wondering about substitutions or the best way to sneak this into your routine, check out the answers below! If you want to see my basic tutorial, check out how I approach an Easy Crispy Chicken Wrap Recipe in general.
Can I use pre-cooked chicken to make this Crispy Chicken Caesar Wrap with Parmesan?
If you are in a HUGE rush and looking for an Easy Crispy Chicken Wrap Recipe, you *could* use pre-cooked chicken strips, but honestly, you won’t get that signature crunch we worked so hard for. The magic happens when that breading hits the hot oil! If you absolutely must use pre-cooked chicken, I strongly suggest slicing it thin and then tossing it in the Panko-Parmesan mix anyway. Then, you can briefly pan-sear the breaded chicken in just a tablespoon of oil until the coating is golden brown and piping hot—maybe 2 minutes per side. This wakes up that crust so it doesn’t taste like it came straight from the fridge!
What is the best type of Parmesan cheese to use in the breading?
This makes a huge difference in how well your crust adheres! Remember, we use two types of Parmesan in this recipe. For the actual breading mix (the one with the Panko), you want the finely grated stuff—the powdery kind that comes in a shaker jar is actually perfect here because it mixes in evenly and melts beautifully into the crumbs. But when you are topping the wrap at the end, you absolutely need those large, flaky shavings you get from shaving a block of high-quality Parmigiano-Reggiano. That shaving adds salty bursts and texture to the finished Crispy Chicken Caesar Wrap with Parmesan, so don’t skip the second type!
How do I make sure my chicken is cooked through without burning the Panko?
This is a lesson I learned the hard way! It all comes down to oil temperature control. You need that oil to be around 350°F (175°C). If your oil is too cold, the crust absorbs the fat before it has a chance to set, and it ends up soggy *and* greasy. If it’s too hot, the outside turns black before the raw chicken inside cooks. Make sure your strips aren’t too thick, and stand right by the stove, turning them after about 3 or 4 minutes. If you’re worried, you can always use an instant-read thermometer; 165°F is your goal!
Can I substitute romaine lettuce?
You certainly can, but romaine is my number one pick for a reason! It’s got that great, sturdy crunch that holds up well against the dressing and heat from the chicken. If you use anything too delicate, like butter lettuce, it will wilt instantly and won’t do its job as a moisture barrier. For the best results in this Easy Crispy Chicken Wrap Recipe, stick with the crispiest lettuce you can find!
Estimated Nutritional Data for Your Wrap
Hey, I know some of you lovely cooks are tracking macros or are just curious about what you’re eating when you whip up these incredible Crispy Chicken Caesar Wraps with Parmesan. I went ahead and pulled the numbers based on the ingredients list, but remember, this is an estimate. How you fry those chicken strips or how heavy-handed you are with the Caesar dressing can definitely move these numbers around! Think of this as a good starting point for your recipe planning.
This breakdown assumes you are making four wraps using the ingredients listed, so these figures are per serving (one wrap). If you’re looking for something lighter, remember to check out my air fryer variation—that cuts down on the fat significantly!
- Serving Size: 1 wrap
- Calories: 550
- Fat: 28g (Note: This varies widely based on the oil absorption during frying!)
- Saturated Fat: 7g
- Carbohydrates: 45g
- Fiber: 3g
- Protein: 35g
- Sugar: 4g
- Sodium: 850mg (Parmesan and dressing add up quick!)
It’s a powerhouse meal, packed with protein thanks to that lovely chicken breast! Just keep an eye on the sodium if you’re watching your salt intake, and maybe go easy on the dressing for your next wrap assembly!
PrintCrispy Chicken Caesar Wrap with Parmesan

Follow these steps to make a satisfying wrap featuring crunchy fried chicken, creamy Caesar dressing, and sharp Parmesan cheese, assembled to stay crisp.
- Prep Time: 15 min
- Cook Time: 15 min
- Total Time: 30 min
- Yield: 4 servings
- Category: Lunch
- Method: Frying
- Cuisine: American
- Diet: Vegetarian
Ingredients
- 2 boneless, skinless chicken breasts, cut into strips
- 1 cup all-purpose flour
- 1 teaspoon salt
- 1/2 teaspoon black pepper
- 1/2 teaspoon paprika
- 2 large eggs, beaten
- 1 cup panko breadcrumbs
- 1/4 cup grated Parmesan cheese (for breading)
- Vegetable oil, for frying
- 4 large flour tortillas
- 1 cup romaine lettuce, chopped
- 1/2 cup Caesar dressing (homemade or store-bought)
- 1/4 cup shaved Parmesan cheese (for topping)
Instructions
- Prepare the chicken breading: Mix flour, salt, pepper, and paprika in one shallow dish. Whisk eggs in a second dish. Combine panko breadcrumbs and 1/4 cup grated Parmesan in a third dish.
- Dredge chicken strips first in the flour mixture, shaking off excess. Dip into the egg wash, then press firmly into the panko mixture to coat completely.
- Heat about 1 inch of vegetable oil in a large skillet over medium-high heat to 350°F (175°C).
- Carefully place chicken strips in the hot oil, ensuring not to overcrowd the pan. Fry for 3 to 4 minutes per side until golden brown and cooked through (internal temperature reaches 165°F or 74°C).
- Remove chicken and place on a wire rack or paper towel-lined plate to drain excess oil.
- Warm the tortillas briefly in a dry skillet or microwave to make them pliable.
- To assemble, lay a tortilla flat. Spread a thin layer of Caesar dressing down the center. Top with chopped romaine lettuce.
- Place 3-4 pieces of crispy chicken on top of the lettuce. Sprinkle with shaved Parmesan cheese.
- Fold in the sides of the tortilla, then tightly roll from the bottom up to create a secure wrap. Slice in half if desired and serve immediately.
Notes
- To prevent sogginess, place the lettuce directly on the tortilla before adding the dressing, and avoid over-saucing the ingredients.
- For a different texture, you can air fry the breaded chicken at 400°F (200°C) for 12-15 minutes, flipping halfway.
- Use large, thick tortillas designed for burritos to hold the filling securely.
Nutrition
- Serving Size: 1 wrap
- Calories: 550
- Sugar: 4
- Sodium: 850
- Fat: 28
- Saturated Fat: 7
- Unsaturated Fat: 21
- Trans Fat: 0
- Carbohydrates: 45
- Fiber: 3
- Protein: 35
- Cholesterol: 110