

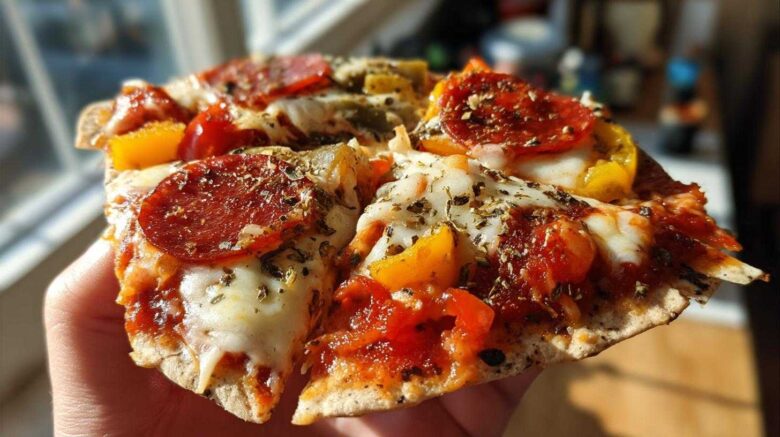
Why You’ll Love These DIY Pizza Lunchables
Tired of those pre-packaged, mystery-ingredient lunch kits? I know I was! Ethan and I found our kitchen rhythm by blending his intuitive cooking with my love for a good plan. This led us to create these DIY Pizza Lunchables.
They’re a game-changer for busy parents. You get:
- Total Customization: Let kids pick their own toppings!
- Super Easy Assembly: Less than 10 minutes of prep.
- Healthier Choice: You control the ingredients.
- Kid-Approved Fun: They’re actually excited to eat lunch.
It’s our little way to make mealtime a joy, not a chore.
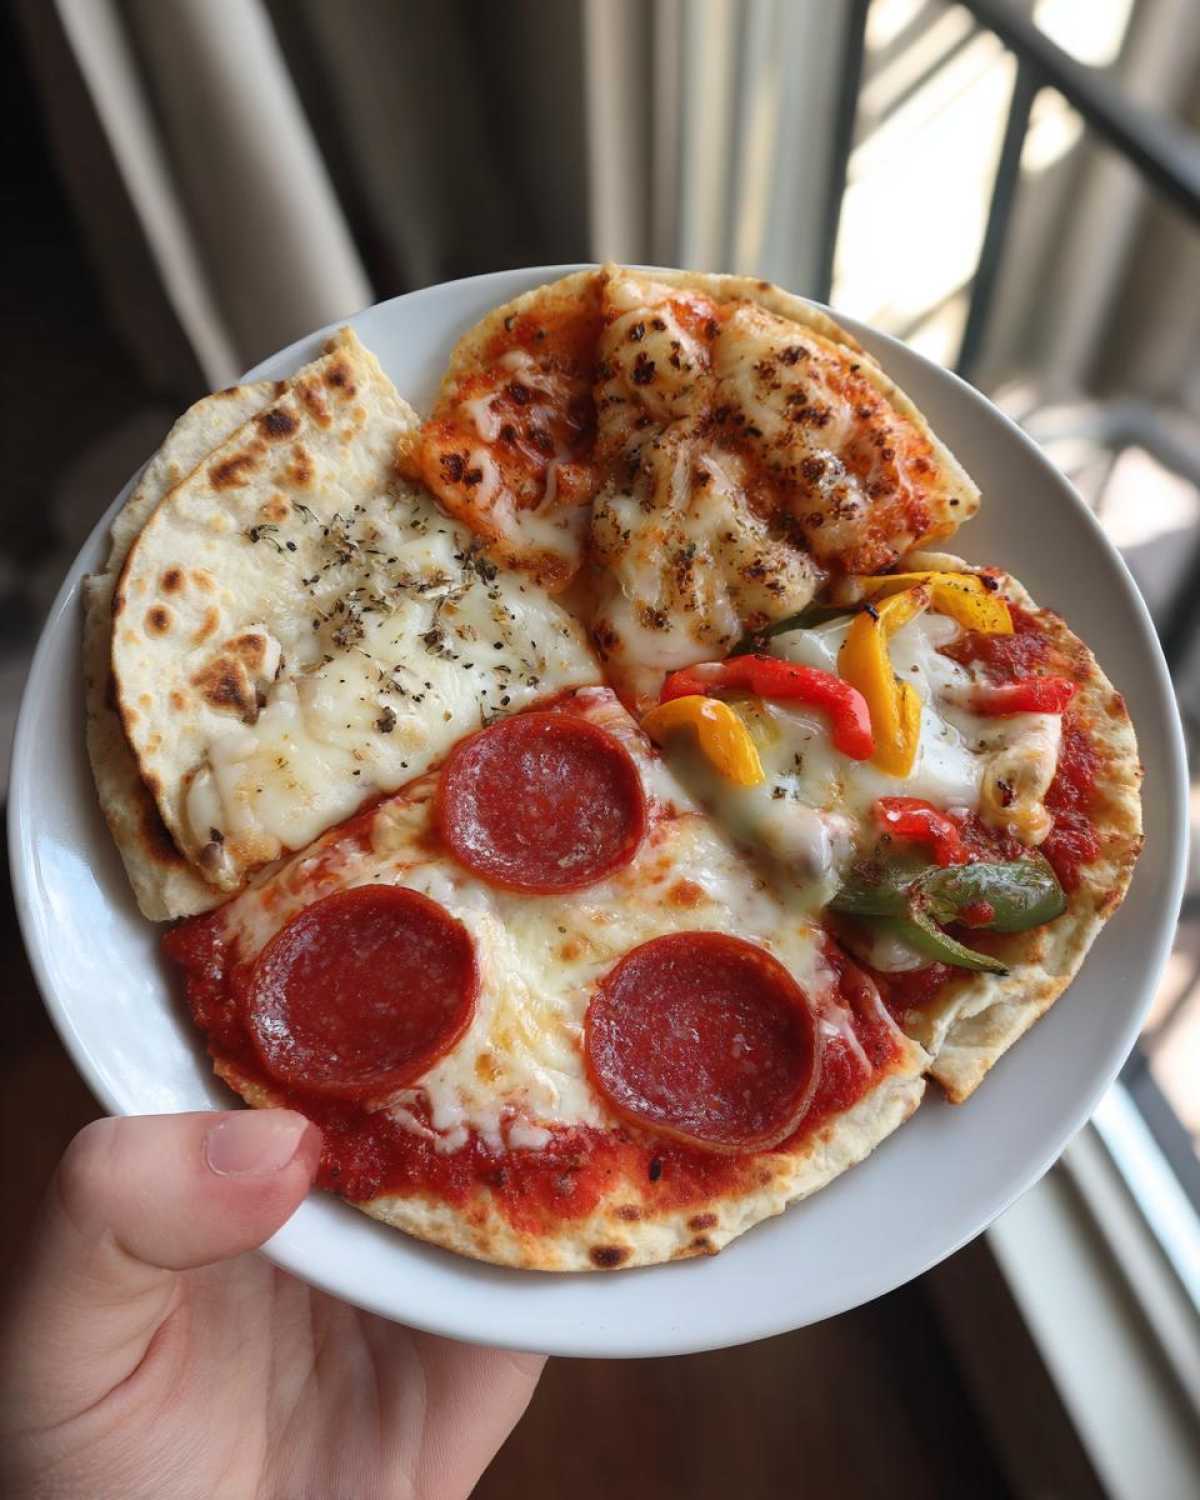
Gather Your Ingredients for DIY Pizza Lunchables
Let’s get our kitchen ready for some pizza magic! Here’s what you’ll need to create these fantastic DIY Pizza Lunchables:
- Whole Wheat Pita Bread or English Muffins: 1 package. I like using whole wheat for a healthier base.
- Pizza Sauce: 1 jar. Choose your favorite kind!
- Shredded Mozzarella Cheese: 1 cup. Low-moisture works best.
- Toppings Galore: Get creative! We love pepperoni, cooked sausage, finely chopped bell peppers, mushrooms, and black olives.
- Optional Extras: A small container for the sauce works great. A small baggie is perfect for toppings.
Having everything ready makes the assembly process a breeze. It’s like building your own delicious adventure!
Equipment You’ll Need for DIY Pizza Lunchables
You don’t need fancy gadgets for this. Just a few kitchen staples will do:
- Cutting board
- Knife
- Spoon or small ladle
- Lunchbox or food containers
That’s it! Simple tools for a simple, yet delightful, meal.
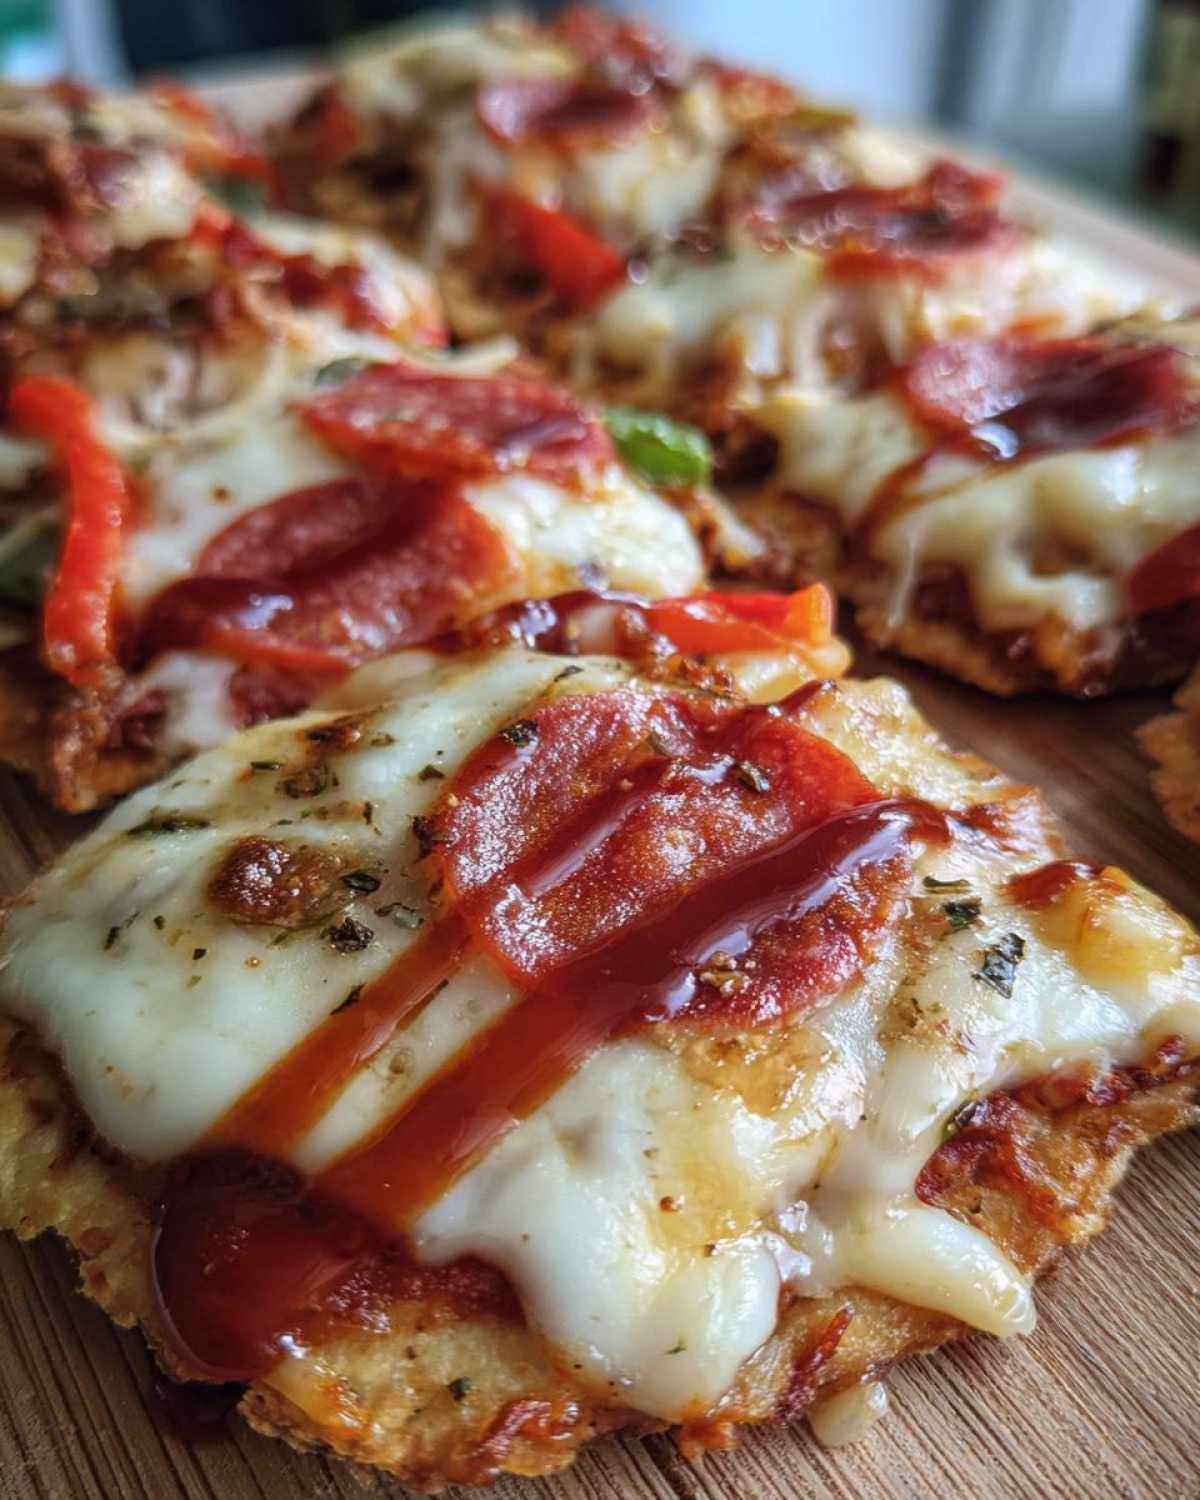
Crafting Your DIY Pizza Lunchables: Step-by-Step
Making these DIY Pizza Lunchables is almost as fun as eating them. Ethan always says the best recipes have a bit of playfulness. Let’s dive in!
Preparing the Pizza Bases
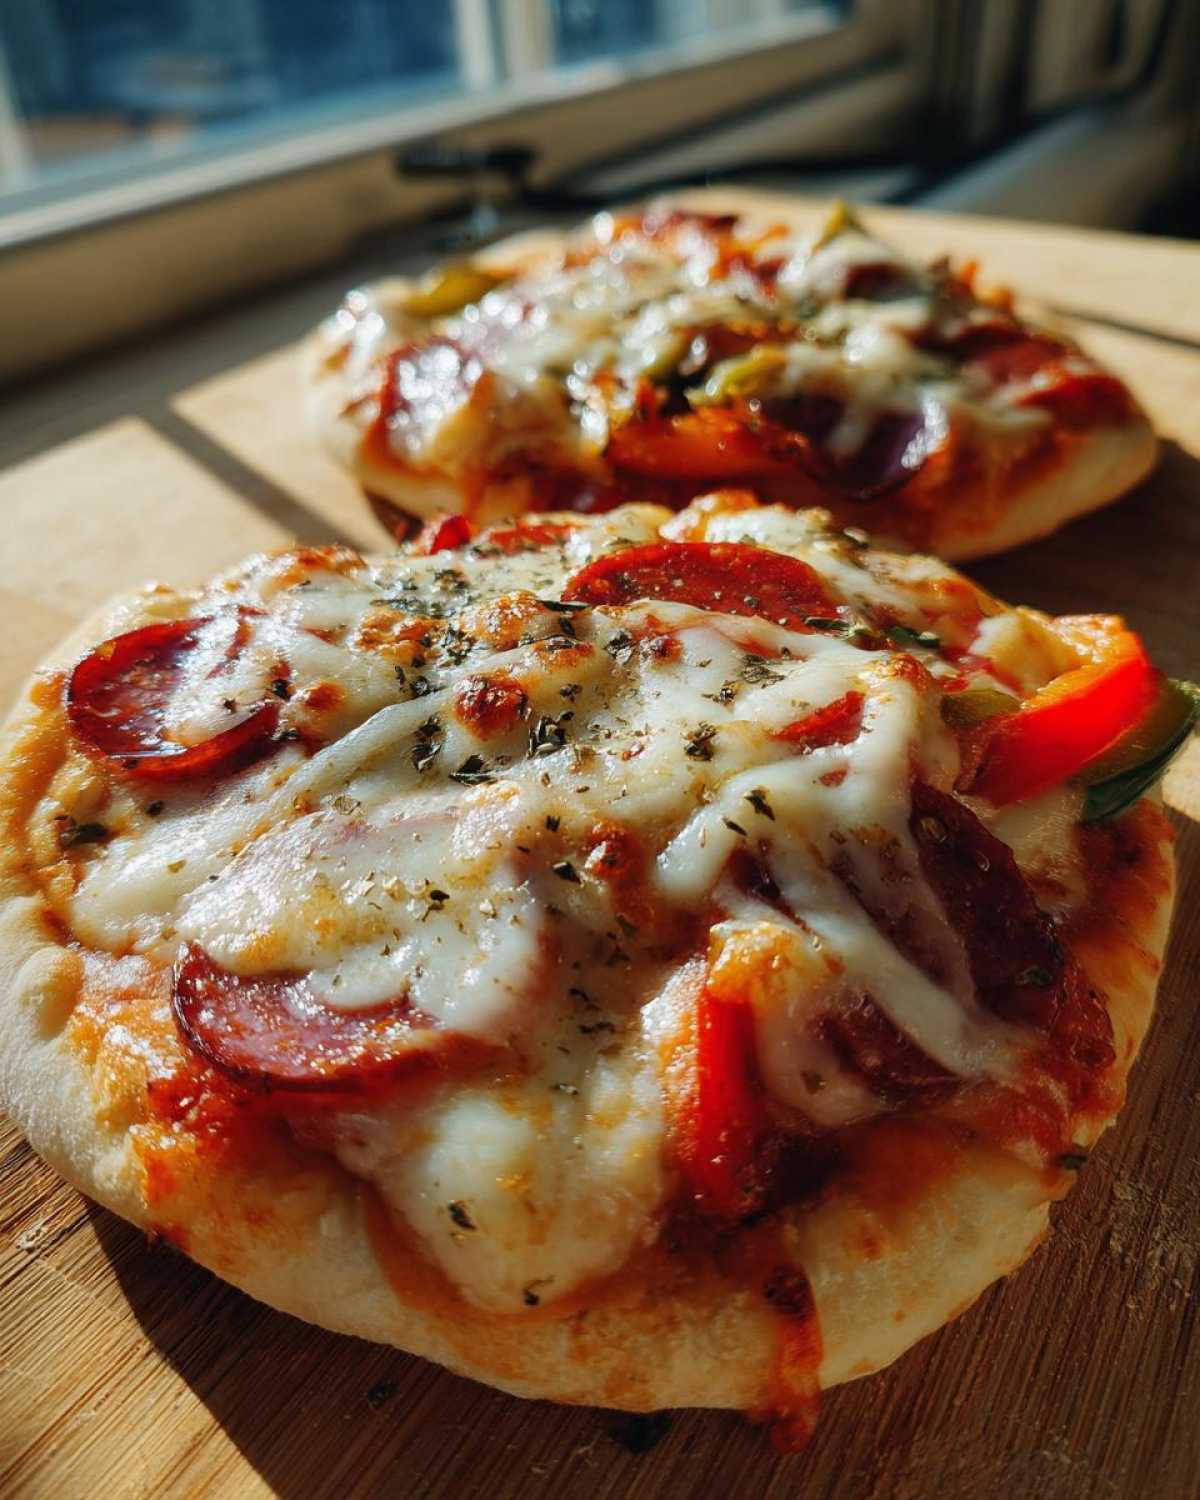
First, grab your pita bread or English muffins. Cut them into halves or fun shapes. You can even use cookie cutters for stars or hearts! Then, spoon your pizza sauce onto each piece. Don’t go too heavy; a nice, even layer is perfect. This is where the base of our delicious creation begins.
Assembling the DIY Pizza Lunchables
Now for the cheesy goodness! Sprinkle a generous amount of mozzarella cheese over the sauce. Next, let everyone add their favorite toppings. This is the best part for the kids. They get to be the pizza artists! Imagine their excitement as they build their own mini masterpieces.
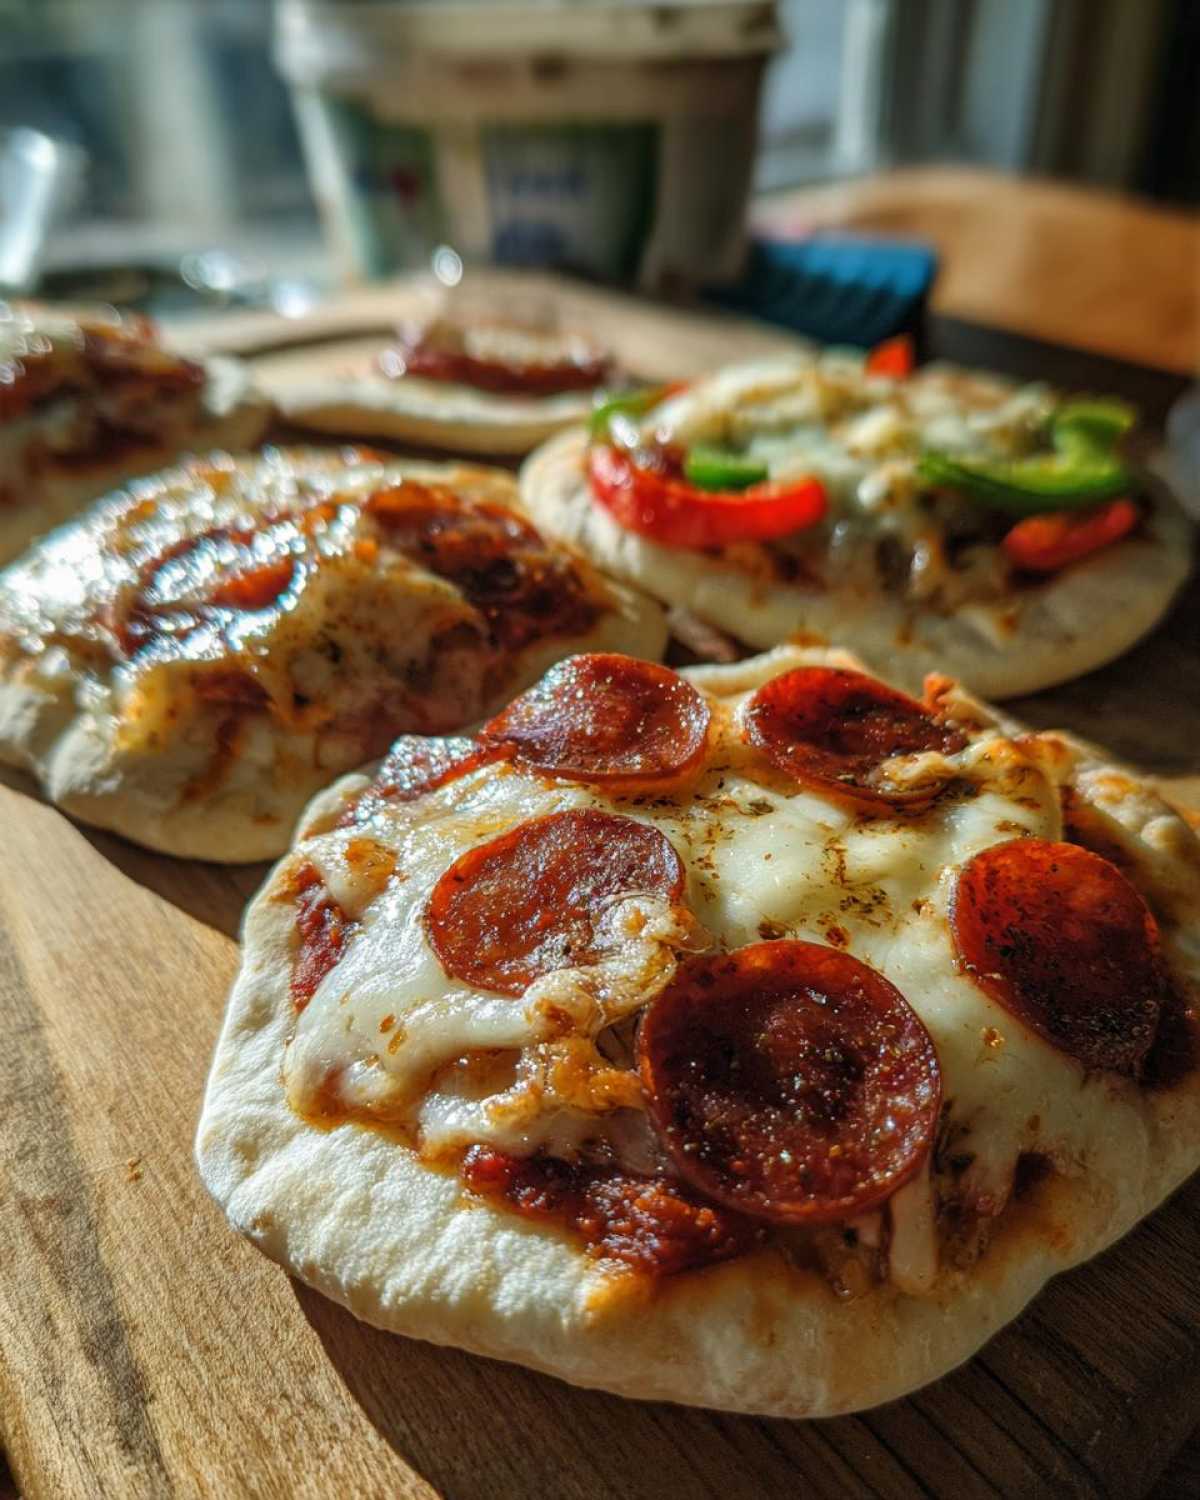
Packing Your DIY Pizza Lunchables
To keep everything fresh and separate, pack the pizza bases, sauce (if in a separate container), and toppings into your lunchbox. This keeps the bread from getting soggy. It’s a smart way to ensure a perfect pizza bite every time. Your little ones will love opening their lunch to find these fun surprises!
Tips for Perfect DIY Pizza Lunchables
We’ve learned a few tricks along the way. Ethan’s dad always told us to “talk it out” in the kitchen. So, let’s chat about making these DIY Pizza Lunchables even better. For a little extra flavor, try a tiny pinch of garlic powder mixed into the sauce. We also found that pre-cooking any meats, like sausage, is a must. This ensures everything is safe and tasty. Remember, a little research and a dash of intuition go a long way!
Variations for Your DIY Pizza Lunchables
Don’t be afraid to get creative with your DIY Pizza Lunchables! We love trying new things. How about a pesto base instead of tomato sauce? Or maybe some pineapple chunks for a Hawaiian twist? You could even use different cheeses like cheddar or provolone. Mini bagels or even whole-wheat crackers make great bases too. The possibilities are endless, and that’s the beauty of making them yourself!
Serving and Storing Your DIY Pizza Lunchables
These are perfect on their own for a quick lunch. We often pair them with some fresh fruit or veggie sticks, like carrot sticks or cucumber slices. If you have any leftover pizza lunchables, just store them in an airtight container in the refrigerator. They’re usually good for about 1-2 days. Reheating is optional; they’re tasty cold too!
Frequently Asked Questions About DIY Pizza Lunchables
Got questions about these fun pizza kits? We’ve got answers!
Are these really healthier than store-bought pizza lunchables?
Yes! You control the ingredients, choosing whole grains and fresh toppings. This helps make them a much healthier lunch option for kids.
Can I make these ahead of time?
You can prep the components ahead. Store the bases, sauce, cheese, and toppings separately. Assemble just before packing to prevent sogginess.
What are some good topping ideas for kids?
Kids love classic pepperoni, cooked ham, corn, and even small pieces of broccoli. Let them choose their favorites!
Is this an easy pizza kit for busy parents?
Absolutely! The prep time is only about 10 minutes. It’s a quick and simple way to pack a fun meal.
Your Thoughts on DIY Pizza Lunchables
We’d love to hear from you! What are your go-to toppings for these DIY Pizza Lunchables? Did you discover any fun new combinations? Share your experiences and tips in the comments below. Happy cooking!
Nutritional Snapshot of DIY Pizza Lunchables
Please note that nutritional information is an estimate and can vary based on specific ingredients and portion sizes used.
Nutritional Snapshot of DIY Pizza Lunchables
Please note that nutritional information is an estimate and can vary based on specific ingredients and portion sizes used. These DIY Pizza Lunchables offer a balanced meal.
PrintAmazing DIY Pizza Lunchables: 10 Minute Prep
Create fun and healthy pizza lunchables at home with this easy DIY guide. Perfect for kids’ lunches or a quick snack!
- Prep Time: 10 minutes
- Cook Time: 0 minutes
- Total Time: 10 minutes
- Yield: 4 servings
- Category: Lunch
- Method: Assembly
- Cuisine: American
- Diet: Vegetarian
Ingredients
- 1 package whole wheat pita bread or English muffins
- 1 jar pizza sauce
- 1 cup shredded mozzarella cheese
- Toppings of your choice: pepperoni, cooked sausage, bell peppers, mushrooms, olives, etc.
- Optional: Small container for sauce, small baggie for toppings
Instructions
- Gather all your ingredients and toppings.
- Cut pita bread or English muffins in half or into desired shapes.
- Portion pizza sauce into small containers or directly onto the pita/muffin.
- Add shredded mozzarella cheese over the sauce.
- Arrange your chosen toppings on top of the cheese.
- Pack the pizza lunchables components separately into a lunchbox or container.
Notes
- Encourage kids to help assemble their own pizza lunchables.
- This recipe is highly customizable with various toppings.
- Ensure toppings are pre-cooked if necessary.
Nutrition
- Serving Size: 1 serving
- Calories: 300
- Sugar: 5g
- Sodium: 500mg
- Fat: 10g
- Saturated Fat: 4g
- Unsaturated Fat: 6g
- Trans Fat: 0g
- Carbohydrates: 40g
- Fiber: 3g
- Protein: 15g
- Cholesterol: 20mg