

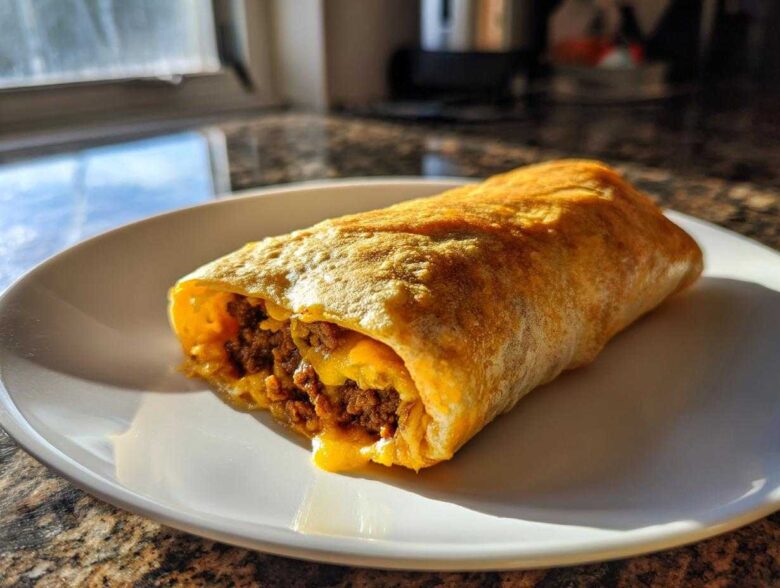
You know that feeling when you bite into a dessert and it just melts away? Soft as a cloud but rich enough to feel decadent? That’s what we’re aiming for with this recipe! Forget everything you think you know about tricky French techniques because I’m handing you the secret to a truly classic, unbelievably silky and easy chocolate mousse—and yes, it’s completely eggless. I mean, this recipe saved my bacon last year when I needed a last-minute elegant dessert for a work dinner. Everyone raved, thinking I’d spent all day whipping egg whites, but honestly, this amazing chocolate mousse comes together faster than you can set the table. It’s my go-to when I need maximum wow for minimum fuss!
Why This Easy Chocolate Mousse Recipe Delivers the Best Texture
The texture here is everything! I struggled for years trying to get that perfect melt-in-your-mouth feel without any graininess, and frankly, without worrying about raw eggs. I promise you, this eggless method is a game-changer for achieving a truly silky chocolate dessert. Since we skip the egg whites that sometimes make mousse a bit chewy or fragile, we rely entirely on properly whipped heavy cream.
When you whip that cream just right—not rock hard, but still soft—you incorporate just the perfect amount of air. That air is what turns simple melted chocolate into something truly light and airy chocolate. It sets up beautifully in the fridge, giving you a rich mouthfeel that screams high-end patisserie, but it’s really just smart whipping technique. Trust me, this is where the magic happens before we even fold anything!
Ingredients for Your Silky Chocolate Mousse
Don’t let the short ingredient list fool you; this is where quality really shines through! Because there are so few components, every item needs to pull its weight to create that unbelievably creamy chocolate dessert. We are keeping things simple, relying on two main players: amazing chocolate and gorgeous, cold cream. This streamlined list means less time shopping and more time waiting for that wonderful chilled texture.
For this recipe, you’ll need the following:
- 8 ounces high-quality dark chocolate (60% to 70% cacao is ideal)
- 2 cups very cold heavy whipping cream
- 2 tablespoons granulated sugar (or powdered sugar, see notes!)
- 1 teaspoon pure vanilla extract
Ingredient Notes and Substitutions for Perfect Chocolate Mousse
Listen, if you use cheap chocolate here, your mousse will taste… well, cheap! Because we aren’t using cocoa powder, the flavor relies entirely on the chocolate bar you melt down. Please splurge a little on a good quality baking bar. It melts smoother and tastes so much richer, which is key for a decadent chocolate mousse.
Also, make sure that heavy whipping cream is straight out of the fridge—ice cold! Cold fat whips up much faster and holds its shape better. If you’re avoiding dairy, you can substitute the heavy cream with a good quality full-fat coconut cream (the thick white part from a refrigerated can), but be aware the flavor will have a subtle coconut note.
Step-by-Step Instructions for Making Chocolate Mousse
Okay, this is where we bring the components together! Remember, success with this chocolate mousse hinges on temperature—we need the warm chocolate and the cold cream to meet at just the right middle ground. Don’t rush this part; patience is the secret ingredient to making sure your mousse is intensely flavored but still wonderfully light and airy chocolate. For the best deep dive into kitchen science behind whipping, check out more tips over at our main baking hub.
Melting the Chocolate Base for Rich Homemade Mousse
I always use a double boiler—trust me, trying to melt chocolate directly in a pan is a recipe for disaster and scorching! Set a heatproof bowl over a simmering pot of water, making sure the bottom of the bowl doesn’t touch the water. Chop your chocolate finely first so it melts evenly. Stir it gently until it’s completely smooth and glossy. Once it’s all melted, pull it off the heat right away! We need to let this mixture cool down so it doesn’t melt our whipped cream later. It should feel slightly warm to the touch, not hot at all.
Whipping Cream to Achieve Airy Chocolate Mousse Peaks
This step is exhilarating! Get your mixing bowl and whisk attachment nice and cold first—I sometimes pop mine in the freezer for ten minutes! Pour in your two cups of super cold heavy cream and the sugar. Start whipping on medium speed, gradually increasing it as it thickens. Pay close attention! We are looking for soft to medium peaks. If you see stiff peaks or it looks grainy, you’ve gone too far. When you lift the whisk, the peak should curl over gently. Stop right there! If you over-whip, you start making butter, and we definitely do not want butter in our chocolate mousse!
Gently Folding: The Secret to Silky Chocolate Mousse
Now for the absolute make-or-break moment for this silky chocolate dessert! Take about a third of your whipped cream and gently fold it into your slightly cooled chocolate base. This lightens the chocolate, which is heavy, making it easier to incorporate the rest of the cream without losing all that air we worked so hard to incorporate. Use a rubber spatula and use a sweeping motion: cut down the middle of the bowl, scrape along the bottom towards you, and flip the batter over the top. Keep folding just until no white streaks remain. Seriously, do not overmix! A few gentle folds, and you’re done. That simple movement creates the final, glorious texture of this chocolate mousse.
Assembling and Chilling Individual Chocolate Mousse Cups
Once you’ve achieved that incredible, airy fold, it’s time to get that amazing creamy chocolate dessert into its resting place! Because this is such a forgiving recipe, it’s the absolute best make ahead dessert for dinner parties. If you’re serving guests, individual cups look so elegant—I usually grab little espresso glasses or small mason jars for a rustic look. It skips the messy slicing part, too!
Use a large spoon or, if you want to be really tidy, a piping bag (no fancy tip needed!) to scoop the chocolate mousse mixture into your chosen containers. Fill them up almost to the top, leaving a little room for your garnish later on. You don’t need to pack it down at all; let it settle naturally.
Now for the hardest part: waiting! This chocolate mousse needs a good chill time to firm up properly. I always aim for at least four hours in the refrigerator, but honestly? If you can leave it overnight, that’s even better. That chilling process is what locks in the structure and makes sure that when you finally dig in, you get that perfect, dense-but-light resistance. If you’re looking for other fantastic make-ahead ideas, make sure you check out my recipe for Maple Pecan Pie Bars!
Tips for Success with Your Chocolate Mousse
I’ve made this chocolate mousse more times than I can count—for friends, for family, and sometimes just for me when I needed a serious chocolate intervention. Over the years, I’ve learned a few tiny tweaks that save you from disaster and guarantee that pure, velvety perfection every single time.
Here are my top tips forged from years of kitchen chaos:
- Temperature Control is Non-Negotiable: The main way people end up with grainy or deflated chocolate mousse is by combining ingredients that are too far apart in temperature. Make sure your melted chocolate base is only slightly warm—think barely warm to the touch—before you even think about folding in that fluffy whipped cream. If the chocolate is too hot, it melts the air right out of your cream. If it’s too cold, it seizes up, creating little chocolate pebbles, and nobody wants that!
- Don’t Skip the Chill Time: You might be tempted to eat this right away, but honestly, that’s a rookie mistake. This mousse needs time to integrate and firm up. I find four hours is the minimum, but if you’re planning ahead, making it a full day before serving yields the best results. It sets that perfect dreamy texture and deepens the chocolate flavor profile beautifully.
- A Pinch of Salt Makes the Chocolate Sing: Seriously, this is my little secret that makes the chocolate taste more *chocolatey*. After the chocolate is melted and cooling down, stir in just a tiny pinch of fine sea salt, no more than 1/8 teaspoon for this batch size. It cuts through the richness and prevents the whole thing from tasting flat. It works wonders!
- Storage Secrets for Later: If you’re making this ahead for a party, keep the individual cups covered tightly with plastic wrap, making sure the wrap doesn’t stick directly into the mousse surface. It keeps really well for up to three days in the fridge. It tastes just as good on day three as it does on day one, which is why this is my favorite make-ahead dessert! For more insights into my kitchen philosophy, you can always check out my About Me page!
Serving Suggestions for Your Decadent Chocolate Treat
We’ve done the hard work creating this unbelievably smooth and deeply flavorful chocolate mousse, so now it’s time for the fun part: dressing it up! Because the mousse itself is so rich and elegant, you only need the simplest garnishes to take it over the top. These little touches make it look like you spent hours, not minutes, preparing this dessert. These are the things I pull out when I need something that qualifies as an elegant party dessert that still feels totally homemade.
Forget fancy piped cream swirls; my favorite looks come from texture and contrast. Here are my favorite ways to finish this treat:
- A Touch of Sea Salt: I know, it sounds wild, but a tiny sprinkle of flaky sea salt over the top is incredible. It doesn’t make it savory; it just amplifies that dark chocolate intensity beautifully. It’s the easiest way to treat your chocolate mousse like a gourmet truffle.
- Fresh Red Berries: A few raspberries or sliced strawberries placed right on top offer the perfect tart counterpoint to the dark sweetness. The bright red color looks stunning against the dark brown mousse cups.
- Shaved Dark Chocolate: You need some texture contrast! Use a vegetable peeler right on the side of a good quality chocolate bar to create wide, delicate curls. Pile them right in the center for that classic look.
- Cocoa Dusting: If you want simple elegance, use a fine-mesh sieve and dust the tops lightly with unsweetened cocoa powder just before serving. It gives a sophisticated matte finish.
For something a little different, especially if you loved my Cinnamon Sugar Donut Holes, try serving a mini donut hole right beside the cup for dunking! But seriously, keep it simple. This chocolate mousse speaks for itself.
Storage and Reheating Instructions for Make Ahead Dessert
Since this eggless chocolate mousse is such a superstar make ahead dessert, you’ll definitely want to know how to keep it perfect! The best part is that it holds up really well, meaning you can completely take dessert off your plate the day before you have company. That peace of mind is worth its weight in chocolate, right?
The key to keeping this a fantastic creamy chocolate dessert is minimizing air exposure. When you portion it into those individual cups, cover each one snugly. I use plastic wrap, but make sure you gently press a small piece right down onto the surface of the mousse before covering the top of the cup entirely. This keeps the top from forming that dry little skin that can sometimes happen in the fridge.
You can safely store your prepared chocolate mousse in the refrigerator for up to three maybe even four days. Honestly, I’ve never had it last a full four days because we eat it too fast, but I know it’s stable for at least 72 hours! Do not, under any circumstances, try to reheat this. This is not a ganache; it’s stabilized cream and melted chocolate. Gentle chilling is what sets it, so room temperature or warming it up will just turn your gorgeous mousse back into liquid chocolate soup.
When you finally pull those cups out to serve, take them out about 15 minutes before you plan on eating. This brings their temperature up just slightly so the flavor opens up without sacrificing that wonderful, lush chilled texture. Enjoy that creamy chocolate dessert you made days ago!
Frequently Asked Questions About Chocolate Mousse
I get so many questions about this recipe coming across my contact form—it’s great that so many of you are trying it! I’ve gathered the most common ones here to save you some time. If you can’t find your answer below, please feel free to drop me a line using the contact form linked here, and I’ll get right back to you!
Can I make this lighter chocolate mousse with milk chocolate instead of dark?
You absolutely can, but you need to adjust your technique slightly! Milk chocolate is much sweeter and has less fat structure, so the final result will be softer and sweeter. If you use milk chocolate, cut the added sugar in the recipe down to just one tablespoon, or skip it entirely. It will be a less intense chocolate mousse, that’s for sure, but still delicious!
How long does this specific chocolate mousse take to set up?
This is the golden question for any make ahead dessert! Because we aren’t using gelatin or eggs for structure, we rely totally on the firmness of the chilled whipped cream. I always recommend a minimum of four hours in the refrigerator. However, for the most stable, luxurious, and truly amazing texture, let it chill overnight. When it’s set overnight, it gets that perfect mouthfeel we’re striving for.
Is this recipe close to a traditional French Mousse au Chocolat?
Not really, and that’s okay! A traditional French Mousse au Chocolat relies heavily on tempered egg yolks beaten into the chocolate base and then folded with stiffly beaten egg whites. Our version skips the eggs entirely. We achieve our airy texture through just high-quality whipped cream. So while the flavor is classic, the structure in this light and airy chocolate recipe is much more stable and straightforward to manage!
Why is my chocolate mousse grainy after chilling?
Graininess almost always happens when the chocolate base is too hot when you fold it into the cream, or if you used a chocolate chip instead of a pure baking bar. If the base is too hot, the melted fat separates from the solids, and when it chills, it sets up with a slightly gritty texture. That slightly warm rule is super important for that silky chocolate dessert finish!
Estimated Nutritional Information for Chocolate Mousse
Okay, so we all love how decadent this chocolate mousse tastes, but sometimes we just need a ballpark idea of what we’re diving into, right? Since this recipe is so rich and uses high-quality dark chocolate and heavy cream, it definitely falls into the indulgent category! I’ve put together some estimates based on using 60% dark chocolate and standard heavy whipping cream for a single serving cup.
Please keep in mind these numbers are just guides. If you use sweeter milk chocolate or a lower-fat cream substitute, those calculations are going to shift around. But for a typical, luxurious serving of my favorite creamy chocolate dessert, here is what a standard serving looks like:
- Calories: Approximately 350-400 kcal
- Total Fat: Around 35g (Mostly from the cream and cocoa butter!)
- Protein: About 5g
- Total Carbohydrates: Roughly 20g (This depends heavily on the sugar content of your chocolate)
This is a dessert, after all, not health food, so enjoy every spoonful! It’s best when you aren’t worried about the numbers, right? Just savor that rich, light flavor. This data is just an estimate based on standard ingredients—it’s my personal estimation model for this recipe, so take it with a grain of salt and enjoy!
Share Your Experience Making This Chocolate Mousse
I hope this simple, foolproof recipe has brought you as much dessert joy as it’s brought me! There’s nothing better than seeing other home cooks succeed with a recipe that feels intimidating but turns out to be pure magic. I truly believe this technique for a light and airy chocolate is something everyone should have in their back pocket.
So, now it’s your turn! Have you tried making this eggless chocolate mousse? Did you stick to the dark chocolate, or did you get brave and try dark chocolate with a hint of espresso powder or maybe some chopped nuts folded in? I would absolutely adore hearing about your results!
Please take a second to leave a quick rating below. If you loved how silky and easy it was, give it 5 stars—it helps other bakers find this recipe! I read every single comment, and I love seeing how you customize your own decadent chocolate treat. If you need more inspiration for quick fixes and fun snacks, swing over and check out my recipe for the amazing Pumpkin Spice Trail Mix!
Happy baking (or, well, *no-baking* in this case!), and thanks so much for stopping by my kitchen!
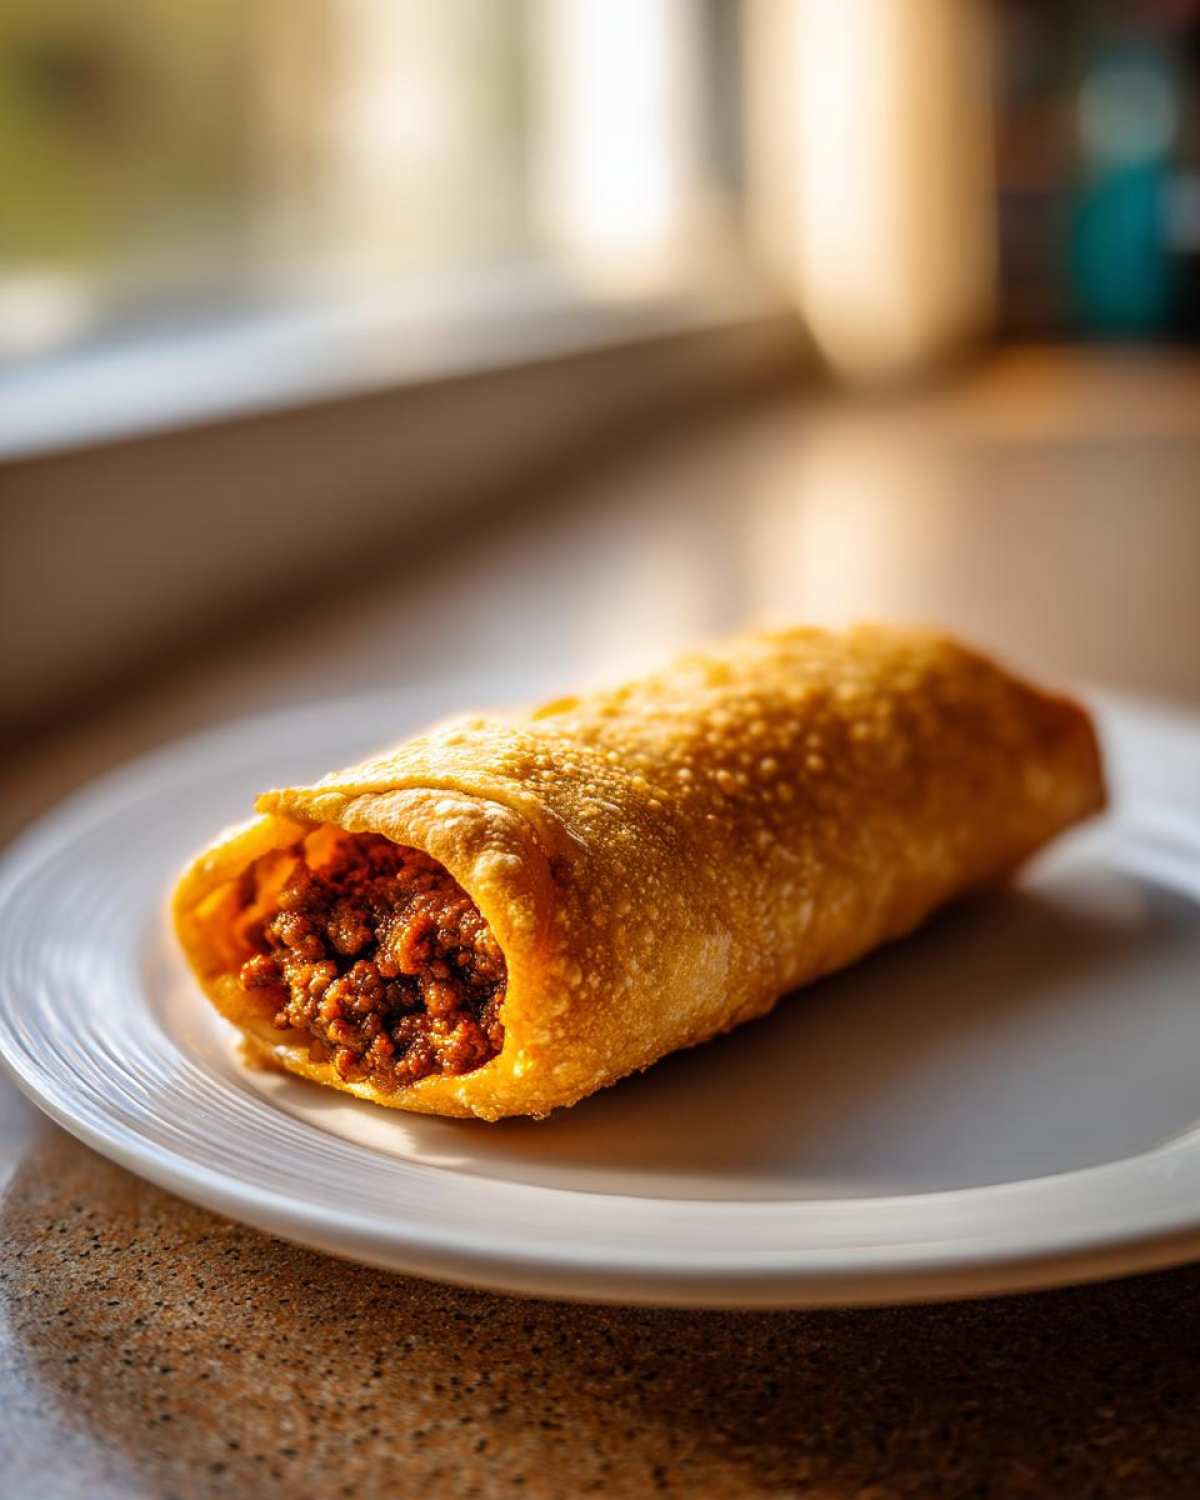
PrintSimple Chimichangas Recipe

A straightforward recipe for making crispy, deep-fried or baked chimichangas filled with seasoned ground beef.
- Prep Time: 15 min
- Cook Time: 25 min
- Total Time: 40 min
- Yield: 8 servings
- Category: Main Course
- Method: Frying or Baking
- Cuisine: Mexican-American
- Diet: Low Fat
Ingredients
- 1 lb ground beef
- 1 small onion, chopped
- 1 packet (1 oz) taco seasoning mix
- 1/2 cup water
- 8 medium flour tortillas
- 1 cup shredded cheddar cheese
- Vegetable oil, for frying (or cooking spray for baking)
- Optional toppings: sour cream, salsa, guacamole
Instructions
- Cook the ground beef and onion in a skillet over medium heat until the beef is browned and the onion is soft. Drain any excess grease.
- Stir in the taco seasoning and water. Simmer for 5 minutes, stirring occasionally, until the liquid reduces slightly. Remove from heat and let cool slightly.
- Lay a tortilla flat. Place about 1/4 cup of the meat mixture and 1 tablespoon of cheese near one edge.
- Fold the sides of the tortilla inward over the filling. Roll the tortilla tightly from the bottom edge to create a sealed cylinder. Secure with toothpicks if necessary. Repeat with remaining filling and tortillas.
- For frying: Heat about 1 inch of vegetable oil in a deep skillet to 350°F (175°C). Carefully place chimichangas in the hot oil, seam-side down first. Fry for 2-3 minutes per side until golden brown and crisp. Remove and drain on paper towels.
- For baking: Preheat oven to 400°F (200°C). Lightly spray the chimichangas with cooking spray. Bake for 15-20 minutes, flipping halfway through, until crisp.
- Remove toothpicks before serving. Serve hot with your choice of toppings.
Notes
- You can substitute ground beef with shredded chicken or beans for a different filling.
- If baking, spray both sides of the tortilla well to help it crisp up.
- Make sure the filling is not too wet before rolling the tortillas, or they may tear.
Nutrition
- Serving Size: 1 chimichanga (fried)
- Calories: 450
- Sugar: 2
- Sodium: 650
- Fat: 25
- Saturated Fat: 9
- Unsaturated Fat: 16
- Trans Fat: 0
- Carbohydrates: 35
- Fiber: 2
- Protein: 25
- Cholesterol: 75