

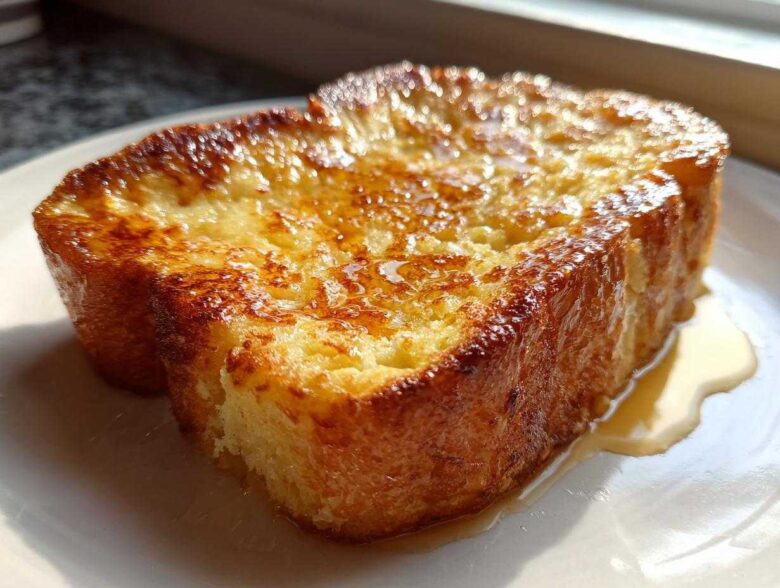
Mornings, right? Sometimes you just crave that comforting, warm flavor that says, “Slow down, this is going to be good,” but you only have about ten minutes before the rush begins. Well, folks, Ethan and I finally cracked the code on the absolute easiest french toast recipe that delivers pure weekend magic in under 15 minutes. This simple stovetop French toast tutorial was a huge milestone for us here at Tasty Tipster because it truly merged our styles—I tested the timing exhaustively, and Ethan perfected that essential hint of cinnamon that makes it unforgettable. You can read more about how we found our kitchen rhythm over on our About Us page! Trust me, you need this foolproof recipe in your life for the best homemade french toast.
Why This is the Best easy french toast Recipe for Busy Mornings
When mornings are chaotic, the last thing you need is a recipe that requires three different bowls and timing every slice perfectly. This version guarantees you get that amazing, comforting flavor we all crave without the fuss. We call it an unbeatable choice for quick breakfast ideas because seriously, we timed it—total time from start to plate is about 13 minutes! That’s fantastic for a breakfast in under 20 minutes that actually tastes homemade.
Quick Breakfast Ideas That Impress
Don’t let the speed fool you; this tastes like you spent hours lounging in the kitchen. We focus on the fundamentals here. Because I (Maya) tested this dozens of times, I dialed in the exact 15 to 20-second soak time per side. That small precision means you get that delightful transition from golden exterior to a custardy center instead of a floppy, eggy mess. It’s impressive, fast, and uses ingredients you probably already have!
The Secret to Foolproof French Toast Batter
The magic truly lives in the batter, which is why we label it ‘foolproof.’ Forget separating yolks or adding sugar slowly—this is just eggs, milk, cinnamon, vanilla, and a whisper of salt whisked together in one shallow dish. Ethan’s dad always said, “If the base is simple and tastes good on its own, the bread will follow.” It’s why this easy french toast always turns out perfectly flavored without needing complicated additions like heavy cream.
Ingredients for Your easy french toast
Okay, let’s talk about what goes into this beautiful, fast breakfast. Since this is meant to be your go-to when you need something fast, we stuck with the absolute pantry essentials. You’ll need 6 large eggs and about 1/2 cup of whole milk for that creamy base. Don’t skip the flavor notes, either—a full teaspoon of vanilla extract and 1/2 teaspoon of ground cinnamon are what make this taste like classic cinnamon toast, not just fried eggs on bread. We also sneak in about 1/4 teaspoon of salt to balance everything out.
But here’s the big tip for texture: the bread! Ethan always insists on using thick-cut bread, like Texas Toast or, even better, some day-old brioche if you have it. You need 8 slices total. That thickness lets the bread soak up just enough of that custard we mixed up over at our discard pancake recipe, so it stays custardy inside but heats up beautifully golden on the griddle. Don’t worry about making a huge mess; you only need 2 tablespoons of butter to get the pan ready for the first batch!
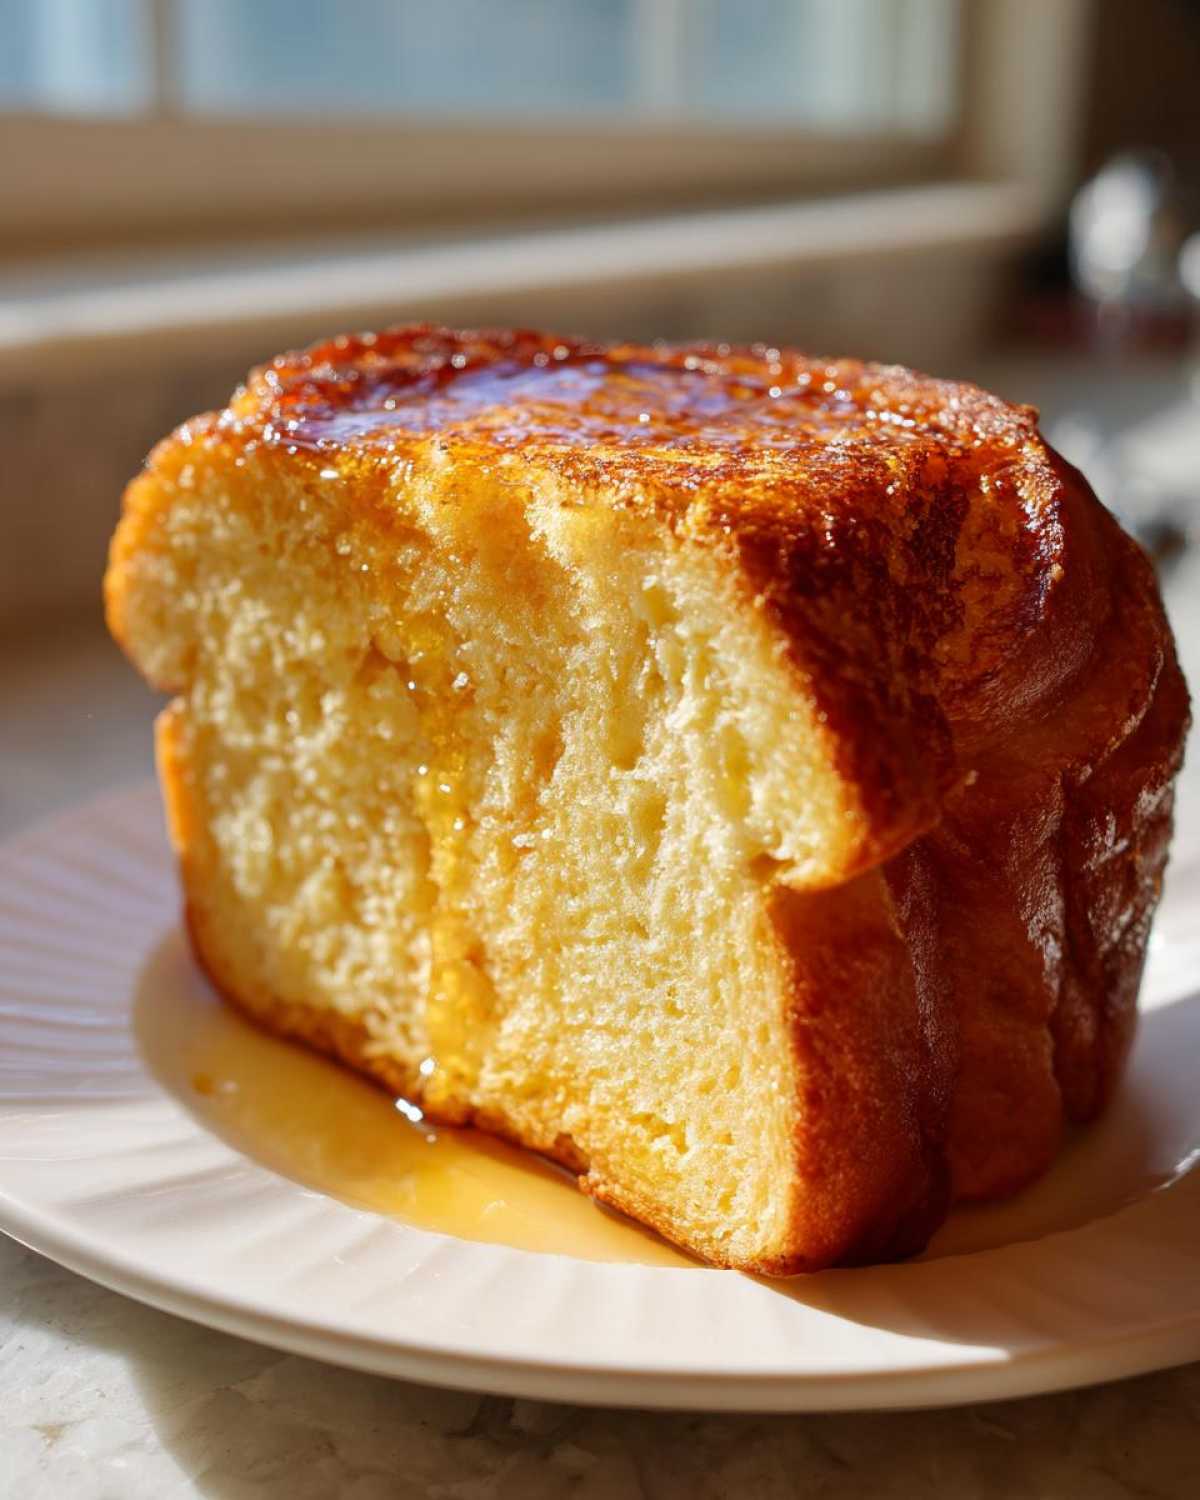
How to Make Fluffy French Toast: Stovetop French Toast Tutorial
This is the easy part, honestly! Since we are shooting for a fast breakfast, everything happens right on the stove. First things first, mix up that simple batter we talked about—eggs, milk, vanilla, cinnamon, salt—whisk it really well in that shallow dish. Make sure everything is incorporated so you don’t end up with pockets of pure egg white later, which would ruin our fluffy French toast dream!
- Heat the Griddle: Get a large skillet or griddle over medium heat. This is crucial. Too low, and the bread gets soggy; too high, and it burns before the center cooks. Add about half of your butter and let it melt until it just starts to sizzle happily.
- The Dip: Now, dip one slice of your thick bread right into the egg bath. You want about 15 to 20 seconds on the first side, and then flip it for another 15 to 20 seconds on the second. Ethan says the second side only needs a little quicker dip because the bread is already saturated. Don’t let it sit there like a sponge, please!
- The Cook: Lay that soaked slice gently onto your hot, buttered surface. You’re looking for that gorgeous golden brown French toast color, which usually takes about 3 to 4 minutes per side. Listen for that gentle, steady sizzle.
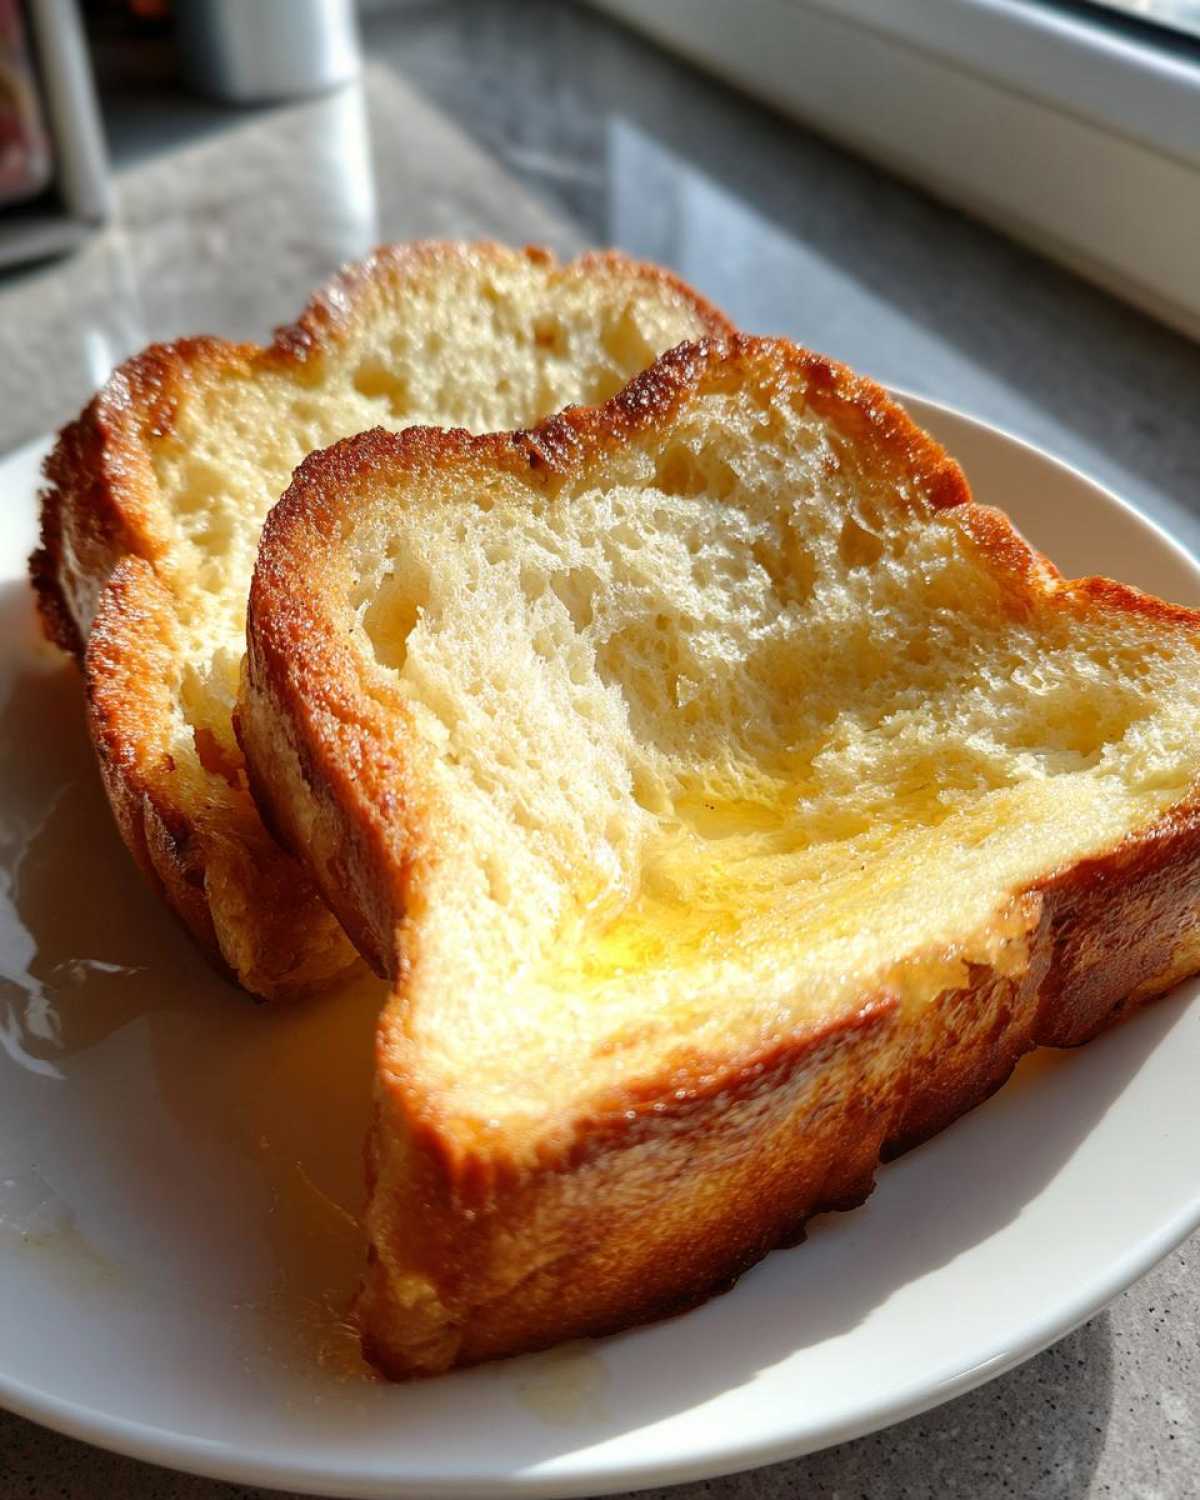
- Butter Between Batches: This is Ethan’s big tip—always add a little more butter before you drop in the next pieces. Butter adds flavor and helps create those crispy edges we love! Keep cooking until all 8 slices are done. If you are cooking a big batch, use the French Onion Soup recipe trick and keep the cooked slices warm in a low oven on a rack if you need to finish the last few slices.
Serve immediately, piping hot, and enjoy the easiest breakfast you’ve ever made!
Tips for Success with Your Simple French Toast Recipe
Even though this is designed to be the best homemade French toast you can whip up on a Tuesday morning, a couple of the tried-and-true techniques we learned really push it over the edge into amazing territory. You know how Maya stresses precision? Well, these little notes she pulled from the recipe card are non-negotiable if you want that perfect texture!
Bread Choice Matters for easy french toast
You absolutely have to use thick bread here—and if it’s a day old, even better! Seriously, don’t grab that flimsy, squishy sandwich bread. Why? Because stale or day-old bread acts like the perfect sponge. It soaks up that gorgeous egg mixture without turning immediately into mush when it hits the heat. Ethan swears by using a thicker slice of Brioche or even Texas Toast because the density keeps the middle beautifully custardy while the outside gets that satisfying crispness we talked about.
Achieving Perfect Golden Brown French Toast
Temperature control is where a lot of folks mess up their stovetop French toast tutorial. Remember to keep that burner set right at medium heat. If your pan is roaring hot, you’ll end up with charcoal on the outside and frozen egg pockets inside. That’s a tragedy!
Also, this is a huge tip for keeping that lovely golden hue consistent across all your slices: don’t skimp on the butter between batches! That butter isn’t just for non-stick purposes; it adds flavor and helps create those gorgeous caramelized edges. If your pan looks dry before you start the next round, you need to toss in another half-tablespoon of butter. That fresh fat ensures a stunning finish every single time.
And hey, if you’re making a massive breakfast for the whole crew, use that trick Maya found: keep the finished slices on a wire rack set over a baking sheet in a super-low oven—about 200°F. This keeps them warm and slightly crisp while you finish up the last few pieces. No need for lukewarm toast when you have a warm holding spot!
Variations on Your easy french toast
Part of the fun in making something as fundamental as this easy creamy chicken enchiladas—oops, sorry, I mean French Toast!—is making it totally your own without turning it into a five-hour project. Since the base batter is so simple, it’s a perfect little canvas for tweaking. Remember, Ethan loves adding a little something extra to dishes, and I love testing to make sure it still cooks fast!
For you spice lovers out there, if you want to deepen that cozy flavor profile, try adding just a tiny extra pinch of cinnamon, or maybe mix in a pinch of nutmeg alongside the cinnamon. Nutmeg really wakes up the vanilla note we put in there. You should definitely give that a whirl next time!
Another flavor booster Ethan swears by, which doesn’t complicate the process at all, is citrus. Don’t go crazy, but just a small splash—maybe a teaspoon—of fresh orange juice into the egg mixture adds this incredible brightness that cuts through the richness of the egg and butter. It just makes the whole thing taste fresher, almost like a summer brunch item instead of just a comfort breakfast. It still cooks up the same way, takes zero extra time, and bam—you’ve got a slightly elevated version!
Serving Suggestions for this easy french toast
So, the bread is golden, the center is custardy, and the whole kitchen smells like pure happiness. Now comes the fun part: dressing up your masterpiece! Since this is geared towards making great weekend morning meals without any fuss, we need toppings that are just as easy to deploy but still make it feel special.
You simply can’t mess with the classics, right? A generous drizzle of real maple syrup is mandatory. None of that fake pancake syrup, please! That buttery, warm toast needs the real deal. If you want that simple, elegant bakery look, finish with a light, airy dusting of powdered sugar. It only takes two seconds with a fine-mesh sieve, and it looks beautiful.
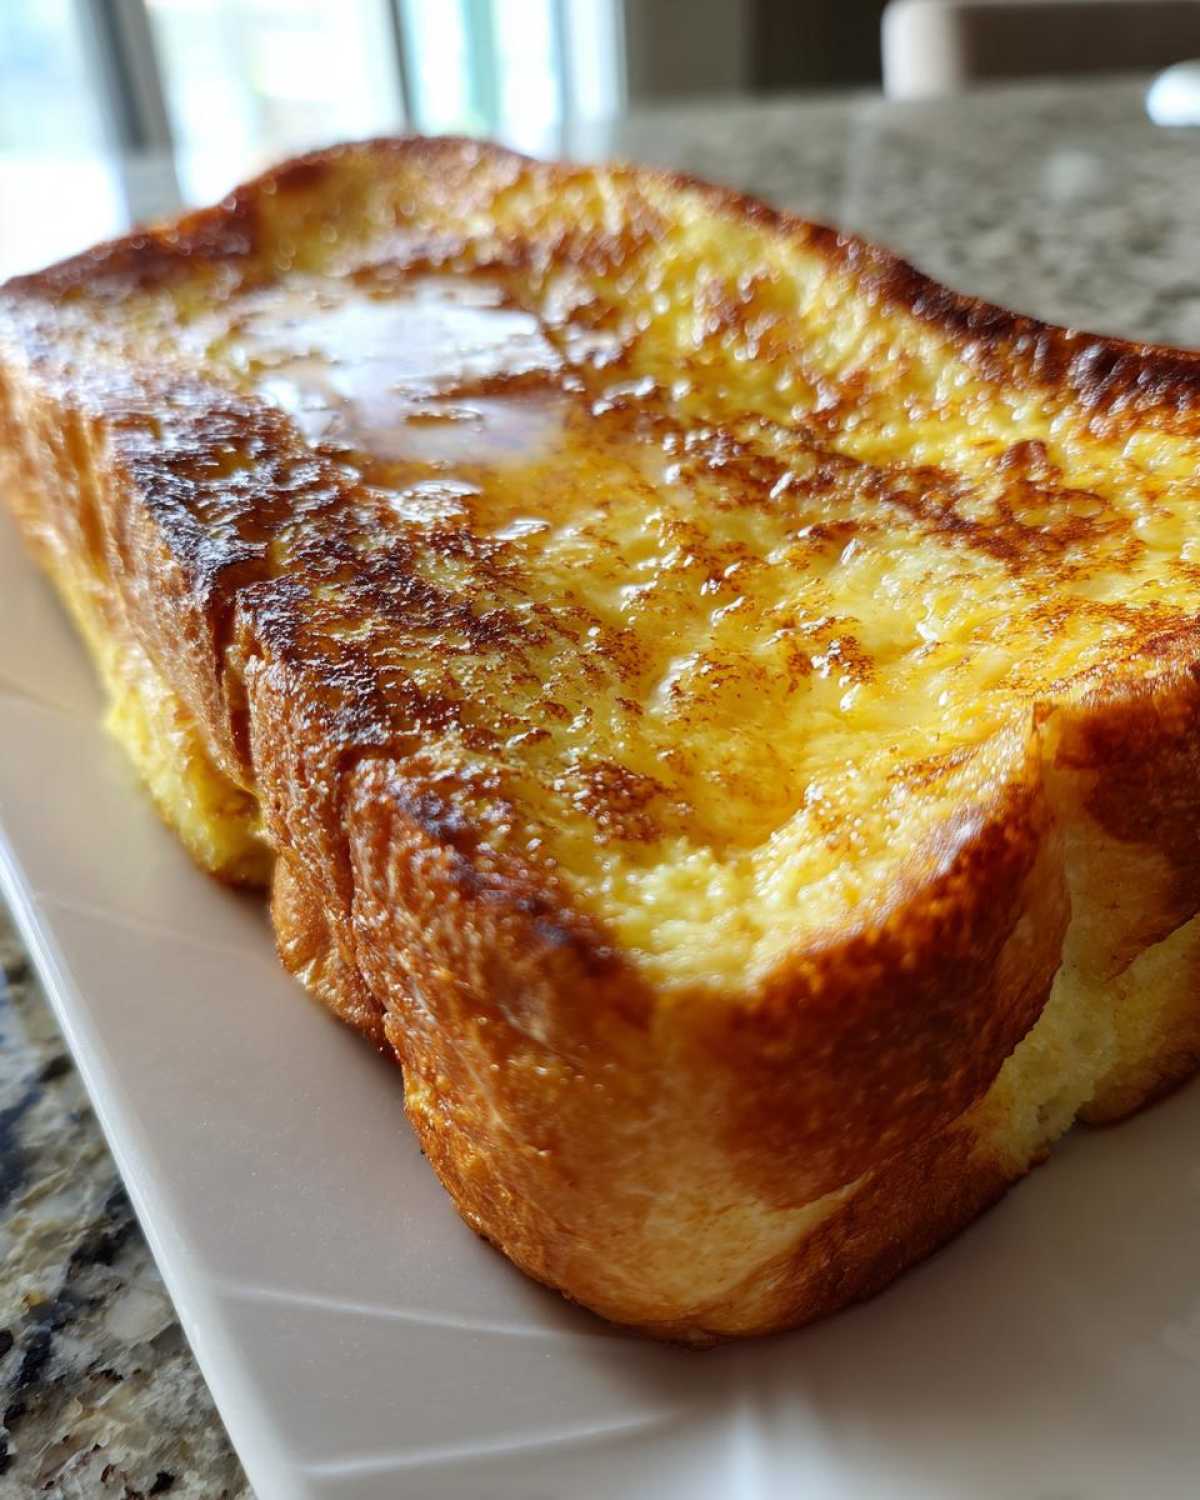
But if you want to get slightly elevated—and believe me, we love doing this when we have a few extra minutes—go for fresh berries. A handful of blueberries or sliced strawberries tossed with just a tiny splash of balsamic vinegar (Ethan’s trick, always!) adds this amazing, sharp counterpoint to the sweet cinnamon toast. It makes the whole thing feel like brunch at a fancy cafe, even though you made it in 13 minutes flat. Seriously, try the balsamic drizzle; it’s a game-changer!
Storage and Reheating Instructions
Okay, let’s be real: sometimes we make too much, or maybe you just want the magic to last longer than one sitting. That’s totally fine! Since this is such a hearty, fantastic breakfast, leftovers are a real treat—if you store them right. You can absolutely keep these slices around, but how you reheat them is key to maintaining that balance between golden exterior and custardy center.
To store them, let any extra slices cool completely on a wire rack first. Do not put warm food directly into a sealed container, or you’ll steam them and they’ll get soggy fast! Once totally cool, place them in an airtight container in the fridge. They should stay perfectly good for about three to four days. This is great for meal prepping those quick breakfast ideas so you don’t have to cook during the week!
Now for reheating: the microwave is your enemy here. It heats the moisture inside the bread unevenly, and BAM—soggy sadness. We want crisp edges, remember? If you only have a couple of slices, the toaster oven is your best friend. Pop them in for maybe 3 minutes until warmed through. If you have a bigger batch, use a regular oven set to 350°F. Lay the slices out on a baking sheet (the wire rack trick works here too!) and warm them for about 8 minutes. They come out almost as good as fresh, retaining that perfect bite we worked so hard to achieve in the first place!
Frequently Asked Questions about easy french toast
We know you might have a few lingering questions, especially when you’re trying to whip up something fast but you want it perfect! We built this easy greek chicken meatballs recipe—sorry, wrong tab!—I mean, this easy french toast recipe to be as straightforward as possible, but sometimes you need that extra little nudge. Here are the things Ethan and I get asked most often about creating the absolute best homemade French toast!
Can I make the Foolproof French Toast Batter ahead of time?
Oh, yes, you absolutely can! That’s a great shortcut when planning for a weekend where you want that extra time eating instead of cooking. You can mix up that simple batter—it’s the heart of our foolproof french toast batter—and keep it covered tightly in the fridge for up to 24 hours. Ethan always warns me, though, that you must give it a really vigorous whisk again right before you dip your bread. Things like the cinnamon and salt like to settle at the bottom, and you want that flavor distributed perfectly so all your slices are equally delicious!
What is the best bread for Fluffy French Toast?
This is Ethan’s hill to die on, and honestly, he’s right! For that beautiful fluffy french toast texture, you need substance. Standard, thin sandwich bread just gets instantly waterlogged when dipped; it collapses before it even hits the pan. You want something thick and slightly sturdy. Brioche is my personal favorite because it has that buttery richness built in, but Texas Toast works amazingly well too. If your bread is super fresh, just leave the slices out on the counter for about 30 minutes while you’re prepping; letting it dry out just a bit helps it soak up the egg custard instead of just getting super soggy. It’s key to that perfect result!
How do I prevent my French Toast from getting soggy?
Soggy French toast is the absolute worst, and the main reason this happens is either over-soaking or under-heating the pan. Remember our stovetop French toast tutorial focused on speed? That speed relies on heat! You must make sure your skillet is properly heated over medium heat *before* the butter goes in, and you want that butter sizzling slightly. Then, stick strictly to that 15 to 20-second dip on each side. That time is just enough for the egg mixture to penetrate the surface and start turning into that lovely custard layer without turning the center into soup. Hot pan, quick dip—that’s the secret defense against sogginess!
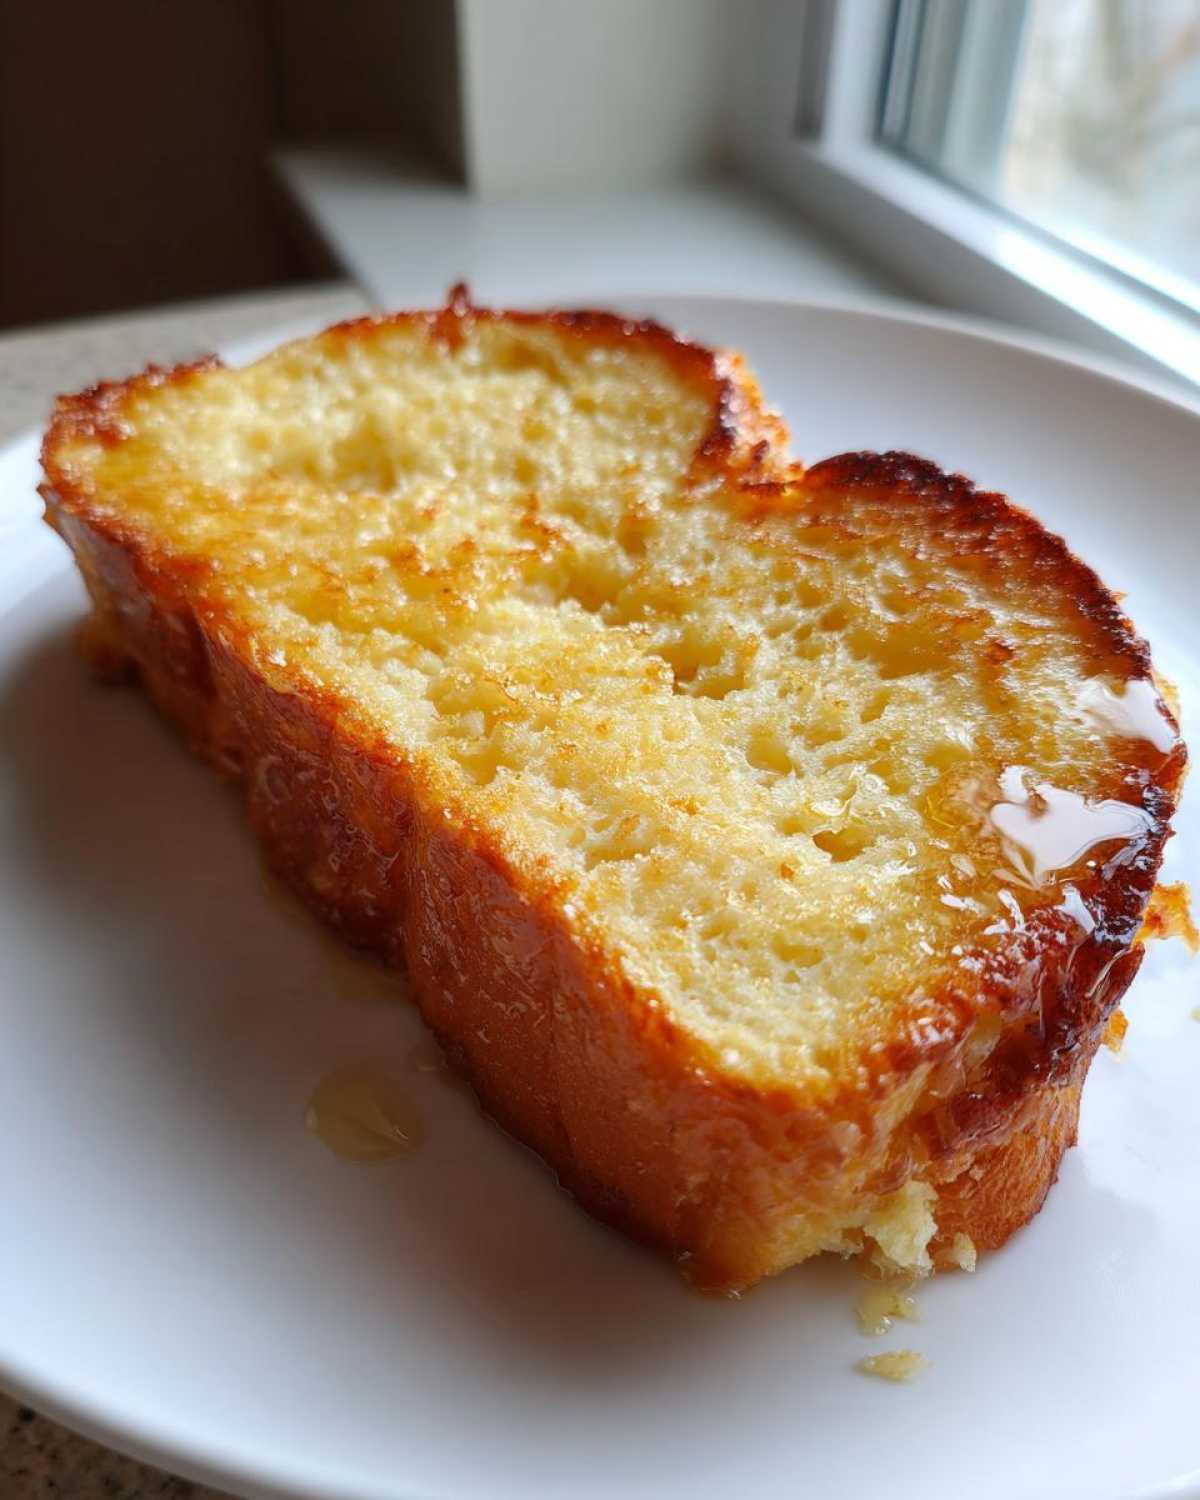
Your Next Easy Brunch Recipes Adventure
Well, there you have it! This little masterpiece is proof that the best moments in the kitchen don’t need complicated rules. If you just made this, tell us! What toppings did you choose for your easy brunch recipes plate? Drop a comment below and let Ethan and me know how fast your easy french toast truly was. We love getting your feedback to keep improving our tips!
PrintThe Absolute Easiest Fluffy French Toast: Ready in Under 15 Minutes

Make perfect, golden French toast quickly using simple pantry ingredients. This foolproof recipe delivers a custardy center and crisp edges every time for a comforting breakfast.
- Prep Time: 5 min
- Cook Time: 8 min
- Total Time: 13 min
- Yield: 4 servings
- Category: Breakfast
- Method: Stovetop
- Cuisine: American
- Diet: Vegetarian
Ingredients
- 6 large eggs
- 1/2 cup whole milk
- 1 teaspoon vanilla extract
- 1/2 teaspoon ground cinnamon
- 1/4 teaspoon salt
- 8 slices thick bread (like Texas Toast or Brioche)
- 2 tablespoons butter, for the griddle
Instructions
- In a shallow dish, whisk together the eggs, milk, vanilla extract, cinnamon, and salt until fully combined. This is your foolproof French toast batter.
- Heat a large non-stick skillet or griddle over medium heat. Add about half of the butter and let it melt until it sizzles slightly.
- Dip one slice of bread into the egg mixture, letting it soak for about 15 to 20 seconds per side. Do not over-soak; you want the center custardy, not soggy.
- Place the soaked bread onto the hot, buttered skillet. Cook for 3 to 4 minutes per side, until the French toast is golden brown and cooked through.
- Remove the cooked slices and keep them warm while you cook the remaining bread, adding more butter to the skillet as needed between batches.
- Serve immediately with your favorite toppings like maple syrup or fresh fruit.
Notes
- For extra fluffy French toast, use slightly stale, thick-cut bread. The stale bread absorbs the custard better without falling apart.
- If you want a richer flavor, substitute half of the milk with half-and-half.
- To keep a large batch warm while you finish cooking, place the cooked slices on a wire rack set over a baking sheet in a 200°F oven.
Nutrition
- Serving Size: 2 slices
- Calories: 280
- Sugar: 8
- Sodium: 350
- Fat: 12
- Saturated Fat: 6
- Unsaturated Fat: 6
- Trans Fat: 0
- Carbohydrates: 30
- Fiber: 1
- Protein: 14
- Cholesterol: 190