

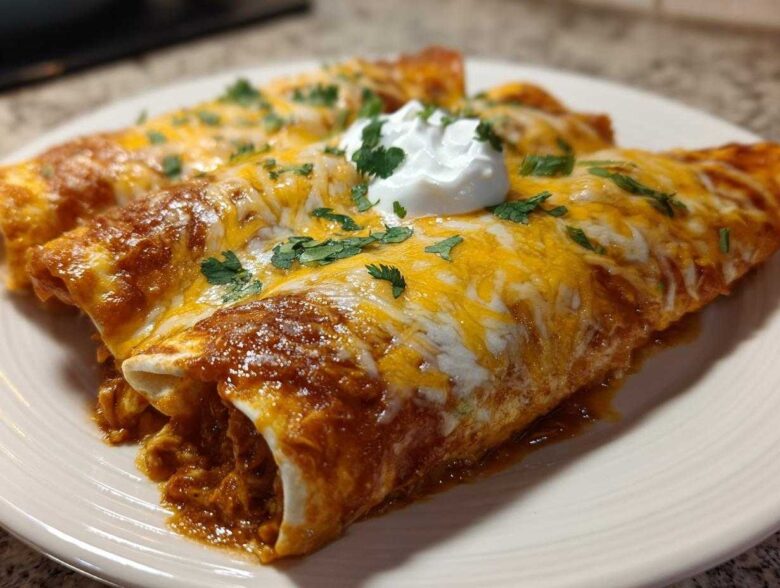
Oh, you know that moment when only something deeply cheesy, wonderfully spicy, and just dripping with comfort will do? That’s when I pivot hard toward the bright, zesty side of life, and Maya and I finally perfected what I consider the absolute best green chile chicken enchiladas you’ll ever make. We aren’t talking about drowning everything in heavy red sauce; we are talking about that vibrant, almost electric tang that only green chiles deliver, wrapped up in the silkiest, creamiest sauce imaginable. Ethan’s family always leaned toward bold, instinctive seasoning, but I, Maya, spent weeks researching the perfect melt point for the cream cheese to pair with that zesty punch. Trust me, this recipe is the perfect marriage of his heart and my detailed plans—it’s quick enough for a Tuesday, but special enough for company.
If you’re looking for a simple, flavor-packed fix, you absolutely have to try my recipe for easy creamy chicken enchiladas as well, but this green chile version stands totally on its own. This is your weeknight-friendly answer to craving something truly Southwestern and satisfying!
Why You Will Love These Creamy Green Chile Chicken Enchiladas
Listen, when dinner needs to happen fast but still tastes like you spent all afternoon simmering something special, this recipe is your hero. We’re talking about a fantastic Southwest Chicken Dinner that comes together in about 40 minutes total. The secret weapon? Tender shredded chicken—seriously, grab a rotisserie chicken if you need to save ten minutes. It soaks up that luscious, creamy sauce like a sponge. Forget the heavy flavor of traditional sauces; these green chile chicken enchiladas deliver a bright, zesty flavor that wakes up your palate. It’s truly the ultimate Quick Family Meal without sacrificing any of that cheesy, comforting goodness we all crave.
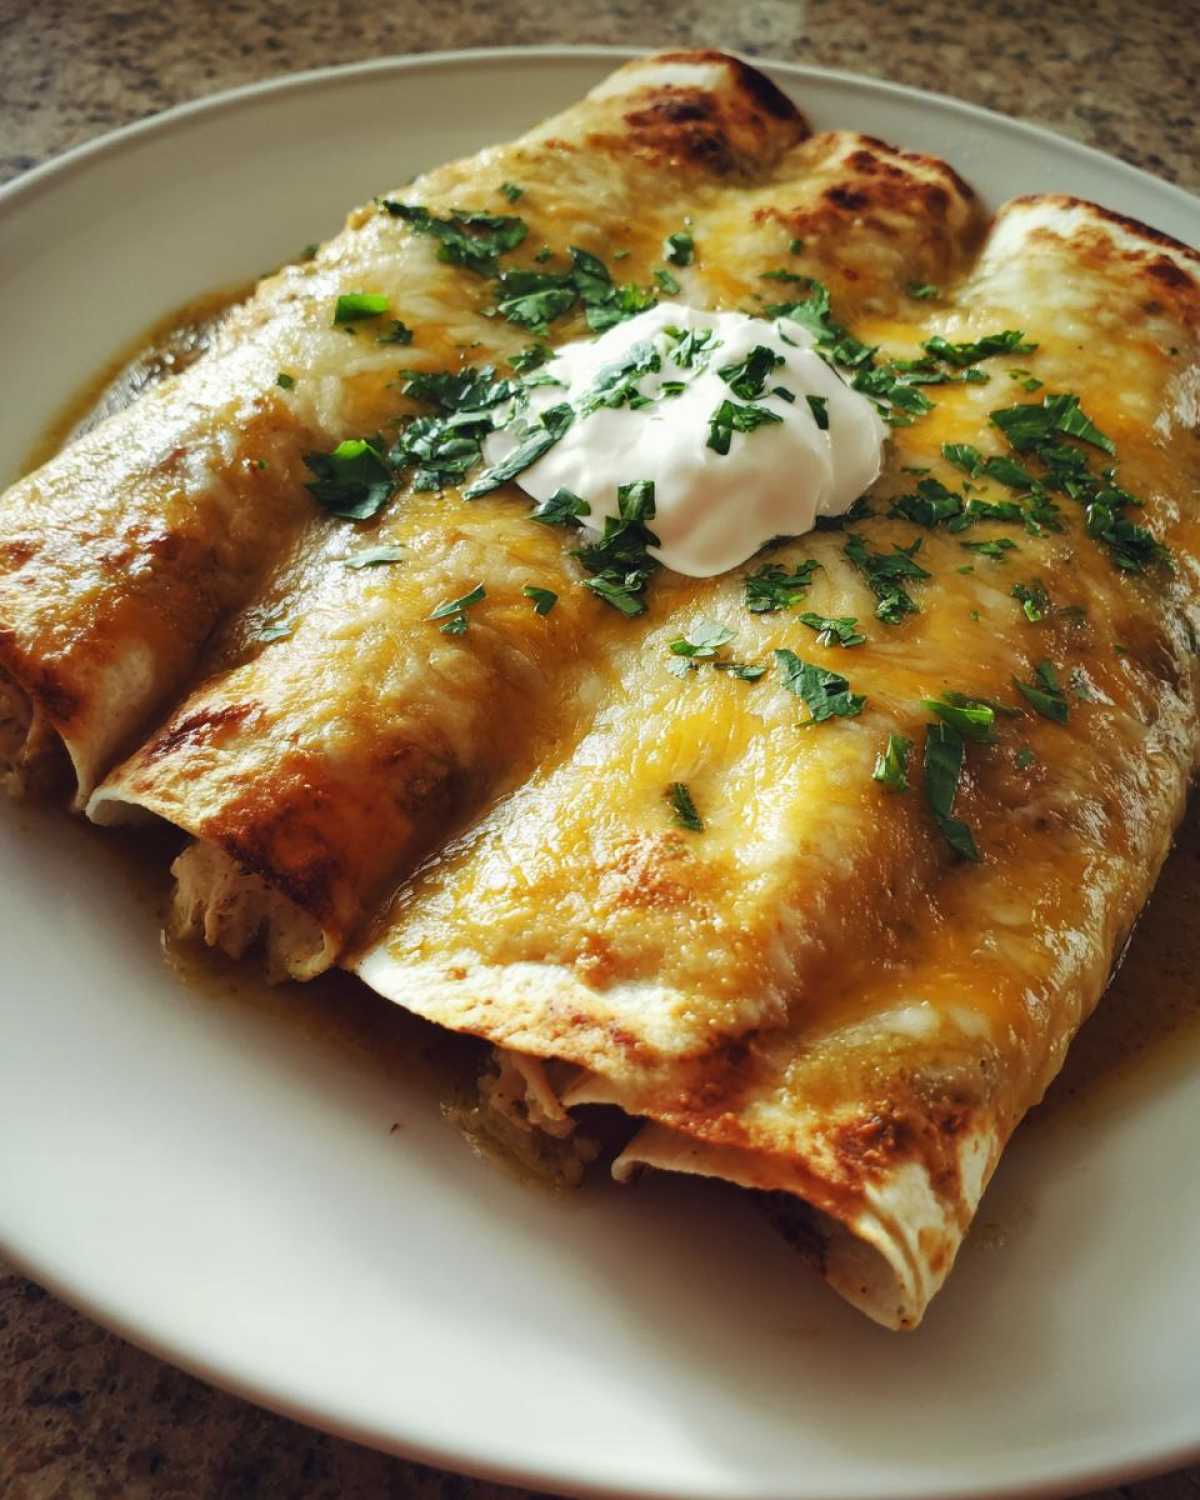
Gathering Ingredients for Your Green Chile Chicken Enchiladas
Okay, let’s get our mise en place ready. Because this is a fantastic rotisserie chicken dinner opportunity, we keep the prep light, which is why this flies out of the oven so fast. We need about two cups of that cooked, shredded chicken ready to go. For the sauce that makes these Green Chile Chicken Enchiladas famous, we’re leaning heavily on flavor boosters. Don’t forget the one small yellow onion, finely chopped, and two cloves of garlic, which you’ll want minced nice and small. That little bit of onion and garlic cooks down and builds our base flavor!
The real stars, aside from the chicken, are the green chiles—make sure you grab that 4-ounce can of diced green chiles, undrained, because we want every bit of that liquid flavor. Then comes our secret to unbelievable creaminess: eight ounces of cream cheese. This is where Maya steps in with a big research note: You absolutely must have that cream cheese softened! If it’s straight from the fridge, it will leave annoying little lumps in your sauce, and we want velvety smooth, not chunky, trust me. We mix that with a can of mild green enchilada sauce and one cup of chicken broth. Finally, ethnic seasoning is key! Toss in a teaspoon of ground cumin and half a teaspoon of dried oregano. They deepen the flavor profile beautifully. Grab your tortillas—flour or corn works—and about two cups of Monterey Jack cheese for the perfect, melty top layer.
Step-by-Step Guide to Making Flavorful Green Chile Chicken Enchiladas
Alright, let’s get cooking! Nothing makes me happier than walking Maya through the actual assembly of one of our favorite dinners. This is where Ethan’s intuitive flavor building comes into play. Before you do anything else, get that oven warmed up to 375 degrees F, and lightly grease your trusty 9×13 dish. That little bit of pre-planning saves you headaches later!
We start on the stovetop. Get a large skillet over medium heat and warm up that tablespoon of olive oil. Toss in your chopped onion and let it soften up nicely—about five minutes should do it. Then, right when you add the minced garlic, here’s one of Ethan’s little secrets: toss in the cumin and oregano right there with the garlic for just about 30 seconds. Toasting them quickly wakes up those earthy flavors before the liquid hits them. It makes a huge difference in your final green chile chicken enchiladas!
Preparing the Creamy Zesty Green Chili Sauce
Now we build the sauce that makes these green chile chicken enchiladas so famous. Bring that shredded chicken, the diced green chiles (undrained, remember!), that can of green enchilada sauce, and the chicken broth into the skillet. Stir it all together until it’s warm. Now, take your softened cream cheese—I’m watching you, make sure it’s soft!—and drop it in chunks into the hot mixture. Keep stirring constantly! You’ll feel it start to melt and smooth out, integrating beautifully with the broth and the chiles. Once it’s totally smooth, taste it and hit it with salt and pepper until it tastes perfectly seasoned to you. That gooey, zesty base is ready to hug that chicken.
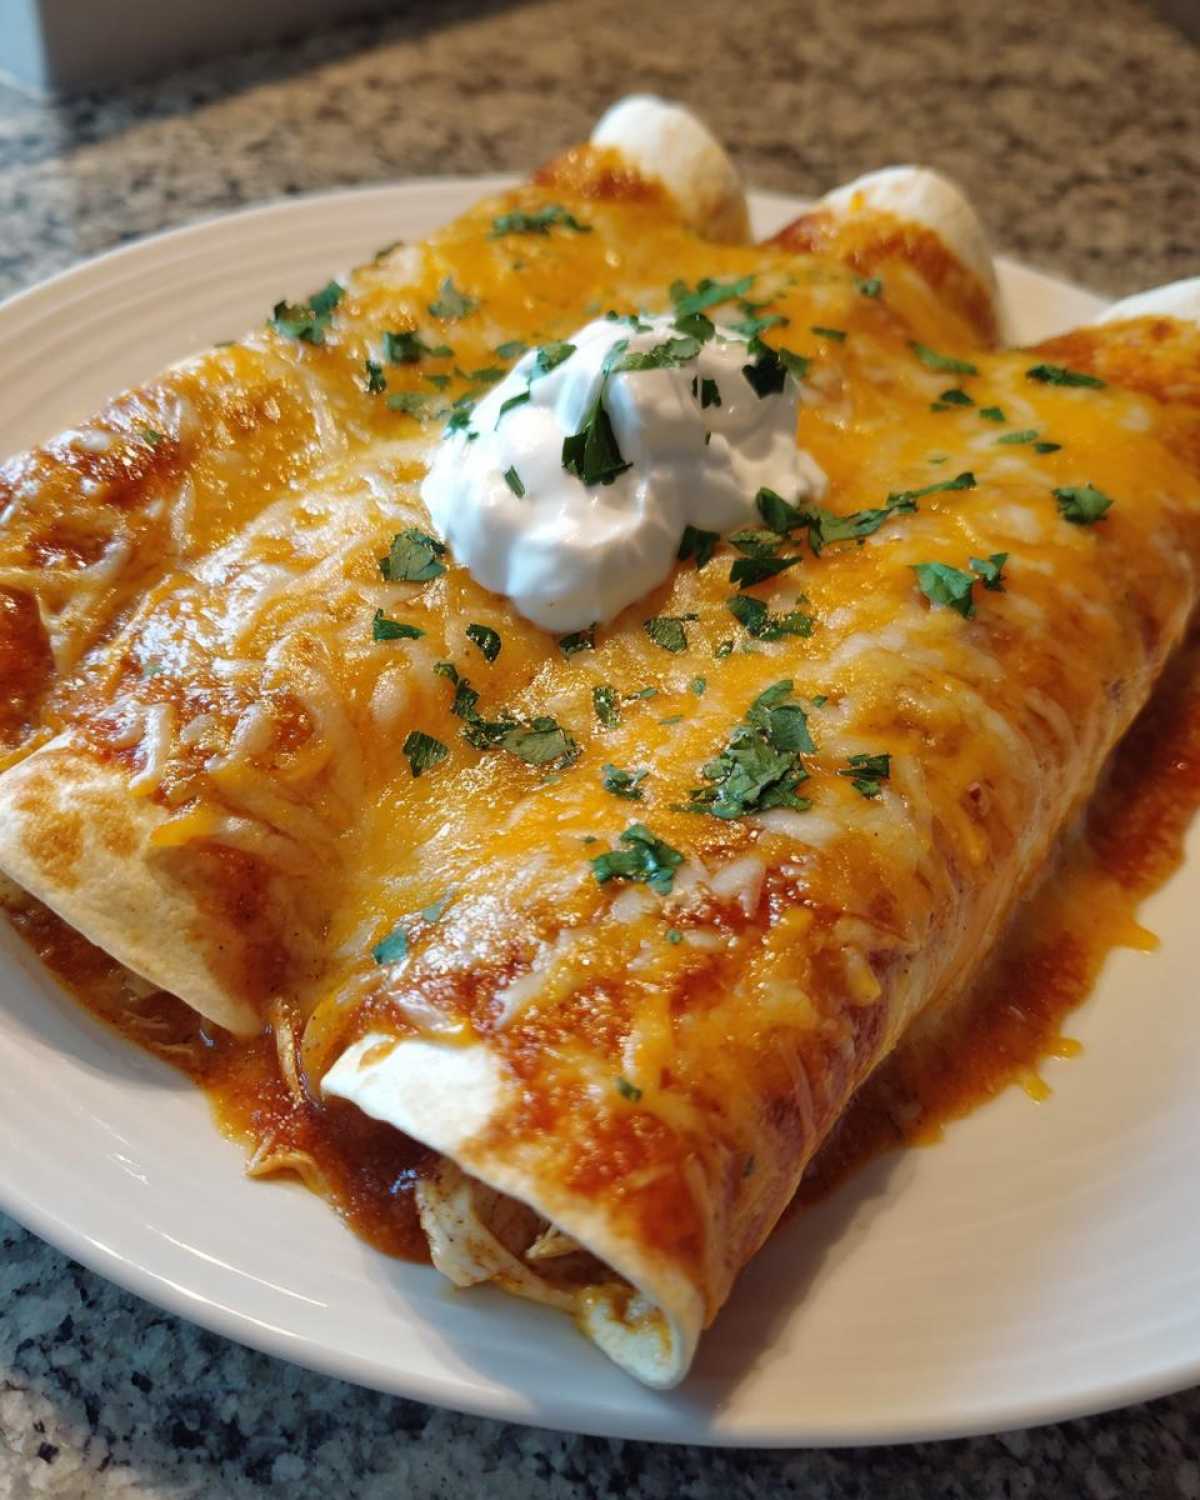
Assembling and Baking Your Green Chile Chicken Enchiladas
Before we roll, you absolutely must make the tortillas pliable. Seriously! If you use cold tortillas, they tear, and then you’ve got a mess, not enchiladas. Microwave them for 20 seconds under a damp paper towel, or heat them quickly in a dry skillet. It only takes a second per tortilla. Dip each softened one briefly into any leftover sauce you have in the pan just to give it a little moisture barrier.
Spoon a good amount of that creamy chicken filling down the middle, roll it up tight, and lay it seam-down in your prepared baking dish. Once they’re all snuggled in, pour any remaining sauce mixture right over the top. Don’t be shy! Then come the two cups of shredded cheese—I love using Pepper Jack here for a little extra kick—spread it edge-to-edge. Pop it into that preheated 375°F oven for about 20 to 25 minutes. You want it beautifully bubbly and that cheese on top should be nicely golden. The final goal for these amazing green chile chicken enchiladas? Let them rest for five minutes—I know, it’s torture—before topping with sour cream and cilantro!
- Preheat your oven to 375 degrees F. Lightly grease a 9×13 inch baking dish.
- In a large skillet over medium heat, warm the olive oil. Add the chopped onion and cook until soft, about 5 minutes. Add the minced garlic and cook for 1 minute more until fragrant.
- Stir in the shredded chicken, diced green chiles, green enchilada sauce, softened cream cheese, chicken broth, cumin, and oregano into the skillet. Cook, stirring often, until the cream cheese is fully melted and the sauce is smooth and heated through. Season with salt and pepper. This is your flavorful filling.
- Warm the tortillas briefly in the microwave or a dry skillet to make them pliable. This prevents tearing when rolling.
- Dip each tortilla briefly into the remaining enchilada sauce (or a small amount of the filling mixture) to coat lightly. Fill each tortilla with about 1/4 cup of the chicken mixture and roll it up tightly.
- Place the rolled enchiladas seam-side down in the prepared baking dish.
- Pour any remaining sauce mixture evenly over the rolled enchiladas. Sprinkle the shredded cheese over the top.
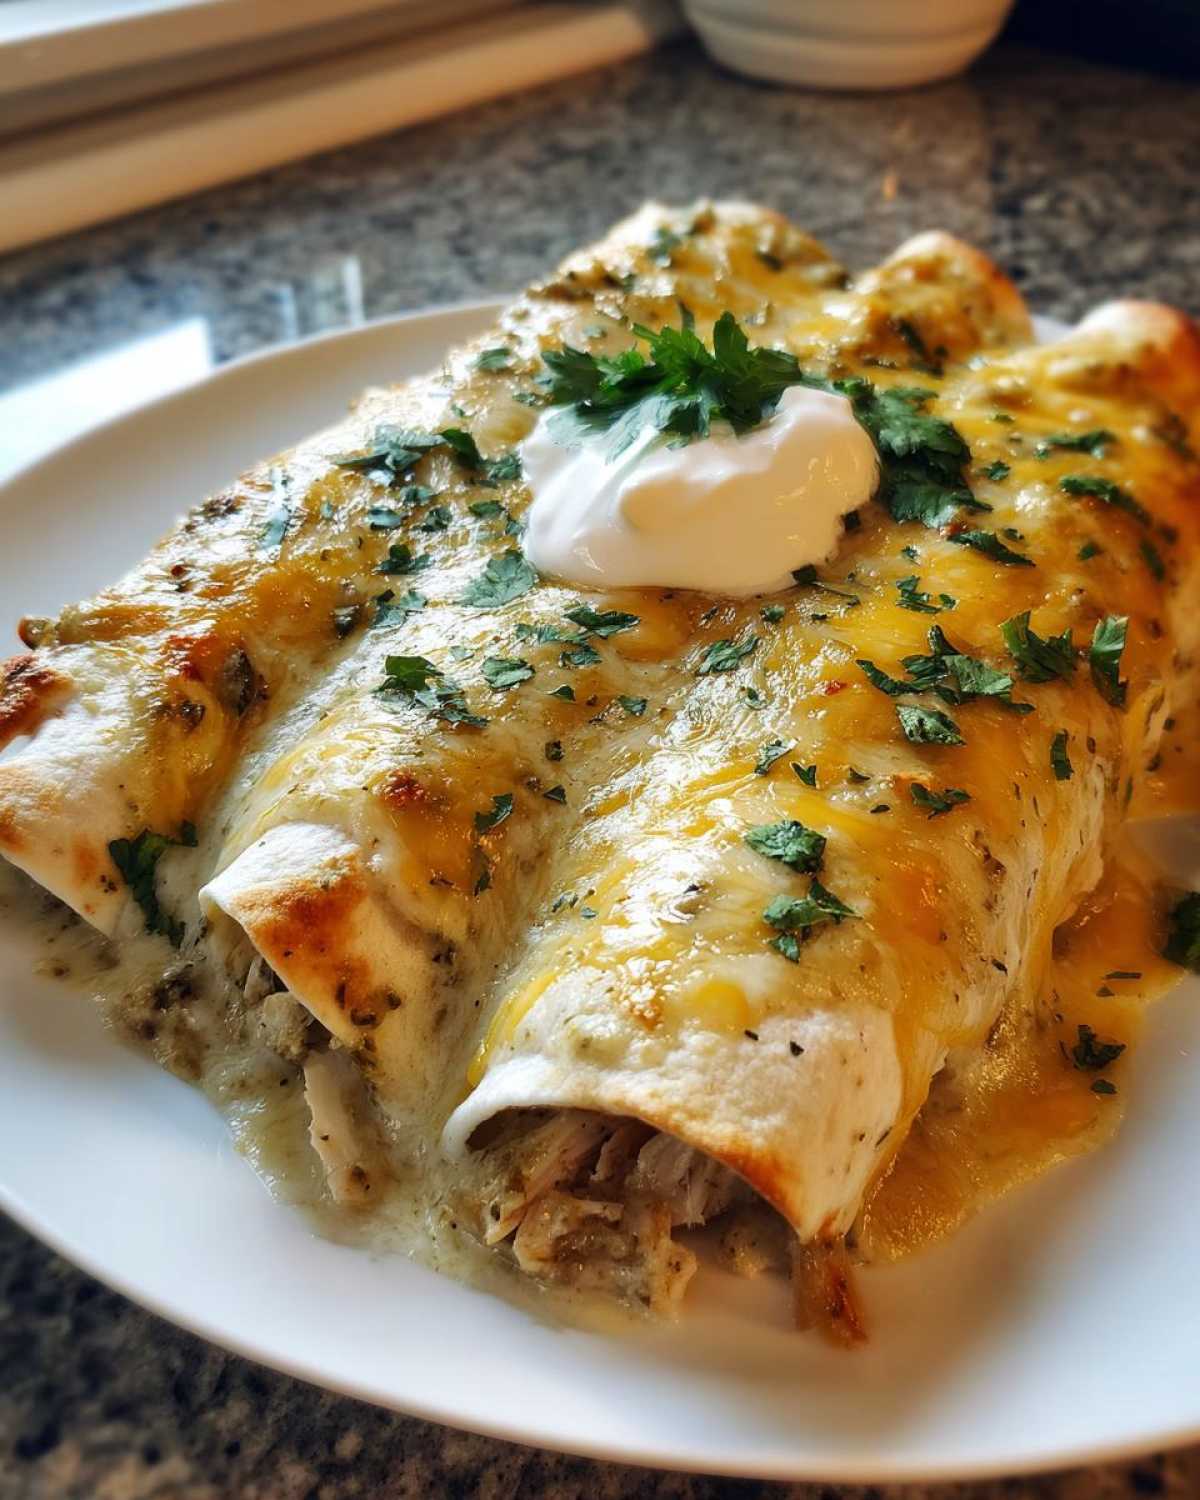
- Bake for 20 to 25 minutes, or until the cheese is melted, bubbly, and lightly golden brown.
- Let the enchiladas rest for 5 minutes before serving. Top each serving with a dollop of sour cream and fresh cilantro.
This process ensures every part of your dish is infused with that signature zesty flavor. If you want to see how we apply similar flavor layering to a soup, check out my notes on this creamy chicken taco soup recipe!
Tips for the Best Green Chile Chicken Enchiladas
We have the blueprint now, but even the best plans need a few pro tweaks to make sure they turn out absolutely perfect every single time. This is where all those hours Maya and I spent debating dairy textures and chile heat really pay off for you! Don’t skimp on these little details; they are the difference between a good enchilada and one you dream about later.
First up: the tortilla choice. You can use corn or flour, honestly. Corn gives you that wonderfully authentic, slightly sturdier bite, but you have to warm them longer or they will crack when you roll them—ask me how I know! Flour tortillas are more forgiving, especially if you’re packing them full. If you do use corn tortillas, take maybe 10 seconds per side in a dry skillet until they are soft and flexible. Maya loves the structural integrity of corn, but I often default to flour for speed when we’re eating these for a quick dinner.
Now, let’s talk texture one more time, because this is important for a creamy green chile enchilada. I mentioned softening the cream cheese, but a critical tip for a smooth zesty green chili sauce is using warm, not boiling hot, liquid. If your sauce base is too hot when you add the cream cheese, it can seize up. We mix the cream cheese into the warmer broth/enchilada sauce mixture slowly, stirring constantly until it is completely dissolved before we even think about adding the chicken back in. A smooth base is everything!
Want to adjust that spice level? That’s totally up to you! If you want a gentler Mexican Inspired Dinner (maybe the kids are eating), stick to mild canned green chiles only. If you want that extra bite, Ethan suggested adding a dash of cayenne pepper right into the seasoning mix with the cumin, or swapping out plain diced green chiles for hot ones. If you need to cool things down after the fact, no problem! A drizzle of sour cream or a dollop of plain Greek yogurt on top acts like a lovely, cool blanket. You can see some of our other general kitchen wisdom over on the main Tasty Tipster blog!
Making Green Chile Chicken Enchiladas Ahead of Time
I love that you’re already thinking ahead! Seriously, one of the best things about this dish is how wonderfully it handles being prepped in advance. If you’re planning for a busy night or just want that glorious smell in your house tomorrow without the work, these Make Ahead Enchiladas are your best friend. Ethan’s dad always says, “The hard work is done when you’re not hungry!” and making these ahead means dinner is truly moments away when you need it.
If you’re planning to bake them the next day, assemble everything exactly as the instructions say—fill, roll, sauce, and cheese—but stop right before they go into the oven. Cover that 9×13 dish tightly with plastic wrap or foil. Make sure the wrap isn’t touching the cheese too much if you can help it. Then, tuck it into the fridge for up to 24 hours. When it’s dinner time, just pull off the plastic, let it sit on the counter for about 20 minutes to take the chill off (this helps them heat more evenly), and then bake as directed. You might need to add 5 extra minutes of bake time since they started cold.
Now, if you’re looking for long-term storage, freezing is where these really shine. For the best results when freezing, I suggest you skip the drizzle of sauce over the top for now—just assemble them—fill, roll, and layer them snugly in a freezer-safe, oven-safe dish. Cover it super tight, first with plastic wrap, then a layer of foil. Pop it into the freezer for up to three months. This is a lifesaver when you need a real comfort food chicken casserole ready to go.
When you pull those frozen beauties out, remember they need a slow thaw. You can’t just bake them rock-solid! Thaw them overnight in the refrigerator first. Then, when you’re ready to bake, you’ll likely need an extra 15 minutes in the oven compared to the fresh recipe time because they are starting out quite cold. This method keeps the tortillas from getting soggy while everything thaws gently. If you want to use a different method for shredding your chicken next time, check out how we use our slow cooker for super tender meat in our slow cooker shredded chicken tacos!
Variations: Making It Your Own Southwest Chicken Dinner
The beauty of a really solid base recipe like these green chile chicken enchiladas is that they are begging to be customized! Ethan and I love making tweaks based on what we have or what mood we’re in. If someone’s coming over who prefers more heat, or if we’re trying to stretch the meal a bit further, we just lean into one of these fun variations. It’s all about making this dish perfectly yours!
First thought: Do you want a casserole, or do you want rolls? I usually go for the roll-up because I love that defined shape, but if I’m in a hurry—or if I’ve made these with a thinner sauce—I switch straight into casserole mode. That’s super easy! You just layer it: a little sauce on the bottom of the baking dish, then a layer of tortillas, then half your creamy chicken filling, then half your cheese. Repeat that one time, topping with the final layer of cheese. It bakes up into one giant, glorious, cheesy blanket. It’s less fuss, and honestly, sometimes the edges get just a little crispier, which I love.
When it comes to cheese, the Monterey Jack we used is mild and perfect for melt, but if you want that extra pop, swap half of it out for Pepper Jack. That instantly gives you a beautiful, gentle heat that complements the green chiles perfectly without overwhelming the creaminess. If you want to dial down the richness slightly—Maya experimented with this a lot—you can substitute about half the cream cheese with plain Greek yogurt for a tangier zip, similar to what we do in our other creamy chicken enchiladas recipe. Watch the bake time slightly if you do a big dairy swap, though!
And listen up, for those vegetarian nights? This recipe transforms beautifully! You can skip the chicken entirely, but don’t just leave the filling thin. Layer in a can of black beans (rinsed really well!) and maybe a cup of corn kernels along with your onions and garlic. It keeps that wonderful creamy sauce structure but makes it a hearty, meatless Southwest Chicken Dinner replacement. You won’t even miss the chicken, I promise!
Serving Suggestions for Your Cheesy Chicken Bake
Now that you have this perfect, bubbling pan of cheesy chicken bake sitting on your counter, the last hurdle is deciding what’s going with it! Since these green chile chicken enchiladas bring so much richness and creaminess to the table, you want sides that are bright, crisp, or absorb that extra sauce beautifully. Honestly, keeping the sides simple is the best way to honor this quick, satisfying meal.
My number one, Ethan-approved suggestion is always Mexican rice. The seasoned rice soaks up any extra sauce that escapes the tortilla edges, and it feels instantly traditional. If you need a quick recipe for that, you should check out our guide on crispy oven-baked Mexican potatoes—we often use a similar seasoning profile in the rice!
If you’re looking for something truly fresh to cut through the richness, you cannot beat a simple, crunchy slaw. Thinly slice cabbage and carrots, toss with a little lime juice, salt, and maybe a tiny splash of apple cider vinegar. It adds texture and a necessary acidic punch. For something super easy, just slicing up some fresh avocado or topping the enchiladas with fresh pico de gallo works wonders.
Don’t overcomplicate this part! The magic is in that cheesy crust and zesty filling. Keep the sides light so you can focus on devouring those delicious rolls. You deserve it after putting together such a wonderful flavorful dinner idea!
Frequently Asked Questions About Green Chile Chicken Enchiladas
When we share a recipe, we always get such thoughtful questions back, and I love diving in to help you troubleshoot or customize! Cooking is all about making it work for your kitchen, right? Here are a few of the most common things folks ask when tackling these creamy green chile chicken enchiladas.
Should I use flour or corn tortillas for this recipe?
This is truly a toss-up, and you won’t go wrong either way! If you love that slightly more authentic, earthy texture, go for corn tortillas. But remember what I said: you absolutely must warm corn tortillas until they are very pliable, or they crack when you roll them up. Flour tortillas are more flexible right out of the microwave or brief skillet warm, making them fantastic for a Weeknight Enchilada Recipe where time is short. Either way, warming them prevents disastrous tears!
How can I make this a spicier Southwest Chicken Dinner?
If you like your food with a little more fire, you have a few easy options! The simplest swap is choosing *hot* canned green enchilada sauce instead of the mild we used. If you can’t find hot sauce, just add a teaspoon of your favorite hot sauce directly into the filling mixture when you add the spices. For a pure heat boost that sticks to the chicken, Ethan suggests adding a pinch or two of cayenne pepper right when you lightly toast the cumin and oregano with the garlic—it really deepens the heat beautifully. It instantly turns it into a more robust Spicy Chicken Casserole!
Can I use store-bought salsa verde instead of canned green enchilada sauce?
You certainly can, and it creates a wonderfully Bright Tangy Enchilada Sauce! Salsa verde is often thinner and tangier than the standard canned green enchilada sauce we used because it usually contains tomatillos. If you use salsa verde, you’ll definitely need the cream cheese to bring back that thick, luxurious texture we are aiming for in these creamy green chile enchiladas. If you use salsa verde, just be sure to add a tablespoon of flour or cornstarch mixed with a tiny bit of cold water to the sauce base early on, just to encourage thickening as it bakes.
What is the fastest way to get perfectly shredded chicken?
Honestly, for speed, nothing beats a good rotisserie chicken! Simply pull the meat off the bones and use two forks to shred it. If you do cook chicken specifically for this, the microwave or slow cooker method is stellar for shredding. If you’re curious about getting maximum shredding power with minimal fuss, pop over and check out my notes on how to make amazingly tender meat using our juicy roasted chicken secrets—the residual heat after resting actually makes the shredding ridiculously easy!
I want this to be a Make Ahead Enchiladas meal. How do I prep it?
This is one of the best features of this Cheesy Chicken Bake! You can assemble the entire dish—fill the tortillas, roll them, sauce them, and top them with cheese—but cover it tightly with plastic wrap and foil and keep it in the fridge for up to 24 hours. Just remember to pull it out about 20 minutes before baking so it loses that deep chill. I often do this when I know I’ll have zero energy after work, and it makes for such a rewarding Comfort Food Chicken Casserole dinner!
Nutritional Snapshot for These Easy Chicken Enchiladas
Now, I know some of you are tracking things closely, and others just want to know roughly where things stand when you’re digging into a big spoonful of this wonderfully cheesy, saucy goodness. Ethan is always careful to remind me after a big batch that we’re dealing with cream cheese and cheese topping, so these are definitely rich! That’s why we always look for ways to keep things quick and lighter, like using that rotisserie chicken we love.
Here is the estimated nutritional breakdown for these easy chicken enchiladas, based on two rolled enchiladas per serving:*
- Serving Size: 2 enchiladas
- Calories: Around 550 (This is the heart of the comfort!)
- Protein: A whopping 38 grams—that shredded chicken really adds up!
- Fat: About 30 grams total
- Carbohydrates: Approximately 35 grams
- Sugar: Just around 5 grams
Please remember, this is just an *estimate*, folks. If you swap out flour tortillas for corn, or if you decide to sneak in the Pepper Jack for extra spice, those numbers will absolutely shift! Also, the sodium can vary wildly based on the saltiness of your canned green chile sauce. We try to keep watch, but when something tastes this good, it’s all about enjoying the moment. Eat well, and don’t stress the small stuff when dinner makes everyone this happy!
PrintCreamy Green Chile Chicken Enchiladas for a Weeknight Win

Make these zesty and bright Green Chile Chicken Enchiladas for a comforting Southwest dinner that comes together quickly. This recipe uses tender shredded chicken and a rich, creamy green chile sauce, making it an easy family favorite.
- Prep Time: 15 min
- Cook Time: 25 min
- Total Time: 40 min
- Yield: 4 servings
- Category: Dinner
- Method: Baking
- Cuisine: Mexican Inspired
- Diet: Vegetarian
Ingredients
- 2 cups cooked, shredded chicken (rotisserie chicken works great)
- 1 tablespoon olive oil
- 1 small yellow onion, finely chopped
- 2 cloves garlic, minced
- 1 (4 ounce) can diced green chiles, undrained
- 1 (10 ounce) can mild green enchilada sauce
- 8 ounces cream cheese, softened
- 1 cup chicken broth
- 1 teaspoon ground cumin
- 1/2 teaspoon dried oregano
- Salt and black pepper to taste
- 10 medium flour tortillas (or corn tortillas)
- 2 cups shredded Monterey Jack or Pepper Jack cheese
- 1/2 cup sour cream (for topping)
- Fresh cilantro, chopped (for garnish)
Instructions
- Preheat your oven to 375 degrees F. Lightly grease a 9×13 inch baking dish.
- In a large skillet over medium heat, warm the olive oil. Add the chopped onion and cook until soft, about 5 minutes. Add the minced garlic and cook for 1 minute more until fragrant.
- Stir in the shredded chicken, diced green chiles, green enchilada sauce, softened cream cheese, chicken broth, cumin, and oregano into the skillet. Cook, stirring often, until the cream cheese is fully melted and the sauce is smooth and heated through. Season with salt and pepper. This is your flavorful filling.
- Warm the tortillas briefly in the microwave or a dry skillet to make them pliable. This prevents tearing when rolling.
- Dip each tortilla briefly into the remaining enchilada sauce (or a small amount of the filling mixture) to coat lightly. Fill each tortilla with about 1/4 cup of the chicken mixture and roll it up tightly.
- Place the rolled enchiladas seam-side down in the prepared baking dish.
- Pour any remaining sauce mixture evenly over the rolled enchiladas. Sprinkle the shredded cheese over the top.
- Bake for 20 to 25 minutes, or until the cheese is melted, bubbly, and lightly golden brown.
- Let the enchiladas rest for 5 minutes before serving. Top each serving with a dollop of sour cream and fresh cilantro.
Notes
- For a tangier sauce, you can substitute half of the cream cheese with plain Greek yogurt. This keeps the dish creamy while adding a nice zip.
- If you prefer a casserole style, layer half the tortillas, half the filling, and half the cheese, then repeat the layers. Bake as directed.
- This recipe is freezer-friendly. Assemble the entire dish, cover tightly, and freeze before baking. Thaw overnight in the refrigerator and add about 15 minutes to the baking time.
Nutrition
- Serving Size: 2 enchiladas
- Calories: 550
- Sugar: 5
- Sodium: 850
- Fat: 30
- Saturated Fat: 15
- Unsaturated Fat: 15
- Trans Fat: 1
- Carbohydrates: 35
- Fiber: 3
- Protein: 38
- Cholesterol: 110