

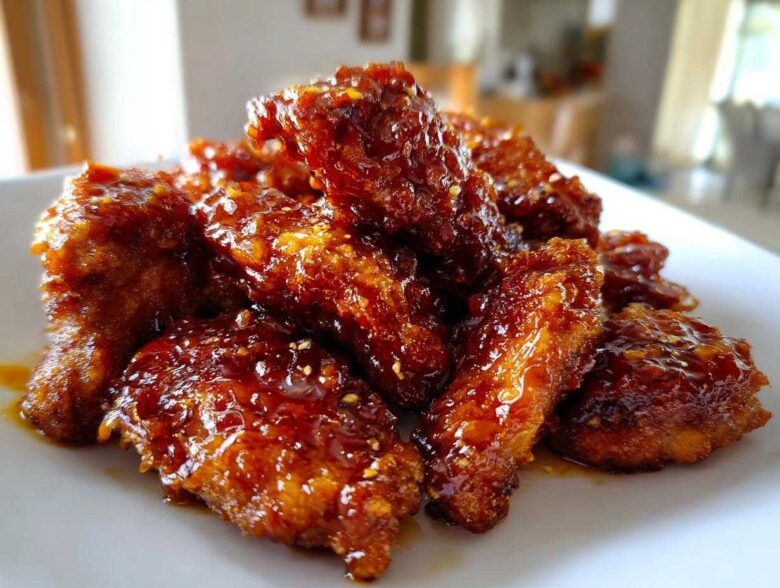
Oh boy, are you tired of that 5 PM panic when you realize you have zero clue what’s happening for dinner? I totally get it! After years of frantic searching for something fast that the whole family would actually cheer for, I landed on my absolute savior: this super simple, baked Honey Garlic Chicken. Trust me when I say this isn’t just another sticky sauce recipe; this is *the* sticky sauce recipe.
It bakes up beautifully so there’s minimal mess, and the glaze gets just caramelized enough—not runny, not burnt, just perfectly gooey. This has become our official Family Favorite Chicken Dinner because it really only takes about 40 minutes start to finish. If you’re looking for the easiest, stickiest, most flavor-packed weeknight chicken ever, you are absolutely in the right spot! Check out the step-by-step over at this link if you want the lightning-fast version!
Why This Easy Honey Garlic Chicken Recipe Works Every Time
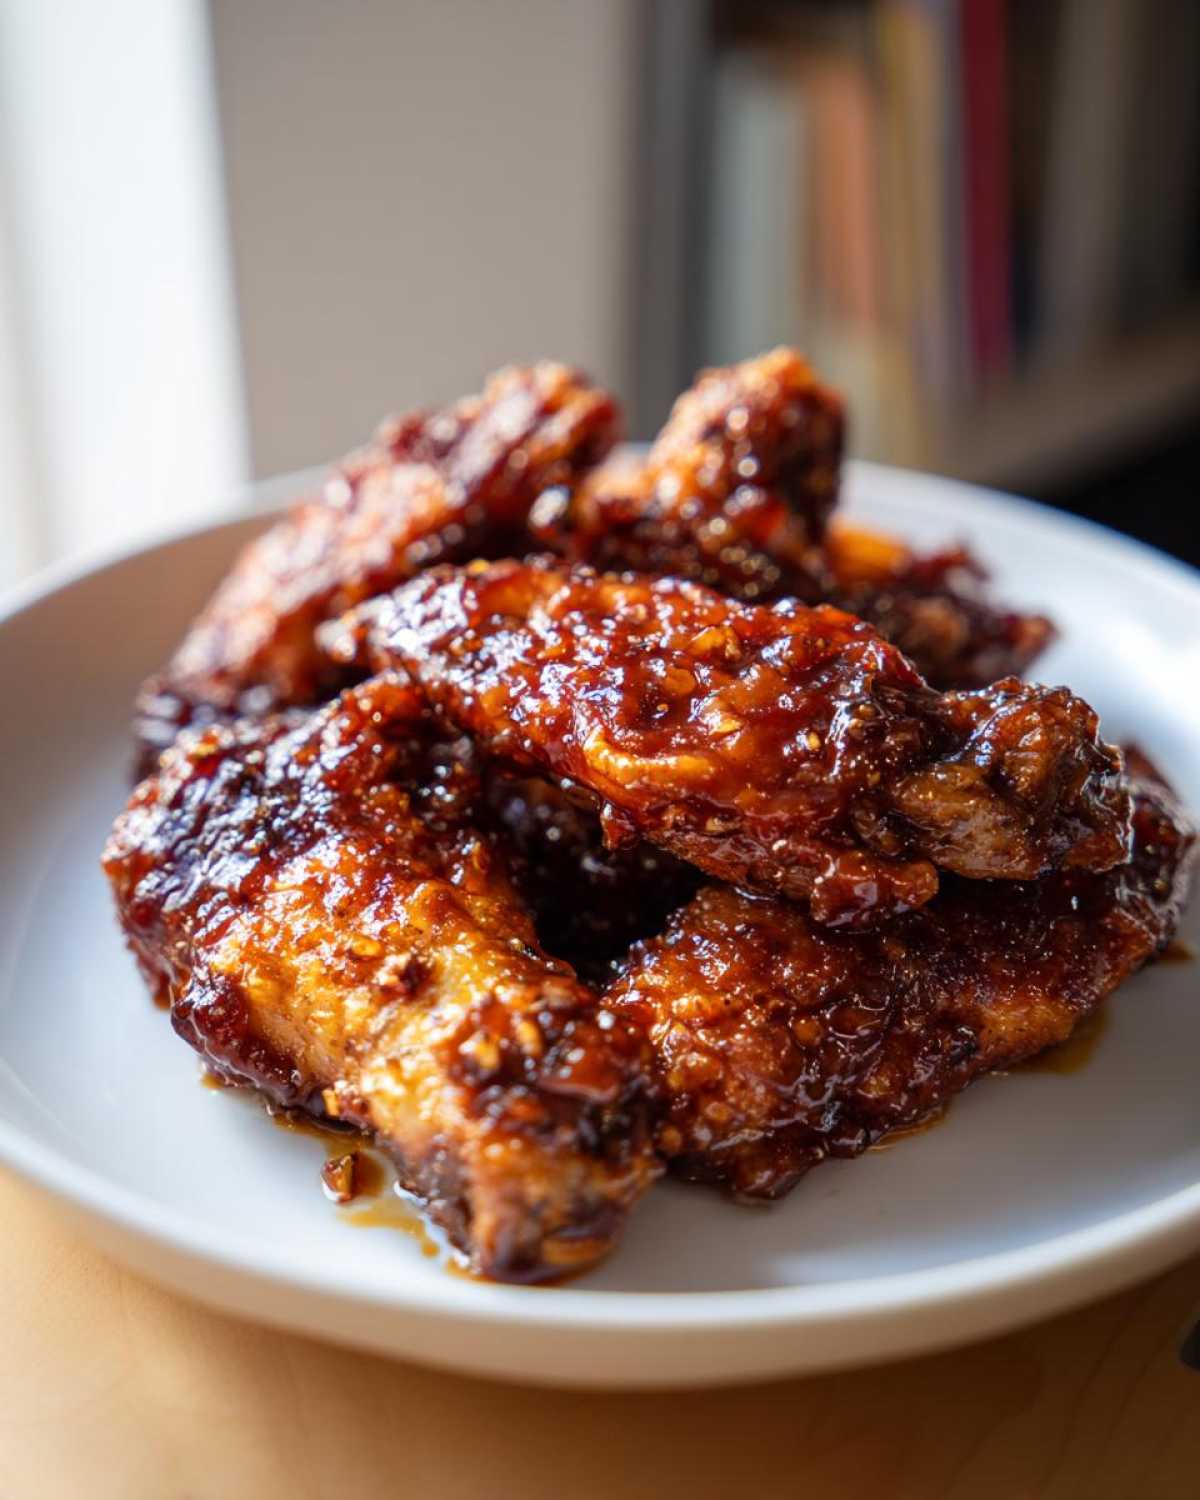
Listen, I bake this chicken for two main reasons: it’s shockingly fast, and the cleanup is almost nonexistent. When you’re trying to manage homework, soccer practice, and just getting food on the table, you need reliability, and this recipe delivers time and time again. It’s become the cornerstone of what I call my ultimate weeknight chicken meals rotation!
- Speedy Dinner Alert: From preheating the oven to pulling out perfectly glazed chicken, we’re looking at about 40 minutes total. That’s faster than most takeout!
- Flavor Balance is Key: We hit that perfect sweet spot. It’s not overly syrupy; the hint of vinegar and fresh ginger cuts through the honey so you get that beautiful savory backbone alongside the sweetness.
- Minimal Mess: Since we are baking everything right in one dish, there are no pans to scrub later other than the baking dish itself. A huge win for weeknights!
Quick Skillet Honey Garlic Chicken Alternative
Now, I chose baking because it gives you that hands-off time while the chicken cooks and you can focus on making the sauce glaze separately. But don’t think you’re stuck on the oven route! If you’re in a total rush, this exact same homemade honey garlic sauce base is absolutely heavenly if you use it for a Quick Skillet Honey Garlic Chicken. You just need to keep that sauce moving constantly so it doesn’t scorch on the stovetop!
Ingredients for the Best Baked Honey Garlic Chicken
When you’re making something as simple as this Honey Garlic Chicken, you simply cannot skimp on the quality of your core ingredients. Because there are so few things here, each one really shines through, especially that beautiful sticky glaze. Don’t worry about complex sourcing for this one; everything below is easy to find at your regular grocery store!
Here’s what you’ll need for four servings (which is usually just right for my family!):
- 1.5 lbs boneless, skinless chicken breasts OR thighs
- 1/2 cup honey (Use the good stuff—it matters!)
- 1/4 cup low sodium soy sauce
- 4 cloves garlic, minced finely
- 1 tablespoon apple cider vinegar
- 1 teaspoon grated fresh ginger
- 1/2 teaspoon black pepper
- 1 tablespoon cornstarch
- 2 tablespoons water (for the slurry)
You have a choice between breasts and thighs. I usually lean toward breasts because they are leaner, but honestly, chicken thighs take this recipe to another level of juicy richness. Just remember, if you swap them out, the thighs might need an extra 5 to 10 minutes in the oven to hit that perfect internal temp.
Ingredient Notes and Substitutions for Honey Garlic Chicken
Let’s talk specifics so your sauce turns out absolutely mouthwatering. For the soy sauce, I always opt for low sodium. The honey is sweet enough, and we don’t need to overdo it on the salt! Feel free to peek at my garlic parmesan chicken recipe if you want some other ideas for garlic-focused dinners!
The apple cider vinegar is the unsung hero here. It brings that necessary little bit of tanginess—it’s what keeps the sauce from tasting wildly sweet. If you absolutely don’t have it, plain white vinegar works in a pinch, but try to stick to the cider vinegar for the best flavor when making your Homemade Honey Garlic Sauce.
And please, if you can, use fresh ginger! Grating it fresh right into the bowl makes such a difference compared to the powdered stuff. It lifts the whole flavor profile of this Sweet and Savory Chicken Dinner.
Making the Homemade Honey Garlic Sauce
Okay, here is where the real magic happens for our Honey Garlic Chicken! We need to build that sauce base before the chicken even goes into the oven. This is where you mix everything that gives us that gorgeous sweet and savory punch. It’s so easy, I usually do this step while the oven is preheating—saves precious time!
Grab a small bowl—your cleanup will thank you later. Whisk together the gorgeous honey, the low sodium soy sauce, all that beautiful minced garlic, that tiny splash of apple cider vinegar we talked about, the fresh ginger, and the black pepper. Just mix it until it looks uniform and glossy. Remember what I said about fresh ginger? If you use dried ginger powder, you’ll lose that bright, almost citrusy zest that really wakes up the garlic. Don’t swap it out if you can help it; the fresh stuff is non-negotiable for me in this Homemade Honey Garlic Sauce.
What’s super important here is that you only use HALF of this sauce on the chicken during the initial baking stage. The other half? You save that! That reserved sauce is our secret weapon for getting the thickest, gooiest glaze possible right at the end.
Achieving a Sticky Honey Garlic Chicken Glaze Consistency
This next bit is the ticket straight to the best, stickiest texture you’ve ever had. We absolutely need a thickening agent, or that beautiful sauce just runs right off the chicken when you go to serve it. That’s where cornstarch comes in!
Grab a *tiny* little bowl—seriously, the smallest one you have—and mix the cornstarch with the two tablespoons of water. You have to whisk this really well until it’s totally smooth. We call this a slurry, and if you see any little white lumps of dry cornstarch left, you need to keep whisking! Lumps equal clumps of paste on your chicken, and we don’t want that!
Once your chicken is almost done baking, you take that reserved sauce and pour it into a tiny saucepan. Bring it to a gentle simmer over medium heat. Now, dramatically—but carefully!—whisk in that cornstarch slurry. You need to stir this constantly for about one to two minutes. Seriously, don’t walk away! It will start bubbling gently and thicken up right before your eyes into that perfect, clingy glaze that makes people ask for seconds. That’s how you guarantee that fantastic Sticky Honey Garlic Chicken finish!
Step-by-Step Instructions for Your Honey Garlic Chicken
Alright, now that our gorgeous sauce base is ready, it’s time to get this chicken into the oven! Because we are baking this, it’s super straightforward, which is fantastic news for you busy cooks out there. First things first: crank that oven up to 400 degrees Fahrenheit (that’s 200 Celsius). You need that heat level to get a nice set on the outside of the chicken while it cooks through.
Lightly grease whatever baking dish you are using—I use an 8×8 glass dish, but any standard size will work. Next, place your chicken pieces neatly inside, making sure they aren’t piled on top of each other; they need space to breathe and cook evenly.
Now, take about half of that amazing sauce you just mixed up and pour it right over the chicken. Give those pieces a quick turn so they are well coated. Put the dish in the preheated oven and set a timer for 15 minutes. While that’s running, you can quickly prepare your thickening slurry—remember those wet and dry ingredients from the last section?
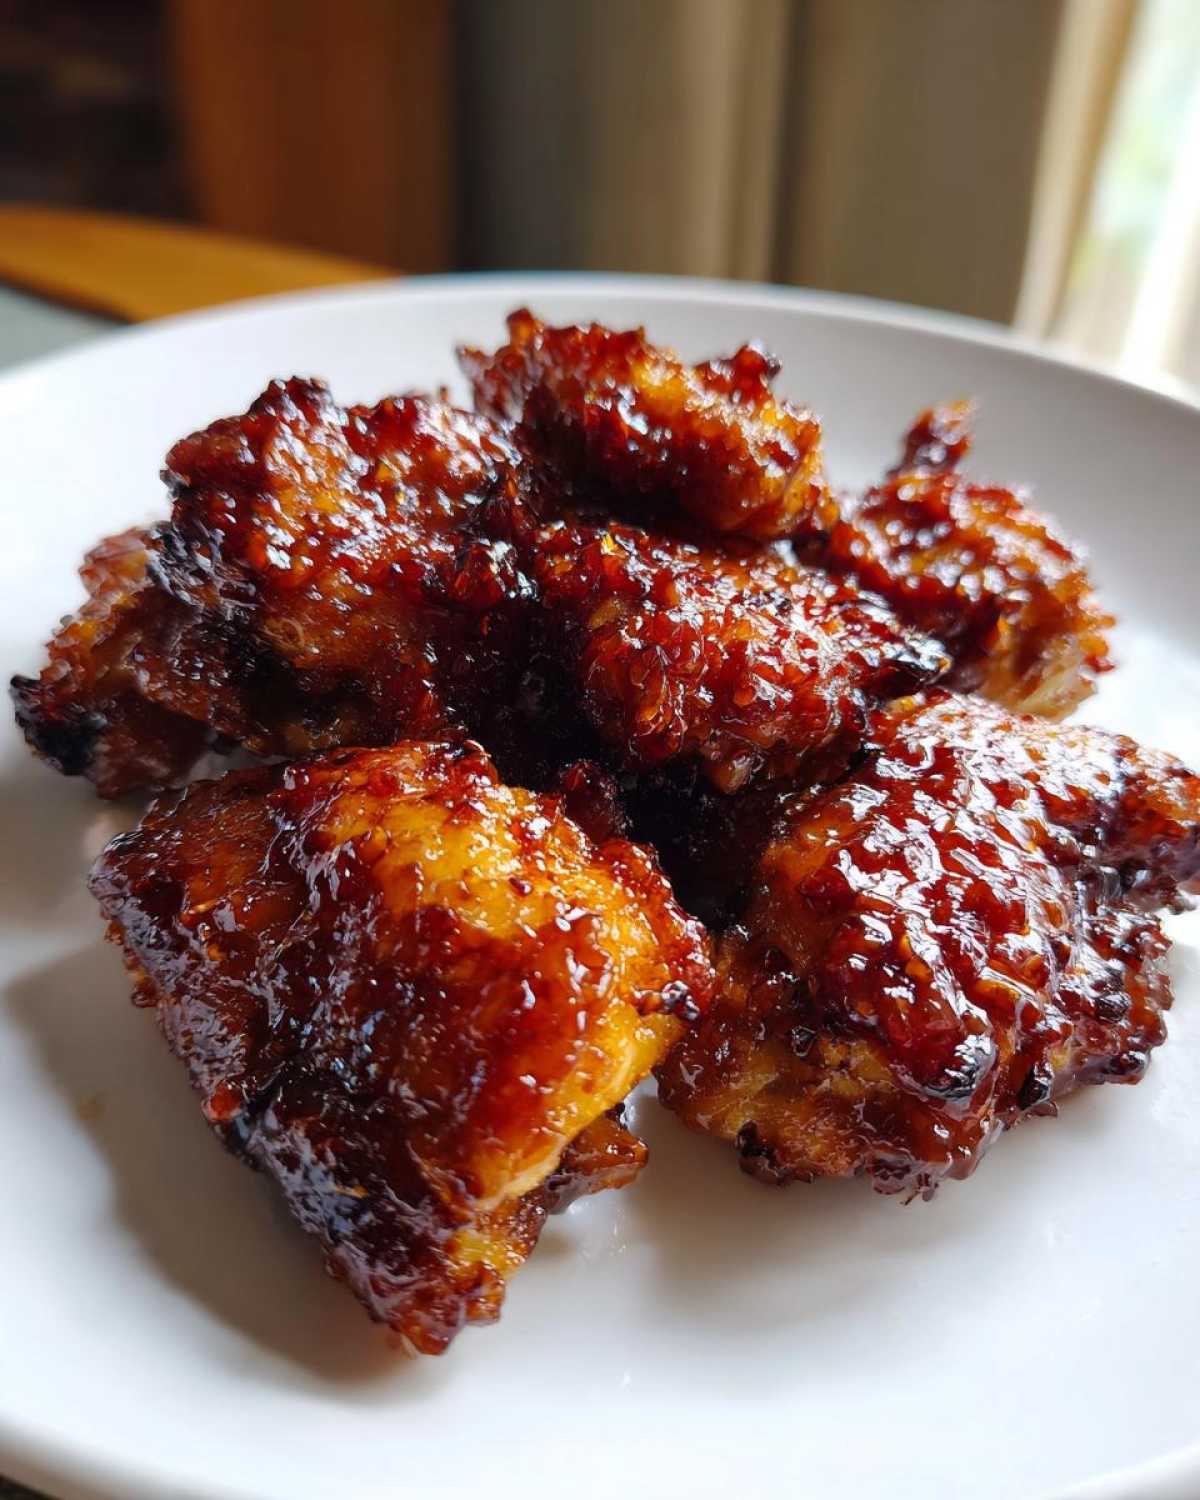
When the 15 minutes are up, pull the dish out. This is important for flavor layering! Brush the chicken with some of that reserved, *unthickened* sauce. Pop it back in for another 10 to 15 minutes. You absolutely must check that internal temperature—it needs to hit 165 degrees Fahrenheit (74 Celsius) for safety. As soon as it’s done, pull it out, and *then* you thicken the rest of your reserved sauce on the stovetop as detailed previously. Once that glaze is thick and beautiful, generously brush it all over your finished, juicy Glazed Chicken Breast Recipe. Dinner is served!
If you’re looking for other great one-pan meals, you should definitely check out my creamy Tuscan chicken recipe next!
Tips for Perfect Baked Honey Garlic Chicken Success
We’ve got the basics down—the mix, the bake, the glaze—but I want to share a couple of little tricks I learned over the years that take this Honey Garlic Chicken from great to legendary. These are the small things that make the difference between a good dinner and the one everyone asks for leftovers from!
First up: if you really, truly want that shatteringly, wonderfully sticky exterior, you have to use the broiler trick I mentioned way back when we talked about the sauce. Once that chicken is fully cooked to 165°F and you’ve brushed on that wonderful, thickened glaze, put it under the broiler for just one or two minutes. Seriously, watch it like a hawk! The sugars in the honey will caramelize super fast. If you blink, you might go from sticky to burnt, so keep that oven light on and be ready to pull it out the second it darkens perfectly.
Secondly, let’s revisit the chicken thighs vs. breasts. If you’re making this for yourself or maybe a small group and you want maximum flavor and forgiveness, use the thighs. Breasts are fantastic, especially when trying to keep it a bit lighter—remember this is one of our healthier options!—but thighs retain moisture better, even if you slightly overcook them searching for that perfect broil. They just stay tender!
If you are interested in how to keep any roast chicken amazingly moist, check out my tips for juicy roasted chicken secrets revealed. It applies to this baked recipe too!
And remember that little baking adjustment? If you opt for chicken thighs, just mentally add about 5 to 10 extra minutes onto the total baking time. They are a little denser, but oh my goodness, the flavor payoff is worth it!
Serving Suggestions for Your Sweet and Savory Chicken Dinner
So, you’ve got this gorgeous, sticky, savory chicken sitting on the counter—what goes best next to it? We don’t want something heavy that fights with that amazing glaze, trust me! Since this Honey Garlic Chicken is so rich and flavorful, the supporting cast needs to be simple but effective.
My absolute number one go-to recommendation, straight from the kitchen notes, is plain steamed rice. White rice or brown rice—it doesn’t matter! The rice is the perfect vehicle for soaking up every last drop of that thickened honey garlic glaze when you cut into the chicken. You need something that acts like a sponge for sauce, and rice wins hands down. You can find one of my favorite one-pot rice recipes over on my creamy one-pot chicken and rice casserole if you want a slightly more complex carb side!
But you need some green, right? We need something crisp to cut through all that sweetness. Don’t complicate things! A simple steamed or lightly blanched green vegetable is perfect. I’m talking about roasted broccoli, maybe some quick-sautéed green beans with just a tiny squeeze of lemon, or even some nice stir-fried snap peas. These tender-crisp veggies offer that fresh crunch that contrasts beautifully with the soft, tender chicken.
Keep the sides simple, let that Glazed Chicken Breast Recipe be the star, and you have a complete, unbelievably tasty meal ready in under an hour. It really turns a simple weeknight into a feast!
Storage and Reheating Instructions for Leftover Honey Garlic Chicken
We always manage to have leftovers, either because I made a double batch (because why wouldn’t I?) or because my husband likes to take lunch the next day. The good news is that this Honey Garlic Chicken tastes almost as good the next day, provided you store it correctly! We’ve worked so hard to get that perfect sticky texture; we don’t want soggy chicken on day two!
When you pop those leftovers away, make sure you use a good, airtight container—one of those glass ones is my favorite because they reheat so evenly. Keep it tucked away in the fridge for up to three or four days. The sauce will gel up significantly when it cools down, which is totally normal; it’s just catching all that glorious honey and cornstarch!
Reheating is where you need to be mindful. If you just blast it in the microwave, that glaze can get weirdly chewy or sticky in patches. I highly recommend reheating the chicken gently in the oven—maybe at 350°F for about 10 minutes—or perhaps in an air fryer for 5-7 minutes until it’s warm through. That low, slow heat helps the glaze soften back up a bit.
Now, if you want to bring back that glossy, fresh-from-the-pan shine for your lunchtime reheated portion, here is what I do: take a spoonful or two of the reserved, *unthickened* sauce or just a tiny drizzle of honey and soy sauce, and brush it over the chicken before you reheat it in the oven or air fryer. It won’t thicken like the original batch, but it adds back moisture and that immediate glossy look. It’s a little trick to make your leftovers seem brand new!
Frequently Asked Questions About Honey Garlic Chicken
I always get the same few questions when people try this recipe for the first time, and honestly, they are all great questions! Since we are focusing on the best baked method here, some variations need a little quick advice. Don’t worry if you have to make substitutions, that’s what real cooking is all about!
How do I make this Honey Garlic Chicken less sweet?
That’s an easy fix! If you find some honey varieties are just sweeter than others, or you prefer a slightly more savory profile, you can easily adjust the balance. The simplest thing to do is slightly reduce the honey—maybe drop it from 1/2 cup down to 6 tablespoons—and then increase the apple cider vinegar by about half a teaspoon. That little bit of extra tanginess really cuts through the sugar beautifully without sacrificing that essential flavor. It keeps the sauce bright!
Can I use chicken tenderloins or cutlets instead?
Absolutely, yes! If you are using thinner cuts like tenderloins or thinly sliced chicken cutlets, you need to watch your baking time extremely closely. Since they are so much thinner than breast halves or thighs, they cook way faster. You’ll probably only need 12 to 15 minutes total baking time. Check that internal temperature often—once they hit 165°F, they are done; otherwise, they’ll dry out before you even get a chance to glaze them!
Can I use the Slow Cooker Honey Garlic Chicken Method?
Yes, you sure can! The sauce base is perfectly safe for the slow cooker. If you prefer that hands-off method, you can generally dump everything—chicken, sauce, maybe even toss in some sliced onions—and cook it on low for 4-6 hours. Just remember, you won’t get that beautiful natural caramelization or the really thick, sticky glaze we are obsessed with in this baked version unless you quickly transfer the cooked chicken and sauce to a pan for a final broil or simmer. If you need a full, dedicated recipe tailored for that method, I have a separate guide on slow cooker white chicken chili where I explain the general slow cooker rules!
What about using chicken thighs? I love Dark Meat!
Go for it! I mentioned it before, but it bears repeating because Garlic Honey Chicken Thighs are divine. Thighs are more forgiving. If you use boneless, skinless thighs, just plan on adding about 5 to 10 minutes to the total bake time. They might need closer to 35 minutes total before you brush on that final glaze and broil. They stay juicy no matter what, which is why I love them for robust sauces like this one.
Can I freeze leftover Honey Garlic Chicken?
You can, but I won’t lie; the texture of the glaze suffers a bit after freezing and thawing. If you do need to freeze it, aim to freeze the chicken plain, without the final glaze applied, if possible. If it’s already glazed, freeze it flat in a freezer bag. When you reheat it, it’s best to slice or shred the chicken and add a fresh dollop of sauce or a quick homemade honey mix right before serving to refresh that sticky look!
Estimated Nutrition Facts for Glazed Chicken Breast Recipe
I always like to include these numbers just so everyone knows what kind of meal they are whipping up! Remember, because this recipe relies on honey, the sugar content is going to be a bit higher than a simple salt-and-pepper chicken, but trust me, it’s worth it for that incredible flavor. Also, please keep in mind these are just estimates based on the specific ingredients I listed, like using low-sodium soy sauce and skinless breasts. If you use fattier thighs or skip the low-sodium soy sauce, those numbers will shift!
For one serving (assuming the recipe yields 4 servings), here’s what you are generally looking at:
- Serving Size: 1 breast
- Calories: 380
- Protein: 42g (That’s a good chunk of protein!)
- Carbohydrates: 38g
- Sugar: 35g
- Fat: 6g
- Saturated Fat: 1g
- Sodium: 650mg (This is why the low-sodium soy sauce is so important!)
- Cholesterol: 110mg
If you want to check out more details on how I calculate these things generally, feel free to read my full disclaimer right over here. For a slightly healthier take, cutting back on the honey in the final glaze step will easily shave off a few grams of sugar and calories without totally ruining that wonderful, sticky flavor profile!
PrintEasy Baked Honey Garlic Chicken

A simple recipe for baked chicken coated in a sticky, sweet, and savory honey garlic glaze. This recipe works well for weeknight dinners.
- Prep Time: 10 min
- Cook Time: 30 min
- Total Time: 40 min
- Yield: 4 servings
- Category: Dinner
- Method: Baking
- Cuisine: American
- Diet: Low Fat
Ingredients
- 1.5 lbs boneless, skinless chicken breasts or thighs
- 1/2 cup honey
- 1/4 cup low sodium soy sauce
- 4 cloves garlic, minced
- 1 tablespoon apple cider vinegar
- 1 teaspoon grated fresh ginger
- 1/2 teaspoon black pepper
- 1 tablespoon cornstarch
- 2 tablespoons water
Instructions
- Preheat your oven to 400 degrees Fahrenheit (200 degrees Celsius). Lightly grease a baking dish.
- In a small bowl, whisk together the honey, soy sauce, minced garlic, apple cider vinegar, ginger, and black pepper to make the sauce.
- Place the chicken pieces in the prepared baking dish. Pour half of the honey garlic sauce over the chicken, turning to coat. Reserve the remaining half of the sauce for basting and serving.
- Bake for 15 minutes.
- While the chicken bakes, prepare the thickening slurry: In a very small bowl, whisk the cornstarch and water until smooth.
- Remove the chicken from the oven. Brush the chicken with some of the reserved sauce.
- Return the chicken to the oven and bake for another 10 to 15 minutes, or until the internal temperature reaches 165 degrees Fahrenheit (74 degrees Celsius).
- While the chicken finishes cooking, pour the reserved sauce into a small saucepan. Bring to a simmer over medium heat. Whisk in the cornstarch slurry. Cook, stirring constantly, until the sauce thickens into a glaze, about 1 to 2 minutes. Do not boil rapidly.
- Remove the chicken from the oven. Brush the thickened glaze over the cooked chicken pieces before serving.
Notes
- For extra sticky chicken, broil the chicken for the last 1-2 minutes after glazing, watching carefully to prevent burning.
- Serve this chicken over steamed white or brown rice to soak up extra sauce.
- You can substitute chicken thighs for breasts; thighs may require 5-10 minutes longer cooking time.
Nutrition
- Serving Size: 1 breast
- Calories: 380
- Sugar: 35
- Sodium: 650
- Fat: 6
- Saturated Fat: 1
- Unsaturated Fat: 5
- Trans Fat: 0
- Carbohydrates: 38
- Fiber: 0
- Protein: 42
- Cholesterol: 110