

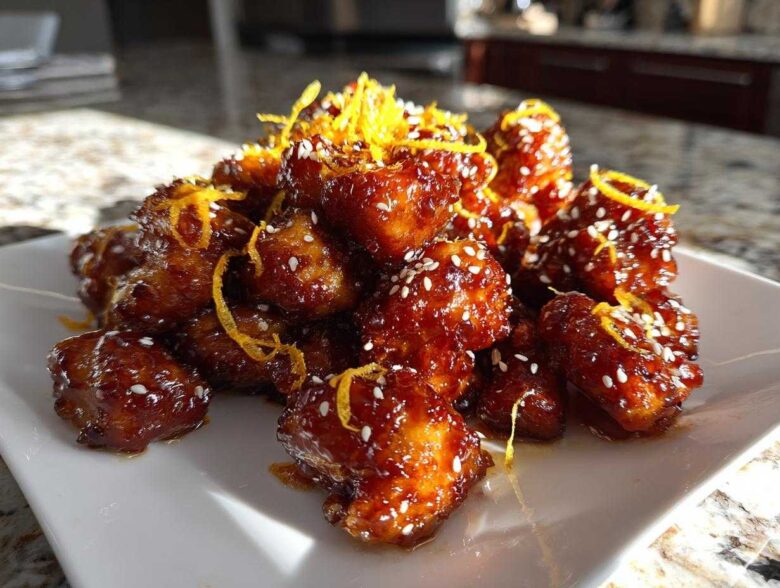
Oh man, doesn’t that takeout craving just hit you out of nowhere? You know the one—you want that bright, sticky, crispy orange chicken, but you also know delivery is going to take an eternity and cost a fortune. Ethan and I have totally been there, which is exactly how this whole game-changing orange chicken recipe came about! I’m Maya, and I needed the science behind the crispness, while Ethan just wanted that authentic flavor he remembered from his childhood lunches. We finally merged my tested blueprint with his gut feelings, and WOW. This 30-minute version is genuinely better, crispier, and way faster than anything you’ll get in a cardboard box. Trust us, this is the one you need.
Why This Orange Chicken Recipe Beats Takeout Every Time
We’re not kidding when we say this is the answer to your weeknight cravings. Ethan always says, “If you’re going to spend the time, make it count!” And we really do count the minutes, which is why you get a total 30 Minute Orange Chicken that keeps us from hitting that delivery app. I swear, the difference between this and waiting an hour for greasy chicken is huge!
Here’s why this Crispy Orange Chicken Recipe lands straight in your permanent rotation. It’s faster, crispier, and tastes way more vibrant than anything you’d get shipped to your door. If you love our speed in the Chicken Piccata, you’ll appreciate this version that’s truly Better Than Panda Express Chicken.
- It’s lightning fast—dinner on the table faster than delivery would show up!
- We get incredible crispiness without drowning the chicken in oil—a huge win for me.
- The sauce hits that perfect spot, tasting way more balanced than standard versions.
Achieving Ultimate Crispiness for Your Orange Chicken Recipe
The secret to the texture isn’t deep-frying; it’s all in Maya’s coating research! We use a quick dip into the egg, followed immediately by dredging in that flour and cornstarch blend. That dry coating locks in moisture while making sure the outside gets shatteringly crisp when it hits the hot pan. It’s the key to keeping those bites juicy.
The Perfect Sweet Tangy Orange Sauce
This is where Ethan really shines. We use 100% fresh orange juice, not that concentrate stuff—it makes all the difference in the brightness! The sauce thickens quickly into what I call the ‘sticky glaze.’ It’s got that perfect balance where the sweetness is cut immediately by the vinegar and zest, making every bite dynamic. This orange chicken recipe lives or dies based on that sauce!
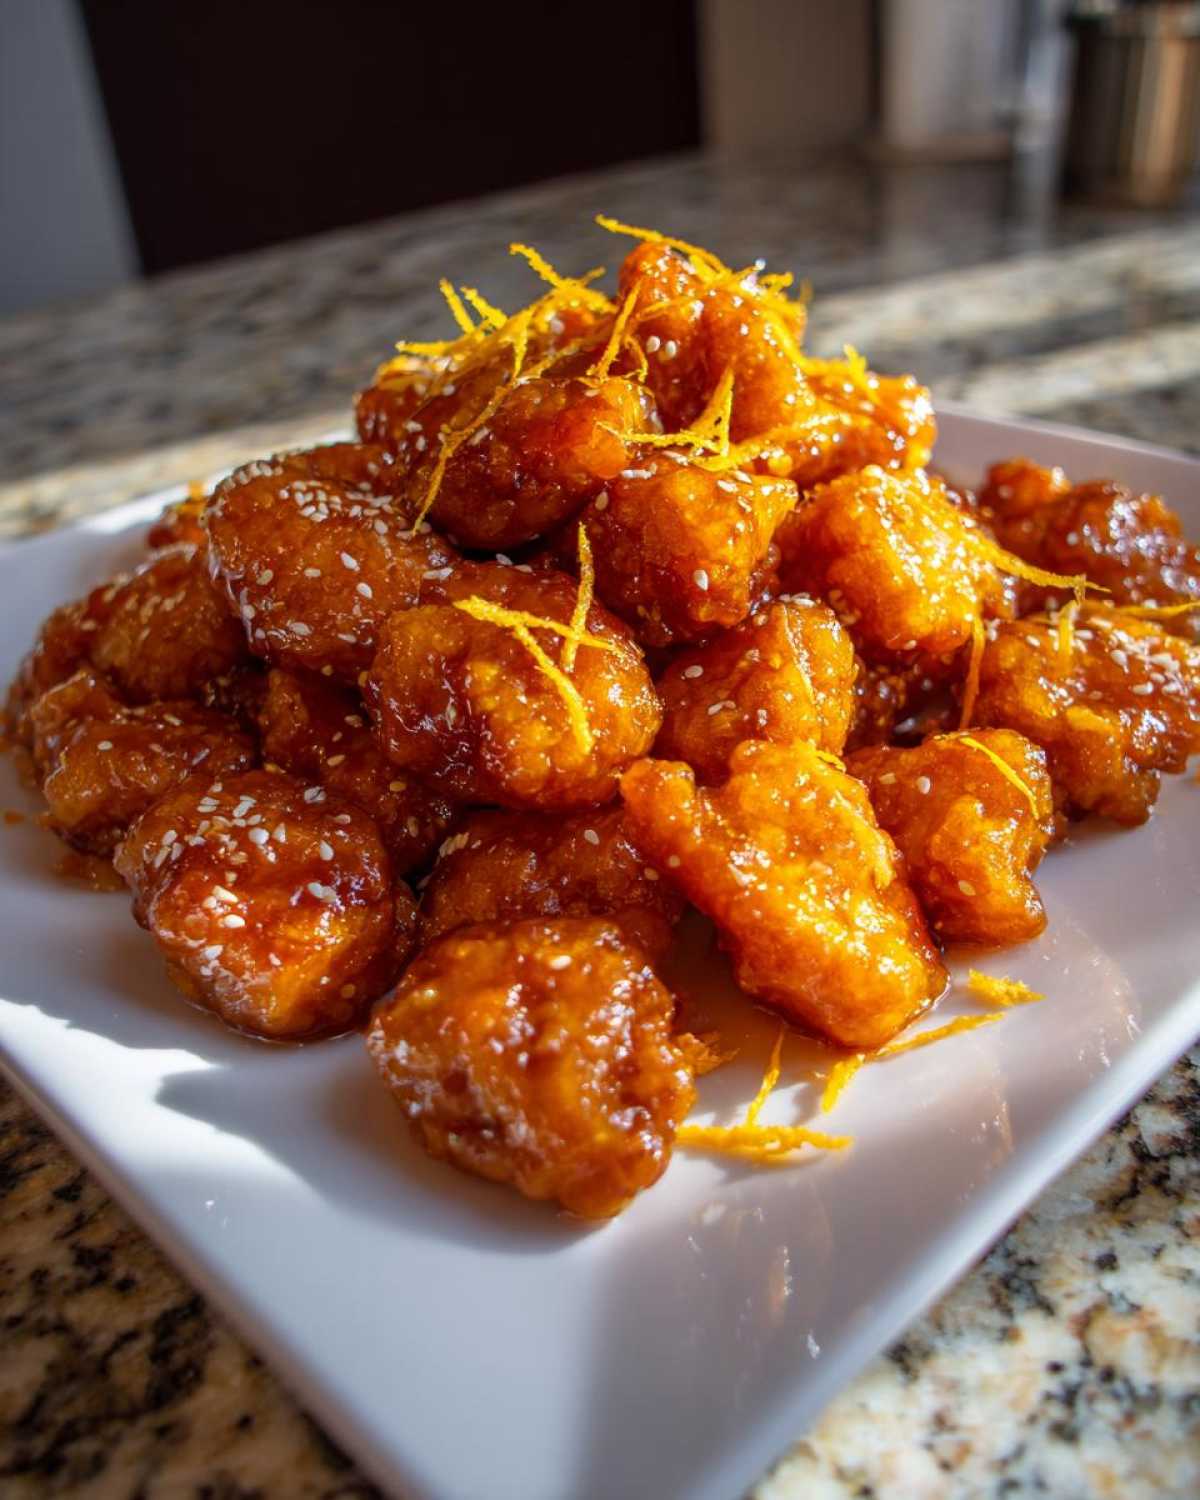
Ingredients for the Ultimate 30-Minute Orange Chicken Recipe
Okay, since speed is important here, I’ve kept the ingredient list tight and focused on things we almost always have on hand. Ethan always tells me that using quality staples makes a huge difference, especially with Asian-inspired dishes where the sauce ingredients really sing. Getting the measurements right here is crucial for that incredible texture and flavor balance we talked about. Don’t skip the fresh ginger—it elevates everything!
For the Crispy Chicken Bites
This is the core of our Homemade Orange Chicken. We keep the coating very simple so the chicken cooks fast and stays tender inside. We usually use chicken thighs because they are more forgiving if you accidentally leave them on the heat a second too long, but breasts work great if you cut them evenly!
- 1 pound boneless, skinless chicken breasts or thighs, cut neatly into 1-inch pieces
- 1 large egg, whisked well
- 1/4 cup all-purpose flour
- 1/4 cup cornstarch (this is key for the light crisp!)
- 1/2 teaspoon salt
- 1/4 teaspoon black pepper
- 2 tablespoons neutral oil (like canola or vegetable) for pan-frying
For the Sticky Orange Glaze
This is the part that makes it taste like a special occasion meal. Remember, fresh juice is non-negotiable! Getting the slurry right is what makes the sauce coat everything perfectly instead of just running off.
- 1/2 cup fresh orange juice (seriously, squeeze it!)
- 1/4 cup granulated sugar
- 2 tablespoons rice vinegar
- 1 tablespoon soy sauce
- 1 teaspoon sesame oil
- 1 teaspoon grated fresh ginger
- 1 clove garlic, minced up finely
- 1/2 teaspoon red pepper flakes (only if you like a little kick!)
- 1 tablespoon cornstarch mixed thoroughly with 2 tablespoons cold water (this is your thickening slurry!)
For Garnish
These aren’t just for looks; the zest adds a fresh punch right when you take the first bite. You can skip the sesame seeds, but I think they add a nice little texture contrast.
- Orange zest from about half an orange
- Sesame seeds
- Cooked white rice, for serving (or noodles, if your family prefers those!)
How to Prepare This Quick Chicken Dinner
Since this is meant to be a Quick Chicken Dinner, we need to work efficiently! Ethan likes to get all his measuring done first, and I highly recommend you do the same. The first two steps—coating the chicken and starting the sauce—can actually happen at the same time. It’s all about setting up your stations! If you love how fast this comes together, you might also want to check out our guide for Easy Honey Garlic Chicken; it uses the same quick mindset.
Coating the Chicken for Crispiness
This is where Maya’s research pays off. First, whisk that single egg in one bowl. Then, in a separate shallow dish, mix your flour, cornstarch, salt, and pepper really well—you want that dry mix totally uniform. Take your cut chicken pieces and dip them in the egg bath first. Don’t soak them; just coat them quickly. Then, immediately dredge them heavily in the dry mixture, pressing it on so it sticks hard. Lay those coated bites on a clean plate and set them aside while you focus on the sauce.
Simmering the Sweet Tangy Orange Sauce
In a small saucepan, combine everything for the sauce *except* the cornstarch slurry. We bring this mixture up to a gentle simmer over medium heat. Keep stirring gently until that sugar completely dissolves—that’s important for texture! Once it’s simmering, take your slurry (make sure you whisk the cold water and cornstarch again right before adding it!) and pour it in slowly while whisking the sauce constantly. It will thicken up fast, turning all glossy and beautiful. As soon as it starts bubbling thickly, take it right off the heat. Don’t let it boil too long, or the glaze won’t coat right!
Cooking and Glazing the Orange Chicken Recipe
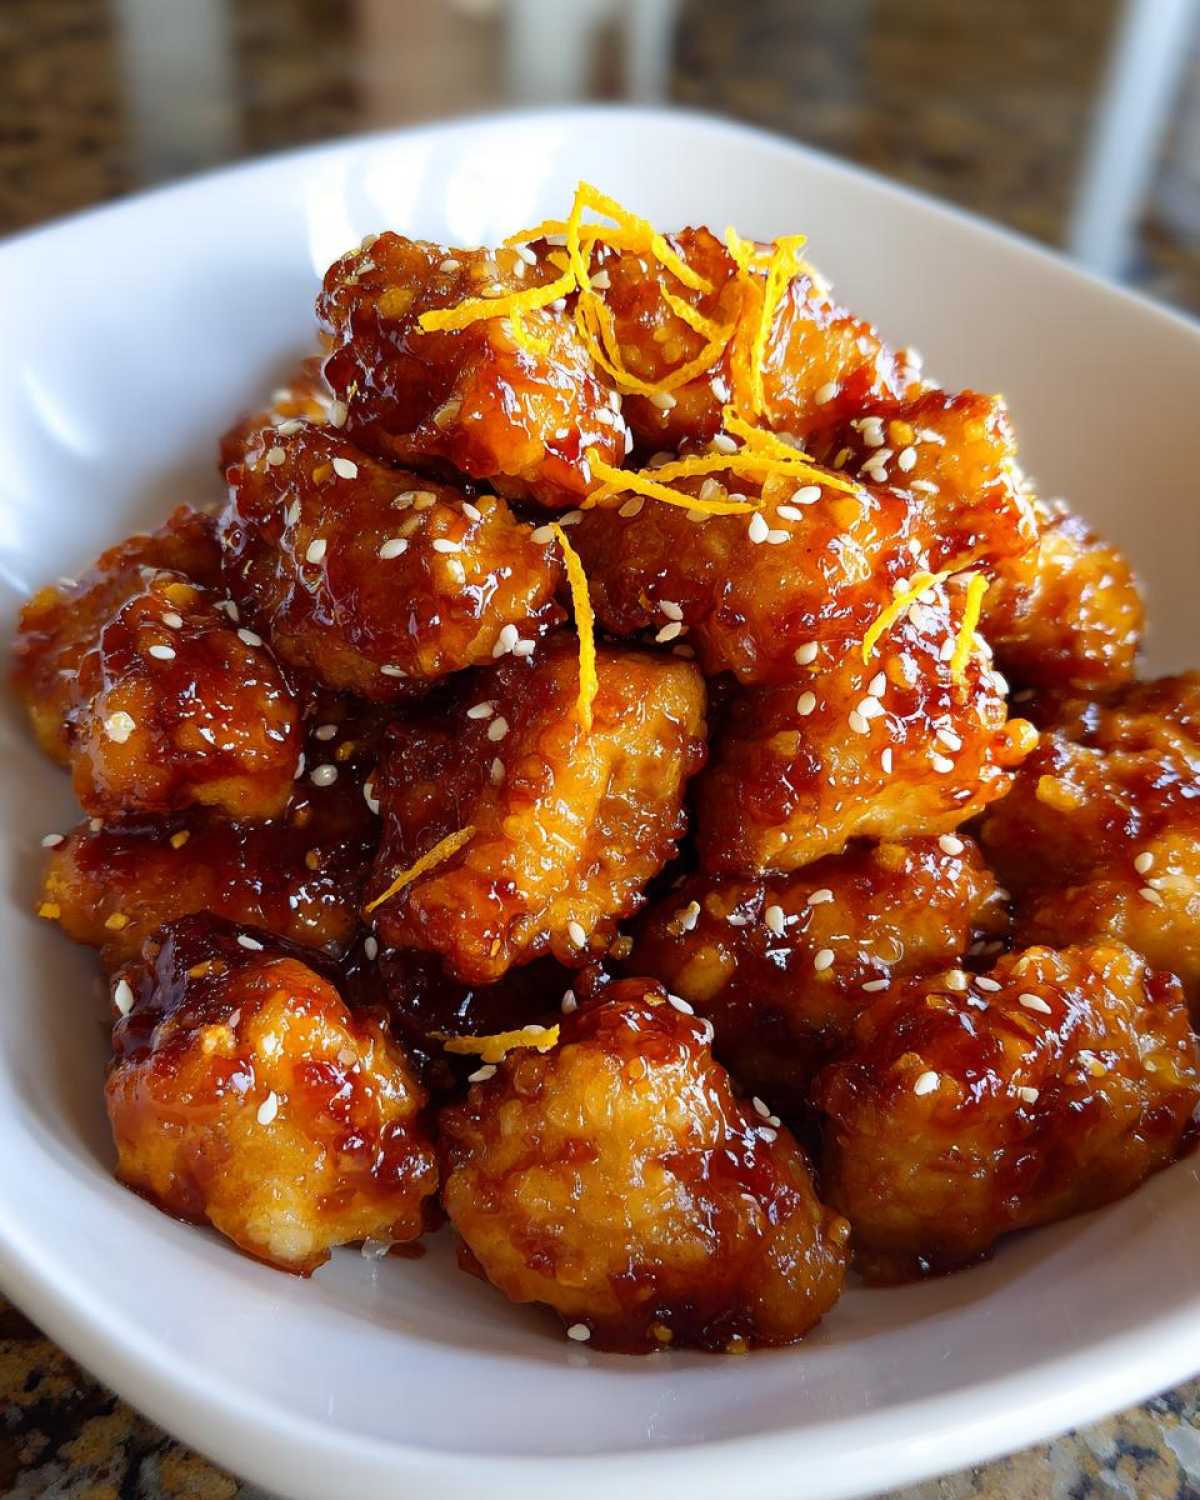
Heat your oil in a big skillet or wok over medium-high heat. You have to cook in batches here, seriously. If you crowd the pan, the chicken will steam instead of crisping up! Cook the pieces for about 3 to 4 minutes on each side until they look golden brown and perfectly cooked through. Set the cooked chicken on a paper towel. Once all the chicken is done, toss it all back into the empty skillet—low heat now! Pour that beautiful glaze over the top and toss everything together quickly, maybe for only a minute, just until every piece is shiny and sticky. Then, get it straight onto the rice!
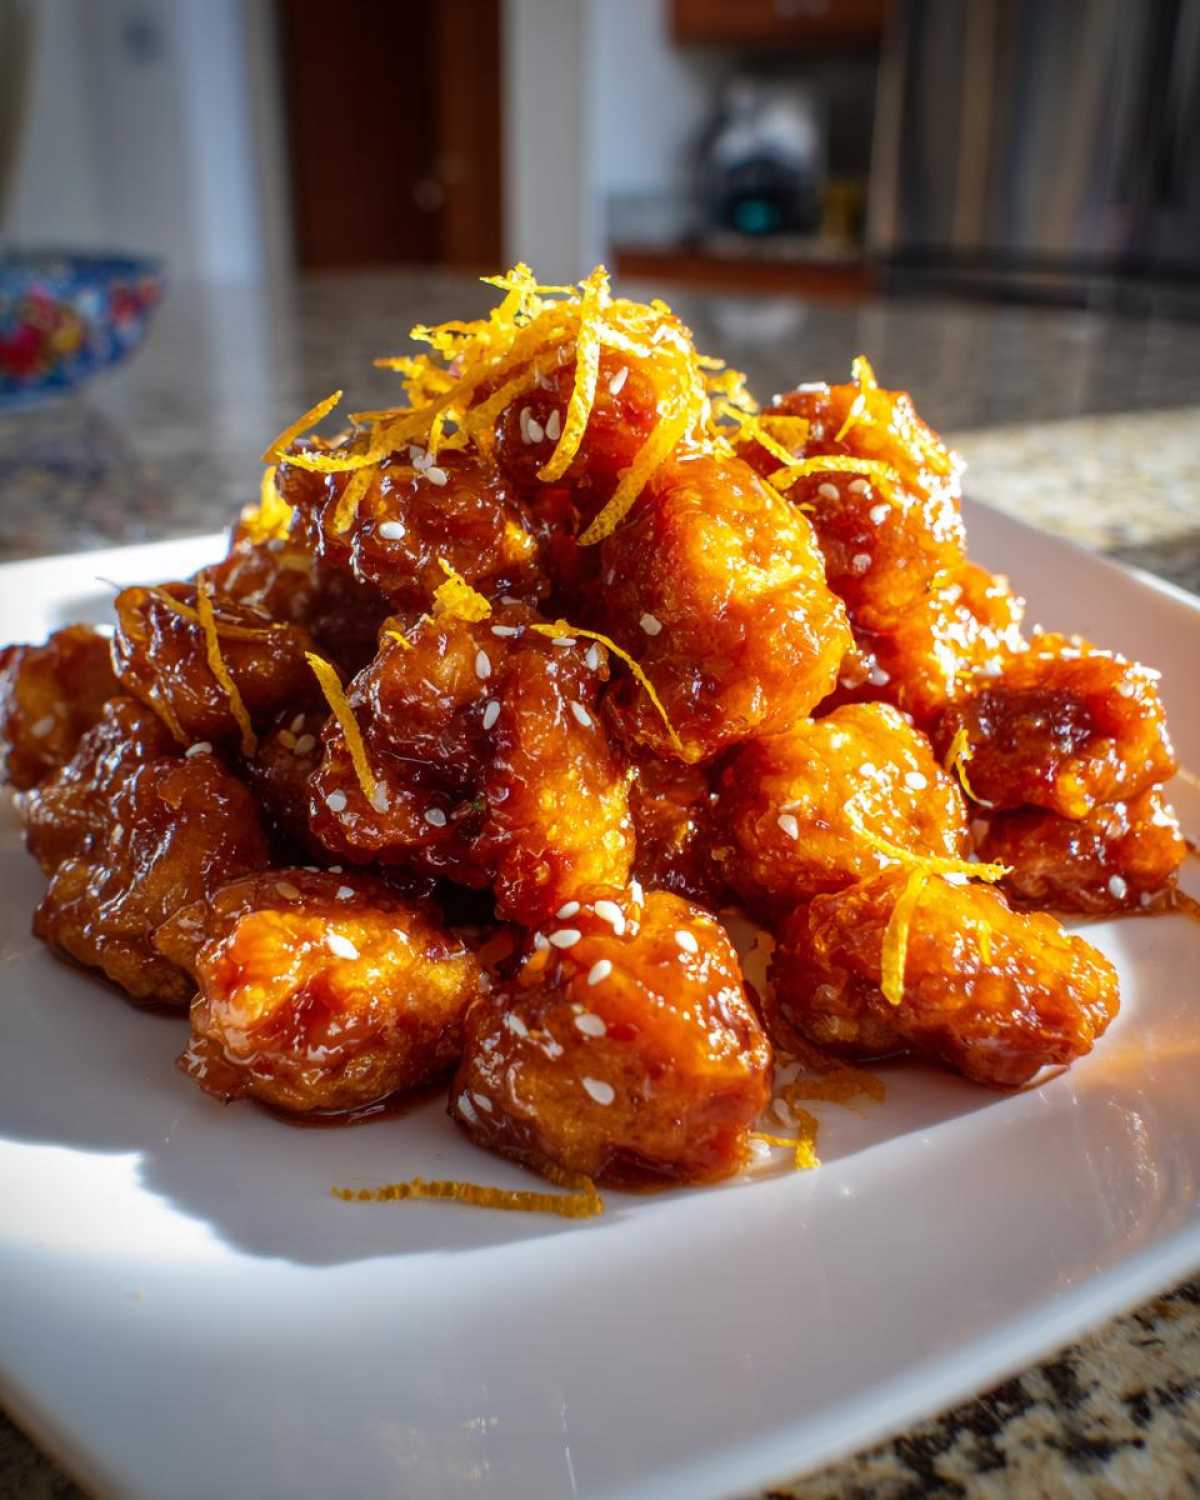
Tips for Success with Your Homemade Orange Chicken
Okay, I know pan-frying is the fastest route here, and that’s what Ethan insists provides the best initial crunch, but I totally get it if you want to skip the oil splatter. We absolutely tested alternatives to make this orange chicken recipe work for everyone, even those of you who love your air fryer shrimp just as much as chicken!
These methods are slightly healthier and way less messy, and they still capture that amazing texture we demand. Think of these as Ethan’s practical insights for when time or kitchen equipment dictates a different approach.
Alternative Cooking Methods: Baked Orange Chicken Recipe
If you prefer the Baked Orange Chicken Recipe, this is my go-to strategy. Preheat your oven to a hot 400°F (200°C). Lay those coated pieces out on a wire rack set over a baking sheet. That rack is important because it lets air circulate underneath, which helps with crisping! You’ll want to bake them for about 15 to 20 minutes total. I always set a timer for the halfway mark so you can flip them over. They need that flip to get golden on both sides before you toss them in the sauce.
Air Fryer Orange Chicken Instructions
This is Ethan’s favorite alternative when we’re trying to keep things light. For the Air Fryer Orange Chicken, you want the temperature set to 380°F (195°C). Toss the coated chicken lightly with just a few spritzes of oil before placing them in the basket—don’t overcrowd! Cook them for about 10 to 12 minutes. Honestly, you need to shake that basket halfway through. Pull it out, give it a good shake, and then let it finish cooking until it’s beautifully browned. Seriously, the crisp is outstanding!
Serving Suggestions for Your Orange Chicken Recipe
The moment that warm, sticky orange chicken comes together, you’re going to be starving! It’s just so aromatic, isn’t it? That sweet and savory scent just fills the kitchen. Honestly, this dish is so flavorful on its own, but it really needs something neutral to soak up all that extra glaze.
Since this is what we consider a true Family Favorite Chicken meal, we usually keep the sides straightforward so they don’t overshadow the main event. This keeps the dish budget-friendly too, since most households already have these staples!
Here are the best ways we serve our homemade chicken:
- Rice is Non-Negotiable! You absolutely need something to scoop up that incredible glaze. I always opt for simple steamed white rice. If you’ve never tried making your own sushi rice, you should look up how to get that perfect sticky texture—it’s surprisingly easy and adds a tiny chew that’s amazing next to this chicken. Check out my tips for Perfect Sticky Rice here!
- Steamed Veggies for Balance: To make this feel like a complete, healthy dinner, we always steam some broccoli or snap peas. You just toss them with a tiny bit of salt and maybe a drizzle of sesame oil right before serving. The bright green color looks gorgeous next to the deep orange sauce!
- A Little Heat Balance: Sometimes Ethan will toss some sliced green onions over the top right before serving, which adds a nice little fresh onion bite that cuts through the richness of the sauce.
No matter what you serve it with, just make sure you have a big bowl of rice ready. You won’t want to waste a single drop of the sticky glaze!
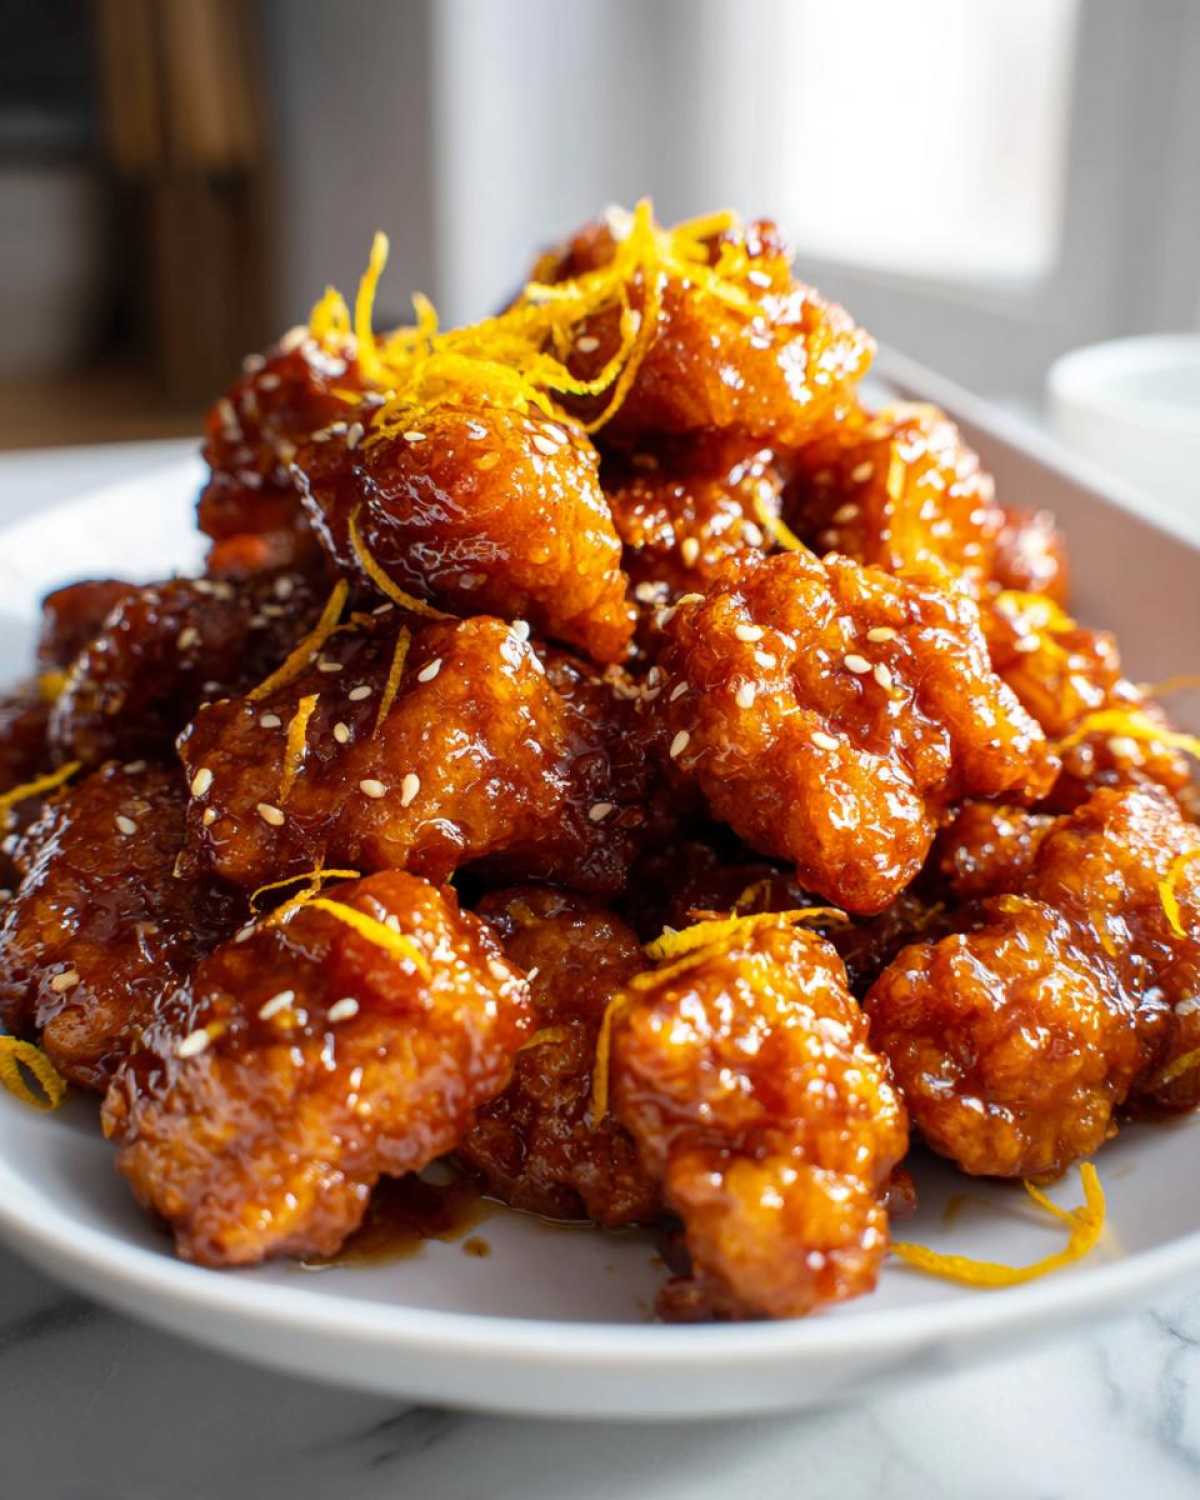
Storage and Reheating Instructions
I always hope we have leftovers because this dish is almost as good the next day, but you have to be smart about storage, or you’ll end up with soggy chicken, and nobody wants that!
The main enemy here is moisture trapped against the crispy coating. So, the biggest tip I have is this: try to separate the sauce from the chicken if you know you won’t eat it all in one sitting. If you can, store the extra sticky glaze in a small sealed container in the fridge. The chicken should be stored plain, too.
Everything keeps well in the refrigerator for about three days. Just make sure whatever container you use is airtight—we don’t want any fridge smells sneaking into our sweet and tangy flavor!
The Best Way to Reheat for Maximum Crispness
If you just dump this in the microwave, you’ve lost the battle. The microwave is great for reheating soup, but it turns coated chicken sad and soft instantly. Ethan will actually give me the side-eye if I try that!
To reclaim some of that glorious texture from the initial pan-fry, I strongly suggest using your oven or air fryer. Preheat your oven to about 350°F (175°C). Lay the chicken pieces out on a baking sheet (a wire rack helps if you have one!) and heat them for about 8 to 10 minutes. You just want them hot all the way through.
Reheating the Sauce
If you stored your glaze separately, just warm that up gently in a small pan on the stove over low heat. Once it’s warm and pourable, pour it over your crispy, reheated chicken pieces and toss them just until they are coated and glossy again. If you didn’t separate the sauce, just toss the whole thing together gently in a pan over low heat until it’s warmed through but not overly simmered.
It won’t be perfectly crisp like it was right off the wok, but honestly, this reheating method gets it about 90% of the way there. If you’re in a real rush, a quick 2-minute blast in the air fryer works wonders too!
Frequently Asked Questions About This Orange Chicken Recipe
I know you might have a few nagging questions before diving in—that’s how I operate when I’m trying a new recipe! Ethan thinks I look up more FAQs than I look up the actual recipe steps sometimes, haha. We gathered the most common ones that popped up while we were perfecting this orange chicken recipe so you can jump in with confidence. If you’re curious about how we organize all our recipes—from chicken dishes like this to our dessert comparisons, like that time we tried to figure out the best grape salad—check out our main recipe index!
Can I make the Sweet Tangy Orange Sauce ahead of time?
Oh yes, you totally can! The Sweet Tangy Orange Sauce is actually one of those wonderful components you can prep while the chicken is soaking in the fridge or even the day before. Store it in an airtight container in the refrigerator. Since the cornstarch will cause it to firm up into a gel when it cools, you’ll need to revive it on the stovetop. Just stick it in a small saucepan over low heat, adding a teaspoon of water or broth at a time until it loosens up and starts flowing again. Whisk it until it’s glossy before you toss it with your freshly cooked crispy chicken!
What is the best cut of chicken for this recipe?
This is a classic debate in our kitchen! Maya, the researcher, loves chicken breasts because they are lean, readily available, and stay put perfectly in that 1-inch cube size. They absorb the coating really well. However, Ethan, the instinct cook, will always sneak in chicken thighs when I’m not looking sometimes!
Chicken thighs are naturally higher in fat, which means they are significantly more forgiving if you accidentally overcook them trying to get that perfect golden crisp. You get a juicier bite, every single time. So, honestly, if your goal is maximum juiciness, go thighs. If you need leaner protein and don’t mind being super attentive to the cooking time, breasts are great. Either way, cut them the same size so they cook evenly!
How can I modify the sauce for less sugar?
That’s a great question if you’re watching processed sugar. You can definitely reduce the granulated sugar, but you have to balance the tanginess that will follow. We usually keep the 1/2 cup of fresh orange juice because that’s the core flavor. Try reducing the sugar down to about 1/3 cup to start. Then, when you taste the sauce before adding the slurry, if it’s too sharp, add just a tiny teaspoon of honey or maple syrup to round out the flavor. Since the vinegar is important for that savory background, don’t remove that!
Can I make this gluten-free?
Absolutely! That’s one of the great things about this structure. The cornstarch combo makes it so simple for a gluten-free upgrade. For the chicken coating, just swap the all-purpose flour for an equal amount of gluten-free 1-to-1 baking flour or even just an equal amount of extra cornstarch. For the sauce, make sure your soy sauce is gluten-free (use Tamari instead of regular soy sauce, as Tamari is naturally GF) and you are all set for a fantastic gluten-free serving!
Nutritional Estimate for This Chicken Dish
You know how I am about the numbers—I have to peek! Ethan just rolls his eyes and says, “If it tastes good, Maya, it’s good for you.” But for those of you who love tracking your macros or just like to know what you’re eating, I ran the numbers based on the recipe above (assuming 4 servings and using chicken breast over thigh). Remember, this is just an estimate, so take it with a grain of salt!
We tried to keep the fat down by only pan-frying lightly rather than deep-frying, which really helps keep this from being a total calorie bomb. But that sticky glaze has sugar, so be mindful of that! Ethan says this is easily the healthiest version of a Chinese American Dinner you can make quickly.
- Serving Size: 1 serving
- Calories: 450
- Protein: 38g
- Fat: 15g
- Carbohydrates: 40g
- Sugar: 25g
- Sodium: 450mg
If you want to lower the sugar count, remember what we discussed in the FAQ above—you can cut back on the granulated sugar in the sauce, but I’d start low and taste before you commit! This is a fantastic Budget Friendly Chicken Meal that packs a serious flavor punch for those calories, though!
Share Your Orange Chicken Recipe Results
I truly hope you love making this tonight as much as we always do. There is nothing better than seeing your kitchen smelling like fresh, sticky orange glaze instead of calling the local takeout spot!
We put so much work, conversation, and testing (that’s Maya’s side!) and taste-testing (that’s Ethan’s favorite part!) into getting this recipe just right. It feels complete when we hear back from all of you about how it went.
So, here’s your homework! Go make it! And when you do, please come back here and tell us about it. Did you use the air fryer method? Did you sneak in extra ginger? Did the kids devour it? Drop a rating below and let us know your experience in the comments. Your feedback helps us know what tips worked best for your kitchen setup!
And hey, if you have any burning questions that Maya hasn’t tackled yet, or if you just want to send a virtual high-five, you can always reach out through our Contact Page. We read every note!
Happy cooking, friends!
PrintThe Ultimate 30-Minute Crispy Homemade Orange Chicken (Better Than Takeout Style)
Make restaurant-quality orange chicken at home in under 30 minutes. This recipe delivers crispy chicken pieces coated in a sticky, sweet, and tangy orange glaze that beats delivery every time.
- Prep Time: 15 min
- Cook Time: 15 min
- Total Time: 30 min
- Yield: 4 servings
- Category: Dinner
- Method: Pan-Frying
- Cuisine: Chinese American
- Diet: Non-Vegetarian
Ingredients
- 1 pound boneless, skinless chicken breasts or thighs, cut into 1-inch pieces
- 1 large egg
- 1/4 cup all-purpose flour
- 1/4 cup cornstarch
- 1/2 teaspoon salt
- 1/4 teaspoon black pepper
- 2 tablespoons neutral oil (for pan-frying)
- For the Sauce:
- 1/2 cup fresh orange juice
- 1/4 cup granulated sugar
- 2 tablespoons rice vinegar
- 1 tablespoon soy sauce
- 1 teaspoon sesame oil
- 1 teaspoon grated fresh ginger
- 1 clove garlic, minced
- 1/2 teaspoon red pepper flakes (optional)
- 1 tablespoon cornstarch mixed with 2 tablespoons cold water (slurry)
- For Garnish:
- Orange zest
- Sesame seeds
- Cooked white rice, for serving
Instructions
- Prepare the chicken: In a medium bowl, whisk the egg. In a separate shallow dish, combine the flour, cornstarch, salt, and pepper. Dip each chicken piece first into the egg, letting excess drip off, then dredge thoroughly in the flour mixture. Set aside.
- Make the orange sauce: In a small saucepan, combine the orange juice, sugar, rice vinegar, soy sauce, sesame oil, ginger, garlic, and red pepper flakes (if using). Bring the mixture to a simmer over medium heat, stirring until the sugar dissolves.
- Thicken the sauce: Whisk the cornstarch slurry one more time and slowly pour it into the simmering sauce while whisking constantly. Cook for about 1 minute until the sauce thickens and becomes glossy. Remove from heat and set aside.
- Cook the chicken: Heat the 2 tablespoons of oil in a large skillet or wok over medium-high heat. Add the coated chicken pieces in a single layer, working in batches if necessary to avoid crowding the pan. Cook for 3-4 minutes per side until golden brown and crispy. Remove the cooked chicken and place it on a paper towel-lined plate.
- Combine: Return all the crispy chicken to the skillet. Pour the prepared orange sauce over the chicken. Toss gently and quickly to coat every piece evenly. Cook for 1 minute until the sauce is hot and sticky.
- Serve immediately over cooked white rice. Garnish with fresh orange zest and sesame seeds.
Notes
- For extra crispy chicken without deep frying, you can bake the coated chicken at 400°F (200°C) for 15-20 minutes, flipping halfway, before tossing in the sauce.
- If you own an air fryer, cook the coated chicken at 380°F (195°C) for 10-12 minutes, shaking the basket halfway through.
- Use fresh orange juice for the best flavor in your sweet tangy orange sauce.
Nutrition
- Serving Size: 1 serving
- Calories: 450
- Sugar: 25
- Sodium: 450
- Fat: 15
- Saturated Fat: 3
- Unsaturated Fat: 12
- Trans Fat: 0
- Carbohydrates: 40
- Fiber: 1
- Protein: 38
- Cholesterol: 105