

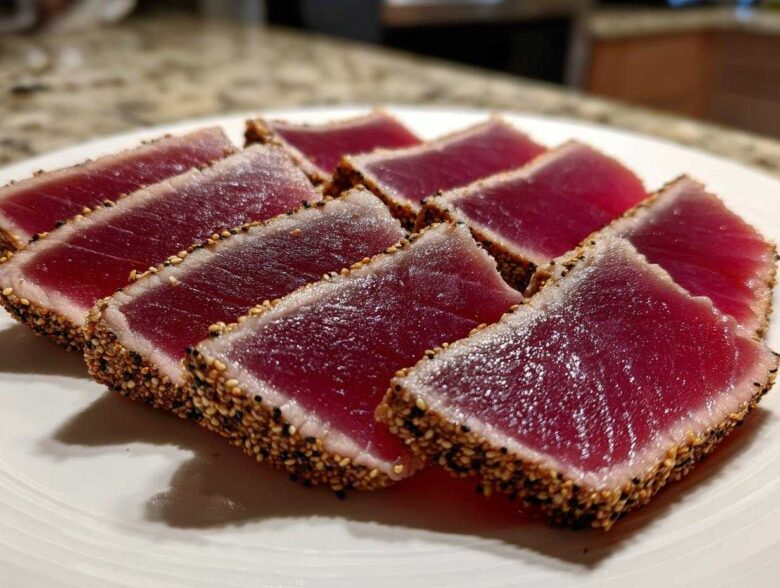
I still remember the frustration, Maya and I shared over our first few attempts at searing fish! We kept ending up with hot mush on the inside and pale, sad sides. It felt impossible to get that beautiful, crispy crust that specialty restaurants nail every single time. But folks, I cracked the code, and you are going to absolutely nail this. This method for Seared Ahi Tuna guarantees you’ll get that restaurant-quality fish finish with a perfect, rare center, and it rushes onto your table in under 20 minutes. Seriously, it’s one of the fastest, most satisfyingly healthy dinner options we now rely on. If you love quick stovetop recipes, you should also check out this fantastic guide for blackened salmon! Say goodbye to gray fish forever!
Why This Seared Ahi Tuna Recipe Works So Well
When Maya and I finally started comparing notes—her scientific approach and my gut feeling—we figured out searing isn’t magic; it’s physics! We stopped guessing and started focusing on two non-negotiable points. These are the secrets that move your tuna from “pretty good” to something you’d actually order at a high-end place. It’s where my instinct to rush meets Maya’s need for precision!
The Importance of Quality Sushi Grade Tuna
Listen, you can’t cheat on the starting ingredient here, especially when you’re only cooking it for maybe two minutes total! When we talk about sushi grade tuna, we aren’t just talking fancy phrasing. It means the yellowfin tuna you buy has been handled with extreme care from the ocean straight to the fishmonger to ensure it’s safe to eat raw or nearly rare. If it’s not top-quality, you won’t get that buttery texture when you slice into that beautiful sear.
Ethan’s Tip for the Ultimate Crust on Your Seared Ahi Tuna
My biggest hurdle was always the pan! I used to wait until the oil shimmered, but that’s wrong; you need the pan empty and screaming hot first. If the pan isn’t hot enough to give the sesame seeds an immediate shock when the fish hits, you just steam the poor thing. And please, please, please, pat that fish dry! I mean bone dry! I always tell Maya, “If it’s wet, it steams, and steam is the enemy of a perfect crust!”
Gathering Ingredients for Your Asian Tuna Recipe
Since this is such a quick-cooking dish, everything needs to be perfectly prepped before the pan ever hits the heat. We aren’t going to be measuring while the oil is smoking! You’ll need two six-ounce sushi grade ahi tuna steaks, and don’t forget the sesame seeds—I like mixing black and white for visual pop. The marinade is just sesame oil, soy sauce, fresh ginger, and garlic.
Oh, and here’s one of Ethan’s little secrets: sometimes, when he’s feeling extra bold, he throws in just the teensiest pinch of cinnamon into the marinade. It sounds wild, I know, but it really deepens the flavor of the tuna. If you’re feeling adventurous, try it out! When you’re done here, you might want to look at our fantastic guide for making cilantro lime sauce to drizzle on top later, too!
- 2 (6 ounce) sushi grade ahi tuna steaks
- 2 tablespoons sesame oil
- 1 tablespoon soy sauce or tamari
- 1 teaspoon grated fresh ginger
- 1 clove garlic, minced
- 1/2 teaspoon black pepper
- 1/4 cup sesame seeds (mixed black and white preferred)
Step-by-Step Guide to Perfect Seared Ahi Tuna
Okay, this is the part where my structured planning (Maya’s influence kicking in!) really shines, making sure we don’t mess up that precious, **sushi grade tuna**. This isn’t a recipe you hang around and ponder over; it moves fast. Get every single thing ready—your plate for resting, your sharp knife, your soy dipping sauce—before you even touch the pan. If you have a moment to spare while prepping, check out our guide on making the perfect sushi rice to serve this with!
Preparing the Yellowfin Tuna Steaks
First things first: drying! Grab those gorgeous steaks and pat them down with paper towels until you think they absolutely cannot get any drier—then pat them one more time. Seriously, even a tiny bit of surface moisture stops the crust from forming, and we just won’t stand for that. Next, whisk together your marinade mixture—sesame oil, soy, ginger, garlic—and brush it all over the tuna. Then, press those beauties firmly into your mound of mixed sesame seeds on a plate until they are totally coated on all sides. Set them aside while you get the pan ready.
Achieving the Ideal Sear for Your Seared Ahi Tuna
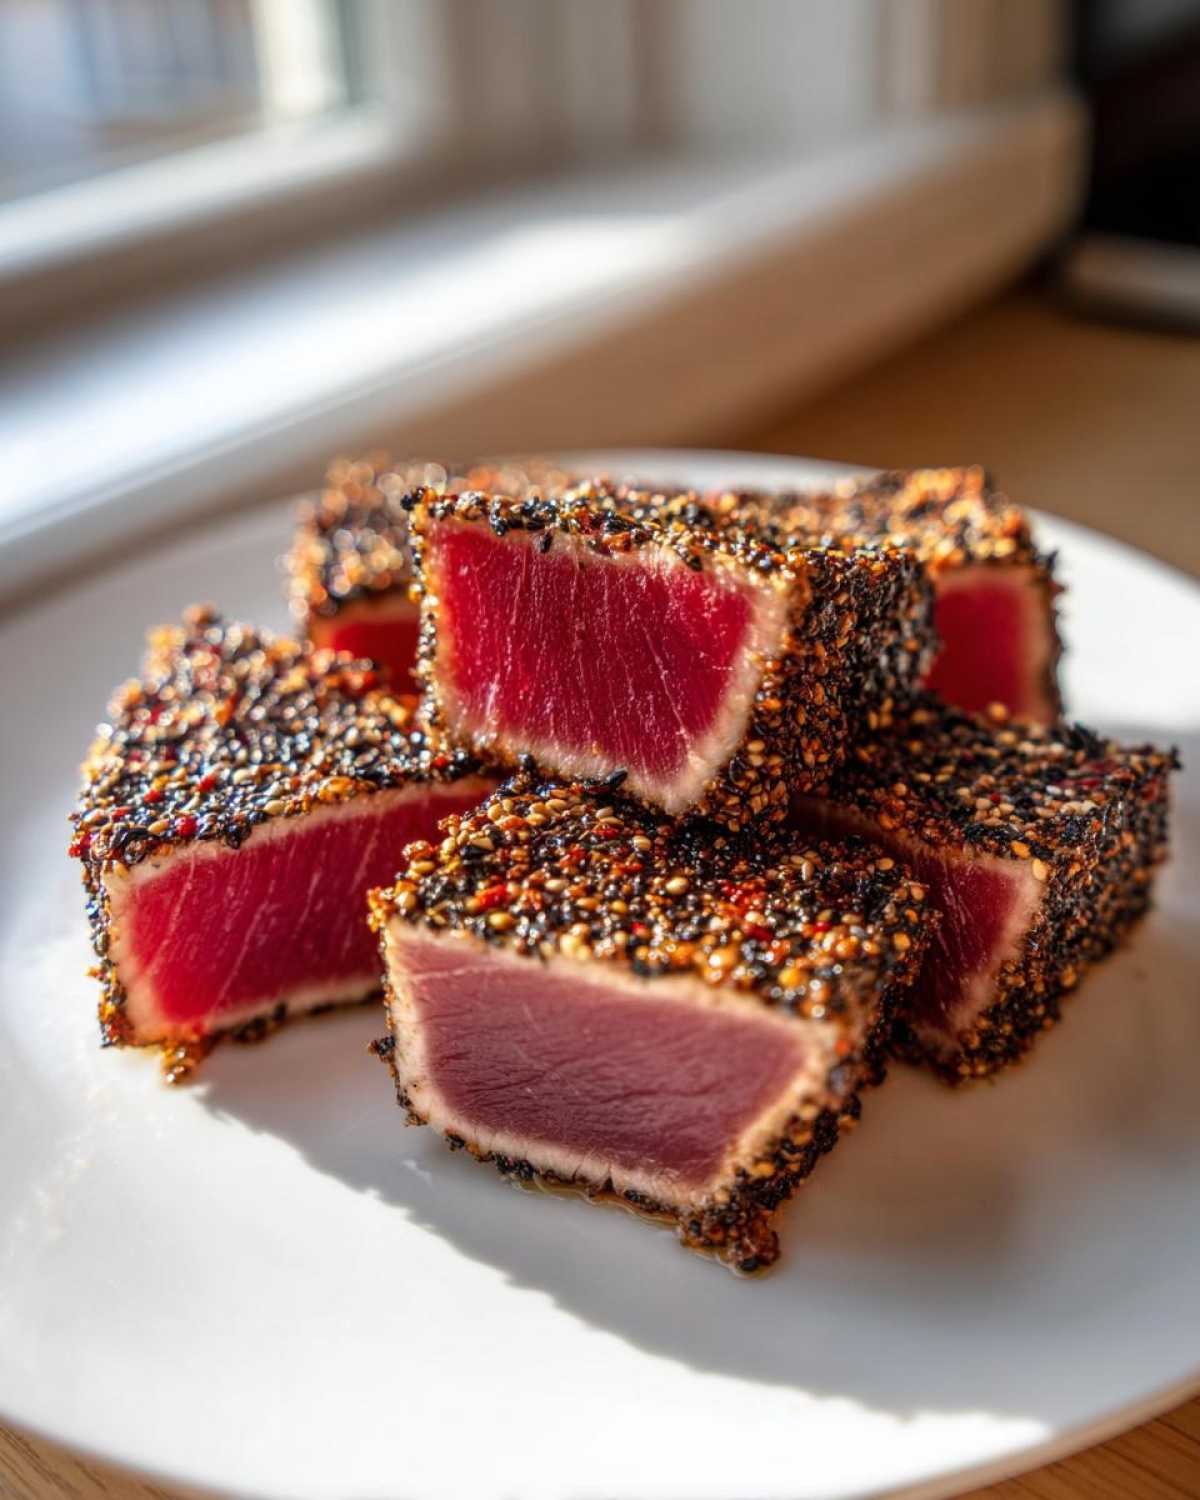
This is where we summon the heat gods! Place your heaviest skillet, ideally cast iron, over high heat. You want it hot—I mean, let it get almost smoking hot *before* you add anything else. Do not add the tuna yet! Once it’s screaming hot, carefully place the seed-coated tuna right onto the dry surface. For that ideal rare center, you are looking for a mere 60 to 90 seconds per side. That’s it! It’s going to look almost cooked on the outside, and that’s how you achieve that **gourmet tuna** texture. Don’t walk away!
Resting and Slicing for the Best Presentation
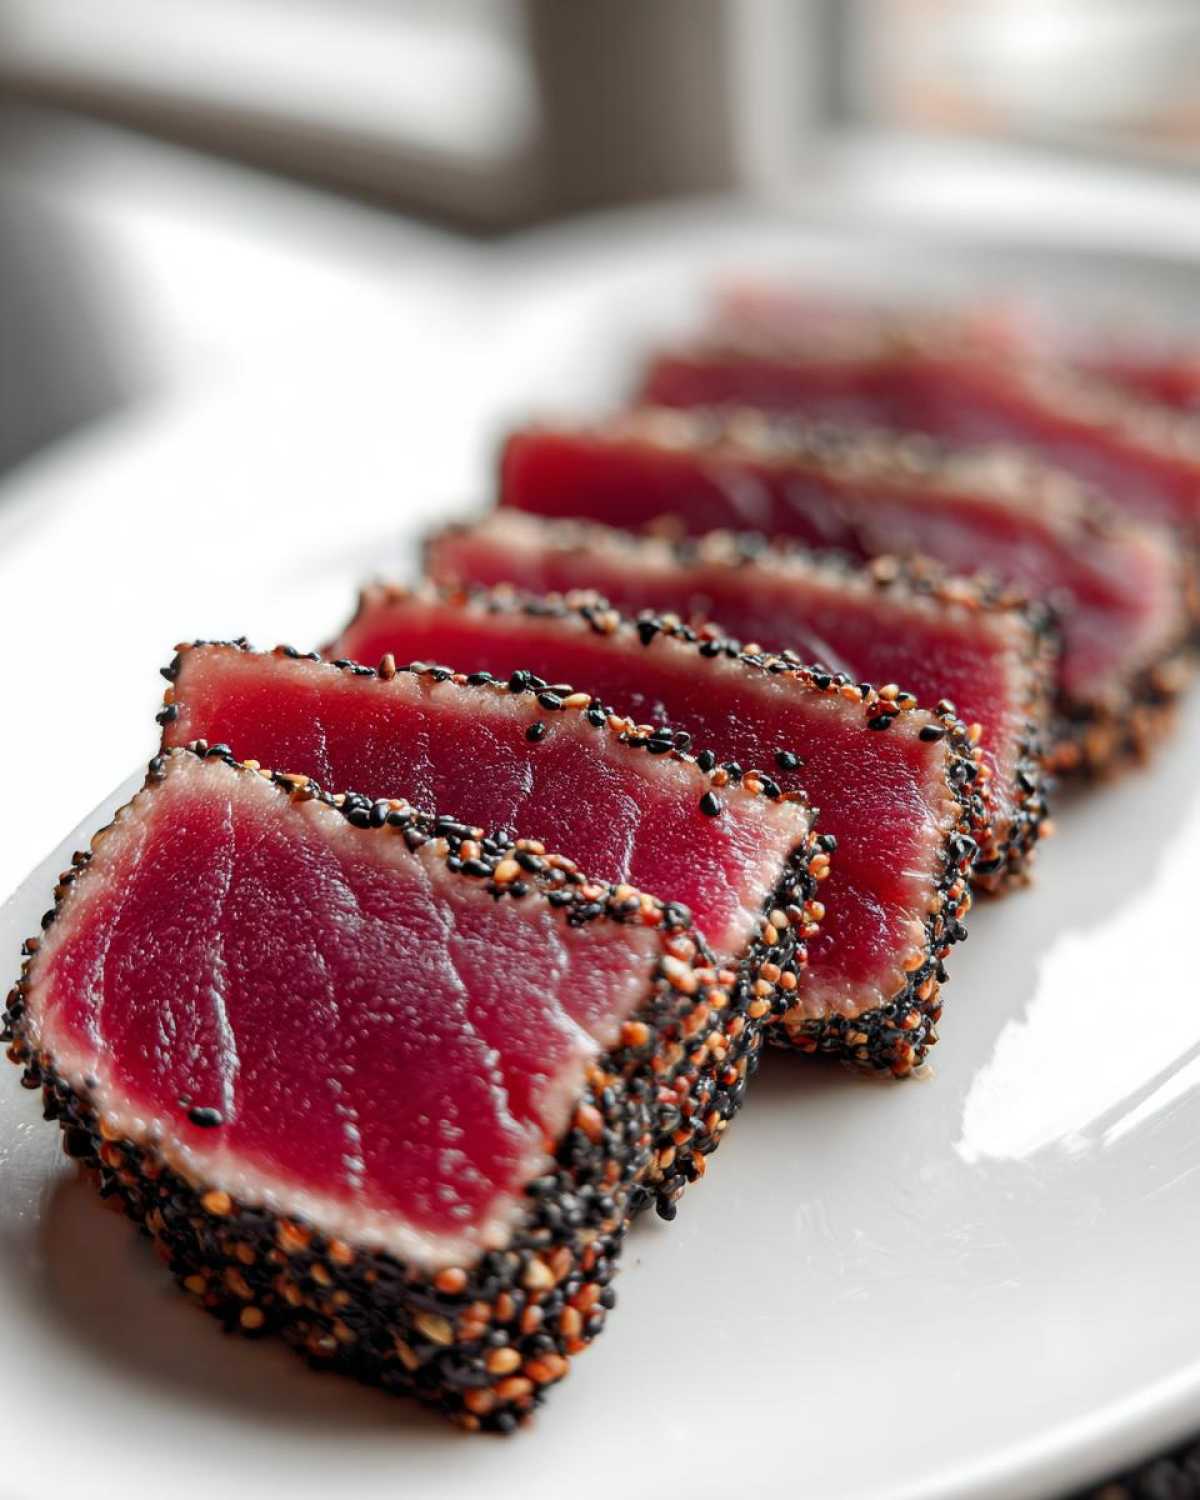
Once you pull the tuna off the fire, move it immediately to a clean cutting board. You must let it rest for about five minutes. I know, I want to slice it right away, but resting lets those internal juices redistribute. If you skip this, the juices will run all over your board when you cut it, leaving you with dry fish! When you’re ready, use your sharpest knife and slice the tuna against the grain into thin, quarter-inch pieces. Serve it up immediately so everyone can appreciate that gorgeous pink middle!
Making This a Complete Healthy Dinner
This **Seared Ahi Tuna** is naturally low in fat and high in protein, making it a superstar for a quick, **healthy dinner**. Because the preparation is so fast and light, it really sings when paired with something simple that lets the fresh fish flavor shine through. We eat this dish often when we want something fancy without the fuss or the heavy carbs.
If you’re looking for something to accompany this, try skipping heavy sauces. We love serving ours over a bed of perfectly steamed rice, but if you want something lighter, a quick-shredded Napa cabbage slaw tossed with sesame oil is amazing. If you’re interested in other versatile light dishes, take a look at our avocado toast guide—it’s another simple staple in our home!
Serving Suggestions for Your **Asian Tuna Recipe**
For that perfect, light **Asian tuna recipe** plate, think contrasting textures. The rich, tender fish and nutty crust pair beautifully with something crisp and clean. Steamed jasmine rice soaks up any extra marinade drips perfectly. Or, if you’re aiming for low-carb, just a light steam of broccoli or edamame works wonders. Don’t forget a small splash of sauce on the side for dipping!
Tips for Making the Best Seared Ahi Tuna Every Time
Even though this recipe seems straightforward—and it is!—sometimes a little extra guidance helps us turn those good results into truly unforgettable ones. Ethan is always tinkering with the flavor, and I’m always logging the results, so here are the tips that really cement this dish as a winner every time we make it.
First off, remember that pepper! The recipe calls for black pepper, but if you want a little zing when you bite into the crust, try using freshly cracked white pepper mixed in with those sesame seeds. It gives a cleaner, more immediate sharpness that I absolutely love. If you’re looking for bright flavors to balance the richness of the tuna, you’ll want to check out our recipe for a simple vinaigrette—it works great tossed with some watercress served alongside the fish.
Now, about that dipping sauce! Remember how I mentioned Maya suggested a simple mix of rice vinegar and sriracha? That’s the key to keeping this light and punchy. Ethan tends to go off-script and throw in a tiny bit of maple syrup to the vinegary mix, which I think perfectly complements the savory soy marinade we used earlier. It’s that conversation between the two of us coming to life right there on the plate!
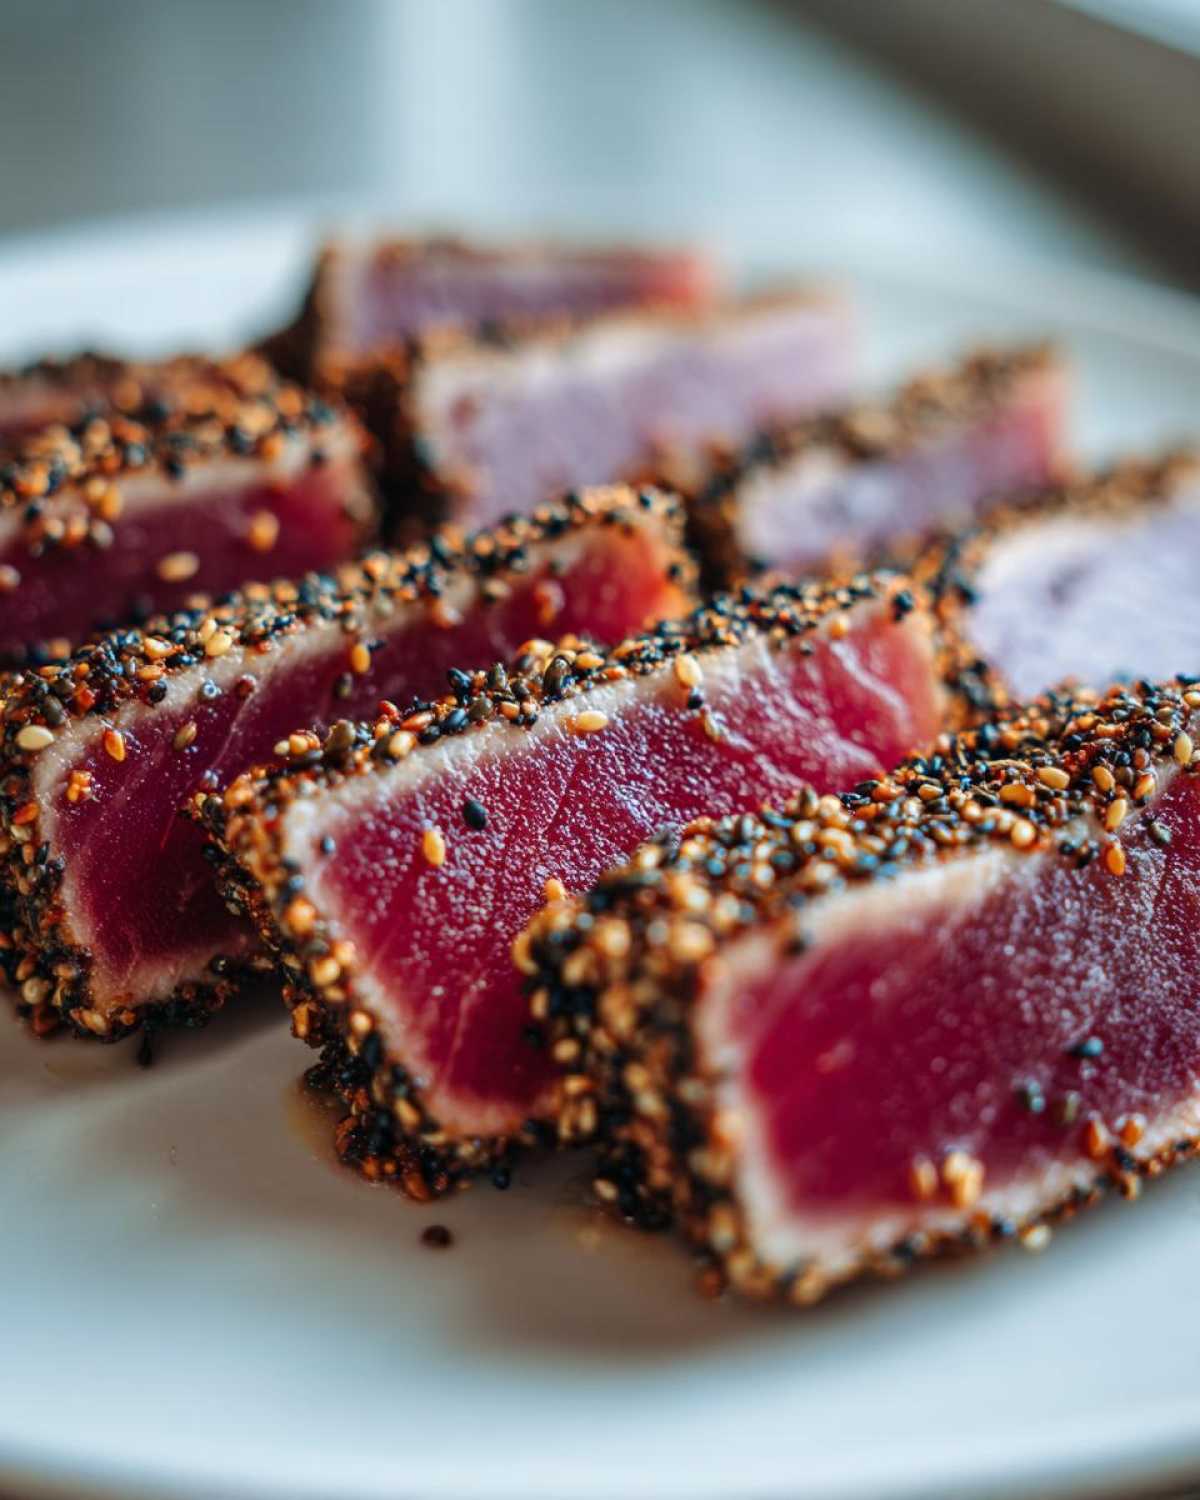
My biggest non-negotiable tip, even above the high heat, is to use a timer. Don’t just eyeball it. Whether you’re aiming solely for rare or slightly pushing it to medium-rare, those 60 to 90 seconds per side are crucial. Walk away from the pan for that time, and I promise you’ll have that perfect, ruby-red slice waiting for you.
Storage and Reheating Instructions for Leftover Seared Ahi Tuna
Truthfully, this **Seared Ahi Tuna** hates being reheated. That gorgeous sear and rare center? Poof! It’s gone if you try to throw leftovers back in the pan. Since the cooking time is so short, we almost never have leftovers, but if you do, the safest way to store pieces of cooked fish is in a shallow, airtight container in the fridge. It’s good for up to two days, tops.
Don’t even think about the microwave! Instead of reheating, treat those leftover slices like a deli meat. They are fantastic served cold. Slice them up thinly and mix them into a crisp green salad, perhaps with some crunchy nuts. You could even dice up the remnants for a quick, flavorful addition to something like a grape chicken salad if you’re feeling creative! They add such great flavor without needing any extra cooking.
Frequently Asked Questions About Seared Ahi Tuna
We get so many questions anytime we share this recipe—which is a good sign, right? It means you care about getting that perfect sear, just like us! Ethan and I put our heads together, combining my research on food safety temperatures and Ethan’s insistence on perfect dryness, to answer the most common things people ask about making amazing **Seared Ahi Tuna** at home.
Can I use frozen tuna steaks for this quick seafood recipe?
Yes, you absolutely *can*, but only if you plan ahead! Honestly, frozen fish is much easier to find sometimes than fresh. However, you must let it thaw completely overnight in the fridge—never on the counter! Once thawed, you have to treat it exactly like fresh tuna: pat it, and I mean *really* pat it, dry with paper towels before you even think about the marinade. Any residual ice crystals or surface moisture will ruin your sear and turn your **quick seafood recipe** into soggy fish!
What internal temperature indicates perfect gourmet tuna doneness?
This is where my spreadsheet comes out! To get that deeply seared exterior and that cool, buttery center that screams “**gourmet tuna**,” you are aiming only for rare to medium-rare. If you use a meat thermometer (stick it right in the center after resting for a second), you want the internal temperature to read somewhere between 115°F and 125°F. Anything over 130°F and you’ve basically cooked the whole steak through, losing that beautiful contrast we worked so hard to achieve. It goes so fast that most people just rely on that 60-to-90-second sizzle per side, but the thermometer is definitely reassurance if you’re nervous!
If you want to know more about how we test and verify recipes here at the blog, you can always check out our philosophy over on our About Us page!
Estimated Nutritional Snapshot for This Healthy Dinner
I always feel a little like a mad scientist when I pull up the nutritional facts for something this delicious, but here they are! Since this is such a clean and quick recipe, it’s ridiculously satisfying while keeping things light. Ethan is always shocked at how low the sugar content is!
Just remember, these numbers are our best estimate based on standard sourcing for the fish and the marinade ingredients. Things can shift slightly depending on the oils or tamari you choose, but this gives you a great baseline for enjoying this fantastic **healthy dinner** guilt-free.
- Serving Size: 1 steak
- Calories: 280
- Fat: 14g (Mostly unsaturated!)
- Protein: 34g
- Sugar: 1g
- Sodium: 350mg
Share Your Perfect Seared Ahi Tuna Experience
Wow, we made it through! Now that you’ve achieved that perfect, sesame-crusted crust and sliced into that beautiful, rare center of your **Seared Ahi Tuna**, I really want to see what you came up with. Did you follow Ethan’s wild suggestion and dump in that tiny pinch of cinnamon? Or did you stick to the classic marinade?
If you found this recipe helpful—if it finally ended the searing struggle in your own kitchen—we would be so thrilled if you took a moment to leave a rating below. Your feedback really helps other folks feel confident stepping up to make their own **gourmet tuna** at home. We rely on this community to tell us what works best!
We love seeing how you serve it up, too! Tag us on social media or just leave a comment telling us what you paired with this **quick seafood recipe**. Whether you stuck to the basics or invented a brand new dipping sauce, sharing your experience helps us keep testing new ideas for the blog. We’re always looking for ways to make meals easier and more delicious for you all, so head over to our main blog page for even more kitchen conversations!
PrintPerfectly Seared Ahi Tuna Steaks
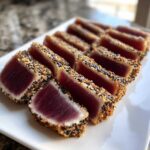
Learn how to sear sushi grade yellowfin tuna perfectly every time for a quick, healthy, and gourmet seafood dinner.
- Prep Time: 10 min
- Cook Time: 3 min
- Total Time: 18 min
- Yield: 2 servings
- Category: Dinner
- Method: Pan Searing
- Cuisine: Asian
- Diet: Low Fat
Ingredients
- 2 (6 ounce) sushi grade ahi tuna steaks
- 2 tablespoons sesame oil
- 1 tablespoon soy sauce or tamari
- 1 teaspoon grated fresh ginger
- 1 clove garlic, minced
- 1/2 teaspoon black pepper
- 1/4 cup sesame seeds (mixed black and white preferred)
Instructions
- Pat the ahi tuna steaks completely dry using paper towels. This step is key for a good sear.
- In a small bowl, whisk together the sesame oil, soy sauce, ginger, and minced garlic. Brush this mixture evenly over all sides of the tuna steaks.
- Place the mixed sesame seeds on a shallow plate. Press each side of the tuna steaks into the seeds until they are fully coated.
- Heat a heavy-bottomed skillet, such as cast iron, over high heat until it is very hot, almost smoking. Do not add oil to the pan yet.
- Carefully place the coated tuna steaks into the hot, dry skillet. Sear for 60 to 90 seconds per side for rare to medium-rare. Adjust time based on your preference for doneness.
- Remove the tuna from the pan immediately. Let the steaks rest on a cutting board for 5 minutes before slicing.
- Slice the tuna against the grain into 1/4-inch thick pieces. Serve right away.
Notes
- For an extra layer of flavor, Ethan suggests adding a tiny pinch of cinnamon to the marinade; it really brings out the richness of the tuna.
- If you want a crispier crust, make sure your skillet is screaming hot before the tuna touches the pan.
- For serving, Maya recommends a simple dipping sauce made from rice vinegar and a drop of sriracha.
Nutrition
- Serving Size: 1 steak
- Calories: 280
- Sugar: 1
- Sodium: 350
- Fat: 14
- Saturated Fat: 2
- Unsaturated Fat: 12
- Trans Fat: 0
- Carbohydrates: 5
- Fiber: 1
- Protein: 34
- Cholesterol: 75