

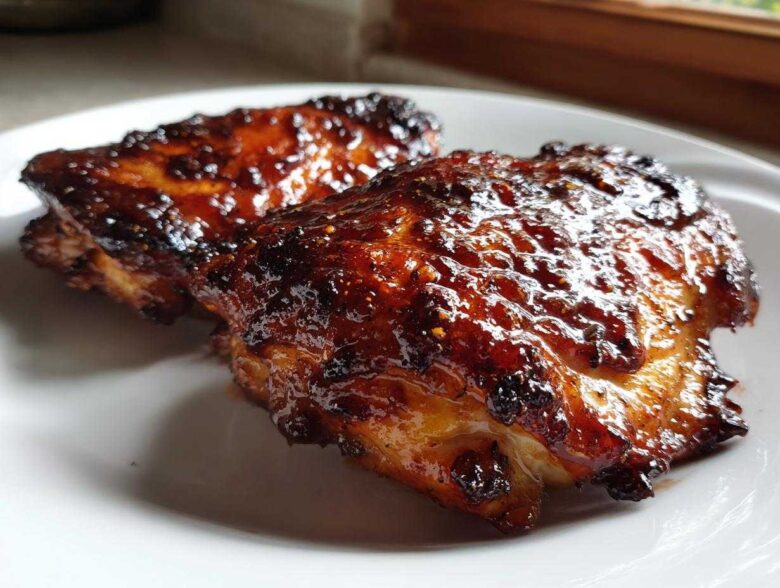
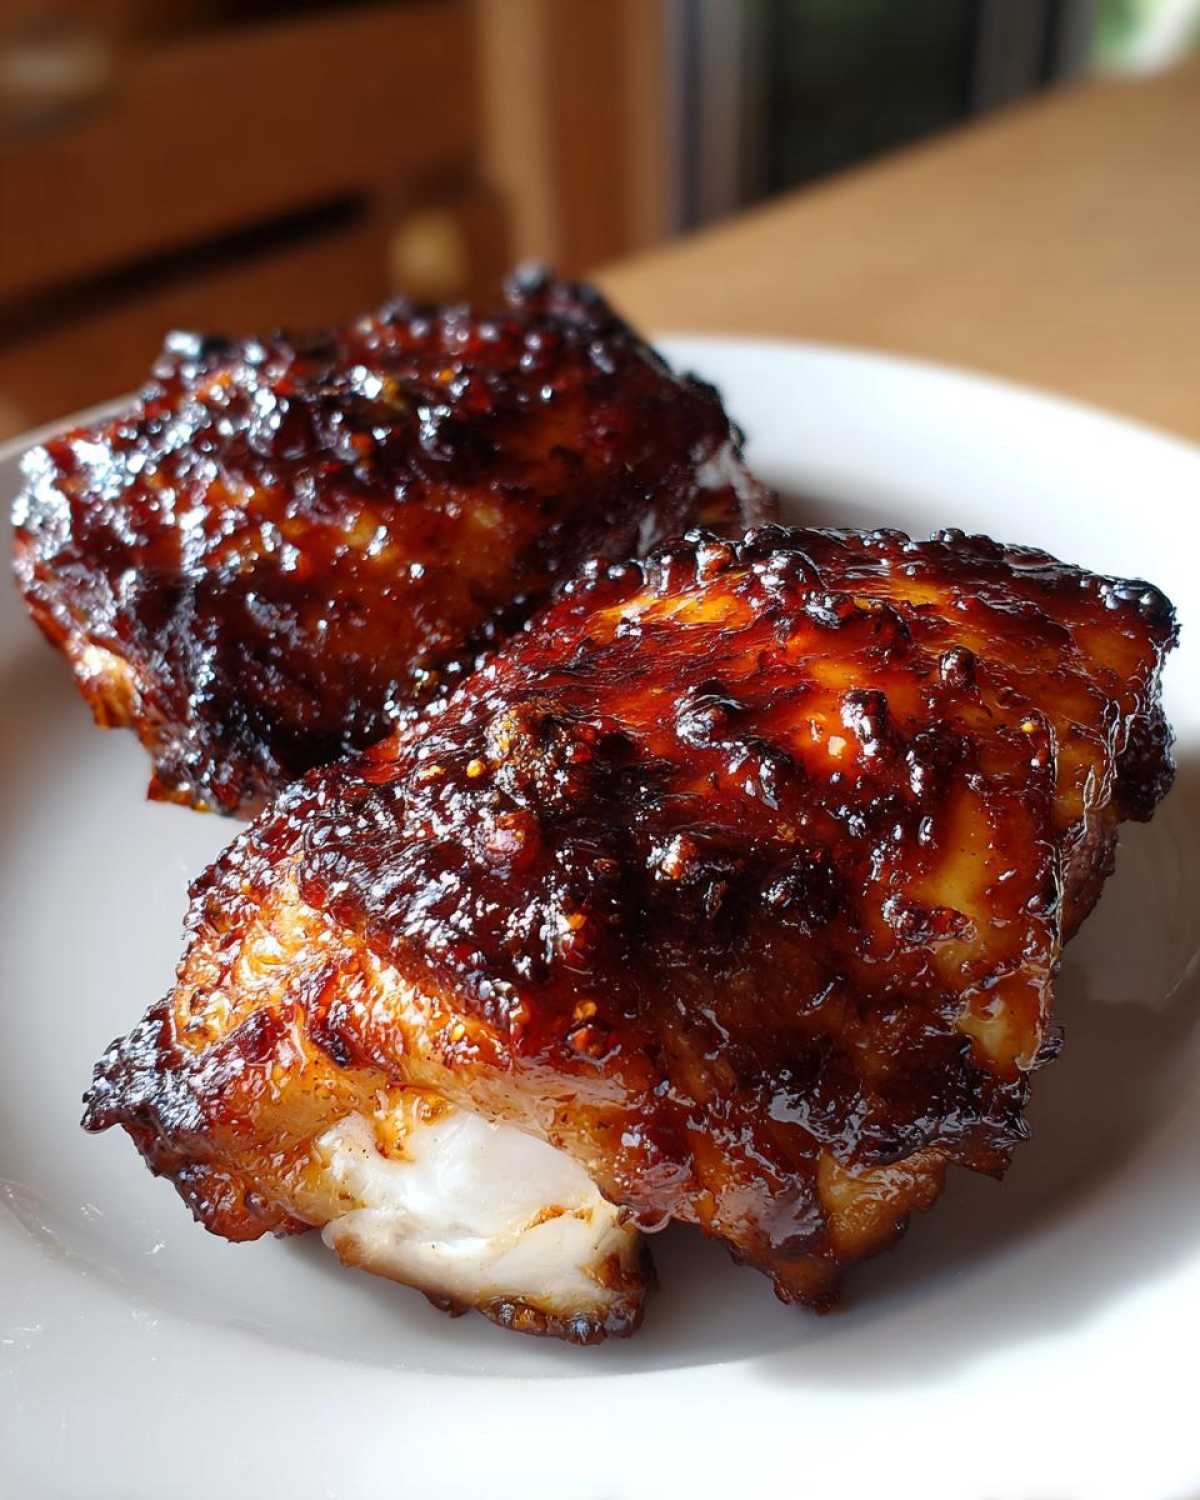
Listen, there is nothing in this world quite like that perfect piece of chicken—the skin is a little crisp, the meat underneath is falling-apart tender, and it’s absolutely drenched in a caramelized, sticky sauce. If that craving has hit you hard, you are in the right spot! We are talking about the Sticky BBQ Chicken Thighs with Honey Glaze, and I finally nailed the technique. Forget those watery sauces you find elsewhere. My secret is layering the glaze twice, letting that honey bake down without completely burning on the first pass. Trust me, using the oven keeps things wonderfully clean, and by the end, you’ll have the most amazing juicy chicken thighs imaginable. This is the weeknight dinner game-changer you’ve been waiting for!
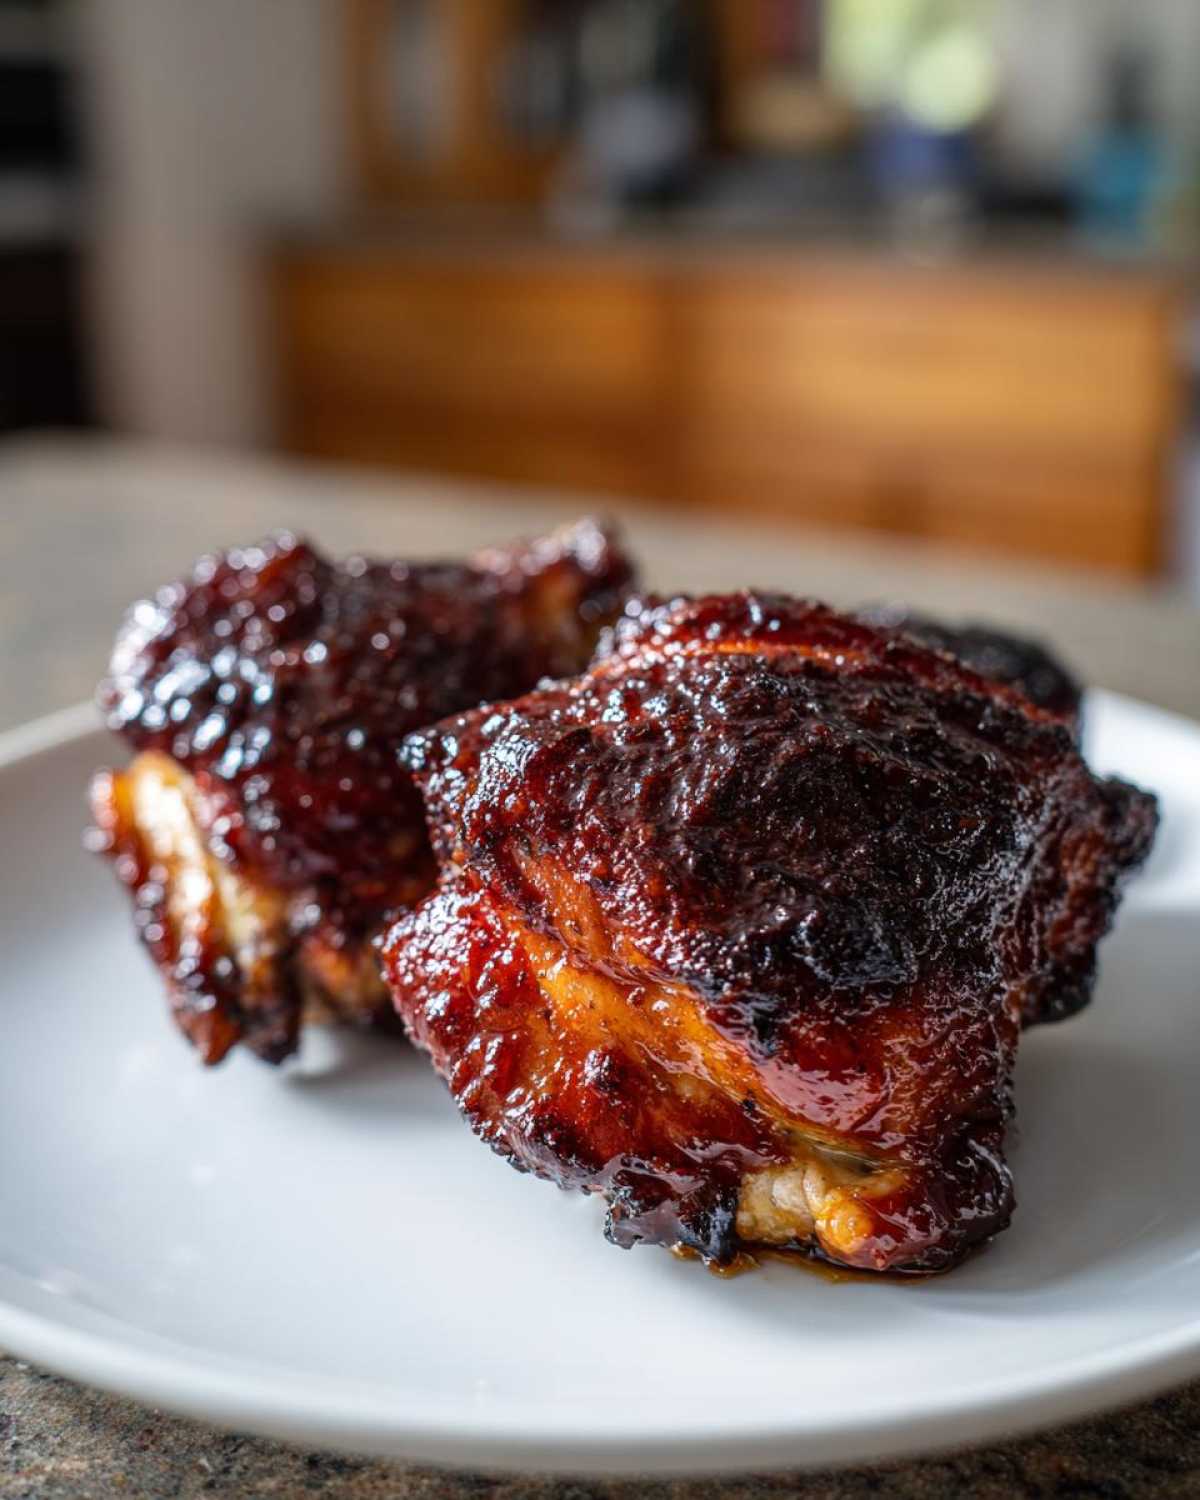
Why You Will Love This Sticky BBQ Chicken Thighs with Honey Glaze Recipe
Honestly, these are going to be your new favorite weeknight staple. I keep coming back to this recipe because it checks every single flavor box. If you’re looking for that perfect balance of sweet, savory, and sticky, this is where the journey ends!
Here’s why I think you’re going to be obsessed:
- It delivers the ultimate sticky texture! That honey glaze caramelizes beautifully under the broiler, creating that perfect pull-apart coating we all crave.
- Bone-in, skin-on chicken thighs stay incredibly juicy. I swear you can’t dry these out, even if you try!
- It’s incredibly hands-off once it’s in the oven. Seriously, 10 minutes of prep and you let the magic happen.
- The flavor combo is fantastic. That rich BBQ sauce mixed with the sweetness of the honey is just pure comfort food magic.
- Cleanup is almost a non-issue because we line the pan with foil—a must for sticky sauces, trust me on this one.
- It’s genuinely fast! You can have these easy glazed chicken thighs on the table faster than ordering takeout.
If you want that amazing depth of flavor without spending all day over the grill, this is your oven method. It turns simple chicken thighs into something that tastes like you worked all afternoon!
Essential Ingredients for Sticky BBQ Chicken Thighs with Honey Glaze
You don’t need fancy stuff for this recipe, which is why I love it so much for busy evenings. We are using good old chicken thighs, the best cut for holding moisture, and a few pantry staples to build that incredibly rich sauce. I always grab my favorite thick BBQ sauce—the brand really makes a difference in the final flavor!
Gather these things up. You’ll be shocked at how simple the ingredient list is for such a flavorful result. If you want to compare it to another speedy meal, check out my easy honey garlic chicken post!
For the Chicken Thighs
We need 8 bone-in, skin-on chicken thighs for this batch—they crisp up perfectly. You’ll also need 1 tablespoon of olive oil, 1 teaspoon of salt, and just 1/2 teaspoon of black pepper for that initial seasoning.
For the Honey Glaze for Chicken Thighs
This is where the sweet magic happens! Grab 1/2 cup of your thick BBQ sauce, 1/4 cup of honey (yes, that much, it’s what makes it sticky!), 2 tablespoons of apple cider vinegar to cut the sweetness, and 1 tablespoon of brown sugar. Don’t forget the flavor boosters: 1 teaspoon of smoked paprika and 1/2 teaspoon of garlic powder.
Equipment Needed for Perfect Sticky BBQ Chicken Thighs with Honey Glaze
Okay, let’s talk gear! You don’t need a million fancy gadgets for this recipe, but having the right tools makes the difference between sticking your sauce everywhere and getting that gorgeous, even coat. Because we are dealing with sugar in that glaze, a little preparation goes a long way in keeping your cleanup simple!
Make sure you have these five things ready before you even think about touching the chicken:
- A large baking sheet. This holds all 8 thighs comfortably.
- Aluminum foil or parchment paper. Foil is my go-to because it traps all that bubbly, caramelized honey runoff.
- A small saucepan. This is just for warming up and thickening the glaze ingredients together gently.
- A good silicone basting brush. You want the flexible kind that gets into all the crevices of the chicken skin.
- A reliable meat thermometer. Seriously, don’t skip this when you’re using thick glazes! It tells you exactly when the honey has stopped burning and the chicken is perfectly done at 165°F.
That’s it! No blending, no complicated mixing bowls for the main event. Just set up your station, and you are ready to roll into the step-by-step instructions. It really is that straightforward for getting that amazing sweet and sticky chicken dinner!
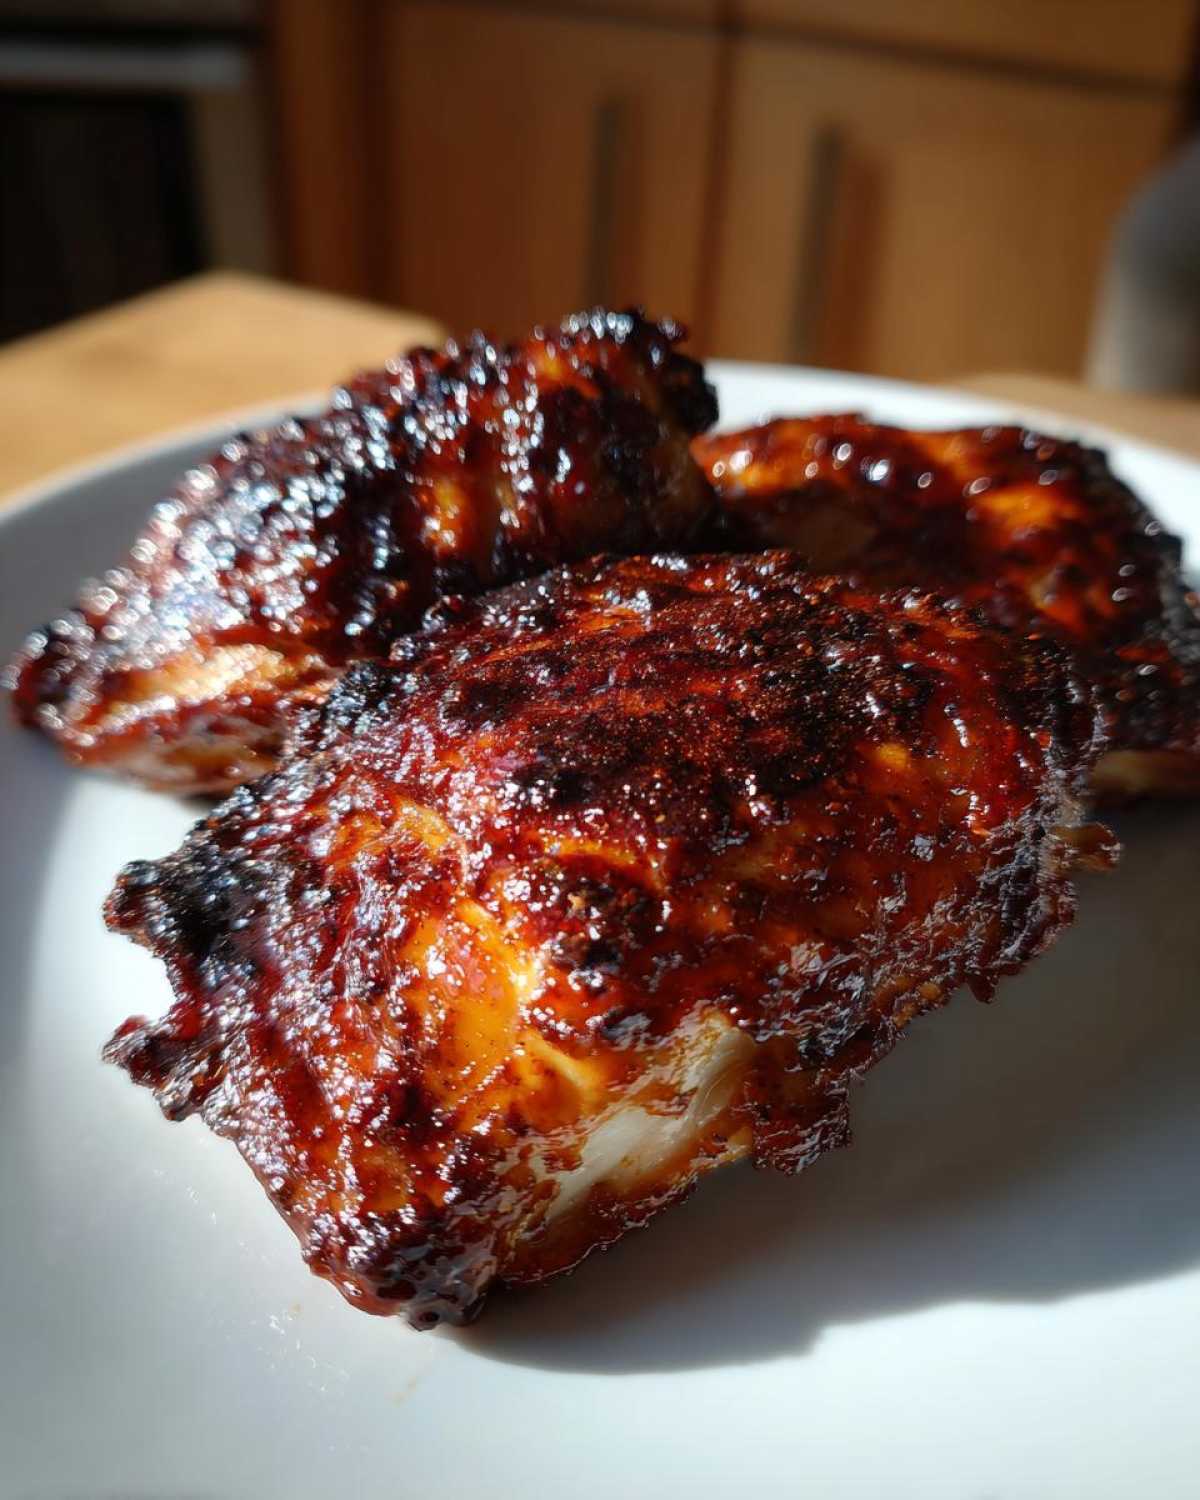
Step-by-Step Instructions: Making Sticky BBQ Chicken Thighs with Honey Glaze
Okay, now for the fun part! This isn’t just slapping sauce on chicken and calling it a day; we are building layers of flavor and stickiness, which is why this recipe turns out so incredible. Getting the timing right in the oven is key here. Don’t try to rush it! We want that deep caramelization, not burnt sugar, so trust the process, especially when it comes to that final blast of heat.
Preparing the Chicken and Oven
First things first: crank that oven up to 400°F (200°C) and get your baking sheet lined with foil—seriously, it saves you so much scrubbing later! Take your chicken thighs and pat them completely dry with paper towels. I mean bone-dry! This is crucial if you want that skin to crisp up at all. Once they’re dry, rub them lightly with olive oil, then hit them with the salt and pepper mix. Get them on the tray skin-side up and slide them in to bake for 25 minutes. This renders some of that fat out before we start laying down that sugary glaze.
Creating the Sweet and Sticky Honey Glaze
While the thighs are doing their initial bake, cozy up to the stove for the glaze. In a small saucepan, whisk together your BBQ sauce, honey, apple cider vinegar, brown sugar, paprika, and garlic powder. Heat this mixture over medium-low heat. You want to stir it just until everything dissolves and it thickens up just a little—think of warm maple syrup consistency. Please, please, please do not let this boil! Boiling sugar concentrates it too fast, and it will burn the second it hits the oven.
Layering the Glaze for Maximum Stickiness
When the chicken timer goes off after 25 minutes, pull them out. Now, brush about half of that gorgeous glaze all over the thighs. Back they go for another 15 minutes. After that second bake, pull them out again. Time for the rest of that glorious honey glaze! Brush that final layer on, and here’s the trick: bump the oven temperature up to 425°F (220°C) for the last 5 to 10 minutes. Watch them super closely now! This high heat is what sets the glaze and makes it perfectly sticky. Pull them when the internal temperature hits 165°F (74°C). Then, let that juicy meatloaf of a chicken rest for 5 minutes before you can even think about eating it!
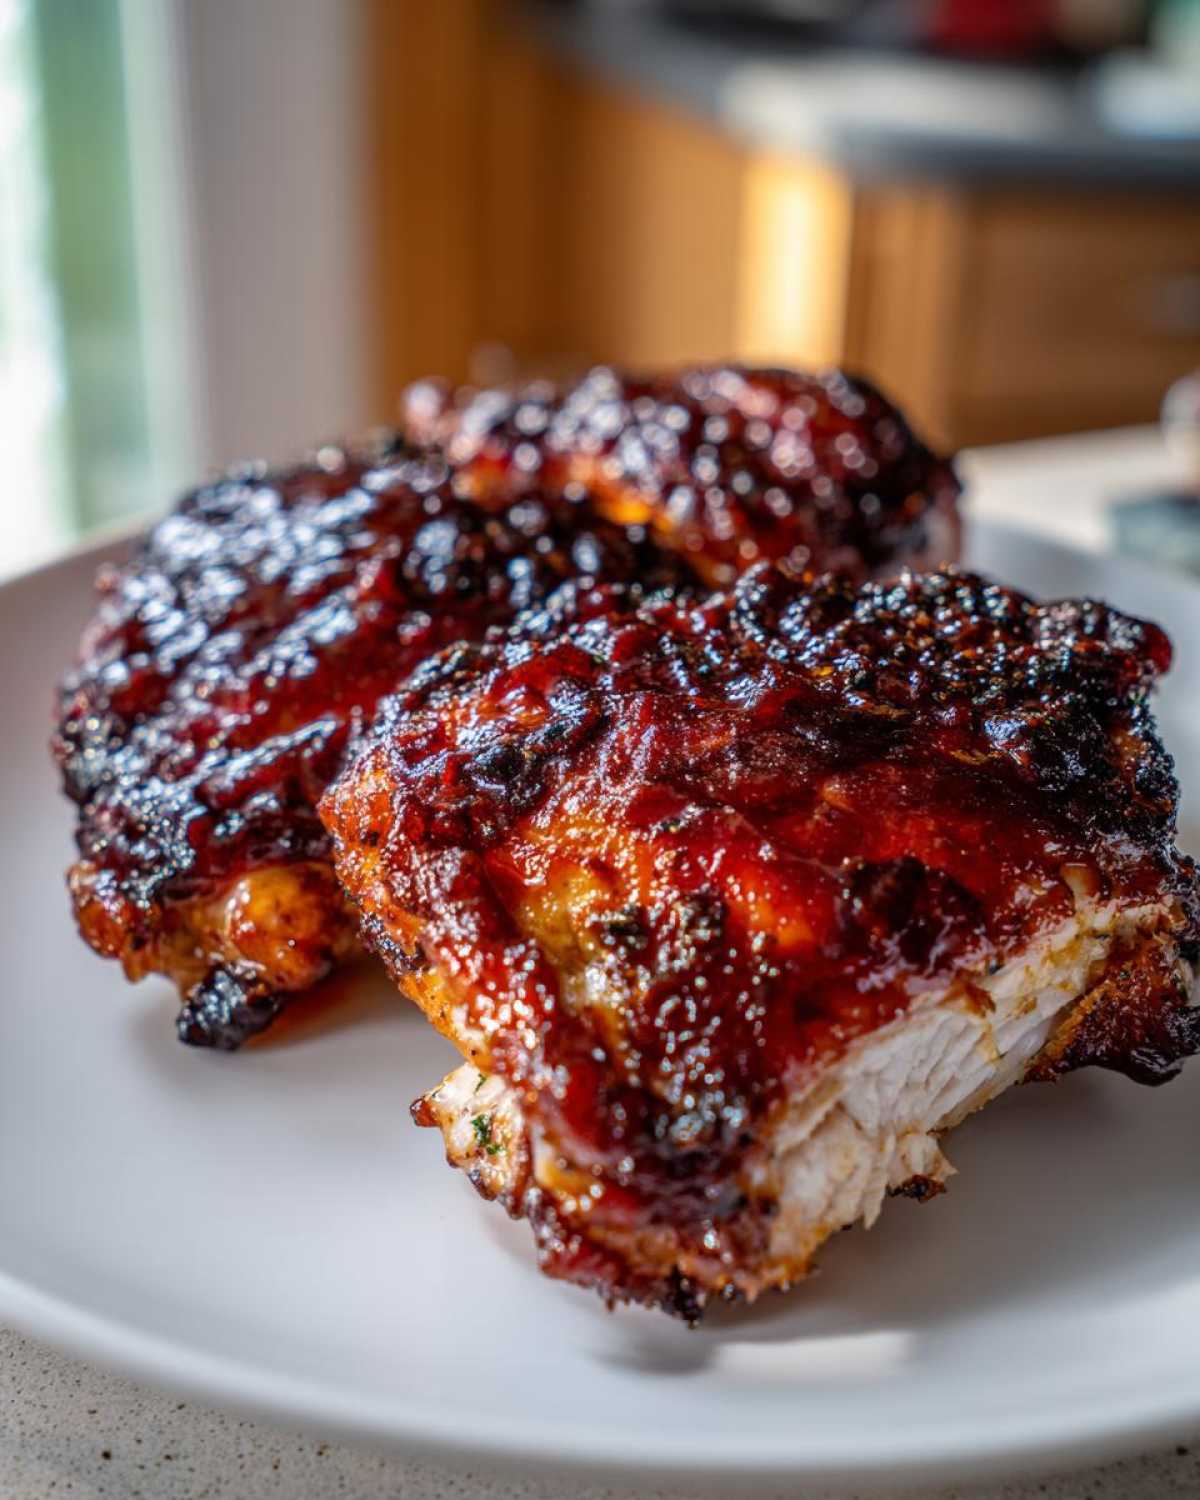
Tips for Achieving the Best Sticky BBQ Chicken Thighs with Honey Glaze
Getting that gorgeous, deep mahogany color without turning your delicious honey glaze into charcoal is honestly the only tricky part of this recipe. My biggest piece of advice? Stick to the three-stage glazing plan we discussed in the instructions. That first bake without any sauce is your insurance policy against a burnt mess.
If you really want maximum crispiness, I always pull my thighs out after the initial 25 minutes and pop them onto a wire rack set inside the baking sheet before brushing on the first coat of sauce. It lets the underside cook evenly, too. Honestly, if you aren’t using skin-on thighs here, you’re missing out on the real appeal of caramelized chicken thighs. That rendered fat keeps the meat incredibly moist! For more quick, flavorful ideas, check out my garlic parmesan chicken skillet recipe.
Remember, those final 5 to 10 minutes at 425°F are crucial, but you must stand guard by the oven. If you see the honey starting to look too dark too fast, just slide the rack down a bit to a lower oven rack slot for the last minute or two. It works like a charm!
Ingredient Notes and Substitutions for Your Sticky Chicken Thighs Recipe
I know we all have different things hiding in our pantries, and that’s totally fine! We can absolutely adapt this recipe without losing that crucial sticky factor. The key thing to remember is that sugar burns faster than meat cooks, so any substitution we make needs to respect that balance.
For instance, if you only have boneless, skinless thighs? Go for it! They cook way faster, so you’ll want to skip that initial 25-minute bake entirely. Just pat them dry, season them, brush the first coat of glaze, and bake for maybe 18–20 minutes total, brushing twice more near the end. Just keep that thermometer handy!
What about the BBQ sauce? If you use a super thin, vinegary sauce instead of a thick one, your glaze won’t set up as well. If your sauce is thin, just simmer the glaze mixture for an extra minute or two longer to reduce the water content. Also, if you are out of brown sugar, yes, you can use granulated white sugar, but I swear the dark brown sugar adds this deep, almost toffee note that works so well with the honey. It’s worth grabbing some if you can!
As for the vinegar, the apple cider vinegar is designed to brighten everything up and stop the sauce from tasting flat and too heavy on just the sweetness. If you don’t have it, a squeeze of lemon juice works in a pinch. Just taste as you go!
Serving Suggestions for Your Sweet and Savory Chicken Thighs Dinner
Wow, you’ve got these gorgeous, glistening, sticky honey BBQ chicken thighs cooling on the counter. Now what? You absolutely can’t serve this masterpiece naked! You need sides that can handle that strong, sweet, smoky flavor without getting lost. I like to stick to things that offer a nice textural contrast—something cool and creamy or something bright and slightly crisp.
My top pick, hands down, is a creamy, tangy coleslaw. The cool crunch is the absolute perfect foil to the hot, caramelized glaze. If the weather is perfect, I toss some corn on the cob on the grill alongside the chicken for the last 15 minutes. Simple, sweet, and it smells amazing!
If you’re leaning toward a more substantial meal, you need something to soak up all those glorious juices dripping off the meat. I usually make a big batch of fluffy white rice, though mashed potatoes work in a pinch. For a slightly healthier but still delicious route, try roasting some vegetables! If you have a minute, my recipe for roasted carrots with honey, garlic, and butter pairs beautifully because it echoes those savory-sweet notes from the glaze without overwhelming the chicken.
Honestly, keep the sides simple. These chicken thighs are the star of the show, and we don’t want to compete with that incredible sticky sauce!
Storage and Reheating Instructions for Leftover Sticky BBQ Chicken Thighs
I truly hope you have leftovers because these sticky chicken thighs recipe leftovers are honestly good cold straight from the fridge—but you probably want that saucy goodness warmed back up! The key to reheating sticky BBQ sauce without making it taste burnt or rubbery is avoiding the microwave if you can help it. Microwaves heat wet ingredients unevenly, and that honey glaze can get scorched fast.
When you’re done eating, let any remaining chicken cool down completely on the counter for about 30 minutes. Then, transfer them into a truly airtight container. Don’t leave them sitting on the plate if you plan to save them for tomorrow! They should hold up beautifully in the refrigerator for about 3 to 4 days. The more sauce left on them, the better they reheat, so don’t scrape all that good stuff off!
For reheating, I have two favorite methods to bring back that glorious, glistening coat:
- The Oven Method (Best for texture): This method gives you a chance to refresh that skin a little. Preheat your oven to 350°F (175°C). Lay the thighs out on a foil-lined baking sheet—don’t overlap them! Bake them for about 10 to 15 minutes, just until they are heated through. If the glaze looks dull when they come out, brush on a tiny touch of extra BBQ sauce or honey, and pop them under the broiler for just 60 seconds, watching like a hawk!
- The Air Fryer Method (Fastest reheat): If you have an air fryer, this is the speediest way to get them hot and sticky again. Set the air fryer to 350°F (175°C) and place the thighs in a single layer. Cook for 4 to 6 minutes. The circulating heat warms them perfectly and can re-crisp the skin slightly without drying out the interior meat.
Whatever you do, just make sure they reach a safe internal temperature of 165°F before diving in. Nobody wants a cold center on their barbecue chicken recipe with honey, no matter how good the sauce is!
Frequently Asked Questions About Our Sticky BBQ Chicken Thighs with Honey Glaze
I know sometimes recipes look complicated, even when they’re supposed to be easy! People always ask me about swapping out the method or adjusting ingredients when they make my ultimate sticky chicken thighs recipe. Here are the questions I get most often about getting that perfectly caramelized, sweet result.
Can I make this Sticky Chicken Thighs Recipe on the Grill?
Oh, absolutely you can! Grilling gives you those amazing char marks that look incredible. But here’s the thing: sugar burns fast over direct heat. If you decide to grill these, you must use indirect heat setup. Cook the chicken thighs over the cooler side first until they are almost done. Then, brush on the first coat of glaze, wait 5 minutes, brush the second coat, and move them over the lower heat to finish the glazing process. You have to watch them like a hawk because you don’t want that honey to turn charcoal!
What is the best way to ensure my chicken is juicy?
The combination of using bone-in thighs and our layering technique is your best friend here! But if you want guaranteed juiciness, one thing matters above all else: using an internal meat thermometer. Pull those thighs as soon as they hit 165°F (74°C)—no sniffing the air, no poking with a fork, just science! Also, please let them rest for those full 5 minutes after they come out; that lets the juices redistribute. If you follow that, you’ll have the juiciest chicken thighs recipe hands down.
I actually wrote a whole guide on grilled honey BBQ thighs if you want the exact technique for the outdoor version!
What if I only have boneless, skinless chicken thighs?
You can totally use those for a super quick weeknight chicken dinner! The drawback is you skip the crispy skin flavor, and they cook much faster. You’ll need to skip the initial 25-minute bake entirely. Just season them, apply the first glaze layer, and bake at 400°F for about 15 minutes total, brushing one more time halfway through. Check them around the 18-minute mark!
Can I make the glaze ahead of time?
Yes and no! You can certainly mix all the glaze ingredients together ahead of time and keep them covered in the fridge. But because the honey and brown sugar are in there, when you pull it out, it will be super thick, almost hard! You’ll have to reheat it gently on the stove (just like in the instructions) until it’s smoothly pourable before you can brush it on. It’s usually just as fast to mix it up while the chicken is doing its first bake.
PrintSticky Honey BBQ Chicken Thighs (Oven Baked)
Make tender, juicy chicken thighs coated in a thick, sweet, and sticky honey barbecue glaze using a simple oven baking method.
- Prep Time: 10 min
- Cook Time: 45 min
- Total Time: 55 min
- Yield: 4 servings
- Category: Dinner
- Method: Baking
- Cuisine: American
- Diet: Low Fat
Ingredients
- 8 bone-in, skin-on chicken thighs
- 1 tablespoon olive oil
- 1 teaspoon salt
- 1/2 teaspoon black pepper
- 1/2 cup your favorite thick BBQ sauce
- 1/4 cup honey
- 2 tablespoons apple cider vinegar
- 1 tablespoon brown sugar
- 1 teaspoon smoked paprika
- 1/2 teaspoon garlic powder
Instructions
- Preheat your oven to 400°F (200°C). Line a baking sheet with foil for easy cleanup.
- Pat the chicken thighs completely dry with paper towels. Rub them with olive oil, salt, and pepper. Place them skin-side up on the prepared baking sheet.
- Bake the chicken for 25 minutes to render some fat and start cooking the meat.
- While the chicken bakes, prepare the glaze: In a small saucepan, combine the BBQ sauce, honey, apple cider vinegar, brown sugar, smoked paprika, and garlic powder. Heat over medium-low heat, stirring until the sugar dissolves and the mixture thickens slightly, about 3 minutes. Do not boil.
- Remove the chicken from the oven. Brush half of the prepared glaze evenly over the chicken thighs.
- Return the chicken to the oven and bake for another 15 minutes.
- Remove the chicken again. Brush the remaining glaze over the thighs. Increase the oven temperature to 425°F (220°C).
- Bake for a final 5 to 10 minutes, watching closely, until the glaze is dark, caramelized, and sticky, and the internal temperature reaches 165°F (74°C).
- Let the chicken rest for 5 minutes before serving.
Notes
- For extra crisp skin, place the chicken on a wire rack set inside the baking sheet before baking.
- If you prefer a thinner glaze, reduce the cooking time of the glaze mixture slightly.
- Use a meat thermometer to confirm doneness for the juiciest results.
Nutrition
- Serving Size: 2 thighs
- Calories: 450
- Sugar: 25
- Sodium: 550
- Fat: 22
- Saturated Fat: 7
- Unsaturated Fat: 15
- Trans Fat: 0
- Carbohydrates: 35
- Fiber: 1
- Protein: 30
- Cholesterol: 110