

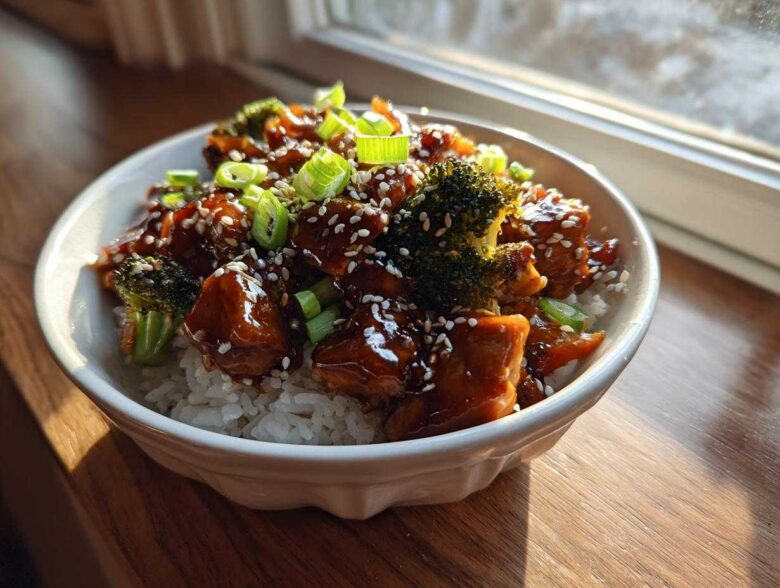
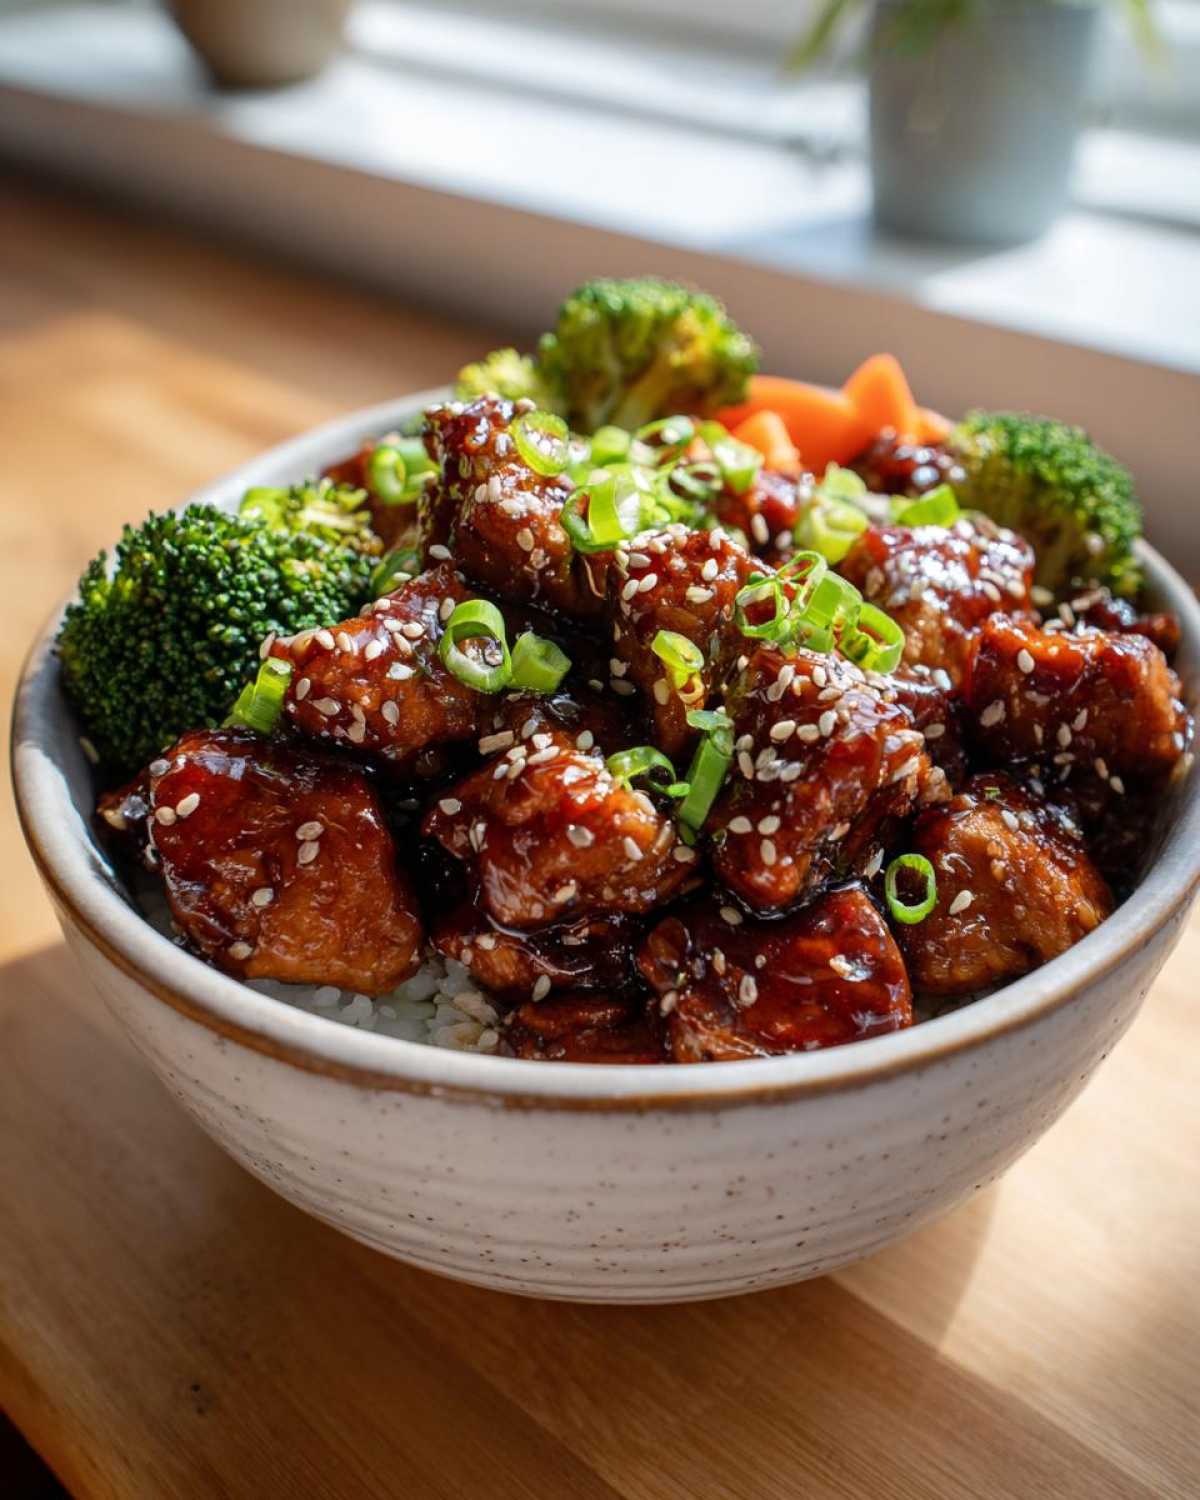
I swear, some weeknights I look into the fridge at 5:30 PM and honestly think we might just have to eat cereal. The pressure to get something fast, but still *actually* good, on the table feels impossible, right? Well, you guys, I’ve found the ultimate solution that pulls me out of that dinner rut every single time. We are talking about the Sticky Teriyaki Chicken Bowl with Rice and Veggies, and trust me, it is a game-changer.
The star of the show here is that thick, glossy glaze—it’s sweet, it’s savory, and it really clings to the chicken perfectly. I originally developed this recipe because I wanted something much better than the watery teriyaki takeout sauce we used to rely on. I’ve made this specific Sticky Teriyaki Chicken Bowl with Rice and Veggies for my family so many times now that my son actually yells when he sees the broccoli going into that skillet. It comes together faster than delivery, and knowing exactly what goes into that fantastic sauce is such a win!
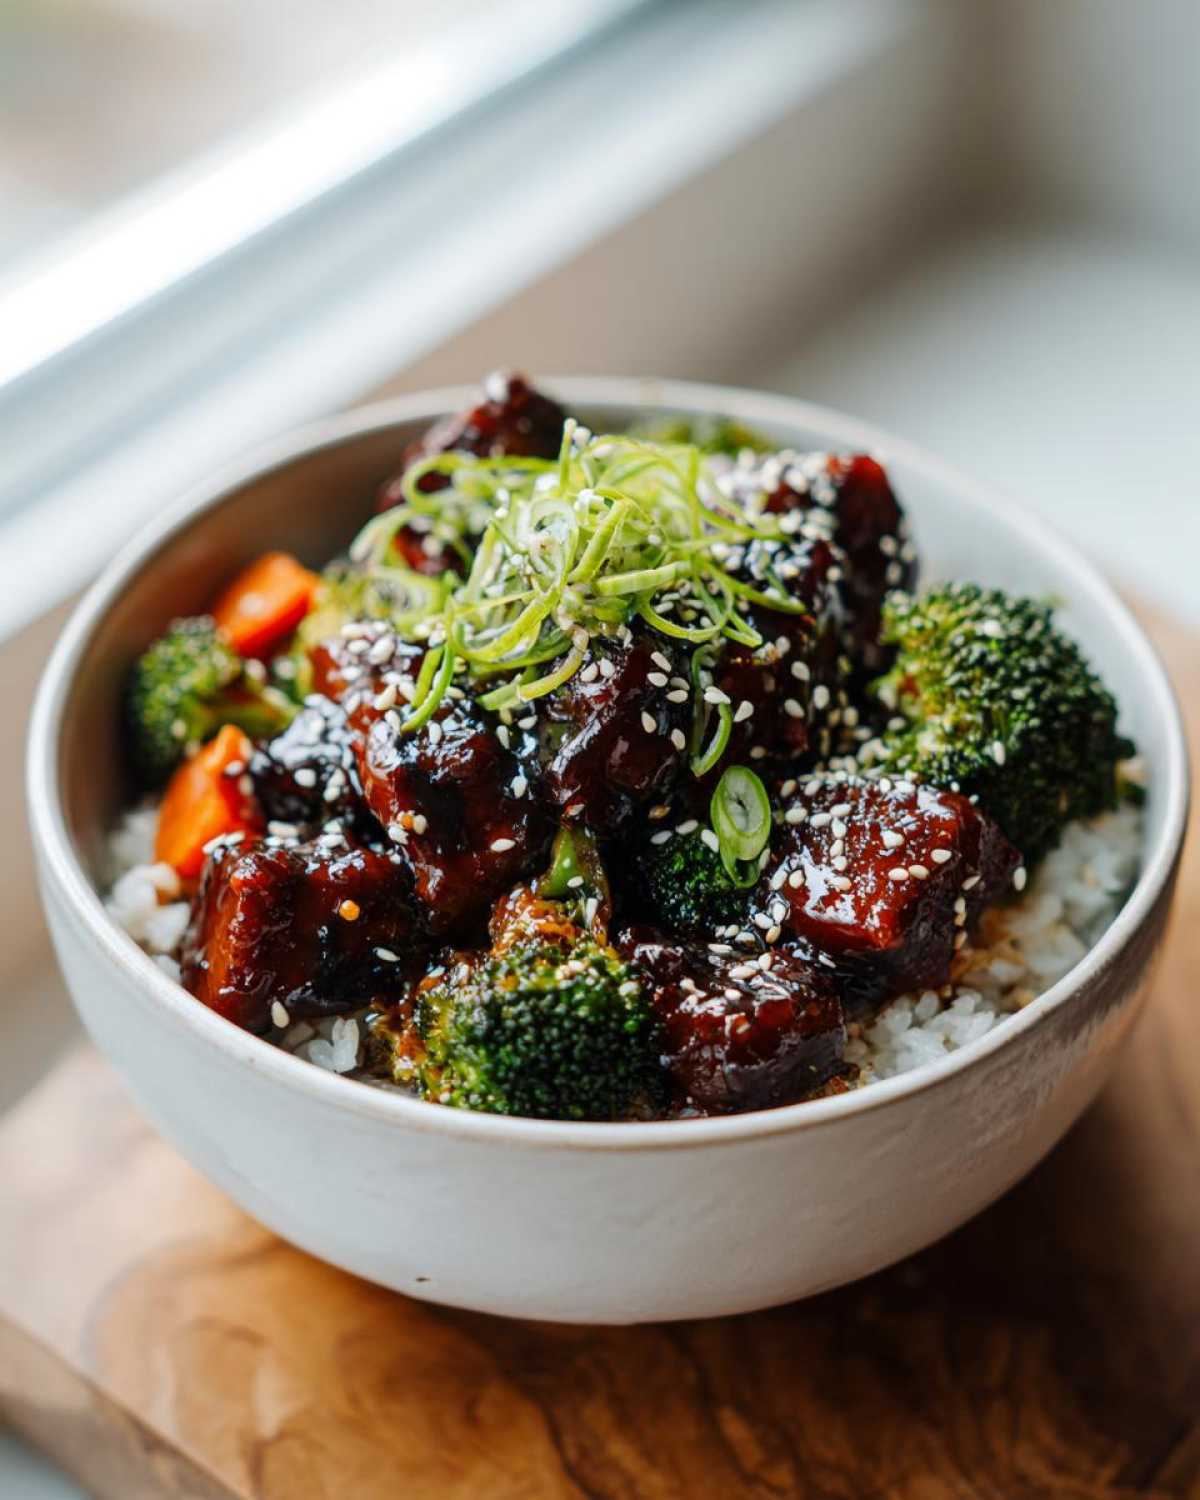
The best part? Since everything cooks up so quickly, you can even use this setup for meal prepping for lunches later in the week. It’s satisfying, it hits all those Asian-inspired flavor notes, and honestly, it just feels like a big reward after a long day.
Why You Need This Sticky Teriyaki Chicken Bowl with Rice and Veggies Now
Listen, sometimes you just need a reliable weeknight hero, and this is it! Forget spending half an hour stirring watery sauce; this recipe delivers serious flavor payoff in no time flat.
- It’s lightning fast! We are talking about having this entire Sticky Teriyaki Chicken Bowl with Rice and Veggies on the table in about 35 minutes total.
- That glaze? It’s truly sticky, sweet, savory, and perfectly clings to every piece of chicken. It’s restaurant quality, I promise!
- Total convenience: You cook the chicken, and then toss your veggies right into the same pan after. Less cleanup is always a win in my book.
- It’s a super satisfying meal that feels fancy but takes almost no mental energy. You can check out some other quick weeknight winners over here if you want more ideas!
Gathering Ingredients for Your Sticky Teriyaki Chicken Bowl with Rice and Veggies
Okay, let’s get our kitchen ready for action! The ingredient list for this Sticky Teriyaki Chicken Bowl with Rice and Veggies is super clean, which is why it comes together so easily. The secret quality you need to focus on here is the soy sauce—I always recommend using low-sodium so you can control the saltiness once that amazing glaze starts forming.
You’ll need the basics for the sauce—mirin, brown sugar, garlic, and ginger—and then the chicken, rice, and whatever veggies you have kicking around for your toss in at the end.
- 1.5 lbs boneless, skinless chicken thighs or breasts, cut into 1-inch pieces
- 1 tablespoon vegetable oil
- 1 cup low-sodium soy sauce
- 1/2 cup mirin (sweet rice wine)
- 1/2 cup water
- 1/4 cup packed brown sugar
- 2 cloves garlic, minced
- 1 teaspoon fresh ginger, grated
- 2 tablespoons cornstarch
- 3 tablespoons cold water (for slurry)
- 4 cups cooked jasmine rice
- 3 cups mixed vegetables (broccoli florets, sliced carrots, snap peas)
- 1 tablespoon sesame oil
- Sesame seeds, for garnish
- Sliced green onions, for garnish
Ingredient Clarity and Preparation Notes
This is important stuff! If you are choosing between chicken breasts and thighs, I always lean toward thighs for this recipe. They hold up way better to that final sticky glaze cooking down and stay wonderfully juicy when you’re searing them up.
Also, please, please skip the jarred garlic and ginger if you can. Those two ingredients are the backbone of the flavor, so grating that fresh ginger and mincing those garlic cloves really makes the teriyaki sauce sing. It’s those fresh aromatics that take this from a simple stir fry to that incredible Homemade Teriyaki Sauce Chicken flavor we’re aiming for!
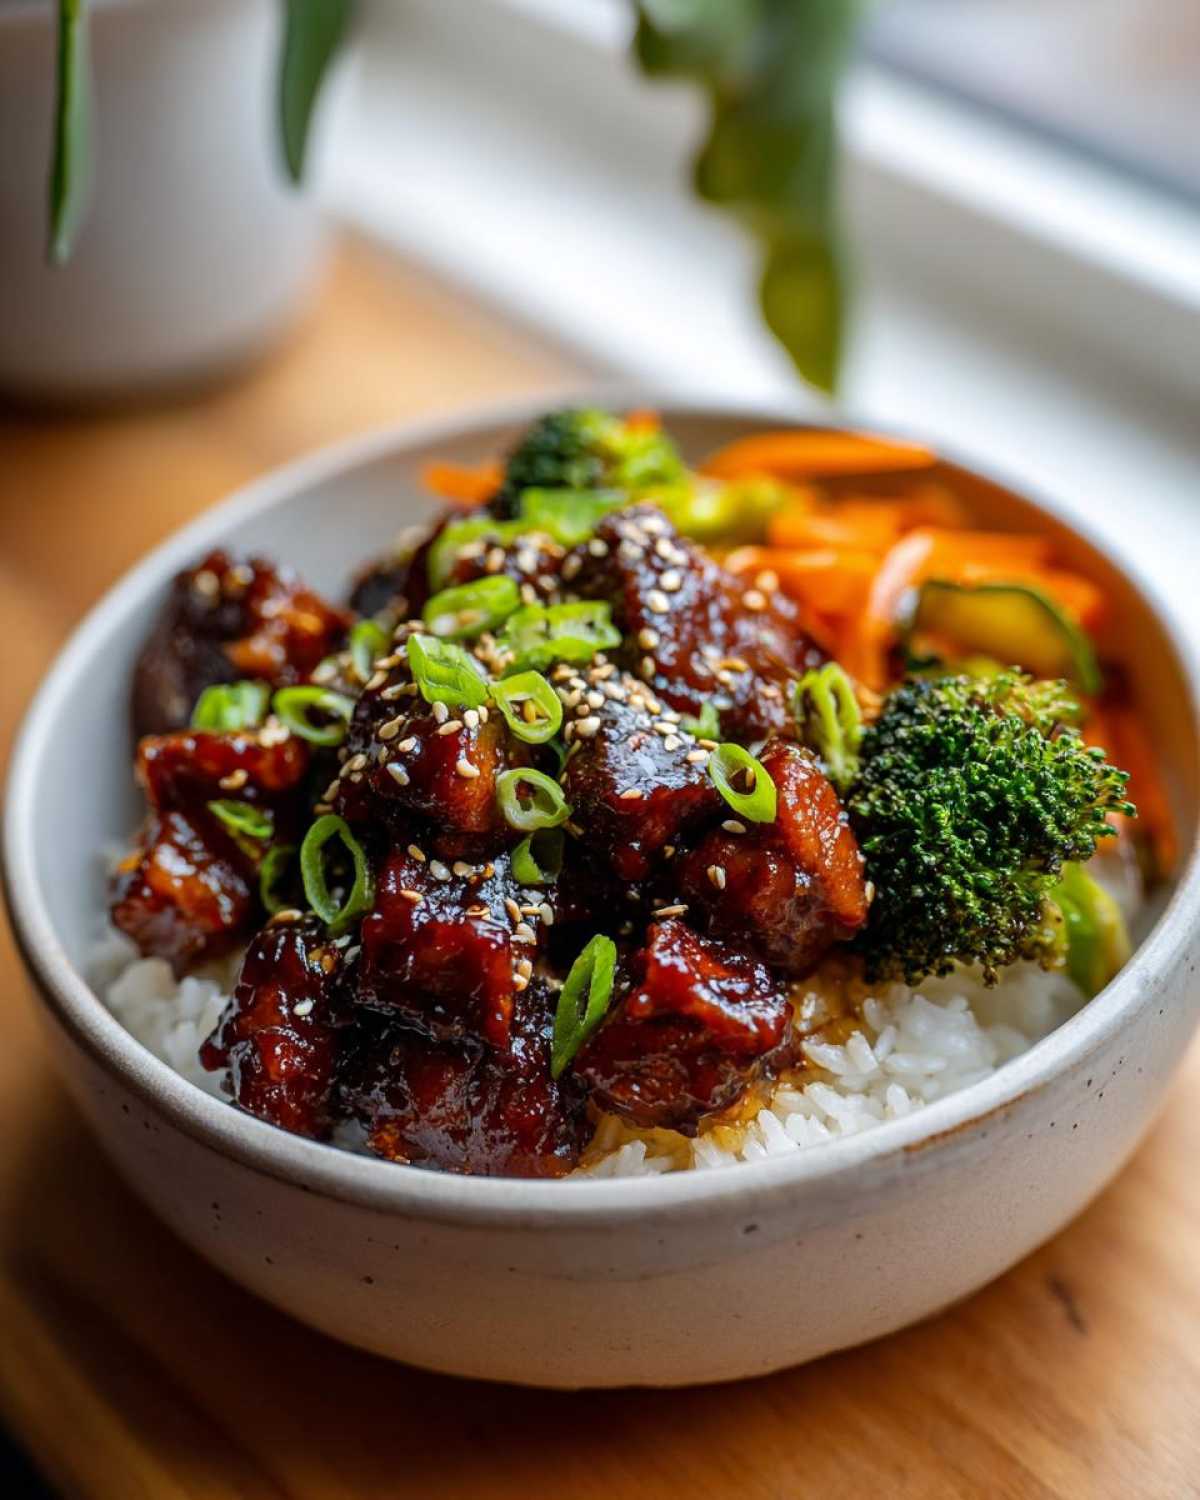
Step-by-Step Instructions for the Best Sticky Teriyaki Chicken Bowl with Rice and Veggies
Alright, let’s get cooking! This is where the magic ingredient list turns into that incredible weeknight dinner. Don’t rush the sauce part; that’s the secret to real, clingy stickiness. If you’re looking for another quick winner, this honey garlic number is just as fast!
Making the Signature Sticky Teriyaki Sauce Chicken Glaze
First, we build the flavor base. In a little saucepan, throw in your soy sauce, mirin, that half-cup of water, brown sugar, the minced garlic, and the fresh ginger. Bring that whole beautiful mixture up to a gentle simmer over medium heat. You need to stir it until all that sugar disappears completely. That’s step one done!
Now for the stickiness! You need to make a slurry—that’s just your cornstarch mixed with those 3 tablespoons of cold water until it’s totally smooth. Whisk that slurry *slowly* into your simmering sauce. This is trust-building time: keep stirring constantly, and watch it transform. It only takes about 1 or 2 minutes for it to go from watery to that beautifully thick, sticky glaze consistency. Pull it off the heat right when it starts looking like it could coat the back of a spoon. Set that beauty aside!
Cooking the Chicken and Achieving the Sticky Coating
Time for the chicken! Heat up a good glug of vegetable oil in your biggest skillet or wok over medium-high heat. We want a little sizzle going on! Toss in your cut-up chicken pieces and let them brown nicely on all sides and cook right through. That usually takes about 6 to 8 minutes depending on the thickness.
Once the chicken is cooked, grab about half of that amazing teriyaki sauce you just made and pour it right over the top. Now, toss everything fast! You want the glaze to cook onto the chicken for just a minute, getting wonderfully sticky and caramelized. Don’t let it burn, though! Once it’s coated, take the chicken out of the skillet and set it on a plate. We’re saving that other half of the sauce for drizzling later!
Stir-Frying Vegetables and Assembling the Asian Chicken Bowl with Rice
We use the same skillet, so those savory chicken flavors stick around. Add in your sesame oil, then toss in your broccoli, carrots, and snap peas. Stir-fry them quickly for just 3 to 5 minutes. They should still have a little snap—we want them tender-crisp, not mushy. That contrast is key for a great bowl!
Time to put it all together for your ultimate Asian Chicken Bowl with Rice. Divide your hot jasmine rice into your bowls first. Then, pile those tender-crisp veggies and the sticky, glazed chicken right on top. Finally, take that reserved teriyaki sauce we held back, drizzle it over the whole masterpiece, and finish it off with some sesame seeds and sliced green onions. Dinner is served!
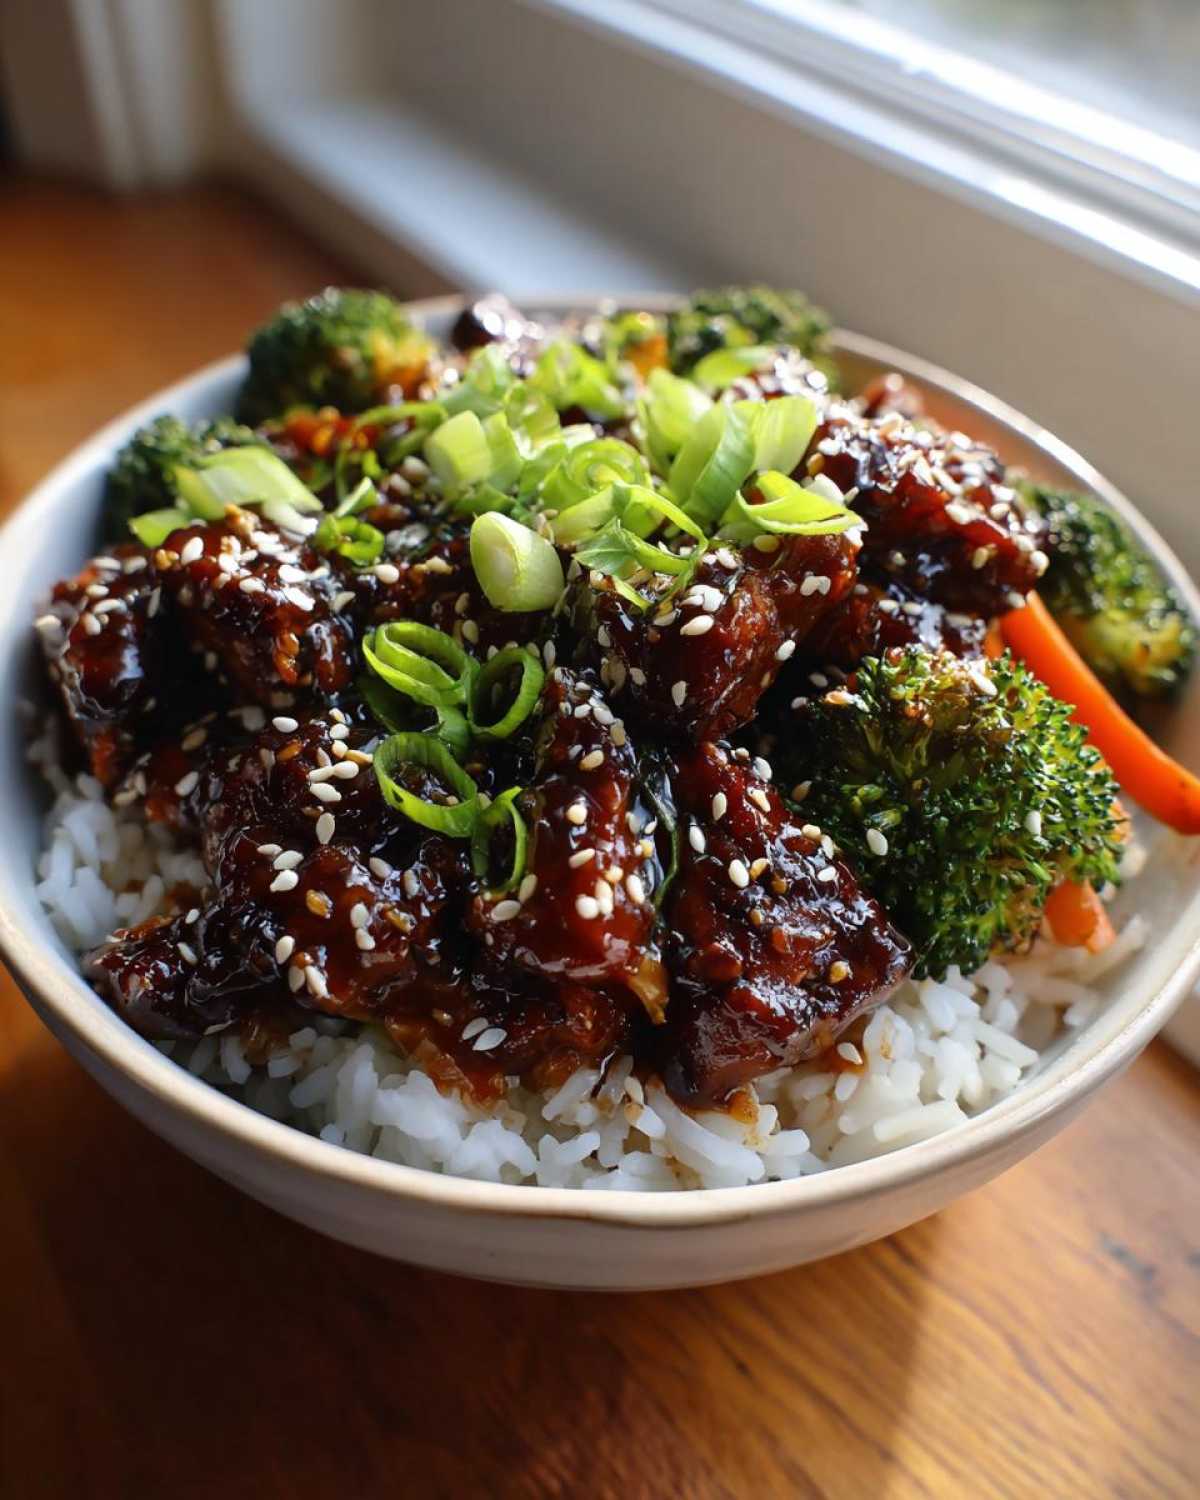
Tips for the Perfect Sticky Teriyaki Chicken Bowl with Rice and Veggies
Even though this is a fast recipe, a few little tricks make the difference between good chicken and absolutely *incredible* Sticky Glazed Chicken Dinner. Seriously, these are the things I learned from burning batches early on, so you don’t have to!
First up: that glaze needs time to work its magic. Don’t panic when you add the cornstarch slurry; you have to let it actively bubble and cook for that full minute or two. If you pull it off the heat too soon, it will look thin, and you’ll end up with watery chicken juice instead of sticky coating goodness. Trust me, wait for the thickening!
Next, remember I told you to only use half the sauce on the chicken in the pan? That is crucial for that amazing texture. We toss the chicken in some sauce to glaze it, and we save the other half to drizzle fresh over the top when we build the bowl. That contrast between the super-sticky pieces and the slightly fresher drizzle is what makes it sing. Also, if you are looking for the deep-dive on sauce making, check out my guide on how to make sticky teriyaki sauce separately!
Finally, when it comes to quality, use thighs if you can. They handle the high heat better than breasts, which tend to dry out when you’re trying to get that final sticky caramelization going.
Ingredient Substitutions for Your Sticky Glazed Chicken Dinner
I love that you’re ready to dive in, but I also know sometimes you’re missing one little thing in the pantry. It happens to us all! The good news is that this Easy Teriyaki Chicken Bowl Recipe is amazingly forgiving, especially when it comes to the sauce components.
If you’re staring down your shelf and realizing you’re out of mirin—don’t panic! Mirin is sweet rice wine, and it adds a unique depth. My go-to swap is using dry sherry or even a dry white wine if that’s all you have. You must, however, add back in a tiny pinch of brown or white sugar to mimic that sweetness mirin brings to the party. Taste and adjust, that’s my motto!
What if you only have regular soy sauce and not low-sodium? That’s an easy fix, but you have to be careful. My advice is to cut the regular soy sauce down by about a quarter cup and substitute that missing liquid volume with straight water. If you don’t, your final Sweet and Savory Chicken Stir Fry might be a little too salty for enjoyment. Remember, we want savory, not a salt lick!
For the vegetables—which help make this a full Healthy Teriyaki Chicken Bowls experience—feel free to swap whatever is fresh or on sale. Cauliflower florets work splendidly, or even some thinly sliced zucchini if you’re trying to lean lighter. Just remember that heartier veggies like carrots or broccoli need a minute or two longer steaming/stir-frying than softer things like snap peas. Keep their cooking times separate for the best results overall!
Serving Suggestions for Your Weeknight Teriyaki Chicken
So you’ve nailed the sticky chicken, and you have your rice and veggies ready. That’s a fantastic, filling meal already! But if you want to turn this into a full Sunday spread, even on a Tuesday night, I have a couple of super simple additions that really balance out the rich, sweet glaze.
Since the teriyaki sauce is so deeply flavorful and savory, you want something bright and acidic to cut through it. A simple, icy-cold cucumber salad tossed with rice vinegar and a tiny pinch of sugar is heaven next to this! Or, if you want something green, a simple side salad dressed lightly is perfect. I often use my super basic simple vinaigrette recipe because it doesn’t compete with the teriyaki.
For a little crunch, try serving it with some crunchy kimchi or even some quick-pickled red onions. Suddenly, that Weeknight Teriyaki Chicken Dinner feels like something special, doesn’t it?
Storage and Reheating Instructions for Leftover Sticky Teriyaki Chicken Bowl with Rice and Veggies
We all know the struggle: how do you store leftovers from an amazing Sticky Teriyaki Chicken Bowl with Rice and Veggies so they taste just as good the next day? Here’s my secret, and honestly, it’s all about keeping things separate until serving time.
If you’re planning for ahead of time, keep the cooked rice, the glazed chicken/veggie mix, and any extra sauce you drizzled on top in completely separate airtight containers. This stops the rice from getting soggy under the weight of the sauce and keeps the glaze from getting gummy against the veggies overnight. I find this makes packing lunches so much easier, too!
When it comes time to reheat (and you absolutely should reheat this!), microwaving is faster. Pop the rice and the chicken/veg mix into the microwave together for about 60 to 90 seconds. If the chicken looks a little dry after that first blast, just add a tiny splash of water or a teaspoon of your saved teriyaki sauce right into the bowl before heating for another 30 seconds. That bit of steam will refresh everything and bring back that lovely sticky coating without burning!
Frequently Asked Questions About This Quick Chicken and Rice Meal
Can I make this Sticky Teriyaki Chicken Bowl with Rice and Veggies gluten-free?
Oh, that’s a great question! Since we use regular soy sauce in the base, not directly, you absolutely can make this recipe gluten-free. The main swap you need to make is replacing the standard soy sauce with tamari. Tamari is essentially gluten-free soy sauce, and it works perfectly in the sauce and gives you that salty, savory depth without the wheat. Just make sure you use gluten-free mirin, too, as sometimes cheaper varieties can sneak in additives!
I want it SUPER sticky! How do I make the glaze thicker without overcooking?
I hear you! I think the secret to the ultimate Best Sticky Chicken Recipe level of thickness is patience during the slurry stage. When you whisk in that cornstarch slurry, you have to visually watch it grab the sauce. It thickens right up, but you must let it come to a gentle, consistent simmer for that full minute or two—don’t just let it sit off the heat. If you think it’s thick enough, let it go another 30 seconds. If, after all that, it’s still a little runny for your taste, you can take more sauce (maybe 1/4 cup) out, mix in a half teaspoon more cornstarch, and whisk that back into the simmering sauce. Just be careful, as it thickens fast!
I’m short on time; can I use leftover or minute rice instead of making jasmine rice?
For this Quick Chicken and Rice Meal, I highly recommend using fully cooked jasmine rice if you have it, as the recipe calls for 4 cups ready to go. But if you are truly in a rush, minute rice works in a pinch! The downside is that minute rice tends to be a bit softer and less fluffy than jasmine rice, which isn’t ideal for holding up under a heavy glaze. If you use it, let it steam completely according to the package directions, but try not to over-stir it. For the very best result, honestly, try making a big batch of jasmine rice ahead of time!
Can I use chicken breasts and still get a good result for this Simple Japanese Chicken Dinner?
Yes, you can use breasts, especially if you’re leaning toward making this a slightly lower-fat option. The biggest difference you’ll notice is that chicken breasts dry out faster than thighs, especially when you’re cooking them down in the pan to get that sticky coating. My advice? Cook the breasts mostly through, then add the glaze, and then toss them in the sauce for only about 30 seconds tops before pulling them out. That should give you the flavor adhesion without losing too much juiciness!
Reader Feedback and Sharing Your Sticky Teriyaki Chicken Bowl with Rice and Veggies
I truly hope this Sticky Teriyaki Chicken Bowl with Rice and Veggies saves your next busy weeknight! If you got this delicious dinner on the table in 35 minutes like I do, please let me know how you liked that sticky glaze in the comments below. I love hearing about your results over on our main blog page!
PrintSticky Teriyaki Chicken Bowl with Rice and Veggies
Prepare a satisfying weeknight meal featuring chicken coated in a thick, sweet, and savory teriyaki glaze, served over rice with mixed vegetables.
- Prep Time: 15 min
- Cook Time: 20 min
- Total Time: 35 min
- Yield: 4 servings
- Category: Dinner
- Method: Stir-Frying
- Cuisine: Japanese Inspired
- Diet: Low Fat
Ingredients
- 1.5 lbs boneless, skinless chicken thighs or breasts, cut into 1-inch pieces
- 1 tablespoon vegetable oil
- 1 cup low-sodium soy sauce
- 1/2 cup mirin (sweet rice wine)
- 1/2 cup water
- 1/4 cup packed brown sugar
- 2 cloves garlic, minced
- 1 teaspoon fresh ginger, grated
- 2 tablespoons cornstarch
- 3 tablespoons cold water (for slurry)
- 4 cups cooked jasmine rice
- 3 cups mixed vegetables (broccoli florets, sliced carrots, snap peas)
- 1 tablespoon sesame oil
- Sesame seeds, for garnish
- Sliced green onions, for garnish
Instructions
- Prepare the teriyaki sauce: In a small saucepan, combine the soy sauce, mirin, 1/2 cup water, brown sugar, minced garlic, and grated ginger. Bring the mixture to a simmer over medium heat, stirring until the sugar dissolves.
- Make the slurry: In a small bowl, whisk together the cornstarch and 3 tablespoons of cold water until smooth. Slowly whisk the slurry into the simmering sauce. Continue to cook, stirring constantly, until the sauce thickens significantly to a sticky glaze consistency, about 1 to 2 minutes. Remove from heat and set aside.
- Cook the chicken: Heat the vegetable oil in a large skillet or wok over medium-high heat. Add the chicken pieces and cook until browned on all sides and cooked through, about 6 to 8 minutes.
- Glaze the chicken: Pour about half of the prepared teriyaki sauce over the cooked chicken. Toss to coat the chicken thoroughly. Let it cook for 1 minute to allow the glaze to adhere and become very sticky. Remove the chicken from the skillet and set aside.
- Cook the vegetables: Add the sesame oil to the same skillet. Add the mixed vegetables and stir-fry for 3 to 5 minutes until they are tender-crisp.
- Assemble the bowls: Divide the cooked jasmine rice among four serving bowls. Top the rice with the glazed teriyaki chicken and the stir-fried vegetables.
- Finish the dish: Drizzle the remaining teriyaki sauce over the chicken and vegetables. Garnish with sesame seeds and sliced green onions before serving.
Notes
- For the stickiest glaze, ensure you let the cornstarch slurry cook long enough to fully activate and thicken the sauce.
- You can substitute chicken thighs for breasts; thighs remain juicier during cooking.
- If you prefer a milder flavor, reduce the amount of soy sauce slightly.
Nutrition
- Serving Size: 1 bowl
- Calories: 550
- Sugar: 22
- Sodium: 780
- Fat: 12
- Saturated Fat: 3
- Unsaturated Fat: 9
- Trans Fat: 0
- Carbohydrates: 65
- Fiber: 4
- Protein: 45
- Cholesterol: 110