

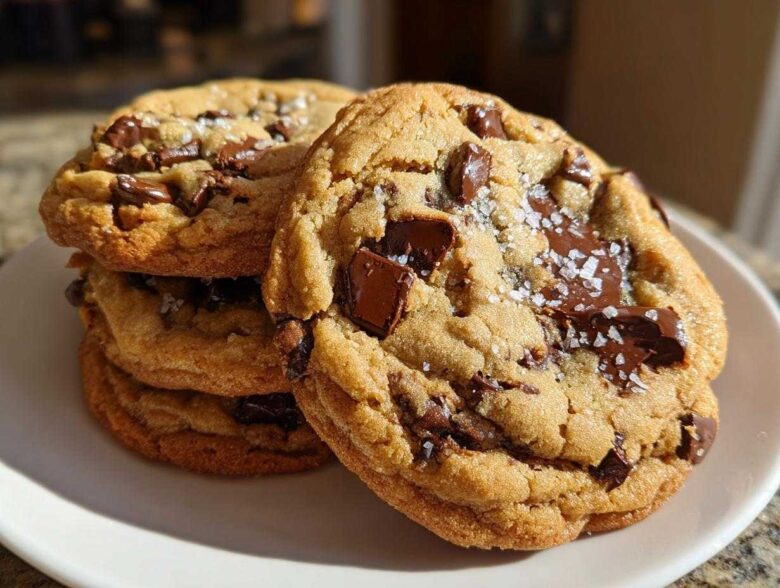
Are you tired of cookies that promise chewy centers but deliver sad, flat discs? Trust me, I used to think that the perfect chocolate chip cookie was something only available behind a glass case at an expensive bakery. Ethan, my resident instinct chef, would always say, “Just feel the dough, Maya!” But I needed the science! Well, we finally blended my research with his instincts, and I’m thrilled to report this is it—the ultimate soft, chewy, bakery-style chocolate chip cookie recipe you’ve been hunting for. This combination of slightly melted butter and the right sugar ratio guarantees that glorious texture. You can read more about how we mix our two worlds on our About Us page!
Why This Is The Ultimate Soft, Chewy Chocolate Chip Cookie Recipe
When we started our blog, we knew we had to nail the chocolate chip cookie. It’s the benchmark, right? So we tested everything—different fats, different sugars, different rest times. What we ended up with isn’t just a cookie; it’s a textural masterpiece that hits every mark readers look for.
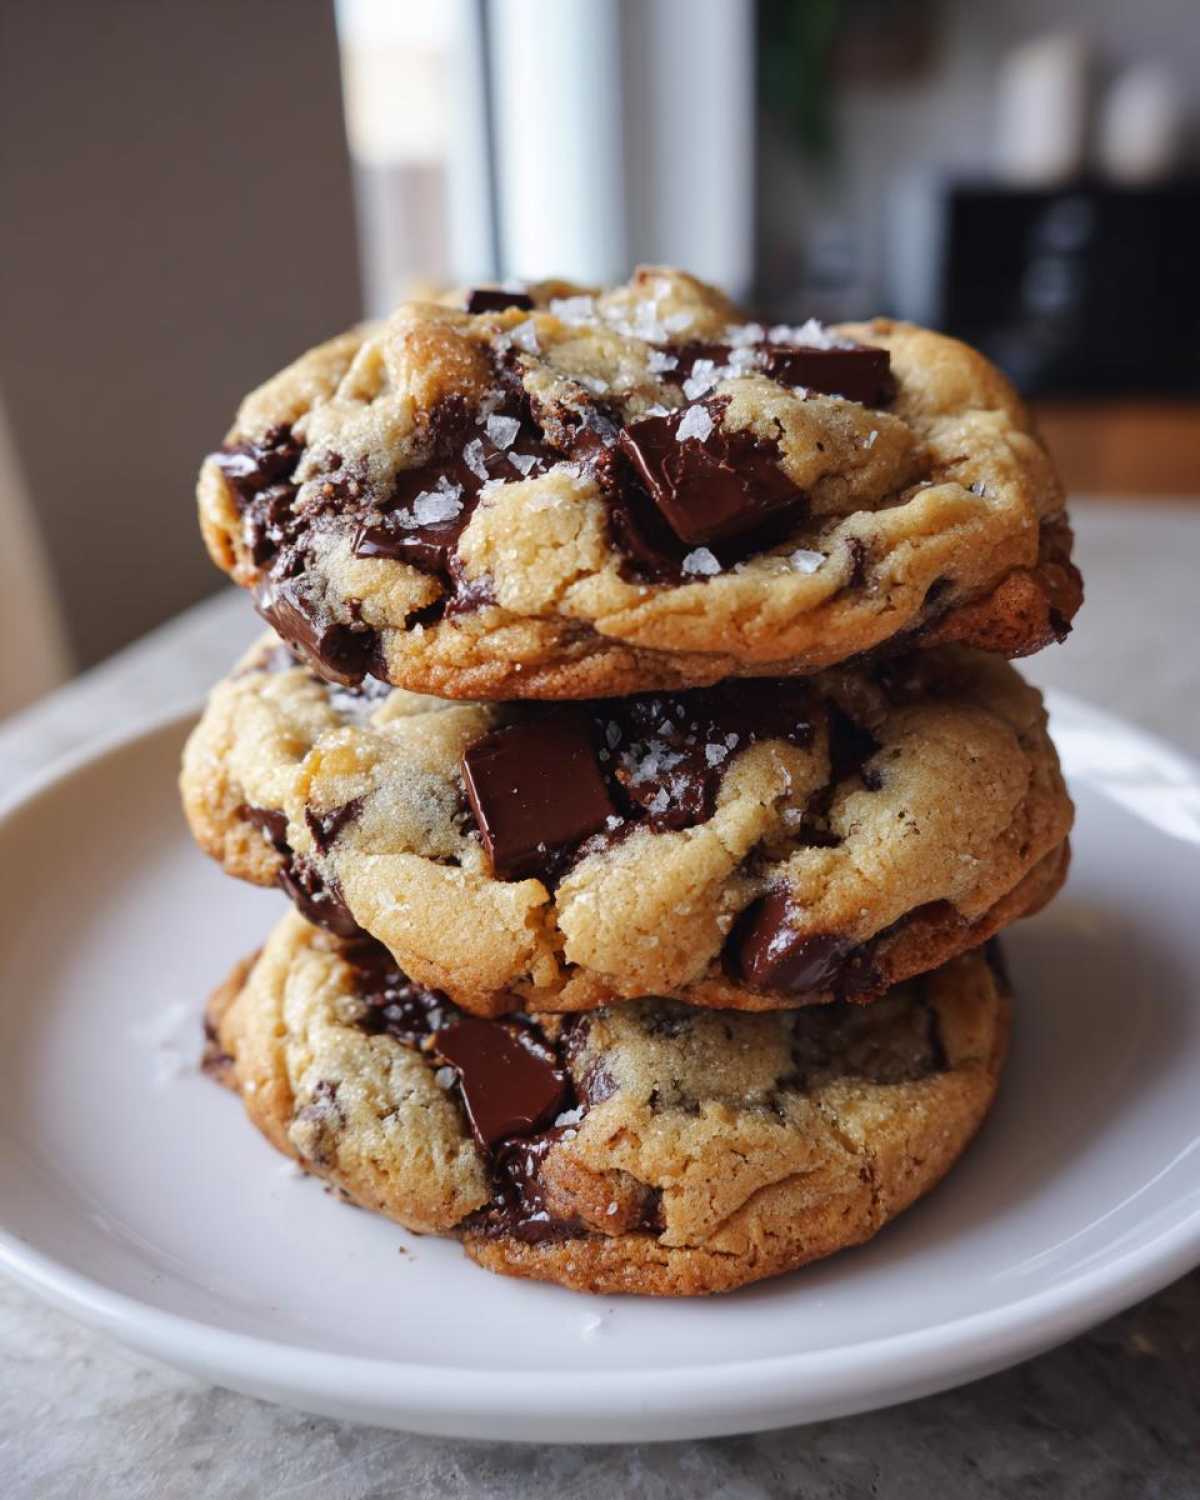
- Perfect Blend: We use a careful ratio of brown sugar to white sugar. The high molasses content in the brown sugar stays soft and helps hold moisture in the cookie.
- Chew Factor: This recipe is designed specifically for that satisfying, slightly dense, chewy bite that you usually only find at high-end bakeries.
- Melty Chocolates: We load them up! You get pockets of warm, gooey chocolate throughout, which is non-negotiable if you ask Ethan.
We think this is more than just a good recipe; it’s our tried-and-true method. You can see how we experiment with sweet versus savory recipes over on our pancakes page, but this cookie uses pure science and instinct to shine.
The Science Behind Perfect Chocolate Chip Texture
So, I was playing mad scientist with the butter, and here’s the trick for ultimate chewiness: we start with softened butter but then melt it just a touch more before creaming it with the sugars. This slight melt changes how the fats interact with the flour. It prevents the cookies from becoming too cakey or spreading too thinly into crispy shards. The precise balance of creamed fats and sugars creates tiny air pockets that collapse just enough during baking to give you that perfect, dense, yet yielding center.
Secrets to Achieving Bakery Style Chocolate Chip Cookies
If you want those thick, tall, amazing Bakery Style Cookies that look like they might fall over slightly on the cooling rack, two things are crucial. First, you absolutely must chill the dough! Chilling prevents the fat from melting too fast in the oven, which keeps that lift. Second, pull them early! Seriously, if you wait until they look fully done, they’ll be hard chewy in five minutes. We pull them when the centers still look a bit shiny and underdone. They finish cooking outside the oven, locking in that soft, gooey center, making these the best chocolate chip cookies around.
Gathering Your Ingredients for Perfect Chocolate Chip Cookies
Alright, now that we know *why* these cookies work their magic, we have to talk about the materials! You can’t build a castle with flimsy bricks, right? Getting the ingredients right is half the battle for the ultimate soft and chewy chocolate chip cookies. This list is short, which is Ethan’s favorite part—fewer trips to the store!
Before you even start mixing, I need you to pay special attention to two things. First, room temperature eggs. I know it sounds fussy, but trust me, if the eggs are cold, they shock the beautifully creamed butter and sugar we just worked so hard on. Second, the butter instruction: softened *then* slightly melted. Don’t skip that little step; it’s our secret weapon for maximum chewiness over crispiness!
When you’re ready, grab the full ingredient rundown:
- 1 cup (2 sticks) unsalted butter, softened then slightly melted
- 1 cup packed light brown sugar
- 3/4 cup granulated sugar
- 2 large eggs, room temperature
- 1 tablespoon vanilla extract
- 2 1/4 cups all-purpose flour
- 1 teaspoon baking soda
- 1 teaspoon salt
- 2 cups semi-sweet chocolate chips (or a mix of chips and chunks)
- 1/2 teaspoon flaked sea salt, for topping (optional)
If you want to see how we use butter in our dessert recipes for an extra rich flavor, check out our Pecan Pie Cookies! That richness translates beautifully here too.
Ingredient Notes and Substitutions for Your Chocolate Chip Dough
This is where we blend the rule book with the gut feeling. For the sugars, we swear by light brown sugar whenever possible. The extra moisture and molasses notes just sing with vanilla and chocolate. If you only have dark brown sugar, you can use it, but you might need to slightly reduce the chilling time, as it adds even more moisture.
For the chocolate, don’t just grab one bag! We mixed semi-sweet chips with some dark chocolate chunks last time, and the variation in melt was divine. You get pockets of intense flavor, rather than just a uniform sweetness. And those little flakes of sea salt on top? That’s Ethan’s touch. It doesn’t make the cookie salty; it just wakes up the deep flavor of the chocolate against the sweetness of the dough. It really makes the whole cookie pop.
Step-by-Step Instructions for Foolproof Chocolate Chip Cookies
Now for the fun part—turning those gorgeous ingredients into the best chocolate chip cookies ever! Since I’m the researcher, I wrote down Ethan’s old notes, and we fine-tuned the exact order. It’s about building structure first so the cookie doesn’t end up a puddle. Don’t worry, even if you’re new to baking, following these steps precisely will give you those glorious, thick cookies we promised.
Mixing the Wet and Dry Components of Your Chocolate Chip Recipe
Step one is getting that base rich and creamy. You want to beat that slightly melted butter with both sugars until it’s really smooth—no gritty sugar clumps allowed! Then, go ahead and beat in your room-temperature eggs one at a time until they’re fully incorporated. After that, switch to low speed when adding the flour mixture. I cannot stress this enough: mix only until you see the last streak of flour disappear, unless you want tough cookies! Overmixing at this stage is a disaster for that tender crumb we are striving for in every chocolate chip cookie.
The Essential Chill Time for Chewy Chocolate Chip Cookies
Ethan used to try to skip this part because he was impatient, but this step is non-negotiable for Chewy Chocolate Chip Cookies. Dough needs to rest! Covering your dough and chilling it—anywhere from 30 minutes up to 24 hours—is vital. Why? A cold dough melts slower in the oven, which means the cookies spread less and get that wonderful, bakery-style height. Plus, while it chills, the flavors have time to actually get to know each other. That depth of flavor is what separates a homemade cookie from a standard one. Don’t rush your chocolate chip dough; it’s worth the wait!
Baking and Cooling for Crispy Edge Soft Center Cookies
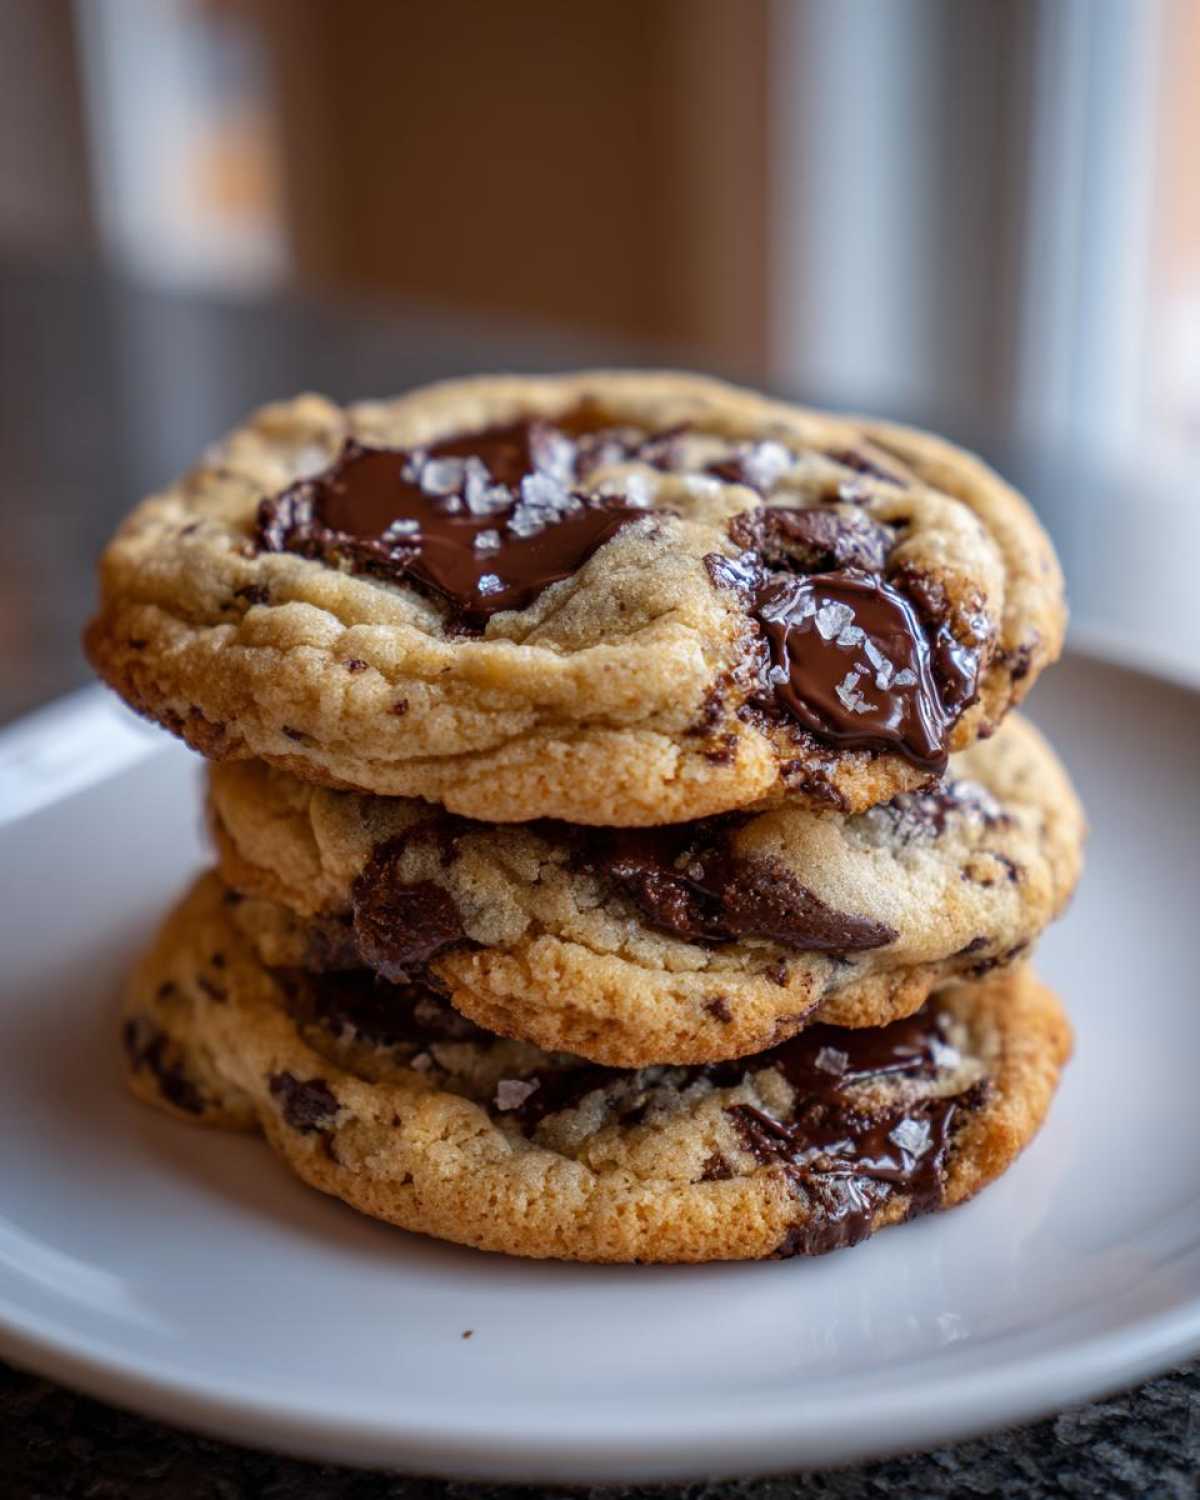
Preheat your oven to 375°F, line those sheets with parchment—we don’t want sticking drama! Scoop your dough into nice, mounded balls. When you bake them, watch them like a hawk! They only need 9 to 12 minutes. You are looking for that sweet spot: the edges should be lightly golden brown, but the *center* needs to look pale and a little undone. If you wait until the center looks done, congratulations, you just baked a cracker! For the final touch, and to achieve those amazing Crispy Edge Soft Center Cookies, pull them out and immediately sprinkle them with a tiny pinch of flaked sea salt if you’re using it. Let them sit right there on the hot baking sheet for exactly five minutes before you move them. That short rest lets them firm up just enough so they don’t break when you transfer them to the cooling rack.
If you want to see how we use simple kitchen tools to help speed up your baking process for smoother weeknight meals, check out our latest kitchen hacks!
Expert Tips for the Best Chocolate Chip Cookies Every Time
Okay, here are a few more of those little nuggets of wisdom—the things Ethan yells across the kitchen when I’m halfway through baking, or the research I found that just *made sense*. This is how we guarantee that every batch of chocolate chip cookies lives up to the hype.
First, let’s talk about getting that bakery height without using a ton of flour. If you want cookies that are thick instead of flat, you need to use a cookie scoop! It keeps the dough portion the same size for every cookie. But here’s the trick: after you scoop, gently press the dough balls into a little dome shape with your fingers. That slight push helps them bake up taller rather than spreading out wide immediately. It’s a small thing, but it makes a huge difference in the final look.
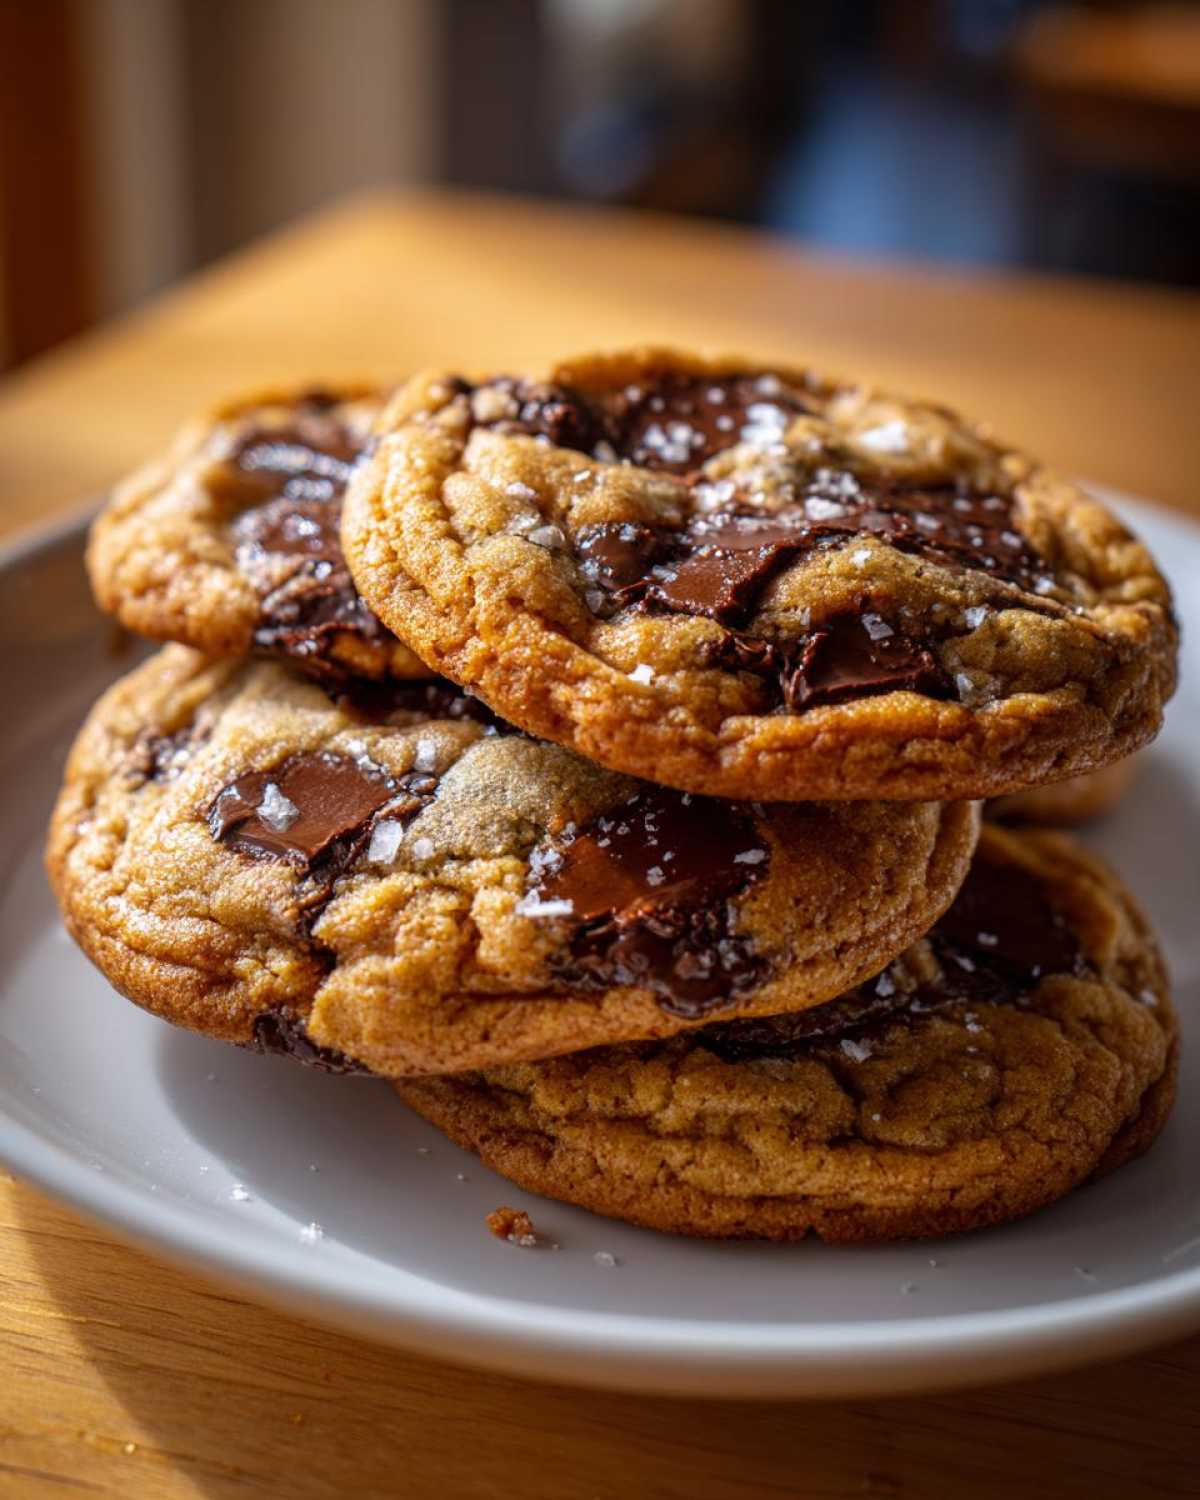
And remember that note about using mixed chocolate? That’s pure Ethan. He says using only one type of chocolate is like only listening to one genre of music. We found that mixing semi-sweet chips with some darker chocolate chunks ensures you get those super satisfying pools of melted chocolate when you bite in. If you hate the hassle of mixing them, just use your favorite kind, but I highly recommend the mix!
Finally, if you forget to chill the dough—oops! We’ve all been there. If you are in a massive hurry and skip the chilling time, your cookies *will* spread more. They won’t be bad, but they’ll be thinner and crispier on the edges. To counteract that spread slightly, try pressing the dough balls into that dome shape I mentioned, and maybe give them 15 minutes in the fridge anyway. Even a little chill time is better than none when making perfect chocolate chip cookies.
For more of our finalized experiments and discoveries, you can always check out the main Tasty Tipster Blog!
Storage and Reheating: Keeping Your Chocolate Chip Treats Fresh
So you made a huge batch—smart move! Honestly, I think these cookies taste *better* the second day, provided you store them right. If you want to keep that glorious soft and chewy texture we worked so hard for, you have to protect them from the air. Air is the enemy of moist cookies, period.
Here’s my trusted method: Get an airtight container—glass is great, but plastic works too. We never use paper bags; they just wick away all the moisture, and suddenly you’re left with harder cookies than you intended. Layer them, but don’t stack them too deep. If you’re stacking more than two high, place a small square of wax paper between the layers. This stops them from sticking together, especially if the centers are still a little gooey.
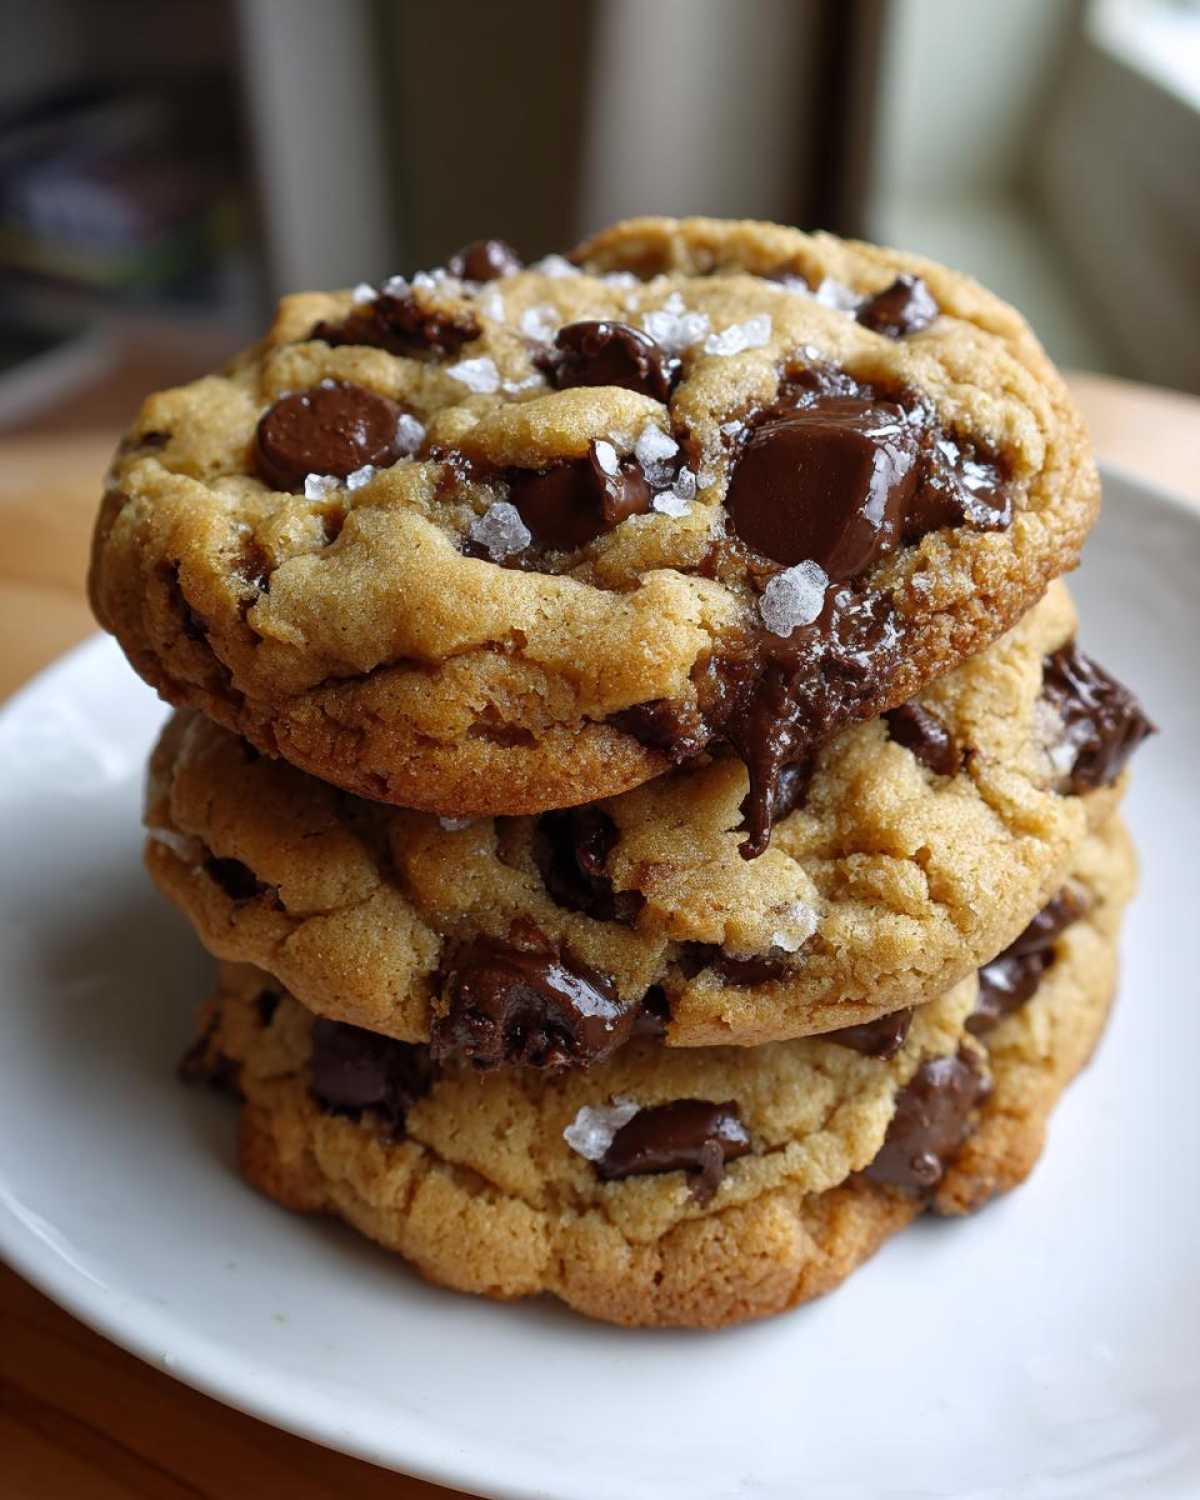
They do great sitting on the counter for about four or five days if the kitchen isn’t too warm. If you need them to last longer, they freeze beautifully! Just place them on a baking sheet first, freeze them until solid, and *then* transfer them to a freezer-safe bag. This keeps them from melding into one giant cookie-brick.
Now, for reheating—because eating one slightly warm is the best experience, right? Ethan always nukes his, but I’m a purist. Pop a cookie on a microwave-safe plate for about 8 to 10 seconds. That little bit of heat reactivates that melted chocolate center instantly. If you’re feeling fancy, put them on a baking sheet at 300 degrees Fahrenheit for maybe three minutes. That gives you that fresh-from-the-oven warmth without drying them out. For more of our helpful kitchen shortcuts that save time on busy nights, take a peek at my easy chocolate mousse recipe!
Frequently Asked Questions About Making Chocolate Chip Cookies
We get so many questions about cookies, and honestly, most of them come down to texture! Ethan and I compiled the most common ones we see in the comments below our initial testing. If you’ve ever wondered why your batch of chocolate chip cookies didn’t turn out exactly right, the answers might be right here!
Why did my chocolate chip cookies spread too much?
This is probably the number one question we field! If your cookies spread out into thin, wide disks, there are usually two main culprits. First, your butter was too warm when you mixed it. Remember, we want butter that is softened *but* slightly cool before creaming. If it’s too liquidy, the dough melts instantly in the oven. Second, you likely skipped the chilling step! Chilling the dough is essential for controlling spread. If you really need Quick Chocolate Chip Baking, you can try chilling the scooped dough balls for just 15 minutes instead of skipping it entirely, but it won’t yield the same thick result.
Can I skip chilling the dough to make quick cookies?
You *can*, but I really, really don’t recommend it if you’re aiming for that perfectly thick, Soft Baked Chocolate Chip Cookies texture. Skipping the chill time means your fat enzymes don’t solidify again, and the dough spreads much faster once it hits the heat. The flavor also doesn’t develop as deeply without that rest period. However, if you’re making these for a last-minute craving, at least try chilling the *scooped* dough balls for 30 minutes. That little rest helps immensely!
What is the best chocolate to use for gooey results?
Ah, the classic chocolate debate! For the absolute best, yes, combining different types helps mimic those amazing results you see in articles about the famous bakery copycat cookies. We love using a mix of milk chocolate chips (for sweetness) and good quality semi-sweet chunks (for that richer cocoa flavor that melts beautifully). The chunks create larger pools of melted chocolate, which is what everyone wants in a Gooey Chocolate Chip Cookie!
Do I really need room temperature eggs?
Yes, you do, if you want a smooth, cohesive batter! This falls under my research bucket of E-E-A-T—it’s the science of emulsification. Cold eggs mixed into room temperature (or slightly melted) butter will cause the fat to seize up and look curdled. You lose a lot of the beautiful air you whipped into the butter and sugar. Just take them out 30 minutes before you start, and you’ll have a much smoother base for your Classic Chocolate Chip Recipe.
If you have other questions, please feel free to contact us through the Contact Page! We love hearing from our readers who are tackling these amazing chocolate chip cookies! Speaking of savory things, if you need a break from baking, you should absolutely check out our amazing Crockpot Lasagna Soup recipe!
Estimated Nutritional Data for One Chocolate Chip Cookie
Okay, I know what you’re thinking. Once you’ve made these incredible cookies, you shouldn’t really think about the numbers, right? We bake for love and flavor, not for tracking macros! But since I’m the researcher in this partnership, I went ahead and ran the numbers based on standard ingredient amounts just so you have the information handy.
This is for one full cookie, based on a yield of 20 servings from the recipe above. Please remember, this is just an estimate, even if I used my trusty spreadsheets to figure it out! If you heavily substitute or use different brands of chocolate, the final count could shift a bit. For our official guidance on how we handle recipe data, you can always check out our recipe disclaimer page.
- Serving Size: 1 cookie
- Calories: 210
- Sugar: 18g
- Sodium: 150mg
- Fat: 12g
- Saturated Fat: 7g
- Carbohydrates: 25g
- Protein: 2g
Enjoy them guilt-free! Every glorious bite is packed with melted chocolate and the perfect amount of chewiness!
Share Your Best Chocolate Chip Cookie Creations
Whew! If you made it this far, I just know you are about to bake the best chocolate chip cookies of your life. I am so excited for you to try this recipe! Once they come out of the oven and cool down just enough for that first taste test, I absolutely need to hear about it.
Did we nail that chewy factor? Are the edges crispy? Did you use milk chocolate and dark chocolate chunks like Ethan suggested? Please, don’t keep those triumphs to yourself! The best part about sharing recipes here at Tasty Tipster is seeing your amazing results and reading your feedback. It helps us build trust and knowledge not just for us, but for everyone else reading trying to perfect their baking game.
When you leave a comment, be specific about your texture outcome—whether you chilled the dough for the full 24 hours or only had time for a quick rest. That tiny detail makes a huge difference for future bakers!
If you snapped a picture of your glorious, bakery-style stack of chocolate chip cookies, please tag us on social media! Seeing them in your own kitchens is what makes all our testing worthwhile. We absolutely love checking in with our readers.
If you have any trouble at all during the process, or if you want to share a substitution that worked beautifully for you, you can always reach out directly through our Contact Page. Thanks for trusting our recipe—happy baking, baker!
PrintThe Ultimate Soft and Chewy Chocolate Chip Cookies

Follow this foolproof recipe to make bakery-style chocolate chip cookies that are soft, chewy, and loaded with melted chocolate. This guide combines research and instinct for the best results.
- Prep Time: 15 min
- Cook Time: 12 min
- Total Time: 27 min
- Yield: 20 cookies
- Category: Dessert
- Method: Baking
- Cuisine: American
- Diet: Vegetarian
Ingredients
- 1 cup (2 sticks) unsalted butter, softened then slightly melted
- 1 cup packed light brown sugar
- 3/4 cup granulated sugar
- 2 large eggs, room temperature
- 1 tablespoon vanilla extract
- 2 1/4 cups all-purpose flour
- 1 teaspoon baking soda
- 1 teaspoon salt
- 2 cups semi-sweet chocolate chips (or a mix of chips and chunks)
- 1/2 teaspoon flaked sea salt, for topping (optional)
Instructions
- In a large bowl, cream together the slightly melted butter, brown sugar, and granulated sugar until smooth. This step is key for texture.
- Beat in the eggs one at a time, mixing well after each addition. Stir in the vanilla extract.
- In a separate bowl, whisk together the flour, baking soda, and salt.
- Gradually add the dry ingredients to the wet ingredients, mixing on low speed until just combined. Do not overmix.
- Fold in the chocolate chips by hand.
- Cover the dough and chill for at least 30 minutes, or up to 24 hours. Chilling develops flavor and prevents spreading.
- Preheat your oven to 375 degrees Fahrenheit. Line baking sheets with parchment paper.
- Scoop rounded tablespoons of dough onto the prepared sheets, leaving about 2 inches between each mound. For thicker cookies, press the dough balls slightly flatter.
- Bake for 9 to 12 minutes. The edges should be golden brown, but the centers should still look slightly soft and underbaked.
- Remove from the oven. If using, immediately sprinkle the tops with flaked sea salt.
- Let the cookies cool on the baking sheet for 5 minutes before transferring them to a wire rack to cool completely.
Notes
- For extra gooey centers, use a mix of milk and dark chocolate chips.
- If you skip chilling, the cookies will spread more, resulting in thinner, crispier edges.
- To achieve that bakery-style height, use a cookie scoop and slightly press the dough balls into a dome shape before baking.
Nutrition
- Serving Size: 1 cookie
- Calories: 210
- Sugar: 18
- Sodium: 150
- Fat: 12
- Saturated Fat: 7
- Unsaturated Fat: 5
- Trans Fat: 0
- Carbohydrates: 25
- Fiber: 1
- Protein: 2
- Cholesterol: 35