

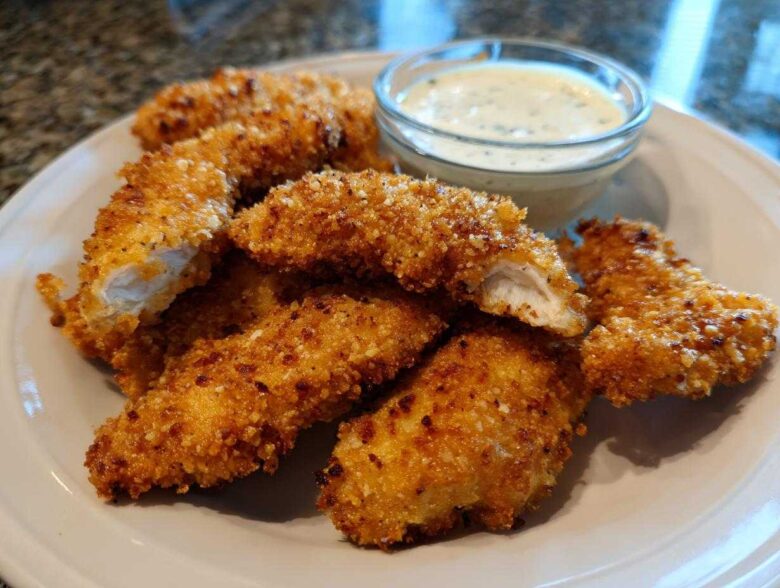
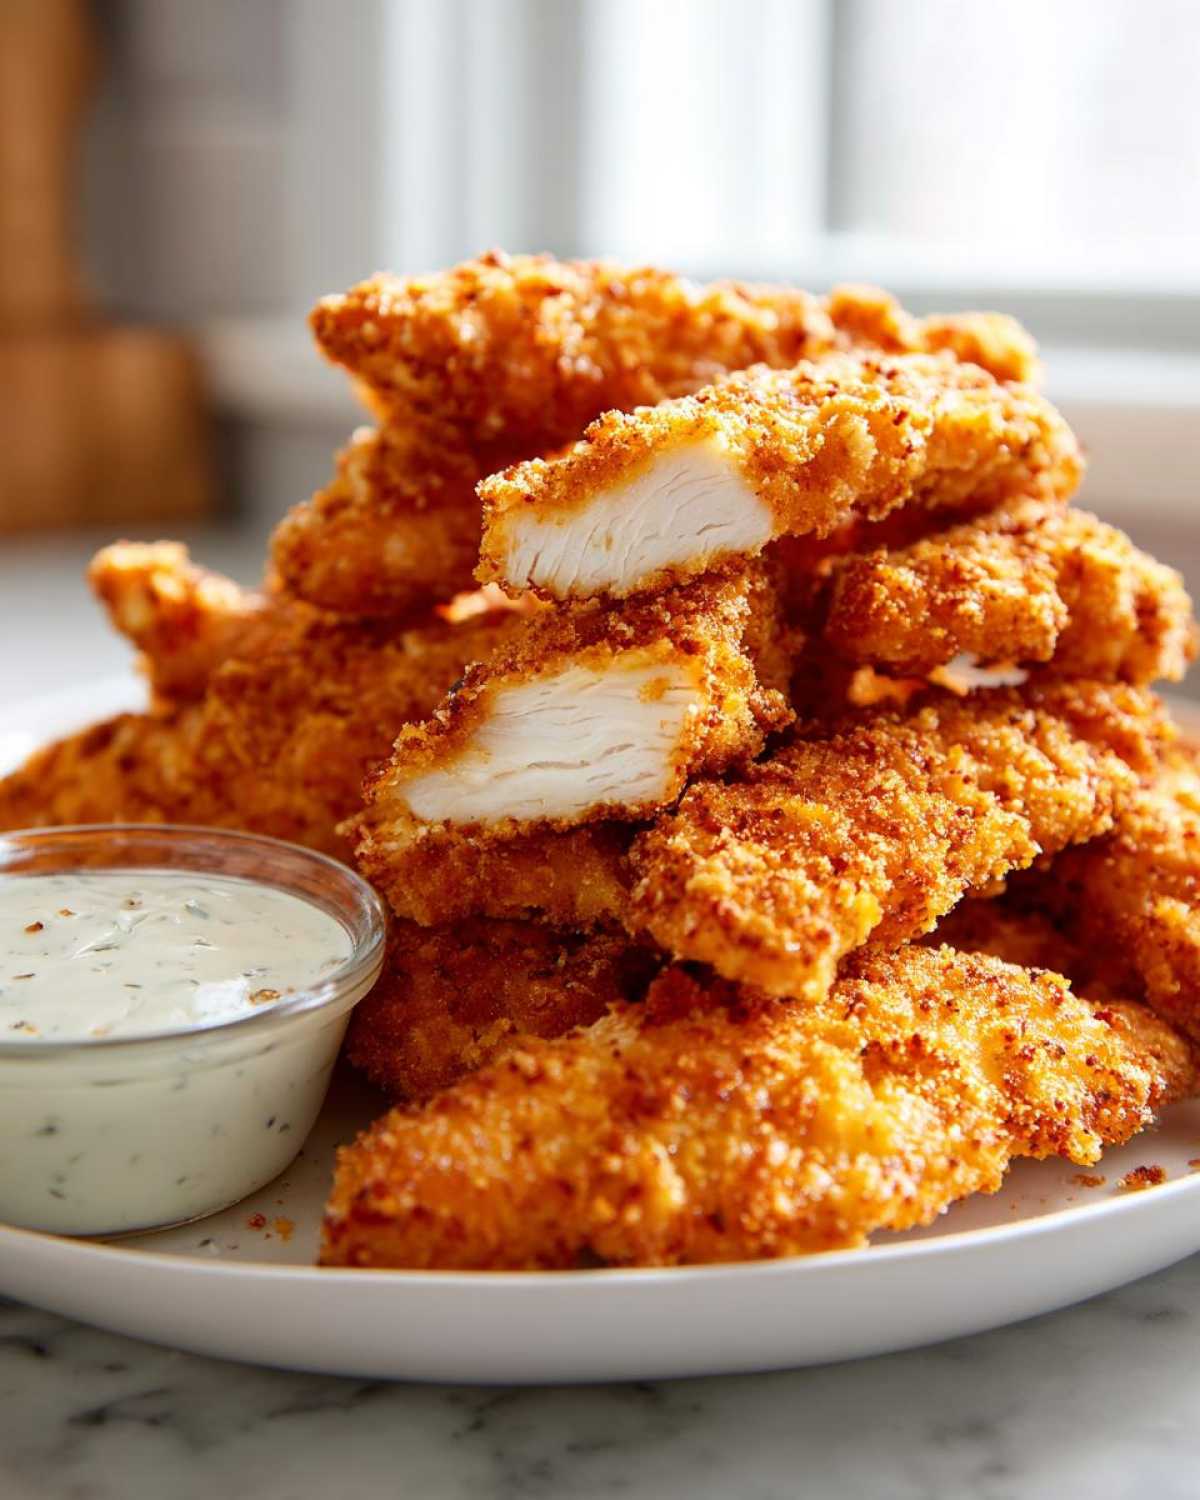
Oh my gosh, you know that deep, primal craving for something absolutely golden, crunchy, and just loud when you bite into it? Me too! For years, I struggled to get my homemade chicken strips to stand up against the golden standard of my favorite sports bar. They always ended up either soggy or just kind of… sad. But folks, I cracked the code! We are talking about legendary **Crispy Chicken Tenders with Garlic Parmesan Dip** today. I’m going to show you my little secret—the double-dredge method—that guarantees that restaurant-level crunch every single time you make them. It takes a tiny bit more effort, but trust me, the reward is worth it when you dunk that perfectly crisp tender into that creamy, garlicky sauce.
I’ve been testing coatings for ages, and I finally figured out the right ratio of coating layers to fat absorption. It’s all about building texture so that even the bottom doesn’t get soggy when it hits the cooling rack. I think you’ll find this a fantastic recipe for your next game night or just a random Tuesday when you desperately need comfort food.
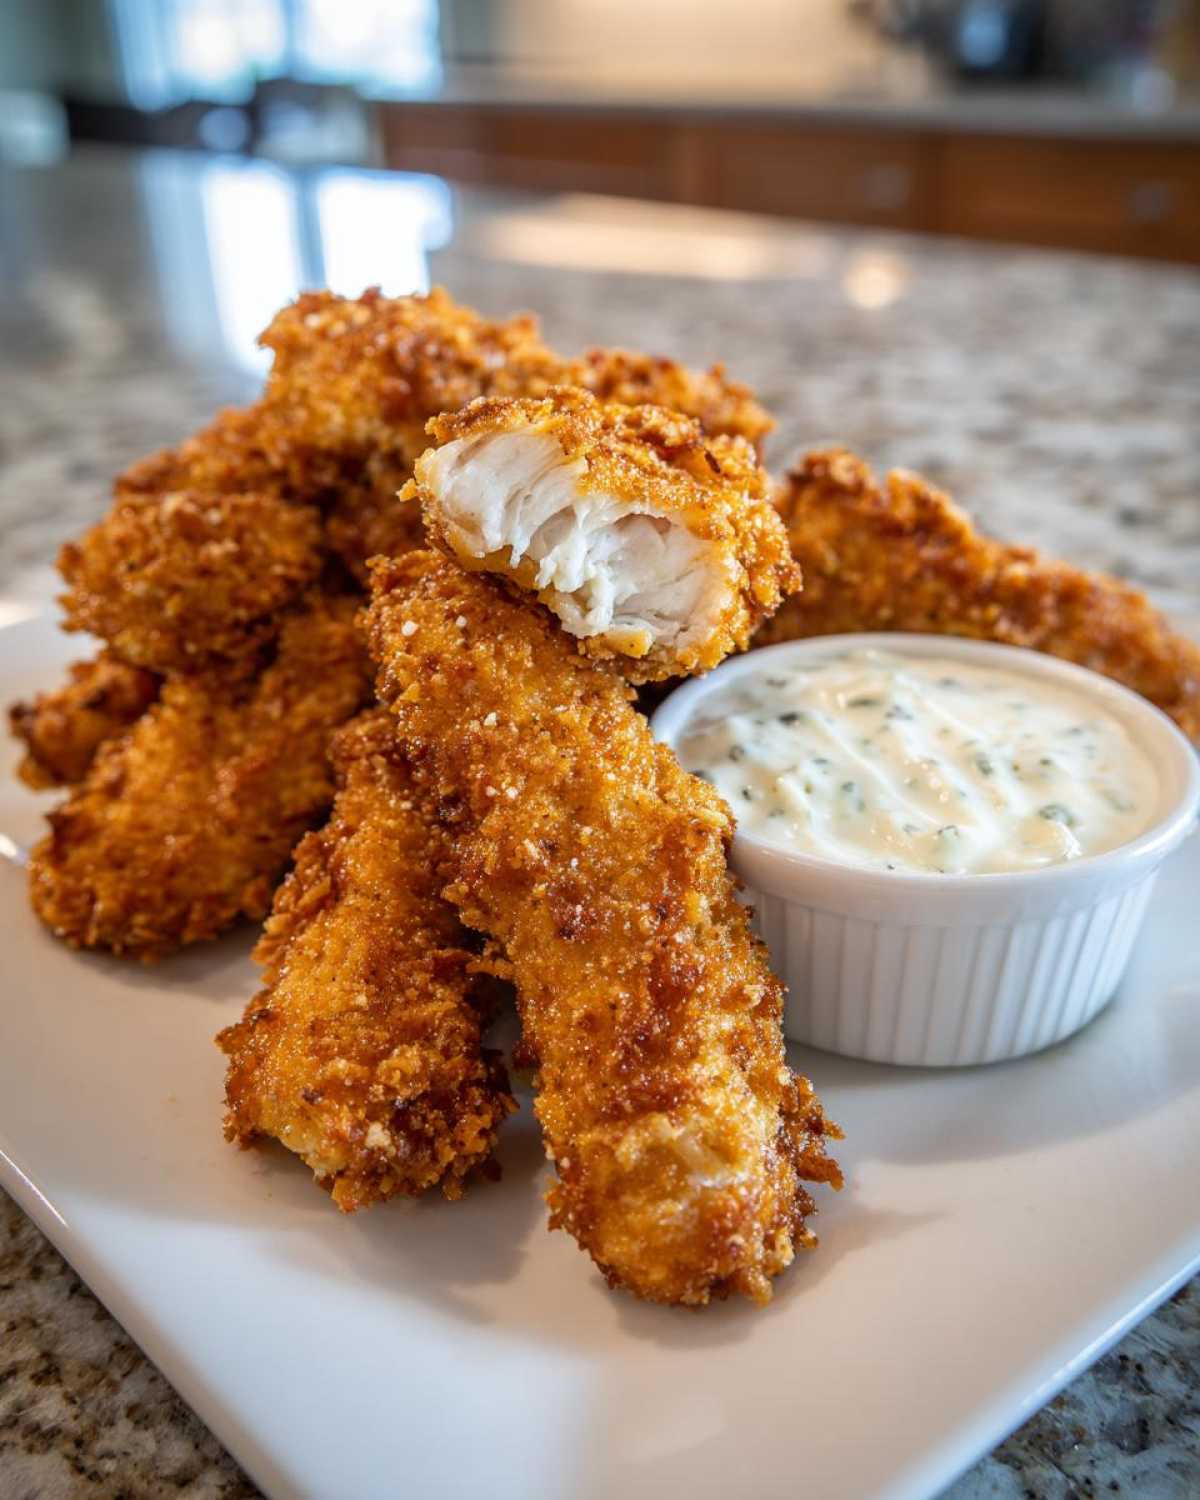
Why You Will Love These Crispy Chicken Tenders with Garlic Parmesan Dip
Honestly, ditch the frozen stuff! When you make these at home, you control everything, and that makes all the difference. Here’s why they are about to become your new favorite appetizer:
- The Ultimate Crunch Factor: We aren’t messing around here. The double-dredge guarantees a shatteringly crisp exterior that stays crunchy even when resting.
- The Dip is Non-Negotiable: My homemade Garlic Parmesan Dip is so creamy, zesty, and garlicky—it elevates the humble tender immediately. It’s the perfect savory partner.
- Fast & Flexible: Even with the double-dip, these come together surprisingly fast! Plus, you can bake or air-fry them if you’re skipping the oil, making them a great quick homemade appetizer.
Essential Ingredients for Crispy Chicken Tenders with Garlic Parmesan Dip
I’ve found that using high-quality basics makes this whole process shine, especially since we’re dealing with quick cooking times. Don’t skimp on the panko—that’s non-negotiable for the crunch! Also, notice that we use Parmesan in two different spots: once for coating the outside, and again inside the dip for that incredible cheesy flavor punch. If you want to dive deep into how the coating works, check out my full breakdown on ultimate crispy coating technique!
For the Chicken Tenders Coating
This is where the magic happens before we even hit the fryer or the oven. Make sure all ingredients are laid out near your workspace before you start dipping!
- 1.5 lbs boneless, skinless chicken breasts, cut evenly into 1-inch strips
- 1 cup all-purpose flour
- 1 teaspoon salt
- 1 teaspoon black pepper
- 1 teaspoon paprika (sweet, not smoked, for color)
- 1/2 teaspoon garlic powder
- 2 large eggs
- 1/4 cup milk (or buttermilk if you have it!)
- 2 cups panko breadcrumbs (use the coarse ones, please!)
- 1/2 cup finely grated Parmesan cheese (the powdery kind works best here for sticking)
- Vegetable oil, for frying (or cooking spray if you’re going the baked route)
For the Creamy Garlic Parmesan Dip
This dip is my personal favorite way to finish off the tenders. That sharp, fresh garlic cuts right through the richness of the fried batter! This is truly the **Best Garlic Parmesan Dip Recipe** you’ll ever need.
- 1/2 cup mayonnaise (use a good quality, full-fat brand!)
- 1/4 cup sour cream
- 1/4 cup grated Parmesan cheese (freshly grated is best for texture here)
- 2 cloves garlic, minced (really crush that garlic!)
- 1 tablespoon lemon juice (freshly squeezed makes a huge difference)
- 1 teaspoon dried parsley
- 1/4 teaspoon salt
The Ultimate Crispy Coating Technique for Crispy Chicken Tenders
Okay, this is the part where we separate the good tenders from the legendary ones. The secret to those beautiful, textured shards of crunch isn’t just the Panko; it’s the layering! Think of it like building a great foundation for a house! If your chicken strips are wet, nothing sticks right, and you end up with greasy batter sitting next to the meat instead of clinging tight. If you want truly **The Crunchiest Chicken Tenders**, you absolutely must follow my three-step dredging system. For the best results, I always check out the deep dive on ultimate crispy coating technique before I start mixing everything up.
Preparing Chicken Strips for Maximum Adhesion
Listen closely: Pat. Them. Dry. I mean bone-dry! Grab a whole stack of paper towels and physically press every single moisture speck out of those chicken strips. Surface moisture is the enemy of crispy coatings, period. If you skip this, the flour turns into paste, and the breadcrumbs just slide right off when they hit the hot oil. Don’t rush this step; your patience here pays off big time later!
Mastering the Double-Dredge for The Crunchiest Chicken Tenders
We need three stations ready: Flour mix, Egg wash, and Panko mix. First dip: flour, shaking off anything loose. Second dip: egg wash—let it drip well! Third dip: Panko, pressing gently so it adheres. Now for the pro move: I go right back into the egg wash for a quick second dip, and then immediately back into the Panko mix one final time. That double layer of crunchiness is what shields the meat and gives you that amazing shatter when you bite in. It makes all the difference between a standard tender and an Award Winning Chicken Tenders Recipe.
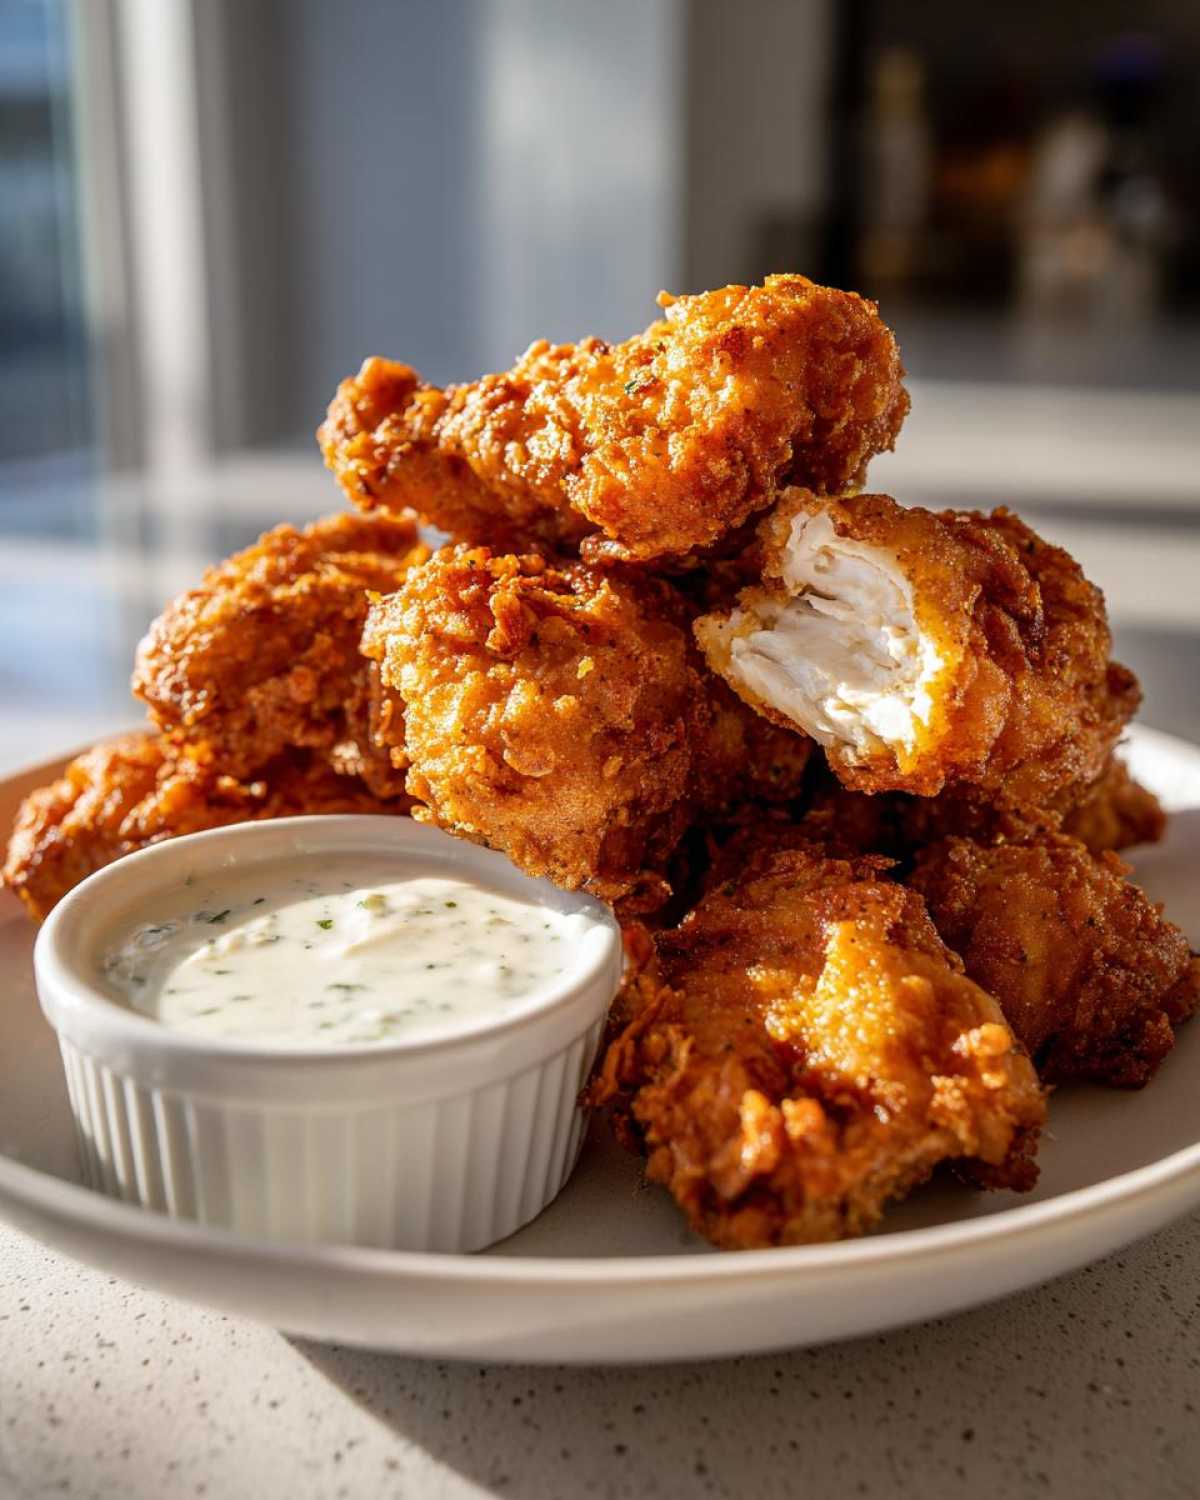
Cooking Methods for Perfect Crispy Chicken Tenders with Garlic Parmesan Dip
We’ve perfected the coating, so now it’s time to cook! You have two main paths here, and honestly, both can produce fantastic results. If you are chasing that true, melt-in-your-mouth fried texture, you’ll want to deep fry because Panko really gets happy in hot oil. But if you’re looking for something a little lighter, the oven method works like a charm, especially if you follow my little trick with the wire rack.
No matter which method you choose, the very last step is the same: pull those tenders out and let them drain on a wire rack set over a paper towel-lined sheet. Don’t just dump them in a bowl! That airflow underneath is what stops the bottom crust from steaming itself soggy. You can find tons of variations on how to handle different coatings over at oven baked crispy chicken tenders.
Deep Frying Instructions for Restaurant Style Chicken Tenders
This is how you get those gorgeous, bubbly textures that look just like they came from your favorite spot. Grab a heavy pot—I honestly prefer my Dutch oven for this because it holds heat so well. Once you have about two inches of vegetable oil heating up, you need a thermometer! We are aiming for a solid 350°F (175°C). If it’s too cold, the coating soaks up oil and gets greasy. If it’s too hot, the outside burns before the inside is done.
Carefully slip the coated tenders into the hot oil—and this is another big tip: only put in about 6 or 7 at a time. Don’t overcrowd the pot! We need that oil temperature to stay stable. They usually take about 4 to 6 minutes. Keep an eye on them, maybe flip them once halfway through, until they are deep golden brown and reach an internal temperature of 165°F (74°C). Then, straight to that wire rack!
Oven Baked Crispy Chicken Tenders Alternative
If frying is just too much work or you’re trying to keep things a little lighter, the oven is your friend. Preheat that thing to 400°F (200°C). Now, for the trick: you MUST bake the tenders on a wire rack that is sitting on top of your baking sheet. This lets hot air circulate around the entire tender, helping those double-dipped crumbs crisp up nicely all the way around.
Before they go in, give the tops a very light misting of cooking spray—I mean super light. That little bit of fat helps the Parmesan and Panko brown. You’ll need about 18 to 22 minutes total, but you absolutely must flip them halfway through. If you’re trying the air fryer route, check out my notes on air fryer chicken tenders with parmesan for timing details!
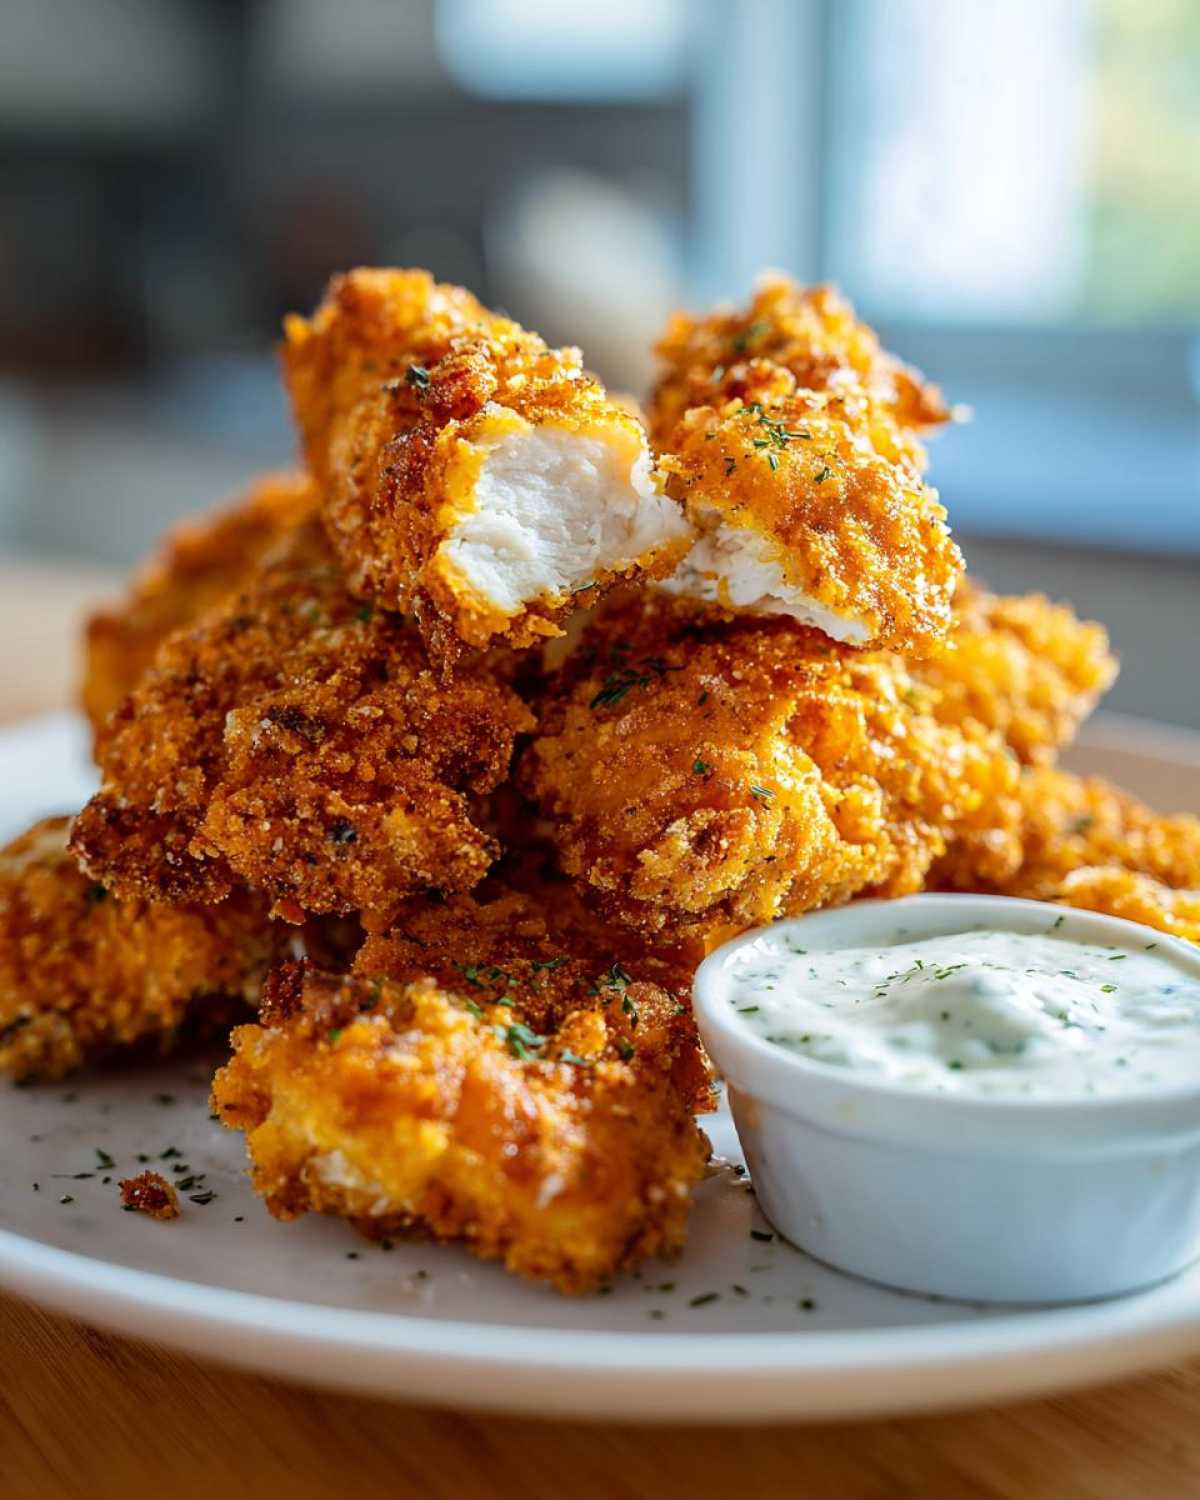
Making the Best Garlic Parmesan Dip Recipe From Scratch
Okay, the tenders are golden, but what are we eating them *with*? Forget the bottled stuff! This Garlic Parmesan Dip Recipe is so quick to whip up, you’ll never buy that jarred stuff again. It’s incredibly creamy, full of punchy garlic, and it just screams ‘homemade goodness.’
You really only need about five minutes for this. I swear, sometimes I make the dip before I even start shredding the chicken, just so I can stick it in the fridge for a bit. Why? Because even though it’s ready right away, letting these simple flavors mingle for about 10 minutes lets the raw garlic mellow just slightly and let that Parmesan really bloom. It becomes less like just mixing ingredients and more like a true sauce! If you happen to love garlicky flavors in other dishes, you should check out my ideas for a garlic parmesan chicken creamy skillet recipe next!
All you do is take your mayonnaise and sour cream—I use this blend for the best texture, stopping it from being too heavy like pure mayo—and mix them up in a small bowl until they are perfectly smooth. Add in that beautiful, freshly grated Parmesan cheese. And yes, the fresh garlic is crucial here! Don’t let it scare you; two cloves crushed well add so much depth. Stir everything together, taste it, and adjust your salt if you need to. That’s it! Seriously, that’s how you make the **Best Garlic Parmesan Dip Recipe**.
Tips for Success with Your Crispy Chicken Tenders Recipe
So, you’ve tried the double-dip, you’ve mastered the oil temp, but maybe you want to guarantee the results next time? I get it! Even I mess up sometimes, especially when I’m trying to crank out a huge batch for a party. Since we are aiming for something truly special here—kind of an Award Winning Chicken Tenders Recipe quality—a few extra small checks make a huge difference.
My biggest rule when I’m dredging is making sure my ingredients are at the right temperature. Fun fact: use cold eggs for your egg wash! Cold egg whites tend to bind better to the flour and create a slightly firmer foundation before hitting that hot Panko. I learned that one the hard way!
Another thing to remember, especially if you are frying, is heat maintenance. If you drop a bunch of cold chicken into that hot oil all at once, the temperature plummets, and boom—soggy tenders again! If you notice the oil bubbling less violently, give it a minute, let it recover its heat, and then add the next small batch. You want that constant, happy sizzle!
And don’t forget that little trick for the oven bakers! If you want to take your baking game up a notch, you absolutely need that light spray of oil over the top before baking. It helps brown that Parmesan and prevents the coating from drying out like paper. It’s a small step, but it drastically improves the final texture for non-fried methods!
Serving Suggestions for Your Homemade Crispy Chicken Tenders
Now that you have these gorgeous, crunchy wonders and that fabulous dipping sauce ready, what goes on the plate next? You don’t want to weigh down these beautiful tenders, so I always keep the sides light and bright! If you’re serving these as an appetizer, a simple bowl of toothpicks is fine, but if this is dinner, you need something fresh.
I always lean towards something acidic to cut through the richness of the fried coating and the creamy dip. A simple side salad with microgreens and maybe some sliced radishes is perfect. If you want a great dressing to go with it, you have to try my recipe for best salad dressing recipe simple vinaigrette; it takes two minutes!
For something a little heartier, sweet potato fries are amazing, or even just some really good, tangy coleslaw. Keep the side simple so everyone focuses on the star of the show: those delicious, garlicky, and super crispy chicken tenders!
Storage and Reheating Instructions for Leftover Crispy Chicken Tenders
I know, I know, there are rarely leftovers because these disappear instantly, but you asked, and I always bake extra just in case! The biggest mistake people make when saving chicken tenders is throwing them straight into an airtight plastic container—that traps steam, and that steam turns your beautiful crispy coating into mush by morning. No thank you!
For any leftover Crispy Chicken Tenders, you have to store the tenders and the **Garlic Parmesan Dipping Sauce** completely separately. Keep that wonderful dip in a small, tightly sealed container in the fridge. It lasts about three or four days, easy. Just make sure you stir it really well before serving again!
For the tenders themselves, the absolute best method for storage is letting them cool completely first, then laying them out in a single layer on a small baking sheet lined with a paper towel. Then, cover that sheet loosely with plastic wrap or aluminum foil—don’t wrap them tight!—and pop them in the fridge. A single layer ensures air can still circulate around them a bit.
Now for the big reveal: how do you bring back that magnificent crunch? Never, ever, ever use the microwave. I can’t stress that enough; the microwave is the enemy of crispiness! If you have time, the oven or the air fryer is the only way to go.
If you’re using the oven, set it to 375°F (190°C). Place the cooled tenders directly onto a wire rack set over a baking sheet (yes, that rack comes out again!) and heat them for about 6 to 8 minutes. You want them hot all the way through, but more importantly, you want that coating to feel dry and hard again.
If you have an air fryer, it’s even faster! Set it to about 380°F (195°C). Pop the tenders in, ensuring they aren’t touching much, and cook for maybe 3 to 5 minutes. They crisp up unbelievably fast in there. Pull them out when they look golden and feel totally crunchy again. Then, serve them immediately with that cold, zesty, creamy dip. That contrast is just divine!
Frequently Asked Questions About Crispy Chicken Tenders
I always get a ton of questions whenever I post these, which makes total sense because getting that amazing crunch consistently takes a little know-how! Here are the main things folks ask when they are planning to whip up this **Easy Chicken Tender Recipe for Dinner**.
Can I make the chicken tenders ahead of time?
Sure, you can! But you have to store them right so they don’t turn into sad, soggy strips overnight. As I mentioned before, do the full double-dredge coating as normal, but then lay them out on a baking sheet, uncovered, and pop them in the fridge for 30 minutes before freezing or putting them in the fridge. That brief chill time helps the coating set up hard. Keep them in the fridge for up to a day, but always reheat in the oven or air fryer—never the microwave!
What is the best oil to use if I decide to deep fry?
For deep frying, you need an oil with a high smoke point so it doesn’t break down when it gets hot. My go-to for this **Homemade Crispy Chicken Tenders Recipe** is standard vegetable oil or canola oil. Peanut oil is fantastic too if you want a slightly nuttier flavor, but it is usually more expensive. Avoid olive oil completely for this; it smokes at too low a temperature and it’s just not the flavor profile we are going for here.
Can I use regular breadcrumbs instead of Panko?
You absolutely can use regular fine breadcrumbs, but you’re going to lose some of that incredible jagged texture that makes these **The Crunchiest Chicken Tenders**. Panko crumbs are Japanese-style breadcrumbs, and they are lighter and larger, which means they absorb less oil and create bigger, crunchier pockets when fried or baked. If Panko is all you have, though, go ahead! Just really press that coating on tight during the second dip.
Is the Garlic Parmesan Dip safe to leave out?
Nope, I wouldn’t risk it when using mayo and sour cream! Since this is my go-to **Dipping Sauce for Chicken Tenders**, I can tell you it needs to stay cold because of the dairy base. It’s honestly best stored right in the fridge and served chilled alongside your hot, fresh tenders. It lasts great in the fridge if you store it in an airtight container—usually about four days.
Can I adapt this recipe for my air fryer?
Yes! This coating works perfectly in the air fryer, providing a great route toward **Oven Baked Crispy Chicken Tenders** style results but faster. Just make sure you set your air fryer to about 390°F (200°C) and don’t stack the tenders. They need space to breathe for that air to get around them. Cook them for about 12 to 15 minutes total, flipping halfway, until they look beautifully golden brown. Check out my other notes on how to make crispy chicken strips for more air fryer specifics!
Estimated Nutritional Data for Crispy Chicken Tenders with Garlic Parmesan Dip
Alright, let’s talk fuel! Since we are making something this delicious, you probably want to know what you’re working with nutritionally. Because I test both the deep-fried version (hello, ultimate crispiness!) and the baked version (a little lighter), these numbers are sort of an average ballpark. I always warn people that the moment you decide to fry them submerged in oil versus spraying them lightly for the oven, the numbers are going to shift!
For the sake of having a good benchmark, these estimates are based on a serving size of about 4 tenders plus 2 tablespoons of that amazing dip. Make sure you check out my general disclaimer page regarding nutrition, as exact values will always change based on the brands of mayo or the amount of oil you use!
- Calories: Around 450
- Protein: A whopping 32g! Great for getting full.
- Total Fat: Roughly 25g (this goes up if you deep fry, naturally!)
- Carbohydrates: About 25g (mostly from the coating)
- Sugar: A low 3g
- Sodium: About 650mg (Parmesan is salty, so watch that!)
Honestly, for an appetizer this satisfying, I think those numbers are shockingly good, especially when you consider the high protein count. If you’re baking instead of frying, you can shave off a good chunk of that fat content. Enjoy them, guilt-free!
PrintCrispy Chicken Tenders with Garlic Parmesan Dip
Follow this recipe to make very crispy chicken tenders using a double-dredge method, served with a homemade creamy garlic parmesan dipping sauce.
- Prep Time: 20 min
- Cook Time: 20 min
- Total Time: 40 min
- Yield: 4 servings
- Category: Appetizer
- Method: Frying or Baking
- Cuisine: American
- Diet: Low Fat
Ingredients
- 1.5 lbs boneless, skinless chicken breasts, cut into 1-inch strips
- 1 cup all-purpose flour
- 1 teaspoon salt
- 1 teaspoon black pepper
- 1 teaspoon paprika
- 1/2 teaspoon garlic powder
- 2 large eggs
- 1/4 cup milk
- 2 cups panko breadcrumbs
- 1/2 cup grated Parmesan cheese (for coating)
- Vegetable oil, for frying (or cooking spray for baking/air frying)
- For the Dip:
- 1/2 cup mayonnaise
- 1/4 cup sour cream
- 1/4 cup grated Parmesan cheese
- 2 cloves garlic, minced
- 1 tablespoon lemon juice
- 1 teaspoon dried parsley
- 1/4 teaspoon salt
Instructions
- Prepare the chicken: Pat the chicken strips completely dry with paper towels. This step helps the coating stick.
- Set up the dredging stations: In one shallow dish, mix the flour, salt, pepper, paprika, and garlic powder. In a second dish, whisk the eggs and milk together. In a third dish, combine the panko breadcrumbs and 1/2 cup grated Parmesan cheese.
- Coat the chicken: Dip each chicken strip first into the flour mixture, shaking off excess. Next, dip it into the egg mixture, letting excess drip off. Finally, press the strip firmly into the panko mixture to ensure full coverage. For extra crispiness, repeat the egg and panko dip (double-dip).
- Cook the tenders (Frying Method): Heat 2 inches of oil in a heavy-bottomed pot to 350°F (175°C). Carefully place tenders in the hot oil, ensuring not to overcrowd the pot. Fry for 4-6 minutes, turning once, until golden brown and cooked through (internal temperature of 165°F or 74°C). Remove and drain on a wire rack set over paper towels.
- Cook the tenders (Baking Method): Preheat oven to 400°F (200°C). Place tenders on a wire rack set over a baking sheet. Lightly spray the tops with cooking spray. Bake for 18-22 minutes, flipping halfway, until golden and crisp.
- Make the dip: While the chicken cooks, combine the mayonnaise, sour cream, 1/4 cup Parmesan cheese, minced garlic, lemon juice, parsley, and salt in a small bowl. Mix well until smooth.
- Serve immediately with the garlic parmesan dip.
Notes
- For the crunchiest result, use the double-dredge technique and ensure your oil temperature is correct if frying.
- If baking or air frying, spraying the coated tenders with a light coat of oil spray helps achieve better browning and crispness.
- You can substitute buttermilk for the milk in the egg wash for a slightly tangier coating.
Nutrition
- Serving Size: 4 tenders plus 2 tbsp dip
- Calories: 450
- Sugar: 3
- Sodium: 650
- Fat: 25
- Saturated Fat: 6
- Unsaturated Fat: 19
- Trans Fat: 0
- Carbohydrates: 25
- Fiber: 2
- Protein: 32
- Cholesterol: 110