

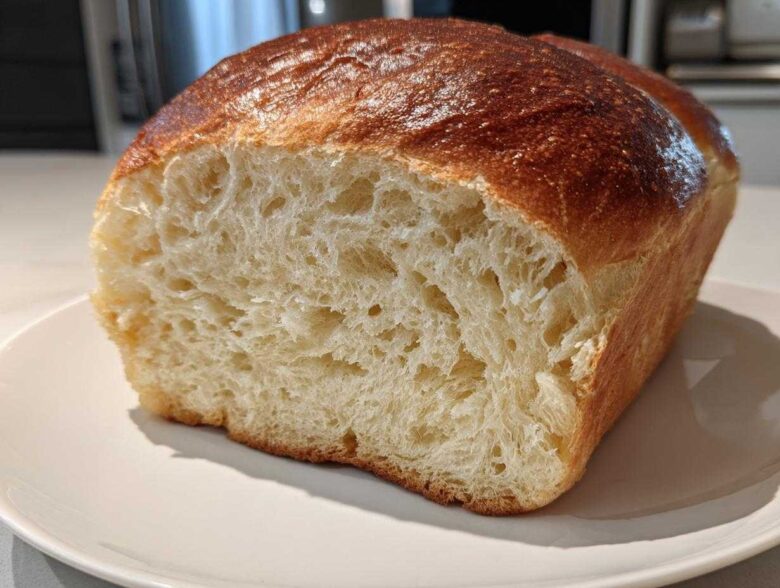
Oh, my gosh, you guys! If you’ve ever thrown your hands up in surrender trying to get that perfect, cloud-like fluffiness from homemade yeast bread, I totally get it. For years, I thought that heaven-sent soft texture only came from those pricey bakery loaves, or maybe some complicated, multi-day European process. I’d battle sticky dough and end up with bricks I could use as doorstops. No thank you!
Well, toss those worries out the window! I finally cracked the code, and I swear, this method works every single time. We’re talking about truly Fluffy Yeast Bread Homemade Soft Bread in Just 5 Steps. Seriously! I’ve condensed the entire process down—from that initial yeast bloom to the final golden crust—into five super clear steps perfect for beginners. You won’t believe how soft this bread is.
Why This 5-Step Method Creates the Ultimate Soft Homemade Bread Recipe
What makes this recipe stand out is how we handle the damp ingredients. Forget thin, watery doughs; we use whole milk and a room-temperature egg, which creates the structure for the ultimate soft bread technique. It’s all about setting up the dough correctly from the start so that the resulting crumb is perfectly tender. You can check out some other great baking tips over at my blogging hub when you get a chance!
This streamlined approach is a lifesaver for tender bread for beginners. We nail the kneading and the two rises in just five totally manageable phases. Trust me, you’ll feel like a total pro after baking this loaf!
Key Ingredients for Maximum Fluffiness
It’s the richness! Using melted butter instead of oil adds that decadent flavor, and using whole milk helps keep the structure light when we mix it with the sugar during Step 1. A room-temp egg incorporates way easier, leading to less mixing time later on.
Gathering Ingredients for Fluffy Yeast Bread Homemade Soft Bread in Just 5 Steps
Okay, before we jump into the 5 steps, let’s make sure you have everything ready to go. Having your mise en place sorted makes this whole process fly by, which is why this is such a fantastic fluffy treat to tackle!
For this loaf, make sure that milk is definitely warm—not hot, which kills the yeast, but cozy, around 105 to 115°F. That’s the sweet spot for waking up the yeast buds! Also, pull out your egg beforehand so it’s room temperature; it blends in smoother that way.
- 1 cup of warm whole milk (105-115°F)
- 2 1/4 teaspoons of active dry yeast
- 1/4 cup of granulated sugar
- 1 large egg, which needs to be room temperature
- 1/4 cup of unsalted butter, melted gently
- 3 cups of all-purpose flour, plus a little extra for dusting
- 1 teaspoon of salt
That’s it! It’s all standard pantry fare, but those details—warm milk, melted butter—are what push this toward that perfectly soft homemade bread recipe territory. Get these together, and we can move right into making the dough!
The 5 Essential Steps for Fluffy Yeast Bread Homemade Soft Bread in Just 5 Steps
This is where the magic happens, and honestly, it’s so much simpler than you think. We’ve broken down the whole 1 hour 55 minute process—prep included—into five phases that are nearly foolproof. This technique is core to my beginner’s yeast bread guide because it removes all the guesswork!
Step 1: Activating Yeast and Preparing the Wet Mix
First things first, we need happy yeast! Get that warm milk (remember, 105 to 115°F!) in your big bowl with the sugar and yeast. Give it a gentle stir and just let it sit for about five to ten minutes. If it gets foamy and bubbly on top, congratulations, your yeast is alive and ready to roll! If nothing happens, your milk was too hot or too cold, and you’ll need to start that part over.
Once it’s frothy, stir in your room temp egg and the melted butter. It’s important to mix these in before we add flour so everything is evenly distributed for that perfect, smooth start to our **simple 5 step bread making** journey.
Step 2: Mixing and Kneading the Basic Fluffy Yeast Dough
Now, dump your flour and salt right into that wet mixture. Mix with a spoon just until it looks ugly and “shaggy”—meaning you don’t really see dry flour spots anymore. Don’t freak out that it looks messy! Turn that shaggy mess out onto a counter dusted lightly with flour. For those who hate kneading, I promise this quick knead is worth it, though you can check out my no-knead guide if you’re feeling low-effort.
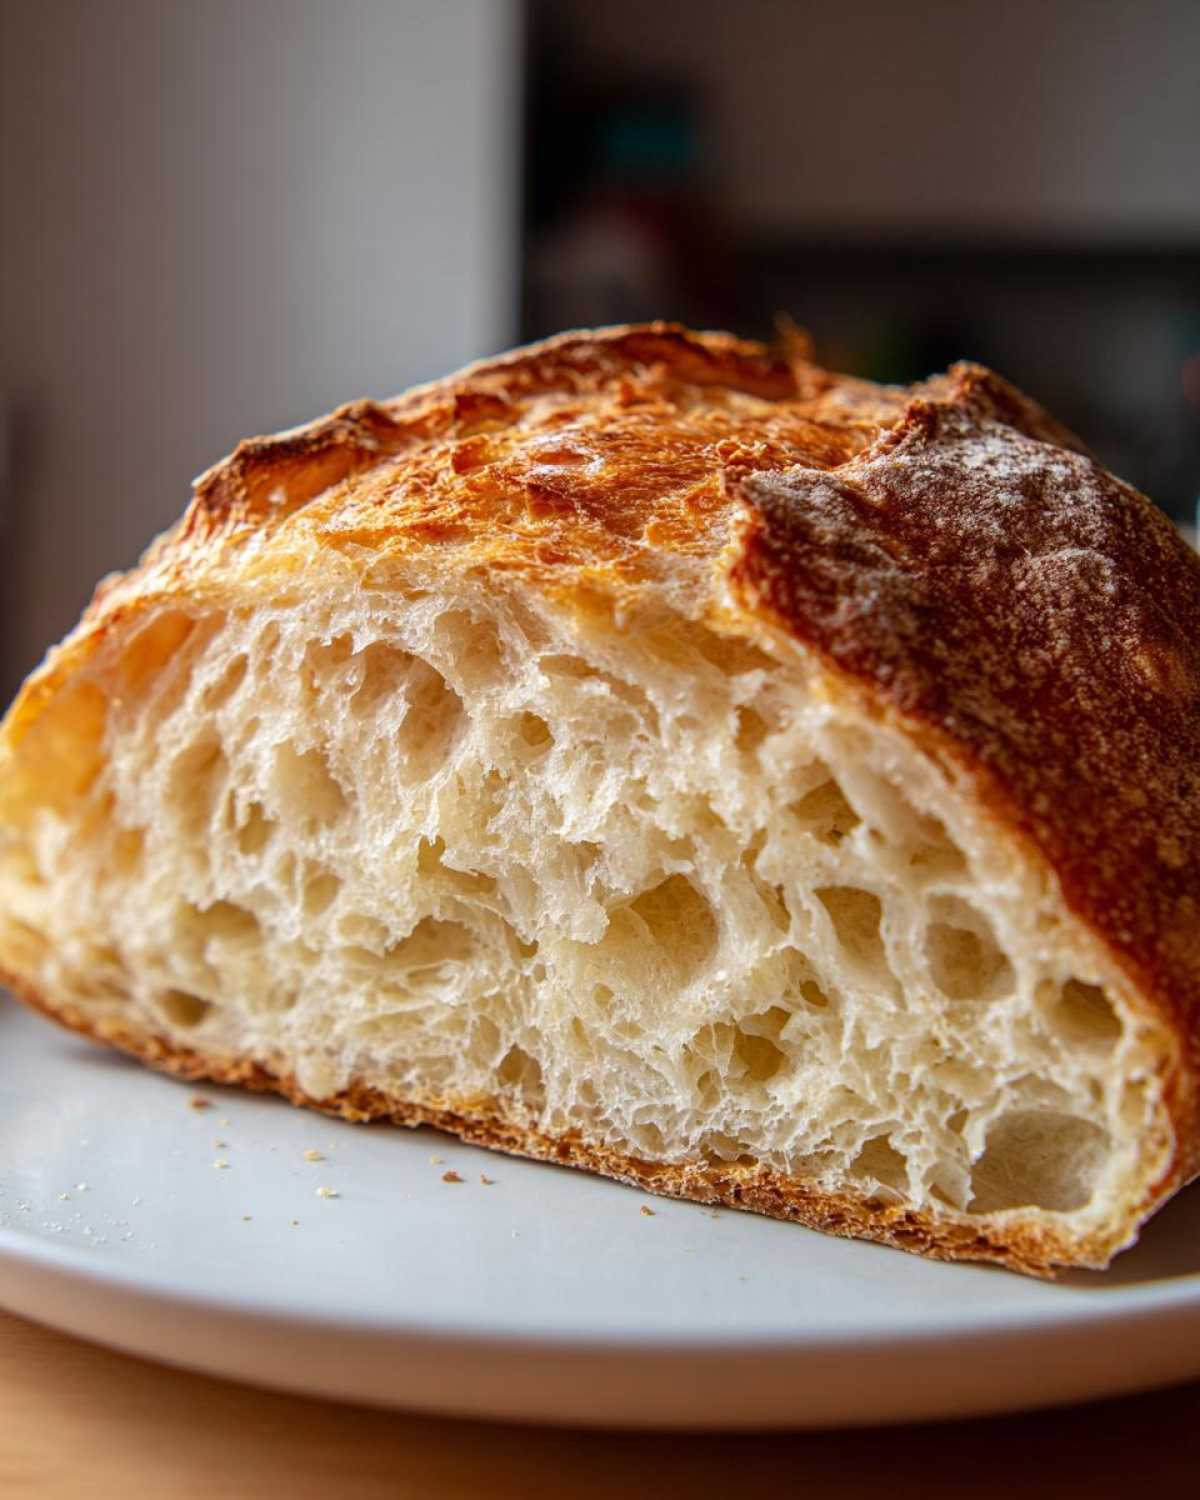
Knead for a good six to eight minutes. You’re looking for the change: it goes from sticky and rough to smooth, supple, and elastic. When you poke it, it should spring back slowly. This kneading is what develops the gluten structure, guaranteeing the **best texture homemade bread** possible.
Step 3: The First Rise for Volume
Lightly grease a clean bowl—don’t use the mixing bowl, you want a nice slick surface for the dough to climb. Roll your smooth dough ball around in that oil. Cover the bowl tightly with plastic wrap. Now, yeast loves warmth!
Let it sit somewhere warm for one to an hour and a half, or until it has doubled completely. If your kitchen is downright chilly, I always sneak my covered bowl into the oven with just the light turned on. That little bit of warmth works wonders for creating volume fast!
Step 4: Shaping and the Second Rise
Gently, gently punch the air out of your doubled dough—don’t crush it, just deflate it a little. Turn it out and lovingly shape it into a nice tight log shape before tucking it into a greased 9×5 inch loaf pan. Cover it loosely again.
This second rise is shorter, usually 30 to 45 minutes. You’re waiting until the dough crests about an inch above the rim of the pan. About 15 minutes before that rise finishes, go ahead and fire up that oven to 375°F (190°C). Getting the oven roaring hot is key!
Step 5: Baking the Fluffy Yeast Bread Homemade Soft Bread in Just 5 Steps
Pop that beautifully risen loaf into the 375°F oven. It needs about 30 to 35 minutes. You want a golden-brown top, but the real secret to knowing it’s done is temperature. Stick a meat thermometer right into the center—you’re aiming for 200°F (93°C).
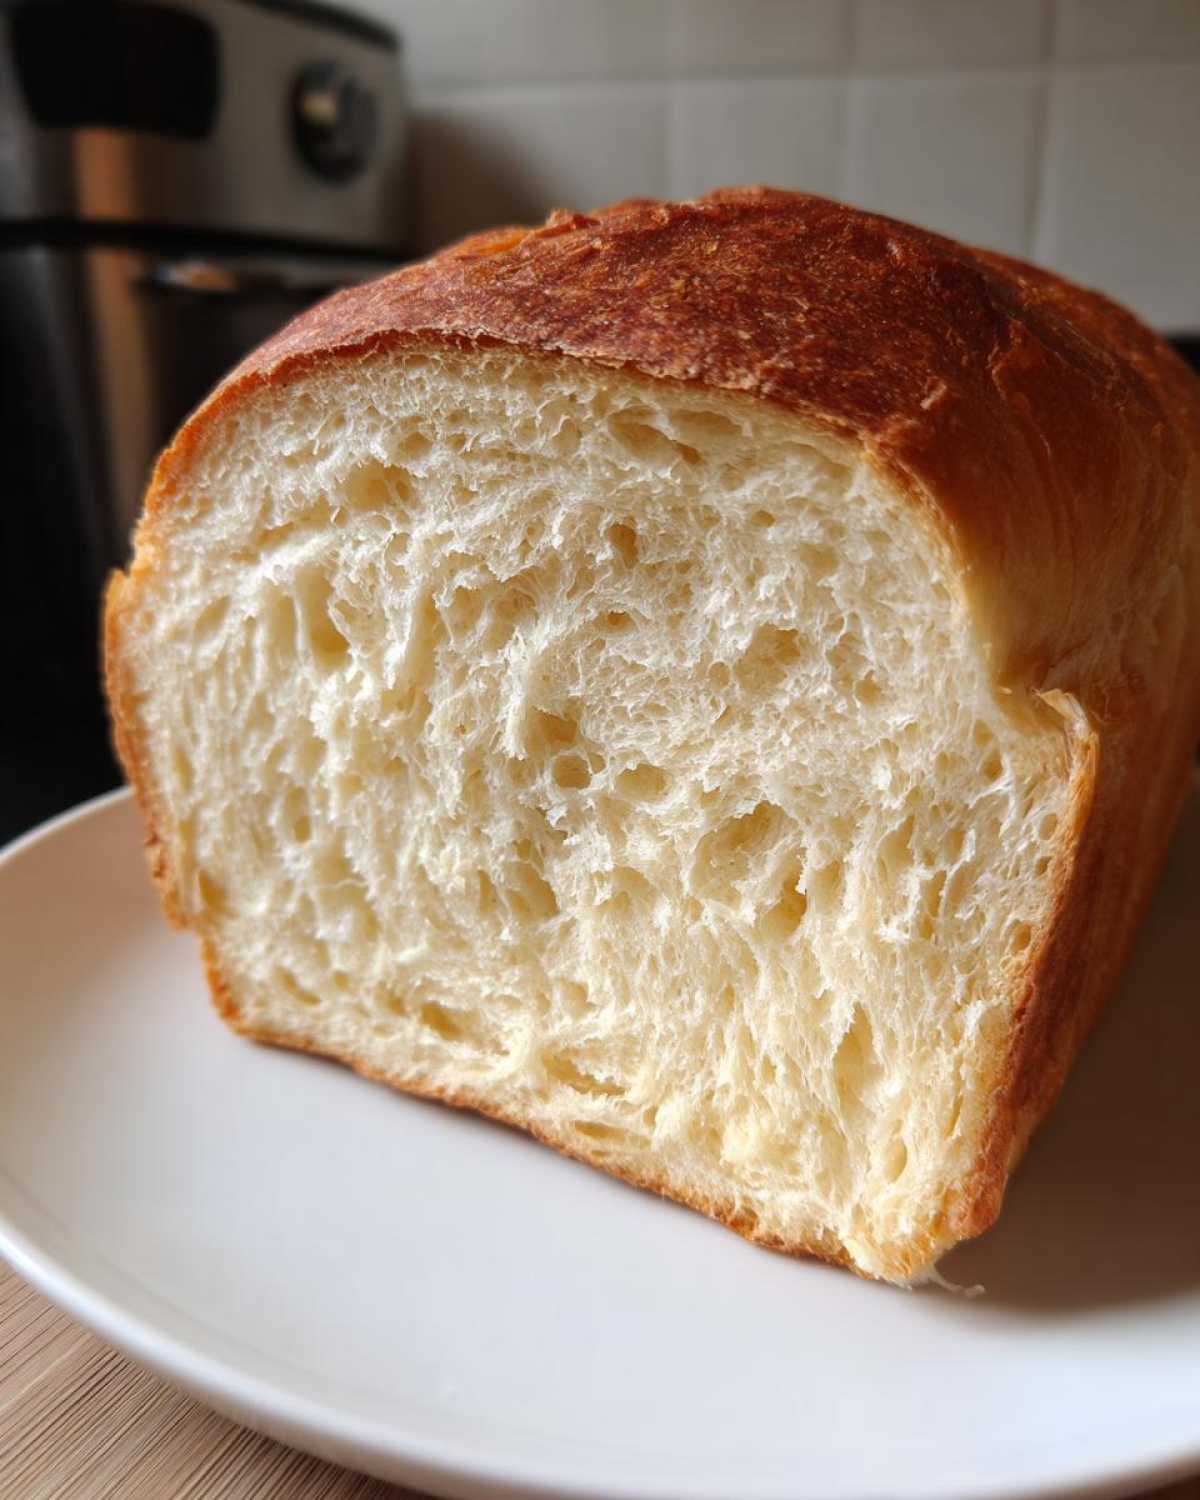
The absolute most important thing when it comes out? Yank it out of the hot pan right away and set it on a wire rack to cool completely. If you leave it in the metal pan, that trapped steam will turn the soft bottom crust a little soggy! Don’t touch it until it’s fully cooled; that seems impossible, but it sets the soft crumb perfectly.
Expert Tips for the Lightest Homemade Bread Recipe
We’ve nailed the five basic steps, but if you want to hit legendary levels of softness, you need these insider secrets! First, ditch the skim milk if you have it; whole milk makes a visible difference in the richness and crumb structure. That tiny bit of extra fat keeps things tender!
Also, when that loaf comes out of the oven—yep, right when you pull it from the pan in Step 5—grab some melted butter. Brush the top generously, real quick. This stops the crust from hardening too much and adds a wonderful richness that makes it truly irresistible. It helps maintain the quality of your delicious homemade sandwich loaf!
If you are constantly struggling with cold kitchens, just remember my trick from Step 3: the oven light trick is the secret to getting that perfect rise every time, ensuring you get the lightest homemade bread recipe possible!
Storage and Reheating Instructions for Your Soft Homemade Bread Recipe
So you’ve baked this amazing loaf, and now you have to wait for it to cool—the hardest part, I know! Once it’s totally cool, you need to wrap it up tight. Think plastic wrap, maybe even a sealed plastic bag if you bought one of those large bread bags. This traps the moisture in, which is vital for keeping that soft texture we worked so hard for. Store it on the counter at room temperature for three or four days.
Don’t even think about the fridge! Cold air sucks the life right out of yeast bread making it stale way faster. My grandma taught me that lesson the hard way with biscuits back in the day. If you know you won’t eat the whole thing in four days, now is the time to slice half of it up before freezing—freeze the slices in an airtight container, and they thaw out quickly.
When you want a slice later on, say toasted for breakfast or just for a quick snack, you need to reheat it slightly to bring back that “fresh-out-of-the-oven” tenderness. For a single slice, try microwaving it for just 10 to 15 seconds. For a half loaf, wrap it loosely in foil and pop it in a 300°F oven for about 10 minutes. This simple trick really helps maintain the quality of your delicious homemade sandwich loaf, making it feel brand new!
Frequently Asked Questions About This Quick Yeast Bread Tutorial
I know baking bread can bring up a million little questions, especially when you’re trying out a quick yeast bread tutorial for the first time. Don’t sweat it! Most issues come down to warmth or timing, which we covered in those 5 steps, but here are a few other things folks ask me all the time about achieving that perfect texture.
Can I make this Fluffy Yeast Bread Homemade Soft Bread in advance?
Absolutely! This recipe responds really well to a night in the fridge. After Step 2 (kneading), instead of letting it rise on the counter, put the oiled bowl in the fridge for up to 18 hours. This is an awesome way to get *less* effort out of your minimal effort yeast bread! Just pull it out, let it warm up for about 30 minutes on the counter, and then proceed right into Step 3. You can also freeze the baked loaf wrapped tightly; it thaws beautifully!
What if my dough doesn’t rise properly?
If you followed Step 1 and you’ve got zero foam, your yeast is probably dead or your milk wasn’t the right temperature—it happens to the best of us! If the dough rises slowly during Step 3, it’s probably just cold in your kitchen. Try that oven light trick again! If it rises too fast and collapses when you punch it, you might have over-proofed it, but honestly, that rarely happens with this shorter rise schedule.
Can I use active dry yeast instead of instant yeast?
Yes, you totally can! That’s why in Step 1, I specifically asked you to let it sit and get foamy. That required foaming time is how you prove older active dry yeast is good to go. If you were using instant yeast, you could skip the waiting and mix it right in with the flour in Step 2, but for this recipe, sticking to Step 1 ensures you get the softest results. Feel free to reach out via my contact page if you have more questions!
Estimated Nutritional Data for Fluffy Yeast Bread Homemade Soft Bread in Just 5 Steps
Now, let’s talk real talk about what goes into this loaf after all that effort. I know some of you count macros, and while I’m usually too busy actually eating the bread to measure every crumb, I always like to have a rough idea of what we’re digging into.
These numbers are definitely estimates, right? Because if you swap out whole milk for skim, or if you use a slightly heavier hand when you brush that post-bake butter on top, things change! Just keep that in mind when you look at these figures. You can read up more about how I handle data privacy and transparency over at my privacy policy page.
- Serving Size: 1 slice
- Calories: 150
- Fat: 4g
- Saturated Fat: 2g
- Carbohydrates: 26g
- Sugar: 3g
- Protein: 4g
- Sodium: 180mg
See? Not too shabby for such a rich and satisfying bread! It’s got enough substance to be a great base for a hearty sandwich, but it’s light enough that you don’t feel weighed down. That’s the beauty of balancing the butter and the milk in this 5-step process!
Share Your Fluffy Bread Success
Okay, your kitchen might smell like the best bakery in town right now—it happens every time I make this! Once that loaf has cooled down (and seriously, try to wait!), I want to know everything. Did it turn out as fluffy as you hoped? Did you use that oven light trick, or do you have another secret spot where your dough always rises perfectly?
Please, please, please leave me a comment down below! Tell me how many stars you’re giving this recipe. Knowing what works for you helps me make the site better for the next baker coming along. If you’ve got photos of your ridiculously soft loaf, tag me on social media! I absolutely love seeing the results of these recipes out in the real world. It really makes my day to see you succeeding with what I call the simple 5 step bread making method.
If you’re curious about my baking journey or want to know what I’m testing next in the kitchen, you can check out my About Us page. Happy baking, and enjoy every single soft slice!
PrintFluffy Yeast Bread Homemade Soft Bread in Just 5 Steps

Follow this simple, five-step guide to make incredibly soft and fluffy homemade yeast bread perfect for beginners.
- Prep Time: 20 min
- Cook Time: 35 min
- Total Time: 1 hour 55 min
- Yield: 1 loaf
- Category: Baking
- Method: Baking
- Cuisine: American
- Diet: Vegetarian
Ingredients
- 1 cup warm milk (105-115°F)
- 2 1/4 teaspoons active dry yeast
- 1/4 cup granulated sugar
- 1 large egg, room temperature
- 1/4 cup unsalted butter, melted
- 3 cups all-purpose flour, plus more for dusting
- 1 teaspoon salt
Instructions
- Activate the yeast: In a large bowl, combine the warm milk, yeast, and sugar. Let stand for 5 to 10 minutes until foamy. Stir in the egg and melted butter.
- Mix the dough: Add the flour and salt to the wet ingredients. Mix with a spoon until a shaggy dough forms. Turn the dough out onto a lightly floured surface and knead for 6 to 8 minutes until the dough is smooth and elastic.
- First rise: Place the dough in a lightly oiled bowl, turning to coat. Cover the bowl with plastic wrap and let it rise in a warm place for 1 to 1.5 hours, or until doubled in size.
- Shape and second rise: Gently punch down the risen dough. Shape it into a loaf and place it in a greased 9×5 inch loaf pan. Cover the pan loosely and let it rise again for 30 to 45 minutes, or until the dough crests about 1 inch above the pan rim. Preheat your oven to 375°F (190°C) during the last 15 minutes of the second rise.
- Bake the bread: Bake for 30 to 35 minutes, or until the top is golden brown and the internal temperature reaches 200°F (93°C). Remove the bread from the pan immediately after baking and cool completely on a wire rack before slicing.
Notes
- For extra softness, use whole milk instead of low-fat milk.
- Brush the top of the loaf with melted butter immediately after it comes out of the oven for a tender crust.
- If your kitchen is cold, place the covered dough bowl inside your oven with just the light on to create a warm environment for rising.
Nutrition
- Serving Size: 1 slice
- Calories: 150
- Sugar: 3
- Sodium: 180
- Fat: 4
- Saturated Fat: 2
- Unsaturated Fat: 2
- Trans Fat: 0
- Carbohydrates: 26
- Fiber: 1
- Protein: 4
- Cholesterol: 25