

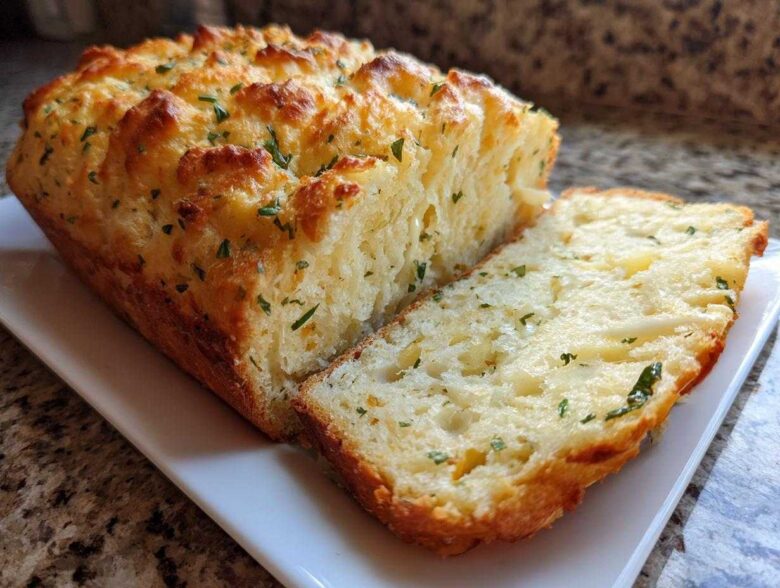
Oh my gosh, are you ready to throw away those dry, boring store-bought loaves? Seriously, I know we all love our bread machines for the sheer convenience—who has time to knead anymore?—but sometimes those basic white loaves just don’t cut it when you’re craving something *exciting*. I spent ages tweaking my machine settings, trying to coax real, gourmet flavor out of that automatic cycle. And trust me, when I finally nailed this Bread Machine Italian Herb Bread Loaded with Cheese and Garlic, I almost fell over! It’s the perfect marriage of hands-off baking and bold, savory flavor. If you haven’t tried pushing your machine to create something this rich, you are in for such a treat. Get ready for the best homemade bread maker recipe you’ll ever use, I promise! I learned so much about dough hydration just through trial and error with this thing, so you get the benefit of all my messy kitchen adventures. You can see a little more about my baking journey over at our baking philosophy here!
Why This Bread Machine Italian Herb Bread Loaded with Cheese and Garlic Works (E-E-A-T)
This recipe isn’t just throwing everything in and hoping for the best; that’s how you get a dense brick in your bread pan! This Bread Machine Italian Herb Bread Loaded with Cheese and Garlic works because we respect the machine’s mechanical process. Layering the ingredients correctly—liquids first, yeast floating on top—ensures the machine mixes perfectly without activating the yeast too early or creating dry pockets. It takes the guesswork right out of artisan-style baking!
The Role of Bread Flour in Your Bread Machine Italian Herb Bread
You absolutely have to use bread flour here; don’t try to swap it out for all-purpose! Bread flour has more protein, which means it builds stronger gluten networks when the machine kneads. Since we’re loading this dough up with heavy things like cheese, oil, and moisture from the fresh garlic, that extra structure is what keeps your loaf from collapsing. It keeps that high rise even after the machine stops churning!
Timing the Cheese Addition for Maximum Melt
This is a pro move for any great cheesy bread machine recipe! If you dump all that mozzarella and Parmesan in at the start, the machine will knead it right into the dough, and you’ll just have vaguely cheesy bread. We wait! By adding most of the cheese right before the final rise, the machine gently folds it in, creating those glorious, gooey pockets. That reserved mozzarella melts perfectly onto the surface for that beautiful, golden, “loaded” look at the end.
Gathering Ingredients for Bread Machine Italian Herb Bread Loaded with Cheese and Garlic
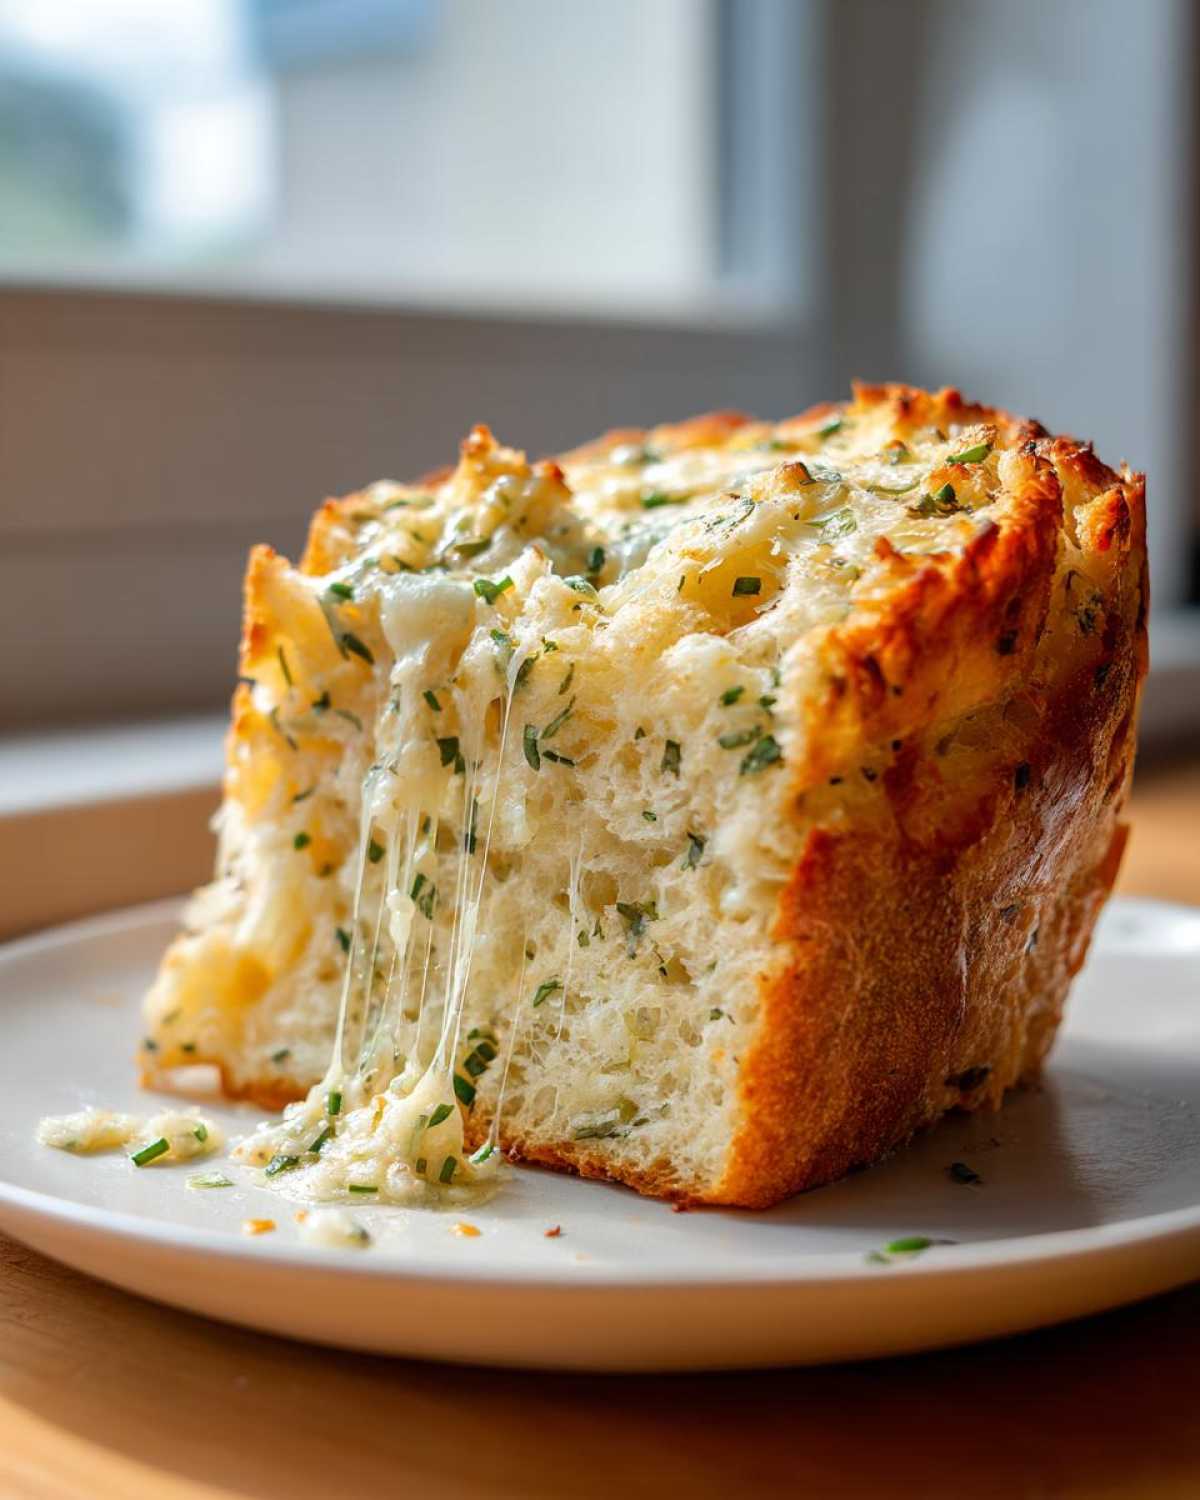
Okay, look at this ingredient list. It looks fancy, right? But these are all standard pantry items, and the combination is what makes this Bread Machine Italian Herb Bread Loaded with Cheese and Garlic so irresistible. You’ll need a few things ready to go before you even touch the machine pan. I always lay everything out in little bowls, which makes the 10-minute prep time fly by. Remember, when we put things into the machine, the order matters!
Here’s what you need to have on hand:
- 1 cup warm water (make sure it’s between 105-115°F—not too hot, or you’ll kill that yeast on us!)
- 2 tablespoons olive oil (use the good stuff if you have it; you can taste the difference!)
- 3 cups bread flour (don’t cheat this one, seriously!)
- 1 tablespoon granulated sugar (this is just to feed the yeast, not make the bread sweet)
- 1 1/2 teaspoons salt
- 2 teaspoons dried Italian seasoning blend (make sure it smells pungent and fresh!)
- 1 teaspoon garlic powder
- 2 cloves fresh garlic, minced finely (Yes, fresh! It makes a huge difference over just powder.)
- 1 cup shredded mozzarella cheese, divided (This is key—we use it in two stages.)
- 1/2 cup shredded Parmesan cheese
- 2 1/4 teaspoons active dry yeast
I highly recommend having your cheese ready to go. Specifically, make sure you measure out that mozzarella into two separate piles—three-quarters of it goes in first, and the last quarter is our secret weapon for the top crust. If you’re looking for other ways to boost savory flavors in your baking, check out my guide on using savory flavors in oatmeal—it surprisingly translates well to baking!
Step-by-Step Instructions for Your Bread Machine Italian Herb Bread
Okay, let’s get this masterpiece running! This is where the magic happens, and honestly, the hands-on time is almost nothing, which is why I love these Bread Machine Italian Herb Bread recipes so much. Just follow this sequence, and you are golden. You need to pay close attention to the layering, especially when adding the fresh garlic and the yeast. We want a beautiful, cheesy loaf, and proper setup is half the battle!
Loading the Pan: Liquids First for Optimal Bread Machine Performance
First things first: liquids go in before solids, unless your specific machine yells at you differently! Pour in that warm water and the olive oil. Next, gently add all your dry ingredients like the bread flour, sugar, salt, seasonings, and garlic powder. Remember to make a little divot, or well, right in the center of the flour mountain. That’s where your minced fresh garlic goes, and then, carefully sprinkle that yeast right on top!
The Critical Mix-In Moment for Cheesy Bread Machine Italian Herb Bread
Once the machine starts kneading, it’s mixing everything up, and then it pauses for the rise. When you hear that famous beep signaling you to add mix-ins, that’s your cue! Quickly open the lid and shower the dough with the rest of that reserved mozzarella cheese—we’re talking about 1/4 cup here. Shut the lid right away so you don’t lose all that lovely built-up heat. The machine will gently incorporate it. Then, step away and let the cycle complete until your amazing easy bread maker loaf is done!
Tips for Success with Your Bread Machine Italian Herb Bread Loaded with Cheese and Garlic
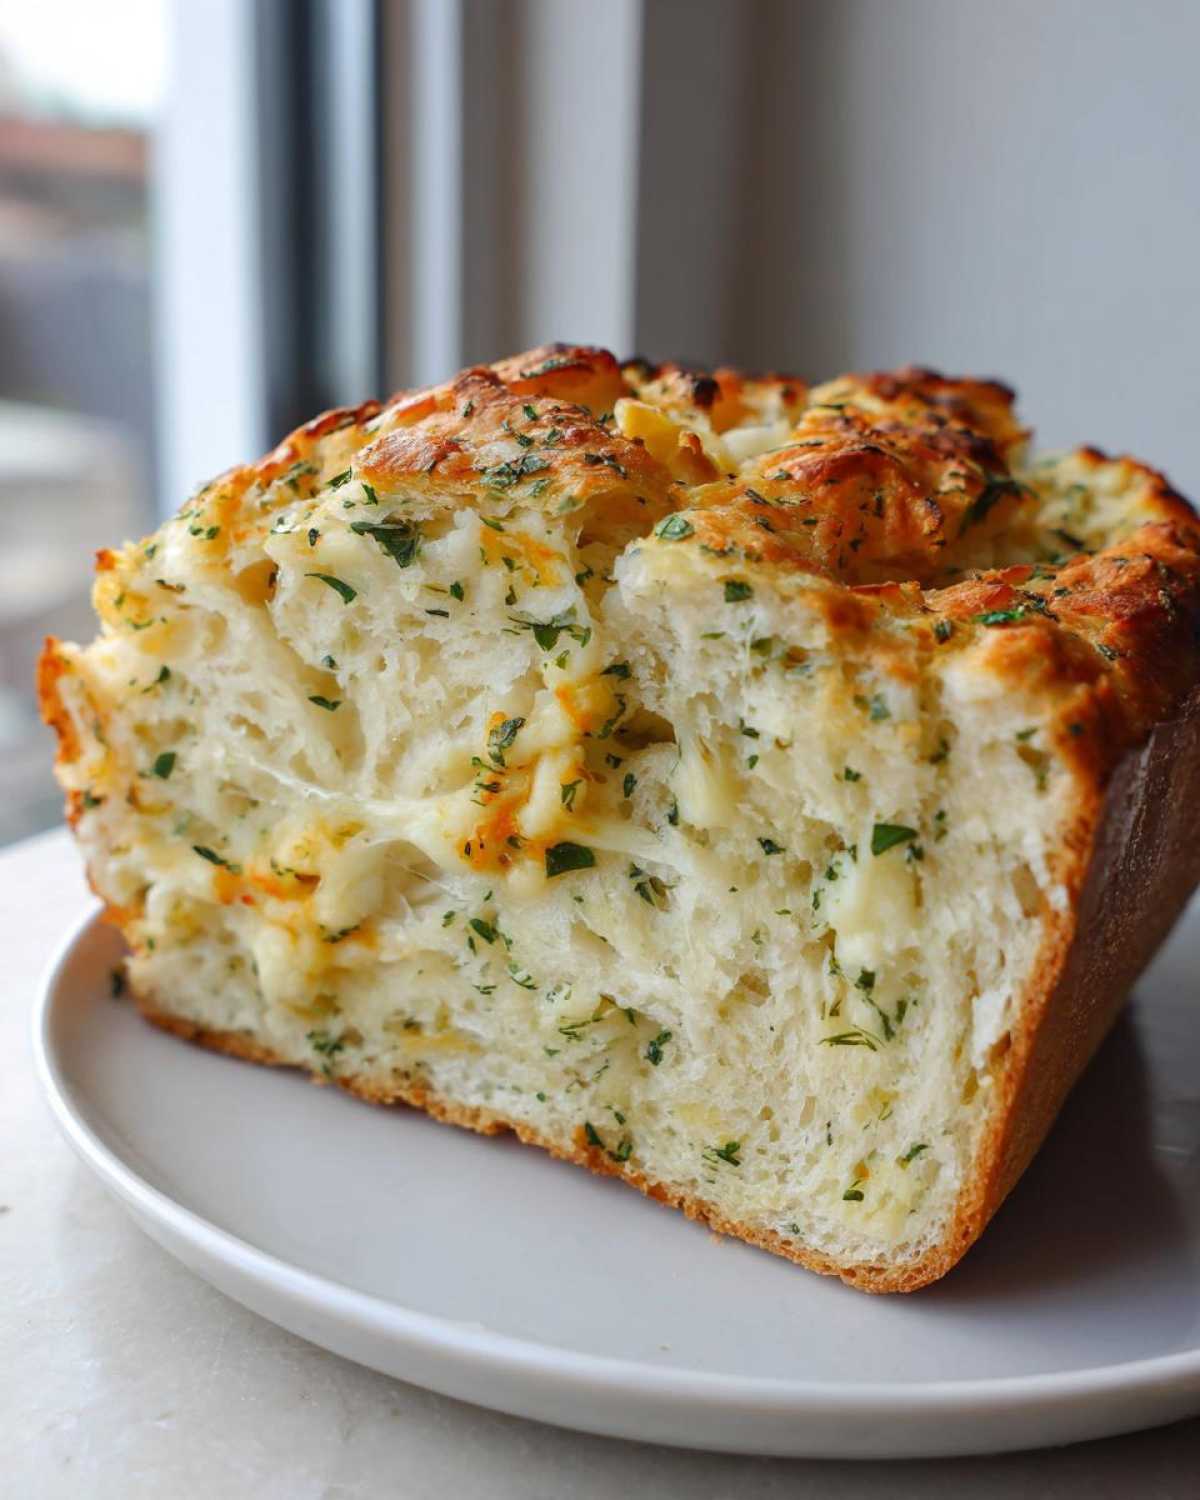
I’ve burned a few batches trying to shortcut things, so listen up! These little nuggets will ensure your Bread Machine Italian Herb Bread Loaded with Cheese and Garlic comes out perfect every time. First off, I already mentioned it, but I have to scream it again: Bread flour is your best friend here. Don’t even look at that AP flour; we need maximum structure for this heavy, cheesy dough.
Remember that note about the delayed start? Do NOT use it! Fresh garlic is your friend for flavor, but if it sits too long mixed with yeast and liquid, it can slow down or even stop the main rise, leaving you with a sad, squat loaf. I learned that the hard way.
Here is my personal addition for a better rise: check the temperature of that warm water AND your flour. Your kitchen should be reasonably warm, too. If your ingredients are ice cold straight from storage, the yeast won’t wake up happily, even if the water is perfect. If it’s a cold morning, I gently warm my flour in a bowl placed over hot (not boiling!) water for about five minutes before I start. It just wakes everything up! For more advanced bread machine love, check out my advanced homemade bread maker recipes lineup!
Making This an Artisan Bread in a Bread Maker: Oven Finish Option
So, you want that crackly, bakery-style crust that usually only comes from a Dutch oven? I totally get it! While the standard machine cycle makes a fantastic soft loaf, you can absolutely trick your machine into giving you that artisan quality. If you select the ‘Dough’ setting instead of the full ‘Bake’ cycle, the machine does all the heavy lifting—the mixing and the rising. Once it signals the end of the rise program, you pop out that dough, shape it gently if you want, and bake it in your regular oven!
You’ll want to preheat your oven to 375°F. Place that dough—maybe in a greased loaf pan or on a baking sheet—and let it bake for about 30 to 35 minutes. That extra dry heat from the oven turns the outside golden brown and adds the perfect crunch. It totally elevates our Artisan bread in a bread maker game! For future crust projects, you might get some inspiration from my guide on no-knead baking, even though this recipe is designed for the machine!
Storing and Reheating Your Cheesy Herb Bread Machine Loaf
This bread is so good you’ll probably eat it all in one day, but if you have leftovers, you need to store it right so that cheese stays soft! Keep this Cheesy herb bread loaf at cool room temperature, sealed tightly in a plastic bag or container. Please don’t put it in the fridge; bread gets stale so fast in the cold! If you want to reheat a slice, wrap it in foil and pop it into a 300°F oven for about ten minutes. That brings the garlic scent right back and melts that interior cheese just perfectly!
Frequently Asked Questions About Bread Machine Italian Herb Bread
I always get asked the same questions when people see how amazing this loaf turns out, especially since bread machine recipes can sometimes be fussy! People want to know how to tweak things without ruining the loaf. Don’t worry if you need to make little adjustments; that’s what cooking is all about! I’ve gathered my best advice right here to help you master your Bread Machine Italian Herb Bread. If you want more tips on similar recipes, check out my thoughts on a general herb bread recipe for bread maker style!
Can I substitute fresh herbs for the dried Italian seasoning in this Bread Machine Italian Herb Bread?
Yes, you absolutely can! Dried herbs are more concentrated, so the general rule is to use about three times the amount of fresh herbs compared to dried. If the recipe calls for 2 teaspoons of dried Italian seasoning, try using about 2 tablespoons of freshly chopped basil, oregano, and thyme mixed together. Just remember that fresh herbs add a tiny bit more moisture, so they work best when you keep the liquid content exactly the same!
What is the best cheese substitute for this Machine Bread Loaded with Cheese?
The combination of mozzarella and Parmesan is designed for melt and flavor punch, but if you don’t have them, don’t panic! For great melting action in your Machine Bread Loaded with Cheese, try substituting the mozzarella with something like Monterey Jack or a good quality Gruyère. Gruyère adds a slightly nuttier, richer taste that is incredible with the garlic. Just make sure whatever you use is well-shredded!
Is it okay if my bread maker doesn’t have a mix-in signal?
This is a super common issue with older or entry-level machines! If your machine doesn’t beep to signal the mix-in time, you need to time it manually. Watch your manual to see how long the initial kneading cycle runs—it’s usually about 15 to 20 minutes. Wait until the dough has formed a nice ball and you can see it’s smooth, then open the lid immediately and add that remaining mozzarella. Close it up fast; we’re just relying on the gentle folding action of the next knead or the start of the rise!
Can I use garlic salt instead of regular salt and garlic powder?
You can try, but you have to be really careful! Garlic salt packs a much stronger sodium punch than plain salt mixed with garlic powder. If you swap, I would cut the regular salt down drastically, maybe to just 1/2 teaspoon. Taste it before you add the yeast—if it seems too salty, add a tiny splash more water instead. It’s much easier to just keep the separate salt and garlic powder, though, to really control the savory level in your Herb bread recipe for bread maker!
Serving Suggestions for Your Savory Bread Maker Recipes
Once you smell this cheesy, herby loaf coming out of the machine, you’ll want to eat it immediately. Seriously, the aroma alone is intoxicating! This Bread Machine Italian Herb Bread Loaded with Cheese and Garlic is just as good as any restaurant bread. It’s fantastic served warm with a simple drizzle of good quality olive oil mixed with a pinch of red pepper flakes. It is also the ABSOLUTE perfect sidekick for a big bowl of soup. Honestly, you must try it with my easy French Onion Soup—the savory bread just soaks up the broth beautifully. And naturally, it’s mandatory alongside any rich pasta dish to mop up that extra sauce!
Estimated Nutritional Data for This Loaf
I always feel a little dizzy looking at the nutrition facts for something this delicious, but hey, we used fresh garlic and real cheese, so it’s a real loaf of bread! Knowing what’s in your Bread Machine Italian Herb Bread Loaded with Cheese and Garlic is smart, even if you’re planning to eat the whole thing in one sitting. Here are the estimated values I ran for one slice of this cheesy masterpiece. Just remember, these numbers are based on the exact measurements I listed, so if you sneak in an extra handful of Parmesan, the sodium goes up!
- Serving Size: 1 slice
- Calories: 210
- Sugar: 2g
- Sodium: 350mg
- Fat: 6g
- Saturated Fat: 3g
- Unsaturated Fat: 3g
- Trans Fat: 0g
- Carbohydrates: 34g
- Fiber: 1g
- Protein: 7g
- Cholesterol: 15mg
Just a quick heads-up: these nutritional estimates are calculated based on the ingredients specified in the recipe card. They are there to give you a good idea, but they aren’t lab-tested, you know? For detailed specifics on how we handle all our recipes and data integrity, you can check out our full nutritional disclaimer here. Happy baking!
PrintBread Machine Italian Herb Bread Loaded with Cheese and Garlic
Make a flavorful Italian herb and cheese loaf easily using your bread machine. This recipe includes fresh garlic and generous amounts of cheese mixed into the dough.
- Prep Time: 10 min
- Cook Time: 3 hr 30 min (machine cycle)
- Total Time: 3 hr 40 min
- Yield: 1 loaf
- Category: Bread
- Method: Bread Machine
- Cuisine: Italian
- Diet: Vegetarian
Ingredients
- 1 cup warm water (105-115°F)
- 2 tablespoons olive oil
- 3 cups bread flour
- 1 tablespoon granulated sugar
- 1 1/2 teaspoons salt
- 2 teaspoons dried Italian seasoning blend
- 1 teaspoon garlic powder
- 2 cloves fresh garlic, minced finely
- 1 cup shredded mozzarella cheese, divided
- 1/2 cup shredded Parmesan cheese
- 2 1/4 teaspoons active dry yeast
Instructions
- Place the warm water and olive oil into the bread machine pan in the order recommended by your machine’s manual (usually liquids first).
- Add the bread flour, sugar, salt, Italian seasoning, and garlic powder to the pan. Create a small well in the center of the flour.
- Add the minced fresh garlic into the well.
- Sprinkle the yeast over the top of the flour, avoiding contact with the liquid if possible.
- Add 3/4 cup of the mozzarella cheese and all of the Parmesan cheese on top of the flour mixture. Reserve the remaining 1/4 cup mozzarella for later.
- Select the basic or white bread cycle on your machine. Start the kneading cycle.
- When the machine signals the addition of mix-ins (usually after the initial kneading phase), quickly open the lid and scatter the reserved 1/4 cup mozzarella cheese over the dough. Close the lid immediately.
- Allow the machine to complete the full cycle, including rising and baking.
- Once the cycle finishes, carefully remove the bread from the pan and place it on a wire rack to cool completely before slicing.
Notes
- For best results, use bread flour for a better texture.
- If your machine has a delayed start, do not use it, as the fresh garlic may spoil the dough.
- If you prefer a crustier loaf, use the ‘Dough’ setting and bake in a preheated oven at 375°F for 30-35 minutes after the machine finishes the rise cycle.
Nutrition
- Serving Size: 1 slice
- Calories: 210
- Sugar: 2
- Sodium: 350
- Fat: 6
- Saturated Fat: 3
- Unsaturated Fat: 3
- Trans Fat: 0
- Carbohydrates: 34
- Fiber: 1
- Protein: 7
- Cholesterol: 15