

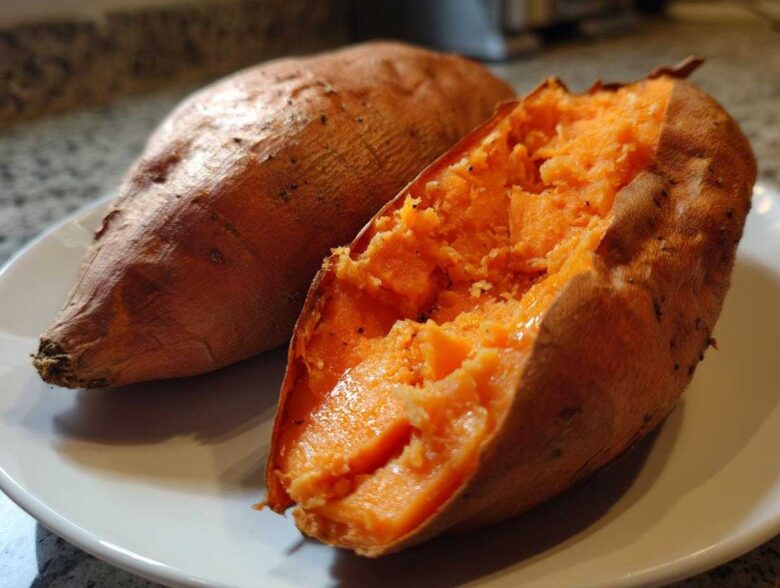
If you’ve ever cut into a baked sweet potato only to find the inside gummy or stubbornly hard, you know the disappointment. Fear not! Ethan and I have spent many kitchen hours perfecting this method, and I promise this is the no-fuss blueprint for achieving that impossibly fluffy and tender interior every single time. We call it our gold standard for a baked sweet potato. This recipe truly captures both my research-driven precision and Ethan’s gut feeling for flavor. We’ve tested this on every size and shape, ensuring you get that perfectly caramelized skin and creamy center without fail. For tons more of our tested tips and recipe discussions, check out the rest of the site over at our blog. We hope it helps you find a happy rhythm in your own oven!
Why You’ll Love This Easy Baked Sweet Potato Method
Honestly, you’ll probably never go back to any other way after trying our method. We designed this specifically so you aren’t fussing over complicated steps when you could be doing something else! We rely on this for healthy weeknight sides.
- It’s incredibly satisfying to serve, since the texture is just spot-on.
- It requires almost no active cooking time from me or Ethan—just a few minutes of prep!
- It’s a naturally healthy side dish that pairs with literally anything you decide to make for dinner.
Perfect Texture Every Time
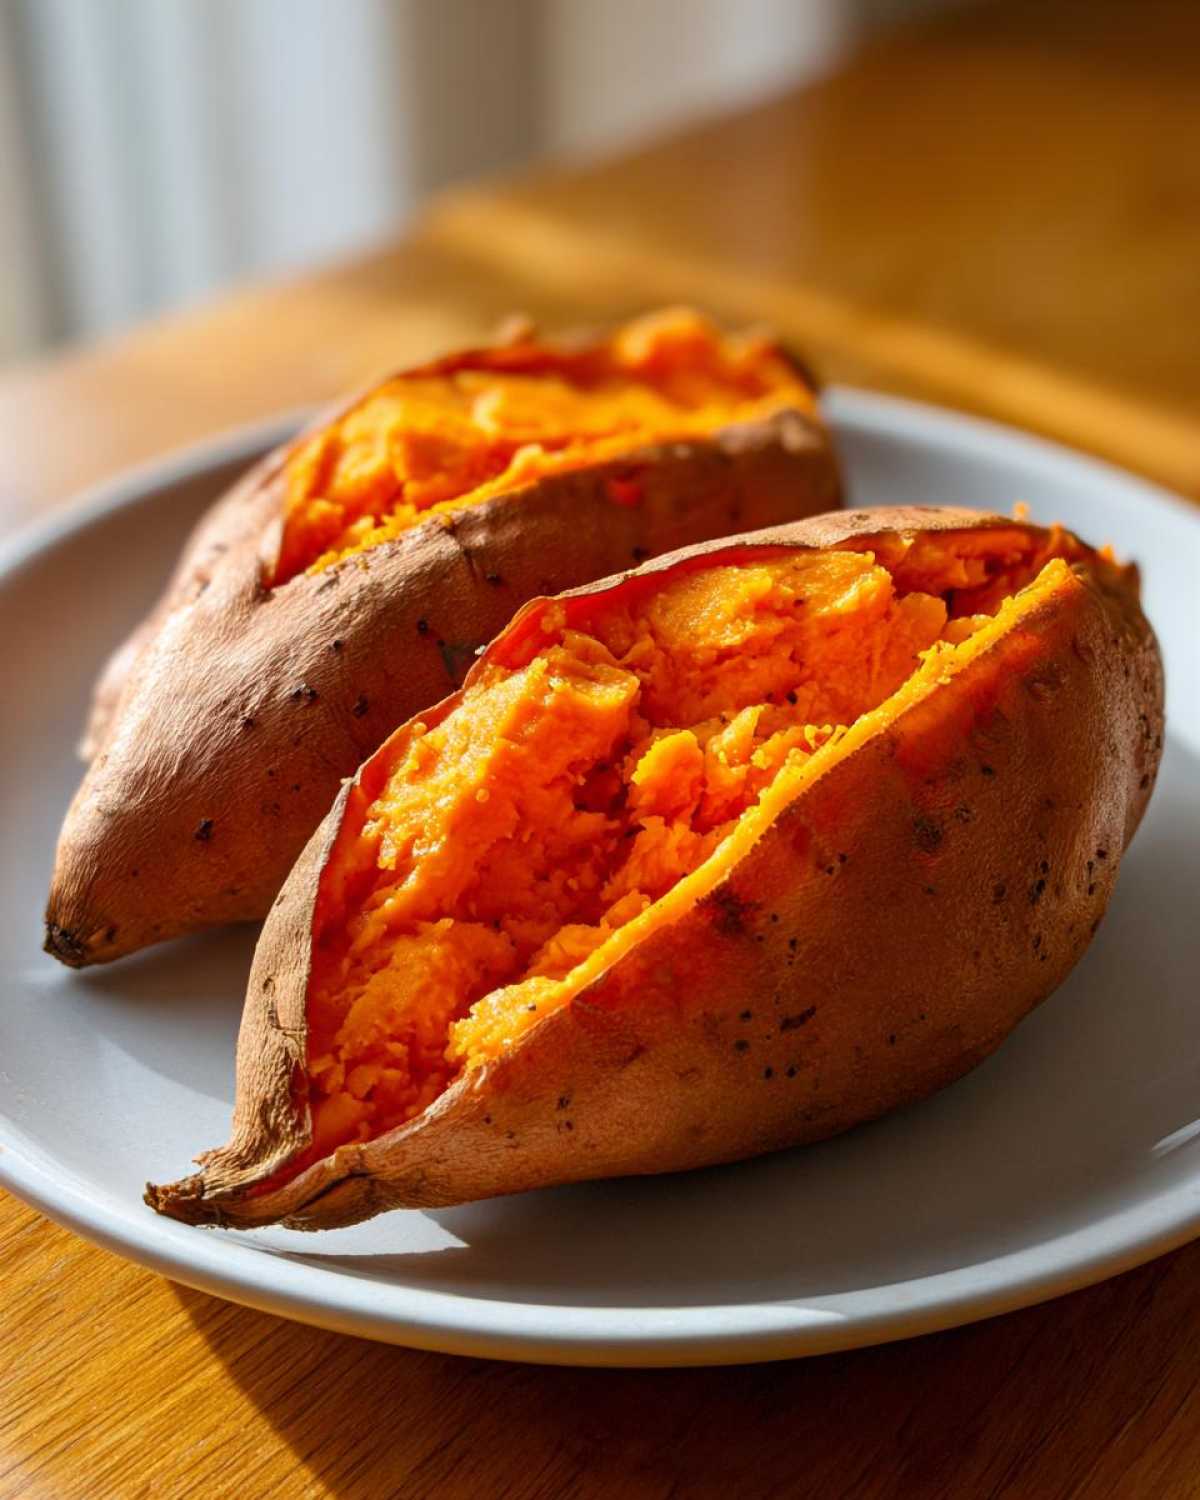
We nail the internal texture every single time because we don’t trap the steam. This means you get an interior that’s cloud-like and fluffy, while the skin snaps satisfyingly when you bite into it. It’s the contrast that makes it amazing.
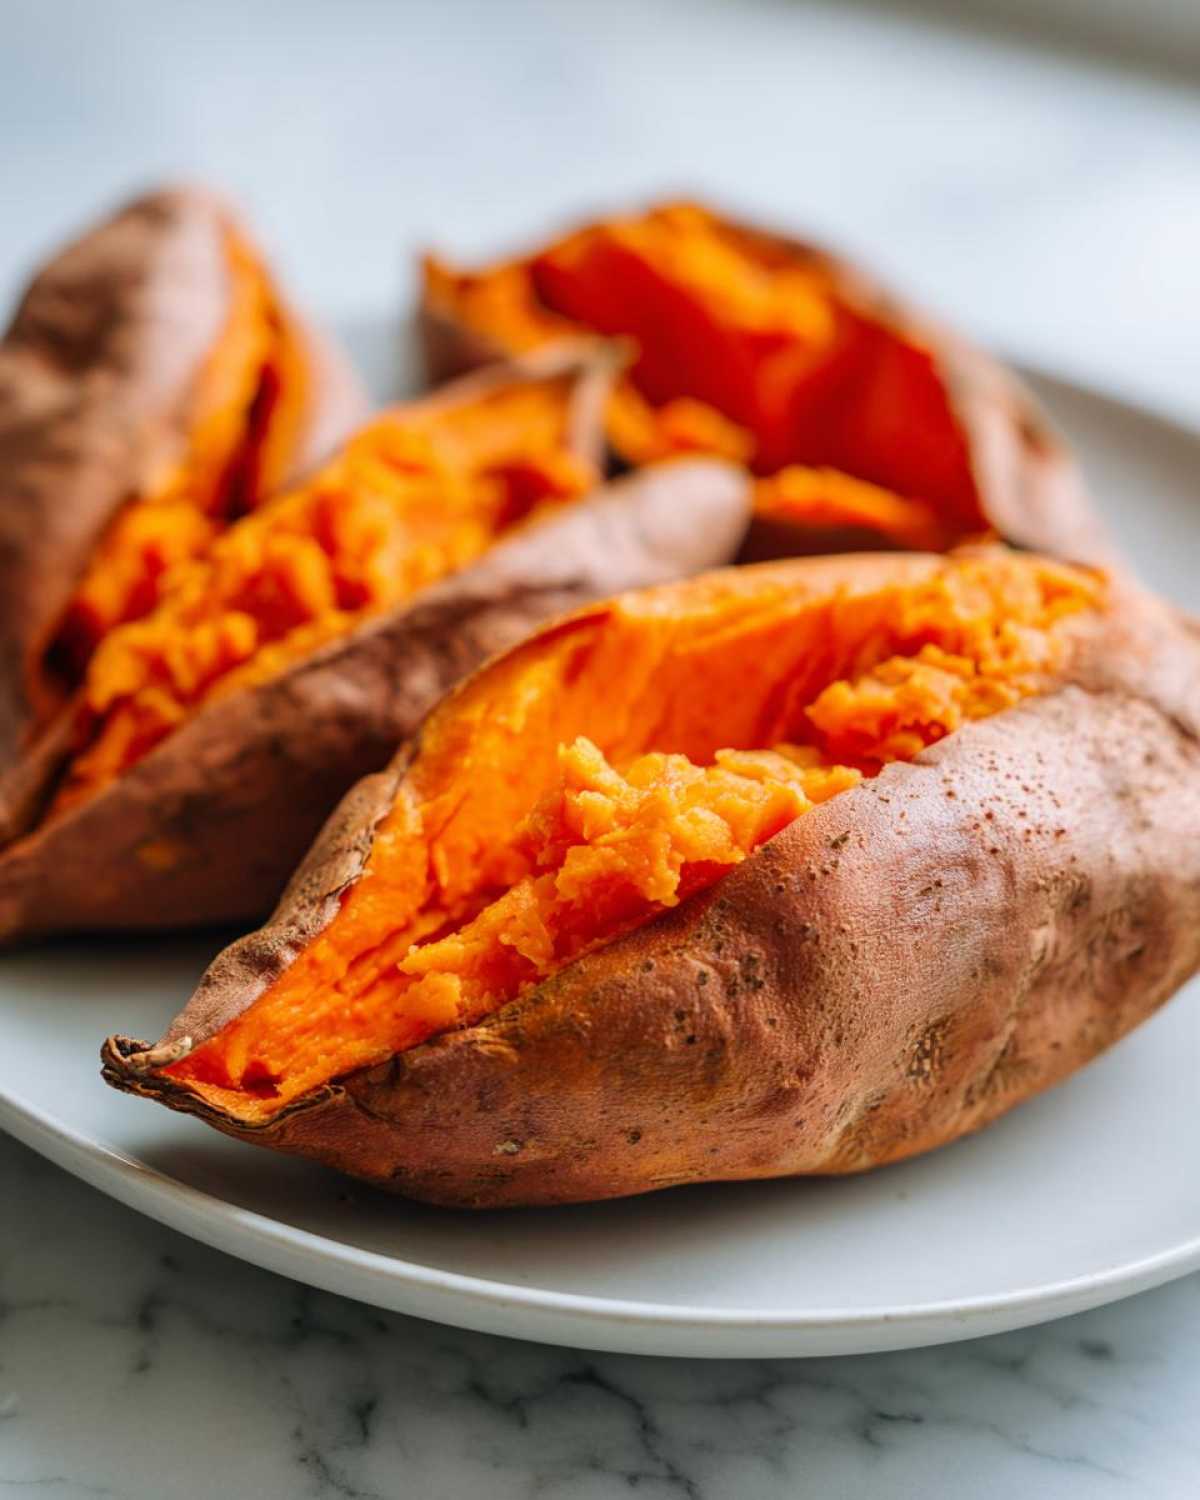
Minimal Prep for Your Baked Sweet Potato
You seriously only need about five minutes to get these in the oven, which is fantastic when you’re trying to juggle a busy dinner schedule. Just a quick scrub, a little rubdown with oil, and a sprinkle of salt and pepper, and your baked sweet potato is ready for its heat bath!
Gathering Ingredients for the Best Baked Sweet Potato
Trust me on this one: using the right, simple ingredients makes all the difference between a decent potato and one that makes your guests ask for the recipe. Since this is such a pure recipe, we can’t hide behind heavy sauces or crazy additions. Everything has to be just right. Ethan often complains when I try to sneak in store-brand seasonings, but for this, we stick to the basics and build quality from there. If you’re looking for something a little sweeter next time, our candied sweet potatoes recipe is an absolute showstopper, but for this classic bake, keep it clean!
Essential Components for Baked Sweet Potato
You only need four things, but attention to quality matters! Make sure you start with firm, healthy potatoes. We recommend using 4 medium sweet potatoes for this batch size. If you substitute, remember that size greatly affects your cooking time!
- 4 medium sweet potatoes, making sure they are scrubbed super clean.
- 1 tablespoon of good quality olive oil—we like one that tastes fresh!
- 1 teaspoon of coarse salt. That texture helps grip the skin.
- 1/2 teaspoon of freshly cracked black pepper. Don’t just use the dusty stuff from the bottom of the shaker.
Expert Tips for How to Bake Sweet Potatoes Perfectly
Okay, this is where the magic formula really kicks in—the stuff they don’t always tell you in the simplest recipe cards. This knowledge comes from me digging into temperature science and Ethan reminding me that a good cook trusts their intuition about steam control! We’ve found that the result of these two approaches is a truly fantastic baked sweet potato. If you want to elevate your roast game overall, our recipe for roasted sweet potatoes with brown sugar glaze is next level, but let’s focus on this simple bake for now.
Why You Should Skip the Foil When Making Baked Sweet Potato
This is a big one! You might be tempted to wrap your potatoes in foil because it seems cleaner for cleanup, but please, grab that oven rack directly. Foil traps all the moisture escaping from the potato—it basically steams the outside of your sweet potato instead of letting it dry out and crisp up. We want caramelized, slightly crackly skin, not soggy wrapping paper residue. If you’re looking for another great, fuss-free vegetable idea, check out the simple bake over at Mom on Timeout—they agree about skipping the foil, too!
The Importance of Pricking the Skin
Ethan once skipped this step because he was rushing to check on something else, and honey, we nearly had a potato explosion! When you bake a whole sweet potato, the moisture inside turns to steam. If that steam has no easy escape route, the pressure builds up, and the skin can burst violently. It’s a safety thing! Just grab a fork and poke it 5 or 6 good times all over. It lets that built-up steam drift away gently, ensuring a fluffy inside and keeping your oven door sealed tight.
Step-by-Step Instructions for Your Baked Sweet Potato
Now that we’ve talked about the secrets to quality ingredients and avoiding potato explosions, let’s get these beauties in the oven! This process is really straightforward once you know the rhythm. I rely on Maya’s notes to make sure I get the temperature exactly right, while Ethan just eyeballs the seasoning—it’s our perfect system!
Remember, heat is key here. We are baking these at a hot 400 degrees Fahrenheit. If you need a delicious recipe to bake *alongside* your potatoes, I highly recommend trying out our sweet potato cornbread recipe. It’s the perfect pairing!
Prep and Seasoning the Potatoes
First things first: turn that oven on to 400°F right now so it has time to get nice and hot while you work on the prep. You need to scrub those potatoes really well under running water—you want zero dirt spots left behind. Once scrubbed, pat them completely dry with a paper towel; moisture equals steam, and we want crispy skin!
Next, grab your fork and prick each potato several times all over. This seems small, but it’s vital for letting the steam escape! After pricking, rub the entire surface of every potato gently with that olive oil we talked about. Then, sprinkle them evenly with the coarse salt and that freshly cracked pepper. They should look lightly coated and ready to shine.
Baking Time and Doneness Test for Baked Sweet Potato
This is the point where patience comes in. Place your seasoned potatoes directly onto the middle oven rack. Seriously, no baking sheet, no foil—we need that direct heat for that crispy skin we worked so hard to achieve! You’re looking at 45 to 60 minutes, depending on how big or small your potatoes were.
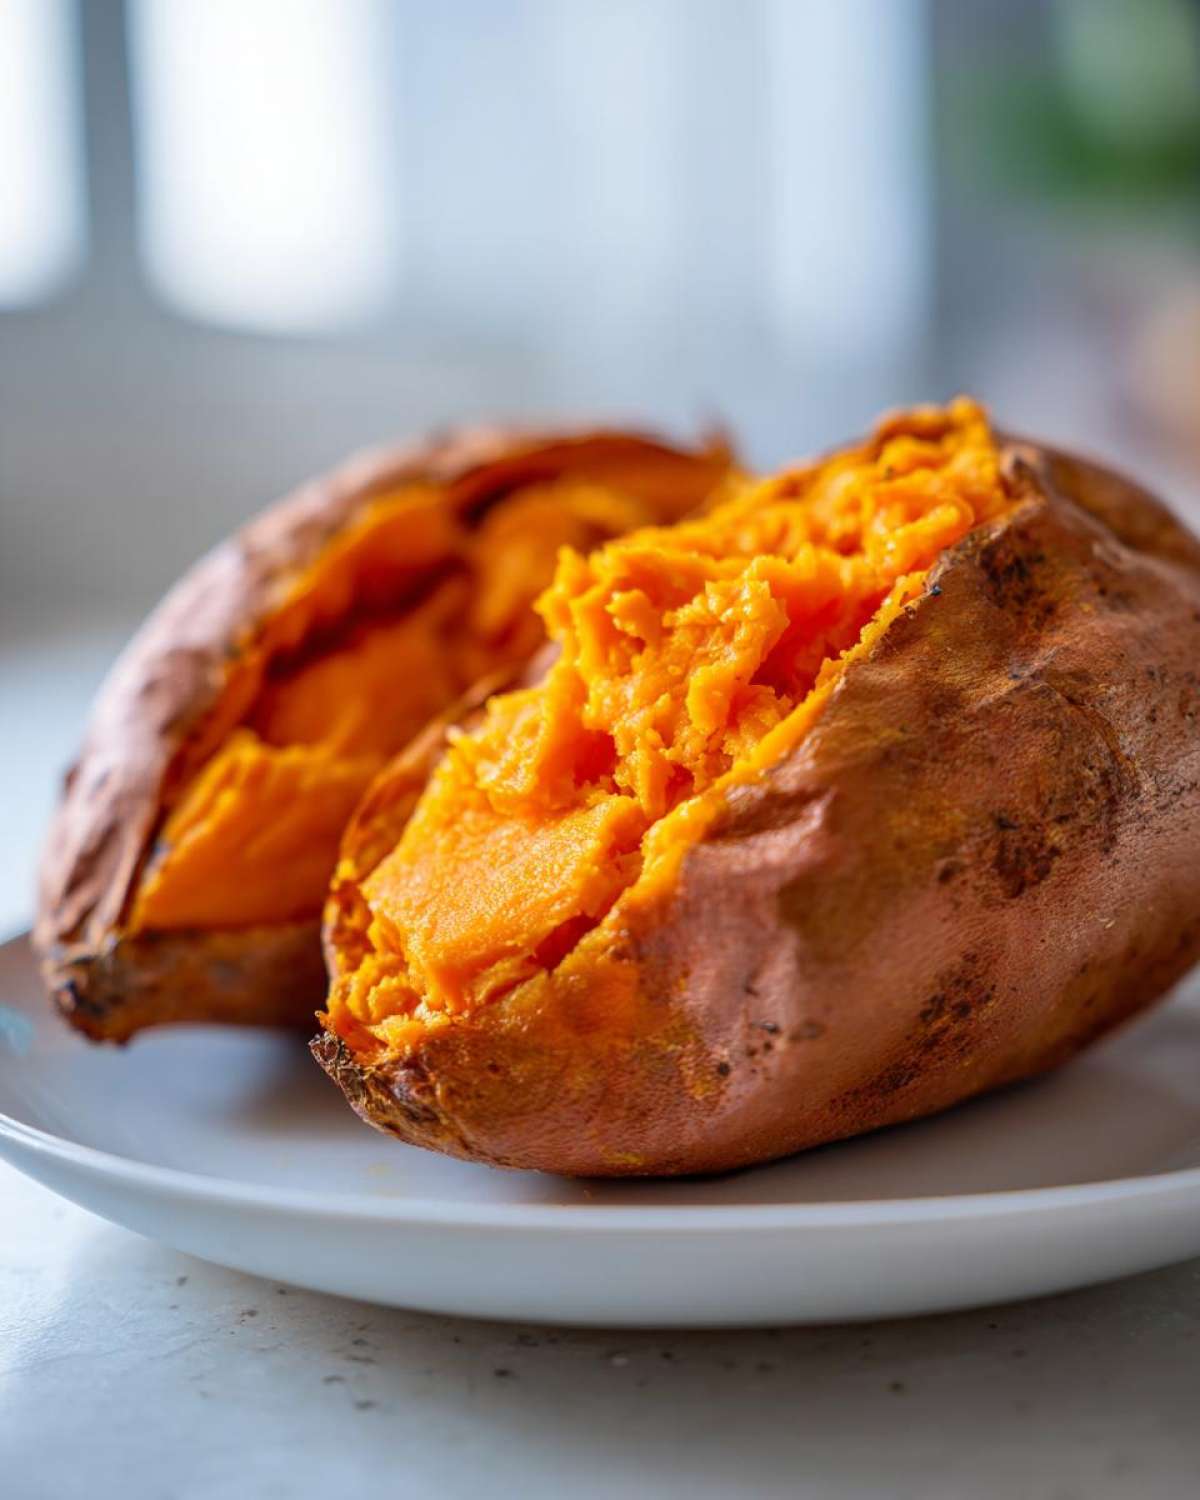
How do you know when a baked sweet potato is done? Forget setting a timer and walking away! The only real test is tenderness. You need to easily pierce the thickest part of the potato right through to the center with a fork. If it resists at all, give it another 5 or 10 minutes. Once they’re tender and soft, pull them out. If you want to see how another great food site handles this bake, check out the tips from Budget Bytes!
Serving Suggestions for a Fluffy Sweet Potato
The best part about baking sweet potatoes this way is how versatile they are once they come out of the oven! You’ve worked hard to get that perfect fluffy interior, and now it needs the right finishing touches. Ethan loves to mash the insides right in the skin so he can mix in toppings easily. It’s one of those simple things that just makes the whole experience feel more comforting, turning a regular side dish into something truly special. If you’re looking for other veggie upgrades, our recipe for roasted carrots with honey garlic butter is another easy win for weeknight meals!
Simple Topping Ideas
To be honest, when the potato is this good, you don’t need much! Sometimes, a simple dusting of brown sugar is all you need to enhance the natural sweetness—Ethan insists on this when he’s feeling nostalgic. I’m also a huge fan of whipping up a quick cinnamon butter. It just melts down beautifully into those hot, fluffy layers.
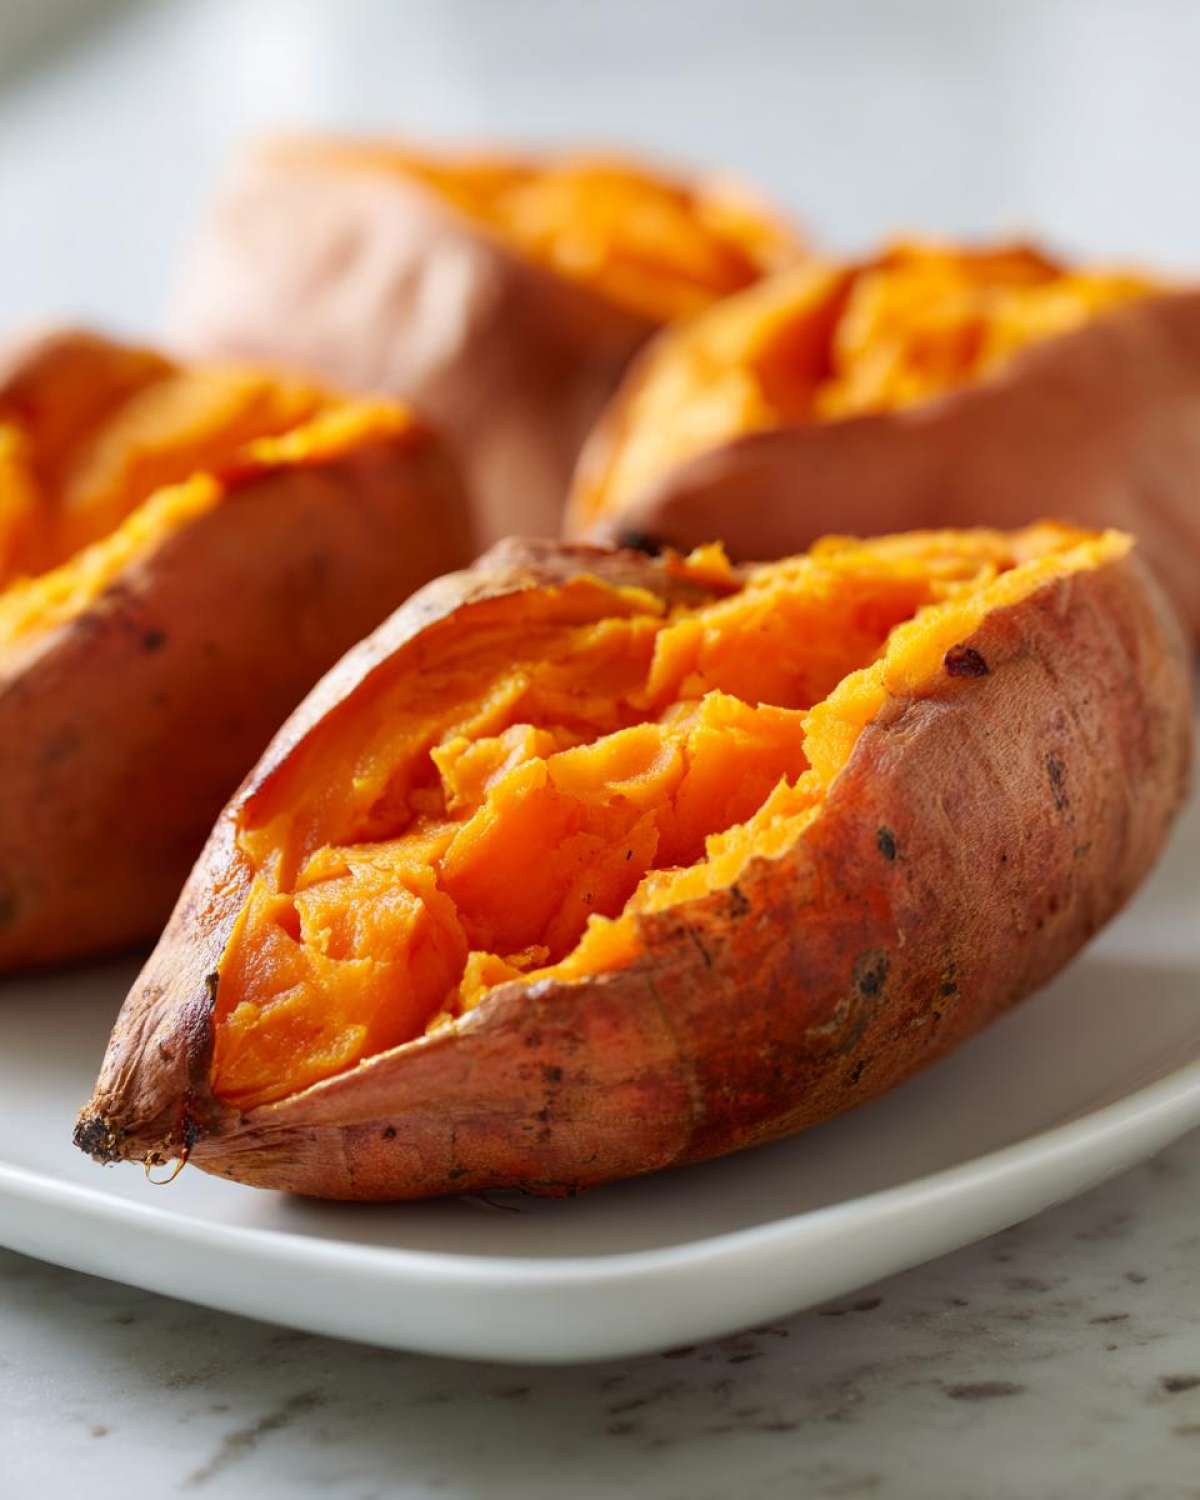
You can keep it savory too, but if you’re leaning sweet, just a tiny bit of either of those toppings takes your baked sweet potato to dessert quality, even if it’s just served alongside roasted chicken! If you want some totally different topping inspiration, check out the ideas shared over at Yummify Food; they have some really fun takes on loaded potatoes!
Storage and Reheating Instructions for Baked Sweet Potato
We almost never have leftovers because these go so fast, but when we do, knowing how to store them properly is key to keeping that fluffy internal texture alive. You don’t want them getting dried out in the fridge! If you’re batch cooking for meal prep, which Ethan highly promotes for busy weeks, follow these steps, and your baked sweet potato will taste almost as good the next day.
First, you have to let those potatoes cool down completely before you wrap them up. Putting warm food in a sealed container is just asking for soggy skin! Once they are room temperature, wrap each potato tightly in plastic wrap first. This traps most of the remaining moisture inside the potato itself.
Then, you can place the wrapped potatoes into an airtight container or a large zip-top bag. Stored this way, they’ll be perfectly fine in the refrigerator for about three to four days. Don’t try to keep them longer than that, though; they’re best eaten fresh!
Now, reheating is crucial to bringing back the fluff. Ethan actually prefers reheating them in the microwave—it’s faster, but you have to be careful not to overdo it. Zap it for about 60 to 90 seconds, just until it’s hot again, then immediately put it in a toaster oven or a regular oven set to 350°F for about five minutes. That short blast in the dry oven heat helps firm up the skin again for that perfect bite!
Frequently Asked Questions About Oven Baked Sweet Potatoes
I know you might still have a few lingering questions floating around, especially if this is your first time trying our no-foil method! Ethan and I get asked the same few things all the time, so I pulled the most common queries together here. It’s all about nailing that perfect timing and size for your family’s dinner.
Can I make the baked sweet potato ahead of time?
Yes, you absolutely can! We talked about this in the storage section, but I’ll reiterate because it’s so handy for meal prep. You can definitely bake them, let them cool completely, and wrap them up tightly. They stay great in the fridge for about three or four days. When you reheat them, remember the trick: a quick zap in the microwave followed by a short finish in a hot oven brings back that slightly crispy skin we love so much!
What if my sweet potatoes are very large or very small?
That 45 to 60-minute window is based on a medium size, usually about the size of your fist or a little bigger. If you have some giant monsters, you might need an extra 10 to 15 minutes, but always rely on testing with the fork—don’t just trust time when dealing with massive veggies! For the tiny ones (the mini ones you sometimes see?), they might be done at the 35-minute mark. If they are tiny, I’d start checking them around the 30-minute mark. You should definitely check out some great tips on timing variation for oven baked sweet potatoes over at Evolving Table, too.
Is there a way to speed up baking a sweet potato?
Oh, if you are in a huge hurry, yes! Ethan actually loves this little shortcut sometimes when dinner is running late. You can cut your bake time nearly in half if you use the microwave first. You want to prick the potatoes just like we talked about, but then microwave them on high for about five minutes first. This jump-starts the cooking process inside. Then, pop them in that 400°F oven and they’ll cook much faster—maybe only 20 to 30 minutes on the rack. It saves energy and time!
If you’re looking for another quick recipe that uses stellar ingredients, check out our easy chocolate mousse recipe—it seems fancy, but it’s shockingly simple!
Estimated Nutrition for This Baked Sweet Potato Recipe
Since we are focusing on natural, healthy ingredients here, the numbers are great! Remember, this is an estimate based on one medium potato, and we are only accounting for the oil and seasoning we added, not any toppings you choose to load on afterward. We find figuring out the nutrition keeps us honest, even when we’re indulging a little!
- Serving Size: 1 potato
- Calories: 180
- Sugar: 13g (mostly natural sweetness!)
- Sodium: 230mg
- Fat: 0.5g
- Carbohydrates: 41g
- Protein: 4g
Share Your Perfect Baked Sweet Potato Results
We truly hope that following these steps helps you achieve fluffy, tender sweet potatoes every time you turn on your oven. Cooking is all about conversation, so once you’ve tried this, please come back and let us know how it went! Did you try one of the faster methods? What toppings did you use? We love seeing your successes, so feel free to tag us or send us a note through our contact page!
Your feedback helps us refine these recipes even more for future readers. If you loved this method, please leave us a rating below. Happy cooking from both me, Maya, and Ethan!
Estimated Nutrition for This Baked Sweet Potato Recipe
Since we are focusing on natural, healthy ingredients here, the numbers are great! Remember, this is an estimate based on one medium potato, and we are only accounting for the oil and seasoning we added, not any toppings you choose to load on afterward. We find figuring out the nutrition keeps us honest, even when we’re indulging a little!
- Serving Size: 1 potato
- Calories: 180
- Sugar: 13g (mostly natural sweetness!)
- Sodium: 230mg
- Fat: 0.5g
- Carbohydrates: 41g
- Protein: 4g
Share Your Perfect Baked Sweet Potato Results
We truly hope that following these steps helps you achieve fluffy, tender sweet potatoes every time you turn on your oven. Cooking is all about conversation, so once you’ve tried this, please come back and let us know how it went! Did you try one of the faster methods? What toppings did you use? We love seeing your successes, so feel free to tag us or send us a note through our contact page!
Your feedback helps us refine these recipes even more for future readers. If you loved this method, please leave us a rating below. Happy cooking from both me, Maya, and Ethan!
PrintHow to Bake Perfect Sweet Potatoes: Fluffy and Tender Every Time

Learn the simple, no-fuss method for baking sweet potatoes that results in a creamy interior and perfectly caramelized skin. This is your go-to recipe for a healthy, delicious side dish.
- Prep Time: 5 min
- Cook Time: 50 min
- Total Time: 55 min
- Yield: 4 servings
- Category: Side Dish
- Method: Baking
- Cuisine: American
- Diet: Vegetarian
Ingredients
- 4 medium sweet potatoes
- 1 tablespoon olive oil
- 1 teaspoon coarse salt
- 1/2 teaspoon black pepper
Instructions
- Preheat your oven to 400 degrees Fahrenheit.
- Scrub the sweet potatoes well under running water to remove any dirt. Pat them completely dry with a paper towel.
- Prick each sweet potato several times all over with a fork. This allows steam to escape during baking.
- Rub the entire surface of each potato with olive oil.
- Sprinkle the potatoes evenly with salt and pepper.
- Place the seasoned potatoes directly onto the oven rack. Do not use foil; this helps the skin crisp up.
- Bake for 45 to 60 minutes, depending on the size of your potatoes. You know they are done when you can easily pierce the center with a fork.
- Remove the potatoes from the oven. Let them cool for about 5 minutes before slicing them open lengthwise.
- Fluff the inside flesh with a fork and serve immediately with your favorite toppings.
Notes
- For an extra sweet potato flavor boost, try rubbing a small amount of coconut oil instead of olive oil on the skin before seasoning.
- If you are short on time, you can microwave the potatoes for 5 minutes before baking to reduce the oven time.
- These baked sweet potatoes are fantastic served with cinnamon butter or a sprinkle of brown sugar for a sweeter treat.
Nutrition
- Serving Size: 1 potato
- Calories: 180
- Sugar: 13
- Sodium: 230
- Fat: 0.5
- Saturated Fat: 0.1
- Unsaturated Fat: 0.4
- Trans Fat: 0
- Carbohydrates: 41
- Fiber: 6
- Protein: 4
- Cholesterol: 0