

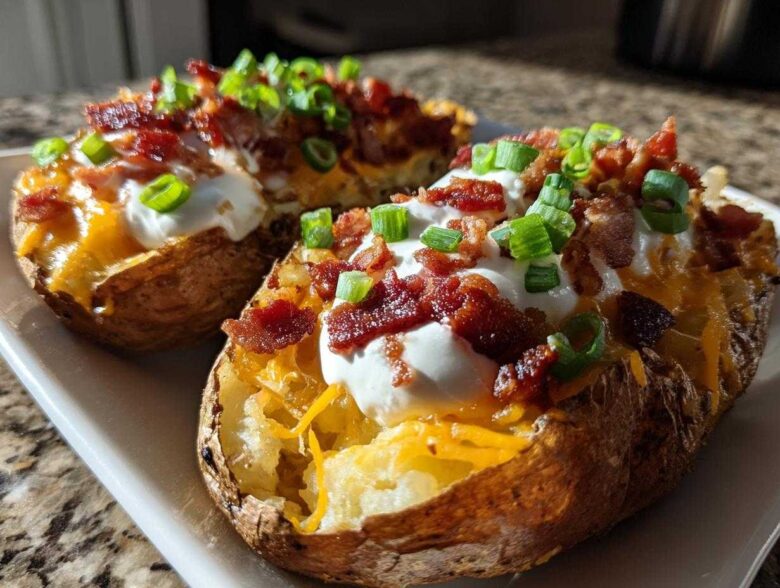
You know those moments when you need an appetizer that screams ‘comfort’ but also has that satisfying, audible crunch? That’s what we’re chasing today! Forget those floppy, sad potato leftovers you sometimes see. We are diving deep into the art of making the absolute **best potato skins**—the kind you fight your family over at game night.
My goal here isn’t just to give you a recipe; it’s to teach you the secret technique for achieving those perfectly crispy potato shells that hold up against mountains of cheese and bacon. Seriously, the texture is non-negotiable! These are the ultimate loaded snacks, and once you nail the initial bake and the crucial second crisping step, you’ll never look back. Trust me, these cheesy potato skins are party gold.
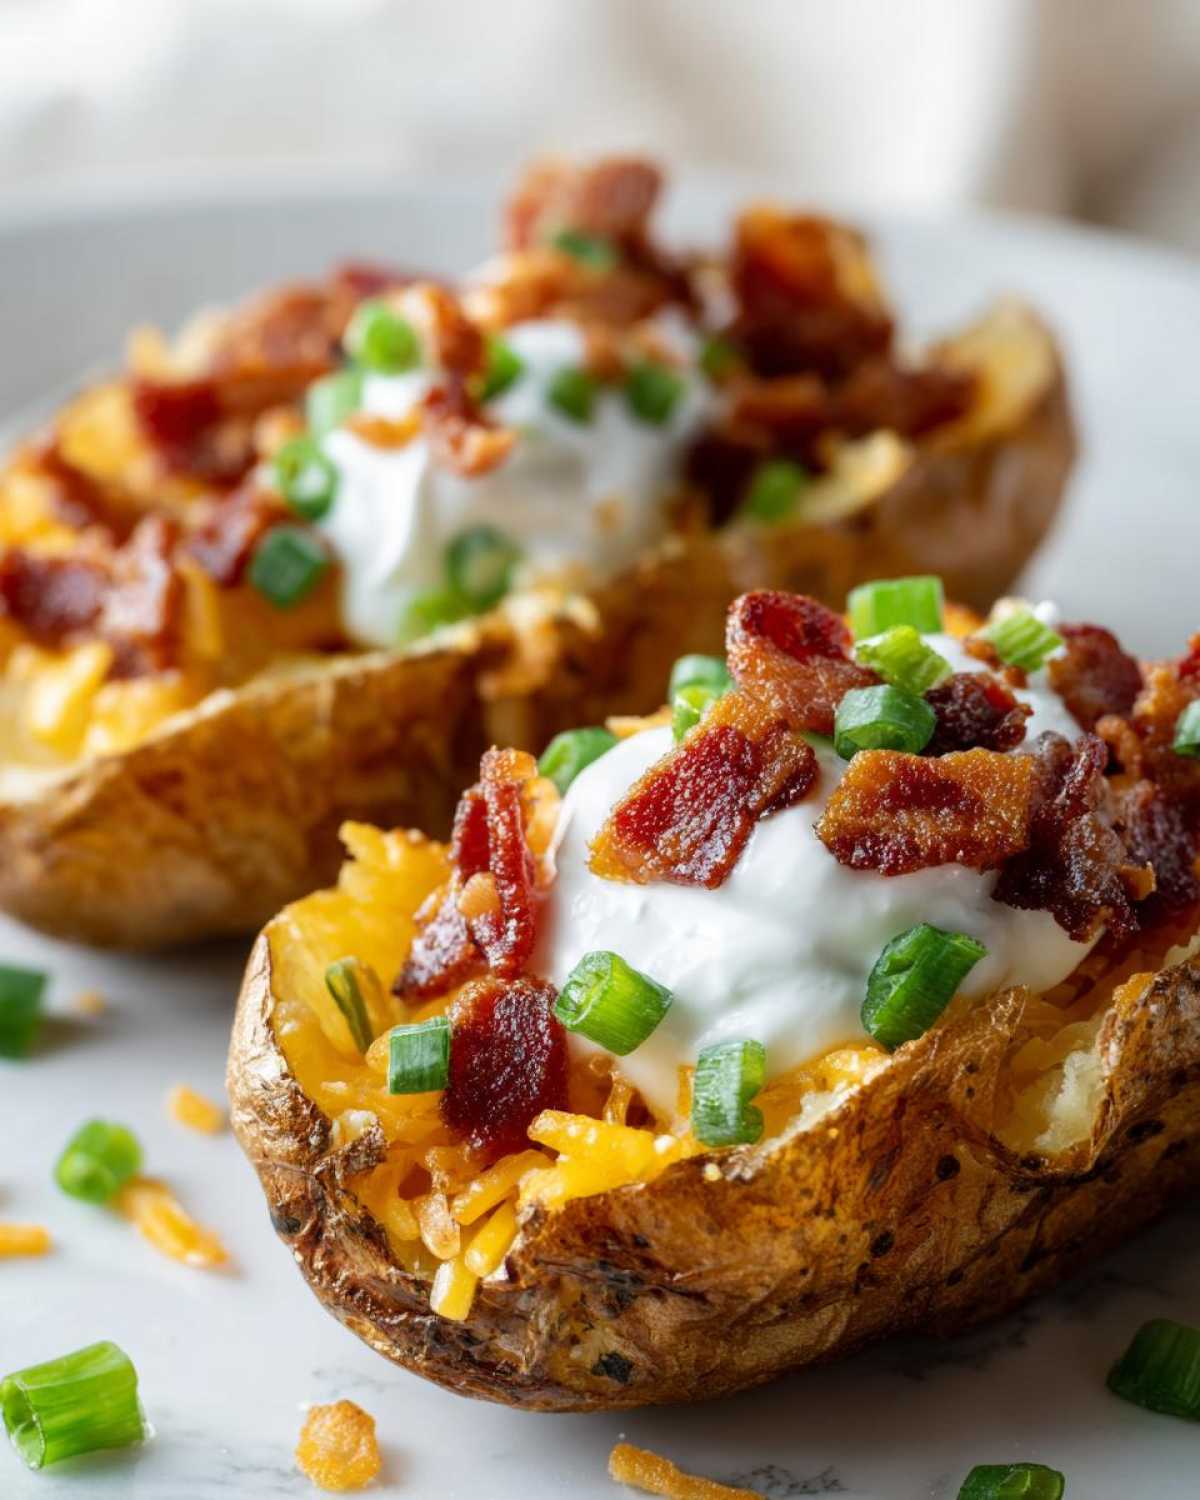
If you’re looking for more fun snack ideas, check out my whole collection of easy-to-love snacks!
Why You Will Make the Best Crispy Potato Skins
I promise you, these aren’t your sad, leftover mashed potato boats. We are building these up from scratch to achieve true pub-style crispiness! You need these because:
- Maximum crunch guaranteed; we use a special double-bake technique.
- Perfectly seasoned shells loaded with sharp cheddar and bacon.
- The ultimate low-fuss party snack or game day appetizer.
- Honestly, they taste exactly like they came straight from your favorite pub!
It’s the texture that really sets these apart, I can’t stress that enough.
Essential Ingredients for Perfect Potato Skins
Okay, let’s talk about what you need to grab from the store. Quality ingredients really make the difference since we aren’t hiding flavors under heavy sauces here. For these loaded potato skins, you need sturdy spuds, naturally!
Here is exactly what shows up in my cart for a batch of these game-day superstars:
- Four big baking potatoes—Russets work best because they have those thick skins we need for crisping!
- Two tablespoons of good olive oil for brushing.
- One teaspoon of salt and half a teaspoon of black pepper for seasoning the shells.
- One cup of shredded sharp cheddar cheese. You want sharp because it melts beautifully and has that tangy bite.
- Half a cup of bacon that you’ve already cooked and crumbled up. No fake bits here, please!
- Half a cup of cool, thick sour cream for topping.
- Two tablespoons of fresh green onions, chopped fine for that last little hit of color and onion flavor.
That’s it! Simple, hearty, classic American flavors that always win.
Equipment Needed for Making Potato Skins
You don’t need any fancy gadgets here, which is great for quick party prep! Just grab a few simple things from your kitchen drawer. We’ll need sturdy baking sheets—you’ll probably need two!
Make sure you have a good sharp knife for slicing the baked potatoes. A sturdy fork is mandatory for piercing the skins early on. If you have a vegetable brush, give those potatoes a good scrub before they hit the oven!
Step-by-Step Guide: How to Make Crispy Potato Skins
This is where the magic happens, friends! Getting those perfect, sturdy shells takes a little patience, but stick with me, because the payoff is worth every minute. We are baking these bad boys twice, and that second trip to the heat is the secret to keeping them from going soggy when we load them up later.
- First things first: Preheat your oven up to 400 degrees Fahrenheit! Don’t rush this step; we need it piping hot. Take those large potatoes, scrub them clean like you mean it, and here’s a pro move: pierce them four or five times all over with a fork. This lets the steam escape!
- Toss them directly onto the oven rack. Seriously, right on the metal! Bake them for about 50 to 60 minutes until they feel totally firm and the insides are soft as butter.
Once they are done baking, take them out and let them cool down just enough so you don’t burn your hands when you handle them. If you want something else to munch on while you wait, try my recipe for spicy roasted chickpeas!
Baking the Potatoes for Your Potato Skins
The initial bake is just about getting the inside perfectly done. We want fluffy insides and ready-to-hollow skins. When you poke them and they yield easily, they are ready to come out. Remember, 400 degrees is the sweet spot for good, dry skins.
This hour in the oven is crucial because if the potato isn’t fully cooked through now, the last baking step won’t make the shell crispy—it will just burn the filling!
Preparing the Shells for Crispy Potato Skins
Once they’re cool enough to handle, slice each one right down the middle lengthwise. Now, this is important: scoop out almost all that soft potato stuff, but you have to be careful! Leave about a quarter-inch rim all the way around. That thin edge is our crispy boat!
Now we oil them up! Lightly brush the inside and outside of every shell with olive oil, then sprinkle them generously with salt and pepper. Place them cut-side up on a baking sheet and pop them back in the heat for 10 minutes. Then, flip them over and bake for another 10 minutes until those edges look dry—not brown, just dry and starting to crisp up a bit.
Expert Tip alert! For truly amazing **crispy potato skins**, right before that second 10-minute bake, brush the insides and outsides with 1 tablespoon of melted butter mixed with half a teaspoon of garlic powder. It locks in moisture *inside* the starch while drying the *outside* surface. Genius, right?
Loading and Finalizing Your Loaded Potato Skins Recipe
Okay, let’s get these beauties loaded up! Pull those dried-out shells out of the oven. Now, you layer on your fillings. Start by evenly distributing that sharp cheddar cheese, followed closely by the crumbled bacon. You want the cheese to hit the shell first!
Back into the 400-degree oven they go for just 5 to 7 minutes. You are just looking for that incredible moment when the cheese is melted down, bubbly, and just starting to turn those lovely little brown spots. Watch them closely so they don’t burn!
When they come out, garnish immediately—a nice dollop of cold sour cream and a shower of fresh green onions on top. Serve these perfect **potato skins** immediately for the best experience. If you like wraps, you should definitely check out my chicken Caesar wraps while you wait for the cheese to melt!
Tips for Achieving Perfect Potato Skins Crispy Texture
Look, if you’re spending the time baking and prepping, you deserve a shell that *snaps* when you bite into it. The secret to how to make potato skins crispy really boils down to heat management and minimizing moisture intrusion. Seriously, do not skip the second bake! That initial 10 minutes face-up and 10 minutes face-down dries out the starch walls perfectly.
Also, make sure your oven has come fully up to temperature before those shells go in the second time; a lukewarm oven just steams things, and we hate steam! Finally, don’t load them too heavy right away initially. Overstuffing prevents the edges from crisping well. Save the most indulgent pile of toppings for the final melt!
Make Ahead Appetizers: Storing Your Potato Skins
Planning a big bash or game day where you don’t want to sweat in the kitchen right when everyone arrives? Good news! These are fantastic make ahead appetizers. You can totally whip up those shells ahead of time, which is a lifesaver for hosting large groups or needing appetizer ideas for a crowd.
Once you have scooped out the flesh and brushed everything with oil and seasoning (but before the final cheese and bacon topping), wrap those shells tightly in plastic wrap. Store them in the fridge for up to 24 hours. Since they are already starting to dry out from that first bake, they hold up like champs!
When it’s time to serve, unwrap them, load them up with your cheese and bacon, and just add about five extra minutes to that final bake time to make sure everything melts beautifully. You can check out more of my favorite make ahead recipes if you want to prep even further!
Variations on Classic Potato Skins Toppings
While I swear by the classic bacon and cheddar, part of the fun of making homemade **potato skins** is getting creative with what you pile on top! You can keep these coming back to the table all night long just by switching up the filling every time.
For my friends who skip the pork, you can absolutely make amazing vegetarian potato skins alternative. Swap the bacon for smoky vegetarian bacon bits, or better yet, load them up with sautéed mushrooms and caramelized onions. They get wonderfully savory!
If you want to branch out from sharp cheddar, try Pepper Jack for a kick, or smoked Gouda for that deep, woody flavor. You could even lean into flavors from my $\text{Broccoli Cheddar Soup}$ recipe and top them with steamed broccoli florets mixed in with the cheese before the final melt. You can find my recipe for broccoli cheddar soup on the blog if you want to explore that creamy flavor profile!
Frequently Asked Questions About Potato Skins
I get so many questions about this recipe because everyone wants those perfect **cheesy potato skins**! It’s natural when you’re moving from good to truly great appetizers. Here are the things I hear most often when people are trying this loaded potato skins recipe for the first time.
Do you have to use Russets? What about making these faster? I’m happy to share what I’ve learned over the years of making these for my own crowd!
Can I use the air fryer for these potato skins?
Oh, yes, you absolutely can! The air fryer is fantastic for getting those **crispy potato skins** texture super fast. You should reduce the time significantly. After you bake the whole potato and scoop it out? Brush the shells, season them, and pop them in the air fryer basket at about 375°F for just 8 to 10 minutes until they look nice and dry. Then top them and air fry for another 3 minutes until the cheese melts. It really speeds up the process for smaller batches!
What should I do with the leftover potato filling?
That’s such a good question about reducing food waste! Please don’t toss that creamy, fluffy interior! You can easily turn it into a quick side dish. Mix in a splash of milk, a knob of butter, maybe some chives, and you’ve got instant mashed potatoes. Or, if you’re feeling ambitious, you can use that leftover mash as the base for a shepherd’s pie topping one night. I have a great BBQ chicken pizza recipe that sometimes uses leftover baked potato chunks instead of beans, if you want some creative ideas!
Nutritional Snapshot of These Cheesy Potato Skins
Now, I won’t pretend these classic, loaded potato skins are a health food staple—they are pure, cheesy, savory happiness! These numbers are just an estimate based on the typical ingredients you see listed, so brand differences in cheese or bacon might change things slightly.
- Serving Size: 2 halves
- Calories: 320
- Fat: 20g
- Carbohydrates: 28g
- Protein: 10g
- Sugar: 2g
Eat them with joy, knowing the flavor you got was worth every calorie!
Share Your Game Day Appetizers Experience
Alright, my fellow snack enthusiasts, you’ve got the knowledge! You know exactly how to get those perfectly crispy shells and pile them high with cheesy, bacon-y goodness. Now the fun part begins—eating them, of course!
I really want to hear from you after you try this ultimate **game day appetizer** recipe. Did you stick to the classic cheddar and bacon, or did you get bold with some smoked Gouda? Drop a comment below and let me know what your favorite hack was for getting those extra crispy edges. Did you try the garlic butter trick?
If you snap any pictures of these beauties ready for your next party, please tag me or share them! Seeing my recipes out in the real world, loaded up for your celebrations, is truly the best part of this whole process. I absolutely love seeing how you personalize these comfort food snacks.
If you’re curious about the kitchen where all this recipe testing happens, feel free to check out my About Us page! Happy snacking, everyone!
PrintCrispy Loaded Potato Skins

Make classic, pub-style potato skins that are crispy on the outside and filled with melted cheese and bacon.
- Prep Time: 15 min
- Cook Time: 75 min
- Total Time: 90 min
- Yield: 8 servings
- Category: Appetizer
- Method: Baking
- Cuisine: American
- Diet: Vegetarian
Ingredients
- 4 large baking potatoes
- 2 tablespoons olive oil
- 1 teaspoon salt
- 1/2 teaspoon black pepper
- 1 cup shredded sharp cheddar cheese
- 1/2 cup cooked, crumbled bacon
- 1/2 cup sour cream
- 2 tablespoons chopped green onions
Instructions
- Preheat your oven to 400 degrees Fahrenheit. Scrub the potatoes clean and pierce each potato several times with a fork.
- Bake the potatoes directly on the oven rack for 50 to 60 minutes, or until the skins are firm and the insides are soft.
- Remove potatoes from the oven and let them cool until you can handle them safely.
- Slice each potato in half lengthwise. Scoop out most of the inside flesh, leaving about a 1/4-inch thick shell. Reserve the scooped potato for another use.
- Brush the inside and outside of the potato shells lightly with olive oil. Sprinkle with salt and pepper.
- Place the shells cut-side up on a baking sheet. Bake for 10 minutes.
- Flip the shells over and bake for another 10 minutes until the edges look dry and crispy.
- Remove from the oven. Fill each shell evenly with shredded cheddar cheese and crumbled bacon.
- Return the skins to the oven and bake for 5 to 7 minutes, or until the cheese is melted and bubbly.
- Top each potato skin with a dollop of sour cream and a sprinkle of green onions before serving.
Notes
- For extra crispy skins, after scooping out the flesh, lightly brush the shells with a mixture of 1 tablespoon melted butter and 1/2 teaspoon garlic powder before the second bake.
- You can prepare the shells and toppings ahead of time. Store assembled, unbaked skins in the refrigerator for up to 24 hours. Add 5 minutes to the final bake time if cooking straight from the fridge.
Nutrition
- Serving Size: 2 halves
- Calories: 320
- Sugar: 2
- Sodium: 350
- Fat: 20
- Saturated Fat: 10
- Unsaturated Fat: 10
- Trans Fat: 0
- Carbohydrates: 28
- Fiber: 3
- Protein: 10
- Cholesterol: 45