

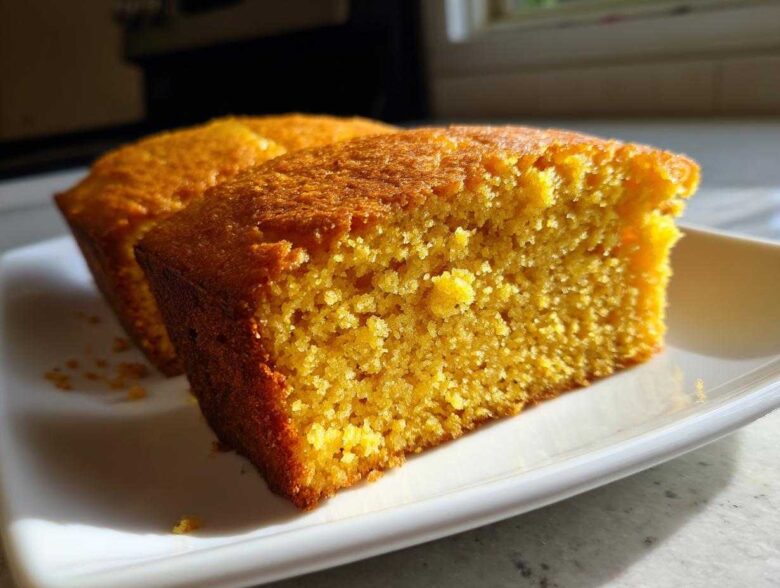
Oh, you are in for such a treat today! If you’ve ever chased that elusive piece of golden perfection—the kind of bread that soaks up chili juices without falling apart—then stop scrolling, because we have cracked the code on the ultimate **buttermilk cornbread**. Forget those dry, crumbly hockey pucks nobody eats! This version is unbelievably moist and tender. It really is the result of Ethan leaning on his family’s old-school instincts and me digging into the science of exactly why buttermilk acts the way it does. When these two worlds meet, you get a recipe that’s worthy of being called a true **Classic American Side Dish**. You can see all our other kitchen triumphs over at the blog, but trust me, this cornbread is a must-try!
Why This is the Best Buttermilk Cornbread Recipe You Will Ever Make
I know, I know, everyone claims to have the “Best Cornbread Recipe,” but hear me out. This isn’t just another roadside recipe. When Ethan tasted the first test batch—the one I almost threw out because I thought it looked too dense—he stopped me mid-sentence. The difference is in what we focus on: the texture and, most importantly, that amazing crust. If you want flaky, rich **buttermilk cornbread**, these two elements are non-negotiable. You can check out what we are baking besides bread, like these amazing pecan pie cookies, but this cornbread always wins at dinner.
Achieving Ultimate Moist Cornbread Texture
The secret to zero dryness is right in the name: buttermilk! When the acidic buttermilk hits the baking soda in the batter, it creates a gentle, active reaction. This is pure science, folks! It tenderizes the cornmeal and flour, guaranteeing you end up with that deeply **Moist Cornbread** without having to drench it in oil or honey later. It’s the perfect balance that even I, the researcher, have to respect.
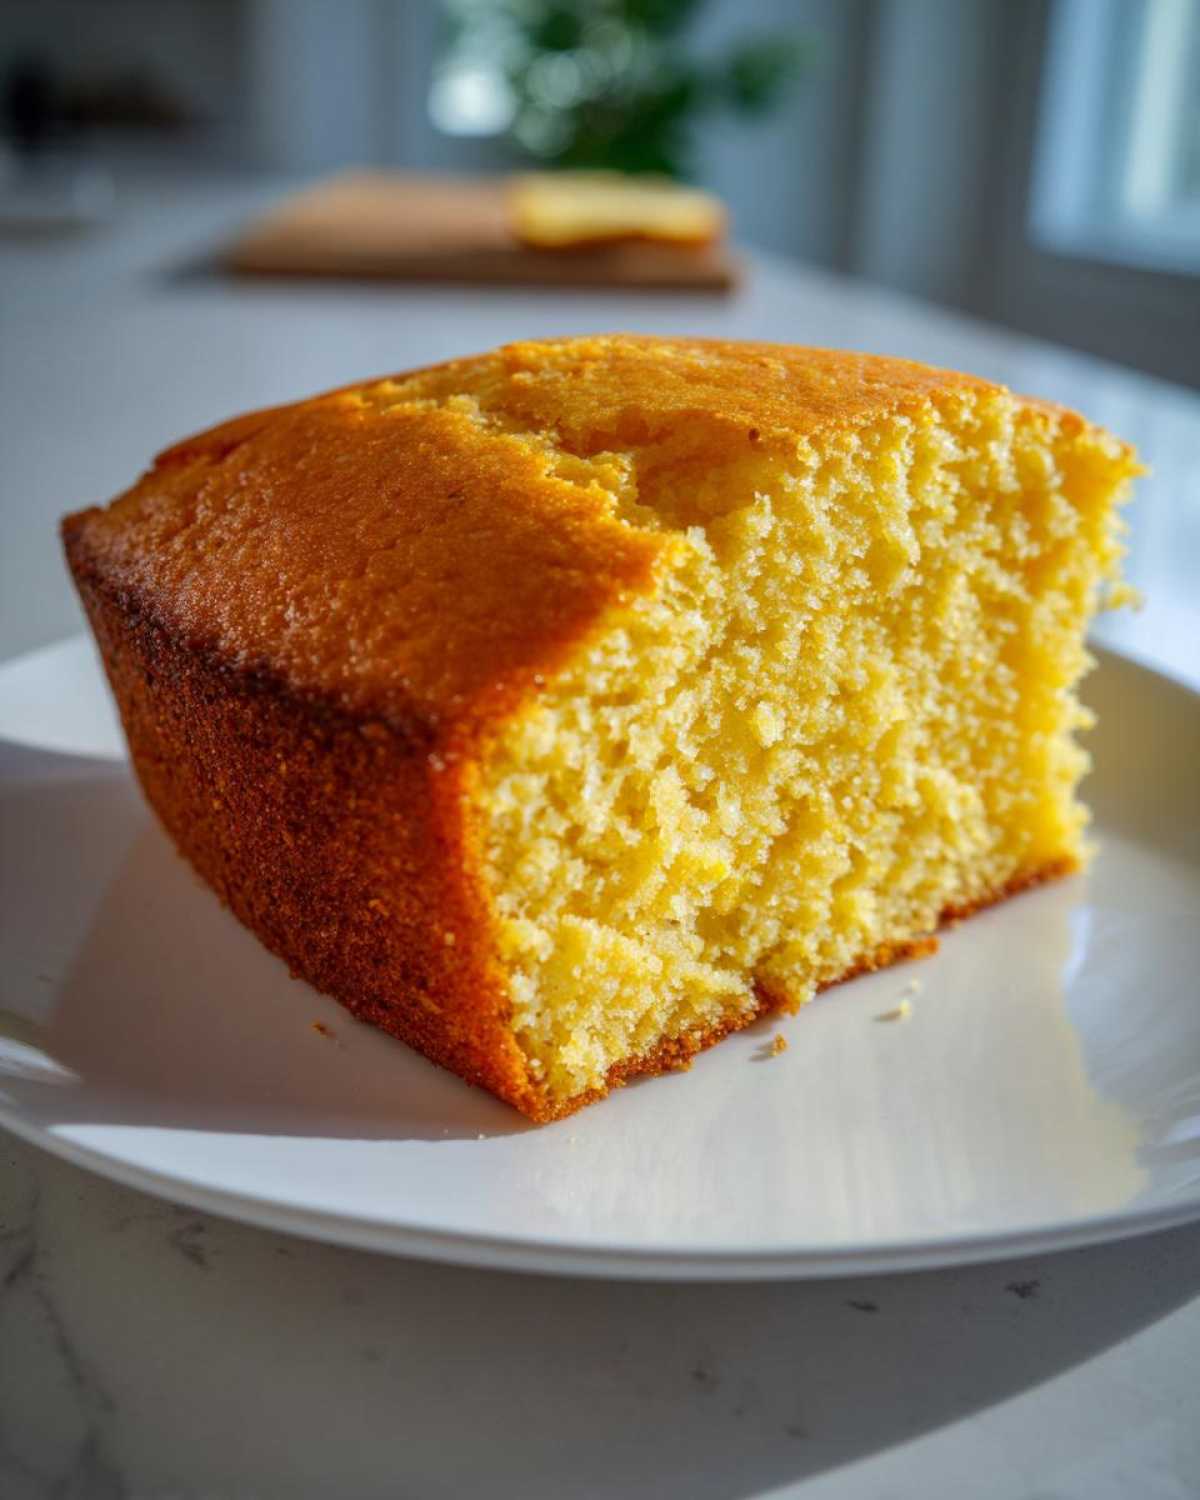
The Secret to Crispy Cast Iron Cornbread Edges
This is the trick Ethan always pulls out to win over new cornbread skeptics. You absolutely have to preheat your cast iron skillet with the butter melting inside it at 400 degrees! When that batter hits that sizzling, buttery hot surface, it immediately begins to set and crisp up. That’s what gives you those perfectly golden, slightly crunchy edges that define true Southern baking. It’s the difference between okay cornbread and show-stopping **Cast Iron Cornbread**.
Gathering Ingredients for Classic Buttermilk Cornbread
Alright, let’s talk about what you need to pull this amazing **buttermilk cornbread** together. Ethan always says that the quality of your cornmeal really matters here—it’s the star! We use yellow cornmeal because it gives you that deep, lovely color. Don’t forget, you can find a few of our other favorite simple recipes, like this crockpot lasagna soup, on our site, but for now, focus on these pantry staples. Getting the right ratios here is crucial for that E-E-A-T level of moistness we promised you!
- 1 1/2 cups yellow cornmeal
- 1 1/2 cups all-purpose flour
- 1/4 cup granulated sugar (we like it a little sweet, but you can change this!)
- 1 tablespoon baking powder
- 1 teaspoon baking soda
- 1 teaspoon salt
- 1 cup buttermilk, room temperature
- 1 cup milk (whole or 2%)
- 2 large eggs, lightly beaten
- 1/2 cup unsalted butter, melted, plus extra for greasing the skillet
Ingredient Notes and Substitutions for Buttermilk Baking
This is where Maya gets nerdy, but stick with me! Your buttermilk absolutely needs to be at room temperature. If it’s straight from the fridge, it won’t react correctly with the baking soda, and you risk deflating your rise. If you’ve ever run out, don’t panic! You can whip up a quick substitute: just mix 1 cup of 2% milk with one tablespoon of white vinegar or lemon juice. Let it sit for five minutes until it curdles slightly. Voila, you have your acidic agent!
Now, about the sugar! We put 1/4 cup in because we know some folks love a slightly **Sweet Buttermilk Cornbread**. But if you’re making this to go alongside a really rich stew or if you prefer a more traditional, **Savory Cornbread**, just cut that amount down to 2 tablespoons. It barely changes the texture but makes a huge difference in the flavor profile. You get to choose your level of sweetness!
Step-by-Step Instructions for Your Easy Cornbread Recipe
I love how quickly this comes together—it’s genuinely an **Easy Cornbread Recipe** when you follow the sequence. Ethan often laughs because I pace myself with a timer during the mixing, but patience in the wet/dry step pays off big time! Make sure you have everything measured out before you start, because once the batter hits that hot pan, it’s go time. If you’ve made our creamy lemon pasta, you know I love a sharp focus on timing, and this bread is no different. Let’s get baking!
Preparing the Skillet and Dry Mix for Southern Cornbread
First things first: Oven temperature is key. We’re talking 400°F (200°C). Pop your 10-inch cast iron skillet right into the oven to heat up while you do everything else. Seriously, don’t skip that preheat! While the pan gets screaming hot, grab your biggest bowl and whisk together the cornmeal, flour, sugar, baking powder, baking soda, and salt until it looks uniform. Mixing the dry ingredients first ensures everything is evenly distributed before the wet stuff comes in.
Combining Wet and Dry Ingredients for Fluffy Cornbread
In a separate bowl, quickly mix your room-temperature buttermilk, milk, and eggs. Now, pour those wet ingredients into the dry mix. Here’s the most crucial part for getting that **Fluffy Cornbread**: mix it gently with just a spatula until everything is *barely* combined. I mean it—a few streaks of flour are totally fine! If you overmix, you start developing gluten, and suddenly, you’ve made a chewy biscuit instead of tender cornbread. We want tender, not tough!
Tips for Perfect Traditional Cornbread Every Time
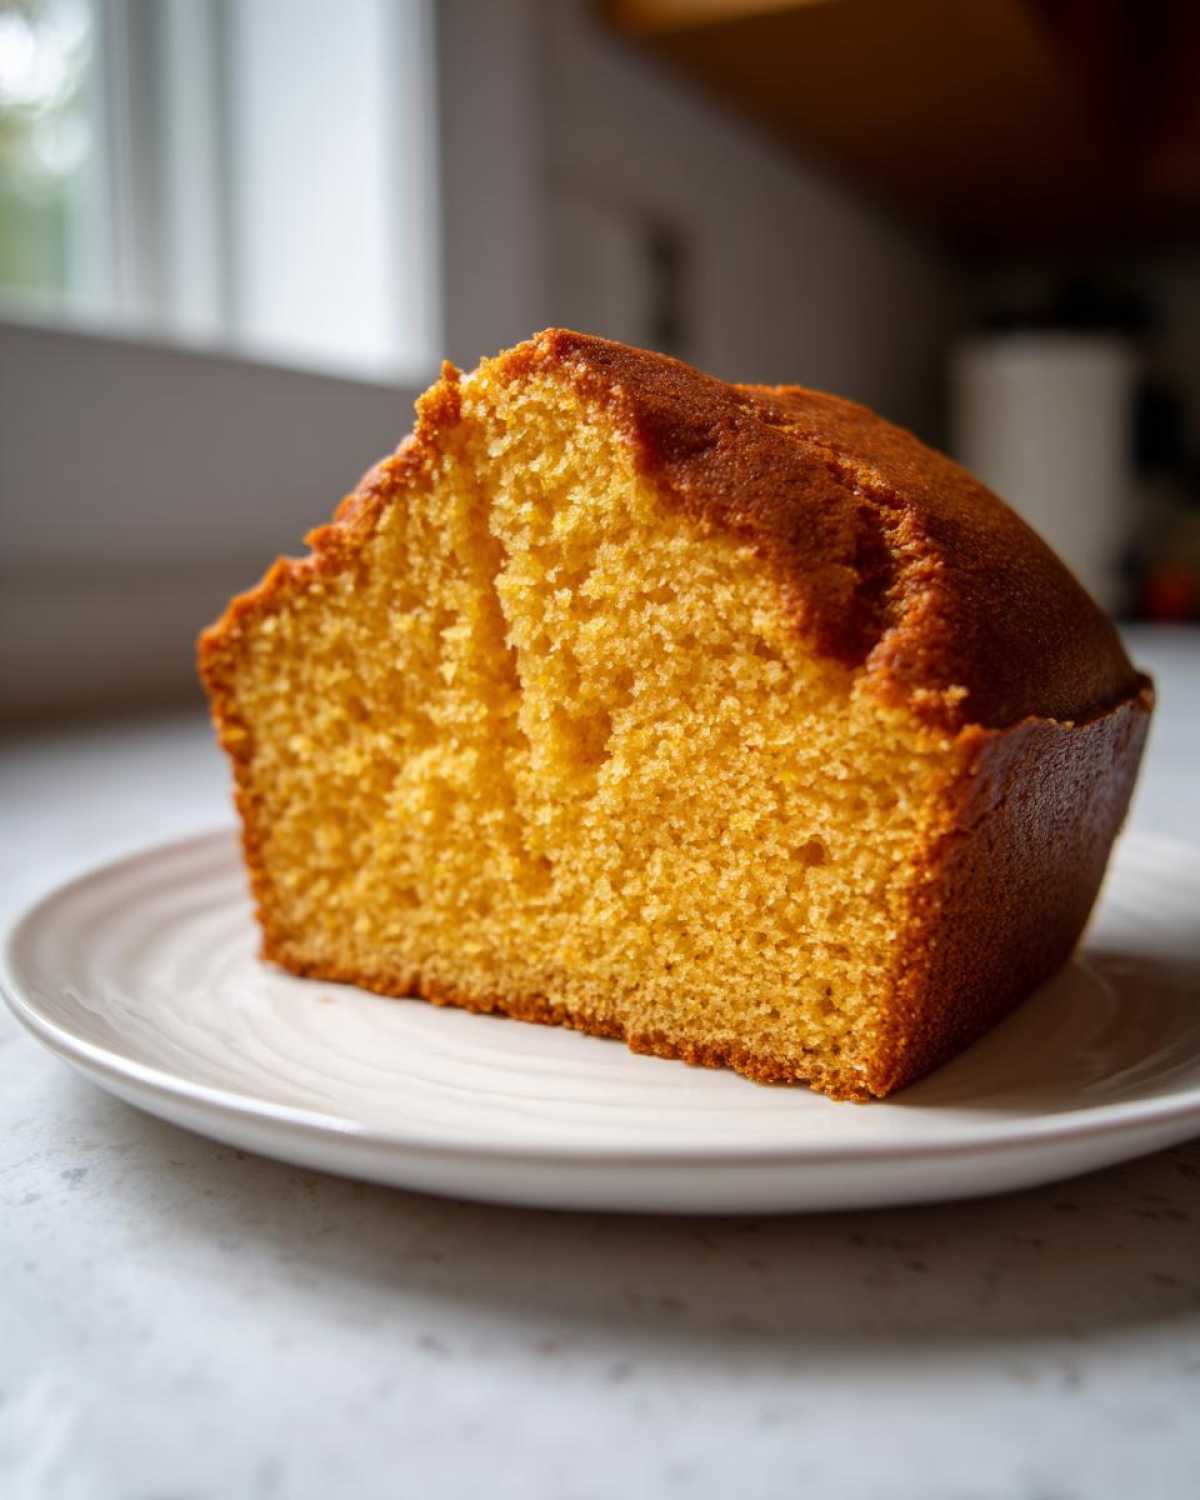
When Ethan first tried making cornbread without checking my measurements, oh boy, it was a disaster! It was gritty and completely lacked the tenderness we needed. That’s when we learned that even with simple **Traditional Cornbread**, technique matters so much. I realized precision in combining the butter and the wet ingredients before hitting the hot skillet is what separates a good result from a great one. That hot skillet step we talked about? It’s what gives you that **Traditional Cornbread** flavor, rich and deep.
My best tip, which Ethan’s dad taught us, is to use some of that melted butter (reserved from the batter step, usually about 2 tablespoons) to brush the top *right* before it goes into the oven! It seals in the moisture just a bit longer. This trick, combined with the super-hot pan, guarantees that buttery, savory top we adore, pairing perfectly with recipes like our garlic parmesan chicken. You can read more about old-school methods over at Grits and Pinecones too; they have some fantastic Southern insights!
Making Grandma’s Cornbread: A Homemade Comfort Food Baking Experience
Honestly, anytime I smell warm cornbread baking now, I immediately think of Ethan’s grandmother. She never measured anything, but she always ended up with the most perfect, slightly savory loaf! That’s why I feel so good about sharing this **Homemade Cornbread** recipe with you, because it honors that heritage while giving us precise measurements so we don’t have any kitchen meltdowns like Maya and Ethan used to!
It’s funny how a simple **buttermilk cornbread** can represent so much comfort. When we finally figured out how to nail the texture down, Ethan told me it tasted exactly like the bread his grandma used to serve with her famous pot roast. It just feels like tradition you can make on a Tuesday night. We love serving this alongside our creamy chicken enchiladas! You can also see another lovely version of a “grandmother’s” recipe over at Savor Queen if you want inspiration.
Serving Suggestions for Your Buttermilk Cornbread
Okay, now that you have this golden, magnificent **buttermilk cornbread**, the real question is what are you serving it with? Trust me, Ethan insists it shows up at least once a week because it’s the perfect binder for almost any hearty meal. Because this cornbread is so tender and slightly rich, it holds up beautifully next to saucy foods.
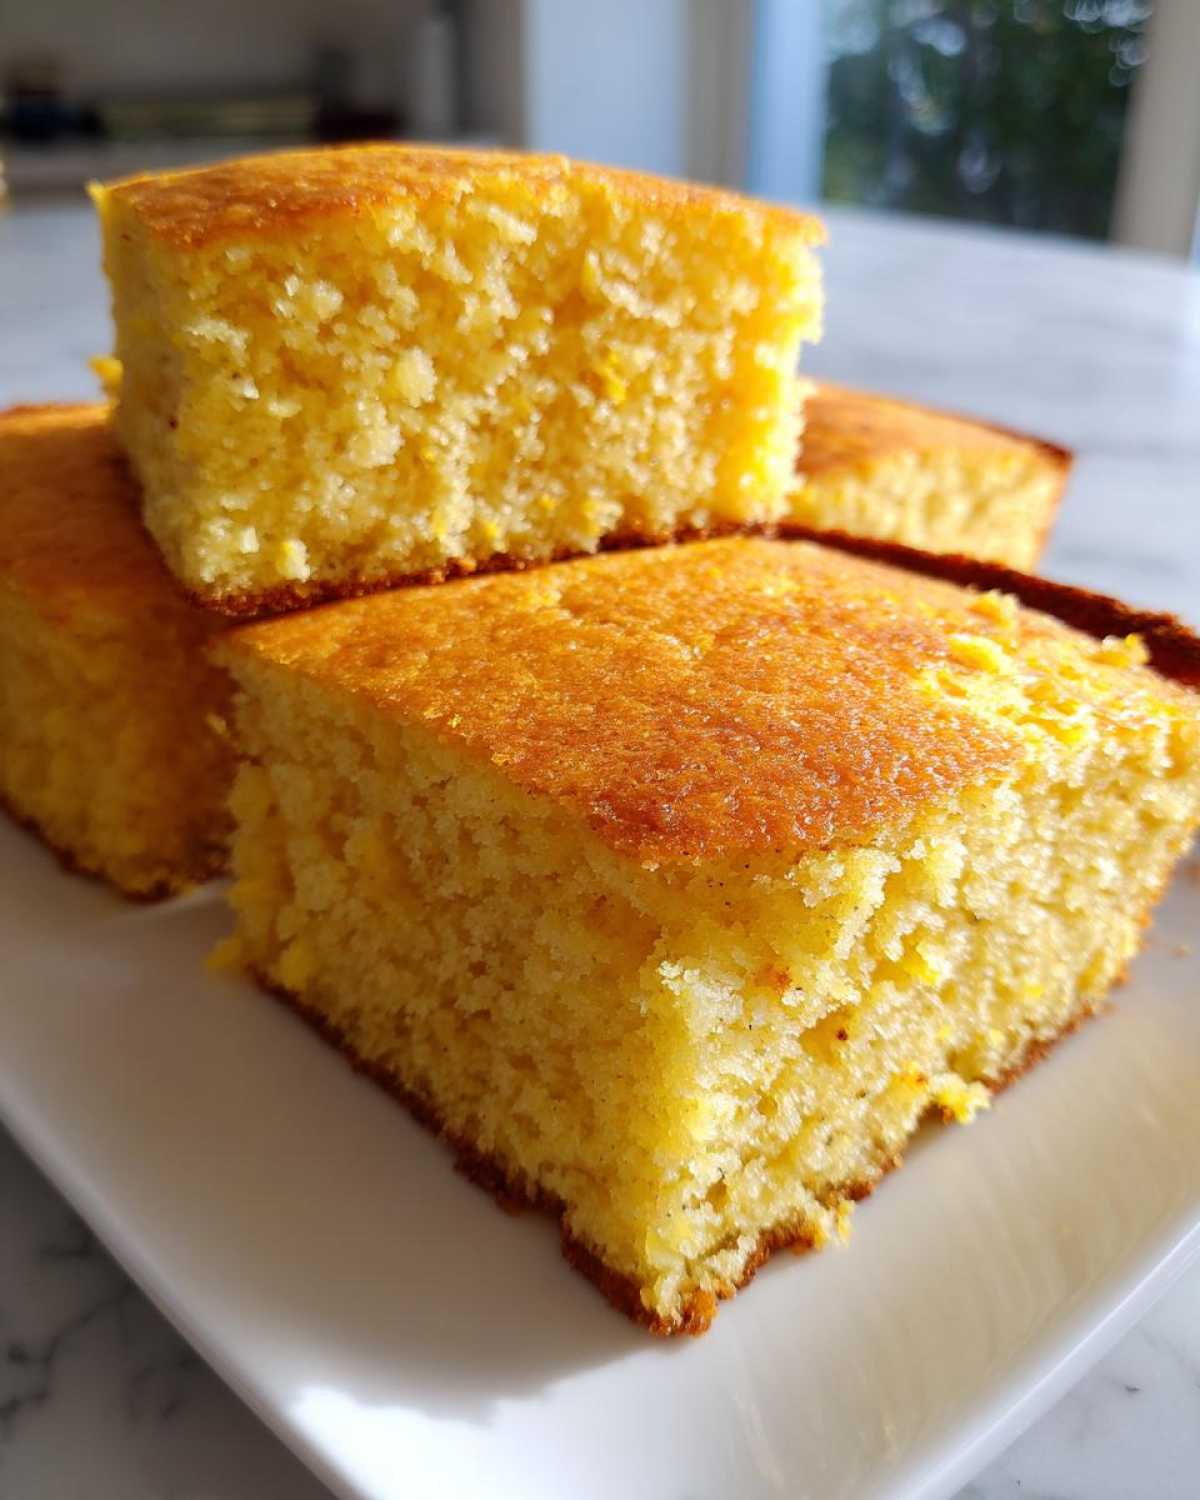
The absolute number one pairing in our house is with anything spicy. If you are making chili—we have an amazing creamy taco soup you might love too—you need this bread to scoop it up. That little bit of sweetness cuts right through the heat, and the soft crumb soaks up every last drop. It’s fantastic crumbled on top of baked beans or served alongside barbecue pulled pork, acting as the best of all **Dinner Breads**.
Honestly, you don’t always need a main course! A thick slice, warm from the oven, slathered with butter and maybe a drizzle of local honey? That’s a snack that deserves its own applause. But if you’re looking for savory pairing ideas, remember that the texture makes this the ultimate **Cornbread for Chili** and savory stews.
Storage and Reheating Instructions for Buttermilk Cornbread
We always end up with leftovers, which is fine by us because this **buttermilk cornbread** is honestly great slightly stale the next day, but that crisp edge from the skillet usually softens up. That’s why storage and reheating are important! We want to preserve that beautiful, tender texture we worked so hard to achieve. If you’re not going to devour it all within 24 hours, you need a plan to keep it tasting fresh.
For short-term storage, just keep it covered tightly on the counter for maybe two days. I usually just use aluminum foil, making sure it’s sealed well so it doesn’t dry out from the air. If you need it to last longer, pop it into an airtight container and chill it in the fridge for up to five days. Just remember, it gets a little firmer when cold, so reheating is definitely recommended!
If you are planning ahead, this cornbread freezes beautifully, too! Wrap individual slices tightly first in plastic wrap, and then pop them into a freezer bag. They last great for about two months. When you’re ready for a piece of **Homemade Cornbread**, just pull one out and let it thaw on the counter for an hour or so.
Restoring Texture After Storing
Reheating is where you bring back the magic, especially that essential crispness. The microwave? It’s fast, but it steams the bread and makes it soft immediately. So, if you’re reheating just a slice or two, a quick 15-20 seconds works, but it won’t bring back the crunch.
For the BEST results, which is definitely what we aim for, you must use your oven or even an air fryer if you have one! Wrap the slice loosely in foil—this prevents the edges from getting too hard initially—and warm it in a 350°F oven for about 7 to 10 minutes. If you want that perfect crust back, take the foil off for the last two minutes. This gentle dry heat really revives the structure we built with the flour and cornmeal. It tastes almost as good as fresh, especially if you pair it with something spicy like my absolute favorite blackened salmon for a complete meal!
Frequently Asked Questions About Buttermilk Cornbread
I get so many messages about this **buttermilk cornbread**, and usually, the questions are about adapting it slightly. That’s fair! Baking should fit your kitchen, not the other way around. Ethan always says if you understand the core technique, you can substitute anything. So, let’s tackle a few of the most common ones I see pop up! We’ve covered a lot of ground on technique, but these little extras help ensure success every single time you bake this comforting bread.
Can I make this buttermilk cornbread without a cast iron skillet?
Yes, you absolutely can! Don’t let the skillet intimidate you; while it’s my favorite tool for getting that famous crispy crust, it is not mandatory. If you don’t have one, grab an 8×8 or 9×9 inch baking pan. The trade-off, though, is that you won’t get that incredibly deep, almost fried-in-butter crunch along the edges that we rave about. If you use a standard pan, I suggest lining it with parchment paper for easy removal, and—here’s the tip—make sure you still melt two tablespoons of butter and swirl it around in that pan before pouring in the batter. A hot pan is always better than a cold one, even if it’s not cast iron!
How do I make this recipe less sweet?
This is a fun one because everyone has a different idea of what **Southern Cornbread** should taste like! We included 1/4 cup of sugar because, honestly, we love that fluffy, cake-like texture that comes with a touch of sweetness, making it a great **Quick Bread Recipe** for a crowd. If you prefer something much more savory, just cut the granulated sugar down to 2 tablespoons. You might even try cutting it to just 1 tablespoon if you plan on eating it only with savory **Dinner Breads** pairings like salty ham or heavy stew. The buttermilk and cornmeal flavors will shine through much more clearly!
We cover a lot of our favorite science-backed recipes over here, like my famous coquito recipe if you want something a little different after you master this bread!
Sharing Your Golden Buttermilk Cornbread Results
Okay, friend, now the fun part begins! You have made my absolute favorite **buttermilk cornbread**—you’ve battled the heat of the skillet, you’ve avoided overmixing, and now you have this golden treasure sitting on your counter.
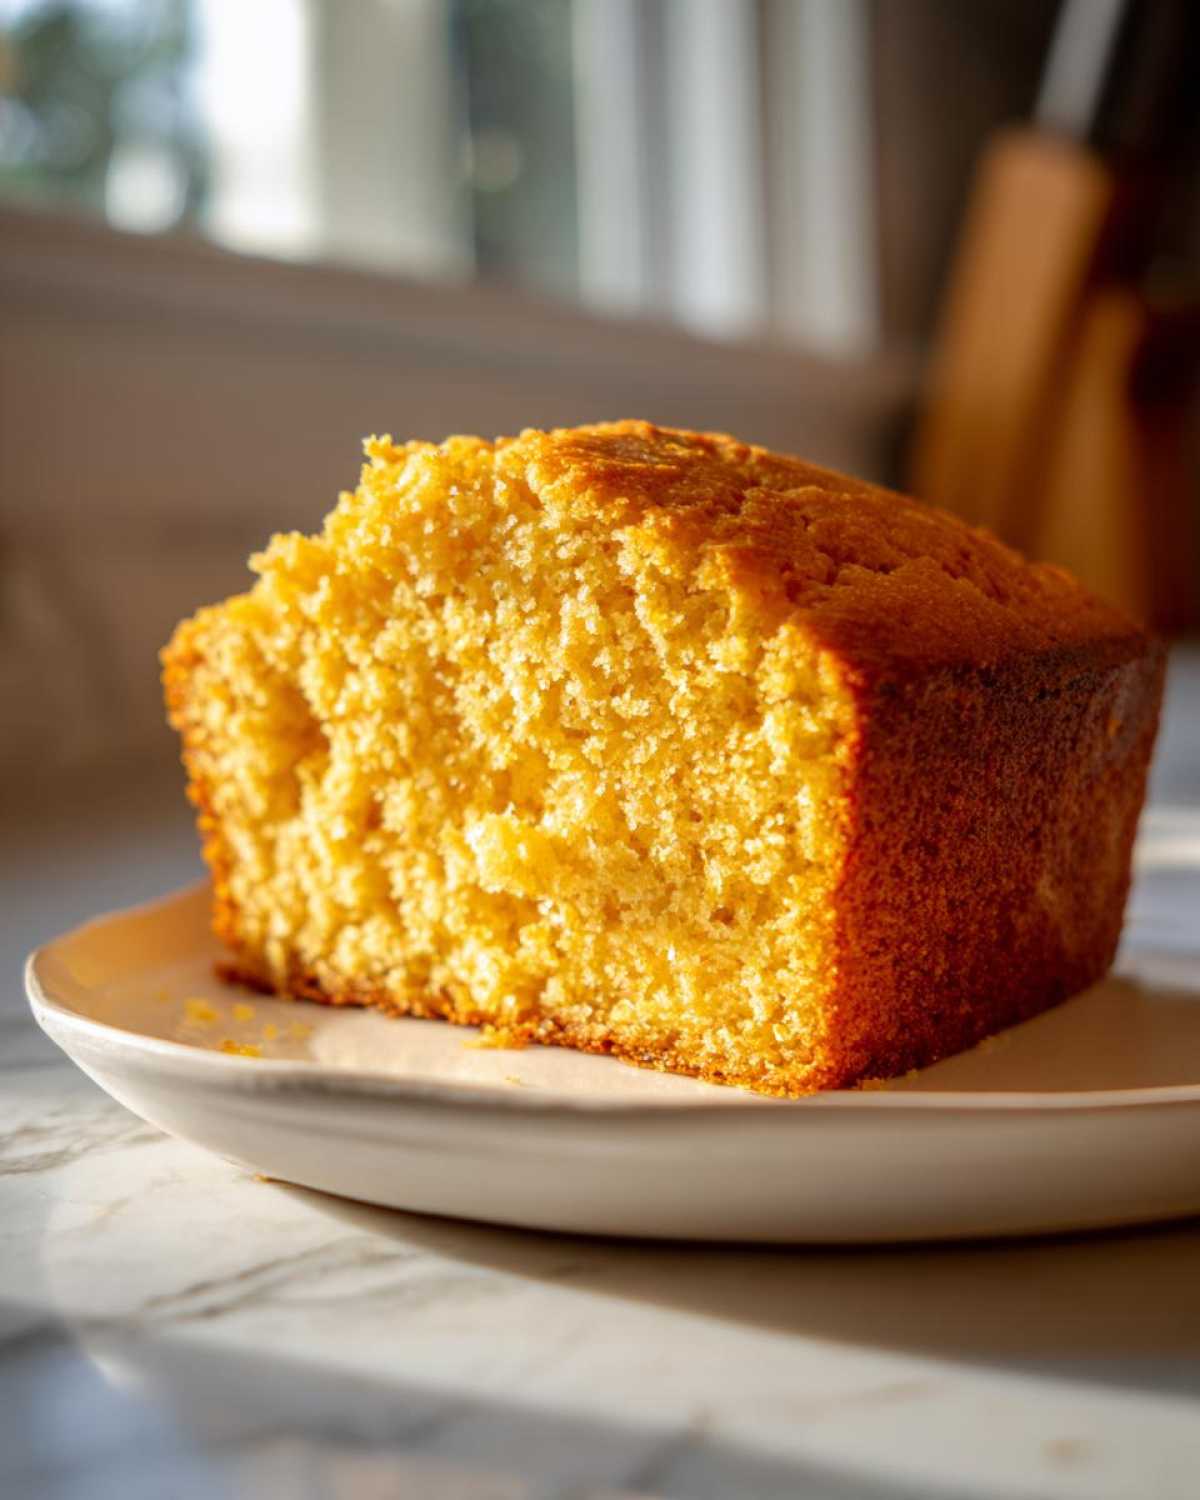
We put so much research and love into this recipe to make sure it delivers that perfect intersection of fluffy interior and crispy edge. We truly want to know how it turned out for you! Did Ethan’s tip about the screaming-hot skillet work like magic for your crust?
Don’t be shy! Head down to the comments below and give us a rating. Seriously, those stars help other home bakers trust that this recipe works. Tell us what you served it with—did it meet the standards for your Sunday dinner or chili night? We read every single comment, and sharing your successes (and any little twists you tried!) is the best way to connect with us. We love hearing from you whether you’re experimenting with our savory notes or leaning into the sweet side. We look forward to seeing your golden loaves!
If you’re already looking for your next baking adventure now that you’ve mastered this, you have to try our apple dapple cake next!
PrintThe Best Homemade Buttermilk Cornbread Recipe: Moist, Tender, and Golden
You need this classic Southern buttermilk cornbread recipe! It bakes up moist and tender with a perfect golden crust, ideal for serving alongside chili or barbecue. This easy recipe delivers that traditional, slightly sweet flavor everyone loves.
- Prep Time: 10 min
- Cook Time: 25 min
- Total Time: 35 min
- Yield: 8 servings
- Category: Side Dish
- Method: Baking
- Cuisine: American
- Diet: Vegetarian
Ingredients
- 1 1/2 cups yellow cornmeal
- 1 1/2 cups all-purpose flour
- 1/4 cup granulated sugar (adjust for sweetness preference)
- 1 tablespoon baking powder
- 1 teaspoon baking soda
- 1 teaspoon salt
- 1 cup buttermilk, room temperature
- 1 cup milk (whole or 2%)
- 2 large eggs, lightly beaten
- 1/2 cup unsalted butter, melted, plus extra for greasing the skillet
Instructions
- Preheat your oven to 400°F (200°C). Place a 10-inch cast iron skillet in the oven while it preheats. This step creates the essential crispy edge.
- In a large bowl, whisk together the cornmeal, flour, sugar, baking powder, baking soda, and salt. This is your dry mix.
- In a separate medium bowl, whisk together the buttermilk, milk, and eggs until combined.
- Pour the wet ingredients into the dry ingredients. Mix gently with a spatula until just combined. Do not overmix; a few lumps are fine.
- Carefully remove the hot skillet from the oven. Add 2 tablespoons of the melted butter to the hot skillet and swirl to coat the bottom and sides completely. The butter should sizzle.
- Pour the remaining 6 tablespoons of melted butter into the batter and stir quickly to incorporate.
- Immediately pour the batter into the hot, buttered skillet. The batter should sizzle when it hits the hot pan.
- Bake for 20 to 25 minutes, or until the top is golden brown and a toothpick inserted into the center comes out clean.
- Let the cornbread cool in the skillet for 5 minutes before slicing and serving warm.
Notes
- For the crispiest edges, make sure your cast iron skillet is fully preheated before adding the batter.
- If you prefer a less sweet cornbread, reduce the sugar to 2 tablespoons.
- Room temperature buttermilk reacts better with the baking soda, helping your cornbread rise higher and become fluffier.
Nutrition
- Serving Size: 1 slice
- Calories: 280
- Sugar: 8
- Sodium: 350
- Fat: 14
- Saturated Fat: 8
- Unsaturated Fat: 6
- Trans Fat: 0
- Carbohydrates: 33
- Fiber: 2
- Protein: 6
- Cholesterol: 75