

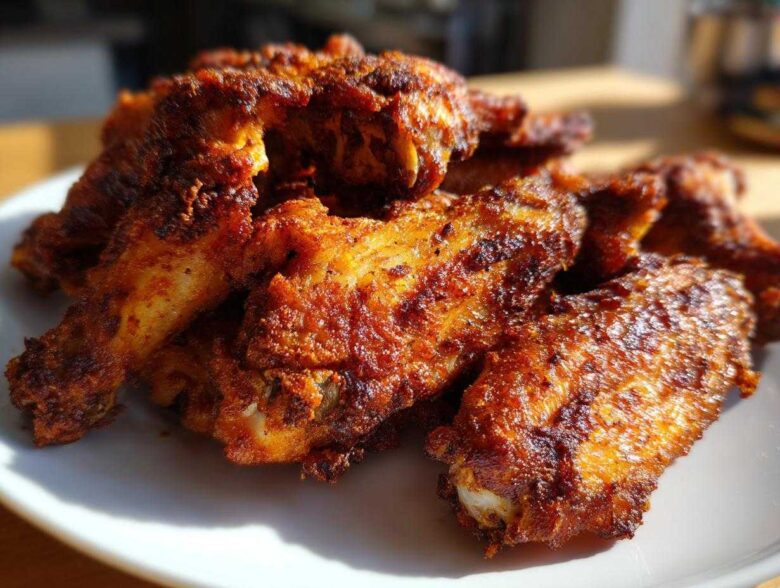
Are you absolutely tired of pulling wings out of the oven only to find they’ve steamed themselves into sad, floppy disappointments? Ethan and I have had our share of those frustrating moments! Achieving that shatteringly crisp skin, just like deep-fried, but doing it healthfully in the oven? It felt impossible until we nailed the secret. Forget the oil bath; the real magic for getting incredible crispy baked chicken wings happens with a simple pantry staple. This technique perfectly balances Ethan’s desire for texture and my need for a tested, reliable plan. For more on how Ethan’s heart-led cooking mixes with my research, check out our story here. Trust me, once you see the results from this method, you’ll never go back to soggy wings again. We’re going to get that crunch every single time!
Why This Baking Powder Trick Makes Perfect Crispy Baked Chicken Wings
When people ask us the secret to getting that amazing crunch without frying, I always point straight to the baking powder. This isn’t some fussy step; it’s pure science shining through! Baking powder slightly raises the skin’s pH level as it heats up. Sounds technical, I know, but all that means is it helps break down the proteins on the skin faster, which lets the fat render out beautifully.
This allows the skin to dry out incredibly well in the oven. That dryness is the key wrapper for that satisfying crackle when you bite in. Honestly, Ethan was skeptical at first, but when he saw how much crisper they were than our old methods, he was converted! It’s the reason these are the best crispy baked chicken wings you’ll ever make.
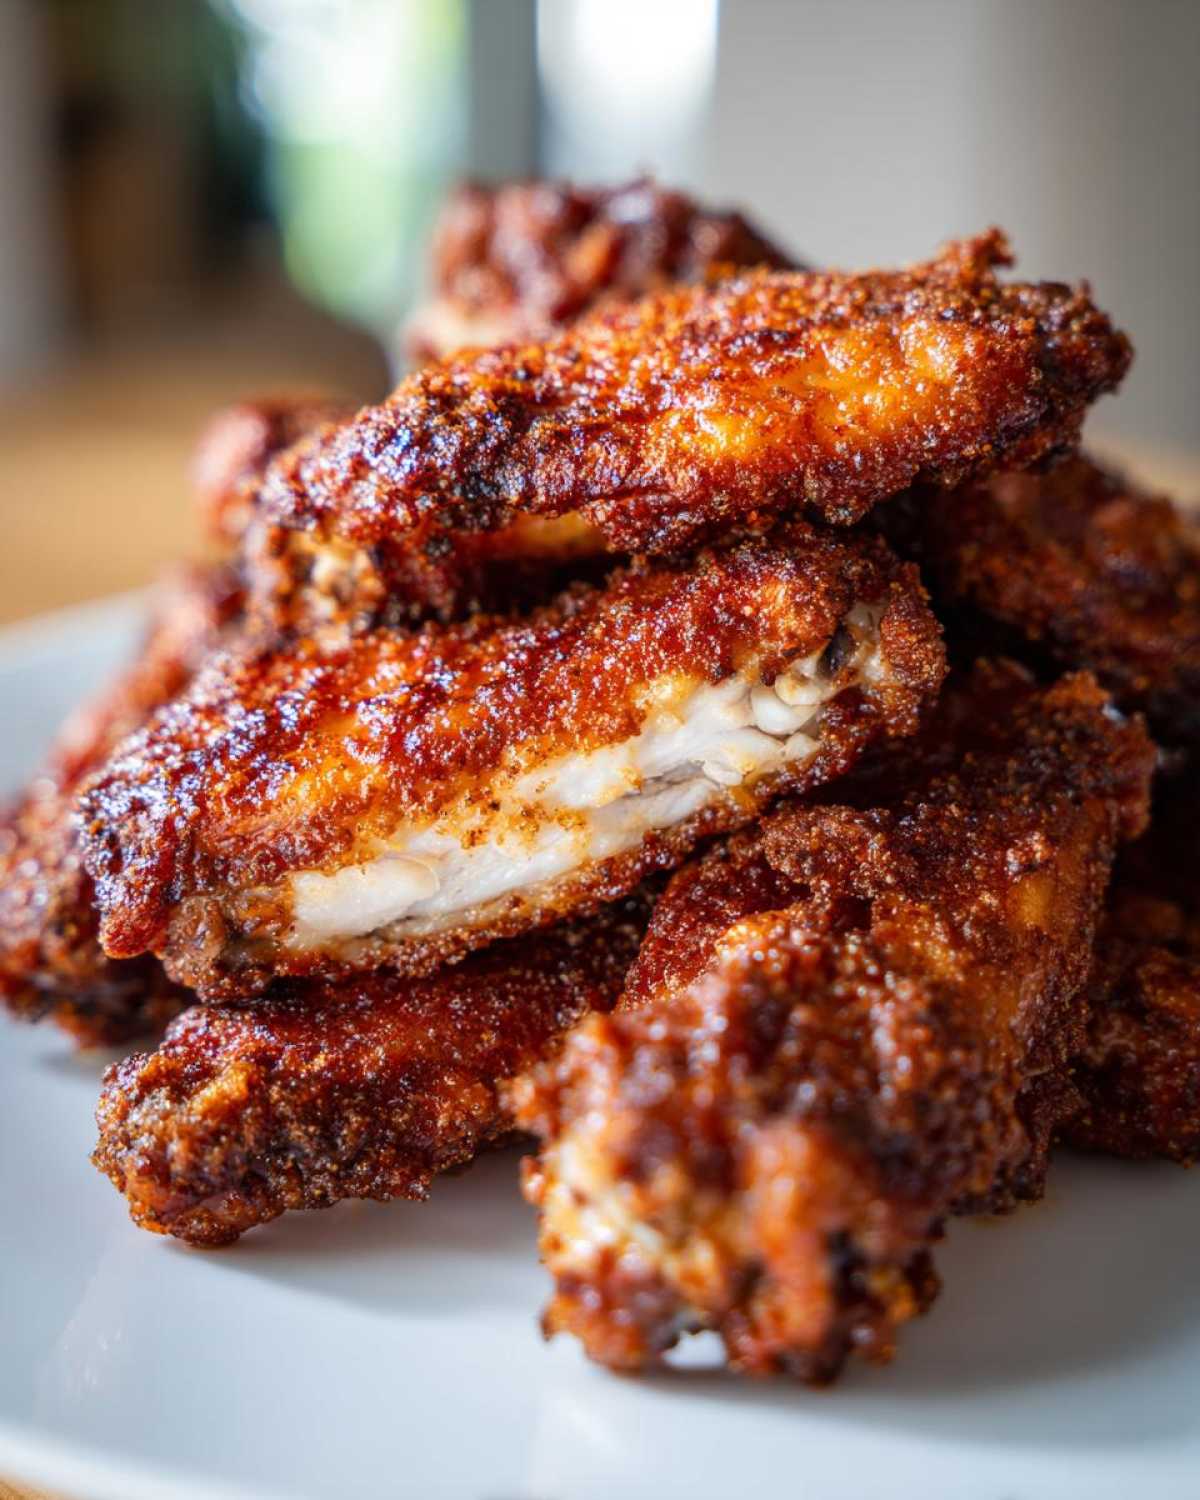
The Essential Ingredients for Crispy Baked Chicken Wings
You won’t need a massive shopping list for this, which I love because it keeps our prep time down. Remember, every ingredient here plays a role in that final texture. Don’t worry, we’re keeping it simple!
- 2 lbs chicken wings (flats and drumettes separated)
- 1 tablespoon baking powder (and this has to be baking powder, not baking soda—huge difference!)
- 1 teaspoon salt
- 1 teaspoon garlic powder
- 1 teaspoon onion powder
- 1/2 teaspoon black pepper
- 1/2 teaspoon paprika
- Optional: Your favorite sauce for tossing (but wait until later for that!)
Gathering Your Supplies: Equipment for Crispy Baked Chicken Wings
Before we even think about tossing those wings, we need to set up our baking station properly. Ethan always tells me that the right setup is half the battle won, especially when trying to avoid sogginess. We need to ensure maximum air circulation around every piece.
Grab your essentials now so you aren’t scrambling later. You’ll want a sturdy baking sheet—one you don’t mind getting a little messy. Then, make sure you have aluminum foil for cleanup help, a good wire cooling rack that fits inside that sheet, a large mixing bowl for coating, and plenty of paper towels. Those paper towels are non-negotiable, trust me!
Step-by-Step: How to Prepare Crispy Baked Chicken Wings
Okay, now that we have our secrets and our gear assembled, let’s get down to the actual process. Getting these right is all about setup and timing. We start by getting the oven super hot; fire it up to 425 degrees Fahrenheit right away. Line that sheet pan with foil—a gift to your future self for cleanup! Then, place your wire rack right on top. This elevation is crucial because it lets the heat hit all sides of the wing, which prevents steaming underneath.
The absolute first thing we do once the oven is heating is address the moisture. I know it seems tedious, but you have to pat those wings down until they feel totally dry. If there’s any surface moisture left, it turns to steam, and steam is the enemy of crispiness. We want that skin dry as a bone before seasoning! If you want a guaranteed crunchy texture, read my rundown on this on another one of our favorite oven-baked recipes: how to get that crispy baked coating.
Preparing the Wings and Dry Rub for Crispy Baked Chicken Wings
While the oven is climbing to temp, we mix our dry rub. In that large bowl, whisk together the baking powder, salt, pepper, and all those beautiful spices—garlic powder, onion powder, paprika. Give it a really good three-minute whisking session so the baking powder is totally distributed. Ethan always says you want it looking like homogenous dust when you’re done.
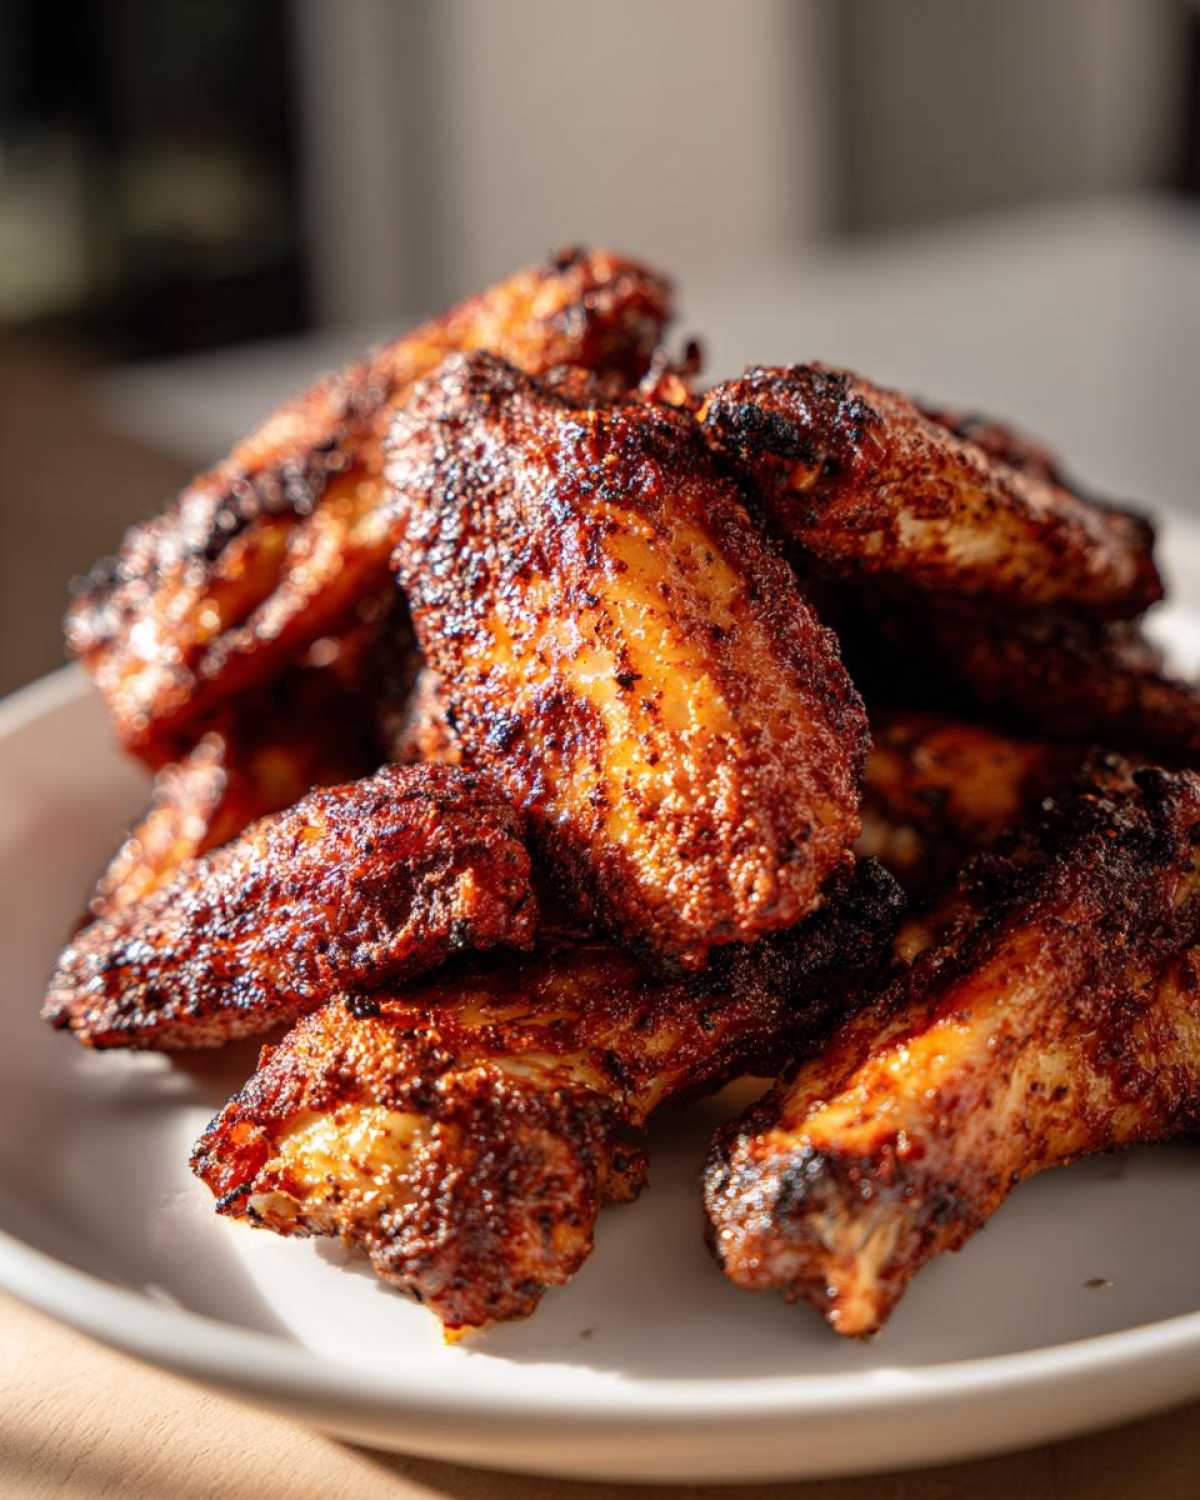
Now, add your super-dry wings into that seasoned bowl. Toss everything around until every single piece looks evenly coated. Don’t be shy here; you want that pale, speckled coating clinging tight. That baking powder needs to stick everywhere if you want the true payoff later when you bite into your crispy baked chicken wings.
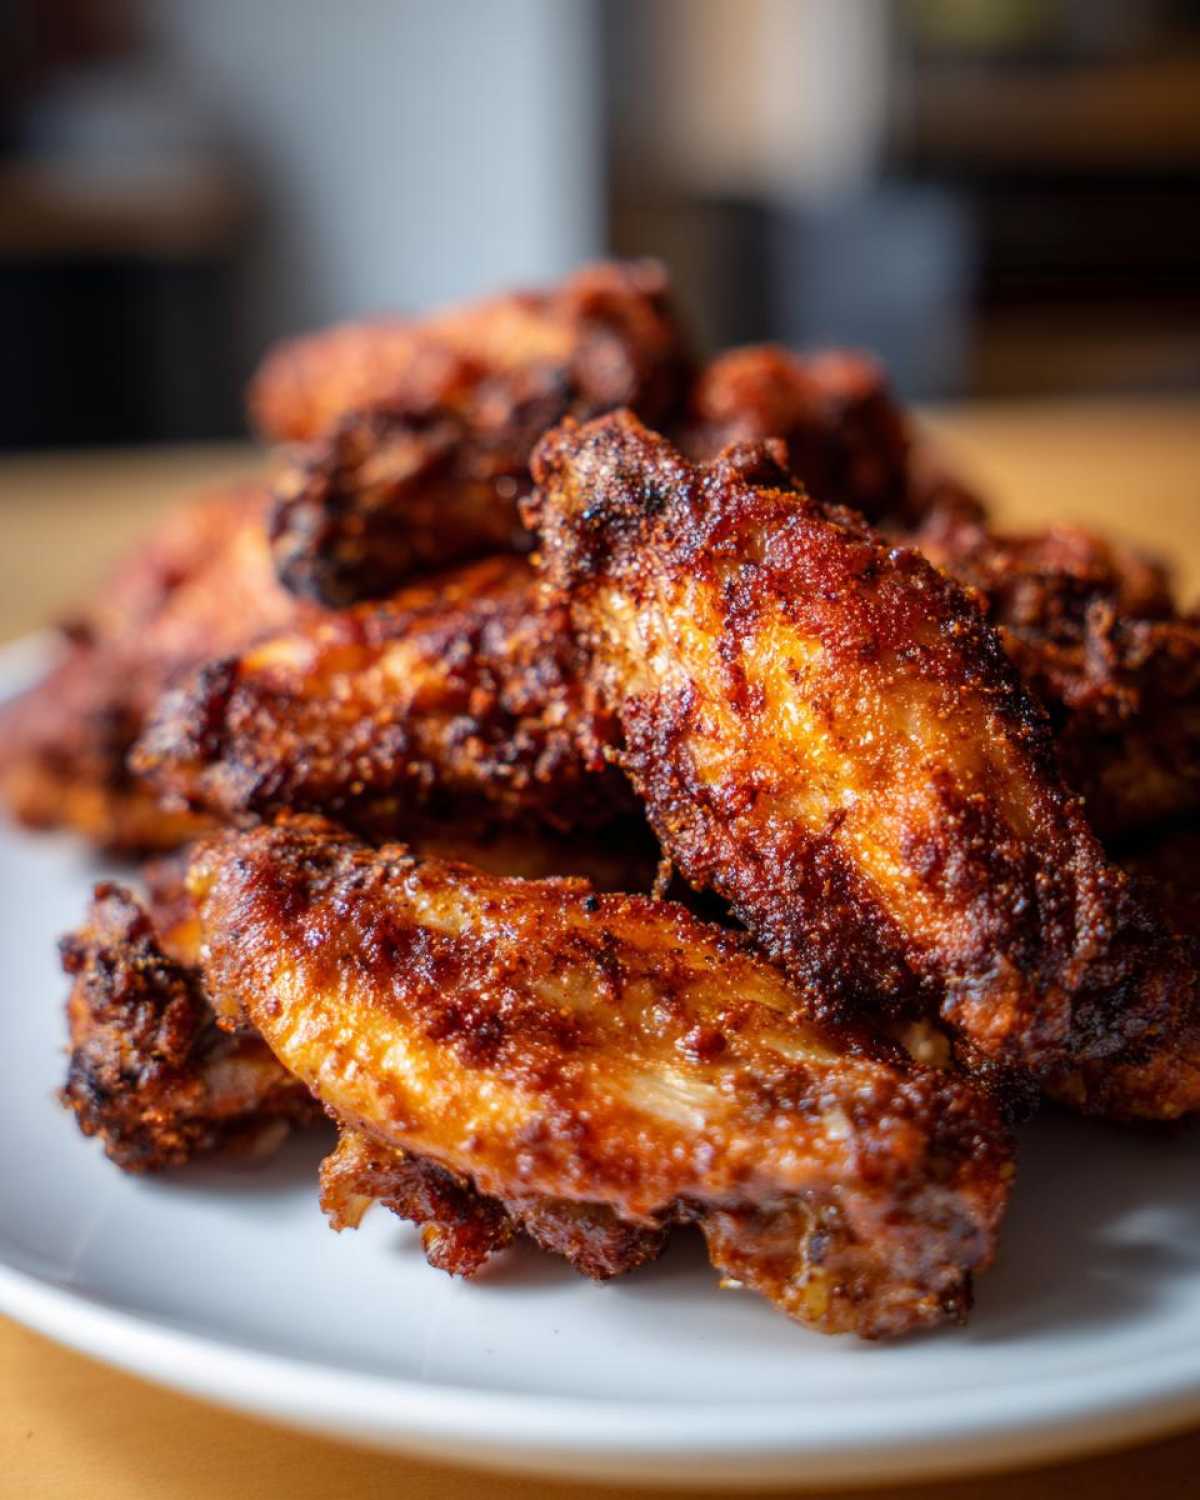
The Critical Baking Technique for Crispy Baked Chicken Wings
Arrangement is everything! Carefully lay your coated wings onto that wire rack. And I mean *carefully*. They absolutely cannot be piled up or touching. If they are touching, they will steam each other, and we are fighting the good fight against sogginess here! Give them space to breathe.
Bake them for 20 minutes exactly. Set a timer! Then, you must flip every single wing over—top to bottom. Slide them back in for another 20 to 25 minutes. If you are nervous about the crunch, this is where you channel your inner Ethan and just go for it: switch that oven to broil for the final minute or two. Watch them like a hawk! That last blast of high heat is what gives you that deep golden brown color and ultimate crunch on your crispy baked chicken wings.
Finishing Your Crispy Baked Chicken Wings with Sauce (Optional)
So, you achieved perfection—golden, crunchy wings straight out of the oven! Now comes the big decision: sauce or no sauce? If you are serving them dry rubbed, that’s fantastic! But if you’re craving that classic Buffalo coating, here’s my crucial tip from all those game-day tests. You must sauce them immediately after they come off that rack while they are still piping hot.
Toss them gently but quickly in a clean bowl with your favorite sauce. Whether it’s spicy Buffalo or sweet BBQ, that heat helps the sauce adhere perfectly. This quick toss is the final step before serving your amazing crispy baked chicken wings. If you want a fantastic pairing for game day, check out our recipe for Buffalo Chicken Dip!
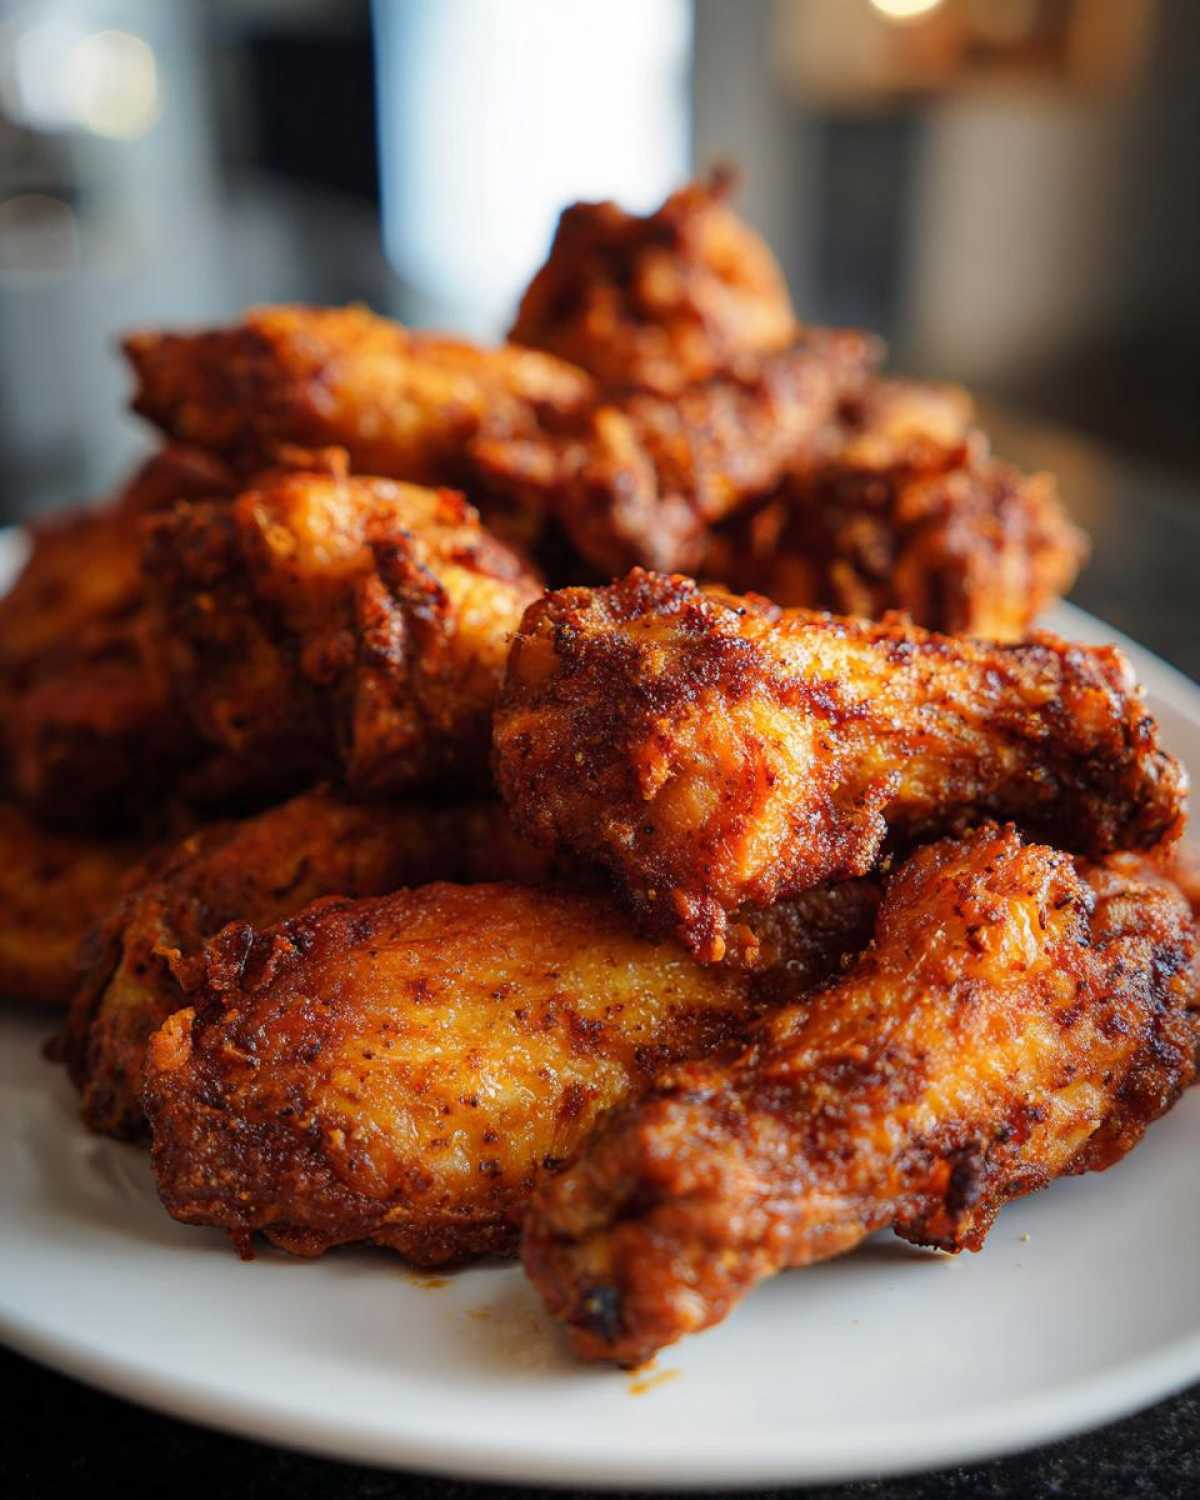
Tips for Success Making Crispy Baked Chicken Wings
We’ve covered the main steps, but those little details are what separate good wings from truly *great* ones. If you want reliably juicy meat inside and that perfect crunch on the outside every time you make crispy baked chicken wings, listen up. First, remember that even though the baking powder works wonders, you *cannot* skip patting those wings bone dry at the start. That initial moisture removal is the secret to juiciness trapped inside!
Also, if you’re making a huge batch for a party, please, please, please do not crowd that rack! Ethan learned this the hard way when we tested for a Super Bowl party; overcrowding makes the wings steam, and we’re back at square one. If you have to, bake in two separate rounds. Also, a tip from me: If your oven runs hot like ours sometimes does, try lowering the temperature by 10 degrees and adding 5 minutes to the total cook time. Better safe than sorry, especially when you are close to that broil setting! Want more of our kitchen experiments? See what else we’re testing out on our latest blog posts!
Storage and Reheating Crispy Baked Chicken Wings
Okay, let’s face it—sometimes we make too many amazing crispy baked chicken wings! If you have leftovers, how do you keep them from turning into sad, chewy hockey pucks later? My advice is to store them in a single layer container in the fridge. Don’t seal the lid completely tight right away; allow some air circulation if you can, or use paper towels to absorb any immediate condensation.
When you’re ready to enjoy them again, skip the microwave completely—that’s a guaranteed texture disaster! The best way to bring back that golden crunch is using a toaster oven or a conventional oven set around 375 degrees. Just a quick 5 to 7 minutes watching closely, and they’ll be beautifully crunchy again. They may not hit that perfect ‘fresh out of the oven’ peak, but they’ll be close!
Serving Suggestions for Your Oven Baked Wings
Now that you have these fantastic, healthy, and crispy wings, what do you put on the plate next to them? You can’t just eat wings alone, that would be too simple! Ethan usually insists on classic accompaniments; celery sticks and carrot sticks are non-negotiable for scooping up extra dressing.
The creamy tang of blue cheese or ranch dressing cuts through the savory spices so well. If you’re looking to make this a full meal instead of just an appetizer, I love serving them alongside a simple, crisp green salad. We sometimes pair them with a lighter side, like my Grape Salad here, which sounds weird but the fresh sweetness is perfectly balanced!
Frequently Asked Questions About Crispy Baked Chicken Wings
I know you’re going to have questions when you try your first batch of crispy baked chicken wings! We definitely did when we first started testing this method. Ethan always calls these the “what-if” questions, but they are so important for making sure you get the perfect crunch.
Here are the things people ask me most often about getting that texture right without reaching for the deep fryer. We want you to succeed!
Can I make these crispy baked chicken wings without a wire rack?
This is a common one, and honestly, the rack makes the biggest difference because it allows air circulation all around the wing, which is what dries out the skin. If you absolutely don’t have one—and I’ve been wing-less before, I know the panic!—you can try creating a makeshift barrier. You could loosely ball up sheets of aluminum foil to create little pedestals to raise the wings off the sheet pan, or you can try setting the wings on top of celery stalks wrapped in foil. Just don’t skip the elevation, or you risk losing that crucial crisp on the bottom side!
What happens if I accidentally use baking soda instead of baking powder?
Oh, don’t panic if you grab the wrong tin! This changes things significantly, and Ethan learned this the hard way when he tested it intuitively once! Baking soda is much more alkaline than baking powder, and using too much will leave a very distinct, soapy, or metallic taste on your crispy baked chicken wings. We need the milder lift from the powder. If you only have soda, you’d need to balance it with an acid like lemon juice or vinegar, but honestly, it’s easier to just run to the store for the right ingredient since baking powder is so key to the texture.
How long do I bake if I’m using only drumettes or only flats?
That’s a great question regarding time variations! Flats usually cook slightly faster than the drumettes because they have less mass. Since we are baking between 40 and 45 minutes total, this usually isn’t a huge adjustment, but just pull the flats out first if they look perfectly golden and listen for that initial audible crunch. See our full disclaimer guidelines here: just in case recipes go sideways!
Nutritional Snapshot of These Crispy Baked Chicken Wings
Okay, friends, here’s the part where I bring in my research hat one last time, because even when we’re indulgence, it’s good to know what we’re eating, right? Ethan is the one who always reminds me: just because we skip the deep fryer doesn’t mean we throw caution to the wind entirely!
I want to stress that these numbers are estimates based on the ingredients list provided, assuming you aren’t using a heavy, sugary sauce. Nutrition facts are fickle things, and depending on the exact cut of your wing or the brand of seasoning you grab, things can shift slightly. Always think of this as a general guide for these healthy-ish, oven-baked wings.
For a serving size of 4 wings, here is what our testing showed:
- Serving Size: 4 wings
- Calories: 280
- Sugar: 0 (Woohoo! The best kind of sweet!)
- Sodium: 450
- Fat: 18g
- Saturated Fat: 5g
- Unsaturated Fat: 13g
- Trans Fat: 0
- Carbohydrates: 1g
- Fiber: 0
- Protein: 27g
- Cholesterol: 90mg
See? That high protein count paired with almost zero sugar makes these a fantastic, satisfying snack for game day or any time you need a flavor punch without the heavy guilt. That’s the beauty of baking them this way!
PrintThe Secret to Truly Crispy Baked Chicken Wings

Get the secret to truly crispy baked chicken wings right in your kitchen. This simple seasoning and oven baking method gives you the ultimate crunch without messy deep frying.
- Prep Time: 15 min
- Cook Time: 45 min
- Total Time: 60 min
- Yield: 4 servings
- Category: Appetizer
- Method: Baking
- Cuisine: American
- Diet: Low Fat
Ingredients
- 2 lbs chicken wings (flats and drumettes separated)
- 1 tablespoon baking powder (not baking soda)
- 1 teaspoon salt
- 1 teaspoon garlic powder
- 1 teaspoon onion powder
- 1/2 teaspoon black pepper
- 1/2 teaspoon paprika
- Optional: Your favorite sauce for tossing (e.g., Buffalo, BBQ)
Instructions
- Preheat your oven to 425 degrees Fahrenheit. Line a large baking sheet with aluminum foil for easy cleanup. Place a wire cooling rack on top of the baking sheet. This setup allows air to circulate, which is key for crispiness.
- Pat the chicken wings completely dry using paper towels. This step removes surface moisture, which prevents steaming and promotes crisping.
- In a large bowl, whisk together the baking powder, salt, garlic powder, onion powder, black pepper, and paprika. This is your dry rub.
- Add the dried chicken wings to the bowl. Toss them well until every piece is evenly coated with the seasoning mixture. The baking powder helps dry out the skin and aids in browning.
- Arrange the coated wings in a single layer on the wire rack. Make sure the wings are not touching each other; give them space for the best results.
- Bake for 20 minutes.
- Flip each wing over. Return the pan to the oven and bake for another 20 to 25 minutes, or until the skin is golden brown and very crispy.
- If you want extra crispiness, switch the oven setting to broil for the last 1 to 2 minutes, watching carefully to prevent burning.
- Remove the wings from the oven. If you are using a sauce, place the hot wings in a clean bowl and toss immediately with your desired amount of sauce until coated.
- Serve your extra crispy baked chicken wings immediately with dipping sauces or vegetables.
Notes
- The baking powder is the secret ingredient that helps render fat and creates that shatter-crisp skin without deep frying.
- For the juiciest inside, make sure you do not skip drying the wings thoroughly before seasoning.
- If you are making a large batch, bake in two separate batches to avoid overcrowding the pan, which causes steaming.
Nutrition
- Serving Size: 4 wings
- Calories: 280
- Sugar: 0
- Sodium: 450
- Fat: 18
- Saturated Fat: 5
- Unsaturated Fat: 13
- Trans Fat: 0
- Carbohydrates: 1
- Fiber: 0
- Protein: 27
- Cholesterol: 90