

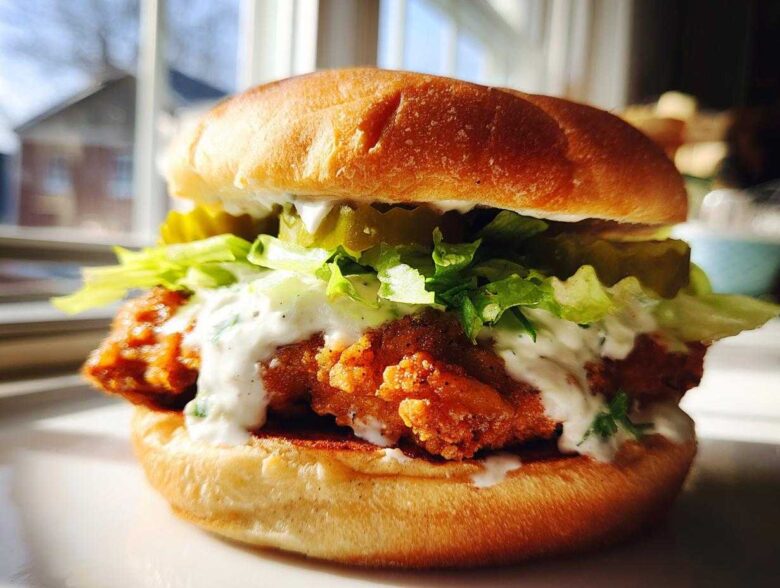
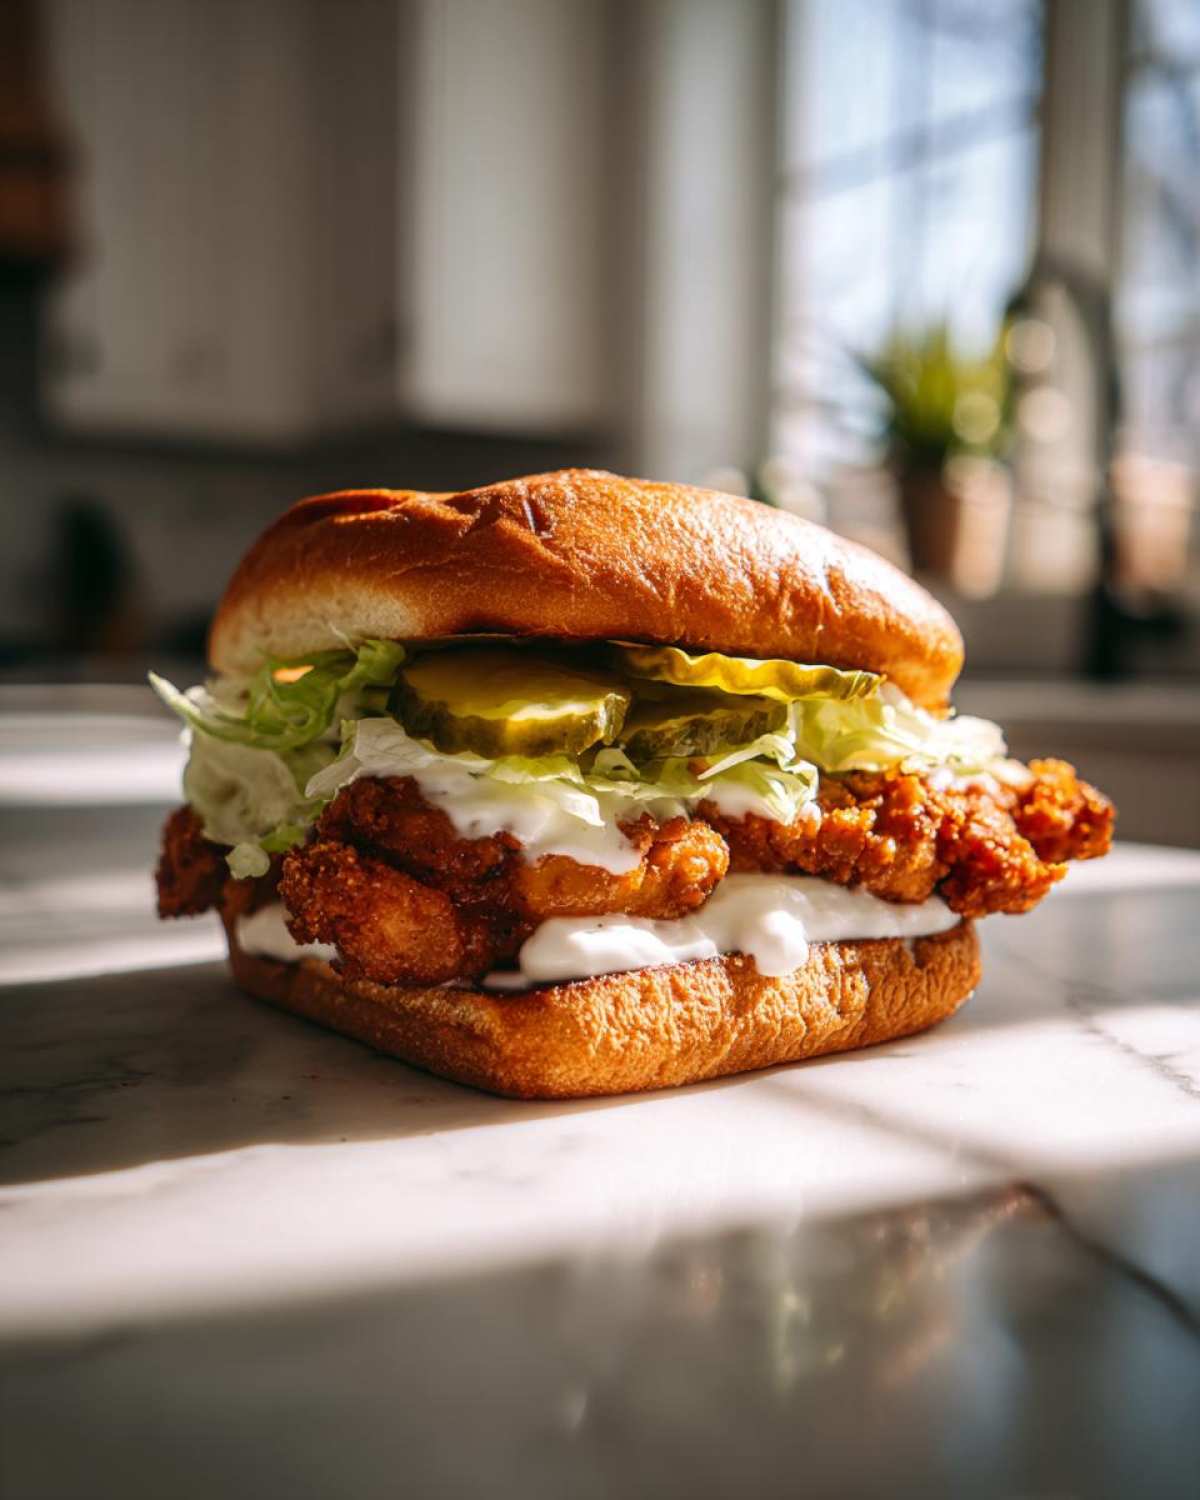
Okay, listen up! I am so excited you’re here because making a perfect **Crispy Chicken Burger with Garlic Mayo** at home used to feel like rocket science, right? You spend all that effort, and you end up with a soggy patty or a coating that falls off the second you look at it. Ugh! I must have gone through twenty ruined batches—seriously, twenty!—before I cracked the code on that ultra-crunchy exterior combined with still-juicy meat. This recipe isn’t just good; it’s rigorously tested and proven to deliver that restaurant-quality crunch every single time. I learned so much just figuring out the breading; you can check out some of my earlier ramblings over at the blog if you want a good laugh! Trust me, once you try our buttermilk soak and that homemade garlic mayo, you won’t go back!
Why This Crispy Chicken Burger with Garlic Mayo Recipe Works
This recipe is my go-to because it masters the two things fast-food joints charge way too much for: impossible crunch and incredible sauce. We nailed the texture by using the secret double-dredge technique, which you can read more about here: our secret to the coating.
- The buttermilk soak keeps the inside unbelievably tender while the coating adheres perfectly.
- Our homemade garlic mayo is zesty, creamy, and takes about two minutes flat to whip up.
- We balance the savory crunch with bright pickles and fresh lettuce so the whole thing sings!
Ingredients for the Ultimate Crispy Chicken Burger with Garlic Mayo
Alright, getting the right stuff ready is half the battle. You want precision here, especially with the chicken pieces so they cook evenly. Don’t touch that store-bought sauce—the homemade stuff is where the real flavor bomb is dropped! If you’re trying out different sauces, you should look at my notes on homemade mayonnaise recipes later.
For the Chicken Patty and Breading
The key to that amazing crunch starts here!
- 2 boneless, skinless chicken breasts, halved horizontally (so they’re thin!)
- 1 cup buttermilk
- 1 teaspoon salt
- 1 teaspoon black pepper
- 1 teaspoon paprika
- 1/2 teaspoon cayenne pepper (Careful, this adds the kick!)
- 1 cup all-purpose flour
- 1/2 cup cornstarch
- Vegetable oil, for frying (Yep, we’re frying for the best results!)
For the Homemade Garlic Mayo
This is our star sauce, the reason you’re making this!
- 1/2 cup mayonnaise
- 2 cloves garlic, minced (Don’t be shy with the garlic!)
- 1 teaspoon lemon juice
- Pinch of salt
For Assembly and Toppings
These final touches make it look like a five-star sandwich. These toppings ideas always make mine look amazing!
- 4 hamburger buns
- 4 slices cheese (if you want that gooey factor)
- Lettuce leaves
- Pickle slices
How to Prepare the Juicy Fried Chicken Patty Tutorial
Getting that juicy interior is just as important as the crunch, and it all starts with time! You have to let the buttermilk work its magic. I know sometimes we’re hungry *now*, but you absolutely have to let this chill for a minimum of two hours. If you can plan ahead, overnight is truly the dream because that soak tenderizes the chicken beautifully. This little step separates an okay chicken patty from the kind you dream about, as you can see in my guide on the Buttermilk Soak Chicken Fried Recipe.
Marinating the Chicken for Tenderness
Get your bowl ready! I mix the buttermilk, salt, pepper, paprika, and that fiery cayenne pepper right in there. Once the chicken is submerged, cover the bowl tight. It needs time in the fridge to absorb those spices and tenderize—don’t rush this part, or your results won’t be nearly as juicy!
Achieving the Perfect Double Dredge Coating
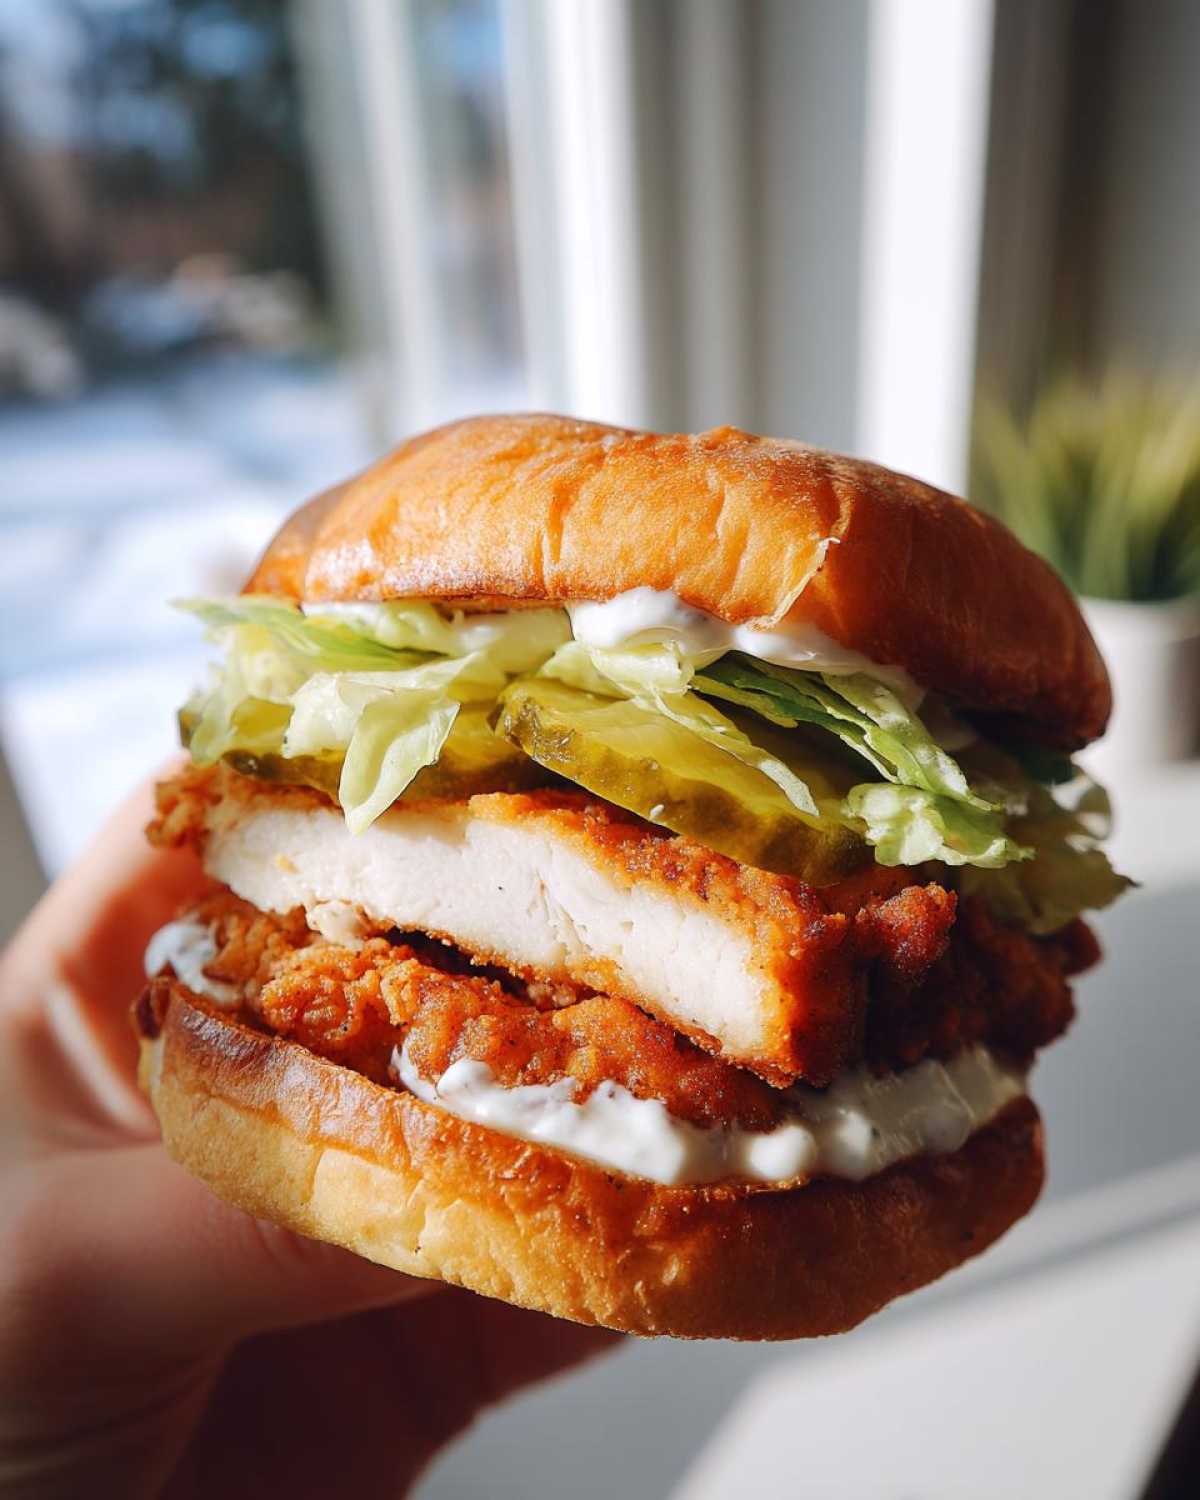
This is the real secret to that shatteringly crisp exterior, the Secret to Crispy Fried Chicken Coating! First, whisk your flour and cornstarch together—that cornstarch is essential for crispiness. Take a chicken piece out of the buttermilk, let that excess drip off for one second, and press it firmly into the flour mixture. Now, here’s the game changer: dip it quickly back into the buttermilk bath, and then—and this is vital—dredge it *hard* back into the flour mix again. Really press and scrunch the coating onto the chicken so you get those beautiful, craggy bits that turn into golden crunch in the hot oil.
Frying Technique for the Best Crispy Chicken Sandwich Recipe
Now that you have that perfectly craggy, beautiful piece of chicken ready to go, it’s time for the heat! This step means the difference between a slightly greasy piece of chicken and a truly superior sandwich. We need that oil hot enough so the crust sets instantly, locking all the juices right inside. Seriously, grab that thermometer; it’s your best friend here. I learned the hard way that eyeballing frying temperature leads to pale, soggy disasters!
Heat about two inches of vegetable oil in a deep skillet. You are shooting for a steady 350 degrees Fahrenheit (that’s 175°C). If you have a thermometer, stick it in! Once it hits the target temperature, you carefully lower your dredged chicken pieces in. Don’t crowd the pan; give them space! Crowding drops the oil temperature way too fast, and that’s how you get oil-logged, sad chicken.
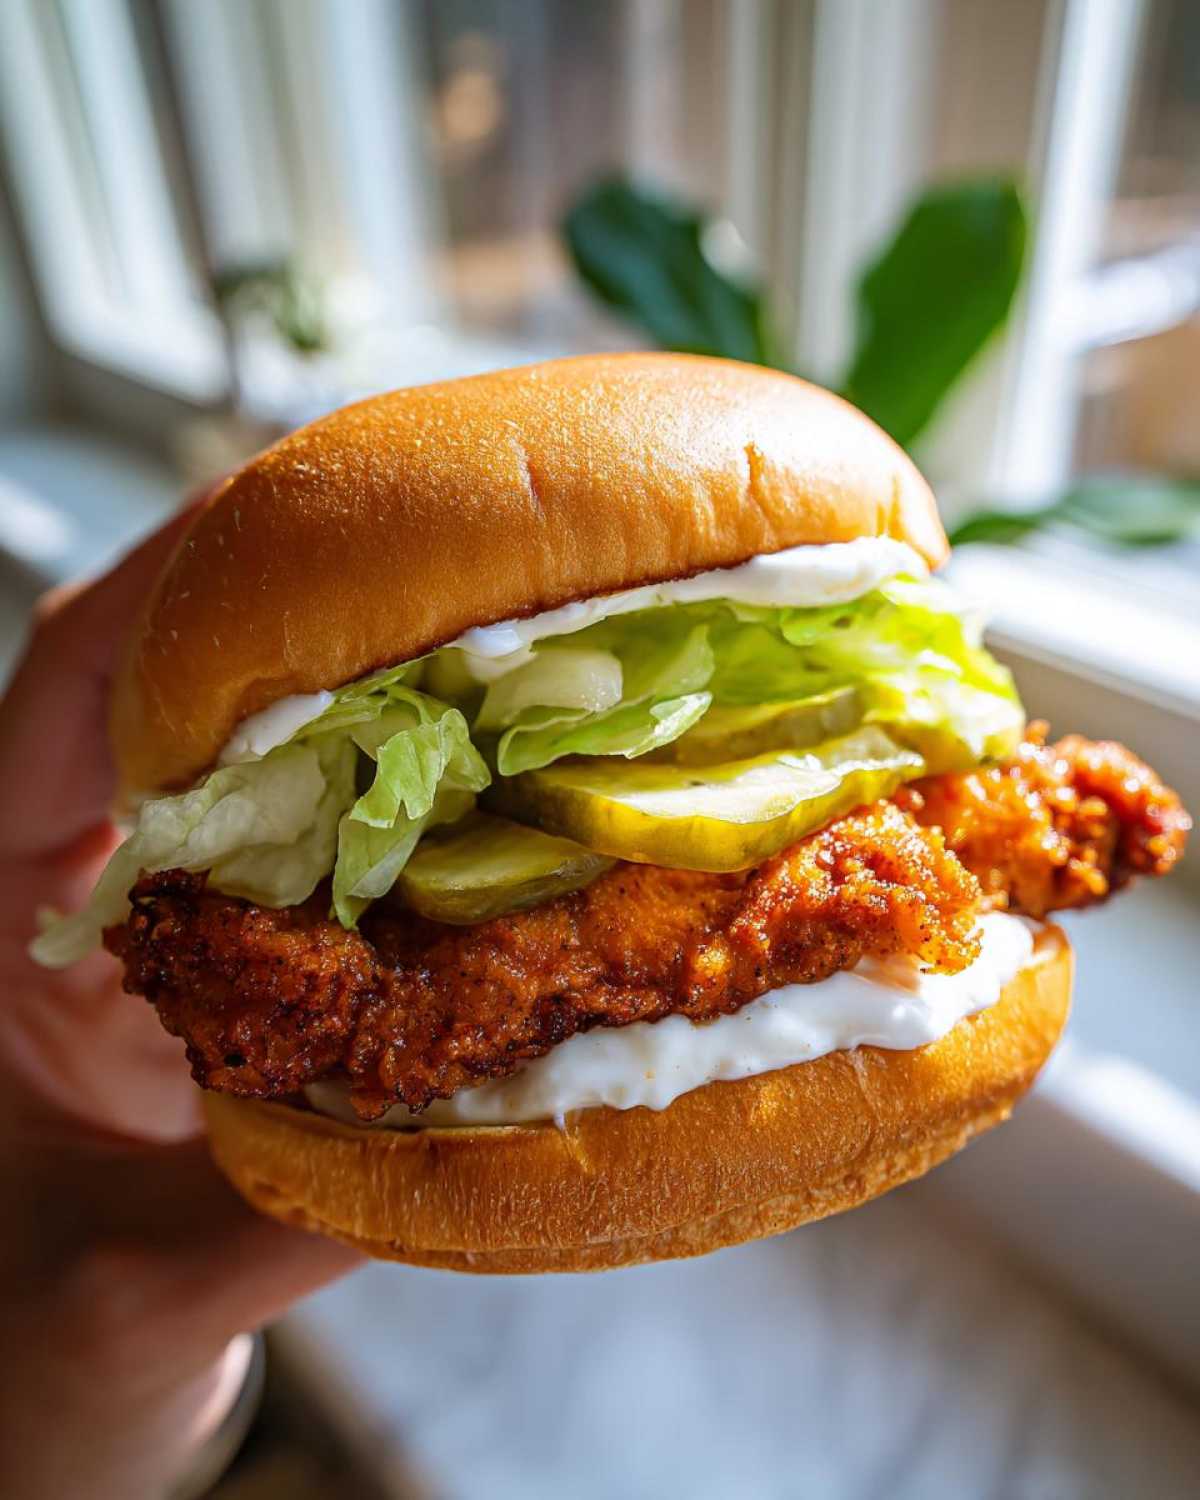
You’ll want to cook them for about six to eight minutes on each side. Since we halved the breasts, they cook faster, but you must check the internal temperature. For safety and for the juiciest result, make sure that meat reaches 165°F (74°C) right in the thickest part. You can read more about how I nail temperatures on my guide to getting crispy fried wings, which uses some similar principles!
When they look gorgeously golden brown and feel firm—and your thermometer agrees—lift them out carefully. Don’t let them sit on paper towels alone! The absolute best trick is to set them on a wire rack placed over a baking sheet lined with paper towels. This lets the air circulate underneath, so the bottom doesn’t steam itself soggy while the excess oil drips away. Let them rest there for a few minutes while you toast those buns!
Making the Creamy Garlic Aioli for Sandwiches
Okay, now that the chicken is resting, let’s quickly tackle the **Homemade Garlic Mayo for Burgers** because this sauce is half the battle! You don’t need a fancy immersion blender or anything—this is pure whisk-and-mix action. I promise it tastes exponentially better than anything jarred.
All you do is take that creamy mayonnaise base and mix in your finely minced garlic. Two cloves are strong, but that’s what we want for a true burger kick! Then add just a tiny splash of lemon juice to brighten everything up and a pinch of salt to make those flavors pop. Give it a good taste before you assemble everything. Does it need more lemon? More zest? You’re the boss here! If you’re looking for more ideas on sauces you can whip up fast, check out my easy homemade burger sauce recipes.
Air Fryer Crispy Chicken Sandwich Guide Alternative
Look, I know deep frying is the ultimate way to lock in that flavor and moisture, but sometimes you want that incredible crunch without the big pot on the stove. I totally get it!
If you want to go the healthier route, or just need quicker cleanup, the air fryer is your friend for our **Air Fryer Crispy Chicken Sandwich Guide**. It still works beautifully, especially since we’ve got that amazing flour and cornstarch coating!
Once you have your chicken double-dredged, don’t put it in a wet pile! You need to give those coated pieces a good, light spritz of cooking spray—and I mean light! You’re just coating the surface to help that breading brown up nicely, not trying to deep fry it again.
Pop the sprayed, breaded chicken into the air fryer basket, making sure they aren’t touching. We need air to circulate around them, right? Set your machine to 380 degrees Fahrenheit (that’s about 195°C). You’re going to cook them for about 15 to 20 minutes total. But listen closely: you absolutely have to flip them halfway through. Around the 8-minute mark, pull the basket out, flip those patties over, and give them another little spray if they look dry, then pop them back in to finish. Use your thermometer, just like with frying, to ensure they hit that safe 165°F internally. You can troubleshoot any air fryer issues by reading up on some of my other air fryer adventures here: tips for air frying perfection. This method gives you fantastic crunch for a **Crispy Chicken Burger with Garlic Mayo** with way less fuss!
Ultimate Chicken Burger Assembly and Soggy Bun Prevention
We’ve got the juicy, perfectly crunchy chicken patty, and we have that gorgeous, pungent garlic mayo—now we need to put it together without turning everything into a mushy mess! Soggy buns are the absolute enemy of a great fried chicken sandwich, and honestly, all that hard work goes to waste if the bread dissolves before you finish your first bite. So, listen closely to my golden rule for assembly; it works wonders.
First things first: toasting. You can use a dry skillet over medium heat or just a quick blast under the broiler, but you must toast the cut sides of those buns. Toasting creates a slightly sealed surface that resists moisture. Before you even think about putting lettuce or pickles on, spread a generous layer of that homemade garlic mayo on *both* bottom and top buns. Yes, both! That mayo layer acts like a flavorful, creamy barrier against any moisture seeping in from the toppings or the chicken itself. If I’m making these for a picnic, I sometimes even put a thin slice of provolone or Swiss right on the bottom bun—the melted cheese acts as a second moisture shield under the sauce!
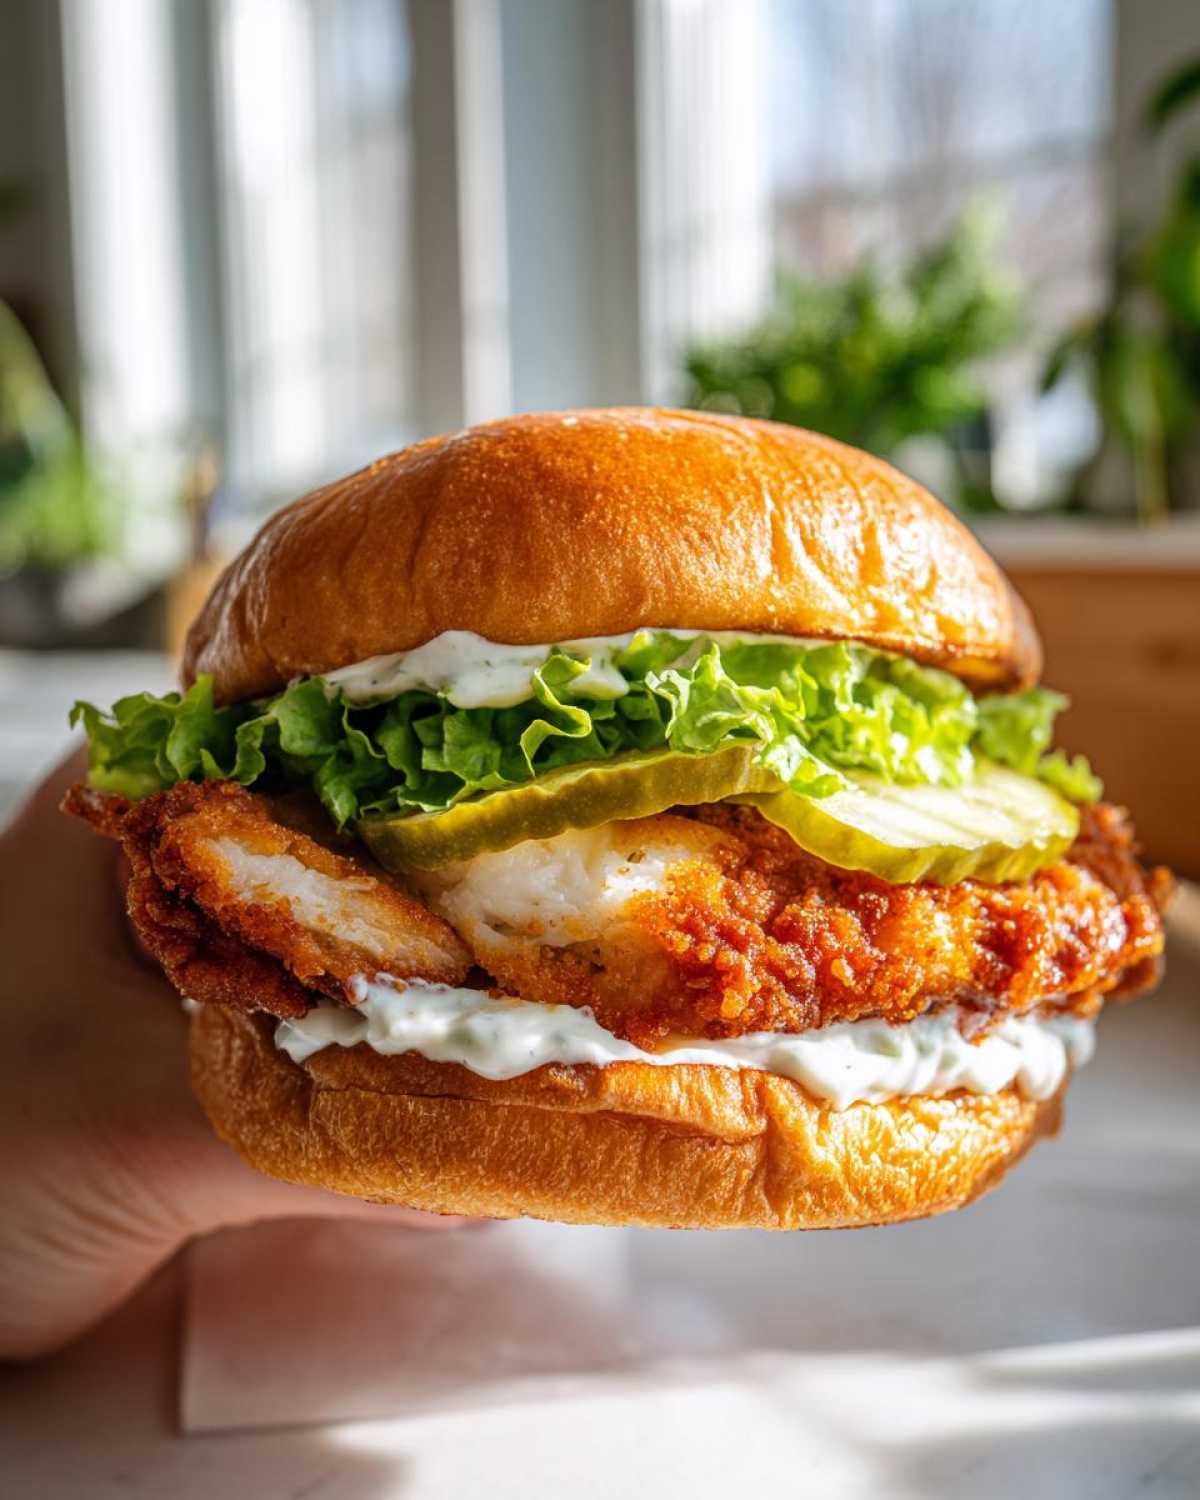
Once your toasted, mayo-slathered bottom bun is ready, lay down your crisp lettuce first. The lettuce acts as a cushion between the bun and the hot chicken. Then, immediately place your piping hot, fresh-out-of-the-rack chicken patty on top of the lettuce. If you are using cheese, put that right on the hot chicken so it melts down perfectly into the breading. Follow up with your tangy pickle slices. Finally, cap it all off with that top bun, also smeared liberally with the garlic mayo. Perfection! If you’re looking for truly amazing buns, I have a great no-knead bread recipe that makes the softest brioche-style buns for an elevated experience!
Frequently Asked Questions About Your Crispy Chicken Burger with Garlic Mayo
I know you’re probably getting ready to head to the kitchen, but I always get so many questions about this recipe! It’s always better to be prepared than to realize halfway through that you forgot to plan for leftovers or wanted a little extra heat. We want this **Crispy Chicken Burger with Garlic Mayo** attempt to be your best one yet! If you have a question I haven’t covered here, feel free to reach out through my contact page!
Can I use chicken thighs instead of breasts for this recipe?
Oh, absolutely! Some people actually prefer dark meat, and I totally get it—it stays unbelievably moist. If you swap the breasts for boneless, skinless chicken thighs, you need to just watch your cooking time carefully. Thighs are a little thicker and denser than the butterflied breasts we used here, so you might need an extra minute or two per side when frying. **Always** trust that meat thermometer, though! You need to see 165°F (74°C) internally before you pull them out of that hot oil. Don’t worry, the buttermilk soak works its magic on thighs just as well!
How can I make this a Spicy Crispy Chicken Sandwich Variation?
If you’re feeling bold and your five-year-old isn’t going to eat this with you, we can definitely amp up the heat for a real **Spicy Crispy Chicken Sandwich Variation**! I give you two simple options: either add a dash of your favorite Louisiana-style hot sauce right into the buttermilk marinade—that infuses the chicken itself with flavor—or, if you want the heat concentrated in the crunch, add another half teaspoon of cayenne pepper directly into your flour mixture. Do both for maximum fire! Just make sure you keep tasting your marinade as you go!
How long does the homemade garlic mayo last in the refrigerator?
This is a great question because this **Homemade Garlic Mayo for Burgers** is so addictive, you’ll want to eat it all week! Since we are starting with store-bought mayonnaise—which is already stabilized—you’re good to go for about five to seven days tucked away in a sealed container in the back of the fridge. The lemon juice helps keep things fresh too! If you notice it smelling a little off or looking separated, toss it immediately. But honestly, with the strong garlic flavor, it usually disappears in about two days around here!
Storage and Reheating Instructions
If, by some miracle, you have any of this crispy perfection left over, storage is simple but important! You definitely don’t want to store the whole sandwich together. Keep the leftover chicken patty, the garlic mayo, and any soft buns separately in airtight containers. The mayo lasts about a week, but the chicken needs to be eaten within three or four days, tops.
Now, for reheating—please, I beg you, do not touch that microwave! It will turn your beautiful crunchy crust into floppy sadness. Your best bet for reviving that crunch is the oven or the air fryer. Pop the cold chicken on a rack in a 375°F oven for about 8 minutes, or in the air fryer at 350°F for 4 minutes. It heats through and crisps right back up! If you want tips on making ahead for busy mornings, check out my guide on freezer-friendly breakfast sandwiches!
PrintCrispy Chicken Burger with Garlic Mayo
Make a restaurant-style crispy fried chicken burger at home using a buttermilk soak and a simple, flavorful homemade garlic mayonnaise.
- Prep Time: 20 min
- Cook Time: 20 min
- Total Time: 2 hours 40 min
- Yield: 4 servings
- Category: Main Course
- Method: Frying
- Cuisine: American
- Diet: Low Fat
Ingredients
- 2 boneless, skinless chicken breasts, halved horizontally
- 1 cup buttermilk
- 1 teaspoon salt
- 1 teaspoon black pepper
- 1 teaspoon paprika
- 1/2 teaspoon cayenne pepper
- 1 cup all-purpose flour
- 1/2 cup cornstarch
- Vegetable oil, for frying
- 4 hamburger buns
- 4 slices cheese (optional)
- Lettuce leaves
- Pickle slices
- For Garlic Mayo: 1/2 cup mayonnaise
- 2 cloves garlic, minced
- 1 teaspoon lemon juice
- Pinch of salt
Instructions
- Place the chicken pieces in a bowl. Combine buttermilk, salt, pepper, paprika, and cayenne. Pour over the chicken and let it marinate in the refrigerator for at least 2 hours, or preferably overnight.
- In a shallow dish, whisk together the flour and cornstarch.
- Remove chicken from the marinade, letting excess drip off. Dredge each piece thoroughly in the flour mixture, pressing firmly to coat. For extra crispiness, dip the floured chicken back into the buttermilk briefly, then dredge again in the flour mixture (double dredge).
- Heat about 2 inches of vegetable oil in a deep skillet to 350°F (175°C).
- Carefully place the chicken into the hot oil, ensuring not to overcrowd the pan. Fry for 6 to 8 minutes per side, until golden brown and the internal temperature reaches 165°F (74°C).
- Remove chicken and place on a wire rack set over a paper towel-lined baking sheet to drain excess oil.
- While the chicken drains, prepare the garlic mayo: Mix the mayonnaise, minced garlic, lemon juice, and a pinch of salt in a small bowl.
- Lightly toast the cut sides of the hamburger buns in a dry pan or under the broiler until golden.
- Assemble the burgers: Spread a generous layer of garlic mayo on both the top and bottom toasted buns. Place a piece of lettuce on the bottom bun, top with a slice of cheese (if using), place the hot crispy chicken patty on top, add pickle slices, and finish with the top bun.
Notes
- To prevent a soggy bun, lightly toast the buns and spread a thin layer of mayonnaise on both halves before adding wet ingredients like pickles or sauce.
- For an air fryer method, spray the dredged chicken lightly with cooking spray and cook at 380°F (195°C) for 15 to 20 minutes, flipping halfway through.
- Use a meat thermometer to confirm the chicken is fully cooked for safety and juiciness.
Nutrition
- Serving Size: 1 burger
- Calories: 650
- Sugar: 8
- Sodium: 950
- Fat: 35
- Saturated Fat: 7
- Unsaturated Fat: 28
- Trans Fat: 0
- Carbohydrates: 45
- Fiber: 2
- Protein: 40
- Cholesterol: 120