

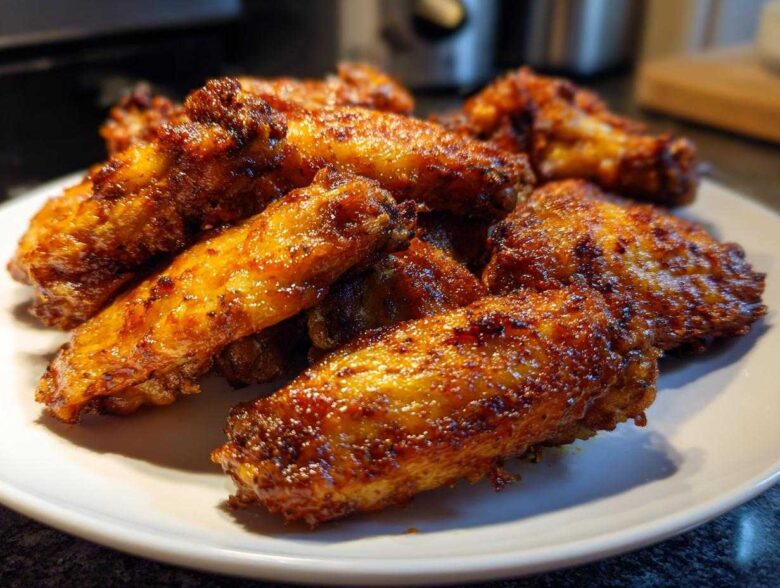
Let’s be honest, is there any better appetizer than perfectly cooked chicken wings? Seriously, whether it’s a massive game day spread or just a Tuesday night where we needed something fun, we were always fighting over the best way to make them. I (Maya) used to insist on careful measurements, while Ethan just wanted to toss things in a deep fryer because, well, fried is always good, right?
We finally found peace, and the wings got infinitely better, when Ethan’s dad suggested we just talk it out! That conversation led us directly to this miracle technique: achieving unbelievably extra crispy chicken wings using nothing but the power of the oven and a sneaky little ingredient. Forget the grease and splattering oil; this no-fry method is the secret to juicy inside, crispy outside wings that will make you famous at every party. You can read more about how we blend our styles over at our story.
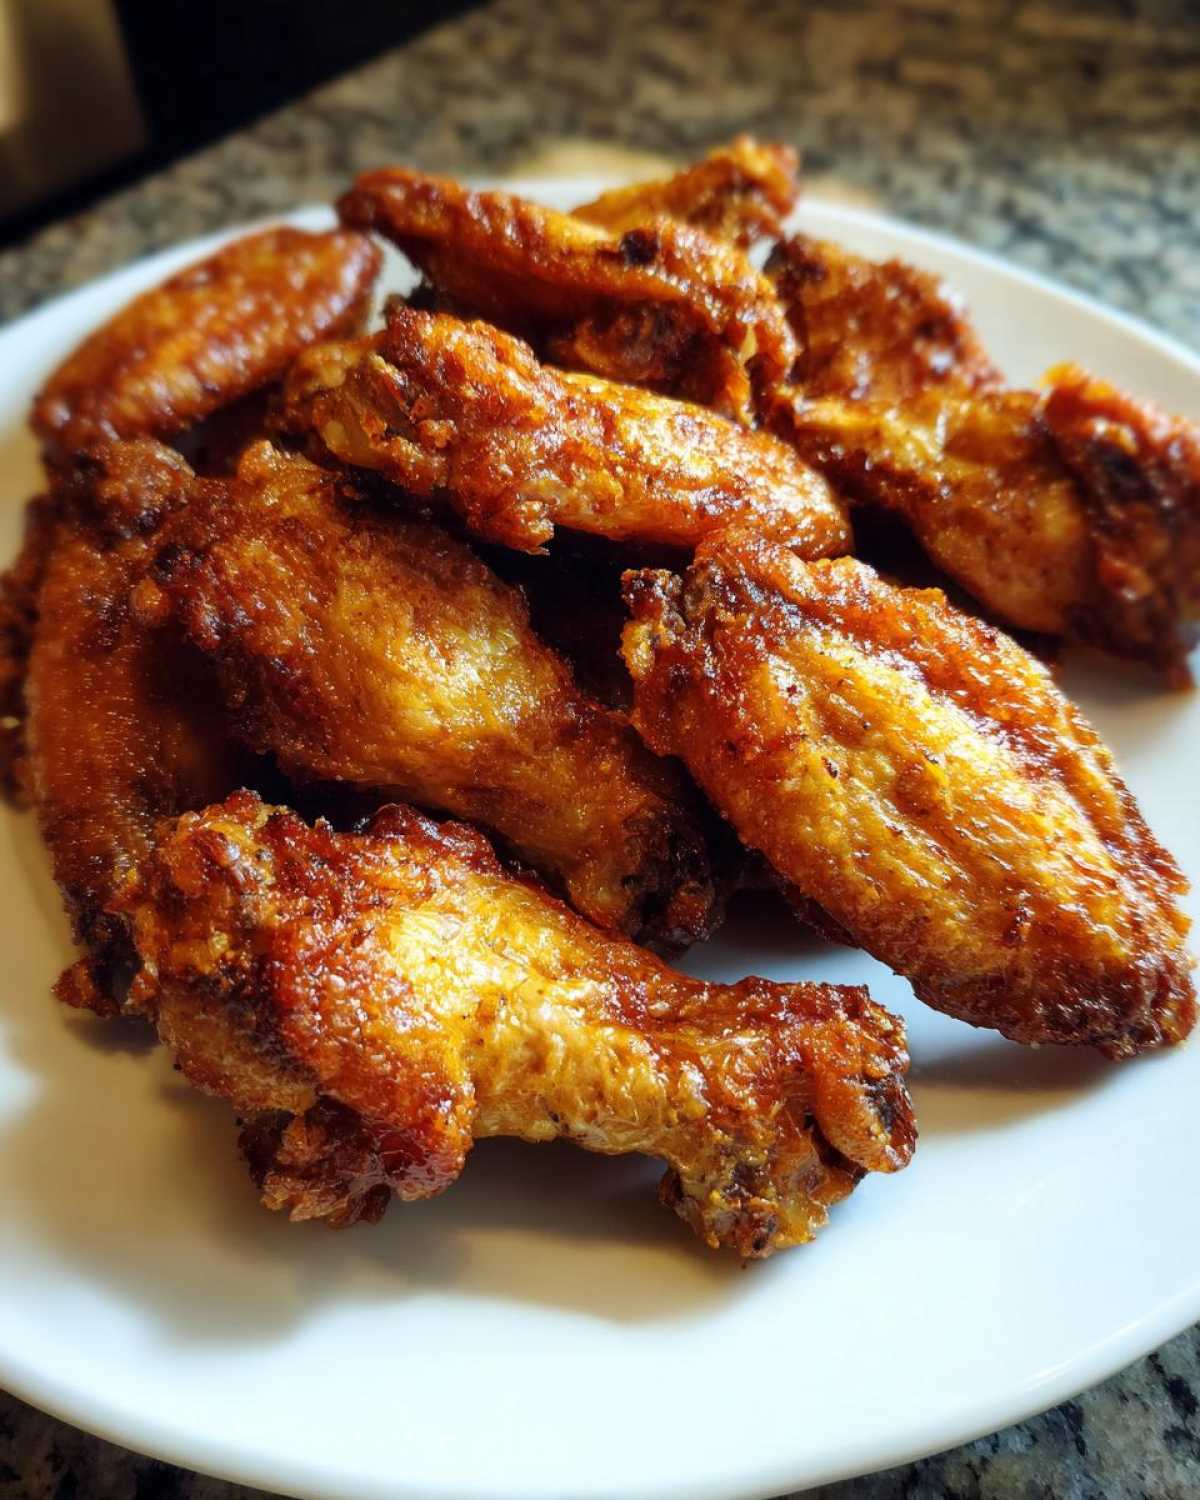
Why You Need This Extra Crispy Baked Chicken Wings Technique
Look, I get it. Frying is fast, but the cleanup is a nightmare, and honestly, I worry about the oil everywhere. This baked method is where we finally agreed!
- These are truly no fry chicken wings that deliver shocking crunch without the mess.
- They are absolutely perfect as game day chicken wings—big batches are easy to handle.
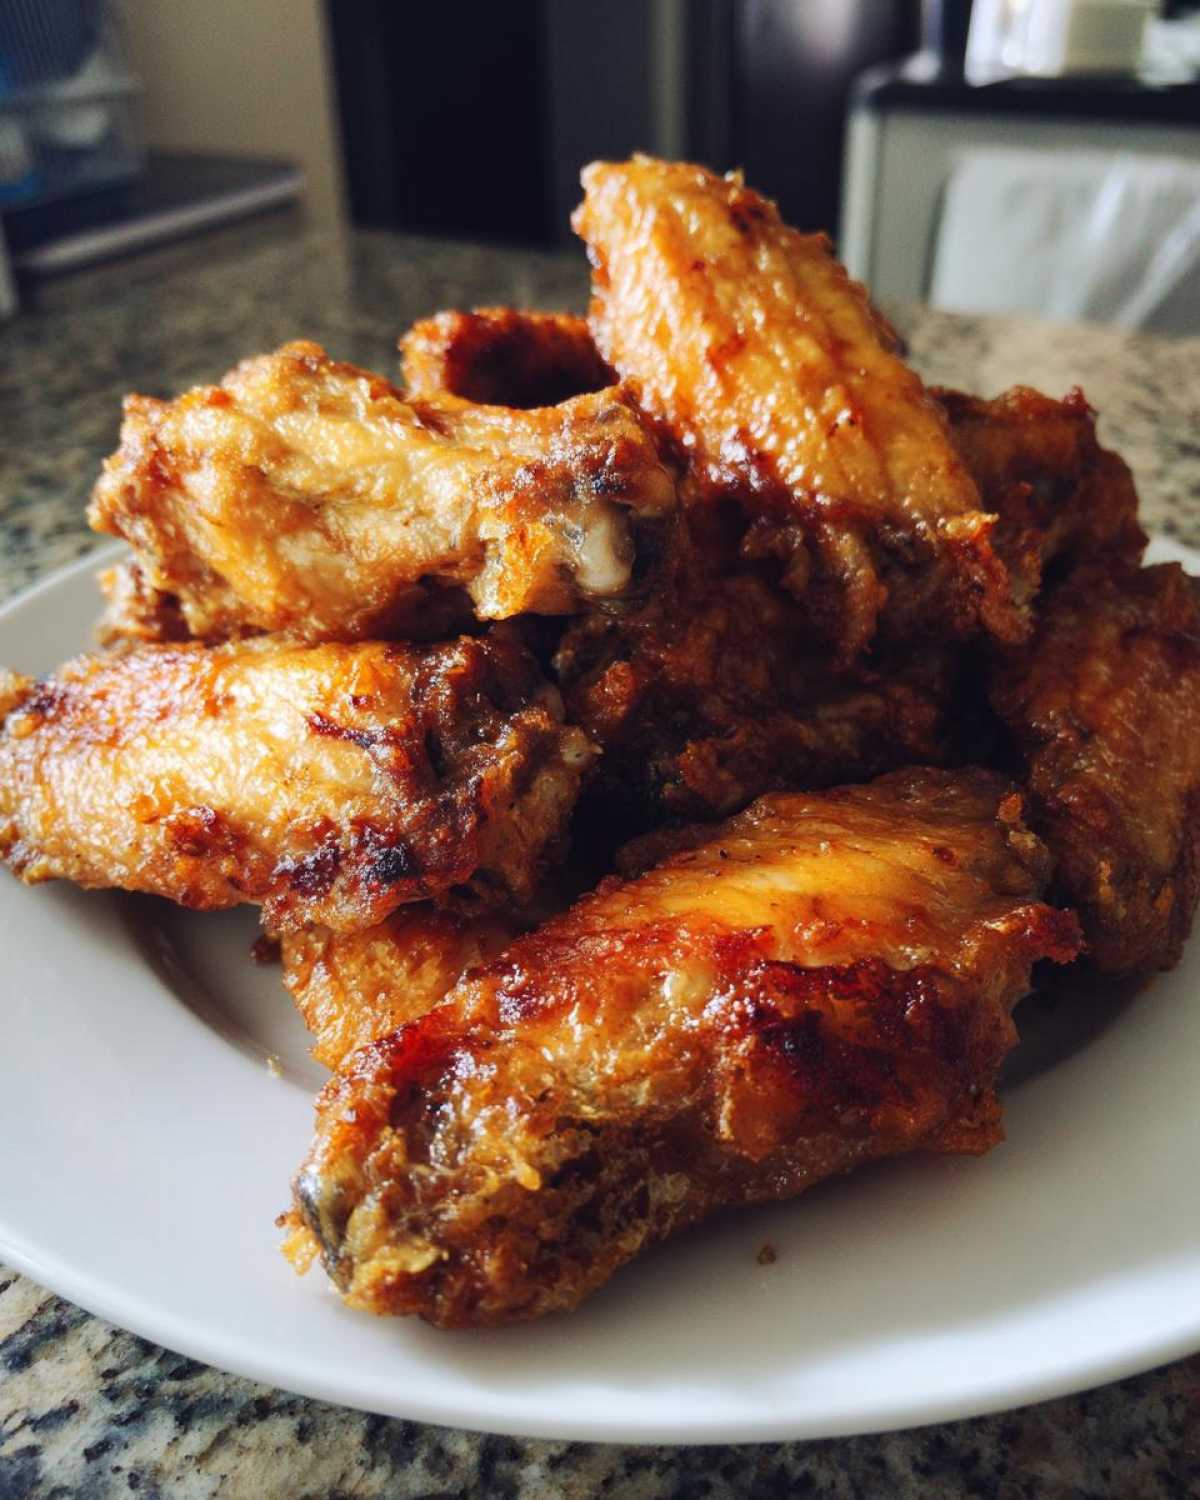
- We’re talking shatteringly crisp skin that stays crispy even when tossed in sauce.
- They are much healthier than deep-fried options, making them great for a party appetizer spread.
If you’re looking for something incredible for your next gathering, check out this method paired with our Jalapeño Popper Dip! It’s a winner.
Achieving Juicy Inside Crispy Outside Wings Every Time
The magic isn’t just luck; it’s chemistry! Ethan’s dad’s secret weapon—baking powder—is what separates these from every other bland oven experience you’ve probably had. The baking powder slightly raises the skin’s pH level, which helps to break down proteins and dry out the exterior faster. This is truly the best chicken wing technique you can master right now.
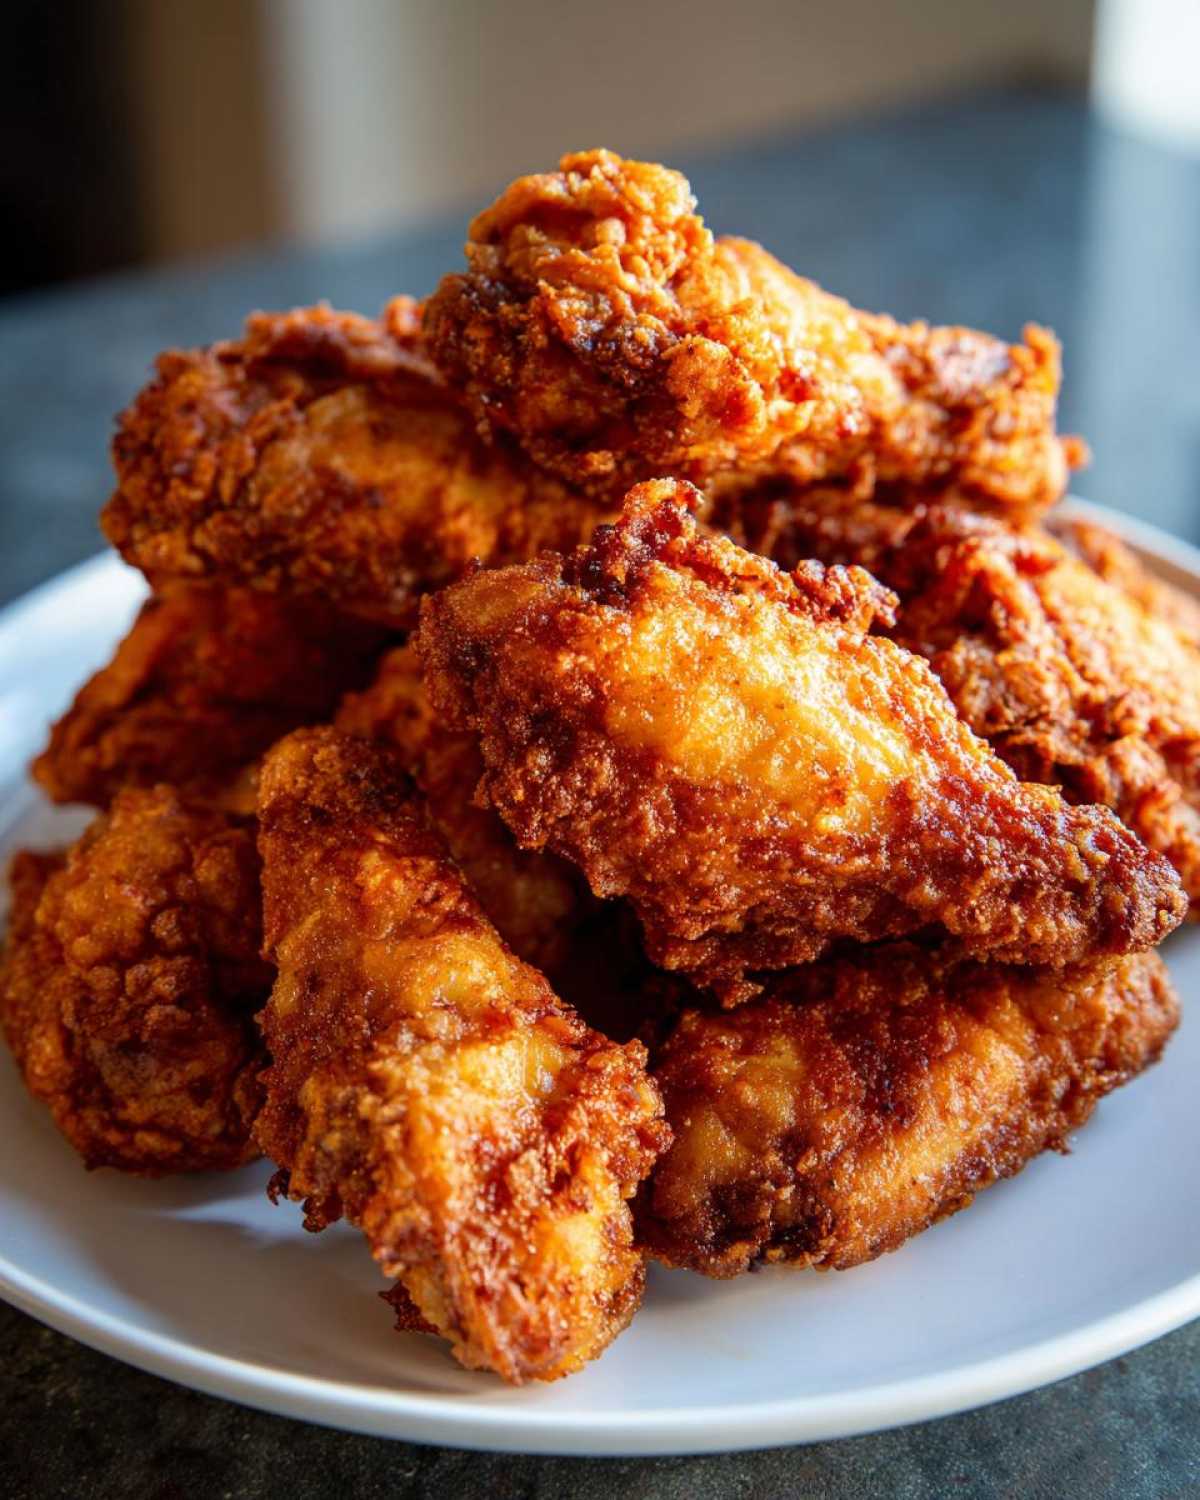
Essential Ingredients for Perfect Baked Chicken Wings
Okay, time to get tactical! Since we’re focusing our energy on getting these crispy, the quality of what goes into the mix really matters. We’ve kept this small, maximizing the impact of every single component. When you look at this list, you’ll see our big secret right there, ready to do some heavy lifting for us. Trust me, don’t skip the baking powder—it’s the reason these taste like they came from a professional fryer!
- 3 lbs chicken wing sections (flats and drumettes)
- 1 tablespoon baking powder (aluminum-free is best)
- 1 teaspoon salt
- 1/2 teaspoon black pepper
- 1/2 teaspoon garlic powder
- Optional: Your favorite sauce (e.g., Buffalo, Honey Garlic, or Ranch seasoning)
Ingredient Clarity and Preparation Notes
If you take away one thing from this recipe, let it be this: Patting the wings dry is mandatory. I mean bone-dry! Moisture is the enemy of crispiness, so grab a mountain of paper towels and just go at them until the skin feels like parchment paper. Also, Ethan insists on using aluminum-free baking powder; he says the regular stuff sometimes leaves a slight metallic aftertaste, which ruins the savory vibe of these savory chicken bites.
The Best Crispy Baked Chicken Wings Instructions
Alright, this is where the magic happens! We have to be methodical here because the timing makes all the difference between good wings and those legendary crispy ones that people fight over. Don’t stress, though! It’s just a few simple stages, and once you nail the temperature shifts, you’re set for life. These instructions are based on getting that perfect texture, which is why we use the rack setup. If you need more inspiration on getting that perfect chicken texture, check out my Baked Crispy Cordon Bleu recipe, as the principles are totally similar!
Prepping Your Chicken Wings for Maximum Crisp
First things first: crank that oven up to 425°F (220°C) and line a sheet pan, then place a wire rack on top. Remember what I said about moisture being the enemy? Now is the time to attack it! Pat those wings until they are totally dry—I mean it, really dry. In a big bowl, mix your baking powder, salt, pepper, and garlic powder. Toss those dry wings until they wear a light, even powdery jacket. That coating is our crisp insurance policy!
Baking the Chicken Wings to Golden Perfection
Now, arrange them on that wire rack. Every single wing needs its own personal space; seriously, do not let them touch! They bake at 425°F for 25 minutes, then you flip them over. This is crucial for even color. After the flip, reduce the heat down to 400°F (200°C) and bake for another 20 to 25 minutes until they look deeply golden and you hear that satisfying crackle when you nudge one. That sound means you’ve perfected the oven baked wings technique!
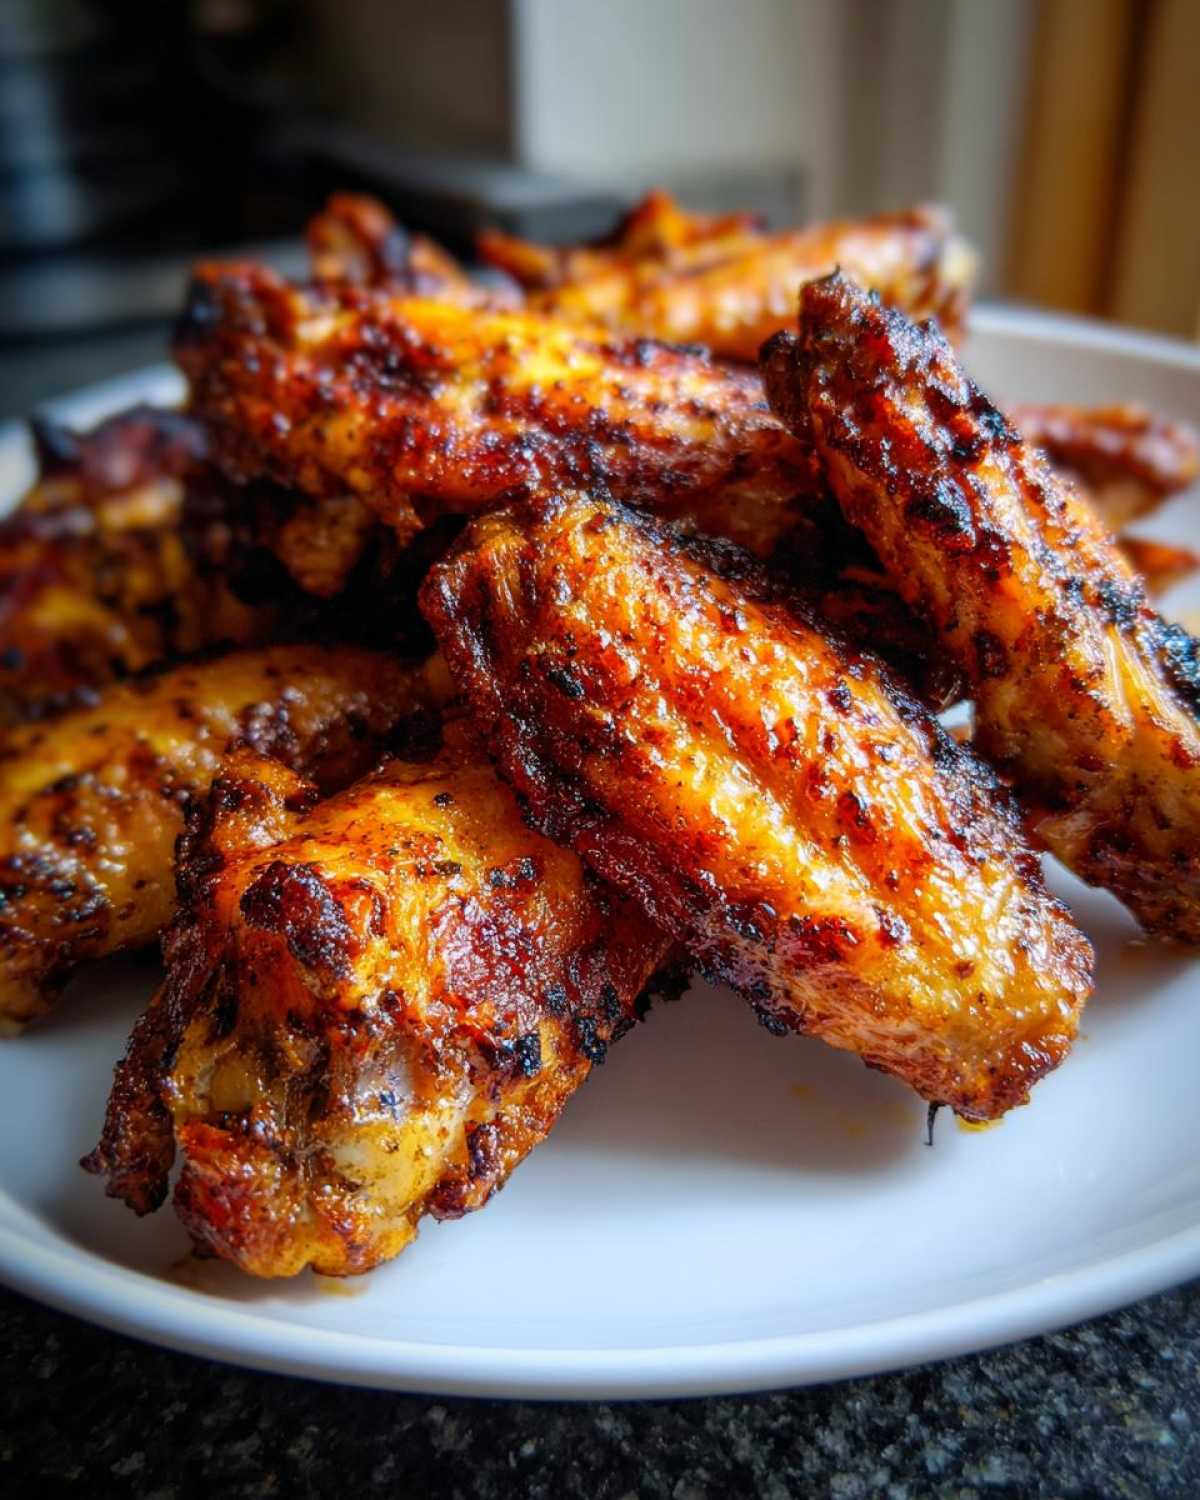
Flavor Variations for Your Party Appetizer Wings
You’ve got your crispy base—seriously, you nailed the baking powder thing! Now comes the fun part: getting creative with the flavors. Since the skin is already shatteringly crisp, we toss them *after* they come out of the oven. This keeps the crunch intact, which I learned the hard way after saucing them too early one time! These wings are guaranteed crowd-pleasers and the perfect party appetizer wings for any gathering. Ethan just loves using his leftover sauce experiments in this stage!
We always have a jar of homemade Buffalo Wing Sauce ready, but you can honestly dust these with anything you love. If you’re looking for sticky, sweet flavor, try making a batch of Honey Garlic Wings to toss them in!
Making Easy Ranch Wings Recipe or Hot Honey Chicken Wings
If you want that popular Ranch flavor, just toss the hot, baked wings with a heavy dusting of dry ranch seasoning mix right away. For those sweet and spicy fans, try a quick toss in some sticky Hot Honey. If you want the glaze to really adhere, throw them under the broiler for just a minute right after saucing. Just watch them like a hawk so they don’t burn!
Tips for Success with No Fry Chicken Wings
Now that you know the basic steps for our best crispy baked chicken wings, let me drop a few more things Ethan insists on that really separate the good wings from the legendary ones. First, I cannot stress the rack enough. You absolutely must use a wire rack so the air circulates underneath; otherwise, the bottom of the wing just steams in its own juices. That defeats the whole purpose of the baking powder trick!
Second, remember the rule: overcrowding kills the crisp! If you try to cram too many wings on one tray, the temperature drops, and they steam instead of crisping up. If you’re making a giant batch for a huge crowd, bake them in two rounds. It takes an extra 45 minutes total, but every single wing will be perfect. If you love that garlic flavor we use in the initial rub, you’ll adore how it integrates into our Garlic Parmesan Chicken Skillet too!
Finally, trust the process with the baking powder reaction. It looks weird when you first toss the wings—they might look a little pale or strange—but keep tossing until that dry mixture is evenly distributed. That slight chemical reaction is what dries the skin out perfectly before the high heat even hits it!
Making Air Fryer Chicken Wings with a Similar Technique
I know, I know, you might be wondering, “Ethan, what if my air fryer is calling my name?” You’re in luck! Since we are already using that killer baking powder technique here, adapting this for your Air Fryer is super simple. The principle stays the same—dry wings, coating, high heat. For these chicken wings, you’ll want to use a slightly lower starting temperature, maybe around 380°F (195°C), and cook for about 20 minutes.
Then, you shake the basket to flip them and cook for another 10 to 15 minutes until they are totally golden. Because air fryers circulate heat so intensely, they cook faster than the oven. If you want even more air fryer goodness, we have the perfect recipe for Crispy Garlic Parmesan Shrimp too! And hey, if you need more game day wings inspiration, check out the selection over at Upstate Ramblings.
Serving Suggestions for Game Day Chicken Wings
These chicken wings are stellar no matter how you flavor them, but presentation is half the fun, right? Especially when game day rolls around, you need snacks that can handle a crowd and dips that cool down the heat. I always serve ours with plenty of celery and carrot sticks—it feels vaguely healthy, which balances out the fact that we ate two pounds of wings!
For the ultimate dip experience, you absolutely have to make a batch of our famous Beer Cheese Dip. Seriously, it’s the perfect savory, salty partner to spicy Buffalo or zesty Lemon Pepper wings. Keep a bowl of that creamy goodness right next to the platter of game day chicken wings and watch them disappear!
Storing and Reheating Your Homemade Chicken Wings
We never *expect* leftovers, but let’s be real—these homemade chicken wings are often too good to finish in one sitting! If you have any survivors, store them in a truly airtight container in the fridge. Don’t even think about keeping them in a porous paper bag; that’s the quickest way to steam away your hard-earned crispiness.
When game day rolls around the next day, forget the microwave. The microwave will make them sad and soggy, which is a crime against good cooking. The absolute best way to bring back that shatteringly crisp exterior is popping them back on a wire rack set over a baking sheet in a hot oven (around 400°F) for about 5 minutes. If you’re feeling truly dedicated, the air fryer works wonders too, just heat them at 375°F for 3-4 minutes until they’re piping hot again!
Frequently Asked Questions About Crispy Chicken Wings
Okay, I know you’ve got questions! When Ethan and I first started testing this, we had a whole notebook full of them. It’s great that you’re asking these things, because nailing these little details is what turns a decent batch of wings into the next big crowd pleaser appetizer. Go ahead and check out our general Blog Archives if you want more general knowledge too!
Can I use baking soda instead of baking powder on my chicken wings?
That’s a super common question, since they look so similar! I highly recommend you stick to the baking powder for this recipe. Baking powder is formulated to give you a slightly alkaline environment plus that necessary lift when everything heats up. Baking soda by itself is much more powerful. If you swap it in without adjusting other things, you risk your chicken wings tasting a little odd, almost soapy or metallic, especially after they cool down. Stick to the powder for that reliable, non-fry crisp!
What is the best way to get truly crispy chicken wings without frying?
If you remember nothing else, remember these three things, and you’ll have the best crispy baked chicken wings on the block. First: dry those wings like you mean it! Paper towels are your best friend. Second: use that baking powder coating we discussed—it’s non-negotiable for skin integrity. And finally, you need air circulation. That means using a wire rack—never let them sit directly on the baking sheet! That setup ensures the heat hits every surface evenly, guaranteeing that beautiful, crunchy skin every single time.
PrintExtra Crispy Baked Chicken Wings (No Fry Technique)
Learn the simple baking powder trick to make unbelievably crispy chicken wings in your oven. These wings are juicy inside, crunchy outside, and perfect for game day or any party.
- Prep Time: 15 min
- Cook Time: 45 min
- Total Time: 60 min
- Yield: 4 servings
- Category: Appetizer
- Method: Baking
- Cuisine: American
- Diet: Low Fat
Ingredients
- 3 lbs chicken wing sections (flats and drumettes)
- 1 tablespoon baking powder (aluminum-free is best)
- 1 teaspoon salt
- 1/2 teaspoon black pepper
- 1/2 teaspoon garlic powder
- Optional: Your favorite sauce (e.g., Buffalo, Honey Garlic, or Ranch seasoning)
Instructions
- Preheat your oven to 425°F (220°C). Line a large, rimmed baking sheet with foil for easy cleanup. Place a wire cooling rack on top of the baking sheet.
- Pat the chicken wings completely dry using paper towels. This step is crucial for crispiness.
- In a large bowl, combine the baking powder, salt, pepper, and garlic powder.
- Add the dried chicken wings to the bowl. Toss thoroughly until every piece is lightly and evenly coated with the baking powder mixture.
- Arrange the wings in a single layer on the wire rack set over the baking sheet. Do not let the wings touch each other.
- Bake for 25 minutes.
- Flip the wings over. Reduce the oven temperature to 400°F (200°C).
- Bake for another 20 to 25 minutes, or until the skin is deeply golden brown and very crispy.
- Remove the wings from the oven. If you want to sauce them, place the hot wings in a clean bowl and toss immediately with your chosen sauce or dry rub.
- Serve your extra crispy baked chicken wings right away for the best texture.
Notes
- The baking powder reacts with the chicken skin proteins during baking, helping to dry out the skin and create that shatter-crisp texture without deep frying.
- For extra flavor, you can toss the wings with a dry ranch seasoning mix after they come out of the oven.
- If you prefer a saucier wing, toss them lightly with sauce, then return them to the oven under the broiler for 1-2 minutes to set the glaze. Watch carefully to prevent burning.
Nutrition
- Serving Size: 4 wings
- Calories: 350
- Sugar: 1
- Sodium: 450
- Fat: 22
- Saturated Fat: 7
- Unsaturated Fat: 15
- Trans Fat: 0
- Carbohydrates: 1
- Fiber: 0
- Protein: 34
- Cholesterol: 110