

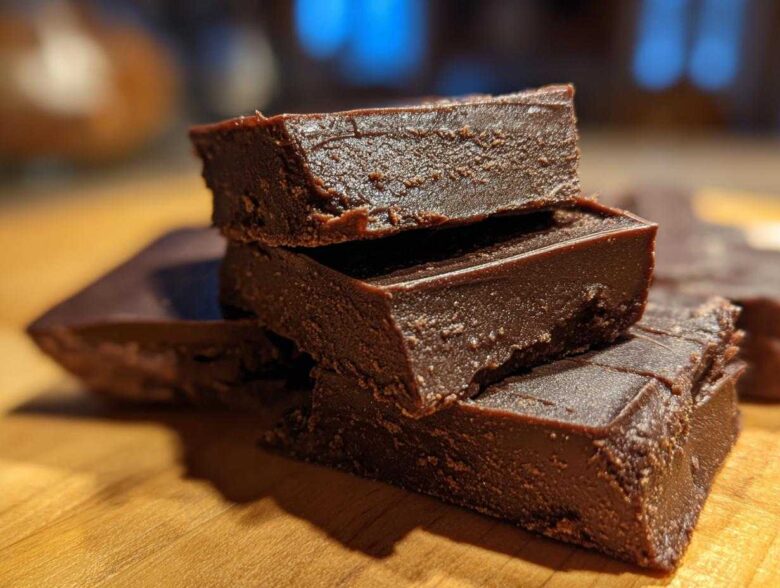
You know those nights when you absolutely need something ridiculously decadent, but the thought of turning on the oven or fussing with candy thermometers sends you straight to the couch? Yeah, me too. Seriously, I’ve saved at least three family movie nights thanks to this absolute lifesaver. I’m talking about the **Easiest Ever 3-Ingredient Chocolate Fudge**. Forget everything you think you know about making the best homemade fudge; this is pure magic that takes about five minutes of active work. It sets up perfectly rich and creamy every single time. If you need quick chocolate treats that taste like you spent all day making old fashioned fudge, stop scrolling right now. This recipe is foolproof, and I promise you won’t believe how few ingredients you need!
Why This 3-Ingredient Chocolate Fudge is Your New Go-To Simple Dessert Recipe
Honestly, the reason I turn to this recipe time and time again is purely down to how incredibly fast it is. You can literally make this rich creamy candy in less time than it takes to put the kettle on! It completely skips the complicated process of traditional candy making.
- Speed Demon: Prep time is practically zero. We’re talking five minutes max to melt everything together. Perfect for last-minute decisions!
- Ingredient Simplicity: Only three core ingredients are required. No hunting through the pantry for obscure extracts or specialty sugars.
- Texture Guaranteed: This isn’t that grainy, crumbly mess some fudge recipes turn into. This method ensures a wonderfully creamy fudge tutorial result every single time. You get that decadent dessert ideas look without the fuss.
It’s perfect for when you need a quick chocolate treat or want to whip up some fudge for gifting without any stress. You can find more simple dessert recipes on my snacks page, but this fudge always wins!
Ingredients for Your Easiest Ever 3-Ingredient Chocolate Fudge
This recipe is deceptively simple because we’re relying on the powerhouse ingredient: sweetened condensed milk. It does all the heavy lifting to give you that creamy, luxurious base for your fudge. Don’t try to substitute this for evaporated milk; trust me, the texture will simply fall apart! For this classic chocolate fudge, keeping the ingredient list tight is key to its success.
Core Ingredients for Classic Fudge
- 1 (14 ounce) can sweetened condensed milk
- 2 cups semi-sweet chocolate chips
- 1 teaspoon vanilla extract
That’s it! Just those three things get you the base for the best homemade fudge. Make sure your chocolate chips are good quality since they are such a major player in the final flavor. We stir in the vanilla right at the end to keep that warm aroma bright.
The Foolproof Microwave Fudge Technique: Step-by-Step Instructions
When I first tried making fudge, I used my stove, and let me tell you, I ended up with a scorched nightmare. Since then, I’ve sworn by the microwave fudge technique because it just works! It’s the quickest way to get that rich, creamy candy consistency without worrying about precise temperatures. Before we even think about heating things up, we need to get our pan ready. This step is essential for that clean finish on your homemade fudge squares!
Preparing the Pan and Melting the Fudge Base
First things first: grab an 8×8 inch baking pan. You absolutely must line it with parchment paper, and I mean *hang it over* two sides like little handles. This overhang is your best friend when it comes time to lift this dense dessert out later! Once lined, combine your chocolate chips and the whole can of sweetened condensed milk right in a sturdy, microwave-safe bowl. Put that bowl in the microwave and set it for just 60 seconds to start things off. Don’t be tempted to stir yet!
Achieving Smooth, Rich Creamy Fudge Texture
After the initial minute, take the bowl out—carefully, it’ll be hot! Give it a good, thorough stir. This is where the magic starts coming together. Now, we don’t want to shock the chocolate, so continue microwaving in short, 30-second bursts. The expert tip here is to stir really well after every single burst until you see everything come together into one unified, gorgeously smooth mixture. When it’s totally melted and glossy, you know you’ve achieved that signature creamy fudge texture. Stop heating the second it’s smooth; residual heat will finish the job. For more quick baking inspiration, check out my latest tips on my blog!
Setting and Cutting Your Homemade Fudge Squares
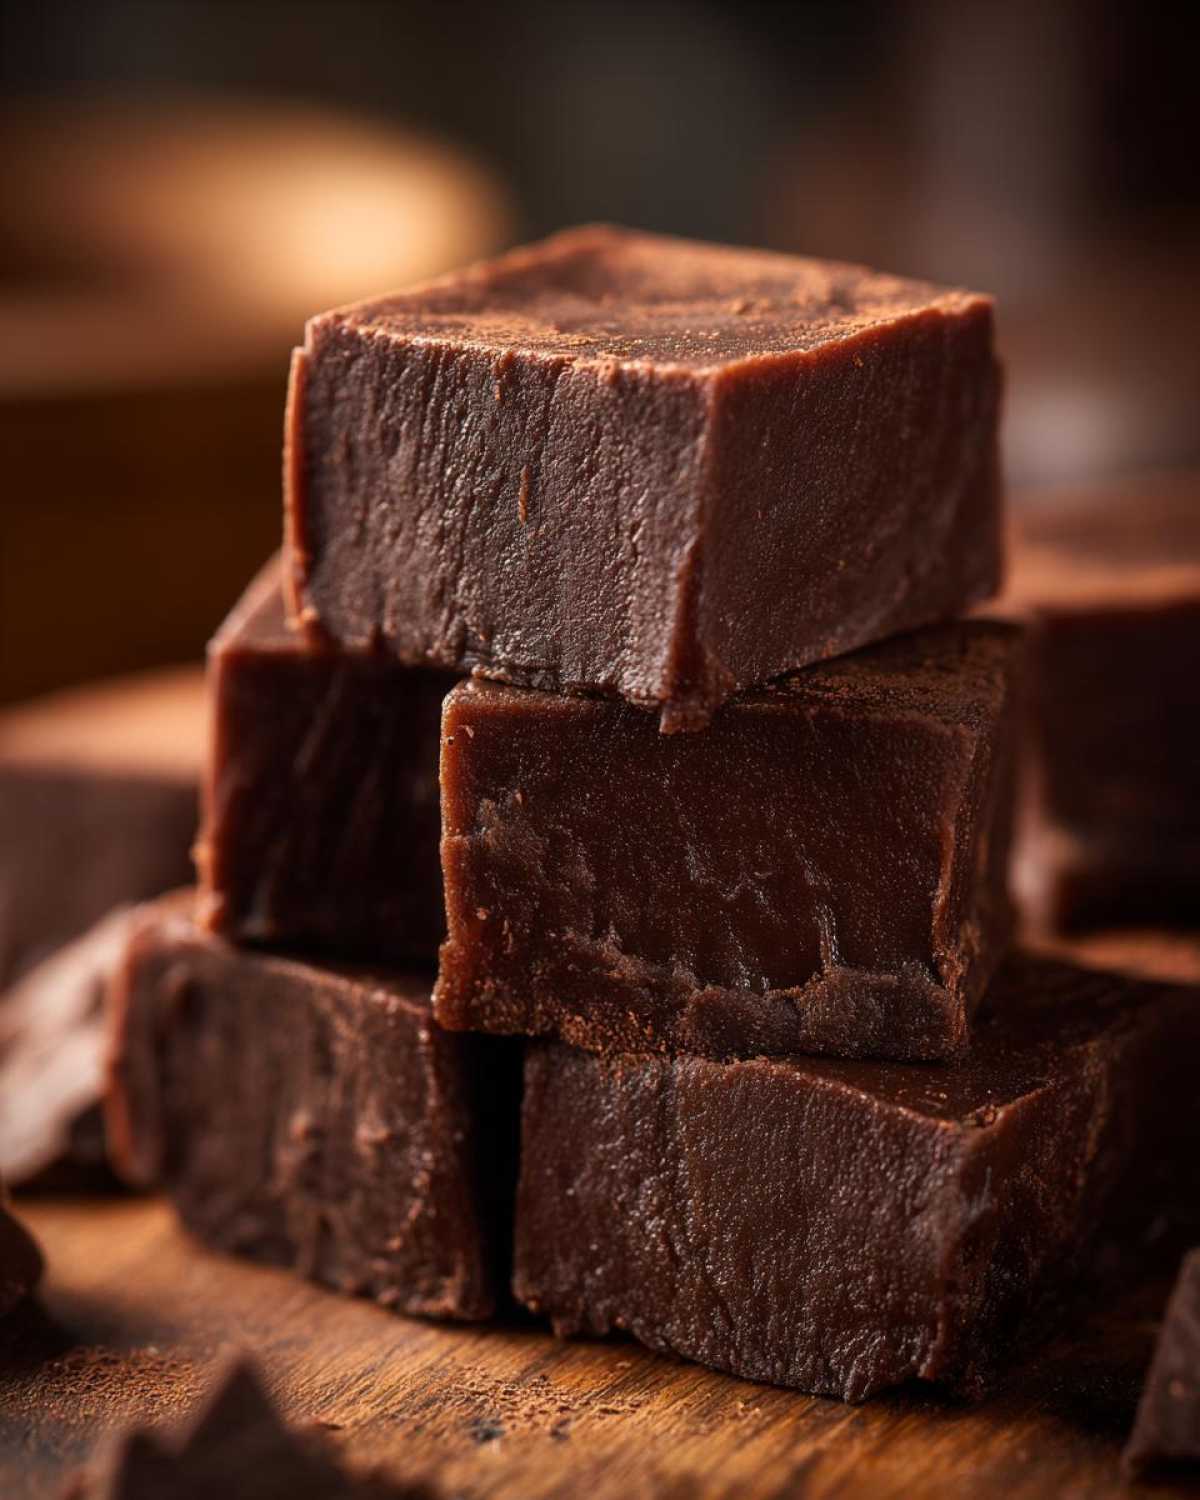
Once perfectly melted, quickly stir in that vanilla extract—it just wakes up the chocolate flavor! Pour that beautiful batter right into your prepared pan and spread it evenly using an offset spatula or the back of a spoon. Now comes the hardest part: waiting. You need to chill this fudge for at least two hours, maybe more, until it’s completely firm. Once it’s set, hold those parchment handles and lift the whole slab out. You should get about 16 perfect homemade fudge squares. Slice them while they are cool!
Tips for Making Perfect, No Fail Candy Making Fudge
Look, I get it—not everyone has a microwave they trust, or maybe you just feel more comfortable stirring on the stovetop. That’s totally fair! I’ve got tips to make sure this fudge comes out beautifully no matter your method. If your fudge ever gets a little grainy, it usually means you’ve overheated it right at the end, causing the sugar to seize up. For this easy fudge recipe, careful heating is the secret to keeping that delightfully rich creamy candy texture.
The great thing about this recipe is that once the condensed milk and chocolate are combined and smooth, you’re pretty much done! Don’t over-stir once it’s off the heat, or you’ll lose the air pockets that keep it from getting too hard. If you want to read more about what goes into my recipe decisions, you can always check out the disclaimer page. But for now, here’s how to do it the old-school way if you want to skip the modern convenience.
Stovetop Fudge Alternative for Classic Candy Recipes
If the microwave seems too quick, the stovetop method is a wonderful, gentle alternative for making your homemade candy. You’ll need a heavy-bottomed saucepan—this helps distribute the heat evenly, which is super important! Combine the sweetened condensed milk and the chocolate chips directly in the saucepan. Set your burner to the lowest possible heat setting. You must stir constantly from the moment you put it on the heat until the chocolate is completely melted and the mixture is smooth. Don’t rush it! Once it’s combined and glossy, take it off the heat immediately, stir in your vanilla, and proceed with pouring it into the prepared pan. It takes a little longer, but the slow process is wonderfully reliable!
Popular Variations: Customizing Your Chocolate Fudge
While this 3-ingredient chocolate fudge is perfect as is, sometimes you just need to jazz things up, right? This recipe is honestly a blank canvas for delicious adaptations. It’s so easy to pivot from classic chocolate fudge to something completely new, especially if you are making a batch of fudge for gifting during the holidays. I love how forgiving this recipe is; I rarely worry about ruining the batch!
The easiest way to switch things up is by swapping out that vanilla extract for something stronger, or by swirling in another creamy component. If you’re looking for quick chocolate treats that impress everyone, definitely try these variations.
Creating a Peanut Butter Fudge Recipe Swirl
This is my family’s favorite alternative, and it’s so simple! Instead of adding the teaspoon of vanilla extract at the end, you’re going to stir in one full cup of creamy peanut butter right after the chocolate has completely melted. Stir it vigorously until it’s fully incorporated. If you want a cool swirl effect, pour half the chocolate fudge base into your pan first, then gently spoon dollops of the peanut butter fudge mixture over the top. Use a butter knife to carefully swirl them together once or twice. Don’t go crazy swirling, or you’ll just end up with one giant brown mess!
Ideas for Quick Holiday Treats Fudge Additions
For festive flair suitable for quick holiday treats, think about what flavors pair well with rich chocolate. For an easy Christmas fudge, try stirring in a teaspoon of peppermint extract—that instantly gives it a candy cane vibe! You can also mix in chopped nuts like pecans or walnuts right before you pour the fudge into the pan. If you want to get really fancy and try incorporating something like a marshmallow swirl, pour your melted chocolate fudge in, then gently drop spoonfuls of marshmallow fluff over the top. A light swirl will give you that beautiful texture without making it too sticky. If you need more ideas for decadent dessert ideas, feel free to check out my contact page!
Storage and Gifting Your Homemade Fudge
Now that you’ve mastered this easy fudge recipe, the hard part is keeping it safe from sneaky snackers before it’s time to share! This rich dessert stores beautifully, which is great news if you’re planning ahead for gifts. Keep your airtight container of homemade fudge squares in the refrigerator for up to two weeks—it stays firm there. If you prefer a softer bite, you can store it at cool room temperature for about a week, though I always suggest chilling it first to ensure it’s fully set.
If you’re preparing this fudge for gifting, wrap the individual squares tightly in small pieces of waxed or parchment paper before placing them into a decorative tin. It looks so professional! For shipping or longer travel, keeping it cool is vital. You can find more about me and my kitchen philosophy over on the about us page!
Frequently Asked Questions About Easy Fudge Recipe Success
It’s so common to have a few little questions pop up when you’re trying a new, super simple recipe like this one. Even though this is the easiest fudge recipe around, people always wonder about ingredient swaps! I’ve tried to troubleshoot everything I can think of so you can get that perfect creamy fudge tutorial result on your very first try. Let’s tackle these common concerns about making fantastic homemade fudge.
Can I use milk chocolate chips instead of semi-sweet in this fudge?
Oh yes, you absolutely can! But here’s the catch: milk chocolate chips contain more sugar and less cocoa solids than semi-sweet chips. If you use milk chocolate, your final fudge will be noticeably sweeter, and it might set up a tiny bit softer. If you really love that sweeter flavor, go for it! Just make sure you increase the chilling time—maybe an extra 30 minutes—to ensure those squares hold their shape after cutting.
How do I fix fudge that turned out too soft?
Don’t panic if your fudge is refusing to set up properly. Nine times out of ten, it either needed more chilling time—especially if your kitchen is warm—or you added too much liquid or soft mix-in. If it’s still slightly soft after the full two hours in the fridge, just pop it back in for another hour. If it was too soft even after chilling, next time try reducing the sweetened condensed milk by just a tablespoon, or ensure you’re using room temperature vanilla, nothing else! This recipe is fairly robust, though, so usually, a little extra cold time does the trick.
What is the secret to creamy fudge tutorial results?
That truly rich, creamy fudge tutorial result comes down to two things: the quality of your chocolate chips and the melting process. First, never stop stirring once you are melting the mixture! You need to ensure every single chocolate chip is fully melted with the condensed milk before you stop applying heat. Overheating causes the sugar to crystallize, which is what makes fudge grainy instead of smooth. Keep that heat low and stir until it’s just perfectly homogenous and glossy. That smooth texture is your reward for paying attention during those few minutes!
For more insights on why these techniques work, feel free to review my privacy policy regarding recipe testing standards!
Nutritional Snapshot of Decadent Dessert Ideas Fudge
When you’re indulging in this kind of rich creamy candy, you know it’s going to be a treat! Here is a general look at the numbers for one serving, based on our recipe estimates for 16 squares. Calories hover around 180, with about 9 grams of fat in each square. Remember, these figures can shift a bit depending on the specific chocolate chips you choose, so see this as a fun guideline rather than strict dietary math! Enjoy every bite of your decadent dessert ideas fudge.
Share Your Experience Making This Quick Chocolate Treats Fudge
So there you have it! The absolute fastest, most satisfying way to get incredible homemade fudge on your table tonight. I really hope you give this a try, especially if you’ve been intimidated by candy making before. This recipe is seriously foolproof!
I’d love to know what you think! Did you stick with the classic chocolate? Maybe you went wild and tried the peanut butter recipe swirl? Let me know in the comments below! Drop a rating—did this easy fudge recipe live up to the hype? Seeing your creations is honestly my favorite part of running this kitchen blog.
Don’t forget to snap a photo of your beautiful rich creamy candy squares and tag me on social media! Sharing these quick chocolate treats keeps the fun going. And hey, while you’re here, take a peek at my cookie policy details if you’re curious about site browsing.
PrintEasiest Ever 3-Ingredient Chocolate Fudge

Make rich, creamy chocolate fudge with only three basic ingredients. This foolproof recipe sets quickly and is perfect for a simple dessert or holiday gifting.
- Prep Time: 5 min
- Cook Time: 5 min
- Total Time: 10 min
- Yield: About 16 squares
- Category: Dessert
- Method: Microwave
- Cuisine: American
- Diet: Vegetarian
Ingredients
- 1 (14 ounce) can sweetened condensed milk
- 2 cups semi-sweet chocolate chips
- 1 teaspoon vanilla extract
Instructions
- Line an 8×8 inch baking pan with parchment paper, leaving an overhang on two sides for easy removal.
- Place the chocolate chips in a medium, microwave-safe bowl.
- Pour the entire can of sweetened condensed milk over the chocolate chips.
- Microwave on high for 60 seconds. Stir the mixture well.
- Continue microwaving in 30-second intervals, stirring thoroughly after each interval, until the chocolate is completely melted and the mixture is smooth. This usually takes 1 to 2 minutes total after the first minute.
- Stir in the vanilla extract until fully combined.
- Pour the fudge mixture into the prepared baking pan and spread evenly.
- Refrigerate for at least 2 hours, or until firm.
- Lift the fudge out of the pan using the parchment paper overhang. Cut into squares before serving.
Notes
- For peanut butter fudge, substitute 1 cup of creamy peanut butter for the vanilla extract and stir it in after the chocolate is melted.
- For a richer flavor, use dark chocolate chips instead of semi-sweet.
- If you prefer a stovetop method, combine the milk and chocolate in a saucepan over low heat, stirring constantly until smooth, then remove from heat and add vanilla.
Nutrition
- Serving Size: 1 square
- Calories: 180
- Sugar: 22
- Sodium: 45
- Fat: 9
- Saturated Fat: 6
- Unsaturated Fat: 3
- Trans Fat: 0
- Carbohydrates: 24
- Fiber: 1
- Protein: 3
- Cholesterol: 15