

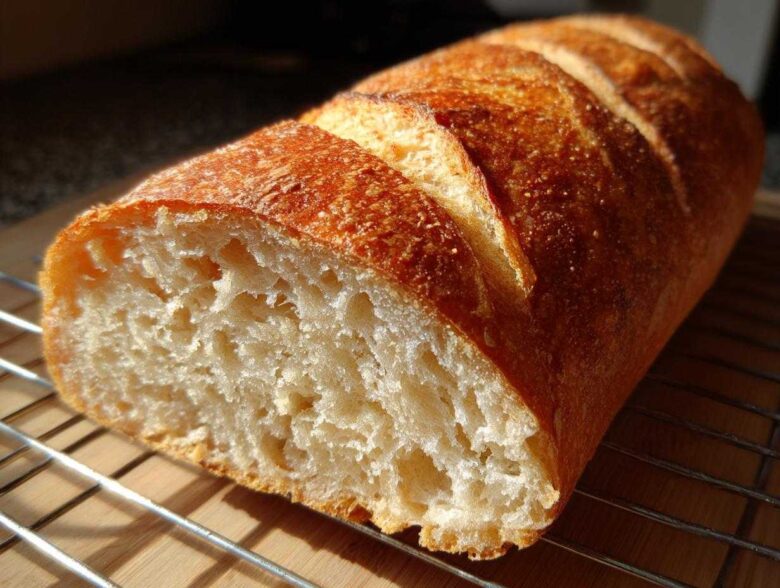
Oh my goodness, is there anything better than the smell of fresh French bread baking right in your own kitchen? That yeasty, warm aroma just signals comfort, doesn’t it? Ethan always says that’s the part you can’t replicate when you buy it from the store. Maya and I, being the culinary odd couple we are—she loves the tested recipe blueprint, I cook by instinct—finally cracked the code on this one. You can read a bit more about our kitchen dynamic over at our story.
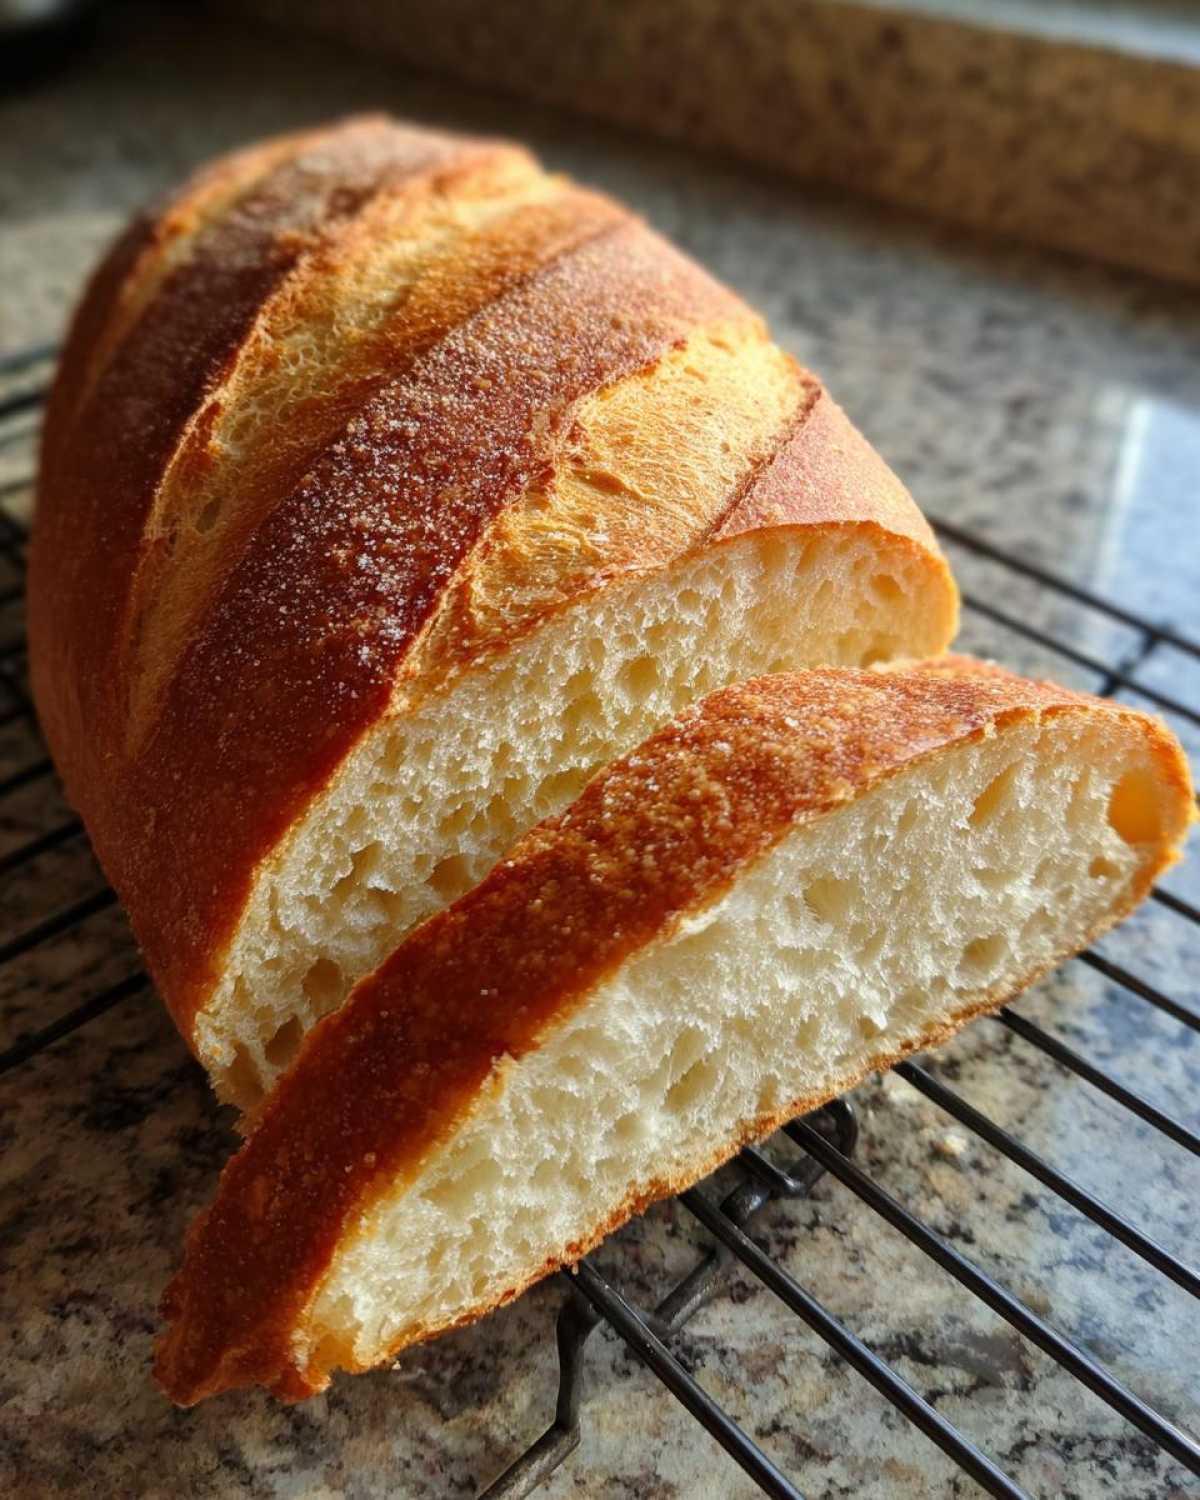
We found the perfect balance. You are going to get that gorgeous, audible, bakery-style crunch on the outside that shatters beautifully, but when you slice into it, the crumb inside is shockingly soft and pillowy. This isn’t some complicated artisan bake, either. This is genuinely easy, beginner-friendly bread that delivers huge flavor. Forget dried-out grocery store loaves; we’re making real, beautiful bread today!
Why This Homemade French Bread Recipe Works for Everyone
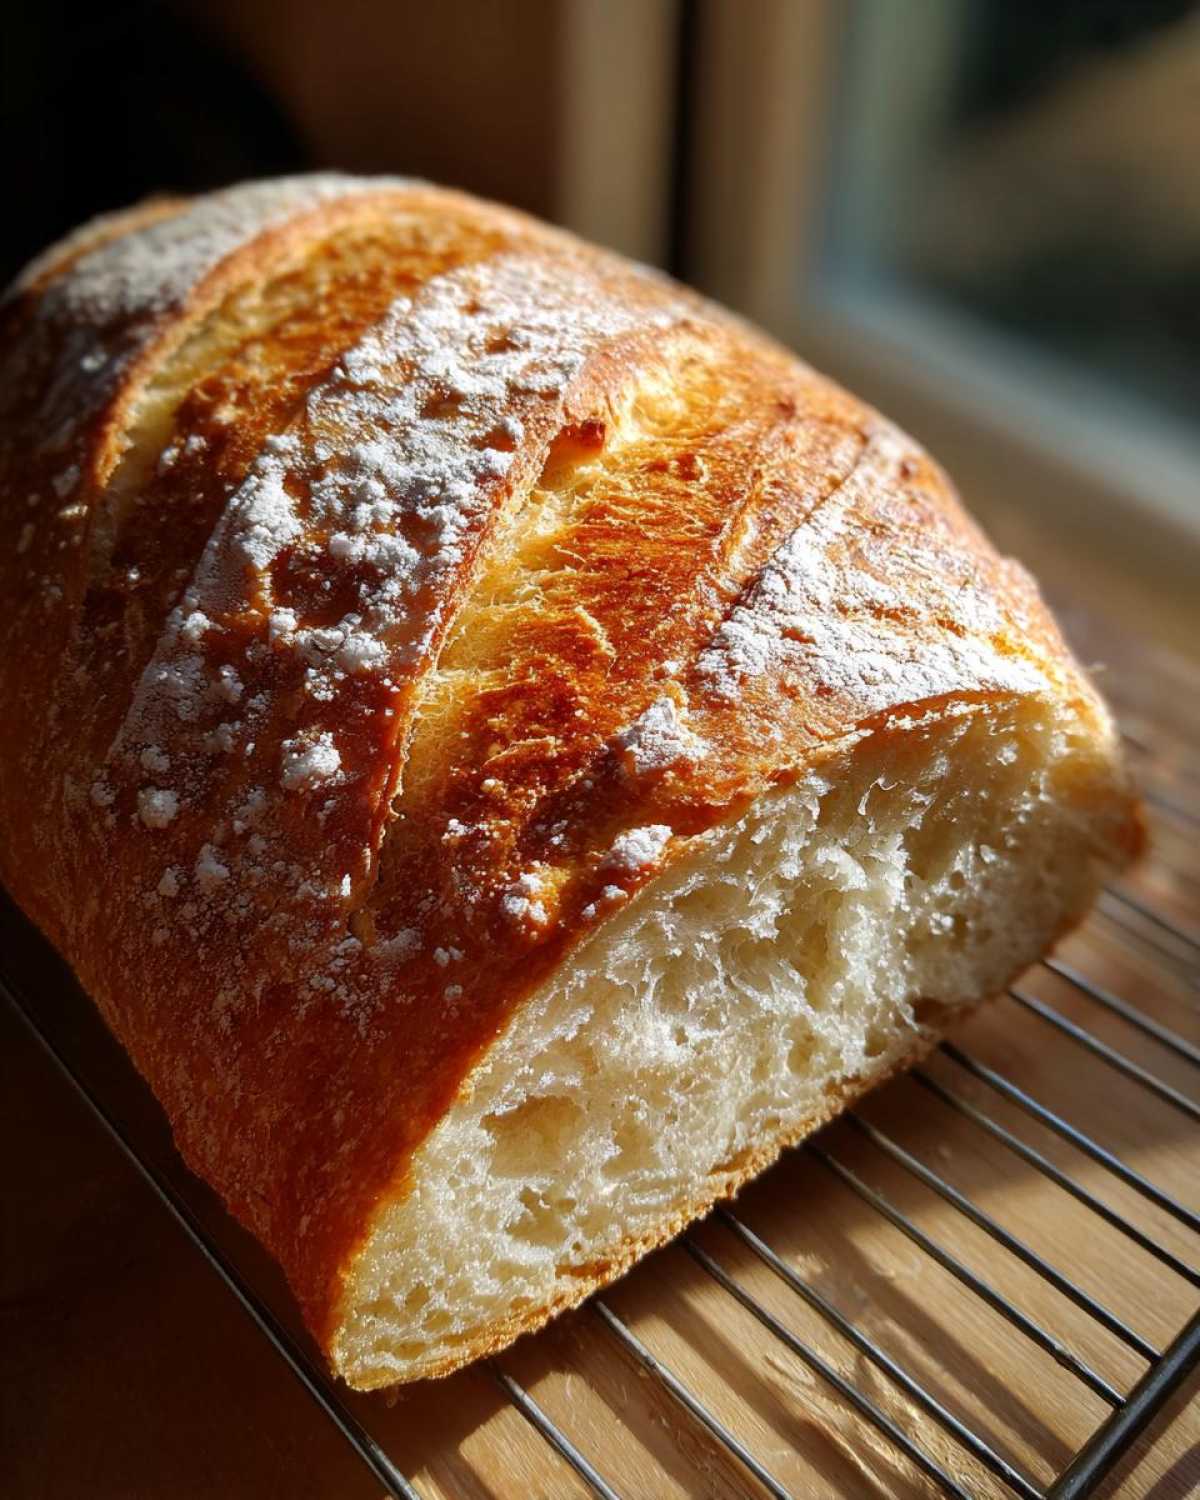
We spent ages trying to please both my research-heavy methods and Ethan’s desire for speedy, reliable results. This recipe is the sweet spot! It really nails that dual texture everyone chases: that perfect, crackly, crusty exterior bread while keeping the inside wonderfully soft and fluffy. Honestly, the fact that the total time is under two hours is the magic trick that convinced Ethan to put it on rotation. It’s so approachable, too; if you’ve never made a loaf before, this is your perfect entry point into beginner bread baking.
If you want more baking insights from our kitchen adventures, check out our main blog page! Here’s what makes this specific Homemade French Bread Recipe a winner:
- Soft and Fluffy Inside: Achieved thanks to the warm water and a patient first rise.
- Bakery Style Crust: The steam bath in the oven is essential for that golden shatter we love!
- Total Time Saver: Ready to eat in under two hours from start to finish.
Gathering Ingredients for Your Easy French Bread
Okay, let’s talk about what you need. For this recipe, we are keeping the ingredient list short and sweet because we want to get this bread baking fast! I always lay everything out before I start—that’s part of my organized approach, bless his spontaneous heart! Seriously though, having everything measured out makes the process so much smoother and guarantees that soft interior.
You need to pay close attention to the water temperature; that’s where the yeast really wakes up happy.
Essential Components for Soft French Bread at Home
- Yeast: One full packet of active dry yeast (about 2 1/4 teaspoons).
- Water: 1 1/2 cups of warm water—make sure it’s between 105°F and 115°F! I use a thermometer, I can’t help it.
- Sugar: Just 1 teaspoon to feed that yeast.
- Flour: 3 1/2 cups up to 4 cups of all-purpose flour. That range is important!
- Salt: 2 teaspoons to balance the flavor.
- Olive Oil: Just 1 tablespoon to grease the bowl.
- Egg White: 1 egg white, lightly beaten, just for brushing the tops before baking that French Bread.
Step-by-Step Instructions to Make French Bread
This is where we get serious, but don’t panic! Even though we are making rustic French bread, the steps are so clear you can follow them with your eyes closed. Ethan always says that if the dough feels right, the flavor will follow. My job is making sure the timing is locked in so you don’t end up waiting forever for a rise. We’re aiming for that amazing soft interior and that deep golden, crackly crust, remember?
We do need patience for the resting, though. That rise time is non-negotiable if you want that light structure! If you want an even deeper dive into how yeast works, check out my notes on no-knead bread techniques, though this recipe does require a little bit of elbow grease.
Activating Yeast and Mixing the Quick French Bread Recipe Dough
First things first: wake up that yeast! Mix your warm water, sugar, and yeast together in a big bowl. You must let this sit for a solid 5 to 10 minutes until it looks happy and foamy on top. If no foam appears, your water was too hot or too cold, and you need to start over—it’s critical for our Quick French Bread Recipe!
Once it’s foamy, stir in the 3 1/2 cups of flour and the salt. Mix it with a sturdy spoon until it looks like a messy, shaggy mess. That’s exactly what you want at this stage!
Kneading and First Rise for Fluffy Loaf Recipe
Now for the fun part! Turn that shaggy dough onto your floured counter. You need to knead this for about 6 to 8 solid minutes. You’re feeling for it to turn smooth and elastic. If it’s sticking terribly to your hands, add maybe a *tiny* bit more flour, but don’t add too much! Too much flour means a dry crumb.
Oil up a clean bowl, place your dough inside, cover it tight, and let it nap in a warm spot for 60 to 90 minutes. Ethan loves this part because he gets to distract me while I’m waiting, but I’m always watching that dough! It needs to double in size for our Fluffy Loaf Recipe to work properly.
Shaping and Baking Your Homemade French Bread Recipe
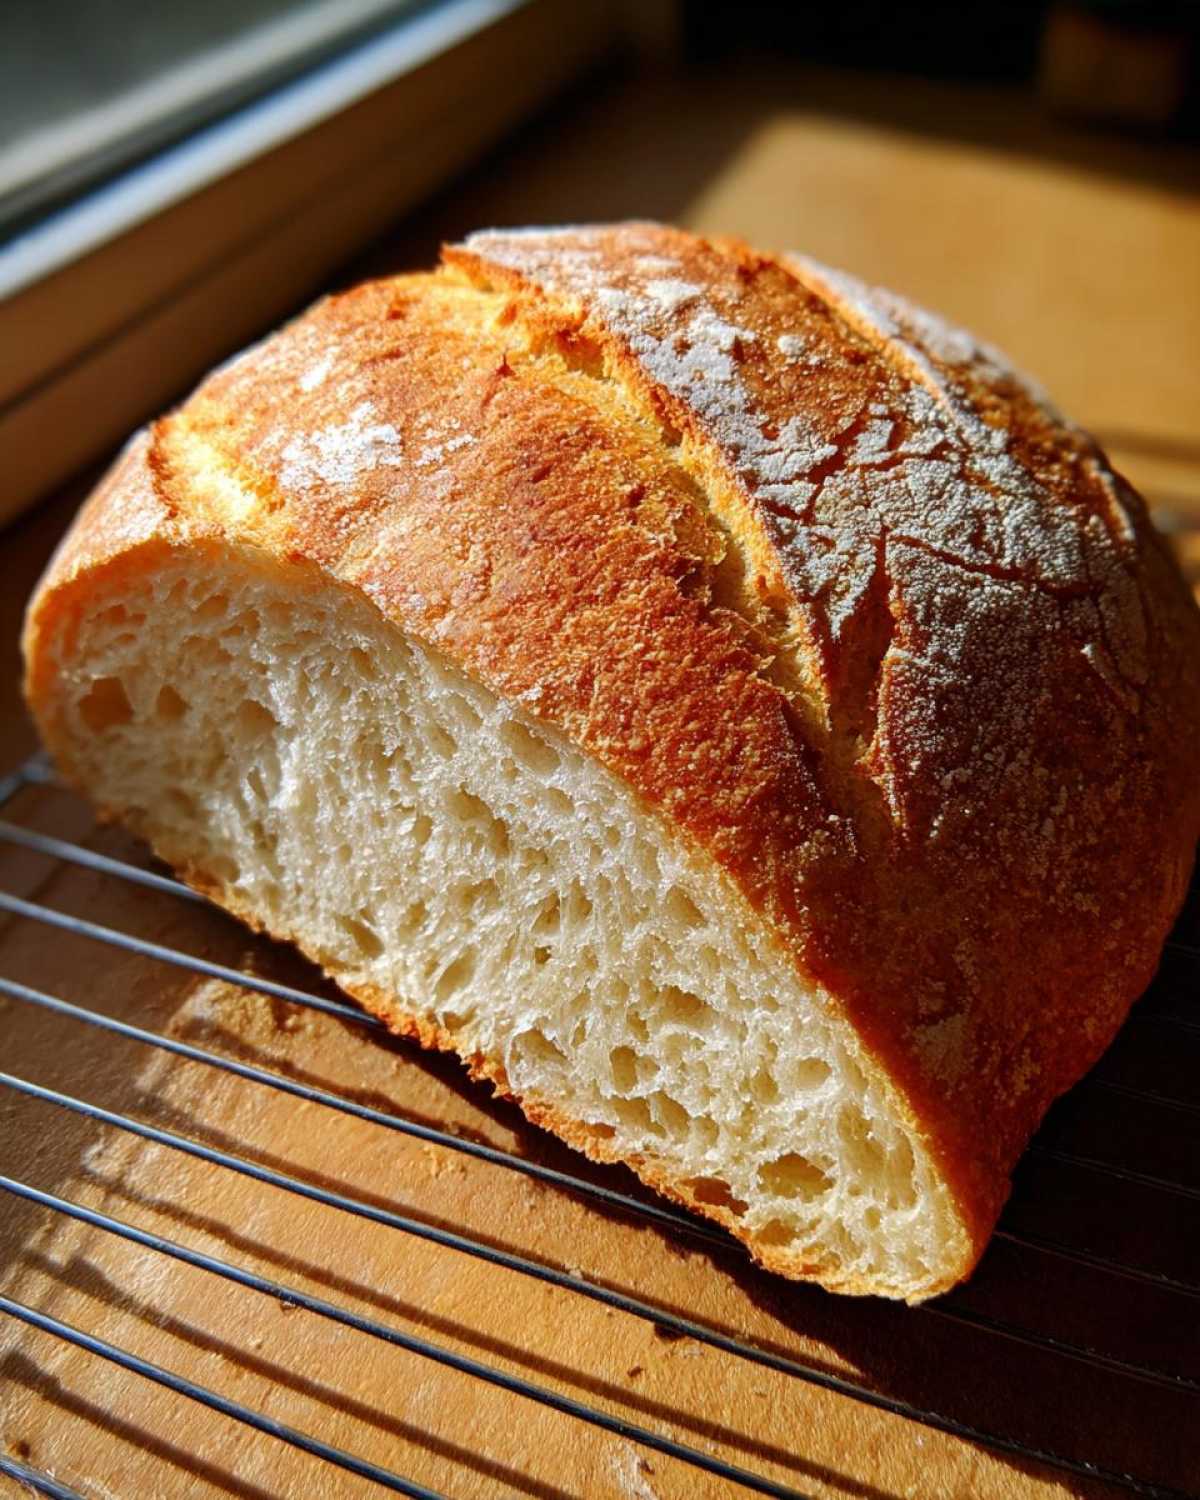
Gently punch the air out when it’s ready. Divide that beauty into two equal pieces and shape them into long loaves, about 12 to 14 inches. Put them on parchment paper for the second, shorter rise (just 30 minutes!). While they rest, crank that oven up to 400°F! You also need to put a shallow pan on the bottom rack to heat up. This is key for the crust!
Brush the tops lightly with that beaten egg white—that’s our secret weapon for that golden shine on your Homemade French Bread Recipe. Then, take a sharp knife and slash three or four diagonal cuts across the top. That lets the steam escape. Finally, pour about a cup of *hot* water into that bottom pan, slide the bread in, and bake for 25 to 30 minutes until beautifully dark golden brown. Listen for that hollow sound when you tap!
Tips for Baking Homemade Bread Success
Look, achieving that bakery-style difference between the crust and the crumb doesn’t require fancy equipment, just a couple of Ethan’s hard-won lessons. The biggest thing I learned from him on the Baking Homemade Bread Tips front is the steam! If you skip that hot water in the bottom of the oven, you’ll get bread, sure, but it will be pale and soft all the way through. You need that initial blast of moisture to keep the crust pliable so the loaf can expand fully before setting hard.
Also, remember what I said about flour? Don’t get carried away while kneading! Ethan caught me once adding flour mid-knead because it felt sticky. He gently took the bag away, saying, “Maya, this dough needs to be soft, not stiff. Trust the process; it won’t stick forever.” And guess what? He was right! A slightly sticky dough makes the softest interior. If you’re making this bread to serve with our classic French onion soup, you need that tender inside for soaking up broth!
Ingredient Notes and Substitutions for French Bread
I know some of you are wondering about the yeast. We use active dry yeast here because it really benefits from that quick proofing time, showing us it’s alive and ready to make our French bread rise beautifully. If you only have instant yeast, you can skip the proofing step and mix it right in with the flour and salt up front, but I still recommend letting the dough rest for the full time!
Regarding the crust—we love that crackle from the egg white, but if you’re aiming for something just a touch softer, maybe for little ones making sandwiches later, skip it! Instead, during the first 10 minutes of baking, just spritz the tops of the loaves lightly with plain water a couple of times. That small change in moisture keeps the exterior from getting too aggressive while that soft center develops.
Serving Suggestions for Your Crusty Artisan Bread
So, you’ve pulled these gorgeous loaves out of the oven, and the crust is singing! Now what? Well, Ethan thinks that plain, warm French bread with a slather of real butter is a meal all on its own. And honestly, I can’t argue with him when it smells that good. This bread is so versatile; it upgrades everything without really trying.
Because we worked so hard on that crunchy exterior, this loaf screams to be used as a perfect side dish. It’s seriously the best Dinner Side Bread you can make without spending half a day at it. It soaks up every last bit of sauce. Which brings me to my next point…
- Dipping Oil Heaven: Whisk together some good quality olive oil with a little balsamic vinegar, a pinch of dried oregano, and a tiny bit of fresh pepper. A slice of this crusty bread dipped in that mixture is just heaven; it’s my favorite way to start a fancy dinner.
- The Ultimate Sandwich Base: Don’t limit yourself to just subs! This bread holds up beautifully under filling. It’s amazing for making hearty grilled cheese or even using it as the base for an open-faced melt. Forget flimsy white bread; this is the structure your next big sandwich deserves. We often use leftovers for dipping into our creamy skillet chicken because it handles the sauce perfectly.
- Soup Companion: If you’re having soup—any soup, really—this bread is mandatory. It’s sturdy enough for dipping into chili or stew without immediately turning into mush.
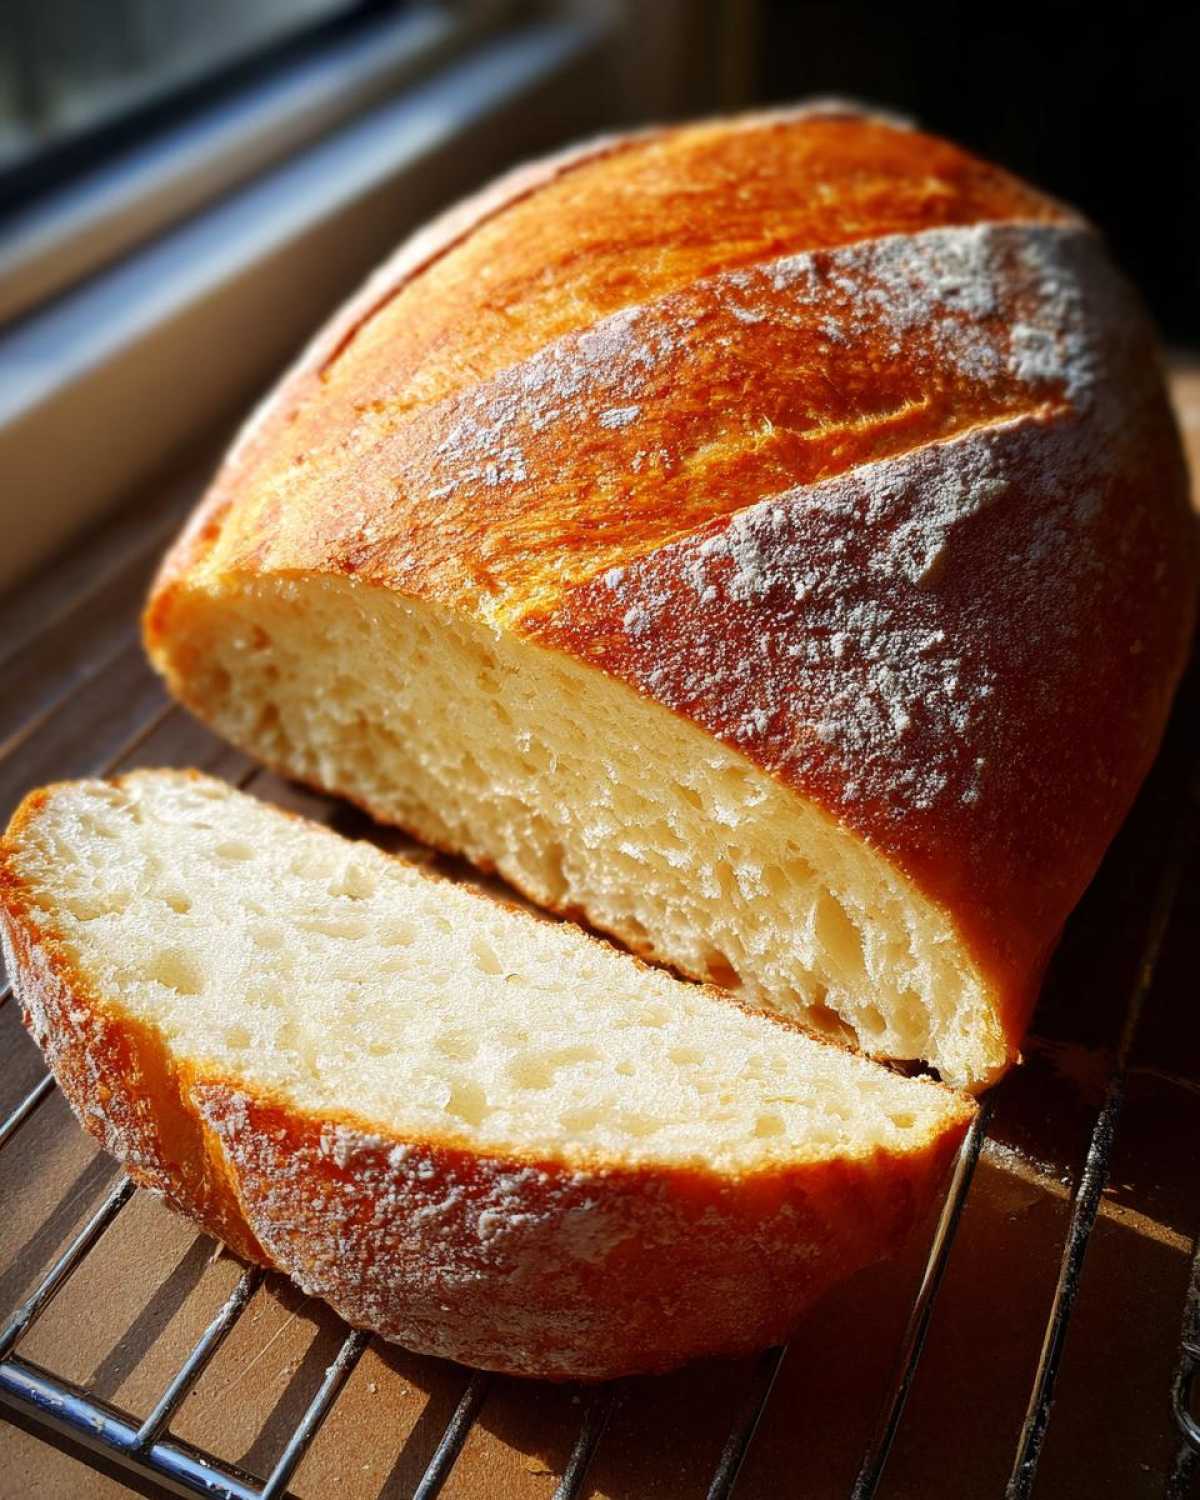
Seriously, making this French bread means you’ll never look at store-bought loaves the same way again. It’s just better!
Storage and Reheating Instructions for Leftover French Bread
If you somehow manage to have any leftover French bread—which I doubt, because Ethan usually devours half a loaf while it’s still cooling—you need to store it right. Keeping that crust crispy, while preserving the Tender Crumb Bread texture inside, is tough, but not impossible!
Never put bread in the fridge; it dries it out faster than anything. Keep the loaf wrapped loosely in a clean kitchen towel or a paper bag at room temperature. If you want that crust back? Pop the whole loaf (or just the pieces you want) back into a 350°F oven for just about 5 minutes. That blast of dry heat brings the crunch right back. It smells amazing, too!
Frequently Asked Questions About Making French Bread
It’s funny, even though we think this French bread recipe is super straightforward, people always have questions about tweaking it! That’s the beauty of baking, right? You start with a great foundation, and then you start wondering what happens if you change one tiny variable. Ethan says he always gets the most specific questions about kneading because he hates doing it!
We’ve put together answers to the most common things people ask us when they are first trying out this loaf. If you’re making these for your next big meal, maybe alongside our creamy chicken enchiladas, these tips should help you feel totally confident!
Can I make this a One Hour Bread Recipe?
That is the million-dollar question! We totally understand wanting bread faster, and while this is pretty quick, it’s not exactly a *one* hour bake. As written, the total time hovers right around 1 hour and 50 minutes. The bulk of that time (the 60 to 90 minutes for the first rise) is non-negotiable if you want that light, fluffy interior texture. Yeast needs time to work its magic! If you rush that rise, you end up with a dense loaf, and we worked too hard for that! So, while it’s not a true One Hour Bread Recipe, it’s definitely on the speedy side for a homemade loaf!
What makes this French Bread softer than a baguette?
That’s all about technique and intent! A traditional French baguette is designed to be chewy and have an extremely thin, crackly crust that audibly shatters. Our goal with this French bread recipe was specifically to achieve a soft French bread at home—that tender crumb you want for soaking up soup or making soft sandwiches. The biggest differences come at the end: true baguettes often bake dry or with intense steam, but we use an egg white wash and finish with a quick burst of steam. The egg white sets up a slightly thicker, richer crust that keeps the interior softer and fluffier than the leaner structure of a baguette.
Can I use bread flour instead of all-purpose?
Yes, you absolutely can! Bread flour has a higher protein content, which generally builds more gluten, leading to a chewier texture. If you swap, know that your loaf will be noticeably chewier—probably leaning closer to a true baguette texture rather than our intended soft pull-apart interior. If you use it, aim for closer to 3 1/2 cups total flour to start, as bread flour often absorbs more liquid. We stuck to AP flour to keep that super tender crumb, but it’s a great experiment for next time!
Do I have to score (slash) the top of the bread?
You really should, yes! Scoring—making those diagonal cuts—is essential for controlling where the bread expands in the oven. If you don’t cut it, the dough acts like a balloon and will tear randomly where the gluten structure is weakest, usually leading to a big, ugly explosion on the side or the side of the loaf instead of a nice, even expansion across the top. It lets the steam escape in a controlled way, which helps create that beautiful, golden Bakery Style Bread look we’re going for.
Understanding the Nutrition of This Simple Yeast Bread
I always feel a little silly putting nutrition facts on something this comforting, but because this is a core recipe, I want you to know what you’re putting on the table! Remember, these numbers are just estimates based on the standard ingredients we use, so they are really just a guide. This wonderful Simple Yeast Bread is primarily carbohydrates, but you get a little protein too!
Ethan reminds me that bread like this is best enjoyed moderately, perhaps alongside a big bowl of my creamy lemon pasta. Here is the breakdown per slice, assuming the loaf yields 24 slices (a generous cut!):
- Serving Size: 1 slice (1/12 loaf)
- Calories: 150
- Sugar: 1g
- Sodium: 250mg
- Fat: 1g
- Protein: 5g
- Carbohydrates: 31g
It’s honest, classic bread, folks! Nothing fancy hidden in there!
PrintEasy Homemade French Bread: Soft Inside, Crusty Outside
Bake bakery-style French bread at home with this simple recipe. You get a soft, fluffy interior and a satisfyingly crusty exterior, perfect for dinner or sandwiches. This recipe is beginner-friendly and ready fast.
- Prep Time: 20 min
- Cook Time: 30 min
- Total Time: 1 hour 50 min
- Yield: 2 loaves
- Category: Baking
- Method: Baking
- Cuisine: French
- Diet: Vegetarian
Ingredients
- 1 packet active dry yeast (about 2 1/4 teaspoons)
- 1 1/2 cups warm water (105°F to 115°F)
- 1 teaspoon sugar
- 3 1/2 to 4 cups all-purpose flour
- 2 teaspoons salt
- 1 tablespoon olive oil (for the bowl)
- 1 egg white (for brushing)
- Water (for steaming)
Instructions
- Activate the yeast: In a large bowl, combine the warm water, sugar, and yeast. Let this mixture sit for 5 to 10 minutes until it becomes foamy. This shows the yeast is active.
- Mix the dough: Add 3 1/2 cups of flour and the salt to the yeast mixture. Mix with a wooden spoon until a shaggy dough forms.
- Knead the dough: Turn the dough out onto a lightly floured surface. Knead for 6 to 8 minutes, adding small amounts of the remaining flour only if the dough is too sticky to handle. You want a smooth, elastic dough.
- First rise: Lightly oil a clean bowl. Place the dough in the bowl, turning to coat. Cover the bowl with plastic wrap or a clean kitchen towel. Let the dough rise in a warm spot for 60 to 90 minutes, or until it has doubled in size.
- Shape the loaves: Gently punch down the risen dough. Divide it into two equal pieces. Shape each piece into a long, even loaf, about 12 to 14 inches long. Place the shaped loaves on baking sheets lined with parchment paper.
- Second rise: Cover the loaves loosely and let them rest for 30 minutes. While they rest, preheat your oven to 400°F (200°C). Place a shallow pan on the bottom rack while preheating to create steam later.
- Prepare for baking: Lightly brush the tops of the loaves with the beaten egg white. Use a sharp knife or razor blade to make three or four diagonal slashes (about 1/2 inch deep) across the top of each loaf.
- Bake with steam: Carefully pour about 1 cup of hot water into the preheated shallow pan on the bottom rack to create steam. Immediately place the baking sheets with the bread into the oven.
- Bake: Bake for 25 to 30 minutes, or until the crust is deep golden brown and the bread sounds hollow when tapped on the bottom.
- Cool: Transfer the finished French bread loaves to a wire rack to cool completely before slicing. Enjoy your homemade French bread!
Notes
- For a crispier crust, use a baking stone instead of a baking sheet and place it in the oven during preheating.
- If you want a softer crust, skip the egg white wash and simply mist the loaves with water a few times during the first 10 minutes of baking.
- This bread is excellent for making sandwiches or serving alongside soup for dinner.
Nutrition
- Serving Size: 1 slice (1/12 loaf)
- Calories: 150
- Sugar: 1
- Sodium: 250
- Fat: 1
- Saturated Fat: 0
- Unsaturated Fat: 1
- Trans Fat: 0
- Carbohydrates: 31
- Fiber: 1
- Protein: 5
- Cholesterol: 0