

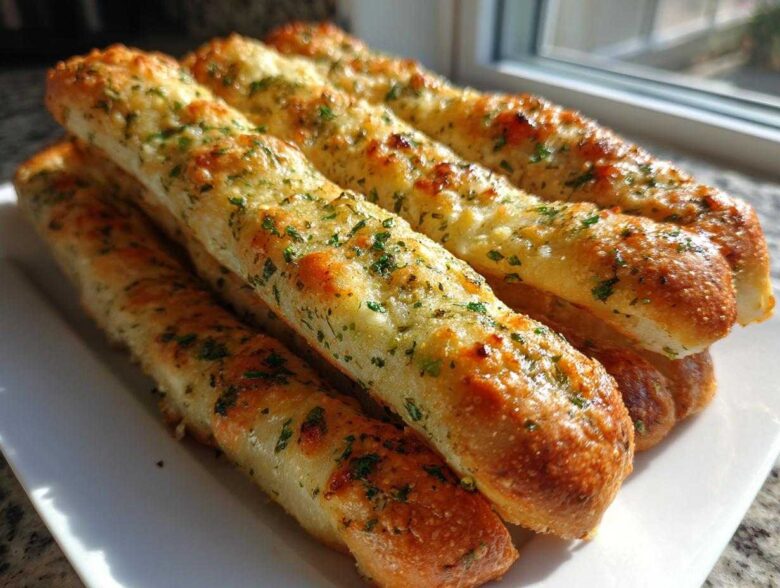
You know that feeling, right? You’re halfway through a big bowl of saucy pasta or maybe just staring a salad down, and suddenly, all you can think about is that warm, cloud-like, garlicky bread you get at your favorite Italian chain. Well, stop dreaming, because I’m Maya, and Ethan and I have cracked the code! We are so thrilled to finally share the ultimate soft & chewy Olive Garden Copycat Breadsticks recipe.
Here at Tasty Tipster, Ethan brings the instinct—the “a little more garlic never hurt anyone” wisdom—and I bring the research bag and an obsession with nailing the texture. These breadsticks are unbelievably easy, but the secret is in that buttery finish. If you’ve been looking for the perfect homemade dough recipe that delivers that signature chewy interior and fluffy exterior, you’ve found it. Get ready to seriously upgrade your dinner side dish game!
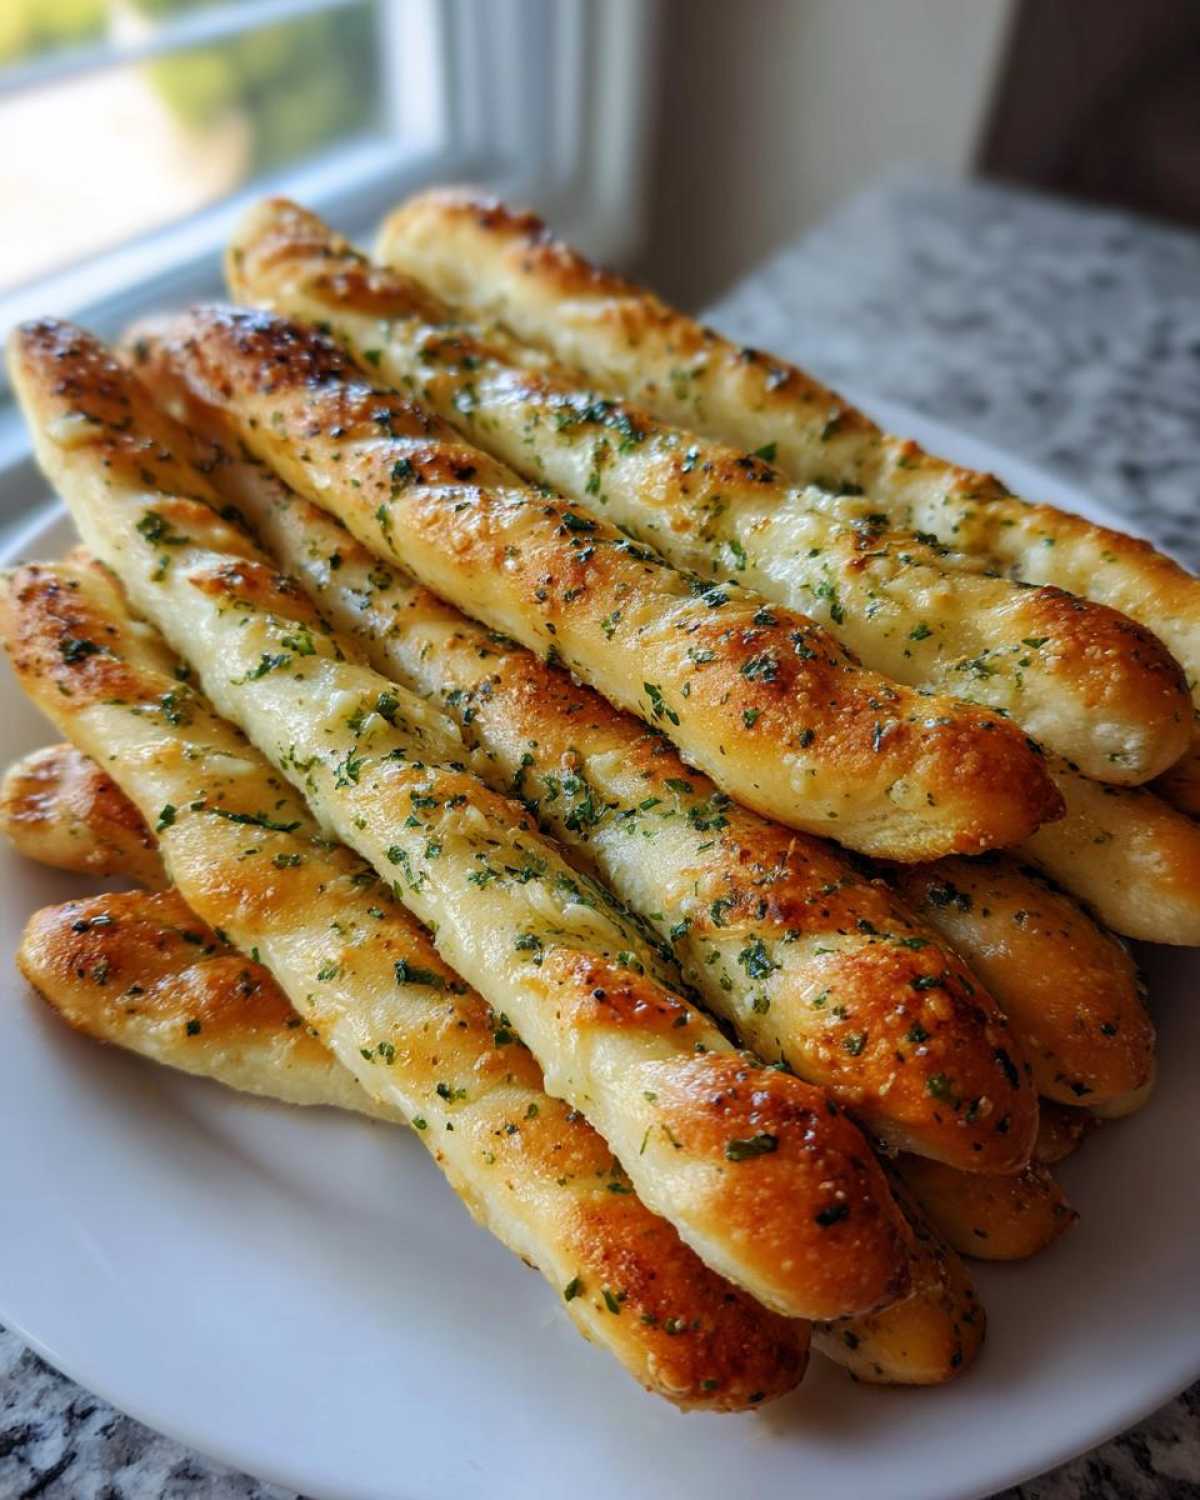
Why You Will Love These Soft Breadsticks
Seriously, these are what I call ‘dinner MVP’ breadsticks. If you’re looking for that specific restaurant style, this is the one. You won’t be disappointed!
- They actually achieve that famous Olive Garden texture—super soft and perfectly chewy!
- The Garlic Parmesan Breadsticks topping is rich and absorbs right into the hot dough.
- This is a genuine Quick Bread Recipe; you’re looking at dinner-ready breadsticks in just over an hour.
- They are better than any restaurant version, trust me on this one!
The Science Behind Perfect Homemade Breadsticks Recipe
When Ethan makes dough, it’s pure magic guided by his nose. But I’m Maya, and I needed proof—I needed science! That’s why this recipe focuses heavily on processes that guarantee those incredibly soft breadsticks every time. We have to nail the yeast activation first; if it doesn’t foam up, the entire batch of breadsticks is destined for sadness.
The real game-changer for texture, though, is the kneading. Ethan always said, “Just until it stops sticking,” but I tested that rigorously. I found that 5 to 7 full minutes develops that perfect gluten structure—that’s what gives you the chewy breadsticks texture instead of a cakey crumb. If you skip this, you miss out on that signature restaurant quality. For more insight into our testing, check out our latest posts on the Tasty Tipster blog!
Ingredient Clarity for Our Breadsticks
You need precision here, especially with temperature. For the dough, we use 1 1/2 cups warm water (it absolutely must be about 110°F, or the yeast dies!) along with 2 1/4 teaspoons active dry yeast and 2 tablespoons of granulated sugar to wake it up. Then we mix in 4 cups of all-purpose flour, 1 teaspoon of salt, and 1/4 cup of olive oil. For the final, essential Garlic Parmesan Breadsticks topping, you’ll need 1/2 cup (that’s a whole stick!) of unsalted butter, melted, 4 cloves of garlic that have been minced up nice and fine, 1 teaspoon of dried Italian seasoning, and 1/2 cup of grated Parmesan cheese.
How to Prepare The Ultimate Olive Garden Breadsticks Copycat
Okay, this is where the magic really happens! I know a long list of instructions can look scary, but trust me, these steps are your roadmap to perfect, soft dinner rolls that taste exactly like the restaurant. If you follow what we preach about kneading and timing the rise, you’re going to have incredible results. Ethan is always telling me these instructions are so clear, even someone who usually just buys premade dough can master these breadsticks. We are aiming for restaurant style perfection based on the best recipes out there, including inspiration from trusted sources like Kristine’s Kitchen!
Making the Dough and First Rise for Chewy Breadsticks
First things first, we activate the yeast! Mix your warm water, yeast, and sugar together in a big bowl. Wait about 5 to 10 minutes until it’s bubbly and foamy—that’s your sign that the yeast is ready to work. Next, dump in most of the flour, the salt, and the olive oil. Start mixing until it just comes together into a shaggy dough. Now, turn it out onto the counter. This is where Ethan always reminds me to knead it properly for 5 to 7 minutes until it’s smooth and feels elastic. That kneading is what builds the chew! After that hard work, place it in an oiled bowl, cover it up, and let it chill out in a warm place for about 1 to 1.5 hours until it doubles. If you’re in a hurry for quick bread recipe results, an hour might just be enough time!
Shaping and Baking Your Restaurant Style Breadsticks
Get that oven hot—we’re aiming for 400°F (200°C). Line two big baking sheets with parchment paper because nobody likes scrubbing baked-on cheese! Gently punch down your gorgeous risen dough and divide it in half. You want rectangles, about 1/4 inch thick, and then slice those into strips that are roughly 1 inch wide and 8 inches long. Place them on the sheets with a bit of room between them. If you have time, let the shaped sticks rest for about 15 minutes while the oven finishes heating up. Then, bake them for just 10 to 12 minutes. Keep a very close eye! You just want them to turn a very light golden brown—we aren’t looking for hard crusts here, these are meant to be those perfect soft dinner rolls masquerading as breadsticks.
Applying the Signature Garlic Parmesan Breadsticks Topping
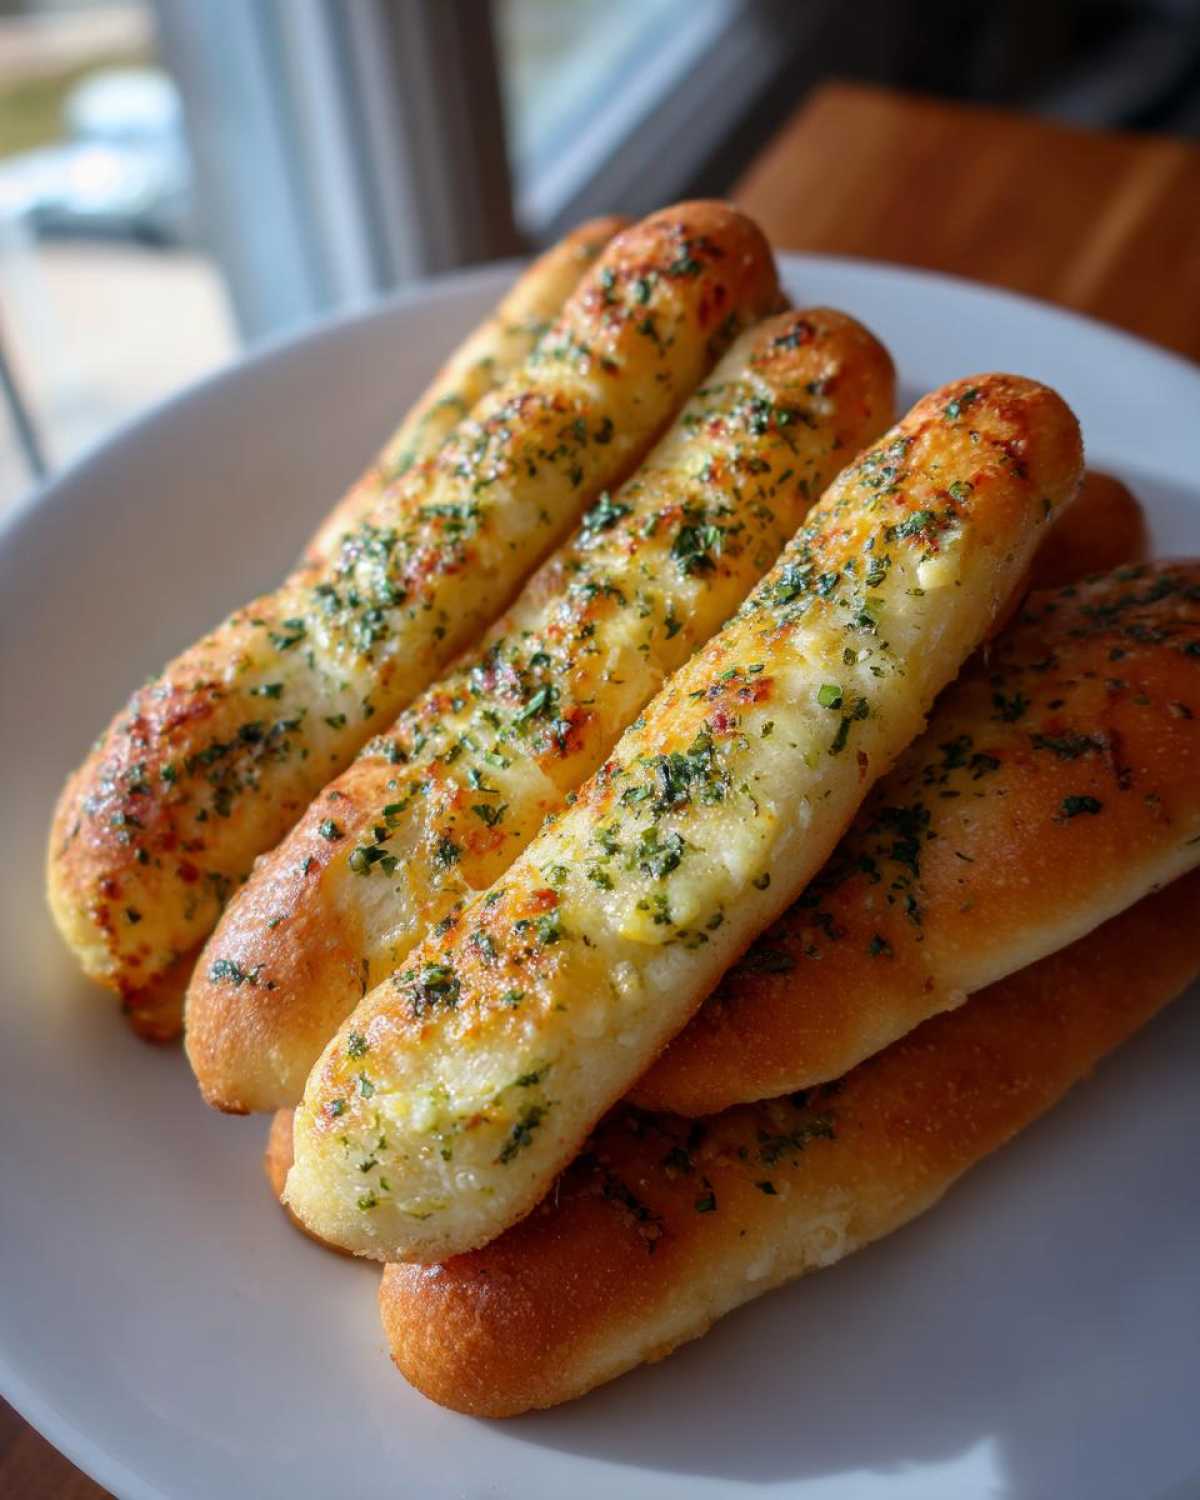
While those beauties are baking, you need to whip up the flavor bomb! Melt your stick of butter gently on low heat. Stir in the minced garlic and the Italian seasoning. This is my biggest warning sign from my research: Do NOT let that garlic brown! Browned garlic tastes bitter, and we want fragrant, sweet garlic in our buttery breadsticks. The second they come out of the oven—and I mean immediately—you have to brush that garlic butter all over them, soaking every corner. Then, immediately shower them generously with that grated Parmesan cheese. The residual heat melts it just enough, and wow, the resulting aroma and flavor is just unbeatable for authentic homemade breadsticks recipe quality!
Variations: Making Cheesy Breadsticks or Mozzarella Breadsticks
Ethan and I know that sometimes, plain great just isn’t good enough—sometimes you just need that cheesy pull, right? That’s why we love these breadsticks because they are so adaptable. If you want to turn these into amazing Cheesy Breadsticks, it’s super simple!
Here’s the trick we use from the recipe notes: wait until the last two minutes of baking. Pull the tray out, sprinkle a handful of shredded mozzarella cheese right over the top of your breadsticks, and slide them back in until it gets melty and bubbly. Once those come out of the oven, that’s your cue to brush on that glorious garlic butter mixture. The heat from the breadsticks melts the cheese slightly before the butter melts on top. Seriously, these cheesy breadsticks are divine dipped in marinara sauce. If you’re looking for more appetizer ideas, check out some of these fantastic recipes here.
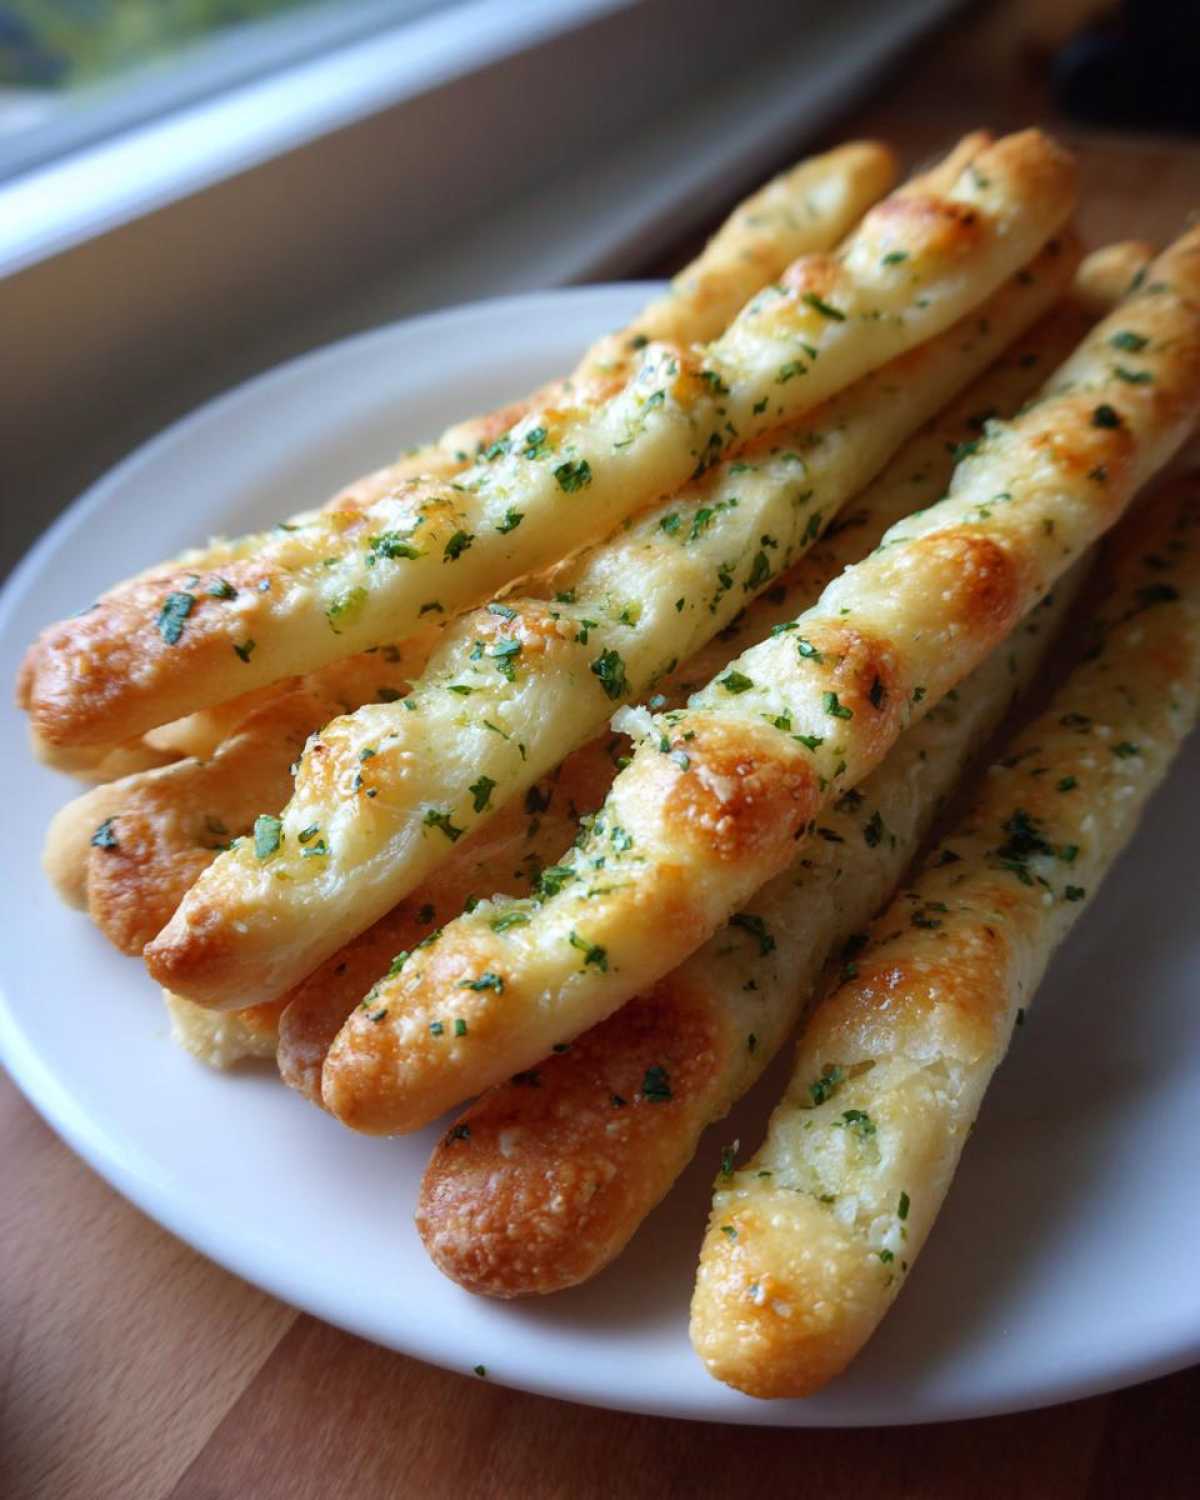
Tips for Success with Homemade Breadsticks
Even with the blueprint, mastering any recipe takes a few little tricks. Ethan says that the best tip I ever gave him was about flour—I know, boring, but important! When measuring flour for these breadsticks, please don’t scoop directly from the bag. That packs it in, and you end up with dry, dense sticks. You need to spoon the flour lightly into your measuring cup and then level it off. This is crucial for keeping them soft!
For that wonderfully soft texture we are chasing, make sure your water isn’t too hot when you wake up the yeast; 110°F is the sweet spot. If it’s too hot, you kill the yeast, and your breadsticks won’t rise like delicious homemade dough recipe pillows. And Ethan’s flavor tip? He swears that adding just a tiny pinch of garlic powder into the dough *before* baking, along with the salt, really boosts the flavor of the final garlic coating. He’s usually right about those little instinctive additions!
Storage and Make Ahead Breadsticks Instructions
I know, right? Who can ever stop at just one batch of these buttery breadsticks? If you manage to have any leftovers, the best way to keep them fresh is to store them in an airtight container at room temperature. They usually stay pretty good for about two days, but you definitely need to reheat them to get that soft texture back.
You might be tempted to use the microwave, but please don’t! The microwave makes them tough fast. Instead, pop them into a 350°F oven for about five minutes. That warms them through perfectly. If you want to plan ahead for a big dinner, these are excellent Make Ahead Breadsticks! You can freeze them easily. Just shape the sticks, freeze them solid on a baking sheet, and then toss them into a freezer bag. When you’re ready to bake, just take them straight from the freezer and add about three or four extra minutes to the baking time.
Serving Suggestions for These Buttery Breadsticks
Honestly, these buttery breadsticks practically beg to be served alongside something saucy! They are the ultimate dinner side dish bread. They feel mandatory next to a big pot of spaghetti or maybe a hearty minestrone. If you’re feeling truly decadent, skip the traditional bread bowl and serve your tomato soup with a tower of these instead!
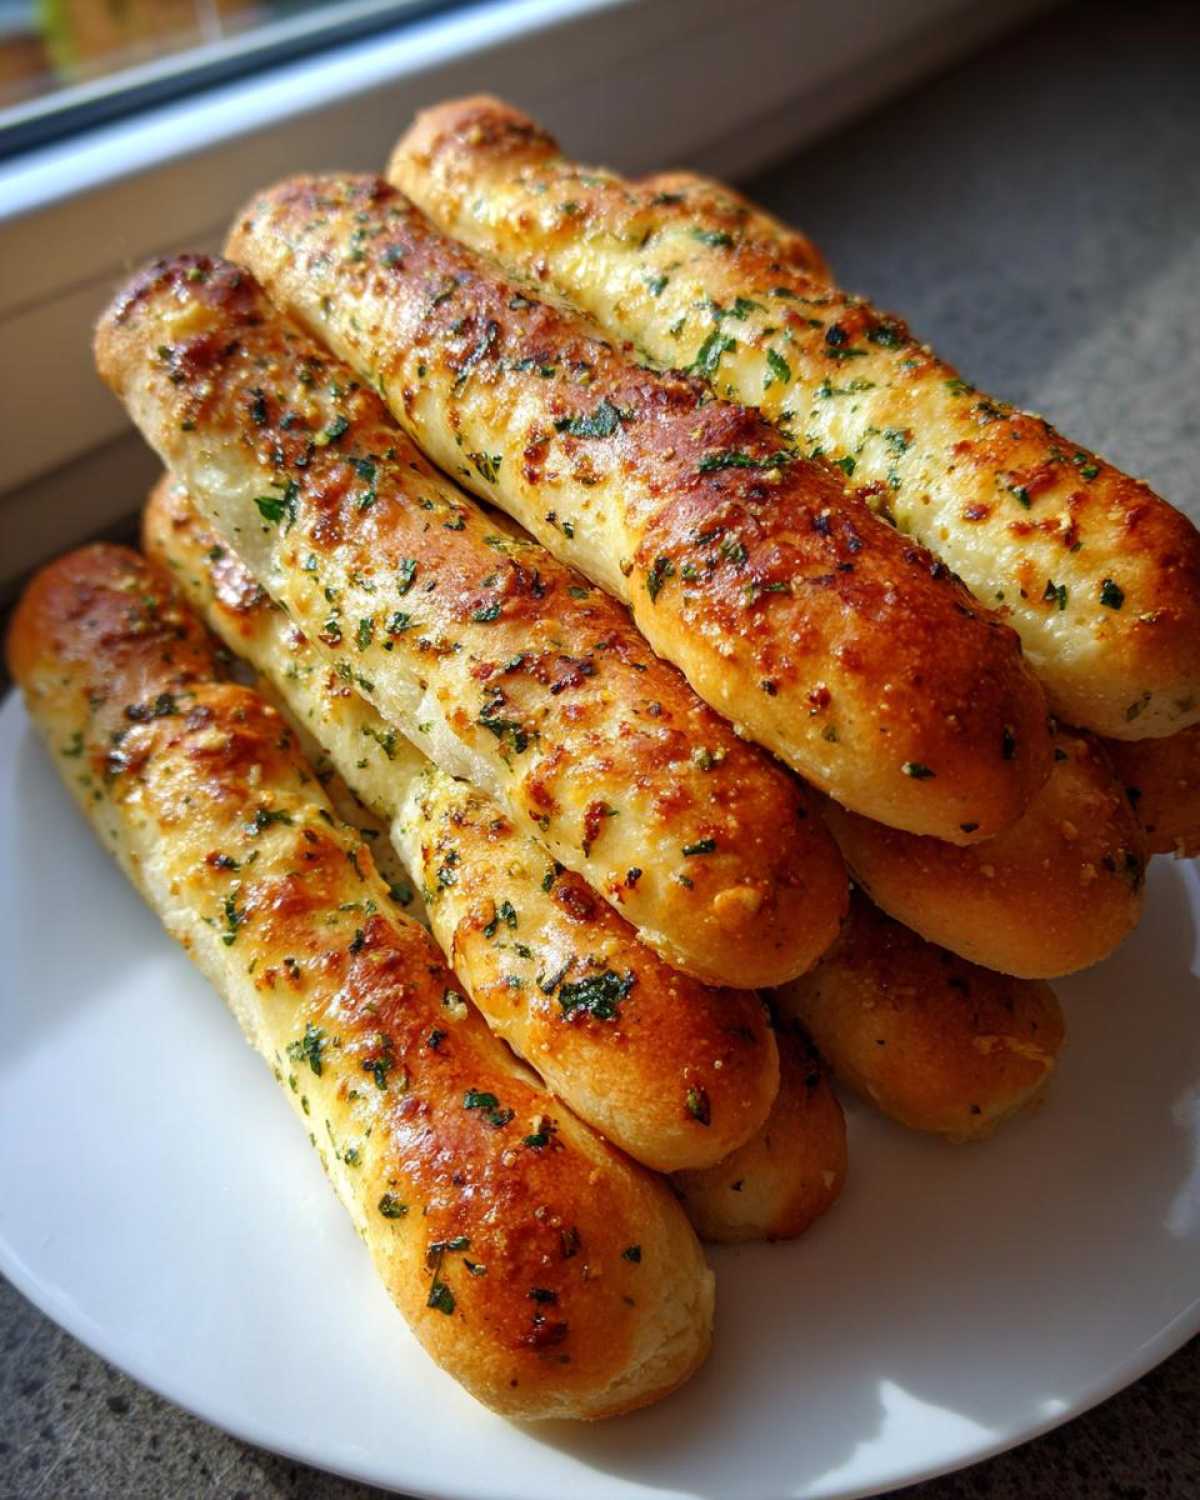
And for dipping? Marinara is classic, but we also love warming up some leftover Alfredo sauce or even a simple garlic dipping oil made with extra virgin olive oil and a squeeze of lemon. So good!
Frequently Asked Questions About Our Breadsticks
I know sometimes the science part can make you pause before diving in. Ethan and I get asked the same things all the time about getting these breadsticks just right. If you have a lingering question after reading through our process, chances are it’s answered right here. We want you to feel totally confident when you start mixing up this fork recipe!
Can I use store-bought dough for these breadsticks?
Oh, you definitely can if you’re in a super big rush! I totally get it; sometimes you need that instant gratification. Refrigerated pizza dough works fine in a pinch. You can certainly use it to make quick appetizer bread sticks. However, I have to tell you honestly, the texture won’t have that incredible, light, airy quality you get from making the yeast dough using the proper measurements for our full homemade dough recipe. The texture will be a little denser, closer to a flatbread, but it will still taste great with the garlic butter!
How do I get my breadsticks extra soft?
This is the most common question, and it all comes down to two things: under-baking slightly and the topping application. Remember, we aren’t aiming for a hard, crunchy exterior like a French baguette; we want those fluffy soft breadsticks! Pull them out right when they turn the lightest gold, maybe even a touch before you think they are done. Then, the second they come out, immediately brush them generously. That hot fat and moisture are key to keeping them soft, like high-end soft dinner rolls.
Estimated Nutritional Data for Garlic Parmesan Breadsticks
Now, I know many of you lovely people are counting macros or just curious about what you’re enjoying so much! As the researcher, I always look up the numbers, though Ethan just cares if they taste amazing. Here is the nutritional breakdown based on a serving size of two breadsticks made exactly according to our recipe.
- Serving Size: 2 breadsticks
- Calories: 185
- Sugar: 1.5g
- Sodium: 250mg
- Fat: 8g
- Saturated Fat: 4g
- Unsaturated Fat: 4g
- Trans Fat: 0.1g
- Carbohydrates: 24g
- Fiber: 1g
- Protein: 4g
- Cholesterol: 15mg
Just a quick word on these numbers—since we are making everything from scratch, these are our best estimates! The final totals can shift just a little based on the brand of flour or the exact amount of butter you brush on (and let’s be real, some of us are more generous than others!). For the full rundown on how we handle nutritional information on the site, check out our disclaimer page. Enjoy these incredible Garlic Parmesan Breadsticks responsibly!
Share Your Homemade Breadsticks Creations
Whew! We made it through the whole process, from activating the yeast to drowning those gorgeous sticks in garlic butter. Now it’s your turn to get baking! I sincerely hope you found this recipe helpful and that you’re enjoying the best homemade breadsticks you’ve ever made.
If you loved how soft and chewy these turned out, please consider leaving us a rating right down below! Five stars would make my day because it tells me my research actually worked out! Ethan is always hovering over my shoulder checking the comments, so leave us a note.
I’m dying to know—what did you pair these with? Were they the perfect dinner side dish bread for pasta, or did you make an appetizer batch just for dipping? Tell us your favorite dipping sauce in the comments! Happy cooking, friends!
PrintThe Ultimate Soft & Chewy Olive Garden Copycat Breadsticks with Garlic Parmesan Butter
Recreate the famous soft, chewy, and buttery breadsticks right in your home kitchen. This easy recipe delivers restaurant-style flavor, complete with a rich garlic parmesan topping, making them the perfect dinner side dish or appetizer.
- Prep Time: 20 min
- Cook Time: 12 min
- Total Time: 1 hour 32 min
- Yield: 16 servings
- Category: Appetizer
- Method: Baking
- Cuisine: American
- Diet: Vegetarian
Ingredients
- 1 1/2 cups warm water (about 110°F)
- 2 1/4 teaspoons active dry yeast
- 2 tablespoons granulated sugar
- 4 cups all-purpose flour, plus more for dusting
- 1 teaspoon salt
- 1/4 cup olive oil, plus more for greasing
- 1/2 cup (1 stick) unsalted butter, melted
- 4 cloves garlic, minced
- 1 teaspoon dried Italian seasoning
- 1/2 cup grated Parmesan cheese
Instructions
- Activate the yeast: In a large bowl, combine the warm water, yeast, and sugar. Let this mixture sit for 5 to 10 minutes until it becomes foamy. This shows the yeast is active.
- Mix the dough: Add 3 cups of the flour, salt, and 1/4 cup of olive oil to the yeast mixture. Mix until just combined. Gradually add the remaining flour until a soft dough forms.
- Knead the dough: Turn the dough out onto a lightly floured surface. Knead for about 5 to 7 minutes until the dough is smooth and elastic. Ethan says this kneading builds the chewiness!
- First rise: Lightly grease a large bowl with olive oil. Place the dough in the bowl, turning to coat. Cover the bowl with plastic wrap or a clean towel and let it rise in a warm spot for 1 to 1.5 hours, or until doubled in size.
- Shape the breadsticks: Preheat your oven to 400°F (200°C). Line two large baking sheets with parchment paper. Gently punch down the risen dough. Divide the dough in half. Roll each half into a large rectangle, about 1/4 inch thick. Cut the dough into strips about 1 inch wide and 8 inches long. Place the strips onto the prepared baking sheets, leaving a little space between them.
- Second rise (optional but recommended): Let the shaped breadsticks rest for 15 minutes while the oven finishes preheating.
- Bake: Bake for 10 to 12 minutes, or until the breadsticks are lightly golden brown.
- Prepare the garlic butter topping: While the breadsticks bake, melt the butter in a small saucepan over low heat. Stir in the minced garlic and Italian seasoning. Cook for about 1 minute until fragrant. Do not let the garlic brown.
- Finish: Immediately after removing the hot breadsticks from the oven, brush them generously with the garlic butter mixture. Sprinkle evenly with the grated Parmesan cheese.
- Serve warm: Serve these homemade breadsticks immediately for the best soft and chewy texture.
Notes
- For an extra cheesy version, sprinkle mozzarella cheese over the breadsticks during the last 2 minutes of baking, then brush with garlic butter afterward.
- If you are short on time, you can use 1 cup of warm water instead of 1 1/2 cups and reduce the first rise time to 30 minutes for quicker breadsticks.
- This dough freezes well. Shape the sticks, place them on a baking sheet, freeze until solid, then transfer to a freezer bag. Bake from frozen, adding a few extra minutes to the bake time.
Nutrition
- Serving Size: 2 breadsticks
- Calories: 185
- Sugar: 1.5
- Sodium: 250
- Fat: 8
- Saturated Fat: 4
- Unsaturated Fat: 4
- Trans Fat: 0.1
- Carbohydrates: 24
- Fiber: 1
- Protein: 4
- Cholesterol: 15