

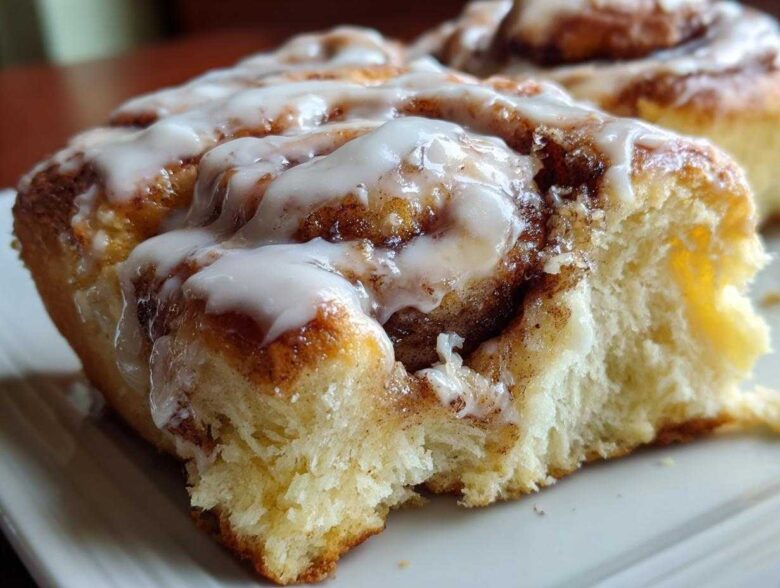
Oh my goodness, if you opened your window this morning and smelled warm, buttery cinnamon drifting down the street, chances are someone was making my absolute favorite sweet breakfast recipe: these homemade cinnamon rolls! Seriously, nothing beats that aroma. I’m Maya, and my husband Ethan and I created this recipe by taking my research-backed blueprint for the perfect yeast roll recipe and layering on all of Ethan’s gut feelings about what makes a truly unforgettable pastry. What you end up with is a completely foolproof recipe for soft, gooey, and downright bakery-quality cinnamon roll that will make your entire weekend better. You can read more about how we merged our styles over at our story.
Why This is the Best Cinnamon Roll Recipe You Will Ever Make
I won’t lie, I’ve tested this recipe more times than I care to admit, mostly because Ethan kept suggesting tiny tweaks until we nailed down the absolute best cinnamon roll imaginable. The result is so incredibly soft and gooey, it rivals anything you’d buy from a high-end bakery. You deserve this incredible sweet breakfast recipe, and honestly, the process is surprisingly straightforward once you know a few secrets.
Our biggest ‘Tasty Tipster’ insight for the dough is all about the fat ratio. We use an extra touch of melted butter mixed directly into the yeast slurry *before* the flour goes in. This tenderizes the dough structure from the very start. Trust me, it changes everything!
Achieving Bakery-Quality Soft Rolls
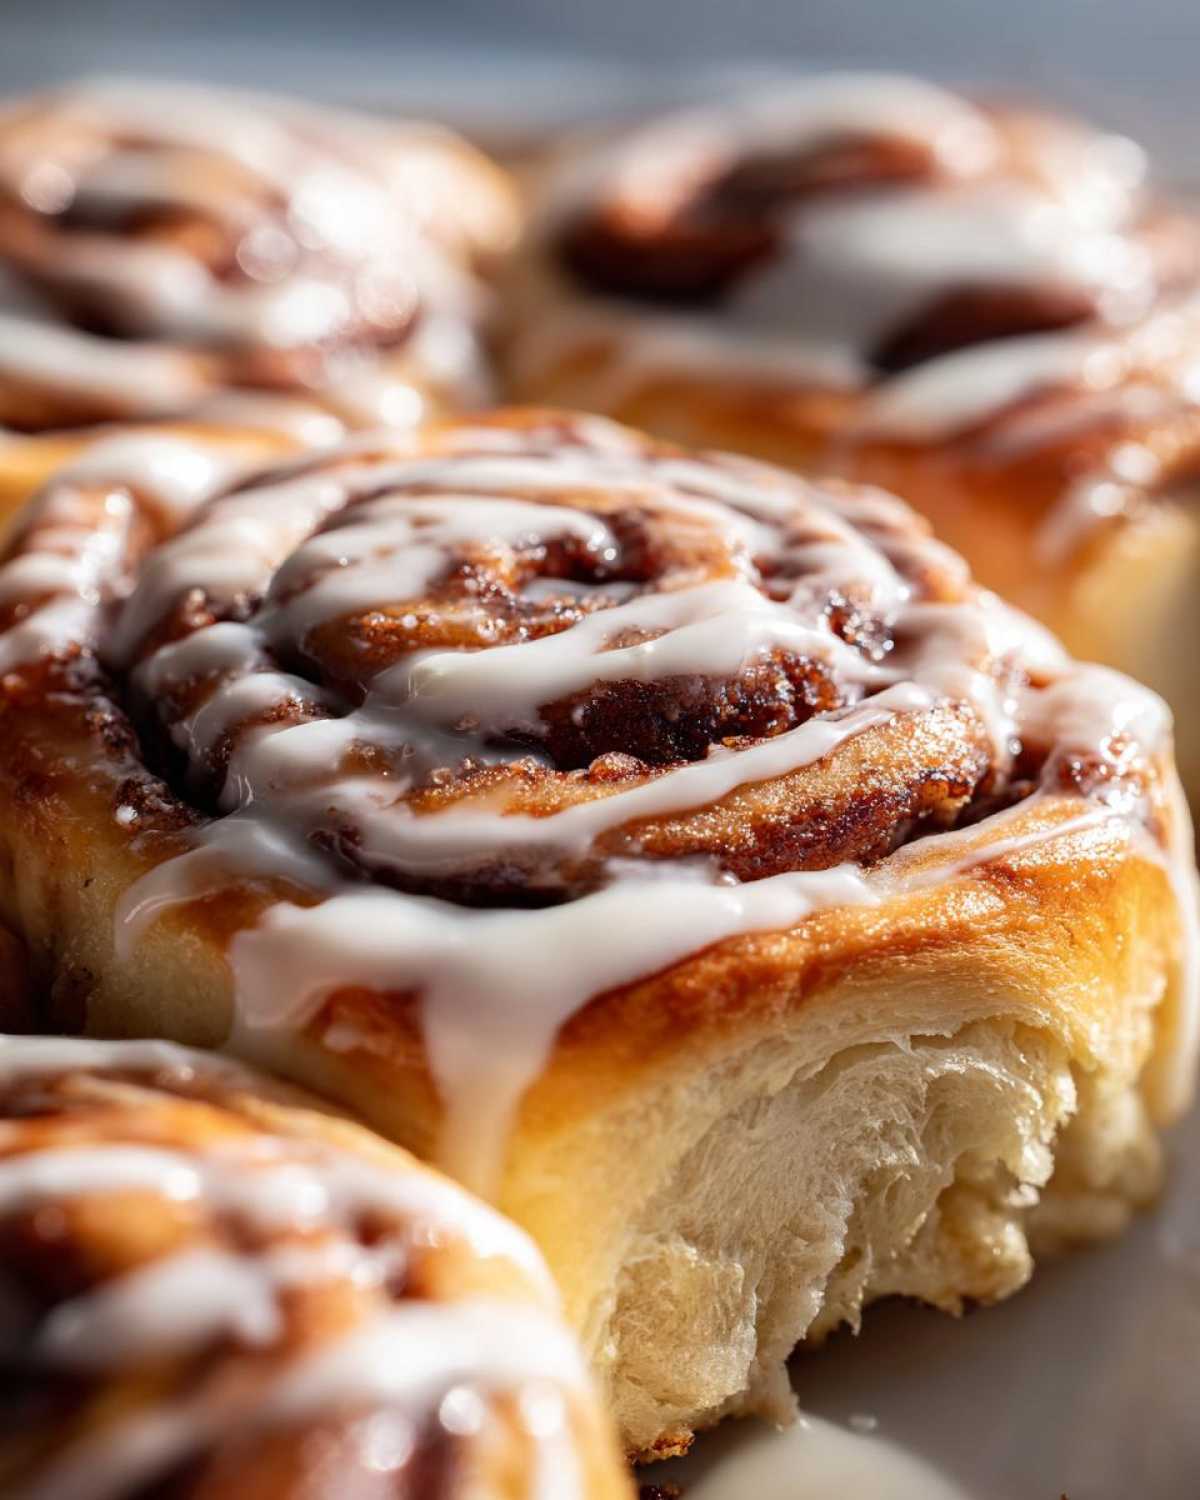
The magic for supremely soft rolls lies right in that yeasted dough structure. We combine the richness of room-temperature eggs and milk with the precise amount of kneading Maya insists on. Kneading develops the gluten, which gives the dough strength, but the added fat keeps those strands from getting too tight. This balance means the dough rises beautifully, trapping all those amazing cinnamon gasses, and results in layers that literally pull apart with zero effort—just look for that delicate, pillowy texture after the second rise!
Gathering Ingredients for Your Homemade Cinnamon Roll
Okay, let’s get our ingredients lined up! I always use little glass bowls for everything before I even turn the oven on. It saves so much stress later. For this recipe, we have ingredients for the dough, the filling, and the icing, but don’t let that scare you. We’re using simple things to make this glorious homemade pastry!
- 1 cup whole milk, warmed to 105-115°F
- 2 1/4 teaspoons active dry yeast
- 1/2 cup granulated sugar, divided
- 1/4 cup unsalted butter, melted
- 1 large egg, room temperature
- 1 teaspoon salt
- 3 1/2 cups all-purpose flour, plus more for dusting
- 1/2 cup (1 stick) unsalted butter, softened to room temperature (for the filling!)
- 1/2 cup packed light brown sugar
- 2 tablespoons ground cinnamon
- 8 ounces cream cheese, softened
- 1/2 cup powdered sugar
- 1 teaspoon vanilla extract
Ingredient Notes and Substitutions for Perfect Cinnamon Roll
The temperature of your milk is non-negotiable here—it needs to be between 105 to 115°F so your yeast wakes up happy! If it’s too hot, you kill it, and if it’s too cool, it sleeps in. Also, notice we need softened butter for the filling, but melted butter for the actual dough. Big difference!
Also, Ethan insisted I add this little secret from his family: before you mix in the flour, toss a tiny pinch of extra cinnamon right in with the yeast mixture. It doesn’t change the flavor much, but it really wakes up the overall cinnamon payoff later on. It’s one of those tiny things that makes this the best result!
Step-by-Step Instructions for Fluffy Cinnamon Roll Dough
Alright, let’s get to the actual hands-on part of making this incredible yeast roll recipe. This is where Maya’s research skills really shine because getting the yeast activated correctly sets the stage for everything!
- First thing’s first: we need sleepy yeast to wake up! In a large bowl—don’t worry if it’s not your stand mixer bowl yet—combine your warm milk, the active dry yeast, and just one teaspoon of the granulated sugar. You need that milk to be right around 105 to 115°F. If you don’t have a thermometer, just test it with your clean finger; it should feel warm but totally comfortable, not hot. Let this sit for five to ten minutes until it gets nice and foamy on top. If it doesn’t foam, seriously, toss it and start over!
- Once you have that gorgeous foam, stir in the rest of the sugar, the melted butter, the egg, and the salt. Now, it’s time for the flour. Add it slowly, mixing until you get a shaggy dough.
- This is the crucial kneading part, where Ethan says you need to put some love into it! Turn that shaggy mess onto a lightly floured surface and knead for a solid 6 to 8 minutes. You want it smooth and wonderfully elastic.
After kneading, pop the dough into an oiled bowl, cover it up tight so it doesn’t dry out, and let it rise in a warm spot for a good 1 to 1.5 hours until it’s doubled. Ethan always checks readiness by pulling off a small piece and stretching it thin—if you can stretch it enough to almost see light through it without tearing (that’s kind of like a windowpane test!), it’s ready for the next step. If you need a warm spot, pop the covered bowl into your oven with just the light switched on—it’s like a perfect little bread incubator!
Need some inspiration for other doughs? Check out these no-knead bread techniques if you want a break from the kneading handle later this week!
Creating the Gooey Cinnamon Filling for Your Cinnamon Roll
While our dough is happily puffing up, we tackle the part that makes these rolls genuinely addictive: the filling! This filling is what transforms a plain yeast bread into a spectacular cinnamon roll experience. You’re going to mix up the softened butter, that packed light brown sugar, and the two tablespoons of ground cinnamon. Since the butter is soft—not melted, not hard—it comes together right in the bowl into this gorgeous, spreadable cinnamon paste. Seriously, just stick your spoon in there and smell that!
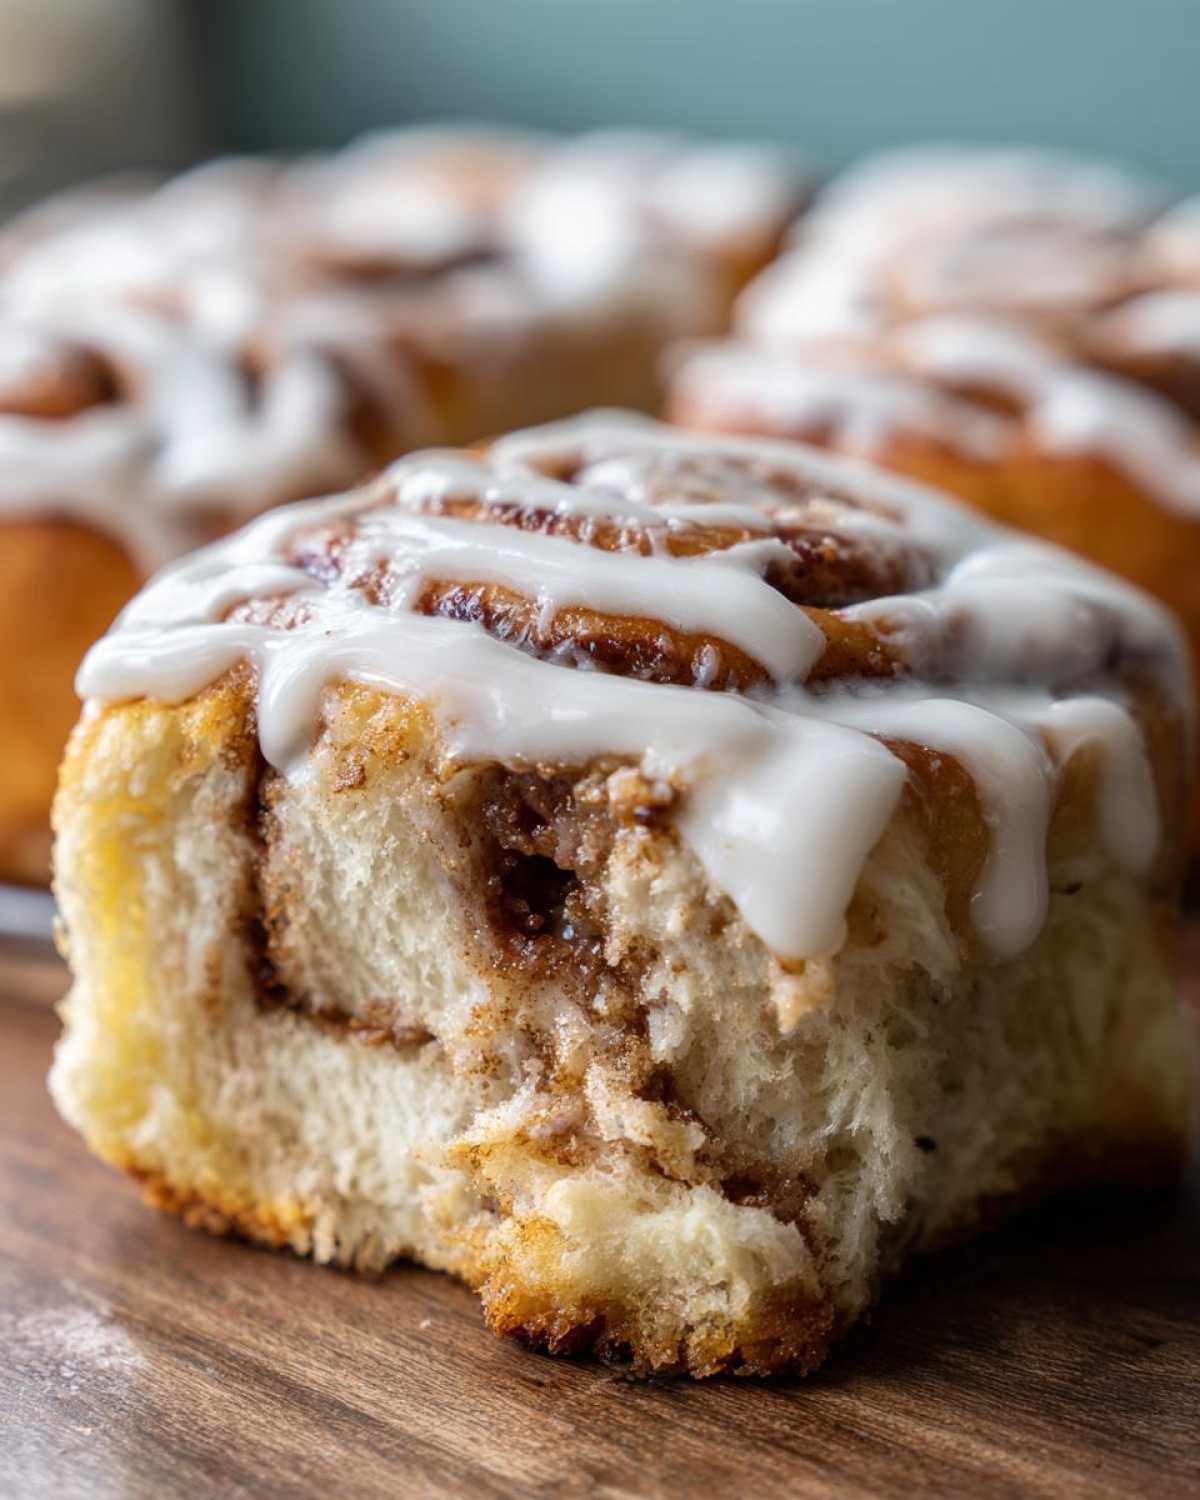
Once your dough has doubled, punch it down gently—we don’t want to let all that air escape! Then, roll it out into that big 12 by 18-inch rectangle. Here is a super important trick Ethan taught me: when you spread that wonderful filling over the dough, leave a full 1-inch border bare along one of the long edges. If you spread it right to the edge, when you roll it up, all that sugary goodness leaks out into your pan instead of staying wrapped inside your beautiful cinnamon roll log!
Rolling and Cutting the Perfect Cinnamon Roll Log
Okay, the filling is spread—remember leaving that one-inch border clean? Good job! Now comes the rolling part, and this takes a little commitment to getting it tight. Starting on the long edge *opposite* the empty border, you need to roll that dough up like a sleeping bag. Roll it as tightly as you possibly can without ripping the dough. We are aiming for that 12 by 18-inch rectangle to become a super compact log!
When you get all the way to that bare edge, go ahead and pinch the seam closed really well. If you don’t seal this seam, I swear the log will try to unroll itself halfway through baking, which is just a recipe for a sticky, sad mess. Once it’s sealed, grab your sharpest knife or, what I prefer, a piece of unflavored dental floss (seriously, it cuts so clean!) and slice that log into 12 equally thick pieces. This gives you those perfect, bakery-sized portions.
The Second Rise: Puffy Cinnamon Roll Placement
Now we tuck them into their baking pan! Gently place your 12 rolls into your greased 9×13 inch pan. Don’t squish them right against each other yet; leave a little bit of breathing room, because they are going to get cozy during this next step. Cover the whole thing loosely again—I just drape some plastic wrap over the top—and forget about them in a warm place for about 30 to 45 minutes. You aren’t looking for double the size this time; you are just looking for them to become puffy and snug against each other.
If your kitchen is chilly, you know what to do! Pop that pan of rolls into the oven with just the light on; that gentle residual warmth is perfect for these final rises. When they look puffy but still hold their shape, they are ready for the heat. This second rise is what gives those gorgeous cinnamon rolls their legendary feather-light texture!
Baking and Glazing Your Sweet Breakfast Recipe
The moment of truth! Preheat your oven to 375°F. I know waiting for the oven to heat feels like forever when you smell that cinnamon sugar, but trust the process. Pop those puffy rolls in the oven for about 20 to 25 minutes. You are looking for them to be beautifully golden brown on top.
Now, here’s a tiny, but vital, piece of advice from my testing spreadsheets: Don’t overbake them! Seriously. Once they look golden, pull them out. Like a lot of homemade pastry, they keep cooking slightly after you take them from the heat, and overbaking is the quickest way to lose that incredible moisture we worked so hard to build into this soft cinnamon roll dough.
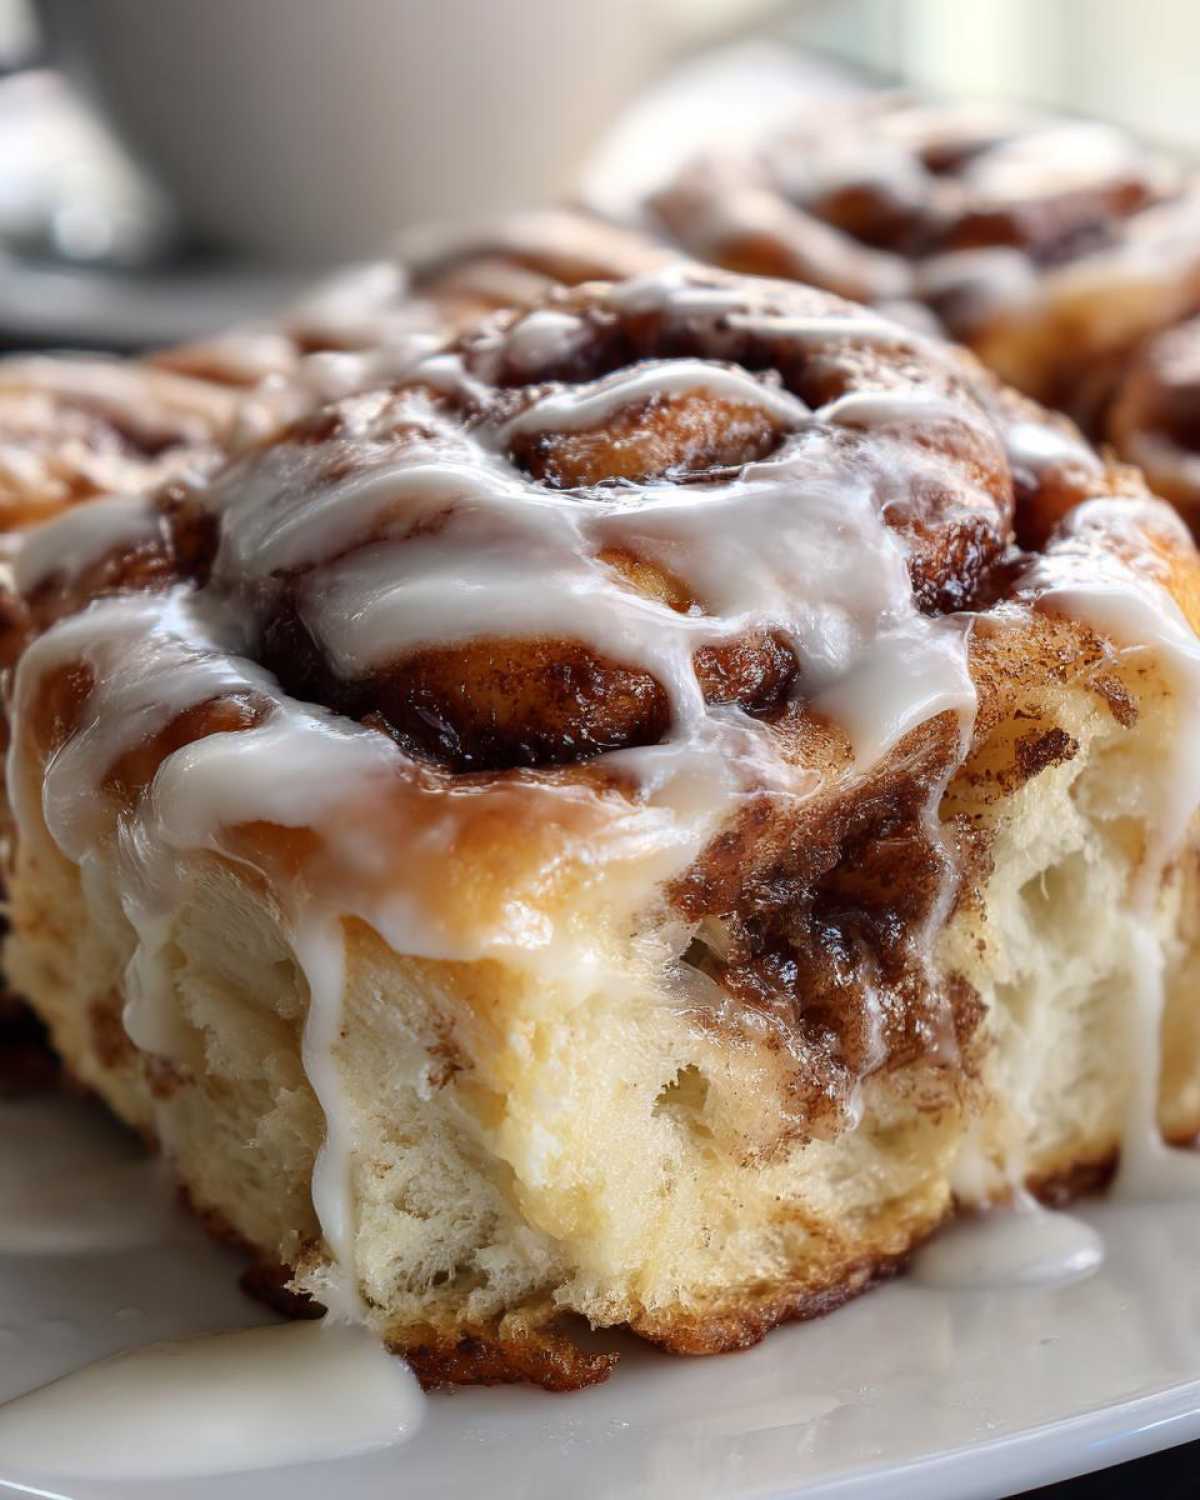
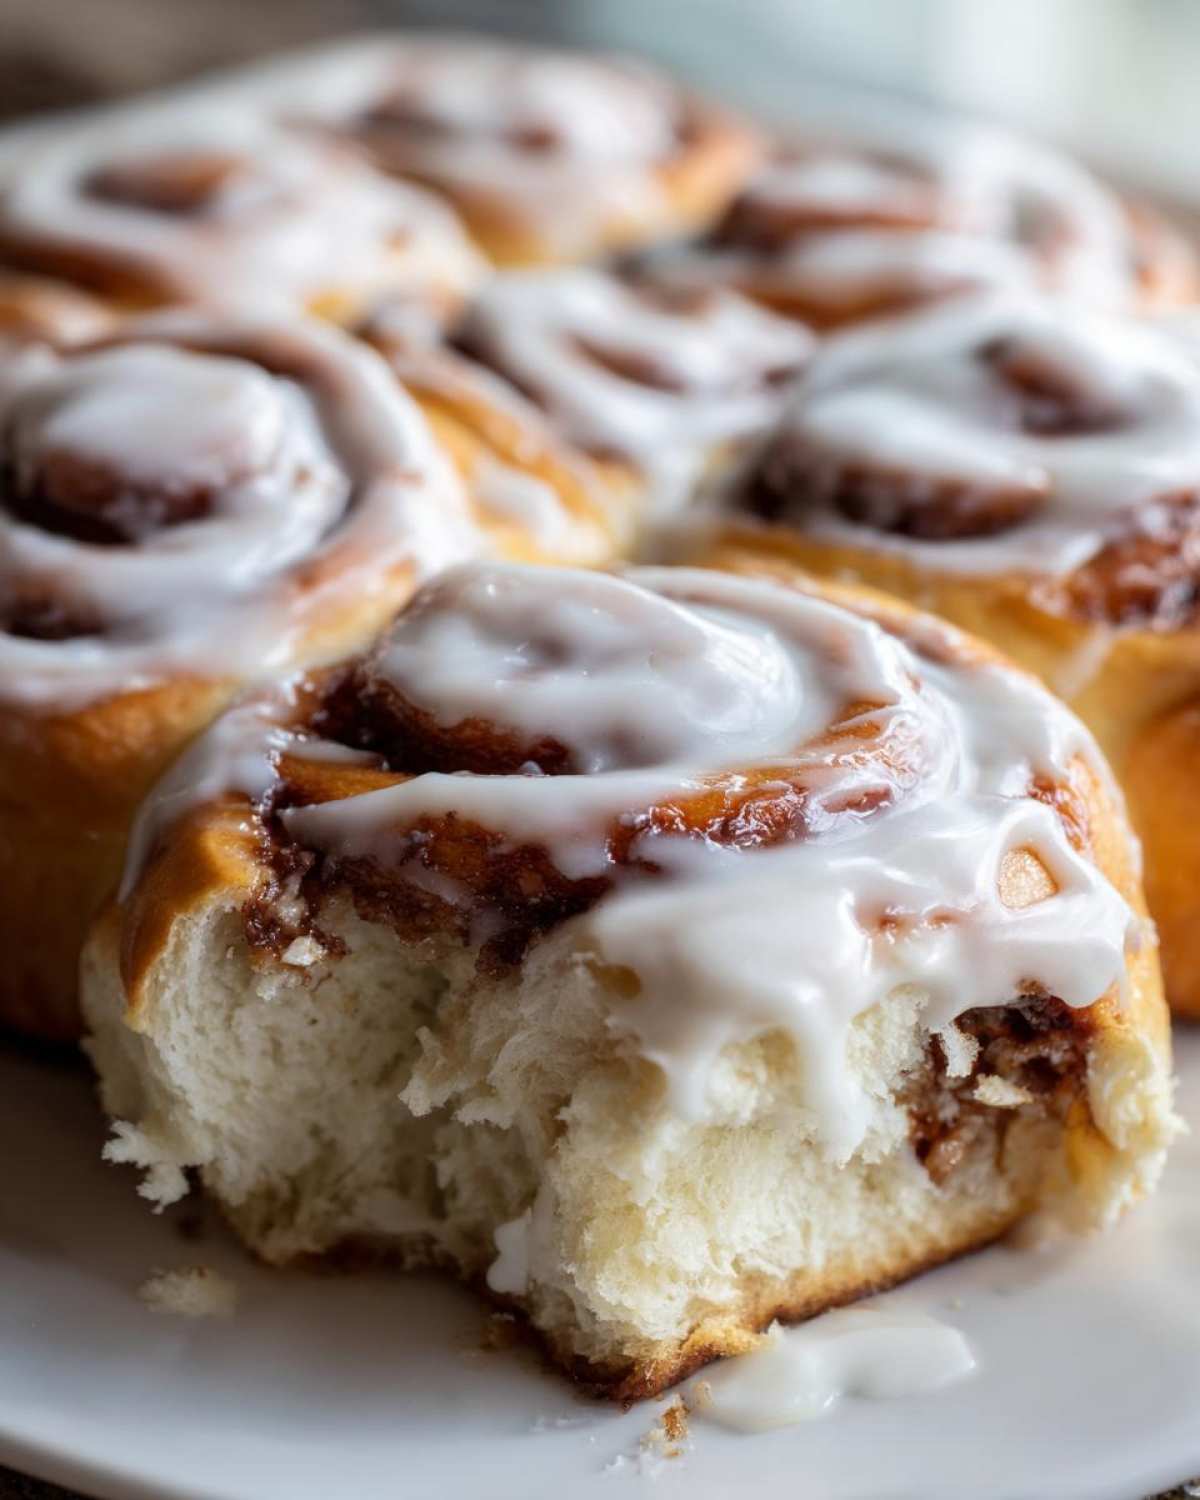
While they are baking, whip up that cream cheese glaze. If you find it’s just a little too stiff to spread later—maybe your cream cheese slabs were bigger than mine were—just beat in one extra tablespoon of milk at a time until it’s perfectly pourable. Then, the second the warm rolls come out, smother them in that glaze! The heat melts it just perfectly into every swirl. You can find tons of other great things to try in our breakfast archives!
Tips for Success with Homemade Pastry
Baking soft cinnamon rolls can feel like a delicate dance between science and intuition, and honestly, that’s where Ethan and I finally found our rhythm! While my research gives us the blueprint—the exact ratios for the yeast activation and dough strength—Ethan always reminds me that the best homemade pastry comes from trusting your hands. Don’t just follow the clock blindly; if your dough looks soft and bubbly after 50 minutes instead of an hour, trust that visual cue!
Here are the final few nuggets of wisdom we’ve gathered after making batches and batches of these rolls to ensure you get that gooey center every single time. Remember, the key ingredients—like really good vanilla in your icing and not skimping on the amount of filling—are just as important as the technique.
Make-Ahead and Storage for Soft Cinnamon Rolls
First off, these are almost *better* the next day, PROVIDED you store them correctly. Once they’ve cooled completely, you absolutely have to keep leftovers in an airtight container to lock in all that moisture. If you just leave them on the counter under foil, they stiffen up way too fast, and we don’t want that dry texture!
When you are ready to eat leftovers—and you will be hungry for them!—you have two great reheating options. The quickest way is about 15 to 20 seconds in the microwave. That just melts the icing slightly and brings back the softness. If you have a little more time, wrap the individual roll loosely in foil and pop it in a 300°F oven for about five minutes. That gentle warmth brings back that fresh-from-the-oven, pull-apart texture better than anything. Don’t forget to browse our main blog page for more kitchen discoveries!
Frequently Asked Questions About Making Cinnamon Rolls
Can I use instant yeast instead of active dry yeast for this recipe?
That’s a great question, especially if you need an easy cinnamon roll fix! Yes, you absolutely can swap them. Active dry yeast needs that initial wake-up call in warm milk (which we do in the recipe), but instant yeast doesn’t. If you use instant yeast, you can skip Step 1 entirely! Just mix the instant yeast right in with the flour and the other dry ingredients, and then proceed with adding the wet ingredients. It cuts about 10 minutes off your prep time, but honestly, Ethan says he likes the extra bubbling insurance you get from waking up the active dry kind.
My dough didn’t rise after the first hour. What went wrong?
Ugh, that is the most frustrating part of any yeast roll recipe, isn’t it? Usually, this means one of two things happened. First, check that milk temperature again—if it was even slightly too hot, you might have killed the yeast. Second, if your kitchen is really cold, the yeast just takes its sweet time. If you think the yeast is fine but it’s just sluggish, don’t panic! Ethan’s trick, which I always use when it’s winter, is putting the covered bowl in the oven with just the light on. That little bit of warmth usually gets them moving within another 30 minutes. If it’s dead flat and looks watery, you’ll sadly need to kick out those yeast friends and start over.
How do I make the cream cheese icing thicker or thinner?
This totally depends on how you like your sweet breakfast recipe glaze! If your icing ends up way too thin when you add more milk—which can happen if your cream cheese was extra soft—you just need to beat in more powdered sugar, a tablespoon at a time, until it holds soft peaks. If you want it thinner so it drizzles like water, add milk, just one teaspoon at a time, beating well after each addition, until you hit that perfect liquid consistency.
Why did all my cinnamon filling leak out during baking?
This is the classic error when making a homemade pastry! If your filling leaks, you almost certainly didn’t leave that bare 1-inch border along one long edge when you rolled up your dough log. That empty margin acts like a seal or a closure when you pinch the log shut. If you spread the filling edge-to-edge, there’s nowhere for it to go but down into your 9×13 pan as the rolls expand in the oven. Make sure you press that seam down firmly!
Estimated Nutritional Information for This Cinnamon Roll Recipe
Now, I know these aren’t exactly health food—they are celebratory homemade cinnamon rolls, after all! But since I’m the researcher on this team, I always like to run the numbers when we test a recipe. We always tell people to eat them fresh and warm, but for those who track things, here is the estimated break-down for one glorious serving size from this recipe.
Please keep in mind that these values are estimates based on the exact amounts listed in our ingredient section and general database information. How much icing you decide to use can definitely change these numbers, so pile it on if you want, but know you’re adding to the sweetness factor!
- Serving Size: 1 roll
- Calories: 450
- Fat: 22g
- Saturated Fat: 13g
- Trans Fat: 0.5g
- Carbohydrates: 58g
- Fiber: 2g
- Protein: 8g
- Sugar: 35g
- Sodium: 350mg
- Cholesterol: 65mg
Soft and Gooey Homemade Cinnamon Rolls

Follow this foolproof recipe for bakery-quality, soft, fluffy homemade cinnamon rolls swirled with cinnamon-sugar and topped with a sweet cream cheese glaze. This recipe combines tested structure with intuitive flavor secrets for the best results.
- Prep Time: 45 min
- Cook Time: 25 min
- Total Time: 155 min
- Yield: 12 servings
- Category: Breakfast
- Method: Baking
- Cuisine: American
- Diet: Vegetarian
Ingredients
- 1 cup whole milk, warmed to 105-115°F
- 2 1/4 teaspoons active dry yeast
- 1/2 cup granulated sugar, divided
- 1/4 cup unsalted butter, melted
- 1 large egg, room temperature
- 1 teaspoon salt
- 3 1/2 cups all-purpose flour, plus more for dusting
- 1/2 cup (1 stick) unsalted butter, softened to room temperature
- 1/2 cup packed light brown sugar
- 2 tablespoons ground cinnamon
- 8 ounces cream cheese, softened
- 1/2 cup powdered sugar
- 1 teaspoon vanilla extract
Instructions
- Activate the yeast: In a large bowl, combine the warm milk, yeast, and 1 teaspoon of the granulated sugar. Let stand for 5 to 10 minutes until foamy.
- Mix the dough: Stir in the remaining granulated sugar, melted butter, egg, and salt into the yeast mixture. Gradually add the flour, mixing until a shaggy dough forms.
- Knead: Turn the dough out onto a lightly floured surface. Knead for 6 to 8 minutes until the dough is smooth and elastic. Place the dough in a lightly oiled bowl, turning to coat. Cover the bowl with plastic wrap and let it rise in a warm place for 1 to 1.5 hours, or until doubled in size.
- Prepare the filling: While the dough rises, mix the softened butter, brown sugar, and ground cinnamon in a small bowl until combined into a paste. This is your cinnamon-sugar filling.
- Roll out the dough: Gently punch down the risen dough. On a lightly floured surface, roll the dough into a large rectangle, about 12 by 18 inches and about 1/4 inch thick.
- Spread the filling: Spread the cinnamon-sugar filling evenly over the entire surface of the dough, leaving a 1-inch border along one long edge bare.
- Roll and cut: Starting from the long edge opposite the bare border, tightly roll the dough into a log. Pinch the seam closed. Cut the log into 12 equal rolls.
- Second rise: Arrange the rolls in a greased 9×13 inch baking pan. Cover loosely and let them rise again in a warm place for 30 to 45 minutes, or until puffy.
- Bake: Preheat your oven to 375°F. Bake for 20 to 25 minutes, or until golden brown.
- Make the glaze: While the rolls bake, beat the softened cream cheese, powdered sugar, and vanilla extract together until smooth. Add 1 to 2 tablespoons of milk if the glaze is too thick.
- Glaze and serve: Remove the rolls from the oven and immediately spread the cream cheese glaze over the warm rolls. Let them cool slightly before serving your homemade pastry.
Notes
- For extra soft rolls, Ethan suggests adding a tiny pinch of cinnamon directly into the dough mixture before the first rise.
- If your kitchen is cool, place the dough bowl in your oven with just the light on to create a warm environment for rising.
- Do not overbake! The rolls continue to cook slightly after they come out of the oven, which keeps them moist.
Nutrition
- Serving Size: 1 roll
- Calories: 450
- Sugar: 35
- Sodium: 350
- Fat: 22
- Saturated Fat: 13
- Unsaturated Fat: 9
- Trans Fat: 0.5
- Carbohydrates: 58
- Fiber: 2
- Protein: 8
- Cholesterol: 65