

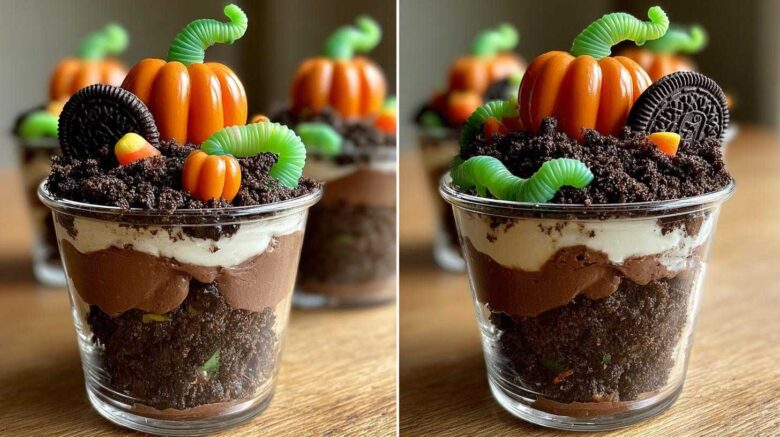
Spooky and Fun Graveyard Pudding Cups for Halloween
Hello fellow food lovers! Maya here, your resident recipe researcher and planner. This Halloween, I’ve got a treat that’s both wonderfully spooky and incredibly easy. We’re diving into creating some adorable Graveyard Pudding Cups. They’re a hit with all ages! Ethan and I love sharing recipes that bring families together, and this one is perfect for that. It’s a simple, no-bake dessert that looks fantastic on a Halloween dessert table. Let’s get this spooky party started!
Why You’ll Love These Graveyard Pudding Cups
- Super easy to make.
- Kids love helping with this recipe.
- They look so cute and spooky.
- Delicious chocolate flavor everyone enjoys.
A Sweet Collaboration: Maya and Ethan’s Kitchen Story
Ethan and I have a kitchen dynamic that’s a bit like our recipes. He’s the intuitive flavor genius, tasting and adjusting with a pinch of this and a dash of that. I’m the planner, the one who loves the detailed instructions. For a while, our styles clashed! Our kitchen was a fun, but sometimes chaotic, place. Then Ethan’s dad gave us a simple tip: talk it out. We started using my researched recipes as a base and his instincts for the magic touches. It worked! These Graveyard Pudding Cups are a perfect example. I found the simple pudding base, and we added our own fun Halloween twists together. It’s that blend of planning and instinct that makes our kitchen so special, and it makes making these treats a joy.
Gathering Your Graveyard Pudding Cups Ingredients
Let’s get our spooky supplies ready! You’ll need:
- One package (3.4 oz) instant chocolate pudding mix.
- Three cups of cold milk.
- One cup of thawed whipped topping.
- Twelve chocolate sandwich cookies, crushed.
- Twelve candy pumpkins.
- Twelve gummy worms.
- Green food coloring, if you want some grass.
Crafting Your Delicious Graveyard Pudding Cups
This recipe comes together in just about 15 minutes! It’s so quick.
Step 1: Prepare the Pudding Base
First, mix the chocolate pudding with the cold milk. Follow the package directions. Whisk it until it’s smooth and ready.
Step 2: Add Creaminess with Whipped Topping
Now, gently fold in the thawed whipped topping. Do this carefully. You want a light and airy pudding texture. Don’t overmix.
Step 3: Create Your Halloween Landscape
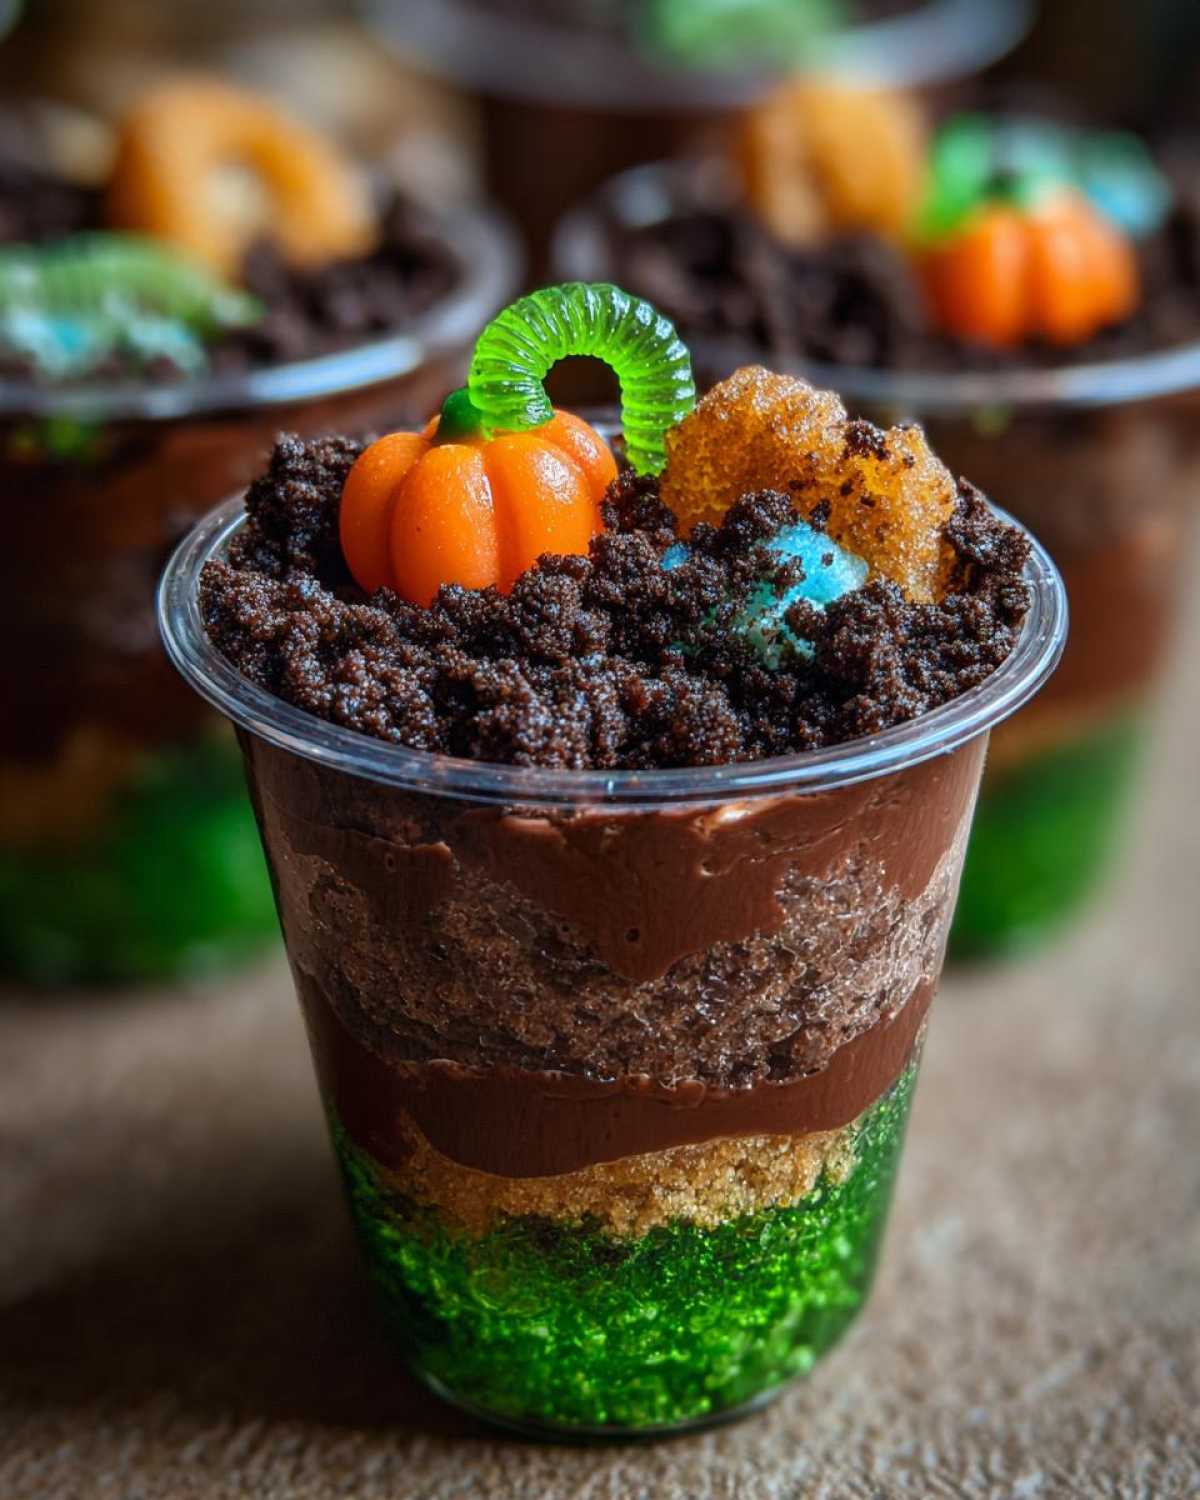
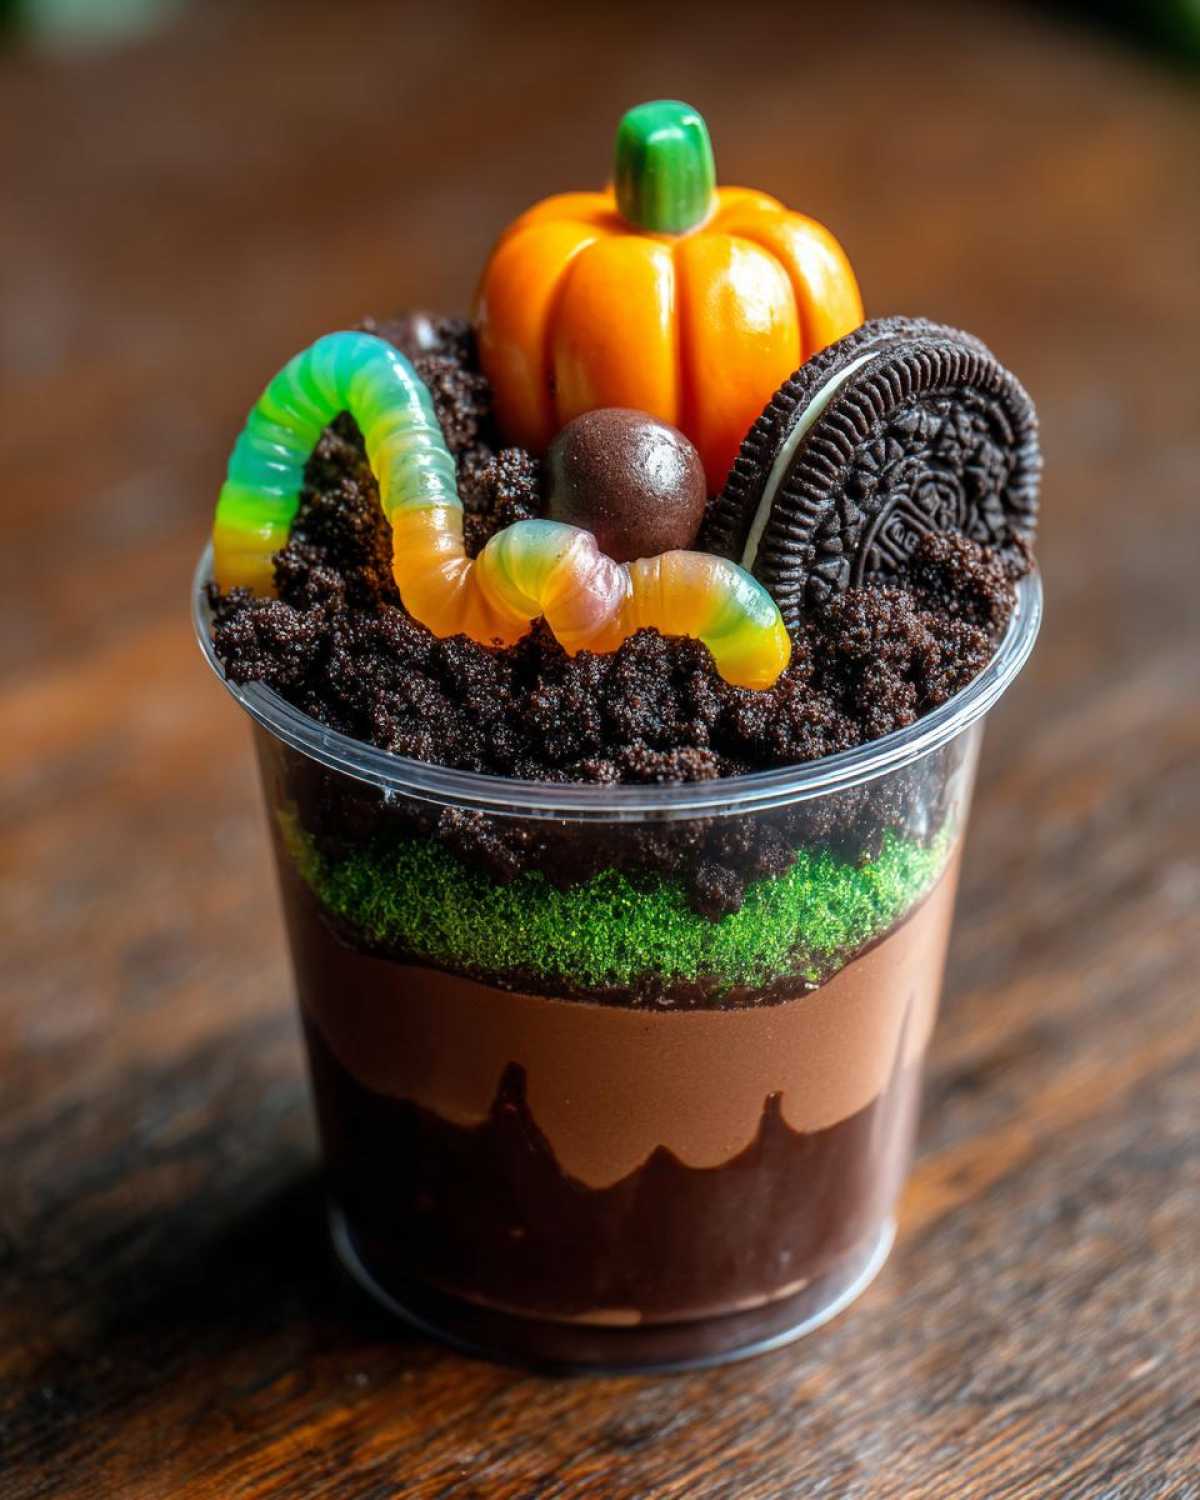
Spoon the pudding into clear cups. Crush the chocolate sandwich cookies in a bag. Sprinkle these crumbs over the pudding. This looks like spooky dirt! If you want grass, add a little green pudding too.
Step 4: Decorate Your Graveyard
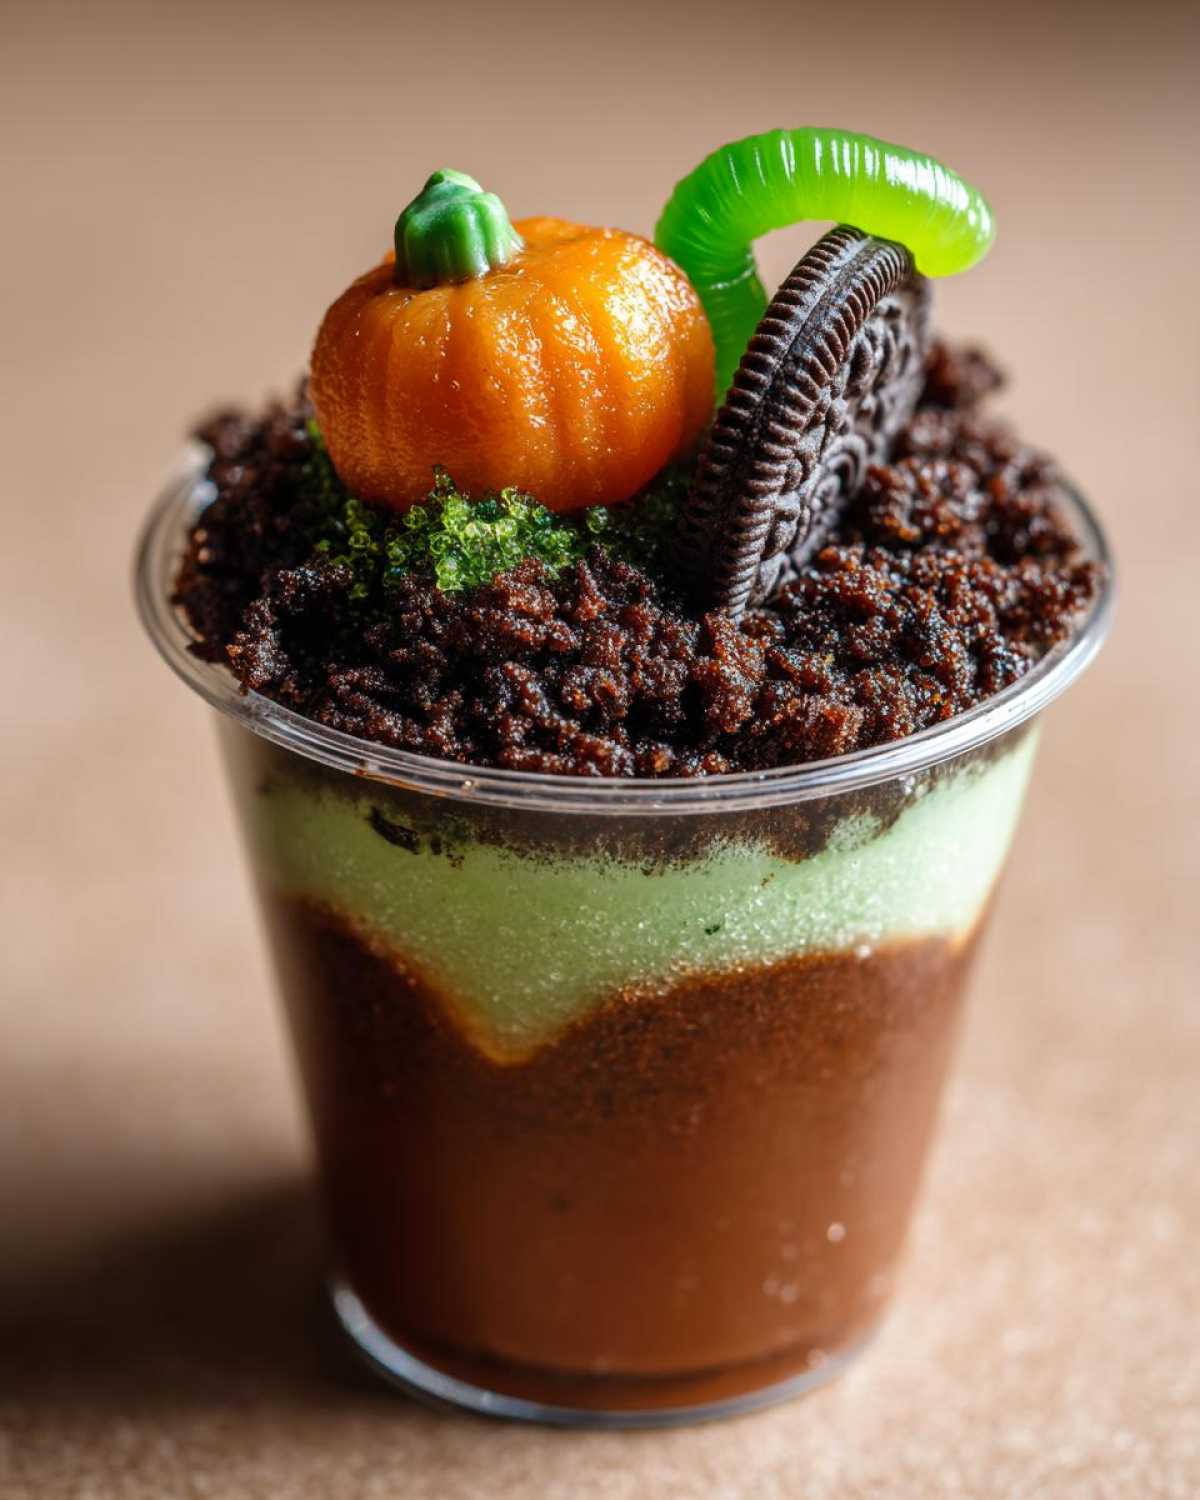
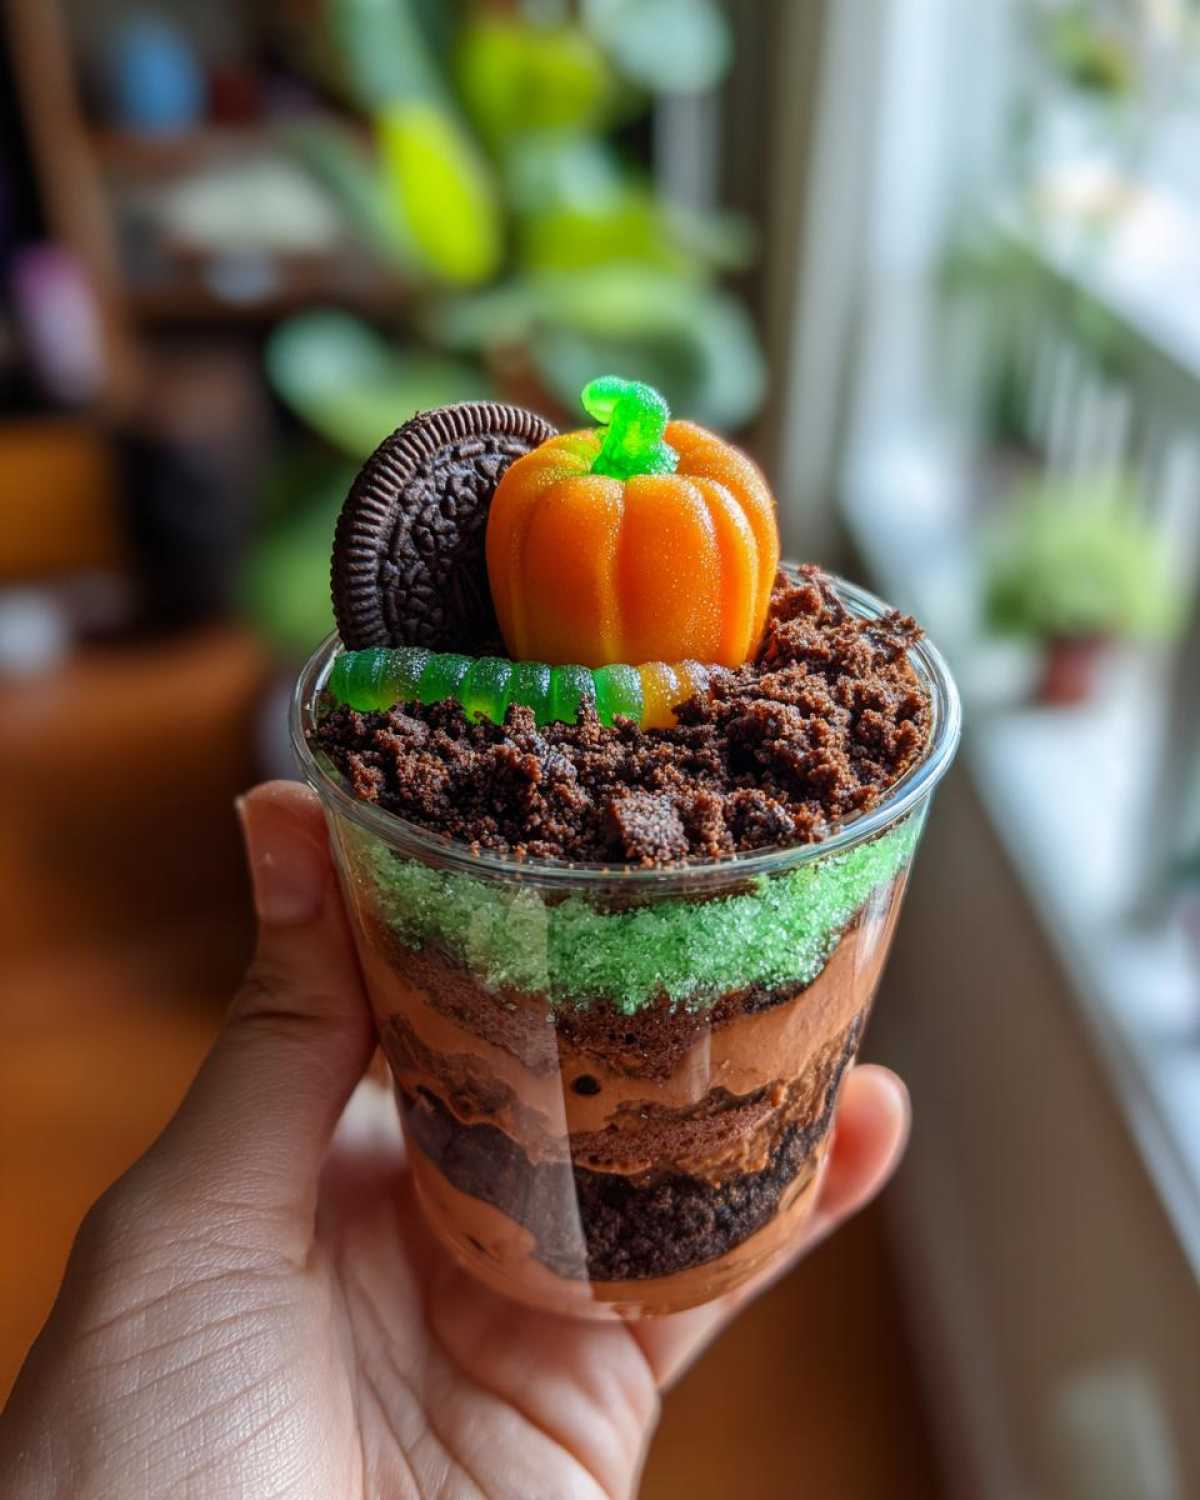
Press a candy pumpkin into the pudding. Place it like it’s emerging from the dirt. Then, add a gummy worm. Let it peek out from the cookie crumbs.
Tips for Perfect Graveyard Pudding Cups
Want to make these even more special? Use clear cups so everyone can see the layers. Get creative with other Halloween candies for extra decorations. These are also fantastic for kids to help make. They’ll love assembling their own little graveyards. It’s a fun activity for the whole family. Remember, the more creative, the better!
Frequently Asked Questions About Graveyard Pudding Cups
Can I make these ahead of time? Yes! You can prepare the pudding cups a few hours before your party. Just keep them covered in the fridge. Add the cookie crumbs and decorations right before serving so they stay fresh.
What if I don’t have chocolate sandwich cookies? Chocolate wafer cookies or even crumbled chocolate cake work well. You just need something dark and crumbly for the dirt effect.
Can I use a different pudding flavor? Absolutely! Vanilla or even cheesecake pudding would be delicious. You might just need to adjust the food coloring for the “grass” effect.
Are these good for parties? They are perfect for Halloween parties! They’re individual servings and look so festive. Kids and adults both love them.
Storing Your Spooky Graveyard Pudding Cups
Leftover Graveyard Pudding Cups can be stored in the refrigerator. Keep them covered tightly. They’ll stay good for about two days. The cookie crumbs might soften a bit, but they’ll still taste great!
Understanding the Nutrition for Graveyard Pudding Cups
Please remember that nutritional information is an estimate. It can change based on the specific brands and ingredients you use. Enjoy these treats responsibly! For more information on food safety and nutrition, you can refer to resources from the U.S. Food and Drug Administration.
PrintSpooky Graveyard Pudding Cups: 15 Min Magic

Create spooky and fun Graveyard Pudding Cups for your Halloween party. These easy treats are perfect for all ages.
- Prep Time: 15 minutes
- Cook Time: 0 minutes
- Total Time: 15 minutes
- Yield: 12 servings
- Category: Desserts
- Method: No-Bake
- Cuisine: American
- Diet: Vegetarian
Ingredients
- 1 package (3.4 oz) chocolate instant pudding mix
- 3 cups cold milk
- 1 cup whipped topping, thawed
- 12 chocolate sandwich cookies
- 12 candy pumpkins
- 12 gummy worms
- Green food coloring (optional)
Instructions
- Prepare the pudding according to package directions using the cold milk.
- Gently fold in the whipped topping until combined.
- If desired, tint a small portion of the pudding green for ‘grass’.
- Spoon the pudding mixture into clear cups or small bowls.
- Crush the chocolate sandwich cookies in a zip-top bag.
- Sprinkle the cookie crumbs over the pudding to resemble dirt.
- Press a candy pumpkin into the pudding in each cup.
- Add a gummy worm peeking out from the dirt.
- Add green pudding ‘grass’ if using.
Notes
- Use clear cups so you can see the layers.
- Get creative with other Halloween candies for decoration.
- This recipe is great for kids to help make.
Nutrition
- Serving Size: 1 cup
- Calories: 250
- Sugar: 30g
- Sodium: 150mg
- Fat: 12g
- Saturated Fat: 4g
- Unsaturated Fat: 8g
- Trans Fat: 0g
- Carbohydrates: 35g
- Fiber: 2g
- Protein: 3g
- Cholesterol: 10mg