

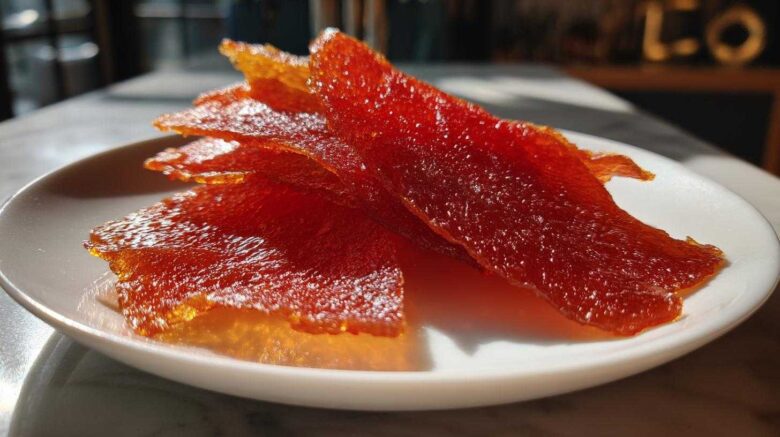
Homemade Fruit Leather: A Healthy Treat for Your Family
Are you looking for a sweet snack that’s actually good for your little ones? I totally get it! Store-bought fruit snacks can be loaded with stuff we don’t want. That’s where this amazing homemade fruit leather comes in. It’s simple to make. Plus, it’s a fantastic way to use up fresh fruit. Ethan’s knack for flavor and my love for a good plan really shine here.
Why You’ll Love This Homemade Fruit Leather
- It’s super easy to make.
- Uses only natural ingredients.
- You can customize it with any fruit you like.
- It’s a fun activity for kids!
- It’s a much healthier choice than store-bought options.
Meet the Tipsters: Ethan & Maya’s Kitchen Journey
Hi there! I’m Maya, and this is my husband, Ethan. Our kitchen wasn’t always so harmonious. We used to have friendly debates about recipes. Ethan cooks from the heart, always adding a little something extra. I love following the science. Our blog, “Tasty Tipster,” is all about blending those styles. We share tips that make cooking fun and delicious for everyone.
Gather Your Ingredients for Homemade Fruit Leather
Let’s get started on this yummy treat! Gathering your ingredients is the first fun step. We need just a few simple things to make this delicious homemade fruit leather.
Fresh Fruit Base for Homemade Fruit Leather
We’ll start with 2 cups of mixed berries. Think strawberries, blueberries, and raspberries. They give our homemade fruit leather a lovely sweet and tart flavor. A cup of sliced banana adds a creamy texture. These fruits blend beautifully. They create a perfect base for our fruit roll-ups.
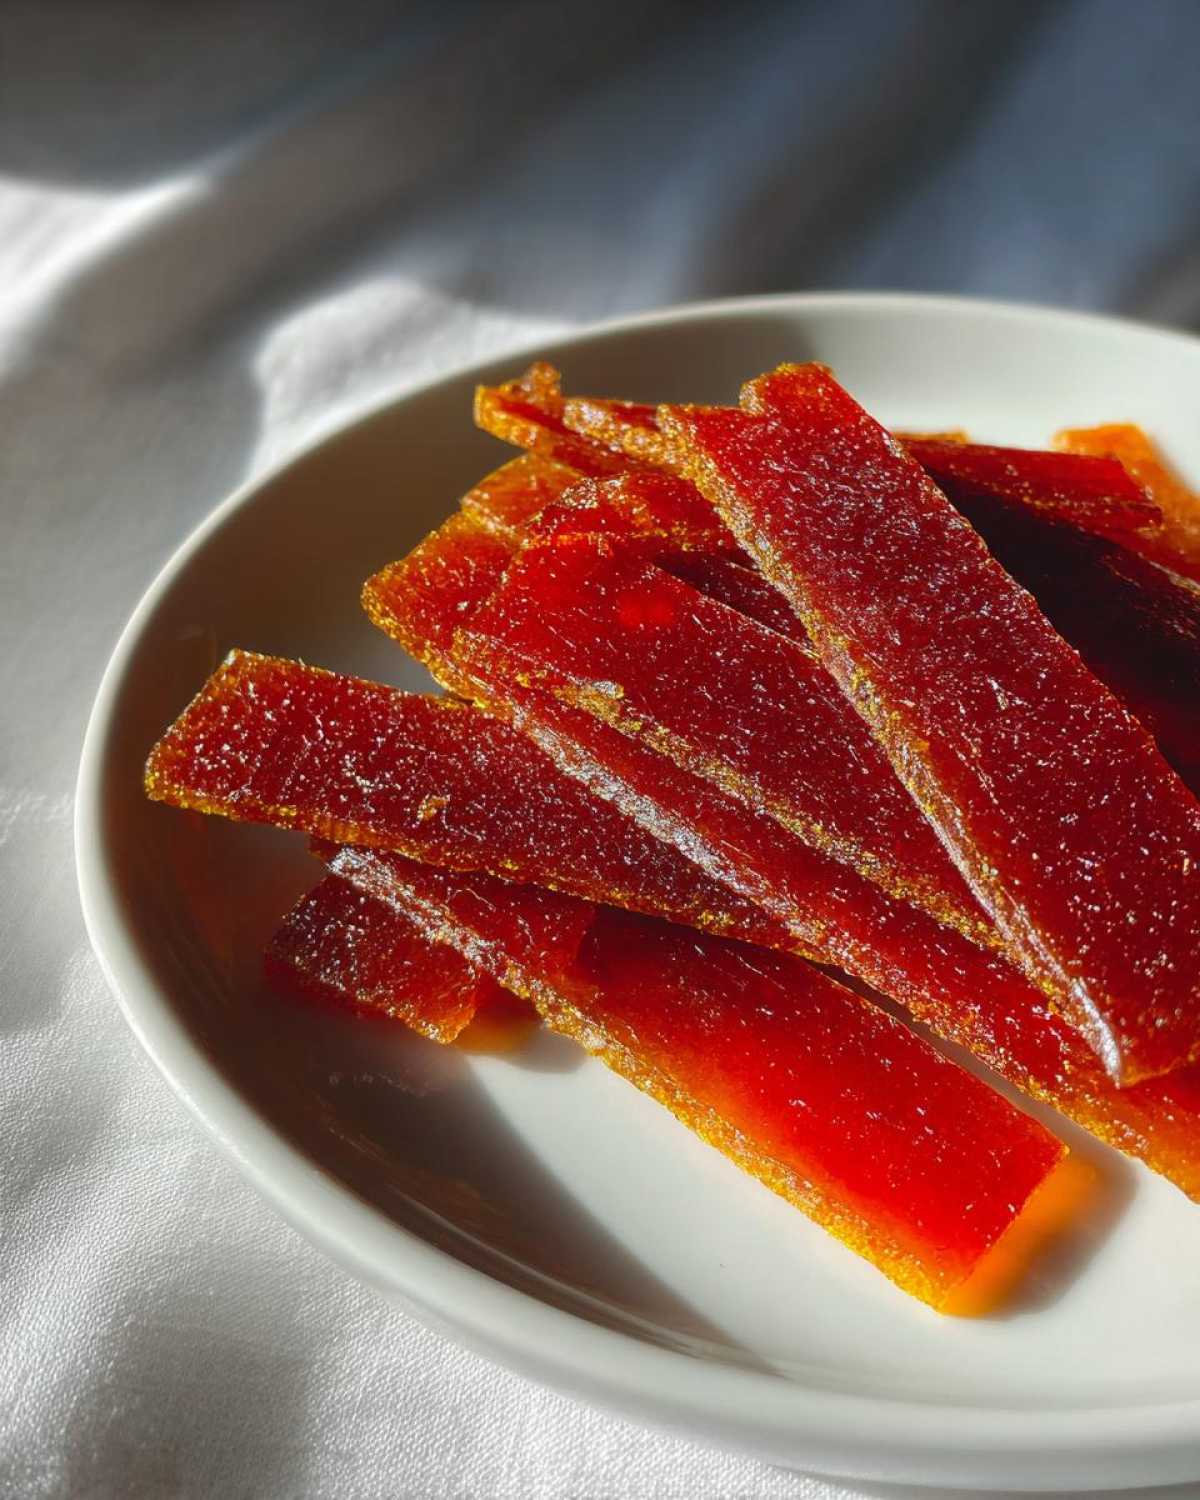
Essential Flavor Enhancers for Homemade Fruit Leather
Just a tablespoon of lemon juice brightens up the fruit flavors in our homemade fruit leather. It also helps with preservation. We can add a teaspoon of honey or maple syrup if we want it a little sweeter. This is totally optional, though!
Step-by-Step Guide to Making Homemade Fruit Leather
Now for the fun part! Making homemade fruit leather is easier than you think. We’ll go through it step by step. Follow these simple directions. You’ll have a delicious, healthy snack in no time. Ethan’s intuition really helps here. He knows just how to get the best flavor. Let’s get our hands a little sticky!
Preparing the Fruit Puree for Homemade Fruit Leather
First, grab your blender or food processor. Toss in all your beautiful fruits and that splash of lemon juice. Blend until it’s super smooth. No lumps allowed for the best homemade fruit leather. If you decided on a little sweetener, add it now. Blend it in well.
Baking Your Homemade Fruit Leather to Perfection
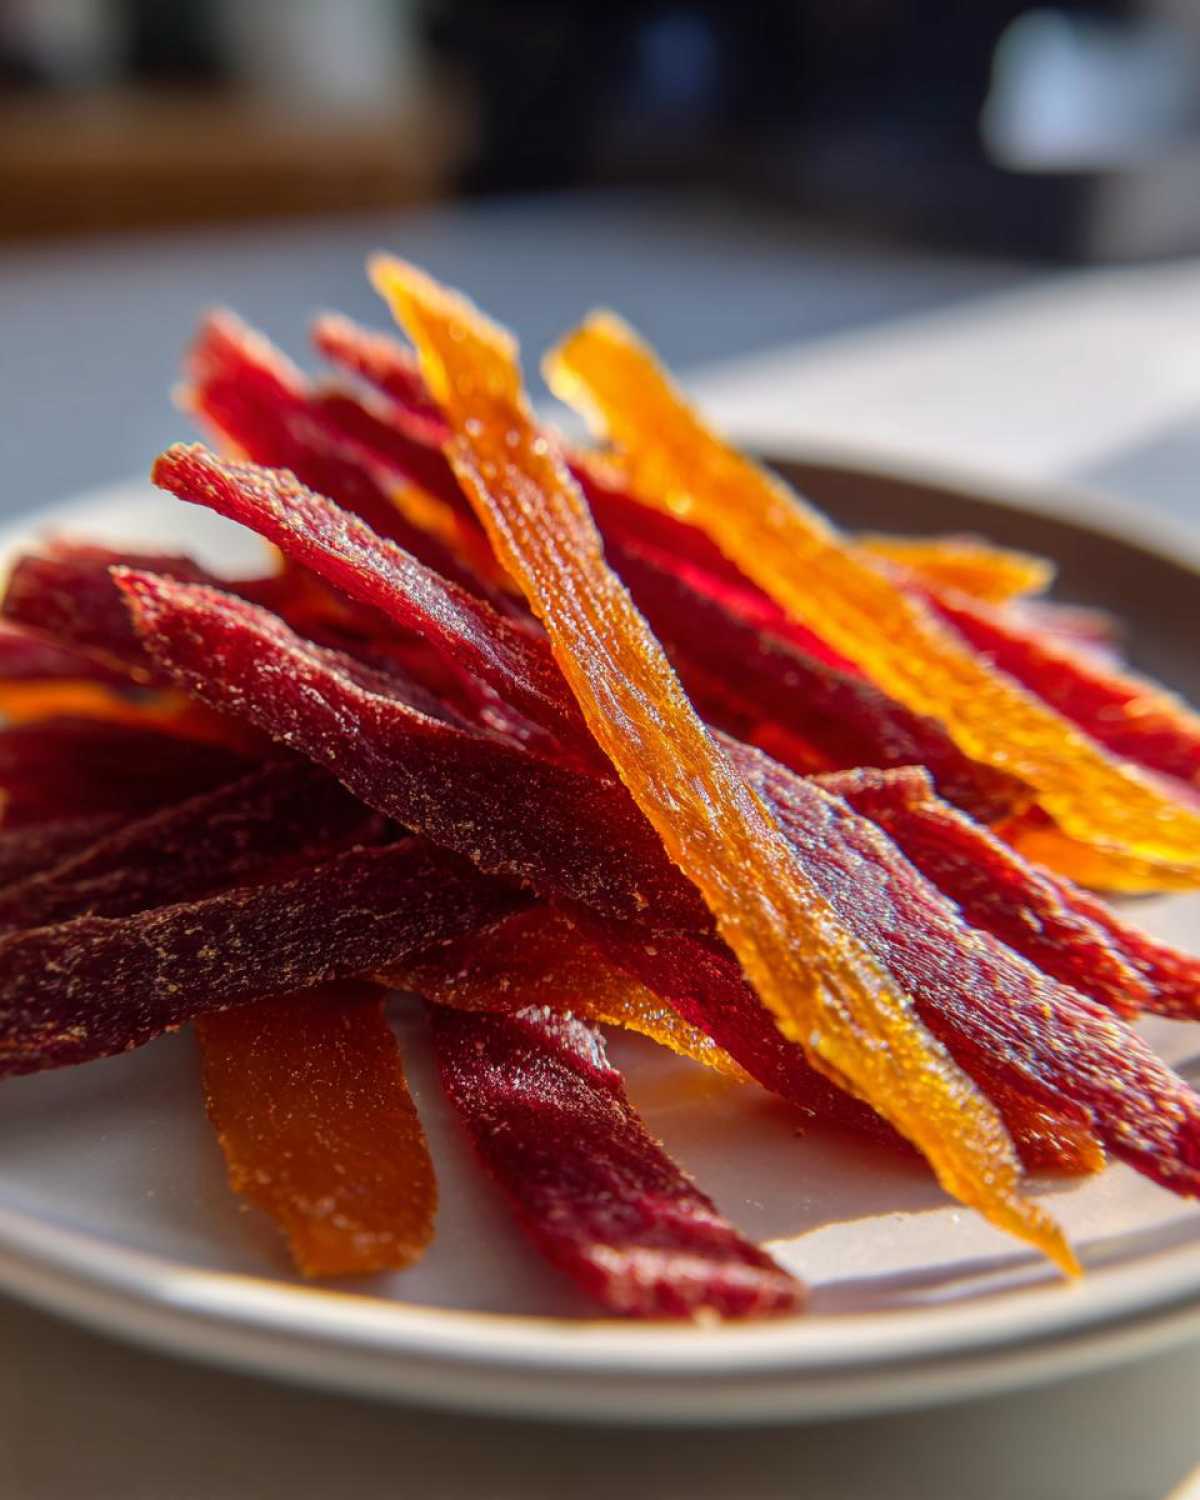
Preheat your oven to its lowest setting, around 170°F (75°C). Spread your fruit puree thinly on a parchment-lined baking sheet. Think about 1/8 inch thick. Now, into the oven it goes. It needs 4 to 6 hours to bake. This time can change. Keep an eye on it. You’ll know it’s ready when it’s not sticky anymore.
Cooling and Cutting Your Homemade Fruit Leather
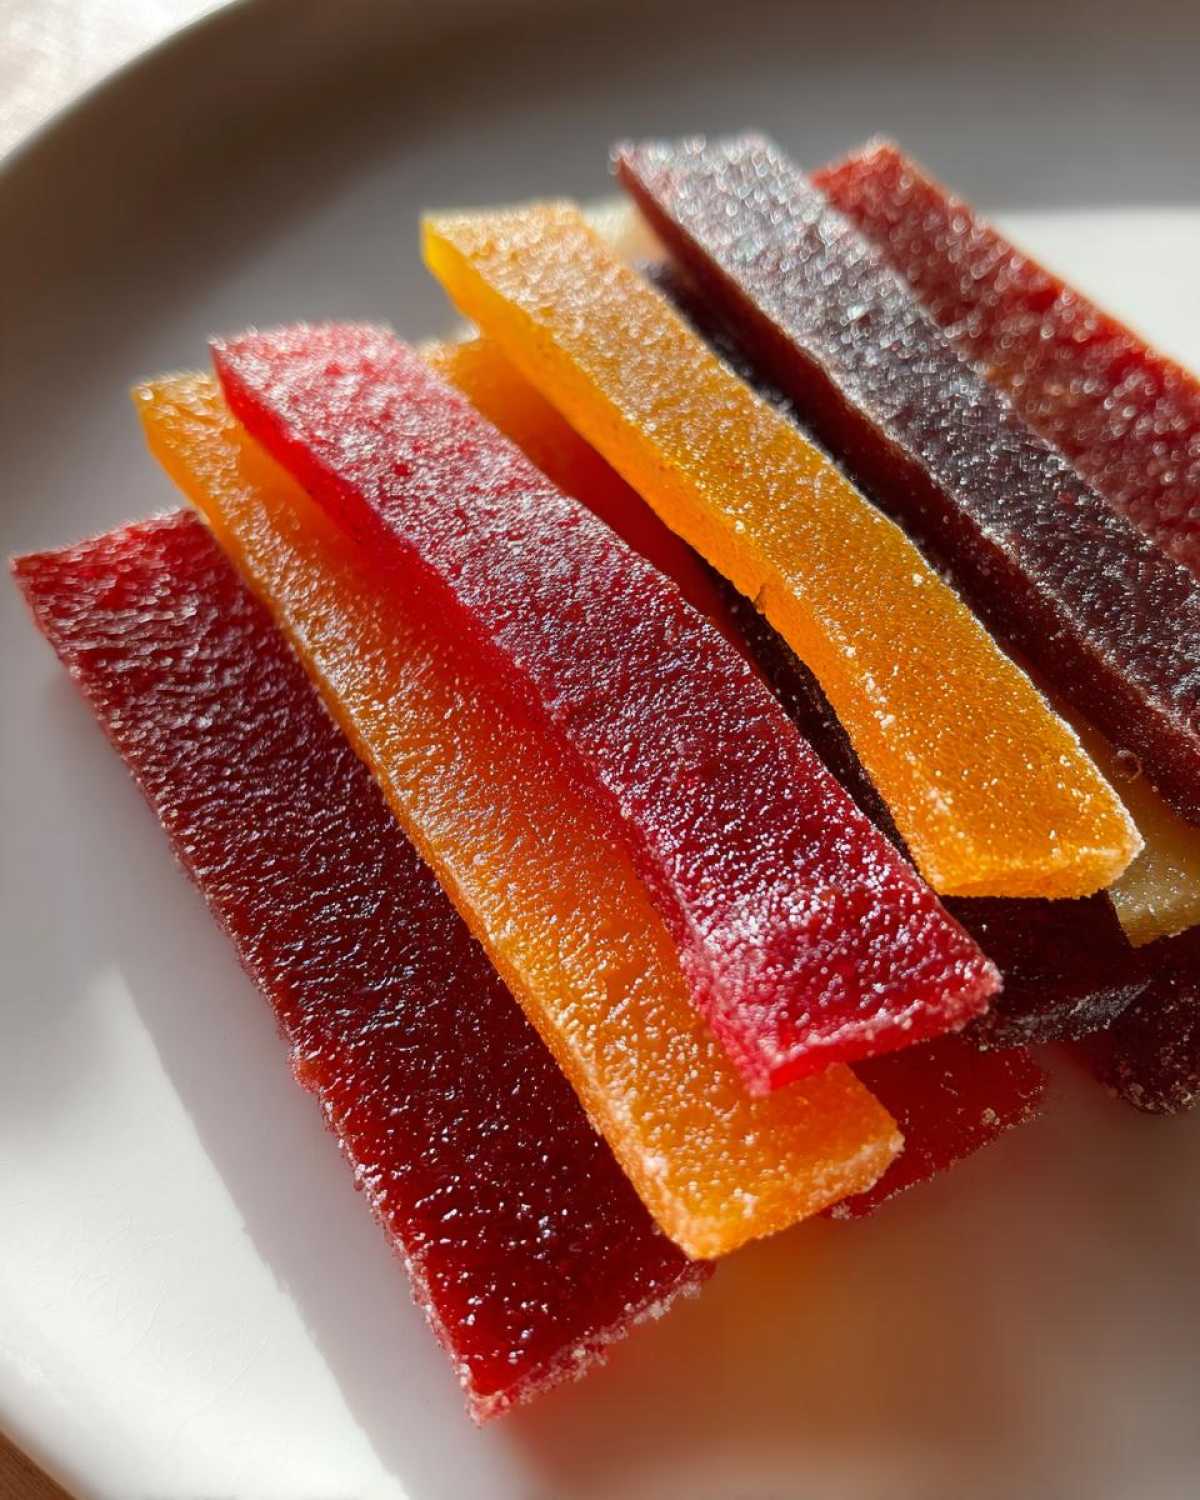
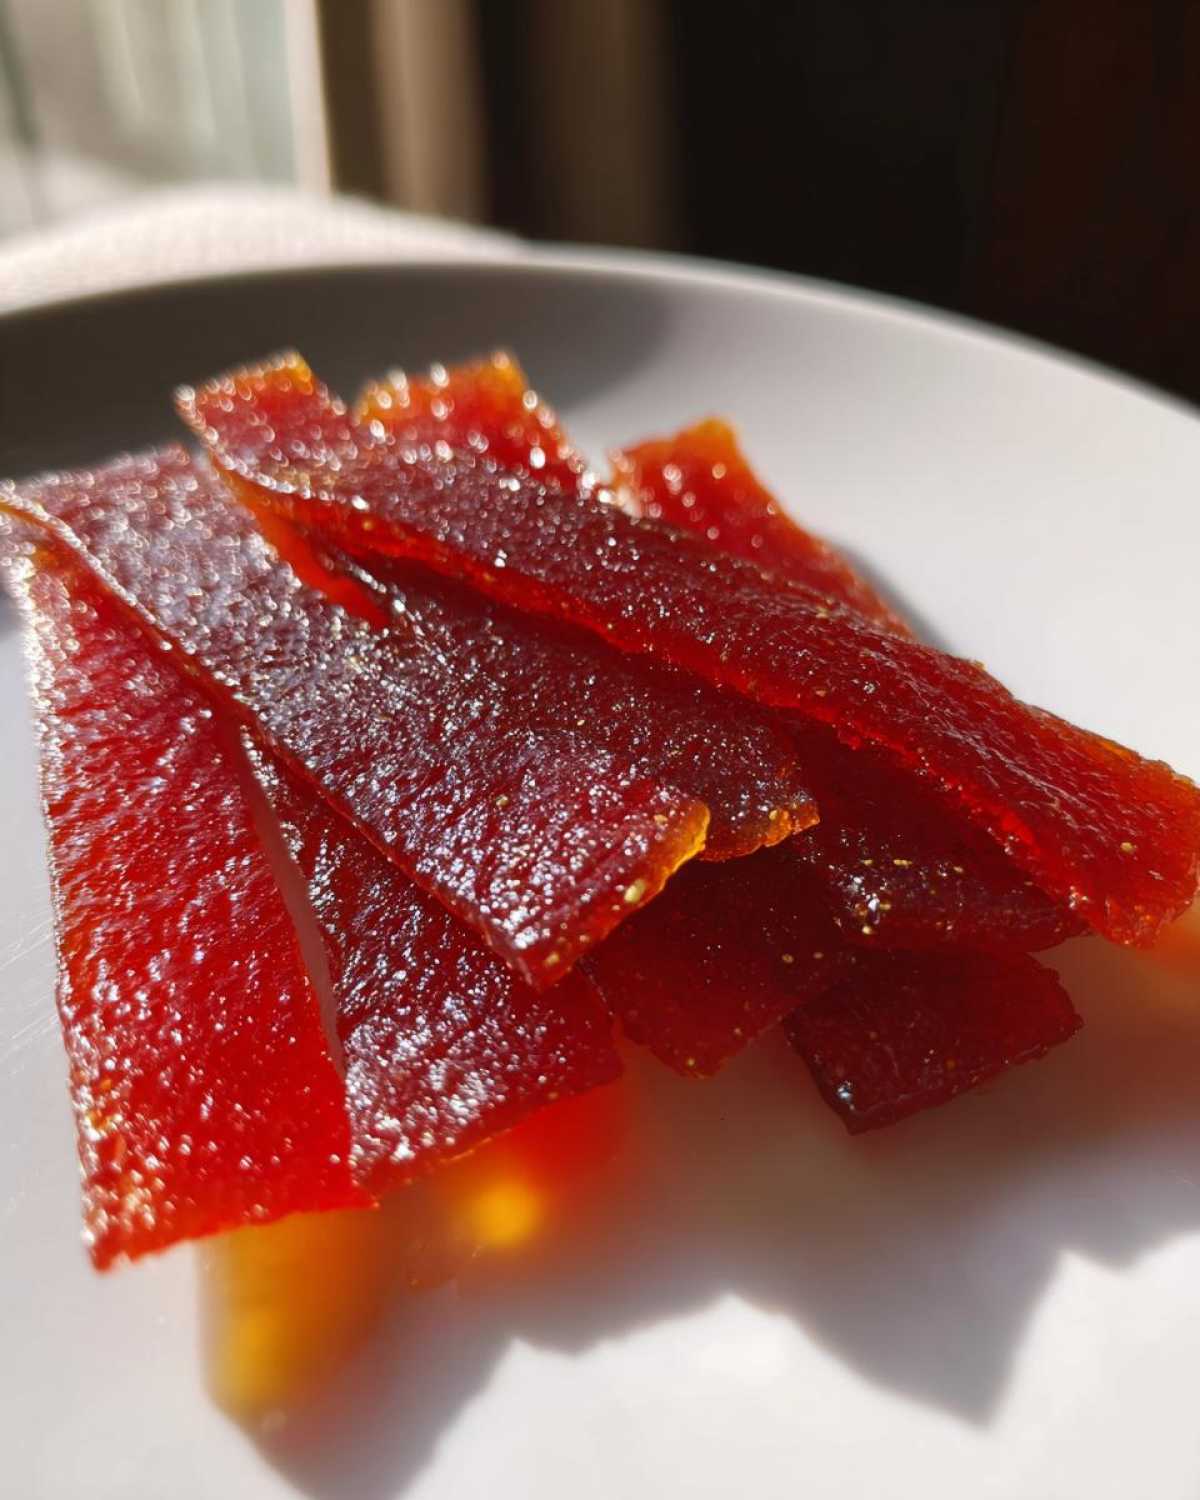
Let your homemade fruit leather cool completely. This is important. It makes it much easier to handle. Once cool, carefully peel it off the parchment paper. Now you can cut it. Make strips or fun shapes. Kids love cutting them into their own designs!
Tips for the Best Homemade Fruit Leather
Making homemade fruit leather is a joy. Ethan always says the secret is patience. I agree! My research shows that using ripe fruit is key for natural sweetness. Aim for a consistent 1/8-inch thickness when spreading. This ensures even drying. This avoids sticky spots. It makes for perfect DIY fruit snacks. Don’t rush the drying time. It’s crucial for preventing mold. This really is an easy fruit recipe.
Ingredient Notes and Substitutions for Homemade Fruit Leather
Feel free to experiment with fruits! Mangoes, peaches, and apples are wonderful in homemade fruit leather. They add different flavors. If you use apples, a touch of cinnamon is lovely. This complements the sweetness. For a tangier taste, add more lemon juice. You can also use a different sweetener. Maple syrup or agave work too. Just adjust to your taste.
Storing Your Delicious Homemade Fruit Leather
Proper storage keeps your homemade fruit leather fresh. Use an airtight container. This prevents it from drying out too much. Store it at room temperature. It should last about a week. Ensure it’s totally dry before sealing. This helps maintain its quality as a natural snack.
Frequently Asked Questions About Homemade Fruit Leather
Got questions about whipping up this yummy homemade fruit leather? I’ve got answers! It’s a simple process, but a few tips can make it even better. Let’s clear up any confusion.
Can I use frozen fruit for Homemade Fruit Leather?
Absolutely! Frozen fruit works great for homemade fruit leather. Just thaw it first. Let the excess liquid drain off a bit. Blend as usual. You might need a tiny bit more baking time. Frozen fruit is a fantastic option!
How do I know when my Homemade Fruit Leather is done?
Great question! Your homemade fruit leather is ready when it’s not sticky. Gently touch the surface. If it doesn’t stick to your finger, it’s done. It should feel leathery and pliable. Be patient! Over-baking can make it brittle.
What are some fun ways to serve Homemade Fruit Leather?
Serving homemade fruit leather is where the creativity really shines! We love cutting it into strips. Kids can help with fun cookie cutters too. Think stars or hearts! It makes a delightful addition to lunchboxes. It’s a perfect, healthy treat after school. These are truly wonderful kids snacks.
Share Your Homemade Fruit Leather Creations!
We absolutely love seeing your homemade fruit leather come to life! Did you try a new fruit combo? How did your little ones enjoy making them? Share your photos and stories with us in the comments below. Your experiences inspire our kitchen adventures and help our community discover even more yummy possibilities for DIY fruit snacks!
Estimated Nutritional Information for Homemade Fruit Leather
Please remember these are just estimates. Your homemade fruit leather might vary a bit. This depends on the fruits you pick. And how much sweetener you add. A 1/4 cup serving typically has around 60 calories. It also has about 12g of sugar. And 15g of carbohydrates. It’s naturally low in fat and sodium. A truly wholesome choice!
PrintHomemade Fruit Leather: 1 Sweet Treat

Create delicious and healthy homemade fruit leather with your kids! This simple recipe is a fun way to use fresh fruit and avoid store-bought snacks.
- Prep Time: 15 minutes
- Cook Time: 4-6 hours
- Total Time: 6 hours 15 minutes
- Yield: Approximately 1-2 cups
- Category: Snacks
- Method: Baking
- Cuisine: American
- Diet: Vegetarian
Ingredients
- 2 cups mixed berries (strawberries, blueberries, raspberries)
- 1 cup sliced banana
- 1 tablespoon lemon juice
- Optional: 1 teaspoon honey or maple syrup for added sweetness
Instructions
- Preheat your oven to the lowest setting, around 170°F (75°C). Line a baking sheet with parchment paper.
- Combine all the fruits and lemon juice in a blender or food processor. Blend until completely smooth. If using, add the sweetener and blend again.
- Pour the fruit puree onto the prepared baking sheet. Spread it evenly into a thin layer, about 1/8 inch thick.
- Place the baking sheet in the preheated oven. Bake for 4-6 hours, or until the fruit leather is no longer sticky to the touch. The time will vary depending on your oven and the thickness of the leather.
- Let the fruit leather cool completely on the baking sheet.
- Once cool, carefully peel the fruit leather off the parchment paper. Cut into strips or desired shapes.
Notes
- You can use any fruit you like! Mango, apple, and peach also work well.
- Ensure the fruit leather is completely dry before storing to prevent mold.
- Store in an airtight container at room temperature for up to a week.
Nutrition
- Serving Size: 1/4 cup
- Calories: 60
- Sugar: 12g
- Sodium: 5mg
- Fat: 0g
- Saturated Fat: 0g
- Unsaturated Fat: 0g
- Trans Fat: 0g
- Carbohydrates: 15g
- Fiber: 2g
- Protein: 1g
- Cholesterol: 0mg