

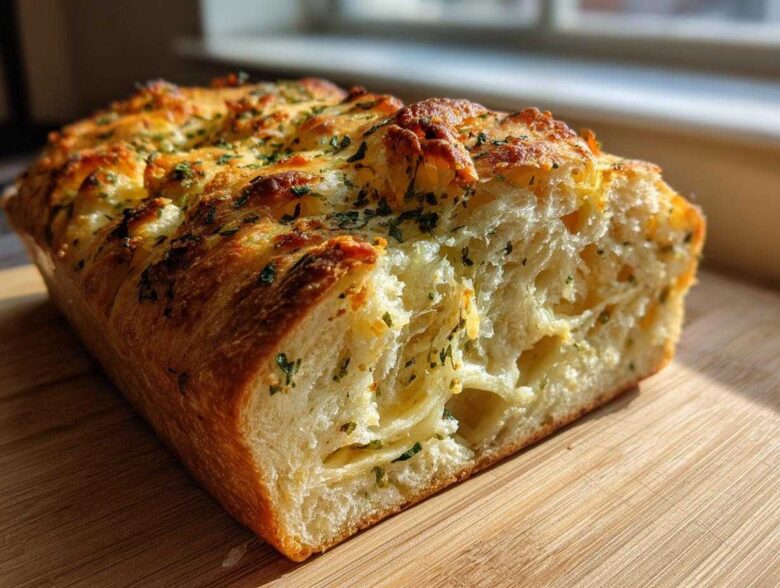
If you’ve ever looked at making homemade bread and thought, “Nope, too complicated,” then I have fantastic news for you! We get it. When Ethan and I first started cooking together, the whole sourdough craze felt like a bridge too far. But the bread machine? That brilliant gadget takes all the guesswork out of kneading and proofing. Seriously, it’s the closest thing to magic you can get in the kitchen! Today, we’re ditching the plain white stuff and jumping straight into the best savory loaf you’ll ever press a button for: our unbelievably flavorful Italian herb and cheese bread. Trust me, this recipe is so straightforward, even Ethan can follow it without getting distracted by a “pinch of this” from memory! You can read more about how we merged our cooking styles over at our About Us page, but for now, let’s get baking this cheesy masterpiece!
Why This Italian Herb and Cheese Bread is Your New Favorite Easy Bread Machine Recipe
If you’re new to baking or just tired of messy counters, this recipe is exactly what you need. It’s one of our favorite easy bread machine recipes because it handles the hard work for you! We get a stunningly flavored loaf every single time, making it perfect for weeknight dinners or lunchtime prep. It truly delivers on that savory, cheesy goodness we crave.
Check out this no-knead bread guide if you ever want to try a non-machine loaf, but for convenience, nothing beats this one!
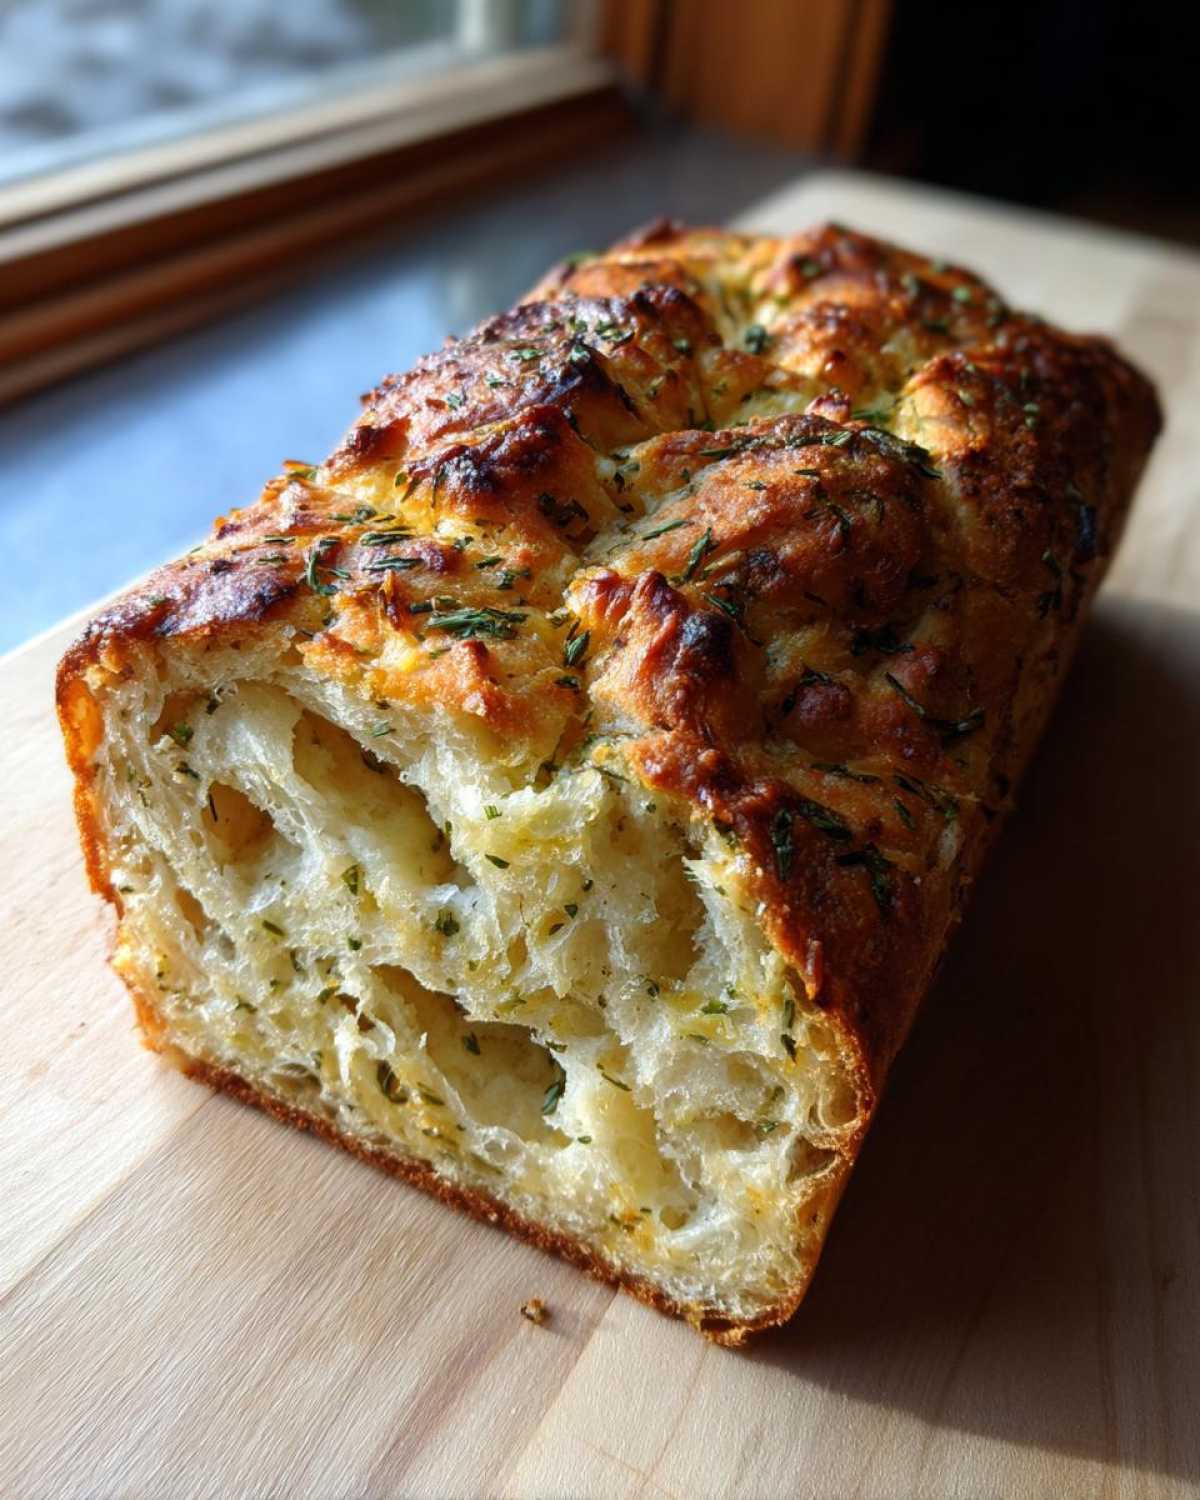
Perfect Texture for a Sturdy Sandwich Loaf
The bread machine does wonders for structure here. Because we rely on the machine’s programmed kneading and resting times, the dough develops just the right amount of gluten using that good bread flour. This means you end up with a beautiful, lofty sandwich loaf that slices perfectly. No more squishing or crumbling when you load it up with deli meat!
Expert Tips for Flavorful Parmesan Herb Bread
Ethan always frets if the herbs aren’t aromatic enough, and that’s when I jump in with a tip! Since the herbs are added early in the process with the regular ingredients, they get to “bloom” a bit during the initial mix. This gently wakes up the oils in the rosemary and oregano within the parmesan herb bread. We find that using a high-quality Italian seasoning blend ensures that deep, authentic flavor throughout the whole loaf.
Gathering Your Ingredients for Italian Herb and Cheese Bread
Okay, the actual prep time for this recipe is practically nothing, which is why I love it so much! It’s mostly just measuring and layering. When you’re using a machine, the most important thing is getting the liquid-to-dry ratio just right, and making sure you have fantastic flavor boosters for this italian herb and cheese bread. Ethan tried to eyeball the olive oil once—which was a disaster, by the way—so stick to the measurements here! They’ve been tested and double-checked to make sure this turns out perfectly every time.
Ingredient List for Your Bread Machine Herb Bread
- 1 cup water (warm, about 105°F)
- 2 tablespoons olive oil
- 3 cups bread flour
- 1 tablespoon granulated sugar
- 1 teaspoon salt
- 1.5 teaspoons active dry yeast
- 1 tablespoon dried Italian seasoning blend
- 1 teaspoon garlic powder
- 1 cup shredded mozzarella cheese
- 1/2 cup grated Parmesan cheese
See? So simple! Just remember that water temperature—we want it warm, around 105°F, for happy yeast. And please, for the love of cheesy dinner bread, use real shredded mozzarella and grated Parmesan. Those dry packets just don’t melt the same way!
Step-by-Step Instructions for Your Italian Herb and Cheese Bread
Getting this italian cheese bread going is literally as easy as loading up the machine. Since the bread machine handles all the tough parts—kneading, resting, and baking—our main job is just making sure we tell it *what* to add and *when*. This sequence for our beginner bread machine baking is super important, especially for getting those herbs and cheese in at the right moment!
Loading the Pan: Liquids First for the Best Italian Cheese Bread
The absolute first rule of bread machine club is liquids go in first! Pour your warm water (remember, about 105°F!) and the olive oil right into the pan. Then, gently layer in the dry ingredients: the bread flour, the sugar, and the salt. Don’t mix them! Next, and this is Ethan’s classic move, make a little crater or “well” right in the center of the flour mound. This protects the yeast from touching the salt or the water just yet.
Setting the Cycle and Adding the Rosemary Oregano Bread Seasonings
You’re going to select the Basic White Bread cycle. This is crucial, folks—do NOT use the delay start feature; we want this bread baked and cooled today! Once the machine starts its first mix, listen for that first beep. That’s usually the signal for the first Add-In phase. This is when you toss in your dried Italian seasoning blend and the garlic powder. Let the machine work—it’s handling the heavy lifting for our rosemary oregano bread flavor base right now!
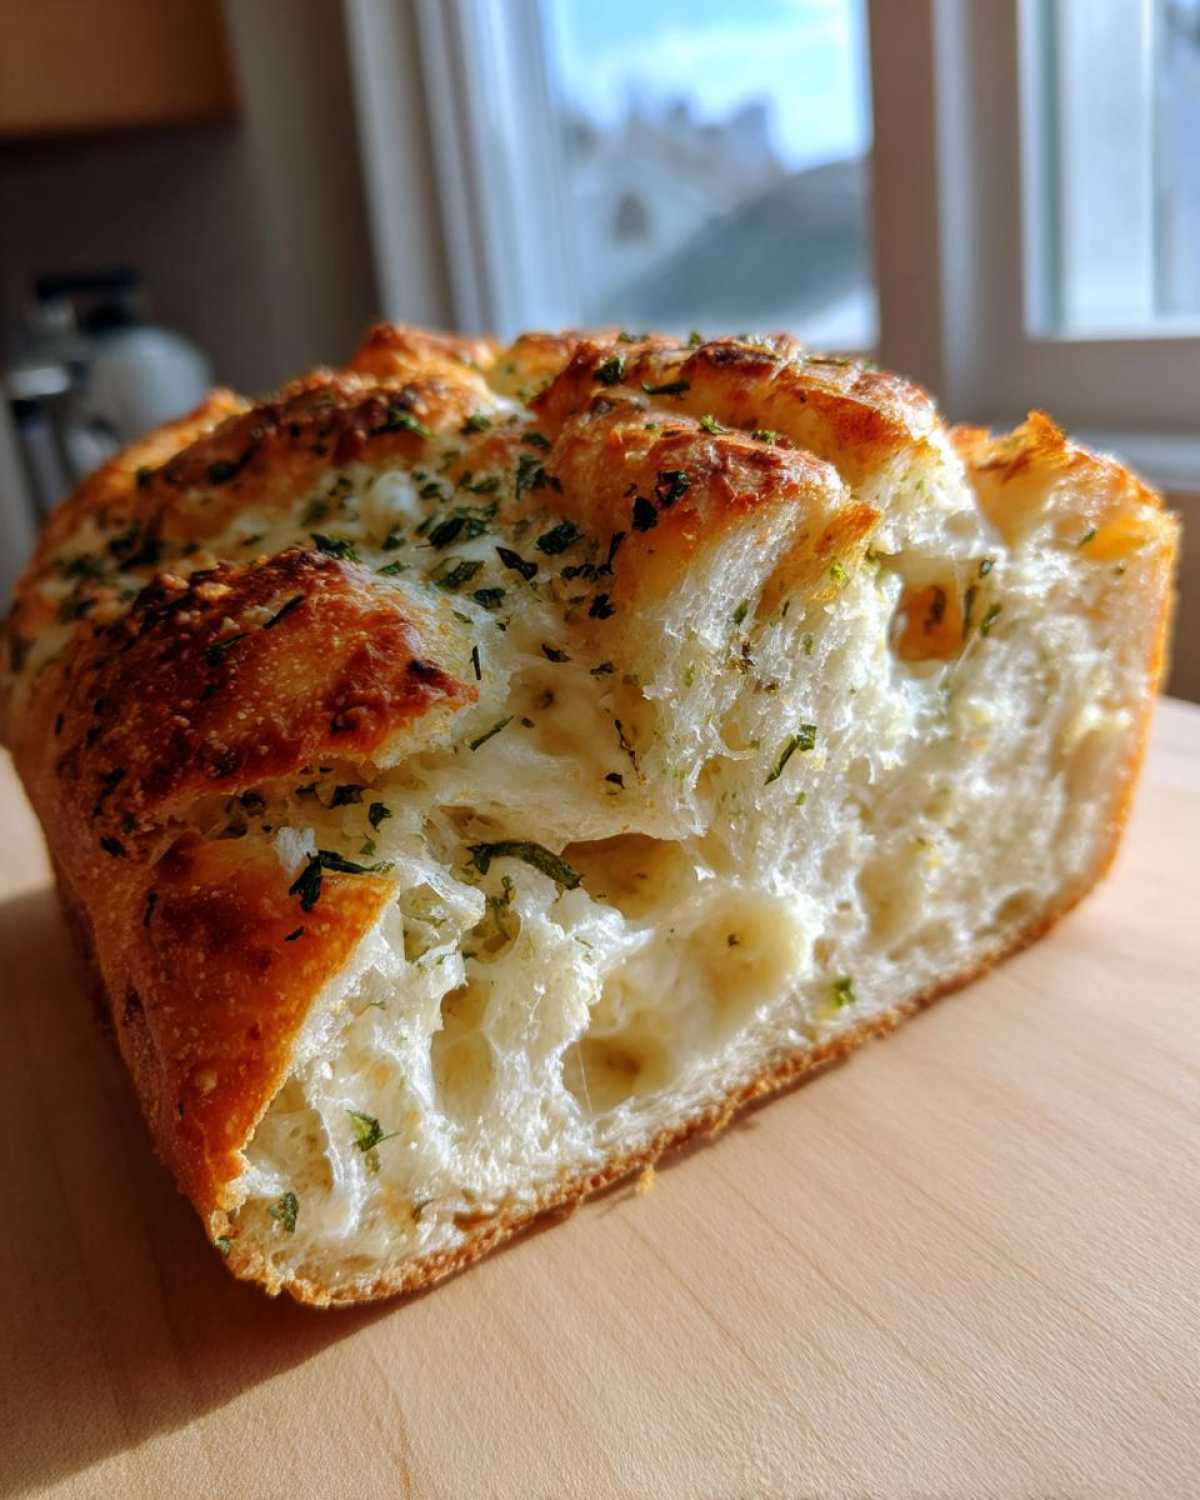
Incorporating Cheese for Cheesy Dinner Bread Texture
The second beep is your big moment for the cheese! When the machine signals the final addition phase—this is often just before the final final knead or right before the bake starts—gently add your shredded mozzarella and the grated Parmesan. Here’s the Ethan flavor tip: don’t dump it all in and let the machine whip it around! You want to gently distribute it so you get gorgeous, melty pockets of cheese in your final cheesy dinner bread, not just uniform cheese dough.
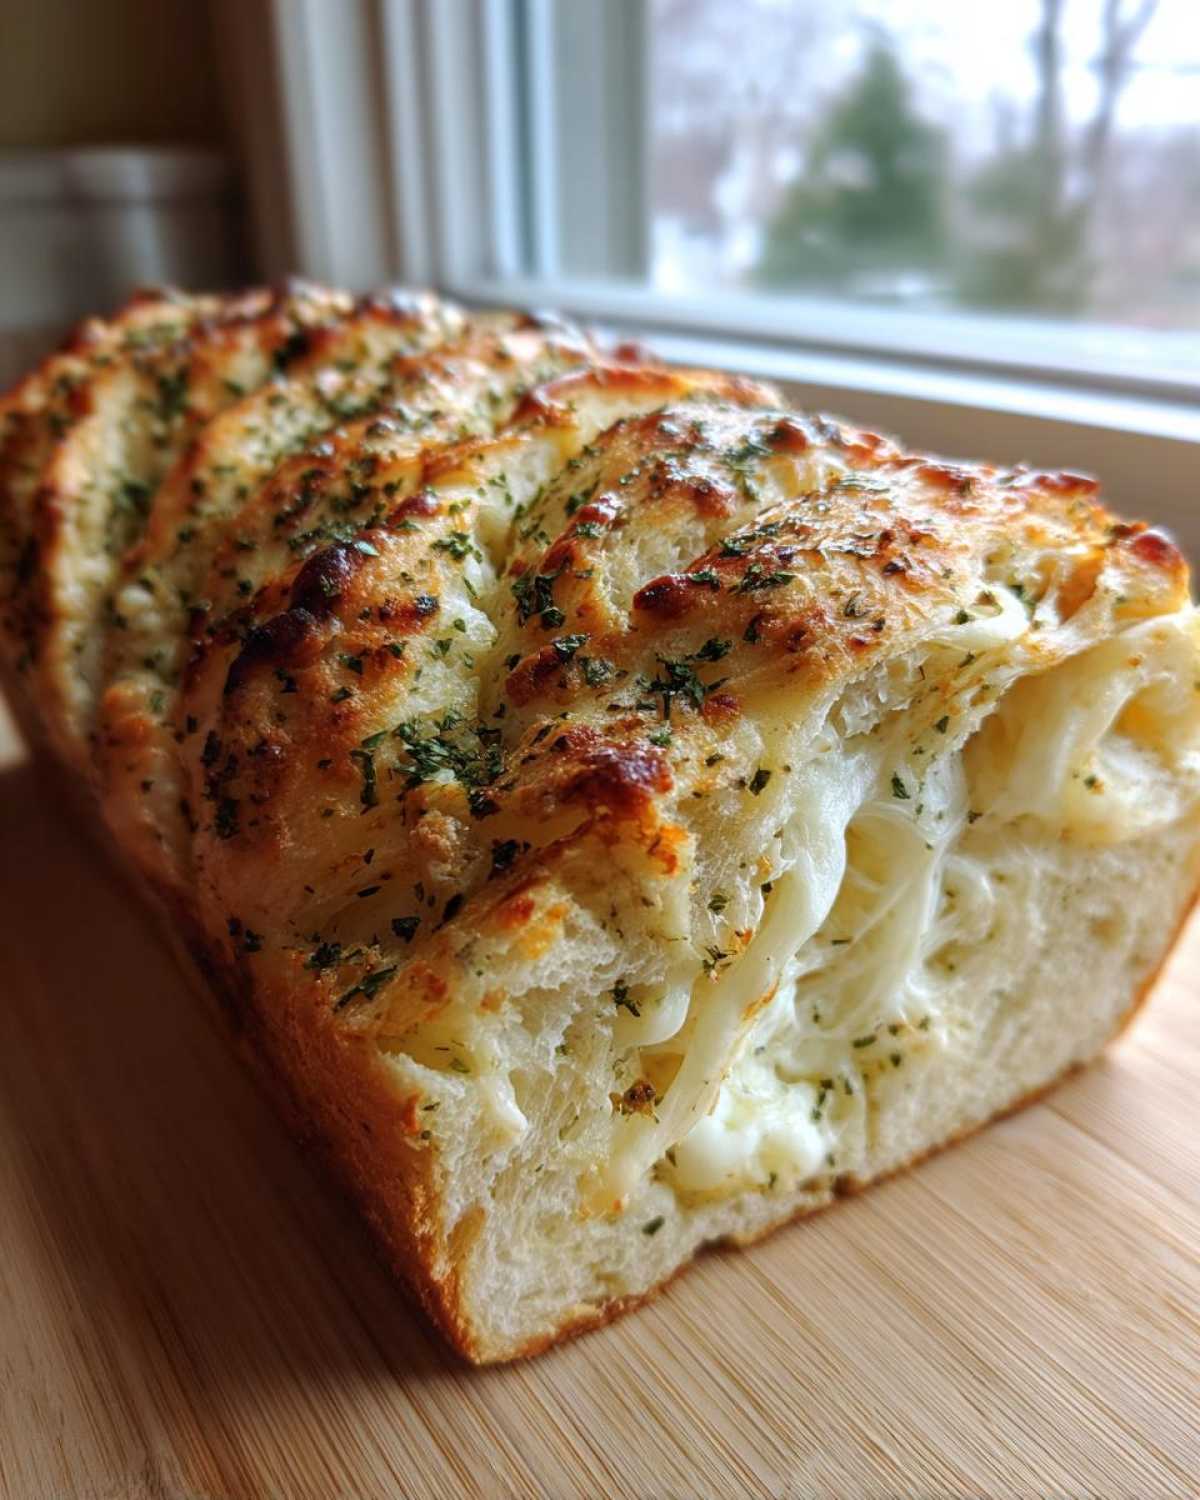
Cooling Your Garlic Herb Bread Loaf
When that final beep sounds, you’re done! Carefully pull the pan out—it’ll be hot! Tip the loaf onto a wire rack immediately. If you leave that amazing garlic herb bread sitting in the hot pan, it steams itself and the bottom gets soggy. You absolutely must let it cool completely, at least an hour. This cooling time is essential so the internal structure sets up perfectly for that clean, sturdy slice.
Tips for Success Making Italian Herb and Cheese Bread
You’ve got the machine running, which is honestly the biggest hurdle cleared! Now, let’s talk about locking in that superior flavor and texture. Ethan and I spent a lot of time tweaking this recipe because we wanted it to taste like it came from a bakery, not a box. These little secrets should make sure your italian herb and cheese bread comes out flawless every time. Feel free to dive into more of our kitchen discoveries over on the Tasty Tipster Blog!
Ingredient Notes and Substitutions for Your Loaf
If you’re out of the specific Italian blend, don’t panic! You can usually make your own fantastic mix of rosemary oregano bread spices using what you have. I always keep dried rosemary, oregano, basil, and a tiny bit of dried thyme on hand. If you want a stronger garlic punch in your parmesan herb bread, try substituting half a teaspoon of the garlic powder with garlic salt, but remember to dial back the main salt measurement just a tad so it doesn’t get too sharp.
Storage and Reheating for Your Cheesy Dinner Bread
This italian herb and cheese bread is so amazing, you might actually have leftovers—though I doubt it! Because we have that lovely cheese baked in, storage is a little different than plain white bread. Never store it in the fridge, though; that just dries bread out faster. Keep your finished loaf in an airtight container or a bread box at room temperature. It should stay fresh for about three days that way, which is perfect for making lunches!
If you need to reheat a slice to make it taste like it just came out of the machine, I have the perfect quick fix. Wrap individual slices in a damp paper towel and microwave them for just 10 to 15 seconds. This steams the bread slightly, bringing back that wonderful soft texture, and perks up the herbs and cheese beautifully. You’ll be halfway to the best cheesy dinner bread experience again in no time!
Frequently Asked Questions About Bread Machine Herb Bread
We know you might have a few questions swirling around when you try a new loaf, especially since getting the mix-ins timed perfectly in the machine can feel tricky! Don’t fret; this is truly one of the most forgiving easy bread machine recipes out there. We wanted to answer a few things that always come up when we talk about making this savory bread machine herb bread.
Can I use different herbs in this Italian Herb and Cheese Bread?
Oh, absolutely! That’s the beauty of making your own italian herb and cheese bread. While the blend we use is great, if you’re making a pure rosemary oregano bread or want something brighter, feel free to swap out some of the Italian blend for fresh or dried basil or even a little marjoram. Just use about the same volume, and trust your nose! If it smells good, it’ll taste good when baked into that parmesan herb bread.
Is this recipe suitable for a beginner bread machine owner?
Yes, yes, and a thousand times yes! If you are looking for a fantastic beginner bread machine project, this is it. The layering process—liquids first, flour, then yeast in a well—is the key to successful machine baking, and we walk you through that. Plus, using the standard Basic cycle means you don’t need to learn any custom settings. It’s foolproof!
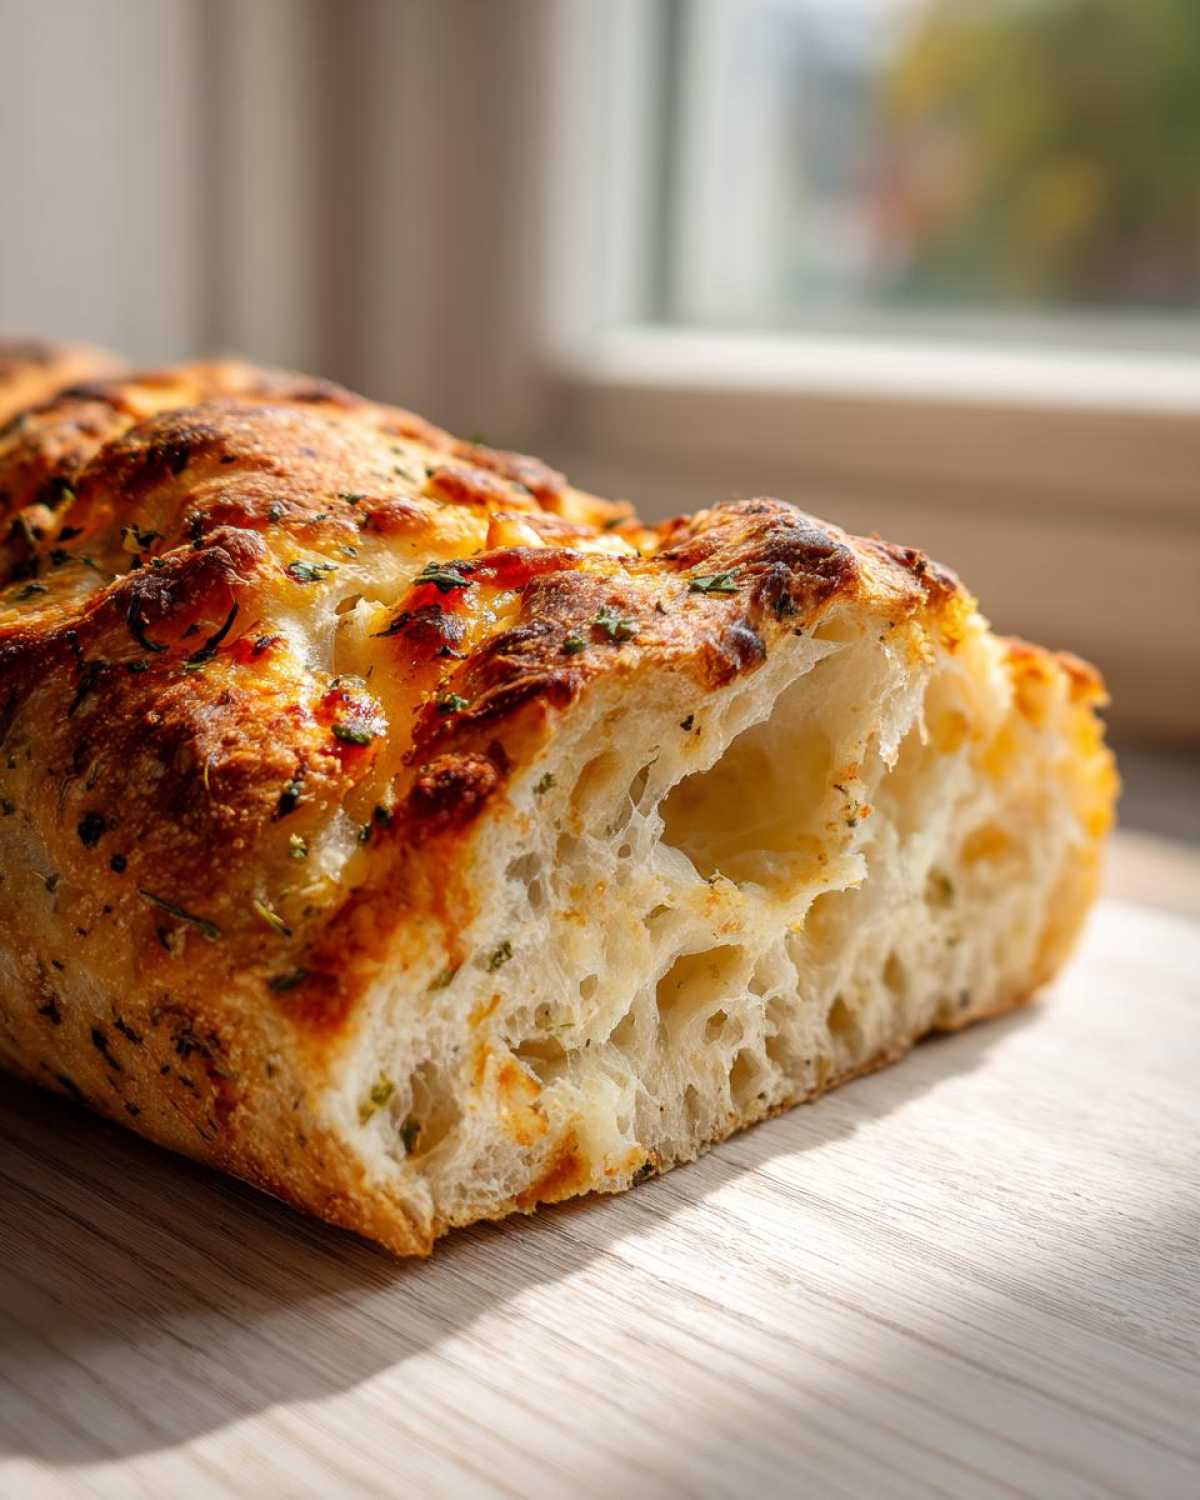
We kept this recipe focused on simplicity so that everyone can enjoy a wonderful, sturdy sandwich loaf without any stress.
Estimated Nutritional Information for Italian Herb and Cheese Bread
Now, Maya is the researcher here, so she insisted we include this part! While Ethan thinks you should just eat the bread because it’s delicious, I like knowing what’s in our favorite cheesy dinner bread. I want to be super clear, though: this is just an estimate based on the ingredients we listed. Your results might vary a tiny bit depending on the brand of cheese or flour you use! Think of this as a helpful guide, not a medical document. You can always read more about how we handle data over on our site disclaimer page.
This information is based on one slice of the finished loaf:
- Calories: About 180
- Total Fat: 5 grams
- Carbohydrates: 28 grams
- Protein: 7 grams
See? Not bad at all for such a flavorful loaf! It’s got a little bit of protein from the milk solids in the cheese, which helps make it feel more satisfying when you eat it as a sandwich loaf. Honestly, Ethan always says that when eating homemade italian herb and cheese bread, you shouldn’t worry about numbers—just enjoy the amazing rosemary and garlic flavor!
Share Your Experience with This Flavorful Loaf
Wow, we’ve covered everything from loading the yeast gently to making sure this italian herb and cheese bread cools just right! Now comes the best part for us: hearing from you!
We truly hope you loved making this loaf using your bread machine. For us, seeing your fantastic results means more than anything. Did it turn out perfectly for your favorite sandwich loaf dreams? Did you enjoy slicing it thick for a side of soup—that’s how Ethan always eats his cheesy dinner bread!
If you followed along and baked this cheesy marvel, please drop us a rating below! Tell us what cycle setting worked best on your machine, or if you added any extra spices to your garlic herb bread. We get so excited reading your comments; it feels like we’re chatting across our kitchen counters.
If you have any lingering questions or a fantastic photo you want to share, don’t hesitate to reach out. You can always send us a line through our Contact Page. We can’t wait to see your golden, herby masterpieces!
Happy Baking,
Maya & Ethan
PrintEasy Italian Herb and Cheese Bread Machine Loaf
Make a flavorful Italian herb and cheese bread right in your bread machine. This recipe yields a perfect sandwich loaf with savory herbs and melted cheese, ideal for beginners.
- Prep Time: 10 min
- Cook Time: 3 hr 30 min
- Total Time: 3 hr 40 min
- Yield: 1 loaf
- Category: Baking
- Method: Bread Machine
- Cuisine: Italian
- Diet: Vegetarian
Ingredients
- 1 cup water (warm, about 105°F)
- 2 tablespoons olive oil
- 3 cups bread flour
- 1 tablespoon granulated sugar
- 1 teaspoon salt
- 1.5 teaspoons active dry yeast
- 1 tablespoon dried Italian seasoning blend
- 1 teaspoon garlic powder
- 1 cup shredded mozzarella cheese
- 1/2 cup grated Parmesan cheese
Instructions
- Add the warm water and olive oil to the bread machine pan first.
- Add the bread flour, sugar, and salt on top of the liquid ingredients. Create a small well in the center of the flour.
- Place the active dry yeast into the well you created. Do not let the yeast touch the salt or liquid yet.
- Select the Basic White Bread cycle on your machine. If your machine has a delay start, do not use it for this recipe.
- When the machine signals the Add-In phase (usually before the first knead finishes or during the first rise, check your manual), add the dried Italian seasoning blend and garlic powder.
- When the machine signals the final Add-In phase (usually before the final knead or just before the bake cycle starts), gently add the shredded mozzarella cheese and grated Parmesan cheese. Do not overmix them in; you want them distributed but not fully incorporated into the dough.
- Allow the bread machine to complete the full cycle.
- Once the cycle finishes, carefully remove the bread pan and turn the loaf out onto a wire rack to cool completely before slicing.
Notes
- For the best slicing, let the loaf cool for at least one hour after baking. This helps the internal structure set.
- If you prefer a stronger garlic flavor, substitute 1/2 teaspoon of garlic powder with 1/2 teaspoon of garlic salt, adjusting the main salt measurement down slightly.
- This loaf makes an excellent base for a cheesy dinner bread or sturdy sandwich loaf.
Nutrition
- Serving Size: 1 slice
- Calories: 180
- Sugar: 1
- Sodium: 280
- Fat: 5
- Saturated Fat: 2
- Unsaturated Fat: 3
- Trans Fat: 0
- Carbohydrates: 28
- Fiber: 1
- Protein: 7
- Cholesterol: 8