

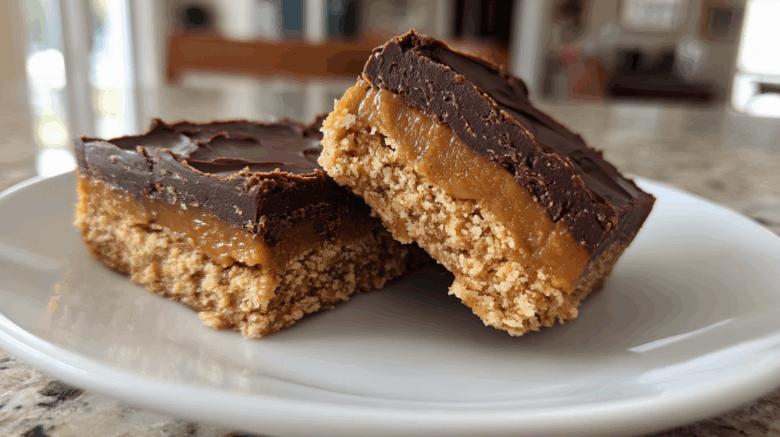
Indulge in Easy No-Bake Peanut Butter Bars
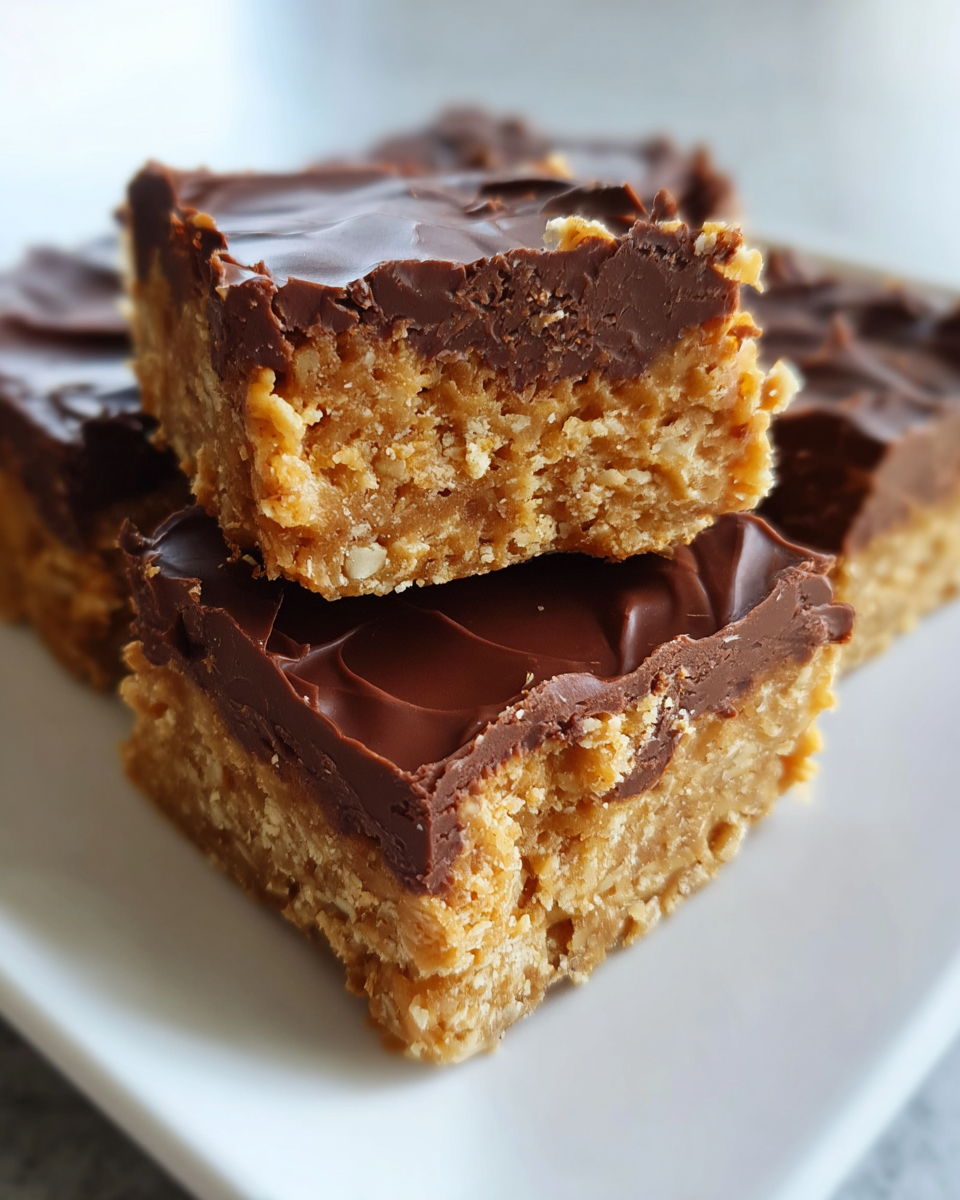
Oh, you guys! If you’re anything like me, you have those days where only a sweet, chocolatey, peanut buttery dream will do. These no-bake peanut butter bars are exactly that. They taste so much like those beloved Reese’s peanut butter cups, but in a super easy bar form. Honestly, they’ve become a go-to in my kitchen. I’m Maya, and my husband Ethan and I love sharing recipes that bring joy. This one is a perfect example of how simple ingredients can create pure happiness.
Why These No-Bake Peanut Butter Bars Are a Must-Try
These bars are honestly a lifesaver. They are so incredibly simple to whip up. No oven needed, which is a huge win on warm days. Plus, they’re a guaranteed crowd-pleaser. Ethan and I, we’ve had our kitchen adventures, right? He’s more of a go-with-the-flow cook, and I love a good plan. These bars, though? They totally bridge that gap. They’re easy enough for me to follow precisely, but also have that homemade goodness Ethan’s family is known for. They’re the perfect sweet treat for any occasion.
What You’ll Need for Perfect No-Bake Peanut Butter Bars
Gathering your ingredients is the first step to deliciousness! You’ll need: 1 cup (2 sticks) unsalted butter, all melted. Then, 2 cups of graham cracker crumbs. Grab 1 cup of creamy peanut butter. You’ll also need 2 cups of powdered sugar and 1 teaspoon of vanilla extract. For the topping, get 1 cup of semi-sweet chocolate chips and 2 tablespoons of peanut butter. These simple items come together beautifully.
Ingredient Clarifications and Substitutions
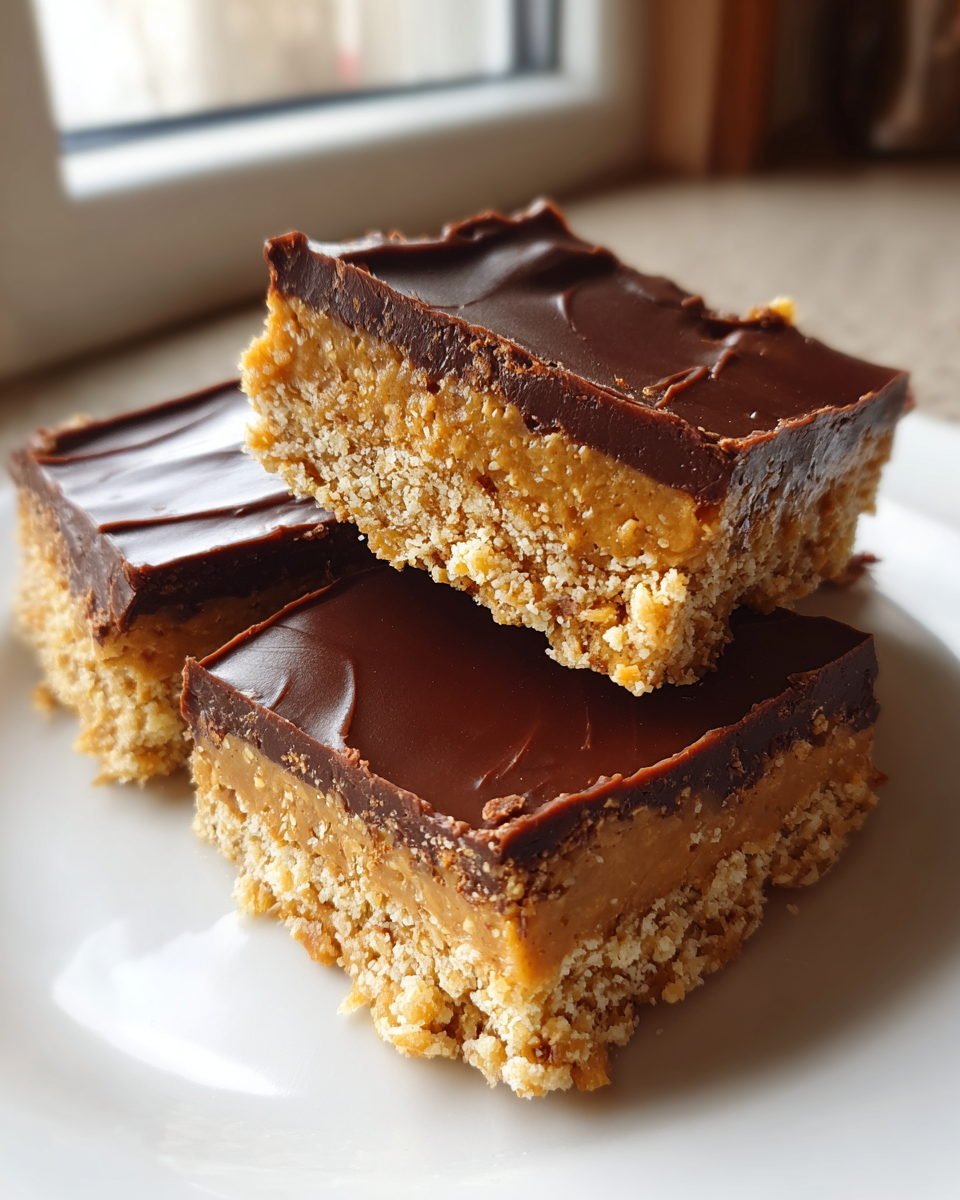
For the best texture, I really recommend creamy peanut butter. It makes the bars super smooth. But if you love a bit of crunch, crunchy peanut butter works too! It just adds a little extra texture. You can also use chocolate graham crackers for a deeper flavor. If you don’t have graham crackers, digestive biscuits would be a fine substitute.
Crafting Your No-Bake Peanut Butter Bars
This is where the magic happens! It’s all about layering flavors and textures.
Preparing the Base Layer
First, line an 8×8 inch baking pan with parchment paper. This makes removing the bars so much easier later. In a medium bowl, combine the melted butter, graham cracker crumbs, 1 cup of peanut butter, powdered sugar, and vanilla extract. Mix it all up until it’s well combined and forms a dough-like consistency.
Creating the Chocolate Topping
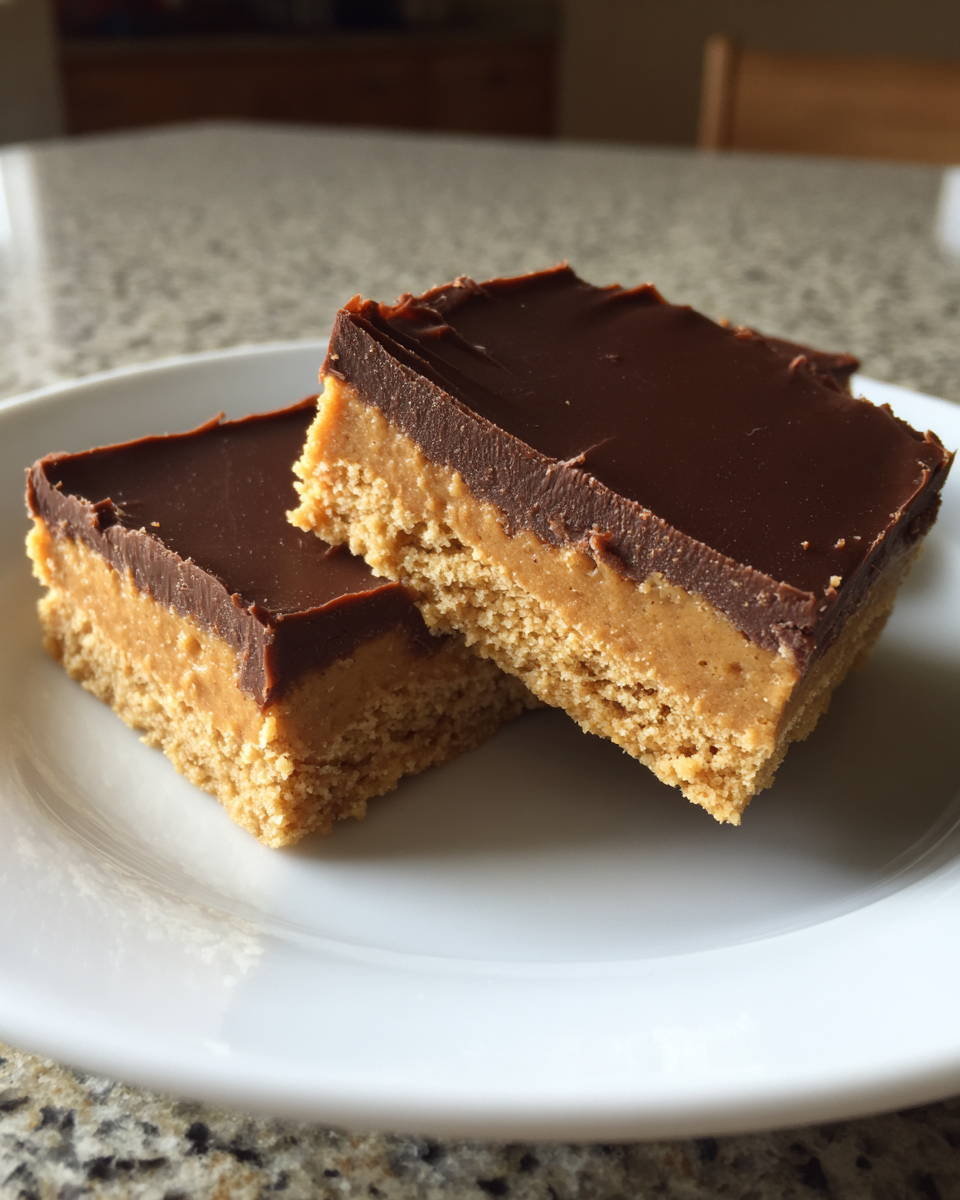
Now for that luscious chocolate topping! In a small, microwave-safe bowl, put your chocolate chips and the extra 2 tablespoons of peanut butter. Microwave this in 30-second bursts. Stir well after each interval. Keep going until it’s completely smooth and melted. Be patient here!
Assembling and Chilling Your No-Bake Peanut Butter Bars
Press the peanut butter mixture evenly into your prepared pan. Make sure it’s a nice, flat layer. Pour the melted chocolate mixture over this peanut butter base. Spread it out evenly to cover the entire surface. Then, pop it into the refrigerator. You need to chill these bars for at least 2 hours. This lets them firm up properly.
Tips for No-Bake Peanut Butter Bar Success
A few little tricks can make these bars even better.
Achieving the Perfect Texture
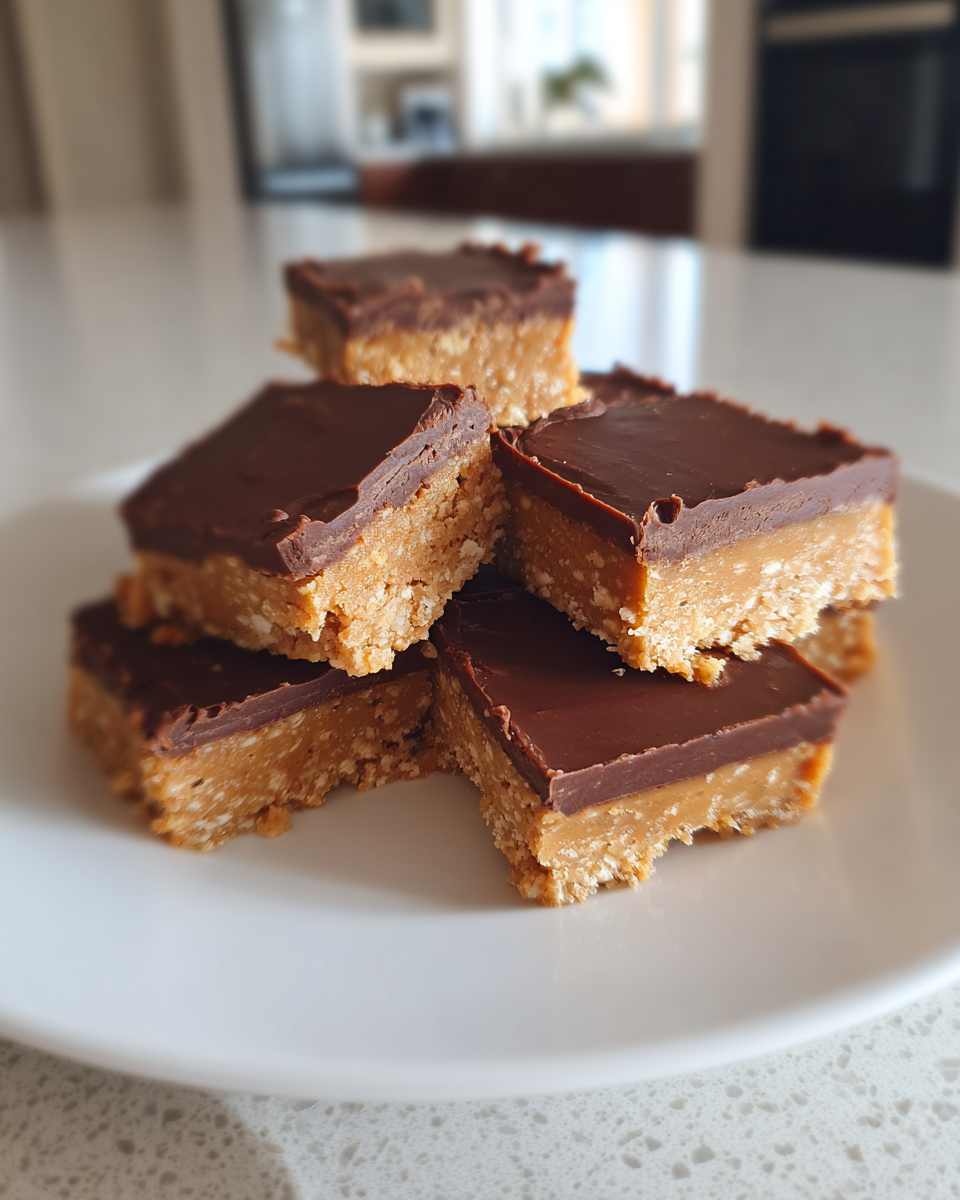
Chilling is key for that perfect, firm texture. Don’t rush it! The ratio of peanut butter to powdered sugar also helps keep them from being too crumbly.
Storage and Serving Your No-Bake Peanut Butter Bars
Store these bars in an airtight container in the fridge. They’ll stay good for about a week. When it’s time to serve, lift them out using the parchment paper. Use a sharp knife to cut them into squares.
Frequently Asked Questions About No-Bake Peanut Butter Bars
Got questions? I’ve got answers!
Can I Use Crunchy Peanut Butter in These No-Bake Peanut Butter Bars?
Yes, you absolutely can! Crunchy peanut butter adds a nice texture. It will make the bars a bit more textured, which many people love.
How Long Do These No-Bake Peanut Butter Bars Last?
These bars are best stored in an airtight container in the refrigerator. They will keep well for up to one week.
What’s the Best Way to Cut No-Bake Peanut Butter Bars?
For clean cuts, use a really sharp knife. Wiping the knife clean between cuts helps a lot. You can even warm the knife slightly under hot water.
Nutritional Insights for Your No-Bake Peanut Butter Bars
Please remember that nutritional information is an estimate. It can vary based on the specific ingredients and brands you use.
Crafting Your No-Bake Peanut Butter Bars
This is where the magic happens! It’s all about layering flavors and textures.
Preparing the Base Layer
First, line an 8×8 inch baking pan with parchment paper. This makes removing the bars so much easier later. In a medium bowl, combine the melted butter, graham cracker crumbs, 1 cup of peanut butter, powdered sugar, and vanilla extract. Mix it all up until it’s well combined and forms a dough-like consistency. Press this mixture evenly into the pan.
Creating the Chocolate Topping
Now for that luscious chocolate topping! In a small, microwave-safe bowl, put your chocolate chips and the extra 2 tablespoons of peanut butter. Microwave this in 30-second bursts. Stir well after each interval. Keep going until it’s completely smooth and melted. Be patient here! This helps prevent the chocolate from burning.
Assembling and Chilling Your No-Bake Peanut Butter Bars
Press the peanut butter mixture evenly into your prepared pan. Make sure it’s a nice, flat layer. Pour the melted chocolate mixture over this peanut butter base. Spread it out evenly to cover the entire surface. Then, pop it into the refrigerator. You need to chill these bars for at least 2 hours. This lets them firm up properly.
Tips for No-Bake Peanut Butter Bar Success
Getting these bars just right is totally achievable! A few simple tips make all the difference. For a clean cut, a sharp knife is your best friend. Running it under hot water and wiping it between cuts helps too. Making sure your chocolate topping sets properly means giving them enough chill time. These bars are surprisingly forgiving, but a little care goes a long way.
Achieving the Perfect Texture
Chilling is really key for that ideal, firm texture. Don’t skip this step! The balance of peanut butter and powdered sugar also helps keep them from being too crumbly.
Storage and Serving Your No-Bake Peanut Butter Bars
Store these bars in an airtight container in the fridge. They stay good for about a week. When it’s time to serve, lift them out using the parchment paper liner. Use a sharp knife to cut them into squares.
Frequently Asked Questions About No-Bake Peanut Butter Bars
Got questions about these easy dessert bars? I’ve got you covered!
Can I Use Crunchy Peanut Butter in These No-Bake Peanut Butter Bars?
Yes, you absolutely can! Using crunchy peanut butter will give your no-bake peanut butter bars a bit more texture. It’s a great way to change things up if you like a little crunch.
How Long Do These No-Bake Peanut Butter Bars Last?
These bars are best stored in an airtight container right in the refrigerator. They’ll stay delicious for up to a week. Just make sure they’re sealed well to keep them fresh.
What’s the Best Way to Cut No-Bake Peanut Butter Bars?
For the cleanest cuts, use a really sharp knife. It helps a lot to wipe the knife clean after each slice. You can even warm the knife under some hot water briefly. This makes slicing through the chocolate topping super easy.
Nutritional Insights for Your No-Bake Peanut Butter Bars
Just a quick note for you! The nutritional details for these delicious no-bake peanut butter bars are estimates. They can change depending on the specific brands and ingredients you use in your own kitchen. So, think of these numbers as a helpful guide!
PrintIrresistible No-Bake Peanut Butter Bars: 1 Sweet Dream
These no-bake peanut butter bars are a delightful treat, reminiscent of Reese’s peanut butter cups. They are easy to make and perfect for satisfying your sweet cravings.
- Prep Time: 15 minutes
- Cook Time: 5 minutes
- Total Time: 2 hours 20 minutes
- Yield: 16 bars
- Category: Dessert
- Method: No-Bake
- Cuisine: American
- Diet: Vegetarian
Ingredients
- 1 cup (2 sticks) unsalted butter, melted
- 2 cups graham cracker crumbs
- 1 cup creamy peanut butter
- 2 cups powdered sugar
- 1 teaspoon vanilla extract
- 1 cup semi-sweet chocolate chips
- 2 tablespoons peanut butter
Instructions
- Line an 8×8 inch baking pan with parchment paper.
- In a medium bowl, combine the melted butter, graham cracker crumbs, 1 cup peanut butter, powdered sugar, and vanilla extract. Mix until well combined.
- Press the mixture evenly into the prepared baking pan.
- In a small microwave-safe bowl, combine the chocolate chips and 2 tablespoons of peanut butter. Microwave in 30-second intervals, stirring in between, until smooth and melted.
- Pour the melted chocolate mixture over the peanut butter layer and spread evenly.
- Chill in the refrigerator for at least 2 hours, or until firm.
- Lift the bars out of the pan using the parchment paper and cut into squares.
Notes
- For a firmer bar, you can add an extra tablespoon of peanut butter to the chocolate topping.
- Store the bars in an airtight container in the refrigerator for up to one week.
- Feel free to use crunchy peanut butter for added texture.
Nutrition
- Serving Size: 1 bar
- Calories: 250
- Sugar: 20g
- Sodium: 100mg
- Fat: 16g
- Saturated Fat: 7g
- Unsaturated Fat: 9g
- Trans Fat: 0g
- Carbohydrates: 25g
- Fiber: 1g
- Protein: 5g
- Cholesterol: 20mg