

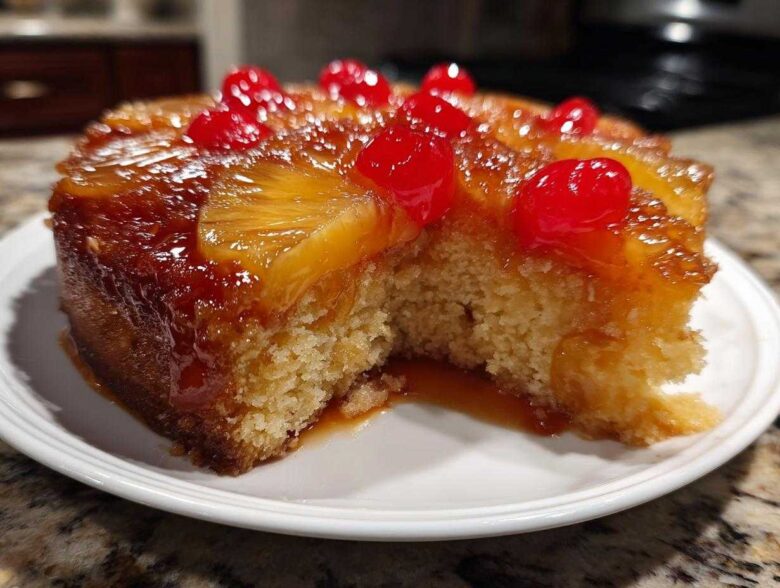
If you’re like me, you crave those gorgeous, sticky, retro desserts that bring back the best memories. There’s just something magical about flipping over a cake and revealing a glossy, buttery topping! Today, we aren’t messing around; we’re making the absolute **Best Pineapple Upside Down Cake** you’ll ever try, focusing hard on getting that perfect, deep caramelization while keeping the cake base totally moist. When Maya and I started Tasty Tipster, we promised to merge my instinctual “dash of this” style with her meticulous research, and this recipe is the perfect example of that teamwork. Learn more about how we balance things over on our About Us page! It’s the ultimate tropical cake recipe that never fails!
Why This Classic Pineapple Upside Down Cake Stands Out (The Tasty Tipster Way)
So many recipes result in a cake that’s either stunning on top but dry on the bottom, or vice versa, right? That’s where our kitchen collaboration really shines. Maya spent weeks researching the science behind that beautiful gooey topping to ensure we get the most intense, buttery caramelization possible. I focused on instinct, making sure the cake itself was truly a **Moist Pineapple Upside Down Cake**—tender, buttery, and able to stand up to that juicy fruit!
This isn’t just another **Classic Pineapple Cake**; it’s refined. We nail the reverse order of layering so the topping transforms perfectly during baking, instead of just sitting sadly on top. Trust me, once you see that glossy finish flip out, you’ll never go back to messing around with simple syrups.
Tips for Achieving Perfect Caramelized Pineapple Cake Topping
The topping starts *before* the batter even sees the light of day! You have to melt that first half-cup of butter right into the pan—don’t substitute that step! Then, pack the brown sugar firmly over it. Here’s the game-changer Ethan insisted upon: after draining the pineapple, we use three tablespoons of that reserved juice. It goes into the batter, but we also splash the surface of the brown sugar *just* a tiny bit before pouring the batter over. It ensures that sugar liquifies into absolute gold!
Secrets to a Truly Moist Pineapple Upside Down Cake
For the cake base, remember what I always say about temperature? Room temperature eggs and butter are non-negotiable for structure. Maya’s research showed that if the fat isn’t properly softened, you get dense patches. Also, when you combine the flour, don’t mix past the point where you see the last few streaks of flour disappear. Overmixing develops gluten, and gluten is the enemy of a light, fluffy cake, no matter how much pineapple juice you add!
Gathering Ingredients for Your Homemade Pineapple Cake
Okay, let’s get our ingredients lined up for this spectacularly gooey **Homemade Pineapple Cake**! Getting everything measured out before you start heating up that pan is basically my favorite part of baking—it means the actual assembly goes super smoothly. Ethan always calls this the ‘Mise en Place,’ but I just call it ‘preventing a total panic moment halfway through!’
We have two main groups here: the glorious topping that goes on the bottom, and the cake batter that gets poured on top of it. Make sure you grab exactly what you need before you start melting anything!
- For the Topping:
- 1/2 cup unsalted butter (this one needs to be melted!)
- 1 cup packed light brown sugar (don’t scrimp on packing it in!)
- 1 (20 ounce) can pineapple slices in juice (you’ll drain these, but save 3 tablespoons of that juice!)
- 14 maraschino cherries, drained (the bright red ones—they look so good!)
- For the Cake Batter:
- 1 3/4 cups all-purpose flour
- 1 1/2 teaspoons baking powder
- 1/2 teaspoon salt
- 1/2 cup unsalted butter (this one needs to be softened for creaming!)
- 3/4 cup granulated sugar
- 2 large eggs (remember, room temperature is best!)
- 1 teaspoon vanilla extract
- 1/2 cup whole milk
- 3 tablespoons reserved pineapple juice
Ingredient Notes and Substitutions for Pineapple Upside Down Cake
When it comes to the topping, keep those canned slices; they have the perfect soft texture right out of the can. If you absolutely must substitute the sugar in the topping, you can try dark brown sugar, but it will give it a much deeper, almost molasses-like flavor, which is delicious but a little different from the classic golden color. And please, please make sure you use that one-half cup of softened butter for the batter—that’s where 90% of our moisture comes from! That little bit of reserved pineapple juice we add to the milk mixture isn’t just for flavor; it reacts with the leavening agents and helps make the final crumb truly tender for your **Pineapple Upside Down Cake**.
Step-by-Step Instructions for the Best Pineapple Upside Down Cake
Now for the fun part! Even though this turns out looking like a showstopper dessert, I promise this **Easy Pineapple Dessert** is totally approachable. We’re breaking it down, step-by-step, just like Maya organizes our recipe cards. Remember, the foundation here is building that stunning, glossy top first. Grab your 9-inch round cake pan and let’s get started! If this cake reminds you of moist fruit cakes we’ve made before, check out my notes on making an applesauce cake for more tips on moisture retention!
Preparing the Caramelized Topping Layer
First things first, preheat that oven to 350°F (175°C). We start by transforming the bottom of the pan. Take that first measured 1/2 cup of butter and melt it down. Pour that melted pool right into the bottom of your pan. Next, sprinkle the brown sugar as evenly as you can over the butter. This is your caramel glue!
Now, arrange your pineapple slices right on top of that sugar layer. Try to make them look pretty—this is the pattern the cake will show off when you flip it! Tuck one maraschino cherry in the center of every ring, and then scatter the rest of those pretty red cherries wherever they fit around the edges. Just look at that pattern; isn’t it gorgeous already?
Mixing the Moist Cake Batter
Time to switch to the dry ingredients. In a medium bowl, whisk together the flour, baking powder, and salt. Set that aside; it’s waiting its turn. Now, grab your big bowl for creaming. You want to beat that remaining 1/2 cup of softened butter with the granulated sugar. Keep going until it looks seriously light and fluffy—this is the air structure Ethan’s dad taught us about. You want volume!
Beat in your two eggs, making sure one is fully incorporated before you add the next. Stir in the vanilla extract next. In a small separate cup, whisk together the milk and those three tablespoons of reserved pineapple juice. Here is the critical part for avoiding toughness: gradually add the dry mixture and the milk mixture to the creamed butter, alternating them. Always start and end with the dry ingredients. Mix just until you see it come together. Seriously, stop mixing when the flour streaks disappear!
Baking and Inverting Your Pineapple Ring Cake
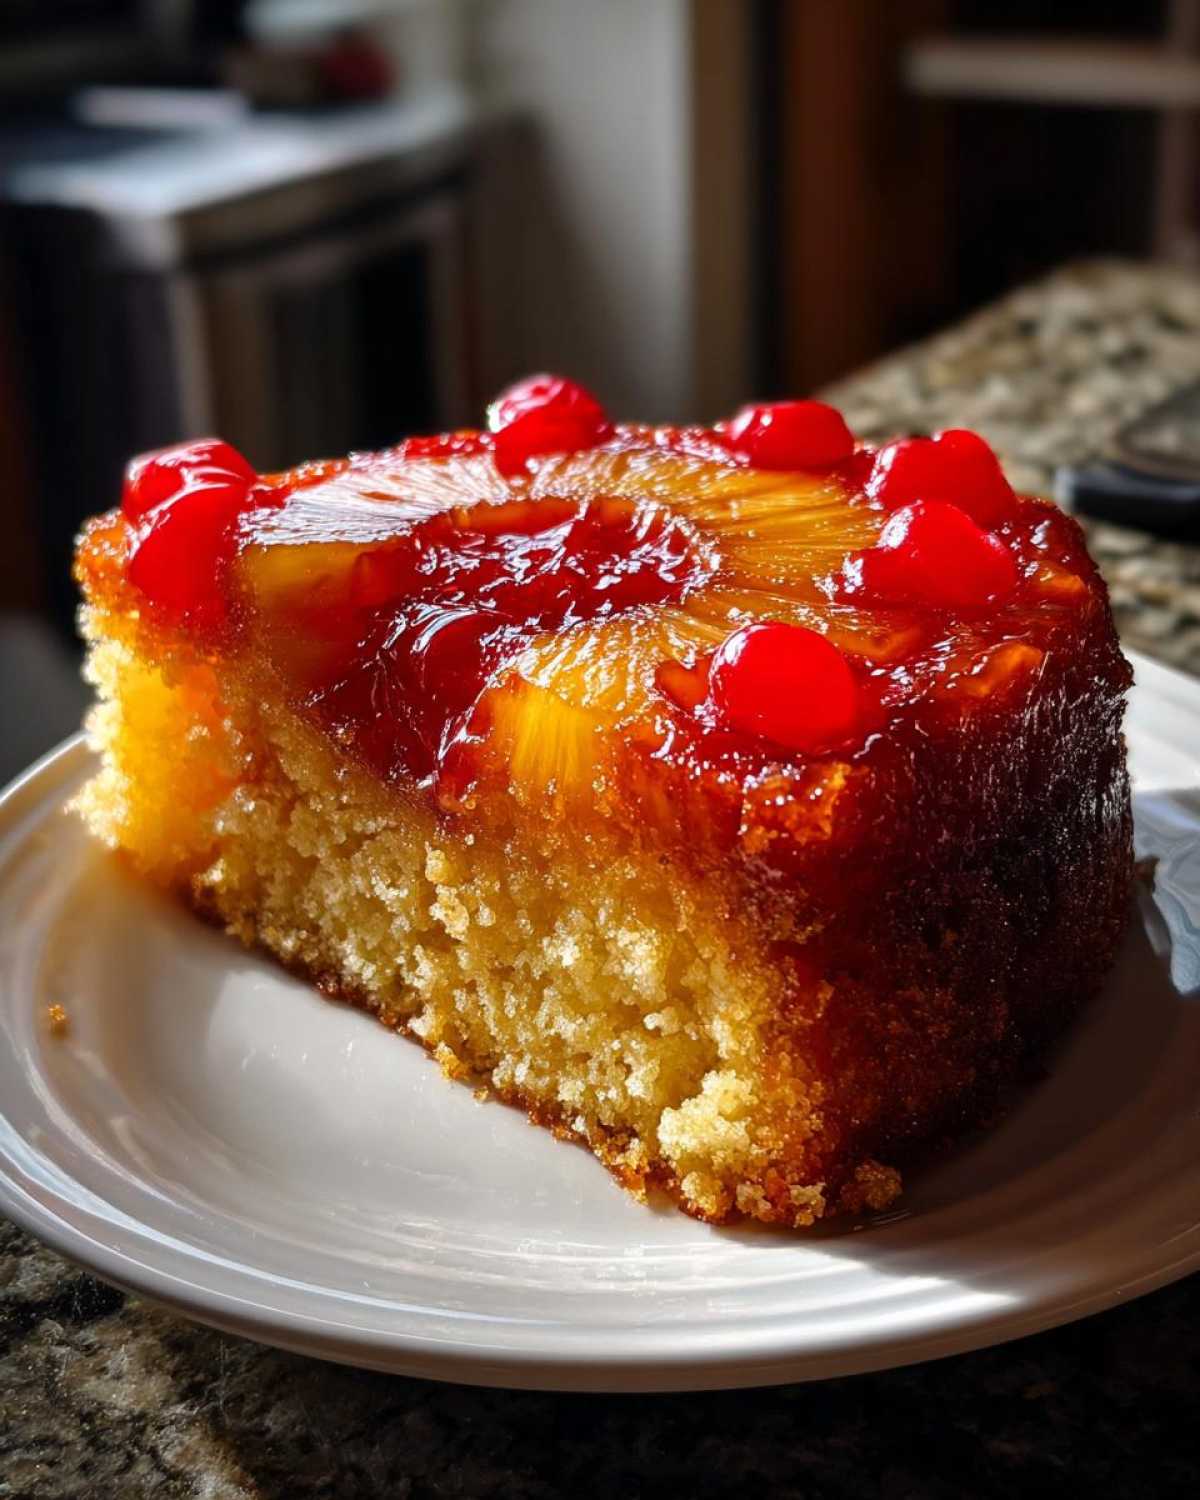
Gently pour that gorgeous, soft batter right over your fruit design in the pan. Don’t stir it in, just spread it carefully so you keep that topping pattern nice and neat. Slide it into the preheated oven and let it bake for about 40 to 45 minutes. You’ll know it’s done when a wooden pick inserted right into the center comes out clean. The whole room should smell like pure tropical bliss right now!
This next step is where patience pays off. Let the cake cool in the pan on a wire rack for exactly 10 minutes. No more, no less! Then, put on your oven mitts—even if the cake seems cool, that topping is still hot! Place a serving plate upside down over the cake pan. Take a deep breath and, in one swift, confident motion, flip the whole thing over onto the plate. Lift the pan off slowly. If a lonely cherry tries to sneak out, just gently tuck it back into place. That **Pineapple Ring Cake** is ready to eat, warm or cooled!
Serving Suggestions for Your Tropical Cake Recipe
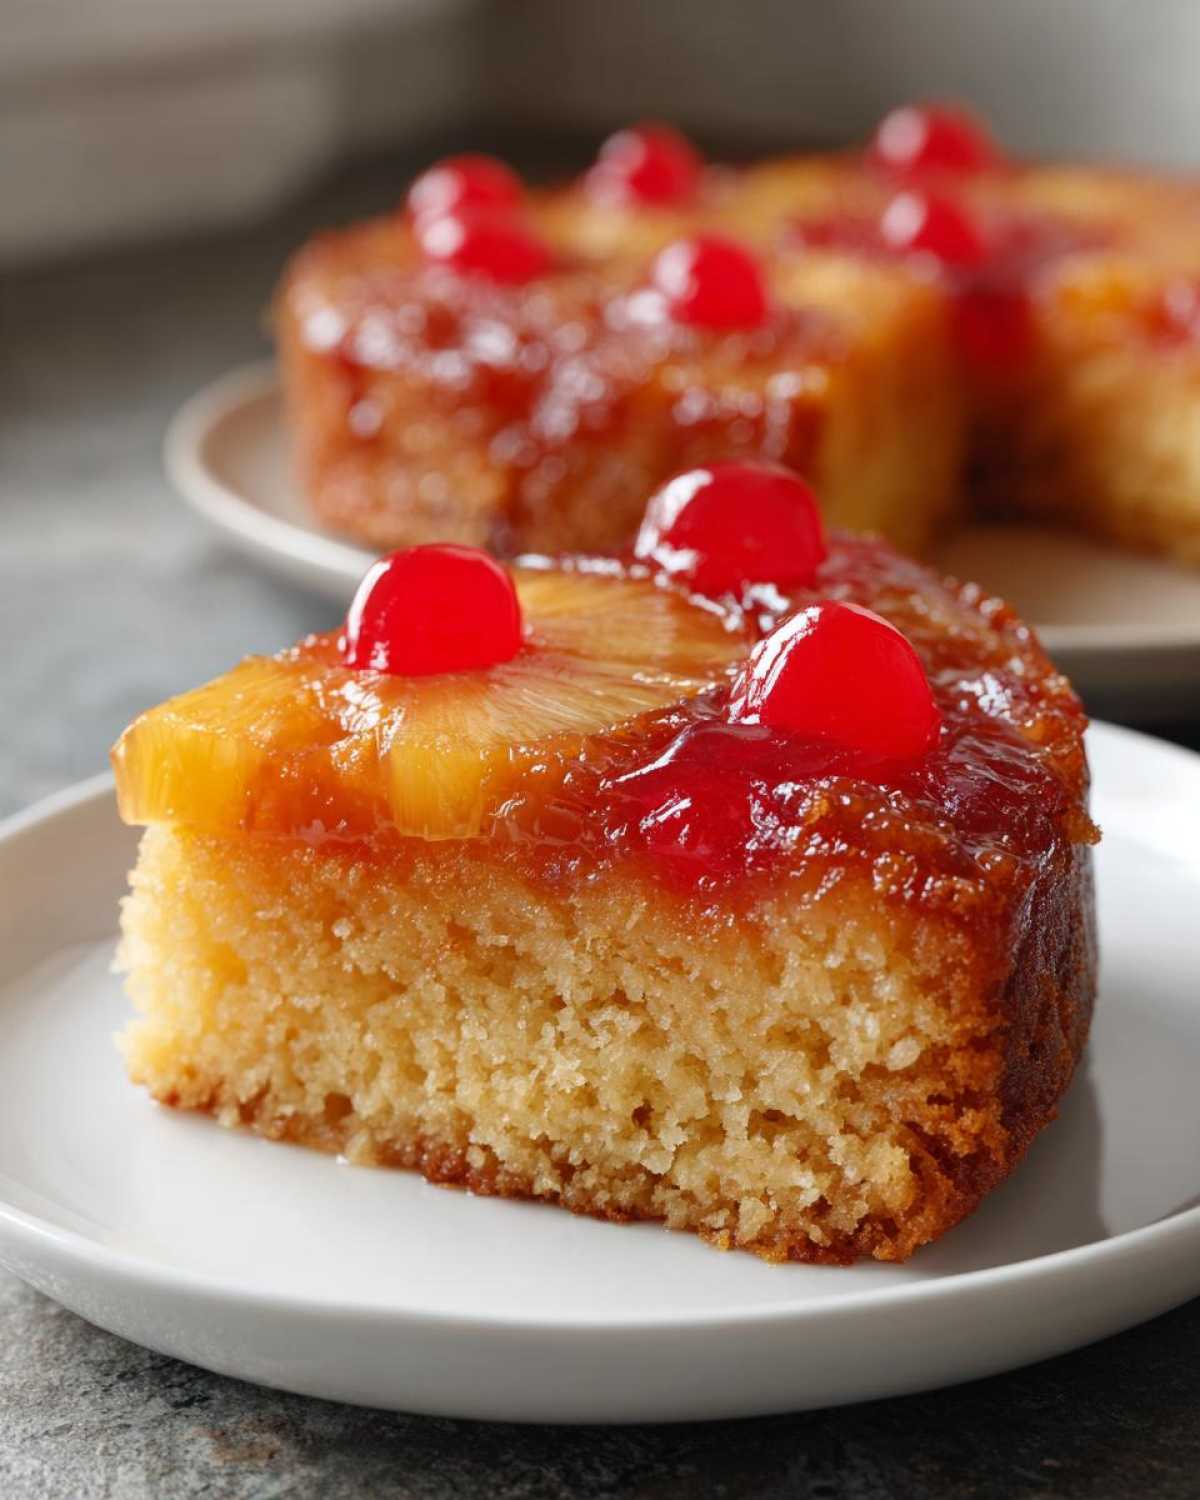
Honestly, this **Tropical Cake Recipe** is so rich and buttery that it barely needs anything, but serving it warm with something cold and creamy is just heavenly. My go-to pairing is a big scoop of good quality vanilla bean ice cream—the contrast between the warm, sticky caramel and the melting ice cream is pure joy. If you want something lighter, a simple dollop of freshly whipped cream does the trick. If your caramel got super dark and gooey, a very light dusting of powdered sugar over the top, right before serving, is also super elegant!
Storage and Reheating Instructions for Leftover Pineapple Upside Down Cake
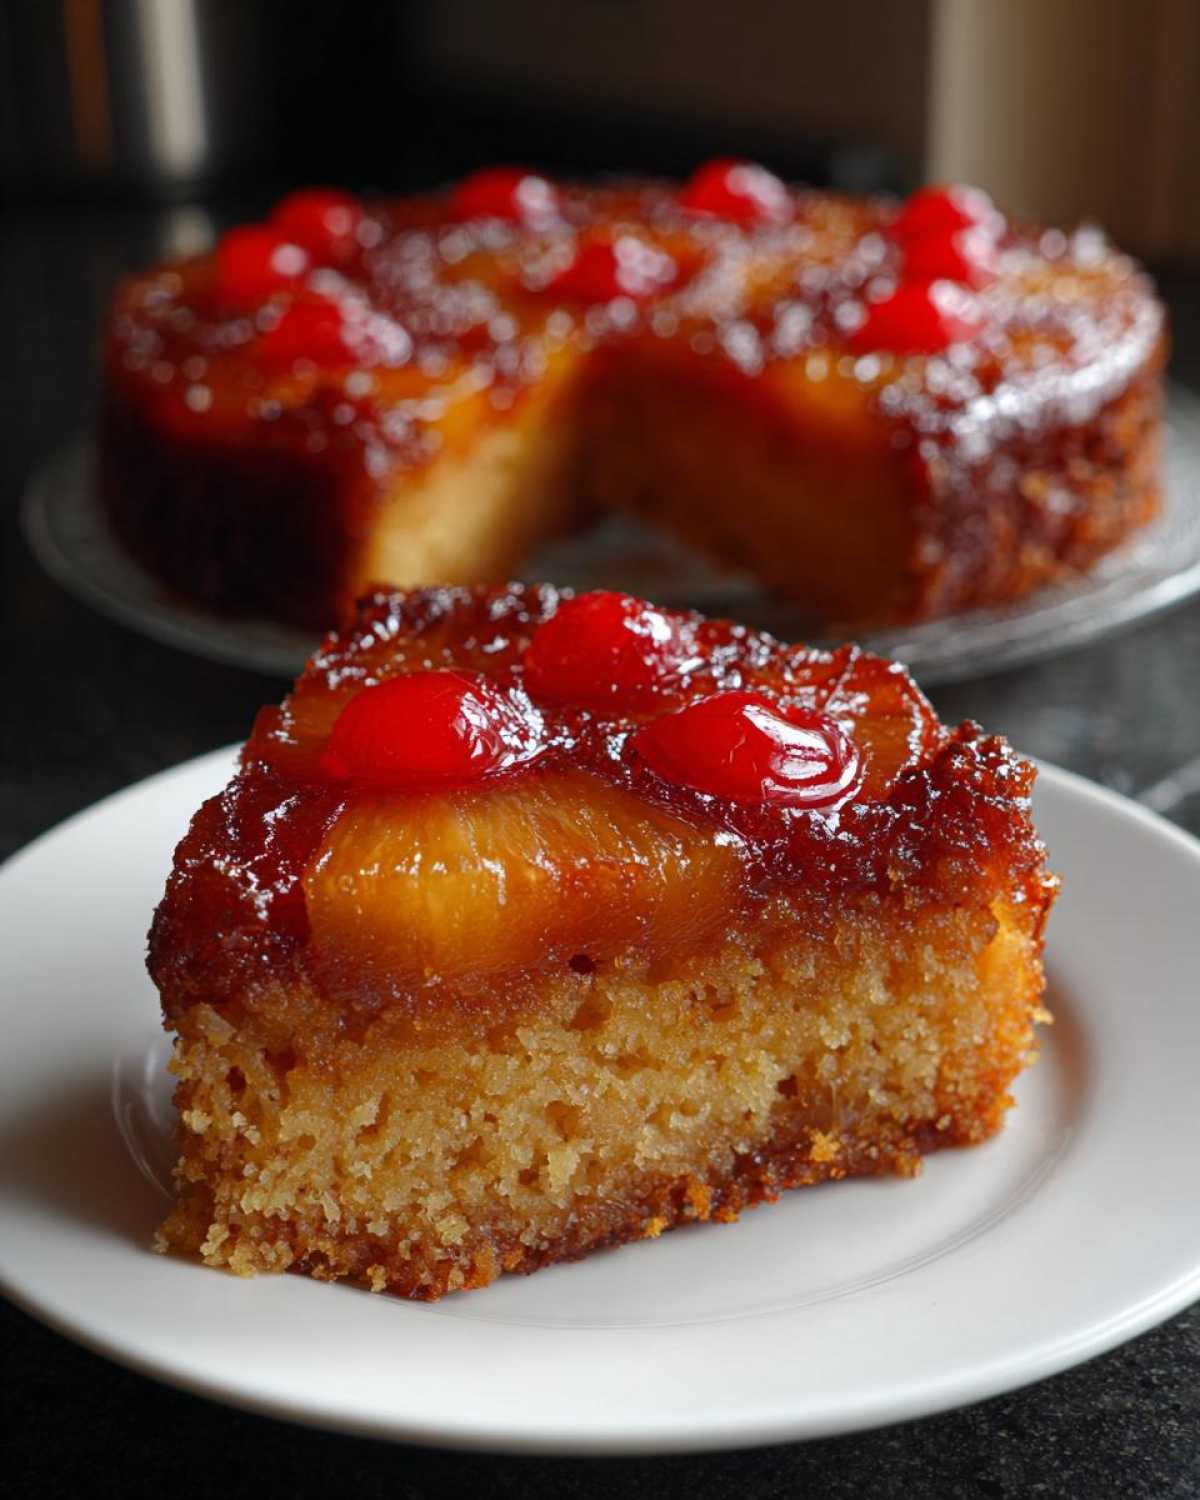
What if you actually have leftovers? That almost never happens in our house, but Maya insists that we prepare for every contingency! Because this cake is so wonderfully moist thanks to that fruit layer, we need to be smart about how we store it so it doesn’t get soggy.
For short-term storage—say, you plan to eat the rest by tomorrow—you can totally leave it right on the counter. Just make sure it’s covered tightly, either place a cake dome over it or loosely tent it with plastic wrap. Keep it away from direct sunlight or anything too hot, as that caramel topping can get a little messy if it gets too warm.
If you need it to last longer than 24 hours, you absolutely have to move it to the fridge. Again, cover it really well—I find that wrapping the plate tightly in plastic wrap works best. It should stay good for about three to four days in the refrigerator.
Reheating Tips to Bring Back That Gooey Goodness
Now, when it comes to reheating the refrigerated slices, you want to treat that caramel gently. I absolutely forbid the microwave for more than a quick blast, because microwaves can make cake rubbery fast. If you’re only heating up a single slice, try wrapping it loosely in a damp paper towel and microwaving it for just 10 to 15 seconds. That little bit of steam helps refresh the cake without cooking it further.
For the absolute best results, especially if you’re reheating a larger piece, use your conventional oven. Pop the slice onto a baking sheet and warm it at a low temperature—maybe 300°F (150°C)—for about five to seven minutes. You just want it warm enough for the butter in the topping to get shiny and gooey again. Trust me, treating those leftovers right ensures you get that amazing texture again!
Variations on the Classic Pineapple Upside Down Cake
Okay, I know we just perfected the standard 9-inch round cake, but a true Tasty Tipster never stops experimenting! We love taking a classic recipe and seeing how it adapts, which is great for different parties or just when you feel like baking in a different shaped pan. Since everyone loves this **Pineapple Upside Down Cake**, we’ve found a few fun ways to mix it up without losing that core buttery, tropical flavor we obsessed over perfecting.
If you’re aiming for a dramatic centerpiece, switching to a **Pineapple Upside Down Bundt Cake** is the way to go. It looks way more impressive on the table, and the shape makes that caramel topping drip down the sides beautifully. We have a whole routine for big cakes like that, which you might find helpful if you love baking larger format cakes like our apple bundt cake.
But what about parties where everyone needs their own little treat? That’s when we pivot to **Mini Pineapple Upside Down Cakes**! Baking them in muffin tins is slightly fiddly because you have to cut the pineapple rings to fit, but the payoff is huge. They are so easy for serving at brunches or showers—no slicing required!
If you want a little extra zing, Ethan always suggests adding a little flavor boost right into the cake batter itself. A half teaspoon of rum extract mixed in with the vanilla totally elevates the tropical notes and deepens the flavor profile of the cake base. It doesn’t taste explicitly like rum, but it just makes everything taste… richer. You can find a great tip on a Bundt version of this cake over at Delish, too, if you want to see how they handled turning this into a full-blown ring design right here. Let me know if you try any variations—I always love seeing what you all come up with!
Frequently Asked Questions About This Pineapple Upside Down Cake Recipe
It’s super common to have a few questions pop up when you’re getting ready to bake something this iconic! We get messages all the time asking about how to tweak the classic setup, especially since this amazing **Pineapple Upside Down Cake** is so tied to **Retro Dessert Ideas**. I pulled together the most common questions we get right here so you can bake with total confidence. If I missed anything, feel free to check out my general baking tips on the Tasty Tipster Blog!
Can I use fresh pineapple instead of canned for my pineapple upside down cake?
That’s a great question! While I highly recommend the canned rings because they already have that perfect soft, sweet texture that caramelizes beautifully, you *can* use fresh pineapple. If you go fresh, you absolutely must peel and core it first, then slice it about 1/4-inch thick. Ethan suggests you simmer those fresh slices briefly in a small saucepan with about 1/4 cup of water and 1/4 cup of granulated sugar until they are slightly tender, maybe 5 minutes. This step mimics the syrup in the can, giving you that necessary moisture and sweetness so your topping doesn’t just dry out and burn before the cake is done. It takes extra time, but fresh is always vibrant!
How do I prevent the topping from sticking when I flip the cake?
Oh, that moment of truth when you flip! It brings me right back to my kitchen anxiety before Ethan showed me the foolproof method. The first line of defense, which we talked about, is making sure you have that perfect layer of melted butter mixed with tightly packed brown sugar hugging the bottom of the pan. That’s your golden ticket!
But if you are dealing with a finicky pan, or maybe you’re using a really detailed Bundt pan, you need insurance! Take a piece of parchment paper that fits the bottom of your pan—if you’re using a round pan—and cut it to fit exactly. Place it right on top of the sugar layer *before* you pour in the cake batter. That parchment acts like a non-stick shield, and when you invert the cake, it should peel right off along with the fruit topping. It’s a stress-saver, and I’ve added it to the notes in the main recipe because it just works!
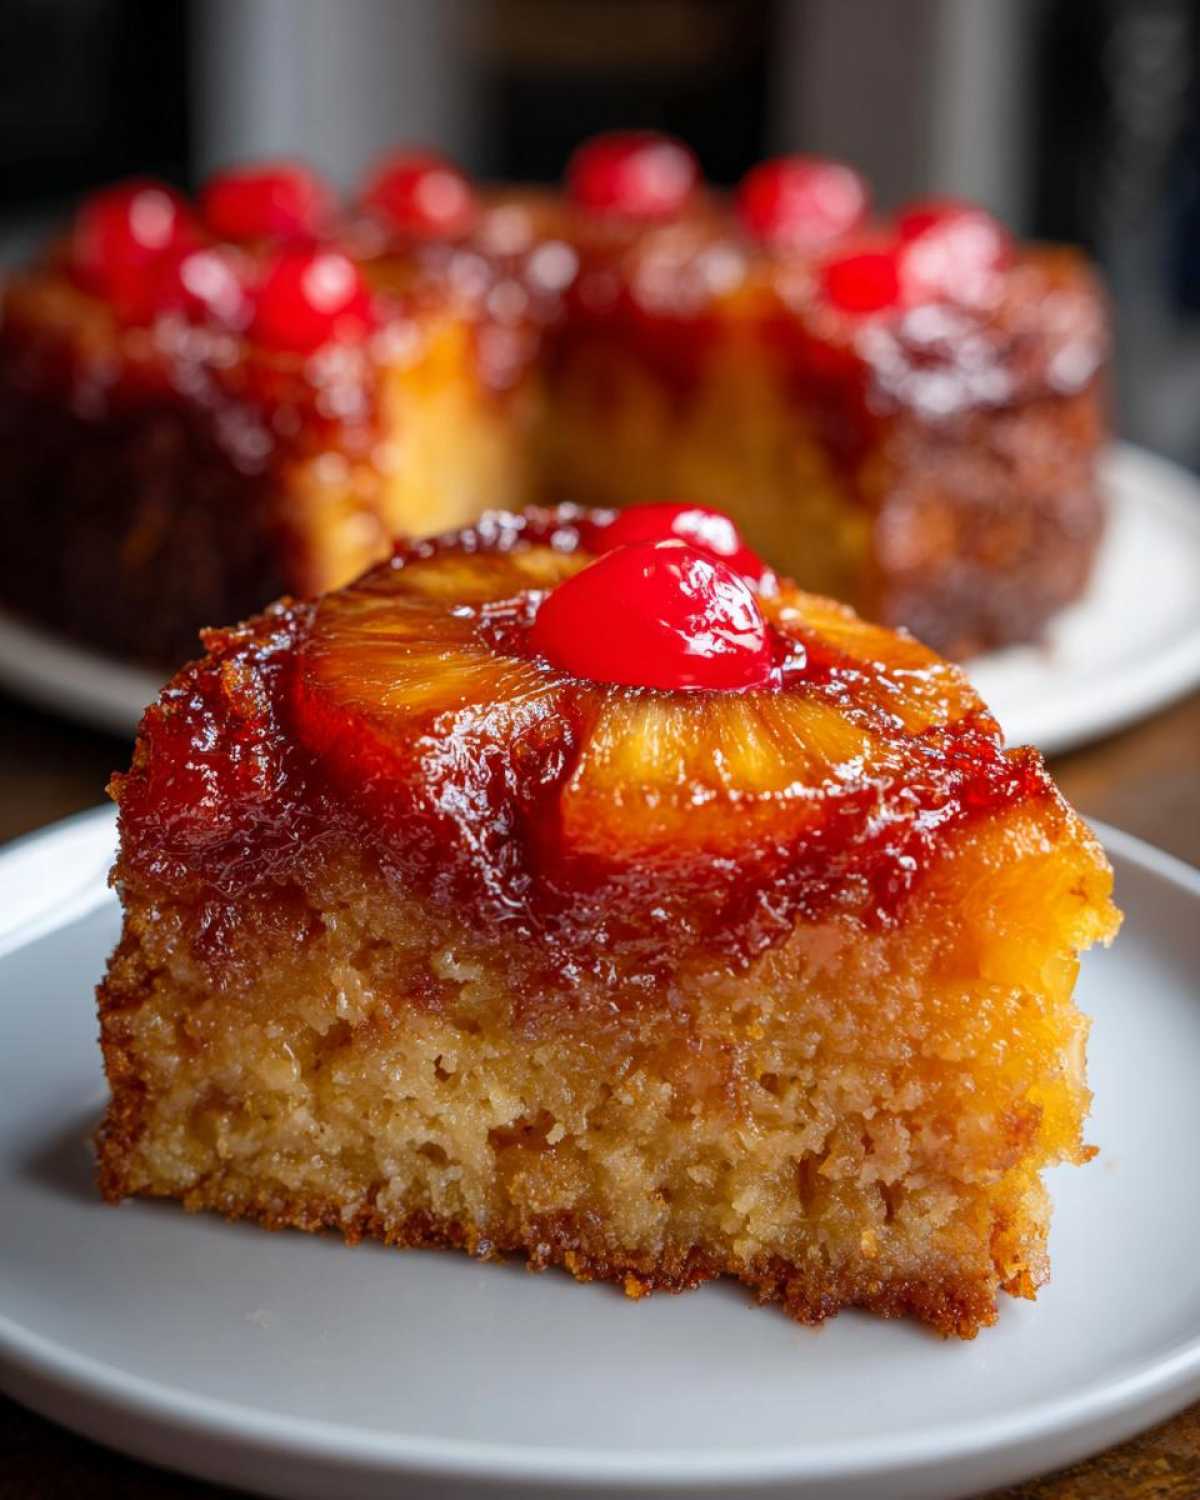
Is this considered a Southern Style Pineapple Cake?
It absolutely is! This **Classic Pineapple Cake** style is deeply rooted in American comfort baking, and you see it popping up all over the South, often just called the classic “Pineapple Upside Down Cake.” It’s the epitome of a **Southern Style Pineapple Cake** because it relies on buttery richness, simple pantry ingredients, and that stunning, unexpected presentation. It’s cozy, it’s nostalgic, and it’s the kind of dessert that makes everyone at the table feel welcome!
Nutritional Estimates for a Slice of Pineapple Upside Down Cake
Okay, let’s talk numbers for a second. I know that when we’re baking something this delicious—all butter, sugar, and tropical fruit—we don’t usually think about the macros, but Maya insisted we include this snapshot for transparency! Remember, these figures are just rough estimates based on the exact ingredients listed in the recipe above for one serving. Your actual numbers might shift depending on the brands you use or if you, say, decide to double the frosting (don’t judge, I’ve considered it!).
This is truly a decadent, buttery dessert, so keep that in mind as you look over the details:
- Serving Size: 1 slice
- Calories: 380
- Sugar: 35g
- Sodium: 250mg
- Fat: 19g
- Saturated Fat: 11g
- Trans Fat: 0.5g
- Carbohydrates: 50g
- Fiber: 1g
- Protein: 4g
- Cholesterol: 85mg
It’s high on the sugar and fat side because we use real butter and brown sugar for that killer caramelization, but that’s what makes it so good! We calculate these things so you know exactly what you’re making when you bake this beauty. Happy tasting!
Share Your Perfect Pineapple Upside Down Cake Creation
Whew! We made it through the science, the intuition, and the sticky caramelization process together! Now this incredibly moist **Pineapple Upside Down Cake** belongs to you. I sincerely hope your kitchen smells as amazing as mine does right now. Ethan and I put our heads together on every single step to make sure this recipe works perfectly for you the very first time.
We absolutely live for seeing your baking triumphs. If you made this **Classic Pineapple Cake** and it turned out glossy and beautiful, please drop a rating below! Five stars lets us know we nailed the balance between Maya’s research and my gut feelings!
And seriously, if you ran into any snags—maybe your first flip was a little… adventurous—don’t run off! Pop down to the comments section and ask away. We try to check in there every day to answer questions and share tips for troubleshooting on the next batch. You can always reach out directly through our Contact Page too, if you have something specific you want to chat about privately. Happy baking, and enjoy every single bite of that sweet, buttery fruit!
PrintClassic Pineapple Upside Down Cake: Moist and Caramelized

Make the best Pineapple Upside Down Cake from scratch. This recipe delivers a moist cake base topped with perfectly caramelized pineapple rings and cherries, a true retro dessert favorite.
- Prep Time: 20 min
- Cook Time: 45 min
- Total Time: 65 min
- Yield: 8 servings
- Category: Dessert
- Method: Baking
- Cuisine: American
- Diet: Vegetarian
Ingredients
- 1/2 cup unsalted butter, softened
- 1 cup packed light brown sugar
- 1 (20 ounce) can pineapple slices in juice, drained (reserve 3 tablespoons juice)
- 14 maraschino cherries, drained
- 1 3/4 cups all-purpose flour
- 1 1/2 teaspoons baking powder
- 1/2 teaspoon salt
- 1/2 cup unsalted butter, softened
- 3/4 cup granulated sugar
- 2 large eggs
- 1 teaspoon vanilla extract
- 1/2 cup whole milk
- 3 tablespoons reserved pineapple juice
Instructions
- Preheat your oven to 350°F (175°C). You will need a 9-inch round cake pan.
- Melt 1/2 cup butter in a small saucepan over medium heat. Pour the melted butter into the bottom of the cake pan. Sprinkle the brown sugar evenly over the melted butter.
- Arrange the pineapple slices on top of the brown sugar mixture in the pan. Place one maraschino cherry in the center of each pineapple ring, and place any remaining cherries around the edges.
- In a medium bowl, whisk together the flour, baking powder, and salt. Set this dry mixture aside.
- In a large bowl, cream together the remaining 1/2 cup softened butter and the granulated sugar until the mixture is light and fluffy. This step helps create a moist cake.
- Beat in the eggs one at a time, mixing well after each addition. Stir in the vanilla extract.
- In a small bowl, whisk together the milk and the 3 tablespoons of reserved pineapple juice.
- Gradually add the dry ingredients to the wet ingredients, alternating with the milk mixture, beginning and ending with the dry ingredients. Mix until just combined; do not overmix.
- Carefully pour the cake batter over the pineapple and cherry layer in the prepared pan. Spread the batter evenly.
- Bake for 40 to 45 minutes, or until a wooden pick inserted into the center comes out clean.
- Let the cake cool in the pan on a wire rack for 10 minutes.
- Place a serving plate upside down over the cake pan. Wearing oven mitts, carefully invert the cake onto the plate. Lift the pan off slowly. If any topping sticks, gently place the fruit back onto the cake.
- Serve warm or at room temperature.
Notes
- For a richer caramel flavor, you can use dark brown sugar for the topping layer.
- If you want an extra moist pineapple cake, ensure your butter and eggs are at room temperature before mixing.
- To prevent the cake from sticking when you flip it, line the bottom of the pan with parchment paper before adding the butter and sugar.
Nutrition
- Serving Size: 1 slice
- Calories: 380
- Sugar: 35
- Sodium: 250
- Fat: 19
- Saturated Fat: 11
- Unsaturated Fat: 8
- Trans Fat: 0.5
- Carbohydrates: 50
- Fiber: 1
- Protein: 4
- Cholesterol: 85