

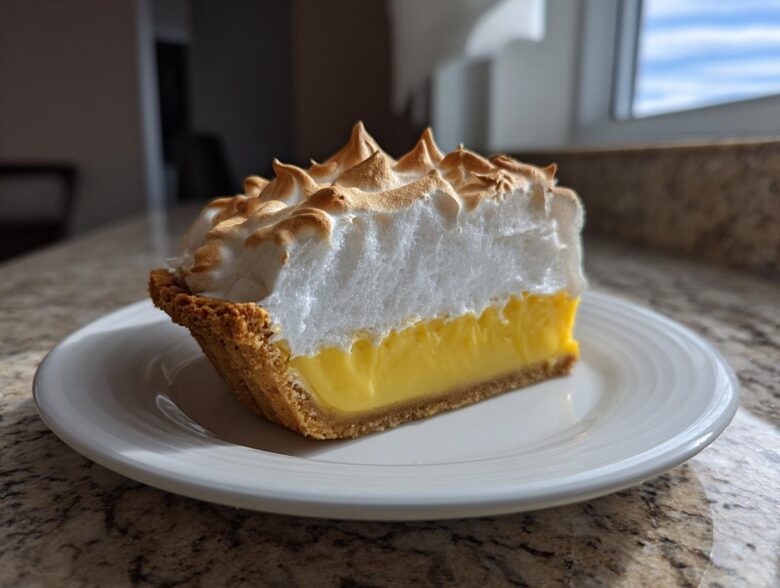
There is just something magical about biting into a slice of perfect **lemon meringue** pie, isn’t there? That immediate, bright zap of citrus followed by sweet fluffiness—it just screams special occasion. For me, as the researcher here at Tasty Tipster, getting this pie right was non-negotiable. Ethan’s family always made it, but I noticed they struggled with weeping meringue! So, I dove deep into the science of egg whites and starches to bring you something truly special. This isn’t a quick mix; this is the ultimate, from-scratch recipe that guarantees a showstopping dessert with a zesty lemon custard and a tall, stable, fluffy meringue topping. Get ready, because this tang is worth every minute!
If you want to read a little about how Ethan’s heart-cooking and my research finally merged to create recipes like this one, you can always check out our story right here.
Why This is the Best Homemade Lemon Meringue Pie Recipe
I’m honestly over cardboard-tasting pie filling made from powder. We aren’t doing that here! This recipe is for those of us who want the real deal—the *Best Lemon Meringue Pie* you’ve ever served. Ethan will still tell me, “Some folks overcomplicate it,” but sometimes, Maya the Researcher just needs proof of concept, and this one delivers stability and unbeatable flavor.
Don’t feel bad if you want to check out other tried-and-true homemade versions like this great one I found over at Rock Recipes, but trust me, what we’re doing here is tailored for maximum flavor and zero stress.
- It’s genuinely from scratch—no shortcuts when it comes to that bright, wonderful filling.
- We bake the crust first, which is vital for keeping things crisp.
- My specific meringue technique prevents those sad, watery spots that ruin a beautiful pie.
- This recipe goes straight to perfection after just a quick bake!
Achieving the Perfect Zesty Lemon Custard
The custard needs to sing, not just whisper! When I talk about a *From Scratch Lemon Custard*, I mean it travels from tart to sweet perfectly. My biggest discovery in balancing this flavor was actually Ethan’s suggestion: don’t rely only on the lemon juice for tartness. A little bit of zest goes a long way to amplifying that citrus note without adding extra liquid that could thin the filling. The result is that perfect *Tangy Sweet Dessert* experience that cuts right through the buttery crust. It has to be spoonable and thick, not runny!
The Secret to a Tall, Fluffy Meringue Topping
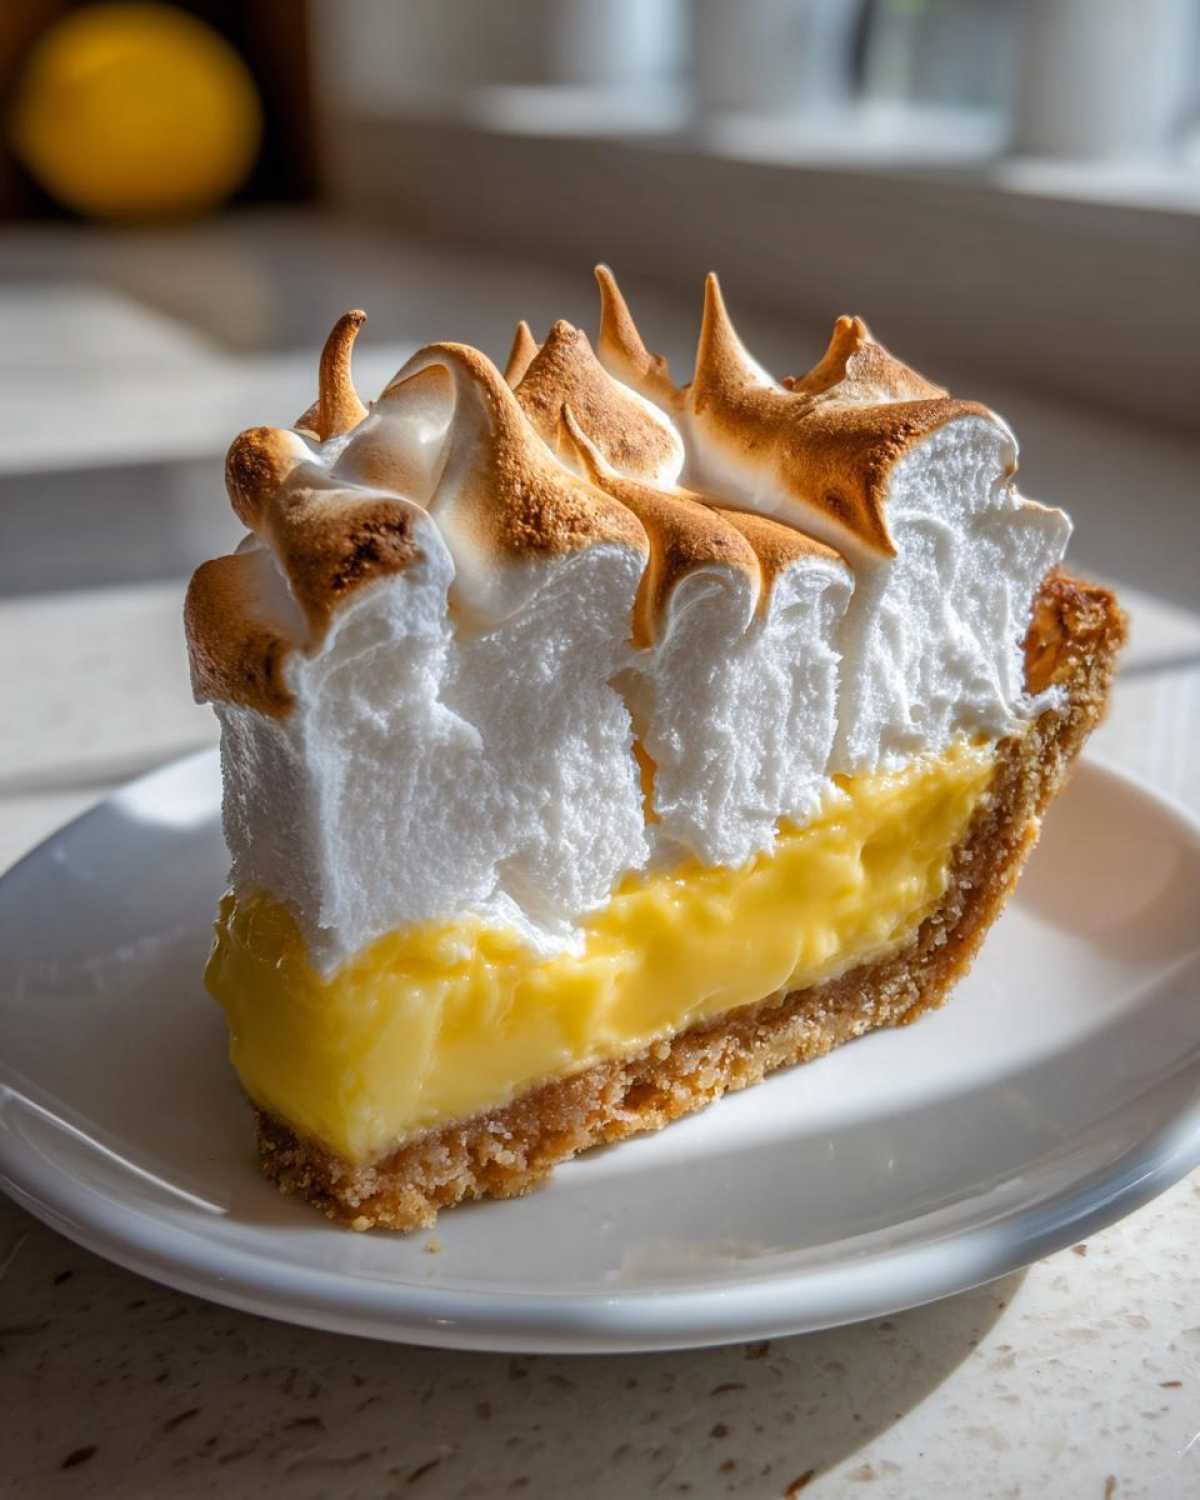
Okay, the meringue is where most people panic, but this is where my research shines. Egg whites have to be perfectly clean and at room temperature—no grease allowed! That’s step one there. Step two is the magic ingredient: cream of tartar. It stabilizes those proteins we are whipping up. We beat them until they are stiff, glossy peaks that stand up tall on the pie. That’s how you get that beautiful height and avoid the infamous weeping. It’s essential for a truly *Fluffy Meringue Topping* that people talk about!
Gathering Ingredients for Your Classic Lemon Meringue Pie
Since we’re making the absolute best *Classic Lemon Meringue Pie*, we need to be strict about what goes into that beautiful, sunny filling. Ethan reminds me that if you want a showstopper, you can’t cut corners, and that means using real lemons!
Now, I’m assuming you already have a recipe for a great, buttery crust for your 9-inch shell—mine is over here if you need it—but here’s what you need to gather for the actual lemon filling and that amazing meringue topping.
Ingredients for the Zesty Lemon Custard
This is the heart of the pie, so pay attention to the juice measurement!
- 1 1/2 cups granulated sugar
- 1/3 cup cornstarch (this is key for thickness!)
- 1/4 teaspoon salt
- 1 1/2 cups cold water
- 4 large egg yolks, just lightly beaten
- 1/2 cup fresh lemon juice (seriously, squeeze those beauties!)
- 1 tablespoon fresh lemon zest
- 2 tablespoons unsalted butter
Ingredients for the Fluffy Meringue Topping
For the clouds on top, we need things perfectly clean. Remember, grease is the enemy of meringue!
- 6 large egg whites, make sure they are completely at room temperature before starting
- 1/2 teaspoon cream of tartar
- 1/2 cup granulated sugar (this is separate from the sugar used in the custard!)
How to Make Lemon Meringue Pie: Step-by-Step Instructions
Wow, we’ve got all the ingredients lined up. Now for the part where we turn them into sunshine! This process has a few distinct stages, so don’t rush. It’s all about building layers of texture and flavor. I like to get the crust done first, as it needs to be completely cool before the hot filling goes in. If you need a refresher on making amazing custard pies from scratch, I have some great background on that over on this post.
Preparing the Crust and Custard Base
First things first: Make sure that 9-inch pie crust is pre-baked until it’s just lightly golden. It must be cool before we proceed! Now, grab a medium saucepan. Whisk together your 1 1/2 cups of sugar, the cornstarch, and the salt. Slowly whisk in the cold water until everything looks smooth and lump-free. Place this over medium heat. You need to stir this constantly, kind of like you’re making a really thick pudding. It’s going to bubble and thicken up a lot after about five to eight minutes. Once it’s thick and bubbling, take it right off the heat!
Tempering Egg Yolks for Smooth Lemon Custard
This is the part that makes people nervous, but slow and steady wins the race! In a separate bowl, quickly whisk your four egg yolks so they are lightly beaten. Now, the tempering: take about one cup of that hot sugar mixture and drizzle it *very slowly* into the yolks while you whisk the yolks like crazy. You’re gently warming the yolks so they don’t scramble. Once they’re happy—meaning warm, but not cooked!—pour that tempered yolk mixture right back into the saucepan with the rest of the hot stuff. Pop it back on medium heat for just one final minute of stirring. Then, off the heat again! Stir in your butter until melted, followed by the lemon juice and zest. Pour that gorgeous, hot filling into your cool, baked crust right away.
Whipping the Meringue and Assembling the Lemon Meringue
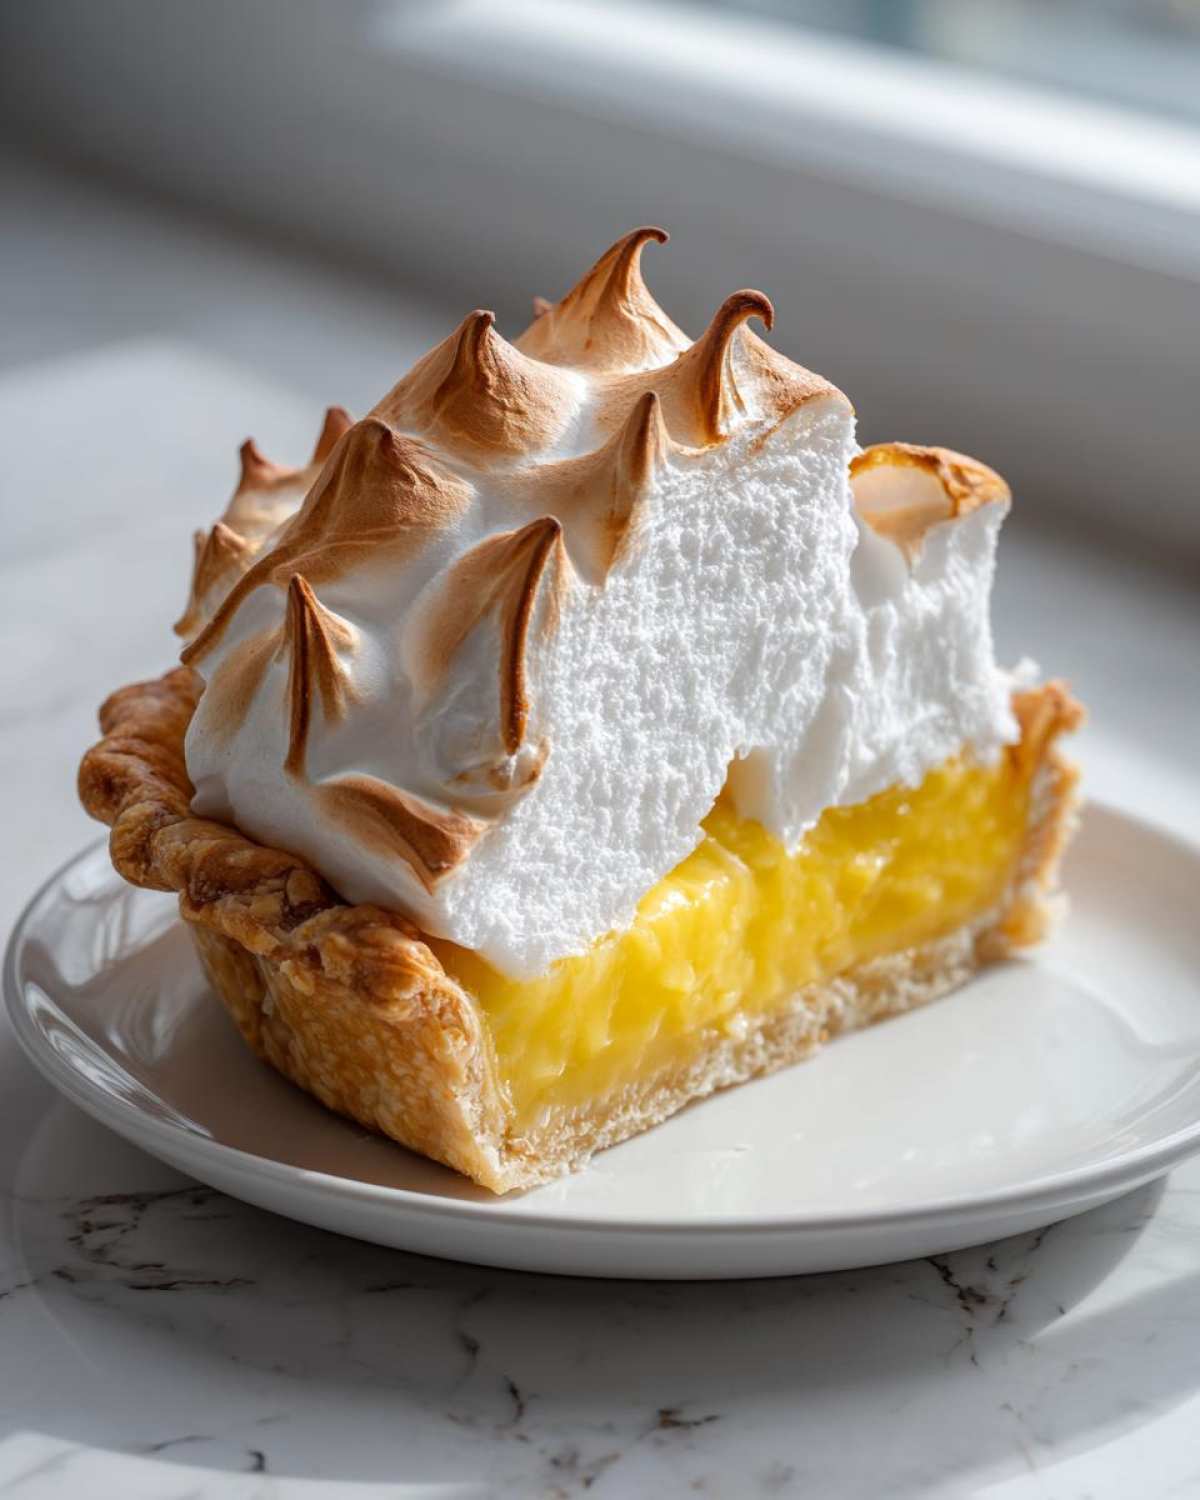
While the filling is still hot in the shell, it’s time for the clouds! In a grease-free bowl—and I mean spotless—beat your room-temperature egg whites until they get foamy. Add the cream of tartar, then keep beating, slowly adding that half-cup of sugar. We’re going for stiff, glossy peaks that stand up straight when you lift the beaters. Ethan always says if it looks like a fancy meringue mountain range, you’re good to go. Spread that glorious topping over the hot lemon filling! Make absolutely sure you push that meringue all the way to the edges of the crust. If you leave a gap, that’s where the moisture escapes! This step is crucial for a successful Lemon Meringue Pie. Bake it at 350°F for about 12 to 15 minutes until the peaks are just kissed by the oven and look golden brown. We need that golden color!
Tips for No Weeping Meringue Tips on Your Lemon Meringue Pie
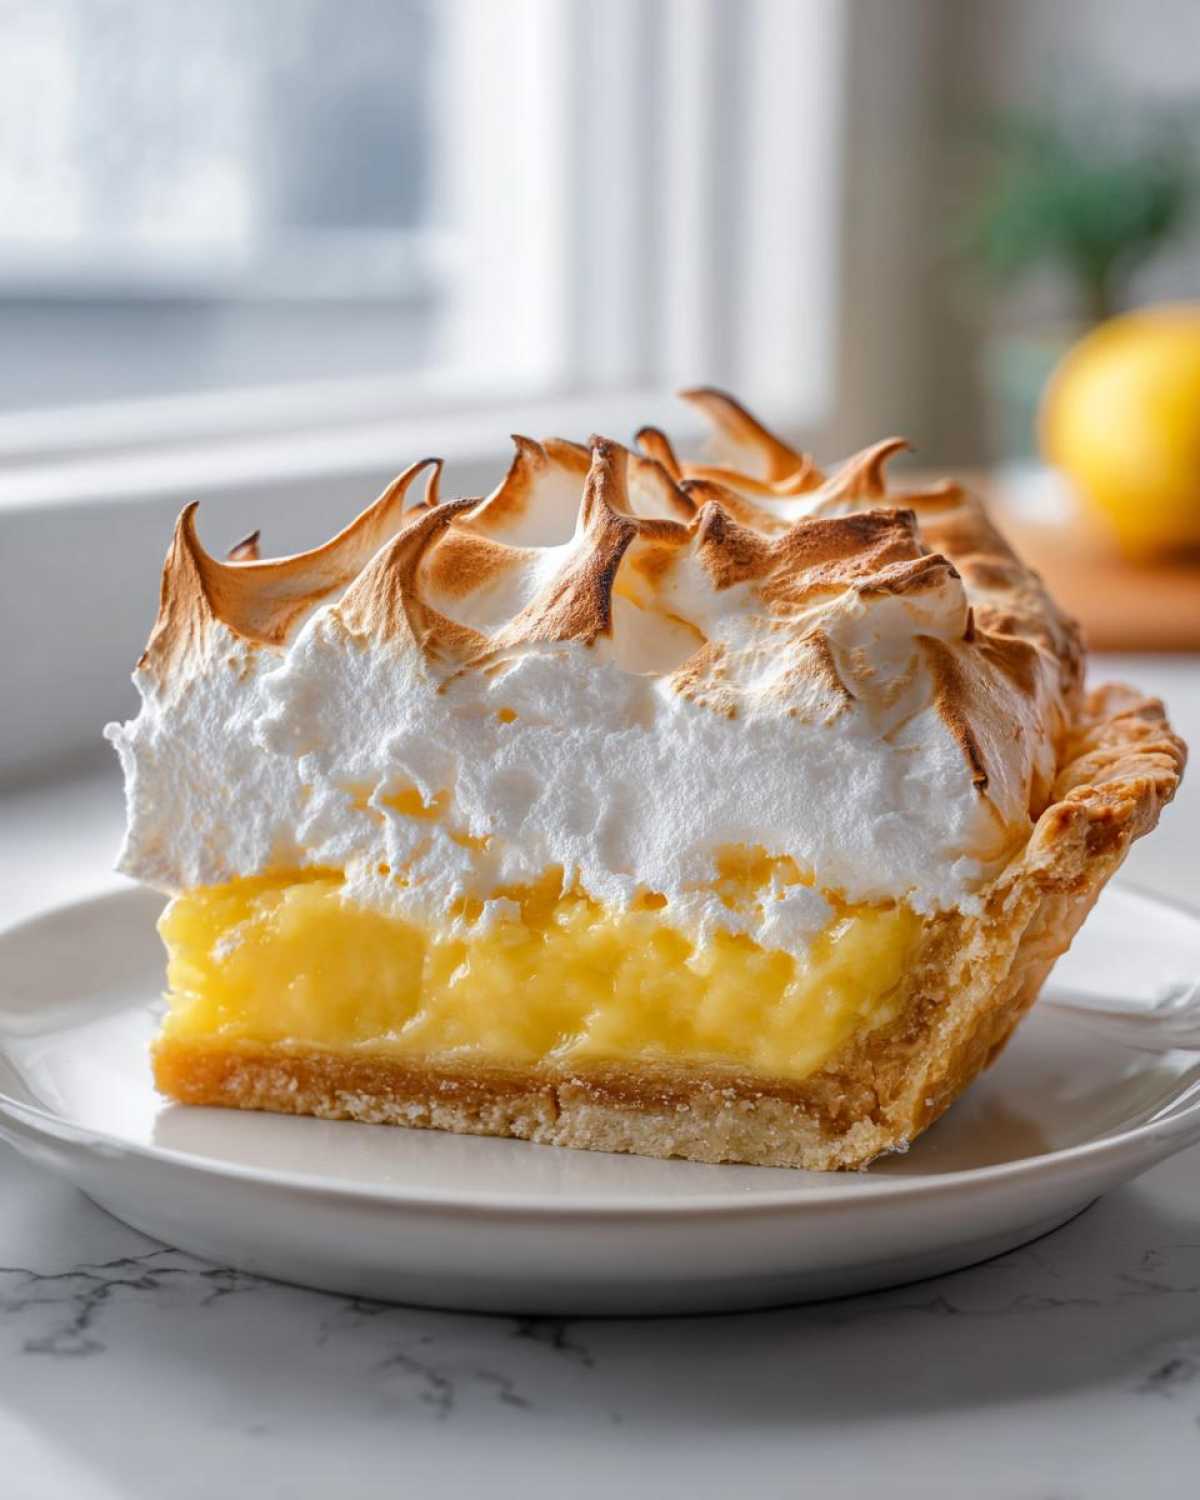
I know, I know—weeping meringue is the absolute tragedy of baking. It’s like finding a tiny puddle of syrup weeping out onto your plate right after you’ve made something beautiful! Ethan laughs because I treat my meringue science very seriously. I’ve pinpointed a few extra tricks beyond what’s in the recipe steps to ensure your stunning topping stays glorious.
When you’re finishing up your pie, remember these key things to avoid that sad puddle:
- Seal the Deal: When you spread the meringue, you absolutely must push it right down against the cooled edge of the crust. That seal traps the heat and moisture in the lemon layer, preventing it from bubbling up and separating from the meringue.
- Slow Cooling is Your Friend: Resist the urge to slam your glorious pie into the fridge immediately! Rapid temperature change is a major trigger for weeping. Let it cool down slowly on the counter for at least four hours. You can find more deep dives on speedy vs. slow cooling here on my blog.
- Check your sugar: Make sure you use the right amount for the meringue, but don’t overbeat! Too much air trapped in super-stiff peaks can lead to cracks and weeping later on.
Follow those three rules, and your *No Weeping Meringue Tips* strategy will pay off big time!
Storage and Serving Suggestions for Your Showstopping Dessert
We made it! Your *Showstopping Dessert* is finished baking. Now, we have to treat it right for slicing. Remember what I said about cooling slowly? Keep it on the counter, away from drafts, for at least four hours. If you chill it too fast, the meringue will cry! Store any leftovers loosely covered in the fridge, but honestly, this pie is best eaten the day it’s made. When serving, just a little dusting of lemon zest or maybe seeing how my shortbread recipe pairs with a slice is all you need. Enjoy every slice!
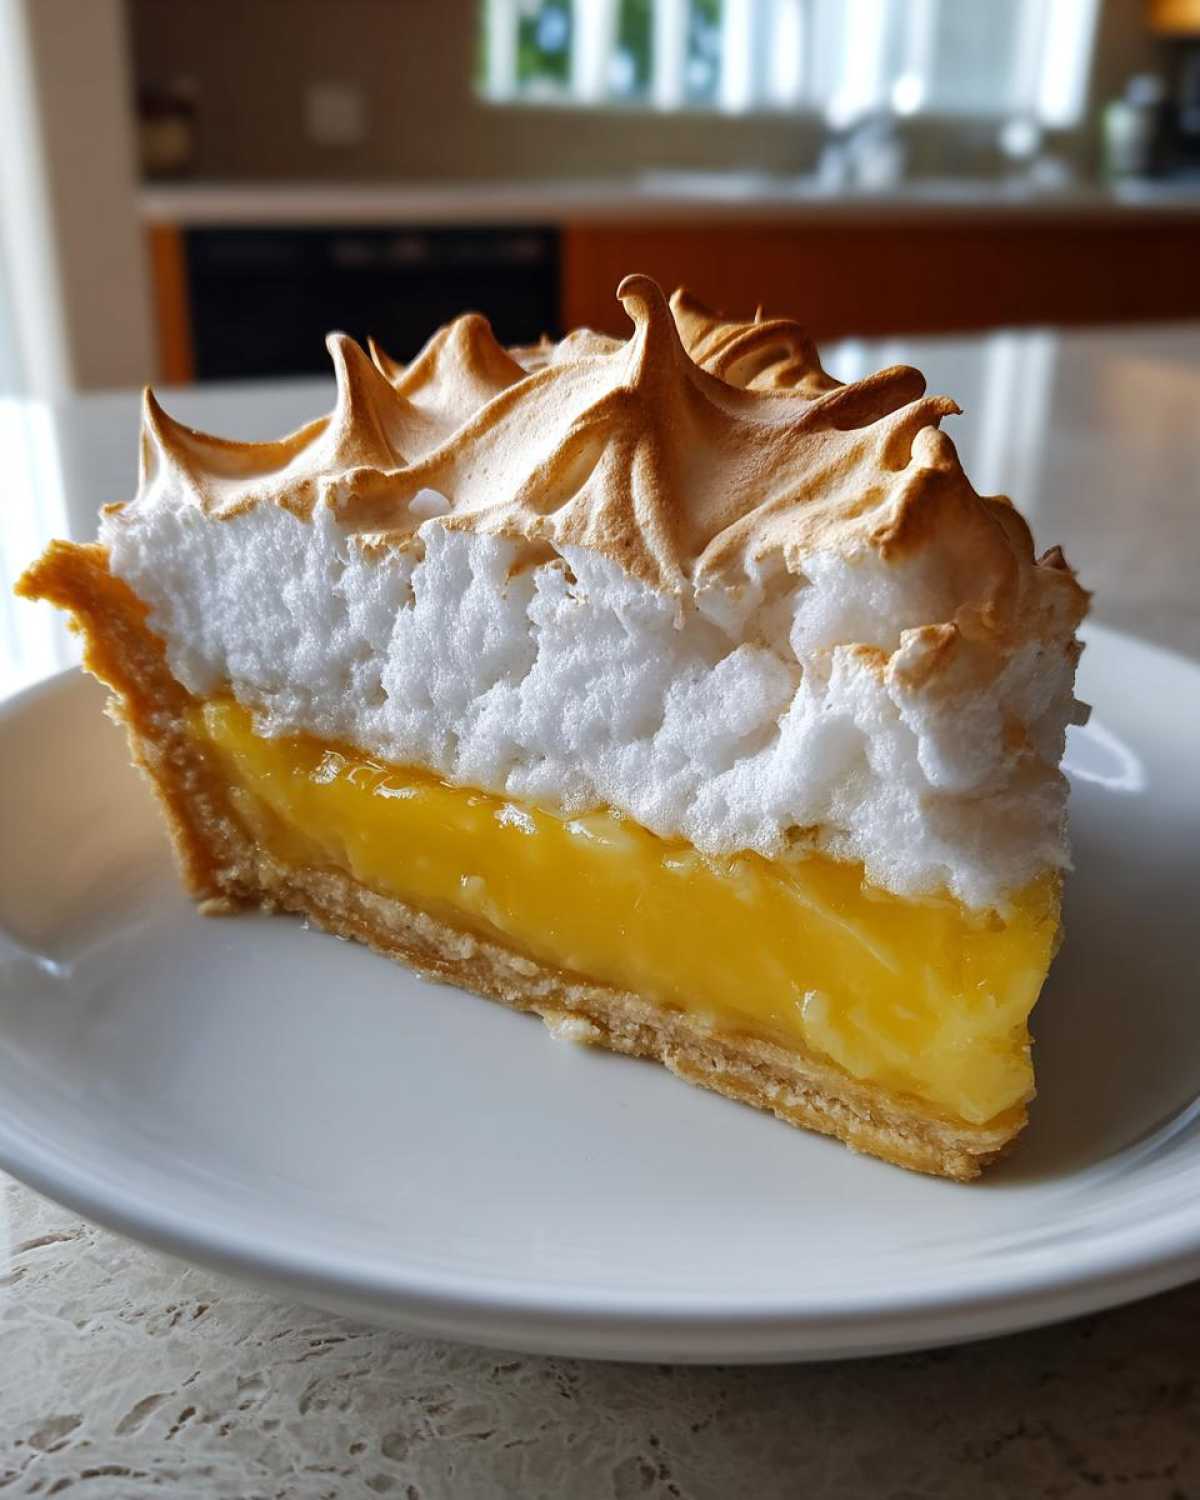
Frequently Asked Questions About Making Lemon Meringue
Can I make the lemon filling ahead of time for my Lemon Meringue Pie Recipe?
Yes, you totally can! Ethan and I often do this if we are having a crowd the next day. You cook the *From Scratch Lemon Custard* completely, pour it into your pre-baked crust, and cover it tightly with plastic wrap—make sure the wrap is touching the surface of the filling! You can chill it like that for up to two days. The key, though, is that you must top it with the meringue and bake it *the same day* you plan to serve it. Meringue does not like being stored for long periods, even on top of the filling.
What is the best way to get a golden brown meringue without burning the crust?
This is all about watching your oven! For this *Classic Lemon Meringue Pie Recipe*, we bake it at 350°F just long enough to set the meringue—usually 12 to 15 minutes. If you notice your crust edges are getting too dark before the meringue peaks have browned, that’s when you need to switch tactics. My favorite trick is to turn on the broiler for the *last 60 seconds* only. Set your pie on the highest rack and stand right there—I mean, don’t even look away! The meringue browns incredibly fast under the broiler; it’s a quick blast of heat that gives you that perfect golden color without drying out the filling underneath. Be careful; it goes from perfect to black in a flash!
Are Lemon Meringue Bars Recipe variations difficult to make?
Honestly, most variations like *Lemon Meringue Bars Recipe* or cookies are usually pretty straightforward copycats of the pie filling, just baked in a sheet pan or made into a stiffer cookie dough base. They are usually easier for beginners because bars are more forgiving when it comes to slicing! However, if you are just learning about making lemon curd and meringue, I truly recommend you master the beautiful, dramatic whole pie first. Once you nail this recipe, those bars will be a breeze! You can find the full details for this amazing pie over in the main instructions.
Estimated Nutritional Data for Classic Lemon Meringue Pie
Okay, let’s be real—this *Classic Lemon Meringue Pie* is sunshine on a plate, and sunshine usually comes with a little indulgence! Ethan always jokes that the nutrition label should just read “Pure Joy,” but since Maya the Researcher has to deliver the facts, here’s a breakdown.
Please keep in mind, these numbers are just an estimate for one generous slice based on the standard ingredients in our recipe, assuming you used a traditional buttery crust. If you swap the butter for coconut oil or something, the numbers will shift, of course!
- Serving Size: 1 slice
- Calories: 380
- Fat: 18g (with about 7g of that being saturated)
- Carbohydrates: 52g
- Sugar: 45g (Yes, for all that zest and fluffiness!)
- Protein: 6g
- Fiber: 1g
- Sodium: 150 mg
It’s definitely a treat, but when you make it entirely from scratch, avoiding all those fake powders, you know exactly where every bit of flavor is coming from. Worth every single calorie, I promise!
Share Your Tangy Sweet Dessert Creations
Now that you’ve conquered the *Classic Lemon Meringue Pie*, Ethan and I would absolutely love to hear about it! Did that meringue stand tall and proud? Please leave a rating and tell us in the comments below—we read every single one. This is truly a *Family Favorite Pie* that deserves to be shared!
If you made this sunny dessert, tag us on social media so we can see your beautiful slices! And if you ever have questions, you know we are always here to chat over on the contact page!
PrintThe Ultimate Homemade Lemon Meringue Pie: A Classic From Scratch Recipe

Make the best Lemon Meringue Pie from scratch. This recipe gives you a buttery crust, a zesty, tart lemon custard filling, and a tall, fluffy, toasted meringue topping that resists weeping.
- Prep Time: 30 min
- Cook Time: 45 min
- Total Time: 75 min
- Yield: 8 servings
- Category: Dessert
- Method: Baking
- Cuisine: American
- Diet: Vegetarian
Ingredients
- 1 recipe for Buttery Pie Crust (enough for one 9-inch bottom crust)
- 1 1/2 cups granulated sugar
- 1/3 cup cornstarch
- 1/4 teaspoon salt
- 1 1/2 cups cold water
- 4 large egg yolks, lightly beaten
- 1/2 cup fresh lemon juice (about 3 lemons)
- 1 tablespoon lemon zest
- 2 tablespoons unsalted butter
- 6 large egg whites, at room temperature
- 1/2 teaspoon cream of tartar
- 1/2 cup granulated sugar (for meringue)
Instructions
- Prepare and bake your 9-inch pie crust according to your preferred recipe until lightly golden. Let it cool completely on a wire rack.
- For the lemon custard: In a medium saucepan, whisk together the 1 1/2 cups sugar, cornstarch, and salt. Gradually whisk in the cold water until smooth.
- Cook the mixture over medium heat, stirring constantly, until it thickens significantly and begins to bubble. This takes about 5 to 8 minutes.
- In a separate bowl, whisk the 4 egg yolks. Slowly pour about 1 cup of the hot sugar mixture into the yolks while whisking constantly to temper them.
- Pour the tempered yolk mixture back into the saucepan with the remaining hot mixture. Cook over medium heat, stirring constantly, for 1 minute more until the custard is very thick. Do not let it boil rapidly.
- Remove the custard from the heat. Stir in the lemon juice, lemon zest, and butter until the butter melts completely and the filling is smooth.
- Pour the hot lemon custard into the cooled, pre-baked pie shell.
- For the fluffy meringue topping: In a large, clean, grease-free bowl, beat the 6 room-temperature egg whites with an electric mixer on medium speed until foamy.
- Add the cream of tartar and continue beating until soft peaks form.
- Gradually add the 1/2 cup sugar, one tablespoon at a time, beating well after each addition. Increase the speed to high and beat until stiff, glossy peaks form. The meringue should hold its shape firmly.
- Spread the meringue over the hot lemon filling, making sure the meringue touches the inner edge of the crust all the way around. This seals the filling and helps prevent weeping. Create decorative swirls with the back of a spoon.
- Bake the pie at 350°F (175°C) for 12 to 15 minutes, or until the meringue peaks are lightly golden brown.
- Cool the pie completely on a wire rack at room temperature for at least 4 hours before slicing. Avoid placing it in the refrigerator immediately, as rapid cooling can cause the meringue to weep.
Notes
- To prevent weeping: Make sure the meringue touches the crust edge completely to seal the filling. Also, cool the pie slowly at room temperature before chilling.
- For a stable meringue, use room-temperature egg whites and ensure your mixing bowl is completely free of any grease or egg yolk residue.
- If you want a quicker crust, you can substitute a store-bought, pre-baked 9-inch shell, but the homemade buttery crust tastes best.
Nutrition
- Serving Size: 1 slice
- Calories: 380
- Sugar: 45
- Sodium: 150
- Fat: 18
- Saturated Fat: 7
- Unsaturated Fat: 11
- Trans Fat: 0
- Carbohydrates: 52
- Fiber: 1
- Protein: 6
- Cholesterol: 110