

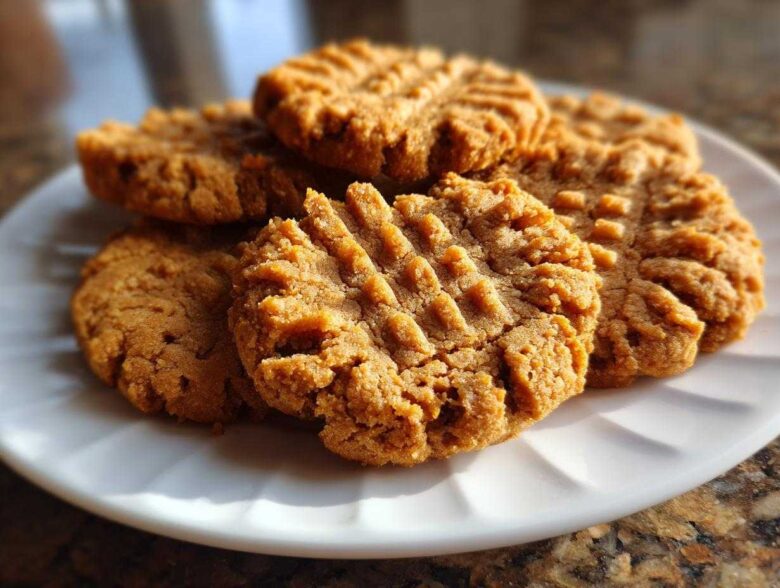
Oh, the simple joy of a perfectly baked peanut butter cookie! Seriously, nothing beats that distinct aroma filling your kitchen. Ethan loves just winging it, but as the resident researcher, I knew we needed a blueprint for those cookies that actually deliver exactly what Pinterest promises: those beautifully golden, slightly crispy edges hugging a center that is unbelievably soft and tender. After testing way too many batches—yes, I measure my sugar down to the gram sometimes—I’ve landed on this formula. This isn’t just another recipe; it’s the proven method for achieving the best peanut butter cookies every single time, giving you that iconic crosshatch pattern you crave.
Why This Recipe Delivers the Best Peanut Butter Cookies
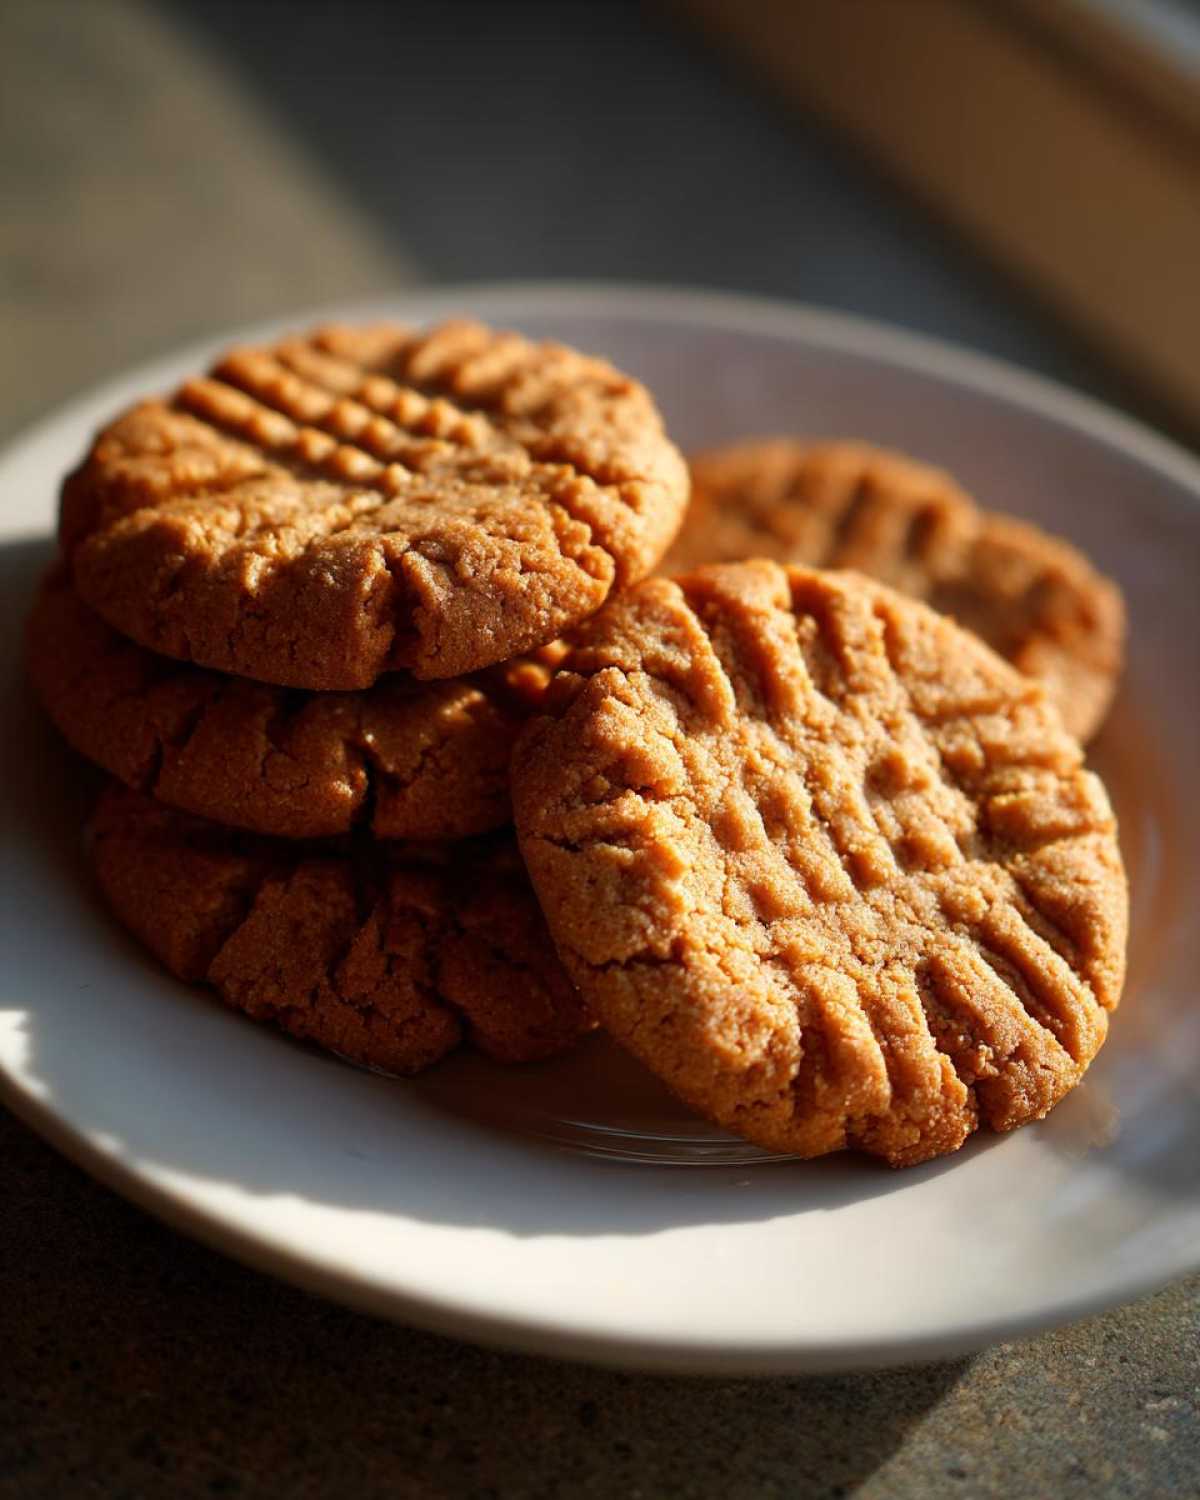
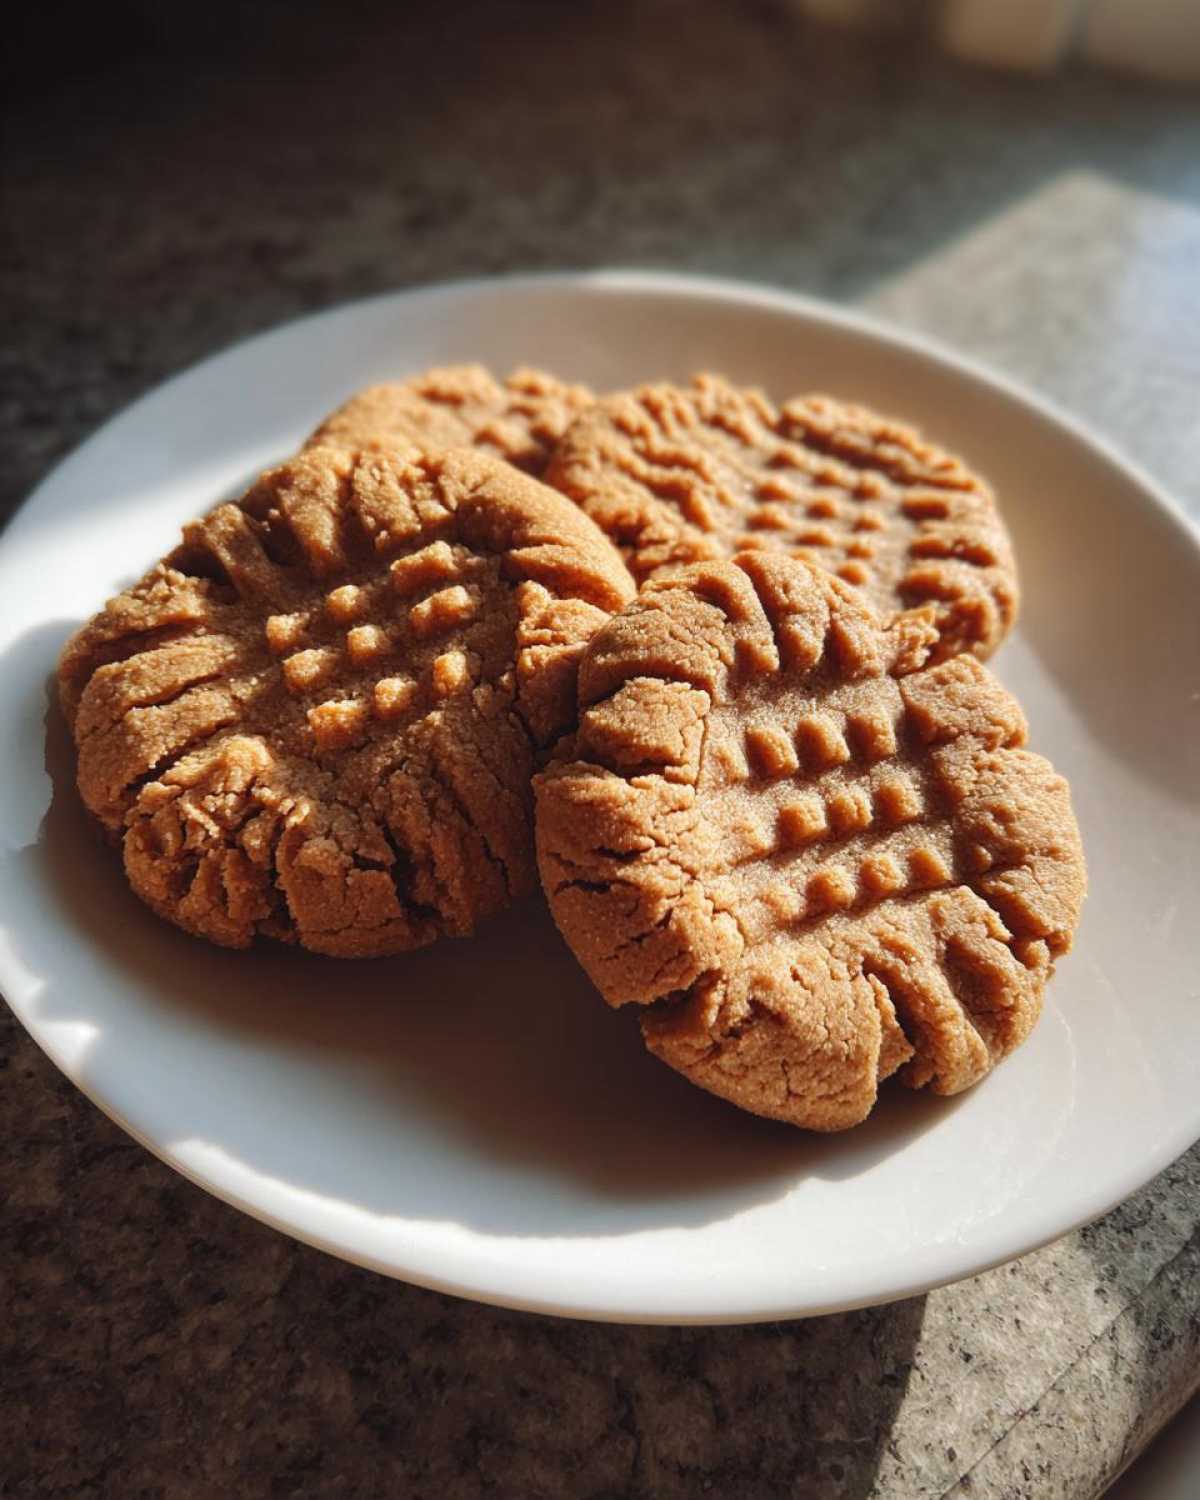
I get asked all the time: what separates the decent peanut butter cookies from the *great* ones? For us, it’s all about that incredible textural contrast. We spent weeks balancing fats and sugars to nail the recipe. We wanted edges that snap just right when you bite in, but the middle absolutely has to melt in your mouth. That’s the magic of these peanut butter cookies! I think the visual clue really helps too—that classic crosshatch pattern you see everywhere means you’ve done the technique correctly.
The Science Behind Crispy Tender Cookies
See, the balance between white sugar and brown sugar is crucial here. Ethan kept wanting to just throw in more peanut butter, but the research showed that the right ratio of those two sugars is what controls the spread and the final crispness. When you cream the fats and sugars long enough, you incorporate air that helps them set beautifully. This is how we guarantee you end up with the perfect crispy tender cookies that disappear instantly!
Gathering Ingredients for Your Classic Peanut Butter Cookies
Okay, now that we know the goal—those unbelievably good peanut butter cookies—we need the right components. Ethan always says that following the measurements exactly is my superpower, and that’s what this section is all about! I’ve listed everything right here because precision matters when trying to achieve that perfect home-baked standard. Remember, a great cookie starts with great starting materials, so please don’t try to eyeball that flour measurement!
- 1 cup (2 sticks) unsalted butter, softened
- 1 cup creamy peanut butter
- 1 cup granulated sugar
- 1 cup packed light brown sugar
- 2 large eggs
- 1 teaspoon vanilla extract
- 1 teaspoon baking soda
- 1/2 teaspoon baking powder
- 1/2 teaspoon salt
- 3 cups all-purpose flour
Ingredient Notes and Substitutions
When we tested this batch for our classic cookie recipes file, we found that using standard, processed creamy peanut butter worked best because its added sugar and oils help structure the cookie and prevent excessive spreading. If you use natural peanut butter, the oils separate easily, so you might need to chill the dough for an extra 15 minutes. Another quick note: make sure that butter is truly softened—it should yield slightly when pressed but not look greasy or melted. That soft texture is key for the creaming step coming up next!
Step-by-Step Instructions for Perfect Peanut Butter Cookies
Alright, time to roll up our sleeves and make magic happen! I’ve broken down the process for these classic cookie recipes into manageable chunks. I promise, if you follow these steps for our peanut butter cookies, you won’t mess them up. First things first: get that oven warmed up to 350°F (175°C) and line those baking sheets with parchment paper. Trust me, parchment paper is the unsung hero of my life; it makes cleanup such a breeze!
Creaming Wet Ingredients: The Texture Foundation
This is where we set the stage for success. We need to cream together your softened butter, both sugars, and that gorgeous peanut butter until it’s genuinely light and fluffy. I mean, really beat it up! It should look almost pale yellow and noticeably airy. Ethan, my Chief Flavor Officer, always tells me, “Maya, stop researching and just feel it! When the mixture holds its shape briefly on the spoon but feels airy, you’re golden.” That air means a tender cookie, not a brick!
Forming and Finishing Your Homemade Peanut Butter Cookies
Once the dry stuff is mixed in—and please, don’t overmix!—it’s time for the fun part. Scoop your dough into balls that are about 1.5 tablespoons each. Give them a little space, about 2 inches apart, on that parchment-lined sheet. Now for the signature move for all homemade peanut butter cookies: take a fork and press down once to flatten, then turn the fork 90 degrees and press down again to create that iconic crosshatch. This pattern isn’t just pretty; it helps the cookie bake evenly from the center out, which is how we get those perfect edges!
Baking Time and Cooling for Optimal Peanut Butter Cookies
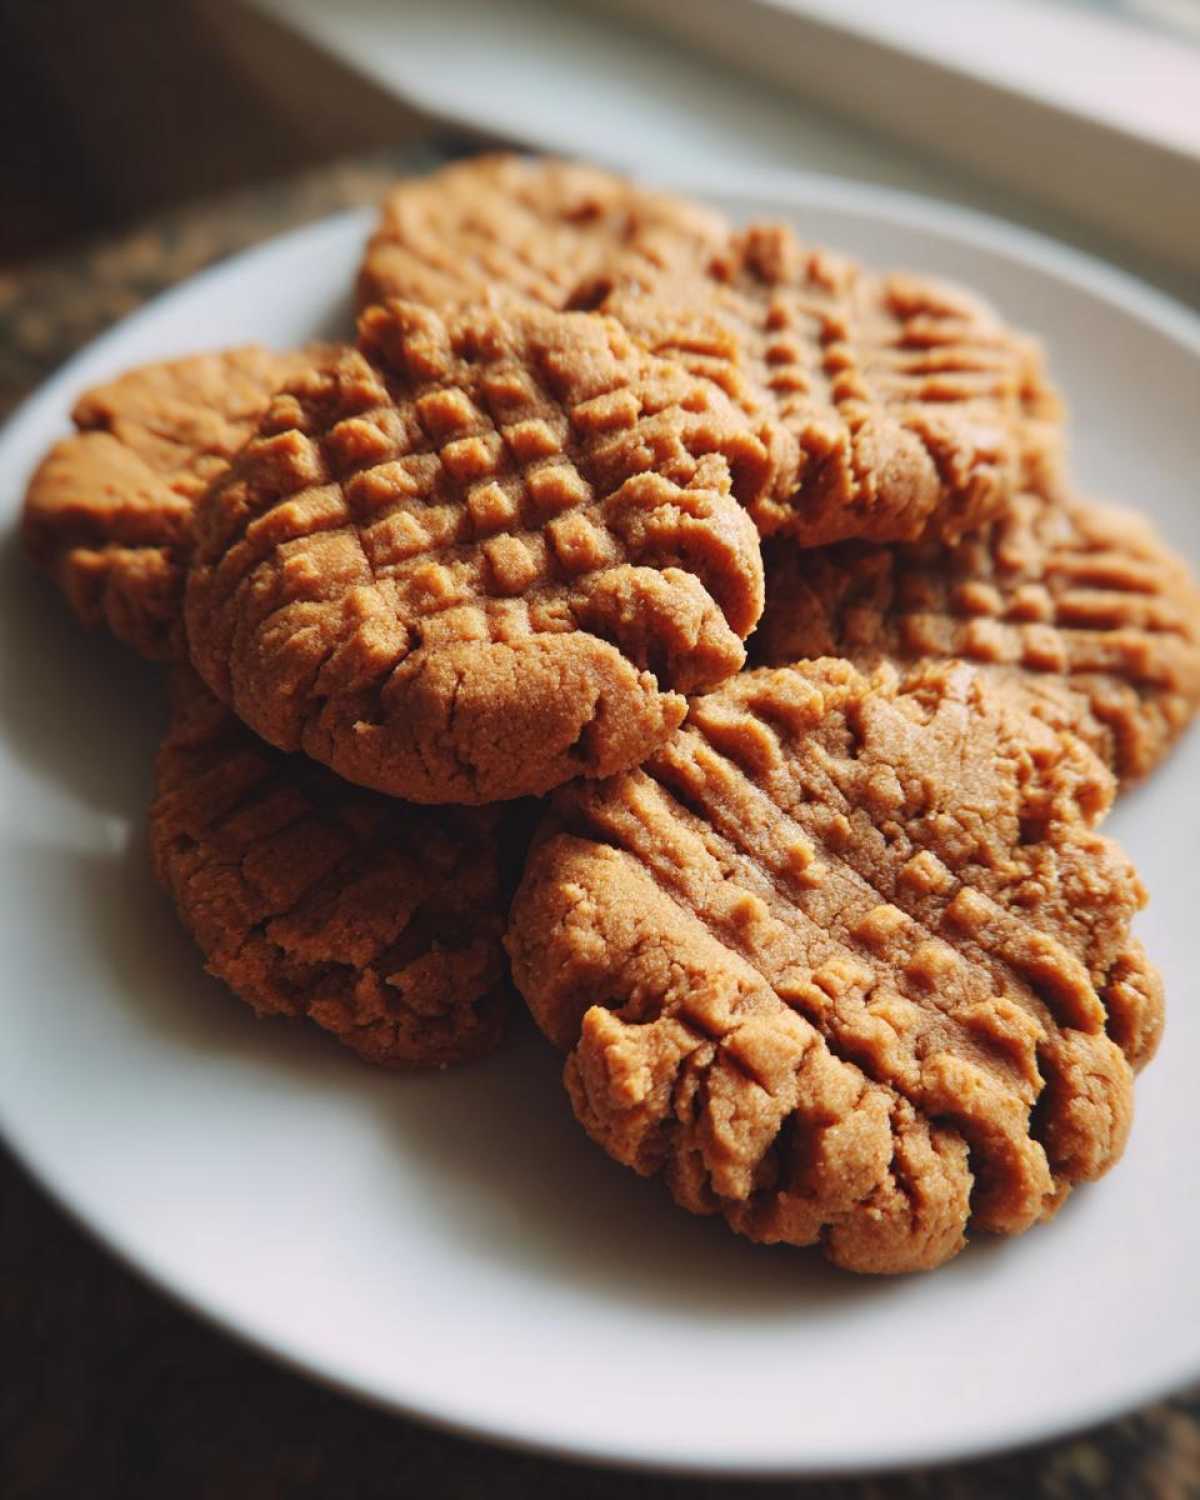
The moment of truth! You’ve got your perfectly patterned balls ready to go. For these peanut butter cookies, we aren’t looking for rock-hard tops. Pop them into that preheated 350°F oven for just 10 to 12 minutes. You want to see the edges set up nicely and just start turning a light golden brown. Seriously, don’t walk away; they go from perfect to overdone in like 30 seconds flat! The center might still look a tiny bit soft when you pull them out, and that’s totally okay—that’s the secret to the tender middle.
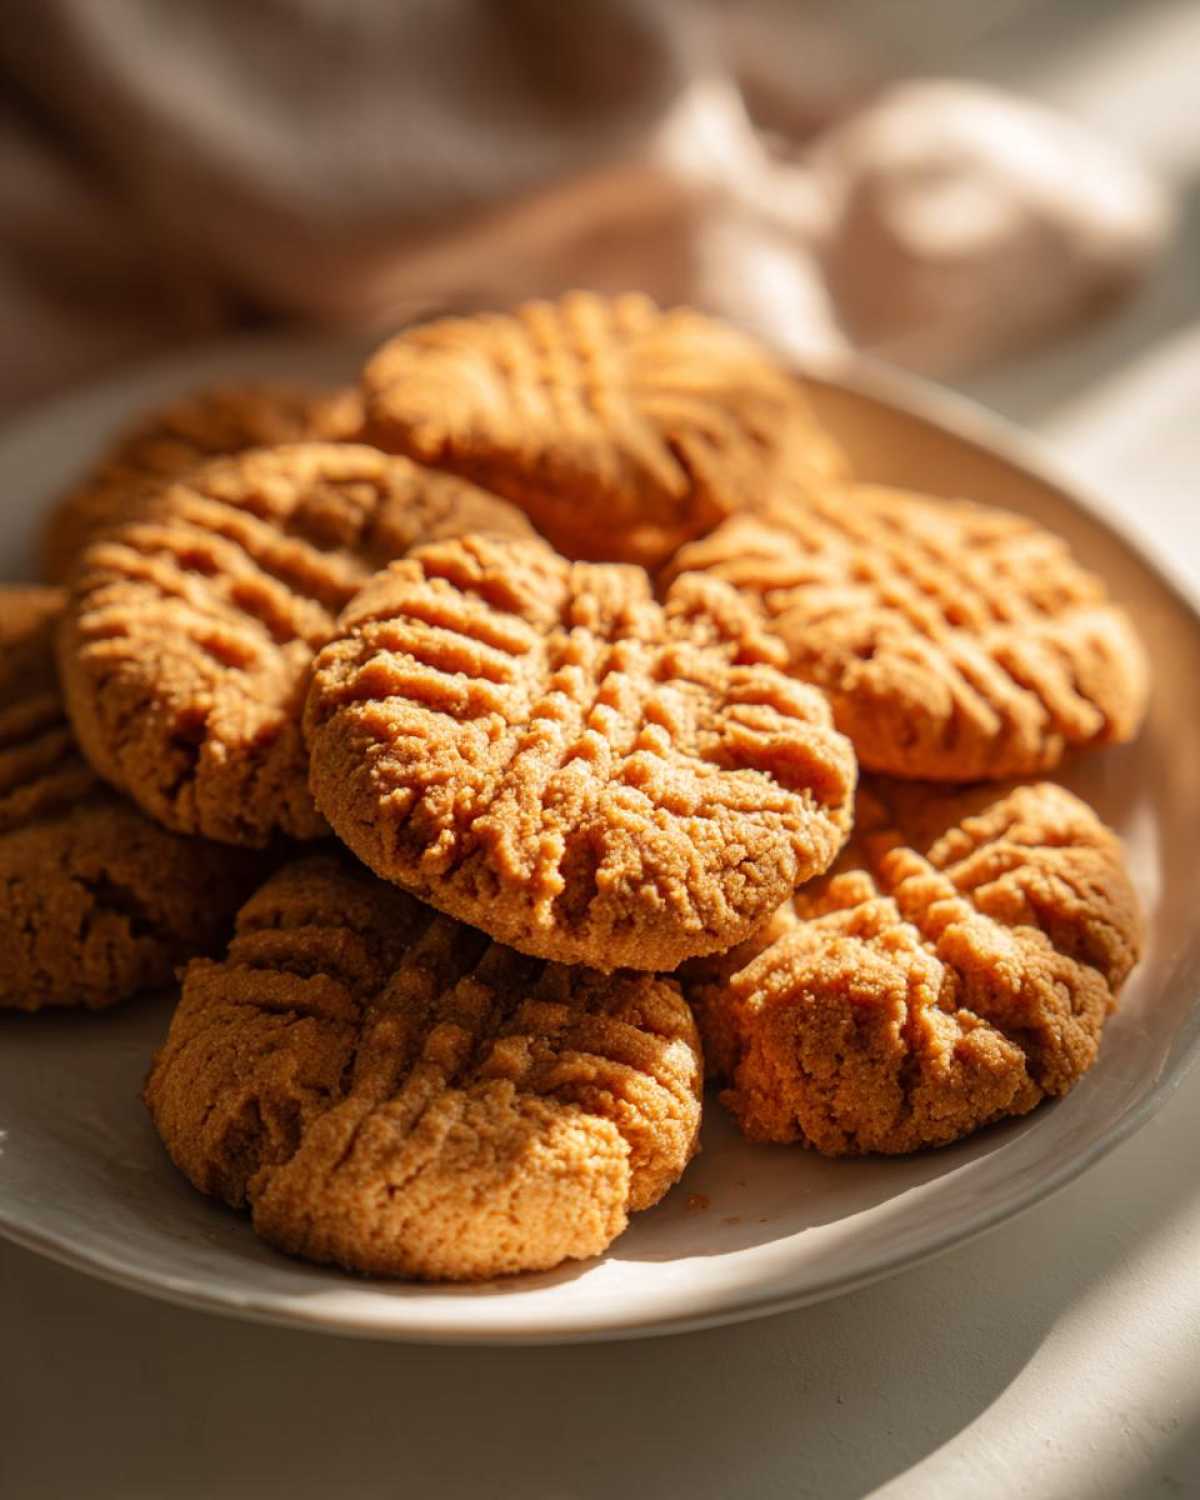
Now, here’s where so many people mess up their peanut butter cookies: don’t rush the cooling process! You absolutely must let them sit right there on the hot baking sheet for a solid 5 minutes after they come out. The residual heat finishes baking those centers perfectly without drying them out, and it gives them the structure they need. If you try to move them immediately, they’ll just droop sadly. After those 5 minutes, carefully scoop them onto a wire rack to cool completely. That short rest on the pan is non-negotiable for that crispy edge texture!
Tips for Success with Classic Peanut Butter Cookies
Ethan and I have gathered a few little “Tasty Tips” over the years that really elevate these classic peanut butter cookies from great to “hide the plate so the kids don’t find them” status! These are the little tweaks that usually fix the snags people run into. If you have questions after baking, feel free to reach out to us at our contact page!
If your kitchen is warm—maybe you’re baking on a summer afternoon—please don’t skip chilling the dough! I know it adds another step, but if the dough is too warm, the added fats melt too fast in the oven, and you end up with flat, greasy discs instead of perfectly shaped cookies. Chilling for just 30 minutes firms up that buttery, peanut-buttery dough so it holds its shape beautifully when you press that fork into it.
Also, a little shout-out to extra flavor: if you use a natural, unsweetened peanut butter, the flavor profile really deepens, which Ethan loves. And for that slightly chewier bite, just pull them out one minute earlier than the recipe calls for—that ensures the center stays wonderfully soft!
Storage and Reheating Instructions for Peanut Butter Baking
The temptation is real, I know! You want to eat all these amazing peanut butter cookies right now, but trust me, they taste just as good—maybe even better—on day two. We usually store them in just a regular airtight container on the counter. Seriously, no need to refrigerate these peanut butter baking classics unless your house is super hot! The combination of the sugars and fats keeps them fresh at room temperature for a good four or five days. I haven’t tried reheating them much, but if needed, just 10 seconds in the microwave should soften them right up!
Serving Suggestions for These Traditional Cookies
These traditional cookies are built on perfection, but what you serve them with can elevate the whole experience, right? Ethan insists that every cookie needs a proper beverage partner. The ultimate classic pairing is, of course, a tall, cold glass of whole milk—nothing beats that cool, creamy contrast to the sweet, slightly salty peanut butter. If you’re having these in the afternoon, a strong cup of black coffee works wonders, as the bitterness cuts right through the richness. Honestly, though, my favorite way to indulge is by dipping them straight into a mug of warm hot chocolate. You can check out our favorite recipe for that rich French hot chocolate if you’re feeling extra fancy!
Frequently Asked Questions About the Best Peanut Butter Cookies
I always get questions after people bake these cookies for the first time, which is exactly what I love! It means you’re diving in and trying something new. Here are a few things Ethan and I hear most often about achieving the absolute best peanut butter cookies. Don’t stress if you run into a small hiccup; that’s how we learn!
Why didn’t my peanut butter cookies get the crosshatch marks?
This almost always comes down to two things, my friend. First, if your dough balls are too warm or too soft, they just smoosh flat when you press the fork down, and the tines won’t leave distinct marks. That’s why I stressed chilling the dough if your kitchen is warm! Second, make sure you press down firmly when you do the first press, and then firmly again when you turn the fork 90 degrees. You need a bit of muscle to make those lines show up against the dough’s surface.
Can I use crunchy peanut butter in this recipe?
Oh, absolutely, you can! Ethan loves using crunchy peanut butter because it adds little surprise nuggets of texture. Just know that it WILL change the final texture a bit compared to these best peanut butter cookies, which use creamy for a smoother center. The crunchy bits might even make the cookie spread a tiny bit more, so if you use crunchy, definitely give the dough those recommended 30 minutes in the fridge before scooping. It helps keep everything tidy!
What if my cookies spread too much while baking?
If your cookies spread out into thin pancakes before they even start setting, that’s a temperature issue, usually! It means your butter and peanut butter mixture were either too warm to start with, or your oven wasn’t quite up to 350°F when they went in. To fix this next time, chill the dough for a minimum of 30 minutes. That solid, cold dough takes longer to melt, giving the dry ingredients time to set up and keep that signature thick shape.
Share Your Experience Making Our Peanut Butter Cookies
Phew! We made it through the blueprint for seriously amazing peanut butter cookies! Now, the best part of sharing these classic cookie recipes is hearing from you. Did they turn out exactly the way you dreamed—crispy edges and that soft, tender middle? I truly hope so!
Don’t just bake them and forget them! We here at Tasty Tipster thrive on seeing your results. If you tried these, please hop down into the comments below and leave a rating. Ethan is always curious to see which batch turns out the fluffiest!
If you made any little tweaks—maybe you added a sprinkle of sea salt on top before baking, or perhaps you used a crunchy peanut butter batch—tell us about it! We love hearing about your own little kitchen twists that make the recipe personal to you. And if you know someone else who needs the definitive guide to classic cookie recipes in their life, send this one their way!
PrintClassic Crispy-Tender Peanut Butter Cookies
Follow this straightforward recipe for the best peanut butter cookies, achieving perfect golden edges and soft centers every time with the classic crosshatch pattern.
- Prep Time: 15 min
- Cook Time: 12 min
- Total Time: 27 min
- Yield: About 3 dozen cookies
- Category: Dessert
- Method: Baking
- Cuisine: American
- Diet: Vegetarian
Ingredients
- 1 cup (2 sticks) unsalted butter, softened
- 1 cup creamy peanut butter
- 1 cup granulated sugar
- 1 cup packed light brown sugar
- 2 large eggs
- 1 teaspoon vanilla extract
- 1 teaspoon baking soda
- 1/2 teaspoon baking powder
- 1/2 teaspoon salt
- 3 cups all-purpose flour
Instructions
- Preheat your oven to 350°F (175°C). Line baking sheets with parchment paper.
- In a large bowl, cream together the softened butter, peanut butter, granulated sugar, and brown sugar until light and fluffy. This step is important for texture.
- Beat in the eggs one at a time, then stir in the vanilla extract.
- In a separate medium bowl, whisk together the flour, baking soda, baking powder, and salt.
- Gradually add the dry ingredients to the wet ingredients, mixing on low speed until just combined. Do not overmix the dough.
- Scoop the dough into balls, about 1.5 tablespoons each, and place them 2 inches apart on the prepared baking sheets.
- Use a fork to press down on each dough ball to create a crisscross pattern. This classic cookie recipe feature helps them bake evenly.
- Bake for 10 to 12 minutes, or until the edges are set and lightly golden. The centers may look slightly underdone.
- Let the cookies cool on the baking sheet for 5 minutes before transferring them to a wire rack to cool completely.
Notes
- For extra flavor, use a natural, unsweetened peanut butter.
- If you prefer a chewier cookie, slightly underbake them by one minute.
- Chill the dough for 30 minutes before scooping if your kitchen is warm; this prevents spreading.
Nutrition
- Serving Size: 1 cookie
- Calories: 180
- Sugar: 14
- Sodium: 110
- Fat: 10
- Saturated Fat: 4
- Unsaturated Fat: 6
- Trans Fat: 0
- Carbohydrates: 21
- Fiber: 1
- Protein: 4
- Cholesterol: 25