

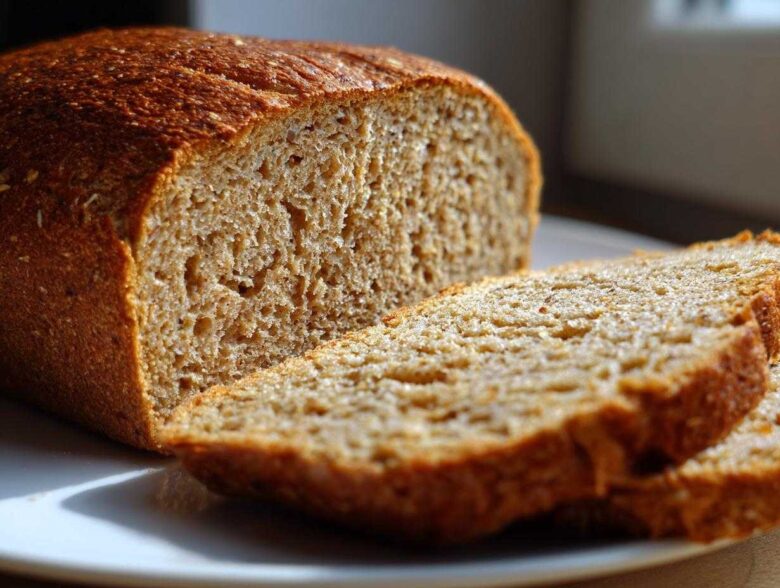
Is there anything better than the smell of real, honest-to-goodness bread baking in your kitchen? Honestly, I don’t think so. That warm, nutty aroma just wraps around you like a blanket. But when you talk about whole wheat bread, sometimes people picture loaves that are dense, dry, and frankly, a little sad. Well, forget all that stuff! Ethan and I cracked the code on making the softest, heartiest whole wheat bread right here at home, and yes, it’s totally beginner-friendly.
Because I’m Maya, the researcher of this operation, I spent weeks cross-referencing yeast activation times and flour ratios to make sure this recipe absolutely nails that fluffy interior every single time. This isn’t just a recipe; it’s a tested blueprint guaranteeing that first slice is pure comfort. Trust me, this is the loaf you’ll want for all your sandwiches and morning toast. If you’re looking for other simple loaves, check out our secrets for easy no-knead dutch oven bread next!
Why This Easy Homemade Whole Wheat Bread Recipe Works
I know, I know—whole wheat bread can be a gamble. You’re looking for that wholesome, hearty flavor but you certainly don’t want to chew through a brick! Ethan’s family usually favors instinct, but my research phase made sure this whole wheat bread recipe delivers softness *and* structure. We avoid the dense trap completely. It’s honestly the perfect loaf for anyone just starting their baking journey. Take a look below at why this method just works so well.
- It’s genuinely beginner-friendly; no fancy equipment needed!
- We get that amazing, nutty whole wheat flavor without crushing texture.
- The flavor develops beautifully during the long rise times.
For more reasons why we love sharing our best tested recipes, hop over to our main blog page.
Achieving the Perfect Soft Whole Wheat Bread Texture
The secret weapon here isn’t complicated—it’s the marriage of our flours. We use a blend of whole wheat flour for that nutrition and deep flavor, but we mix in some all-purpose flour too. That’s my little nod to structure! The all-purpose flour gives the gluten a little helping hand, keeping the dough supple during kneading and ensuring you don’t end up with a dense, sad slice. Plus, that thorough kneading we talk about later traps all those lovely air bubbles for a light, even crumb.
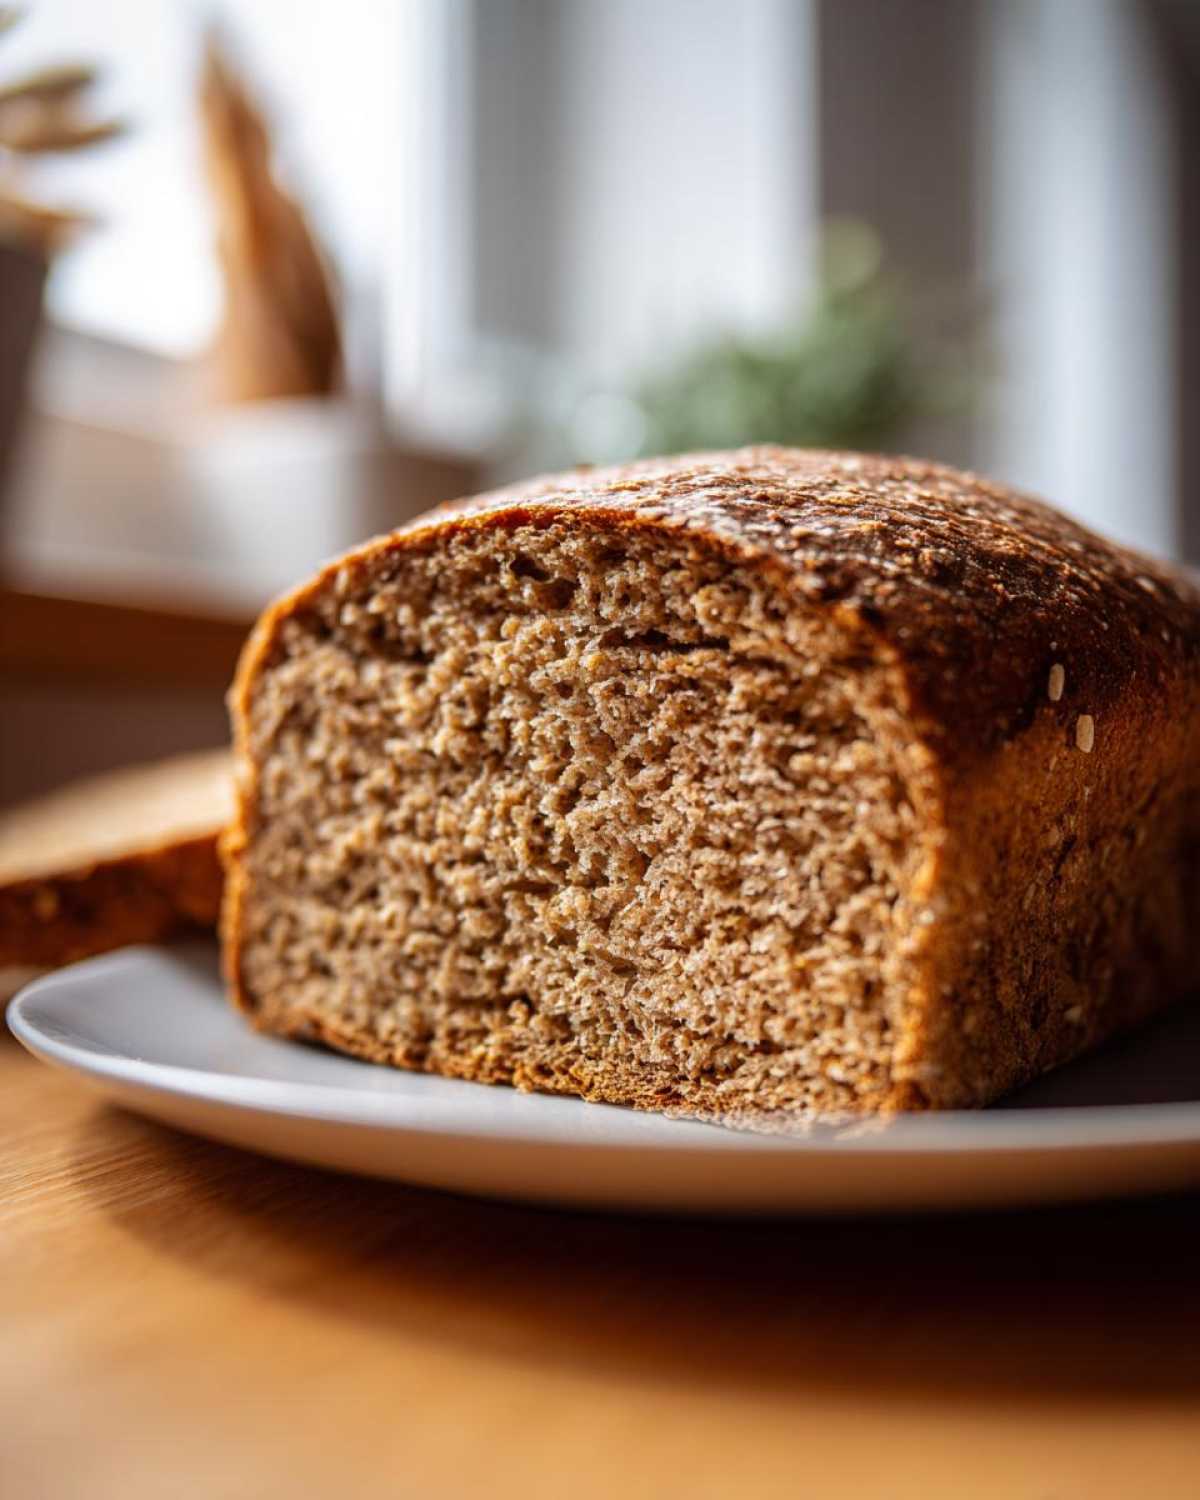
Ingredients for Your Hearty Whole Wheat Bread Loaf
Okay, listen up! When we talk about baking incredible whole wheat bread, the ingredients have to be spot-on. Ethan always reminds me that sticking to the exact measurements is what turns my research into foolproof baking. You don’t need much fancy stuff, but precision matters, especially with the water temperature for waking up that yeast. Don’t skip softening that butter either; cold butter will throw off the whole dough consistency!
Here’s exactly what you need for one amazing loaf:
- 1 cup warm water (make sure it’s between 105-115 degrees F—not too hot!)
- 2 1/4 teaspoons active dry yeast
- 1/4 cup honey
- 2 tablespoons unsalted butter, softened
- 1 1/2 teaspoons salt
- 3 cups whole wheat flour, plus more for dusting
- 1/2 cup all-purpose flour, plus more for dusting
If you want to see how we use honey in other amazing recipes, take a peek at the glaze on our sweet potato cornbread recipe!
Flour Selection for Whole Wheat Bread
This is where my investigative work really paid off! You can’t just toss in three cups of just whole wheat flour and expect magic; it gets too heavy, too fast. We rely on the 3 cups of whole wheat flour for that hearty, nutty flavor you crave, but we always include that 1/2 cup of all-purpose flour. That white flour is essential because it gives the dough the structure—the elasticity—it needs to stretch when kneading and trap those gases during rising. It’s our secret to making sure this homemade bread isn’t chewy, but soft and perfectly textured!
Step-by-Step Instructions for Baking Whole Wheat Bread
Alright, Maya’s research time is over—now it’s time to get our hands dirty! Baking this whole wheat bread is incredibly rewarding, but you have to follow the steps in order. Ethan keeps reminding me that if you rush the rises, you rush the flavor, so be patient here. The temperature of that water is seriously critical right at the start. If it’s too hot, you kill the yeast; too cold, and it just sulks! We want happy, bubbly yeast.
Once the dough starts coming together, don’t panic if it looks a little shaggy. That’s totally normal for whole wheat flour! Keep working it until the texture feels right. If you need a refresher on other yeast techniques, our guide on easy no-knead dutch oven bread goes into yeast activation in detail.
Activating Yeast and Mixing the Dough
This is where we wake up our little microbes. In your biggest bowl, dissolve that yeast right into the warm water. You have to wait about five minutes, and I mean *wait*! When you see foam or froth bubbling up on the surface, that’s the visual cue telling you the yeast is alive and ready to go to work. Once that happens, stir in your honey, softened butter, and salt. Then, start adding the whole wheat flour slowly, mixing until you see a shaggy mess forming up. Once that mostly comes together, we add the all-purpose flour to bind it all.
Kneading and First Rise for Whole Wheat Bread
Time to knead! Turn that shaggy mass onto your counter—lightly floured, of course, but don’t go crazy adding flour, or you’ll dry out your lovely dough. You need to commit to kneading this for a solid 8 to 10 minutes. I know it feels long! I always check the elasticity by poking it gently; if the dough springs back slowly, it’s perfect. After kneading, lightly grease a clean bowl, set the dough inside, and let it have its first big rest. Cover it up tight and find a warm, draft-free spot. You’re looking for it to double in size—that usually takes between 1 to 1.5 hours, but smell it—it should smell beautifully yeasty!
Shaping and Second Proofing
Once it’s doubled, gently punch that air out—it feels a little sad, but it’s necessary! Shape it into a tight little log (or whatever shape fits your loaf pan) and tuck it gently into your greased 9×5 inch pan. Now, we let it chill out and proof again. This second rise is shorter, maybe 30 to 45 minutes. The goal here is for the dough to crown about 1 inch over the rim of the pan. When it looks like it’s just kissing the top edge, it’s ready for the oven!
Baking Your Perfect Whole Wheat Bread Loaf
We are so close to slicing into that gorgeous, homemade whole wheat bread! Right around the time your dough is finishing its second rise, go ahead and preheat your oven to 375 degrees F (that’s 190 degrees C). Give it a good 15 minutes to ensure it’s fully, evenly hot. When you slide that pan in, you’re baking for about 30 to 35 minutes.
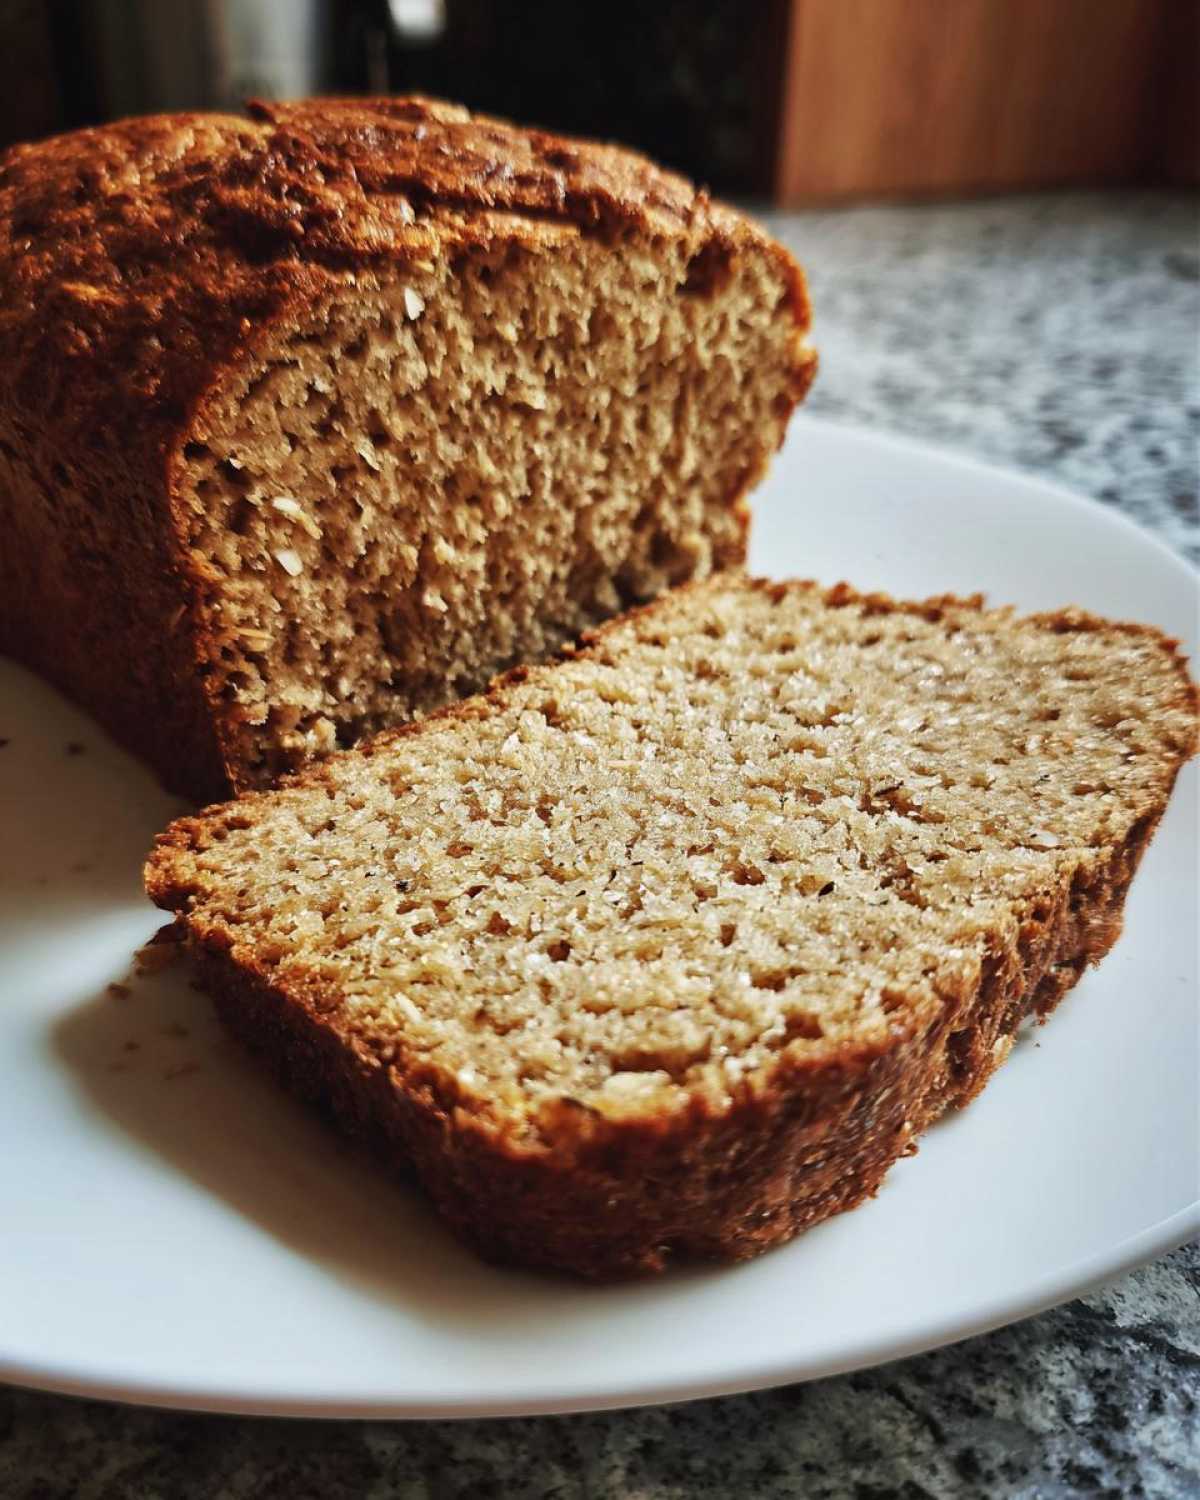
Now, here’s the big research point, the one Ethan always laughs at me for obsessing over: don’t just rely on the color! A beautiful golden brown crust is great, but the only way to guarantee your loaf is cooked through without drying it out is using a thermometer. Stick it right into the center of the loaf—it needs to hit 200 degrees F. That number means the starches have set and your bread is done baking to perfection. Pull it out immediately, get it out of the pan right away, and let it cool completely on a wire rack. I know it’s torture waiting, but slicing hot bread turns the inside gummy!
If you’re looking for tips on keeping other savory dishes moist, like our amazing meatloaf, check out the secrets we share for making juicy meatloaf!
Expert Tips for Making the Best Whole Wheat Bread
Okay, now that you have the blueprint, Ethan and I want to share a few of our favorite little hacks that really elevate this whole wheat bread from just “good” to “you’ll never buy bread again” status. These are the things we do almost every single time because they make a noticeable difference in the final product. Even though my research usually guides the structure, these small touches are where Ethan’s instincts shine through. These tips are all about maximizing flavor and handling the dough just right.
We gathered these little secrets from our testing notes and even saw similar amazing loaves on Pinterest, like the healthy homemade bread shared over at Goodies Recipes. These aren’t major recipe changes, just expert tweaks to make your baking life easier and tastier!
Crust Softening and Flavor Adjustments
This first tip is for when you pull that beautiful loaf out of the oven at 200 degrees F. The crust will be firm, which is great, but if you want that soft, squishy texture that reminds you of the best sandwich bread, do this immediately: brush the top of the hot loaf with melted butter. Just a small amount, quickly brushed on, locks in moisture and softens the exterior beautifully. It smells divine, too!
Also, if you are baking this whole wheat bread for kids or just have a major sweet tooth like Ethan, don’t be afraid to sweeten things up! We found that increasing the honey from 1/4 cup to 1/3 cup makes for a slightly sweeter loaf that still has great structure. It really complements the natural nuttiness of the whole wheat flour perfectly.
Creating the Ideal Warm Environment for Rising
I live in the Midwest, and let me tell you, cold kitchens are the enemy of yeast! If your kitchen feels chilly—and you know if it is—that dough might take three hours to double instead of one! Here’s my best research-backed trick for creating the perfect cozy spot when the weather isn’t cooperating. Turn your oven light on, but leave the oven *off*. Seriously, just the light bulb generates just enough warmth to create a little tropical paradise in there for your dough to proof happily.
We always cover the bowl tightly so it doesn’t dry out while it’s enjoying its warm bath. This saves so much time and stress, especially for the first rise! For more background on how Ethan and I blend our kitchen philosophies, you can always read up on us over at our About Us page.
Storage and Reheating Whole Wheat Bread
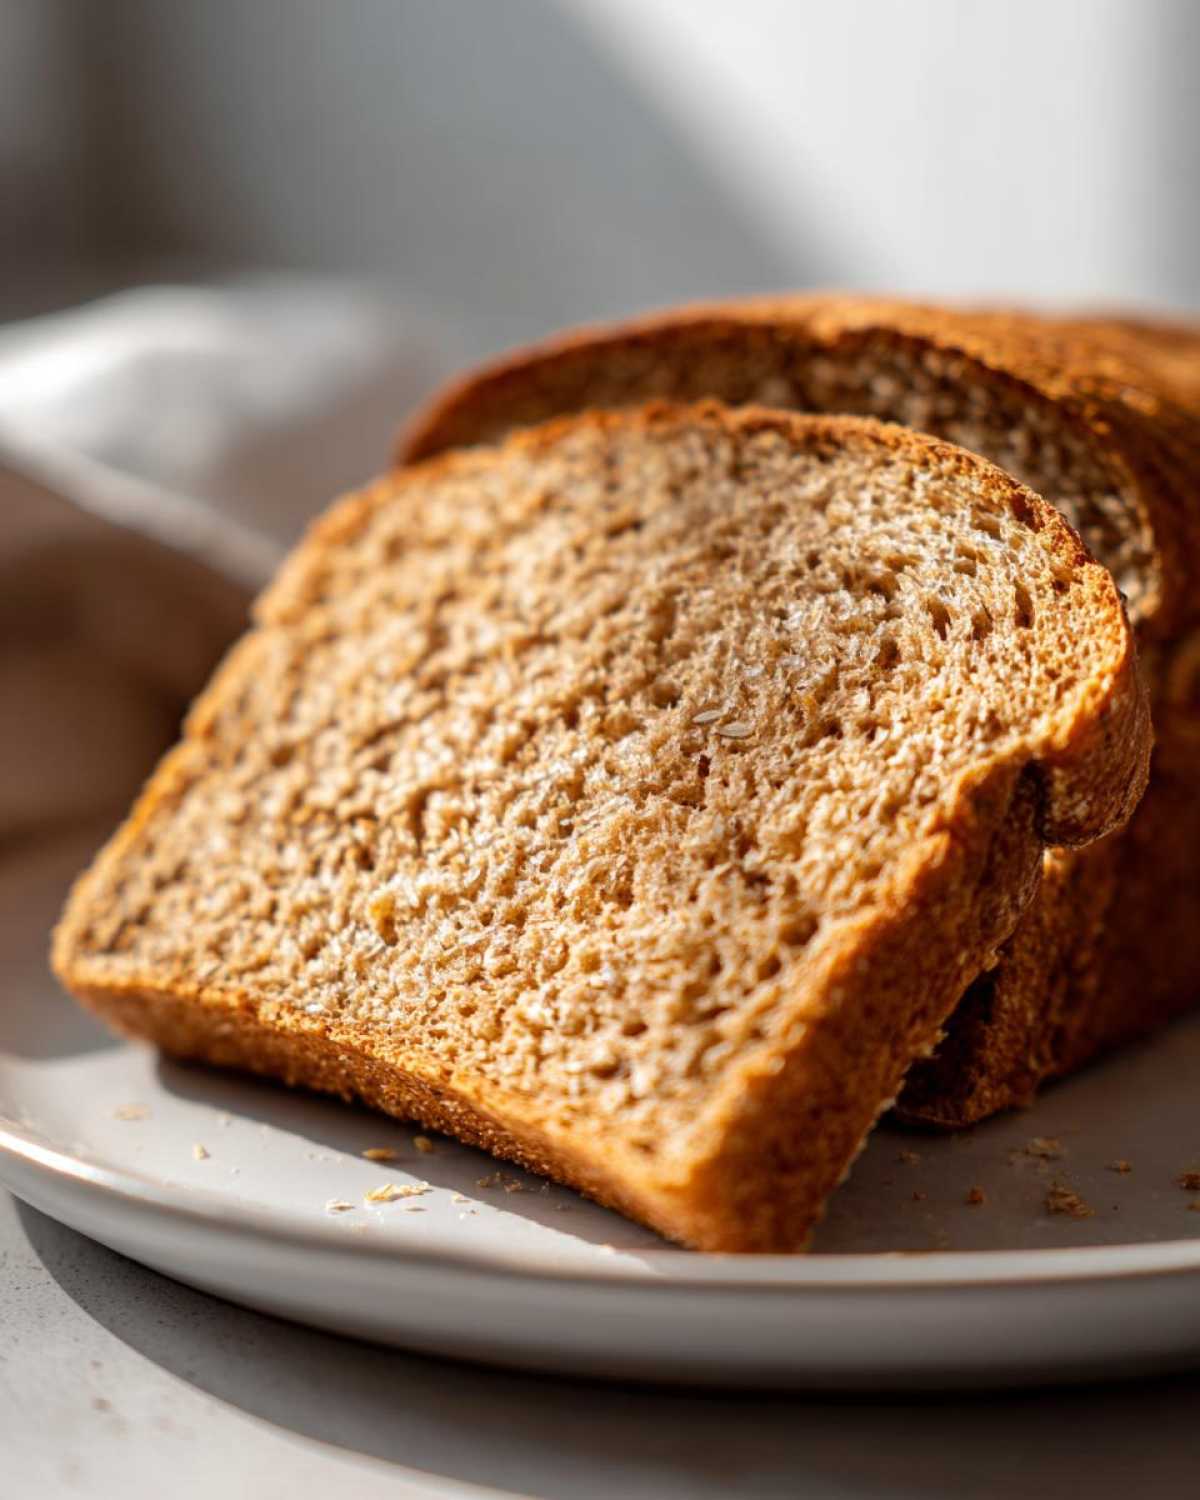
This is where patience pays off again! I cannot stress this enough: you must let this beautiful whole wheat bread cool completely on that wire rack before you even *think* about slicing it. If you cut into it hot, all that trapped steam escapes, and you’re left with a gummy interior texture, which defeats the whole purpose of our soft loaf!
Once it’s totally cool—and I mean cool to the touch—wrap it tightly in plastic wrap or place it in an airtight container. We usually find ours stays wonderfully fresh on the counter for about three or four days. If you bake a double batch because you know you’ll devour it, you can definitely freeze slices! Just wrap them well. If you’re ready to bring a frozen slice back to life, a quick toast or warming it up in the oven for a few minutes brings back that fresh-baked magic. For more recipe ideas for storing baked goods, check out our tips for storing moist date nut bread.
Serving Suggestions for Your Homemade Whole Wheat Bread
Now that you have this amazing, hearty loaf cooling on the rack, the fun part begins: eating it! Honestly, this bread is so delicious on its own that a simple slice is a huge treat, especially while it’s still slightly warm. Ethan always goes straight for a thick slab toasted heavily with butter—that’s his simple pleasure.
But this bread is also sturdy enough for serious eating! Because it’s hearty, it stands up beautifully to big fillings. We use it for towering lunchtime sandwiches with roasted turkey and crisp lettuce, and it never falls apart. My favorite? Smearing thick slices with cream cheese and a drizzle of honey, just like they do in some of those rustic baking photos I see online, like the one from Cook Breeze.
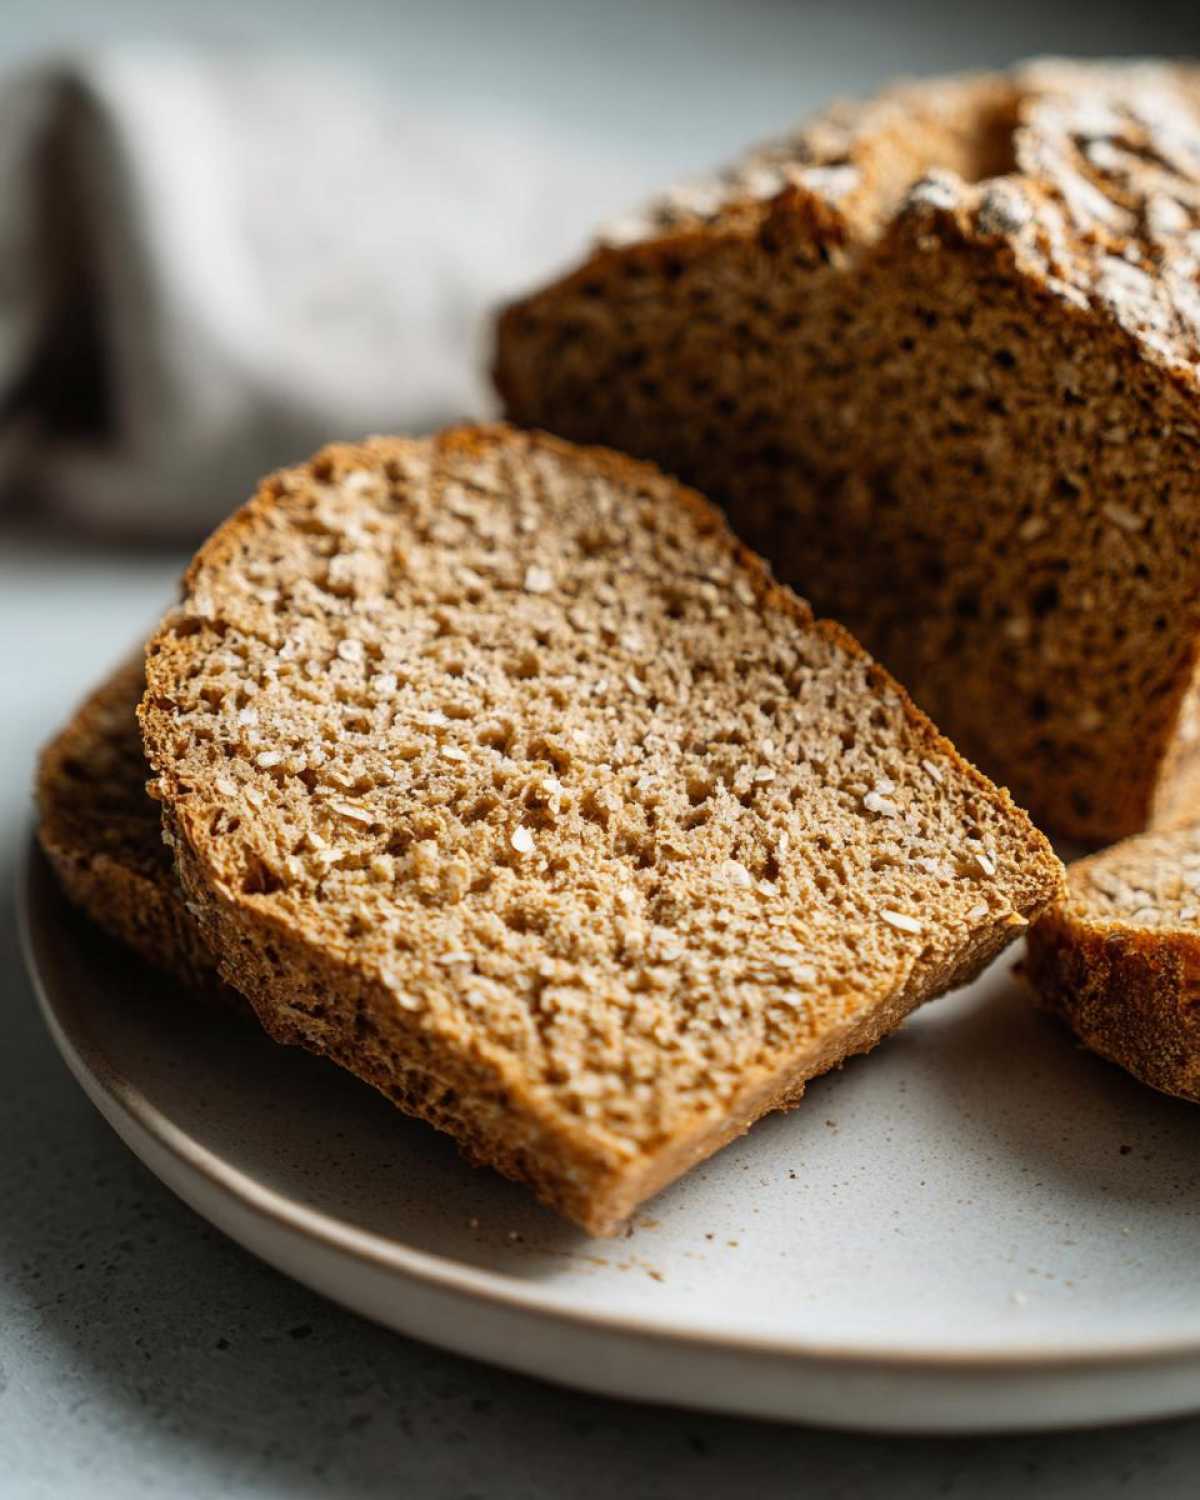
Also, don’t forget about dinner! This bread is the absolute perfect companion for soaking up the broth of a really rich stew or a hearty soup. If you’ve made a pot of our classic classic French onion soup, you need this whole wheat bread for dipping. It’s substantial enough that the bread doesn’t turn to mush immediately, and that little bit of honey sweetness pairs surprisingly well with savory bowls!
Frequently Asked Questions About Whole Wheat Bread
It’s funny, even when I provide the most tested recipe, people still have questions! Ethan laughs because I want to write a novel explaining every tiny step, but sometimes a quick Q&A is better. I gathered the most common questions about making this fantastic whole wheat bread loaf so you can bake with confidence. Let’s tackle those little doubts right now!
Can I substitute all the all-purpose flour with whole wheat flour in this whole wheat bread recipe?
That’s the big question, isn’t it? Technically, yes, you *can* swap it out—I mean, it’s your kitchen! But be warned: if you switch that 1/2 cup of all-purpose flour entirely for whole wheat, your loaf is going to be significantly denser. Remember how I stressed the importance of that all-purpose flour for elasticity? Removing it means the whole wheat flour, which has those heavier bran particles, won’t form the same supportive network. You might need an extra splash of water, and the flavor will be much earthier, losing some of that soft lift we worked so hard for.
How long does this homemade bread stay fresh?
Since this recipe uses honey and we already cooled it completely before wrapping (remember that gummy step we avoided?), this loaf hangs out on the counter beautifully. If you wrap it tightly in plastic or foil after it’s totally cooled, you can expect it to stay quite soft and fresh for a good three to four days. If you’re not planning on eating the whole thing in that time frame, pop the rest in the freezer! It thaws out perfectly.
If you have any specific questions about the recipe details or want to share your successes, feel free to reach out to us via our Contact page!
Nutritional Estimates for This Whole Wheat Bread
Now, about the numbers—listen, Ethan and I like to focus on flavor and technique, right? That’s where the real magic happens in a loaf of whole wheat bread. While the nutrition information is out there, I always want to give a big disclaimer here. My research provides averages based on general ingredient databases, but what you use in your kitchen matters!
The brand of whole wheat flour, exactly how much honey you decide to drizzle in based on our tips, or even the exact salt measurement can change things up. So, please take these figures as ballpark estimates only. We focus on making you a delicious, homemade loaf, and enjoying it! For more details on how we approach data and disclaimers on the blog, you can always check out our full Disclaimer page. Happy baking!
PrintEasy Homemade Whole Wheat Bread: Soft and Hearty Loaf

Bake a soft, hearty whole wheat bread loaf at home using simple ingredients. This recipe is perfect for beginners and yields delicious bread for sandwiches or toast.
- Prep Time: 20 min
- Cook Time: 35 min
- Total Time: 2 hours 5 minutes
- Yield: 1 loaf
- Category: Baking
- Method: Baking
- Cuisine: American
- Diet: Vegetarian
Ingredients
- 1 cup warm water (105-115 degrees F)
- 2 1/4 teaspoons active dry yeast
- 1/4 cup honey
- 2 tablespoons unsalted butter, softened
- 1 1/2 teaspoons salt
- 3 cups whole wheat flour, plus more for dusting
- 1/2 cup all-purpose flour, plus more for dusting
Instructions
- In a large bowl, dissolve the yeast in the warm water. Let it sit for 5 minutes until foamy.
- Stir in the honey, softened butter, and salt into the yeast mixture.
- Gradually add the whole wheat flour, mixing until a shaggy dough forms.
- Add the all-purpose flour and mix until the dough comes together.
- Turn the dough out onto a lightly floured surface. Knead for 8 to 10 minutes until the dough is smooth and elastic. You want a soft, manageable dough.
- Lightly grease a large bowl. Place the dough in the bowl, turning once to coat. Cover the bowl with plastic wrap or a clean kitchen towel.
- Let the dough rise in a warm place for 1 to 1 1/2 hours, or until doubled in size. This long rise time develops great flavor.
- Gently punch down the dough. Shape it into a loaf and place it in a greased 9×5 inch loaf pan.
- Cover the pan loosely and let the dough rise again for 30 to 45 minutes, or until it has crowned about 1 inch above the rim of the pan.
- Preheat your oven to 375 degrees F (190 degrees C) about 15 minutes before the second rise finishes.
- Bake for 30 to 35 minutes, or until the crust is golden brown and the internal temperature reaches 200 degrees F.
- Remove the bread from the pan immediately and let it cool completely on a wire rack before slicing.
Notes
- For a softer crust, brush the top of the loaf with melted butter immediately after taking it out of the oven.
- If you want a slightly sweeter loaf, increase the honey to 1/3 cup. This is a great tip for making honey whole wheat bread.
- If your kitchen is cold, place the dough in your oven with just the light on to create a warm spot for rising.
Nutrition
- Serving Size: 1 slice
- Calories: 150
- Sugar: 4
- Sodium: 250
- Fat: 2
- Saturated Fat: 1
- Unsaturated Fat: 1
- Trans Fat: 0
- Carbohydrates: 30
- Fiber: 4
- Protein: 6
- Cholesterol: 5