

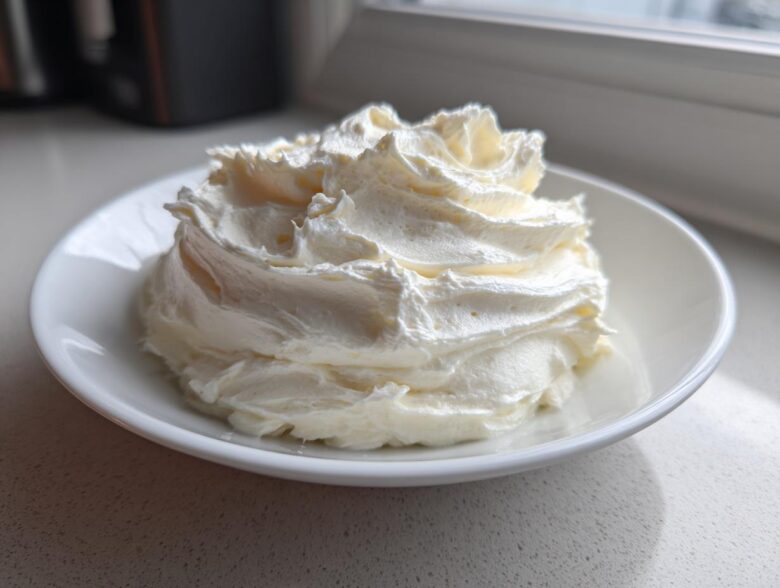
Oh, the heartache of a lumpy frosting disaster! I swear, there’s nothing more frustrating than whipping up something beautiful only to have it seize up into a grainy mess. Ethan used to joke that my first few attempts at making a proper classic cream cheese frosting looked more like cottage cheese than a beautiful cake topping. But those days are long over! We’ve combined Maya’s scientific testing with Ethan’s gut instinct to land on this one recipe. Seriously, this is the smoothest, most reliable batch of **cream cheese frosting** you will ever make. It’s rich, beautifully tangy, and holds its shape perfectly every single time. Get ready to toss out those old tubs!
Why This is the Best Classic Cream Cheese Frosting Recipe
When we talk about the best cream cheese frosting, we aren’t just talking about something sweet that slathers okay. We are talking about a frosting that acts almost like a smooth buttercream alternative but with that essential cream cheese complexity. This recipe nails the three things everyone wants: incredible texture, amazing flavor balance, and the structure to hold sharp piped edges. We worked hard to get this right because a crumbly, soft topping just won’t hold up when you need it to decorate something special. You can see why others love this style of frosting over at Sweetly Cakes, too!
This intentional approach guarantees you get a truly fluffy cream cheese frosting that’s ready in minutes. It’s the icing that works for everything, from a classic red velvet cake to the simplest batch of warm cinnamon rolls.
Achieving No Lump Frosting Every Time
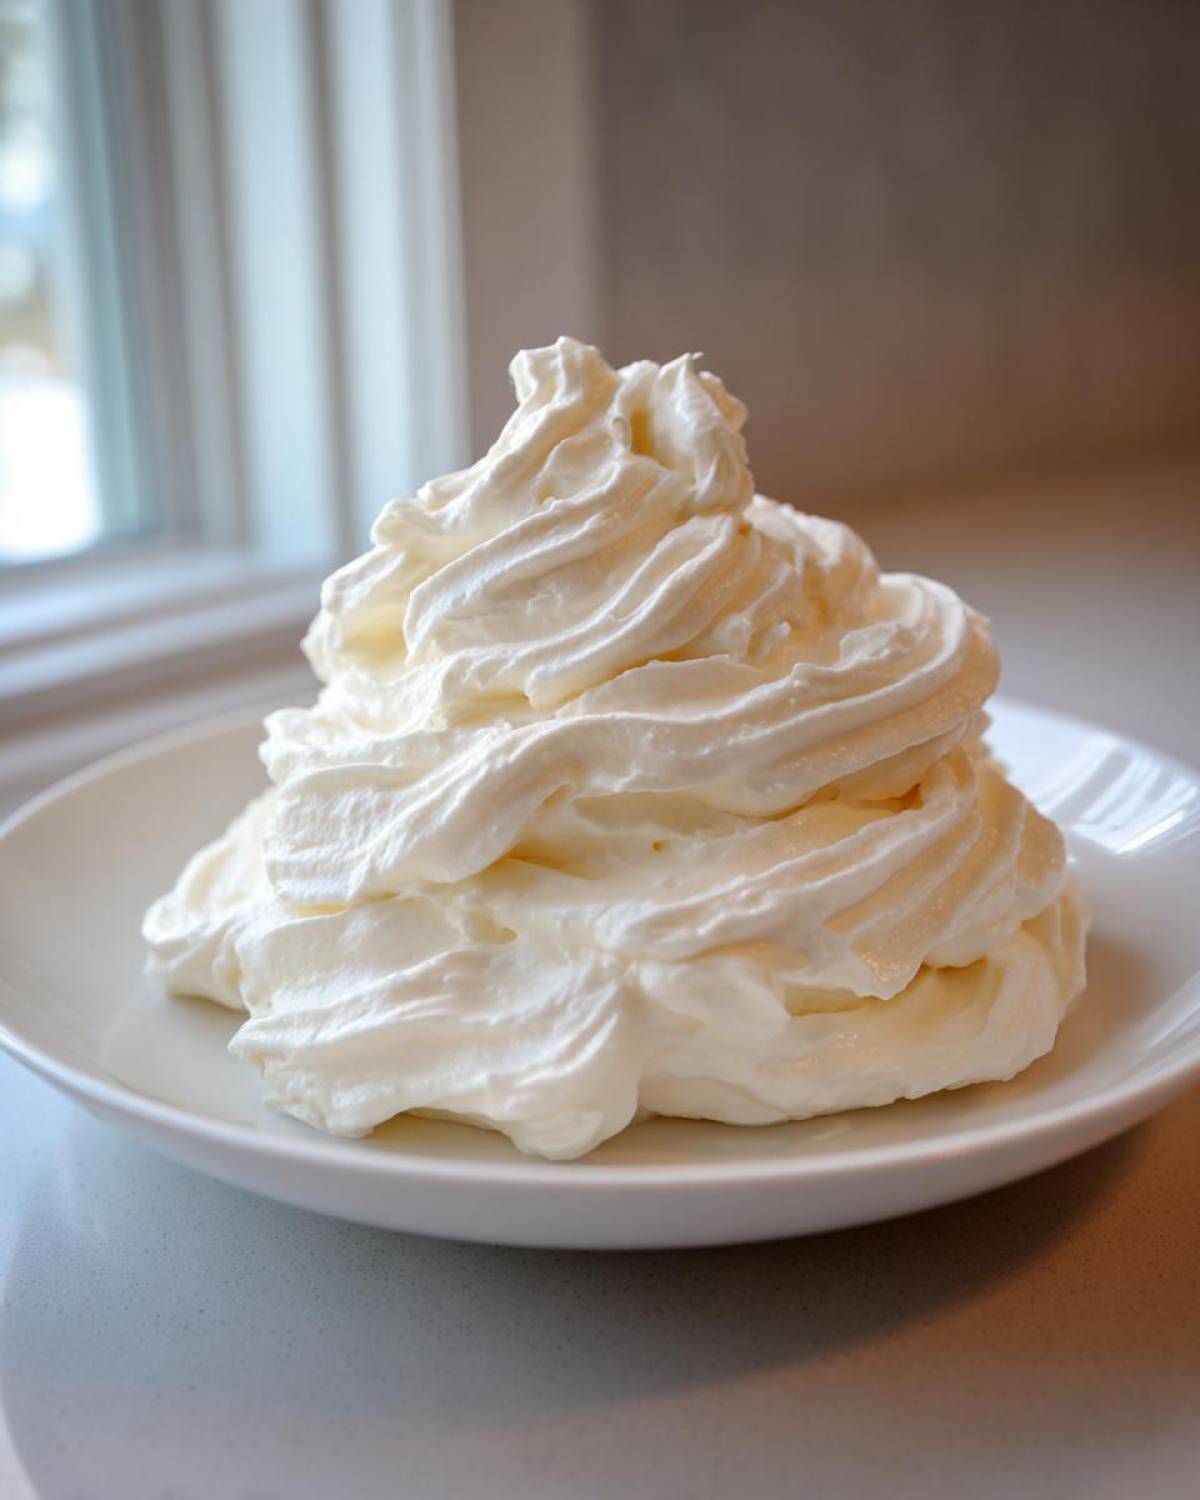
Okay, this is Ethan’s favorite research point—the science behind beating lumps out! The absolute number one rule to guarantee no lump frosting is temperature. You have to take your time getting both the cream cheese and the butter out on the counter until they are soft. Seriously soft, Maya-can-poke-a-dent-in-them soft. Cold fat mixed with powdered sugar equals little hard pebbles you can’t beat out later. If the fats are the same temperature, they emulsify beautifully into that silky base we’re aiming for.
The Perfect Balance: Tangy Cream Cheese Icing
So many recipes go way too sweet, right? They taste like canned sugar paste. Ethan always insisted his grandmother’s recipe had a sharp note that cut through the richness. That’s the secret behind calling this a proper tangy cream cheese icing. It comes down to not overdoing the sugar initially and respecting the ratio of the cream cheese to the butter. We use slightly less sugar than some recipes call for, allowing that lovely little *zing* from the cheese to shine through. Trust me, adding just that tiny pinch of salt, which I put in the recipe, makes all the difference in heightening that tang!
Ingredients for Perfect Pipeable Cream Cheese Frosting
Okay, here they are! The short list of ingredients you need for this winning batch of cream cheese frosting. The best part about this recipe, honestly, is how few things you need. No weird stabilizers or hidden liquids—just the good stuff. If you follow the preparation notes (which Maya insisted I highlight!), this will yield about three cups of frosting, which is usually perfect for slathering on a standard two-layer cake or getting real generous with the tops of a dozen cupcakes.
- 8 ounces full-fat cream cheese, softened to room temperature
- 1/2 cup (1 stick) unsalted butter, softened to room temperature
- 3 to 4 cups powdered sugar, sifted
- 1 teaspoon pure vanilla extract
- 1/4 teaspoon salt
Ingredient Notes and Substitutions
Listen up, this is where Maya’s research kicks in. If you try to sneak in a low-fat cream cheese, you’re going to get soupy frosting, plain and simple. It just won’t hold up! You need that full-fat block for structure and flavor. The same goes for the butter—always use unsalted butter because you want to control the saltiness yourself with that little quarter teaspoon we added. That salt is essential, remember? It balances the sugar.
Now, if you taste it and you still want MORE zing, Ethan sometimes adds just a tiny splash—I mean just a few drops—of fresh lemon juice right at the end when we’re whipping it high. It doesn’t change the texture, but it heightens the tang! Don’t mess with the vanilla though; use the *pure* stuff. A little vanilla goes a long way in making this taste classic.
How to Make Quick Homemade Frosting Instructions
Even though this is a quick homemade frosting that whips up in under ten minutes, Ethan always says that rush equals mistakes in the first step! If you follow the method exactly, you’ll see why folks love this recipe for getting that perfect texture. If you want more tips and tricks on using the perfect method, check out our blog archives. We sourced a lot of inspiration for texture perfection from places like Farmhouse Harvest when developing this, too—it’s all about the technique!
The Creaming Step: Foundation for Smooth Cream Cheese Frosting
This is Step One, the most important part for avoiding that dreaded grainy texture that ruins your beautiful batch of cream cheese frosting. Grab your stand mixer (or a hand mixer if you’re feeling the burn!) fitted with that paddle attachment. You want the cream cheese and butter to be equally soft—we talked about that! Drop them in and run the mixer on medium speed for a solid two minutes. You’re not done until you literally scrape down the sides of the bowl and everything looks like one uniform, pale, gorgeous mixture. We are building that foundation here, so don’t rush the smoothness!
Incorporating Sugar and Whipping for Fluffiness
Once you have that smooth base, it’s time for the powdered sugar. Remember how Maya stressed sifting? That’s because we don’t want huge sugar clumps getting slapped around the kitchen! Add the sifted sugar one cup at a time, and—this is important—mix on LOW speed until it’s just mixed in before adding the next cup. If you turn the speed up now, you’ll be wearing your sugar! After all the sugar is in, then we can introduce the vanilla and salt.
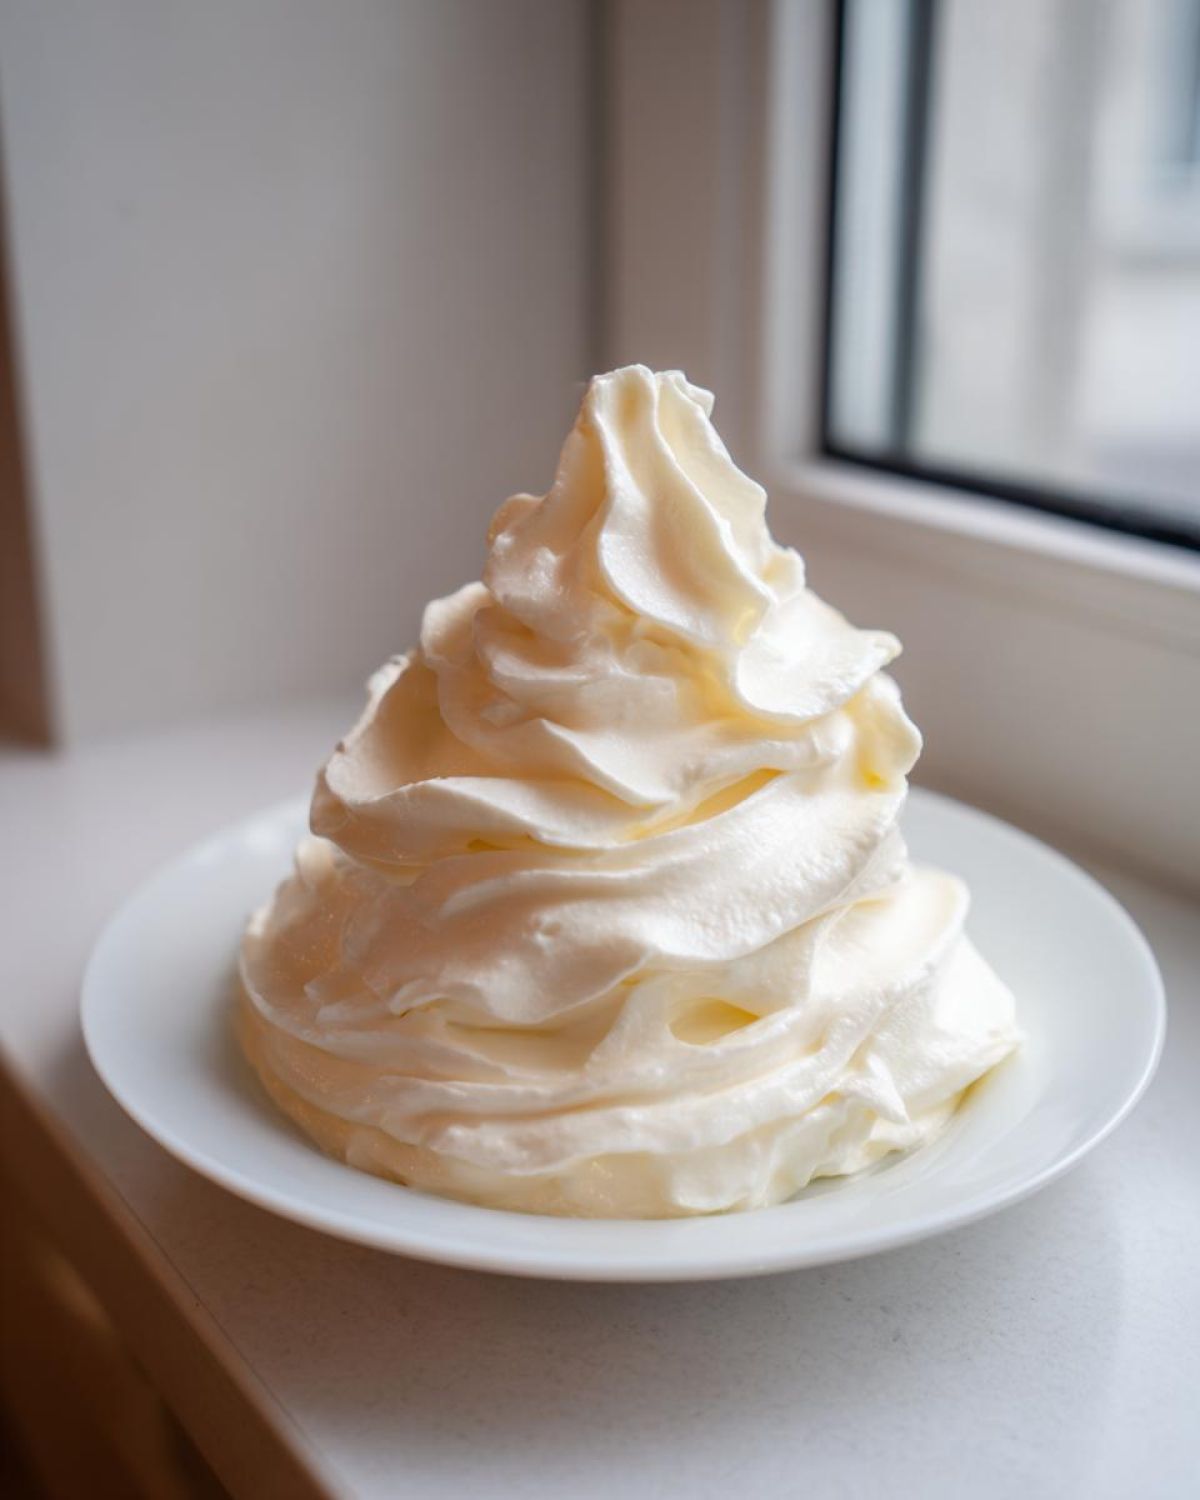
Now for the magic that makes it fluffy cream cheese frosting! Crank that mixer up to medium-high. You need to beat this mixture hard for a full two to three minutes. That whipping action incorporates tons of air, giving this traditional topping the light, airy texture that we often only associate with buttercream. When it’s done, it should look noticeably lighter in color and much fluffier than when you started.
Serving Suggestions: Cream Cheese Frosting for Cinnamon Rolls and More
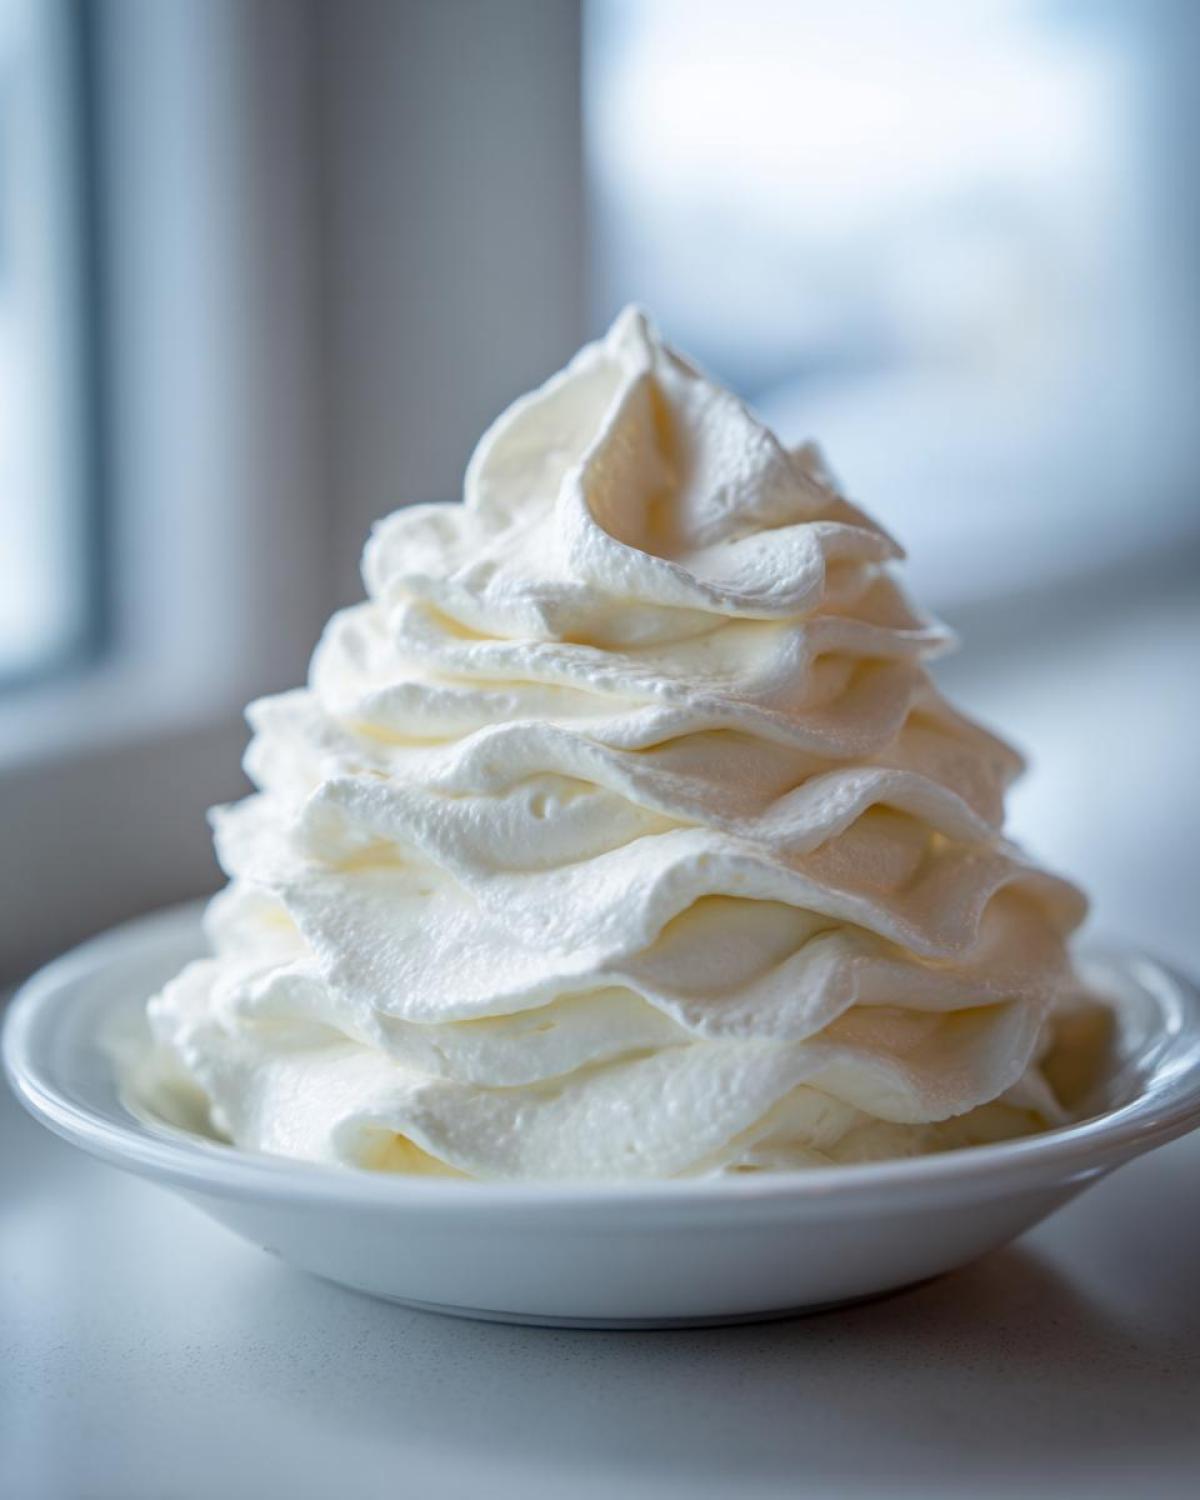
This truly is the MVP of frostings! Once you have this base mastered, the possibilities are just endless. We use this recipe for so many different desserts because it’s incredibly versatile. If you’re wrapping up Ethan’s favorite Oreo Cinnamon Rolls, you absolutely need a generous slathering of this cream cheese frosting.
For cinnamon rolls, you want a slightly softer consistency. Don’t chill it too long! You want it to be just thick enough to hold a nice dollop on top of that warm roll, allowing it to melt just a little bit into the crevices. That makes for the perfect gooey experience. We’ve also used this exact batch for a classic red velvet cake, and it holds up amazingly well.
If you are frosting a cake like the moist chocolate cake we made last week, you’ll want that pipeable cream cheese frosting we talked about earlier. That means using the full 4 cups of sugar and chilling it until it’s stiff. When it’s firm enough, it pipes like a dream, giving you those sharp stars and clean borders that are almost impossible to get with a standard, soft cream cheese topping. It’s much more stable than you’d think! If you need more ideas for how to use a good icing, check out the fantastic options over at Partylicious.
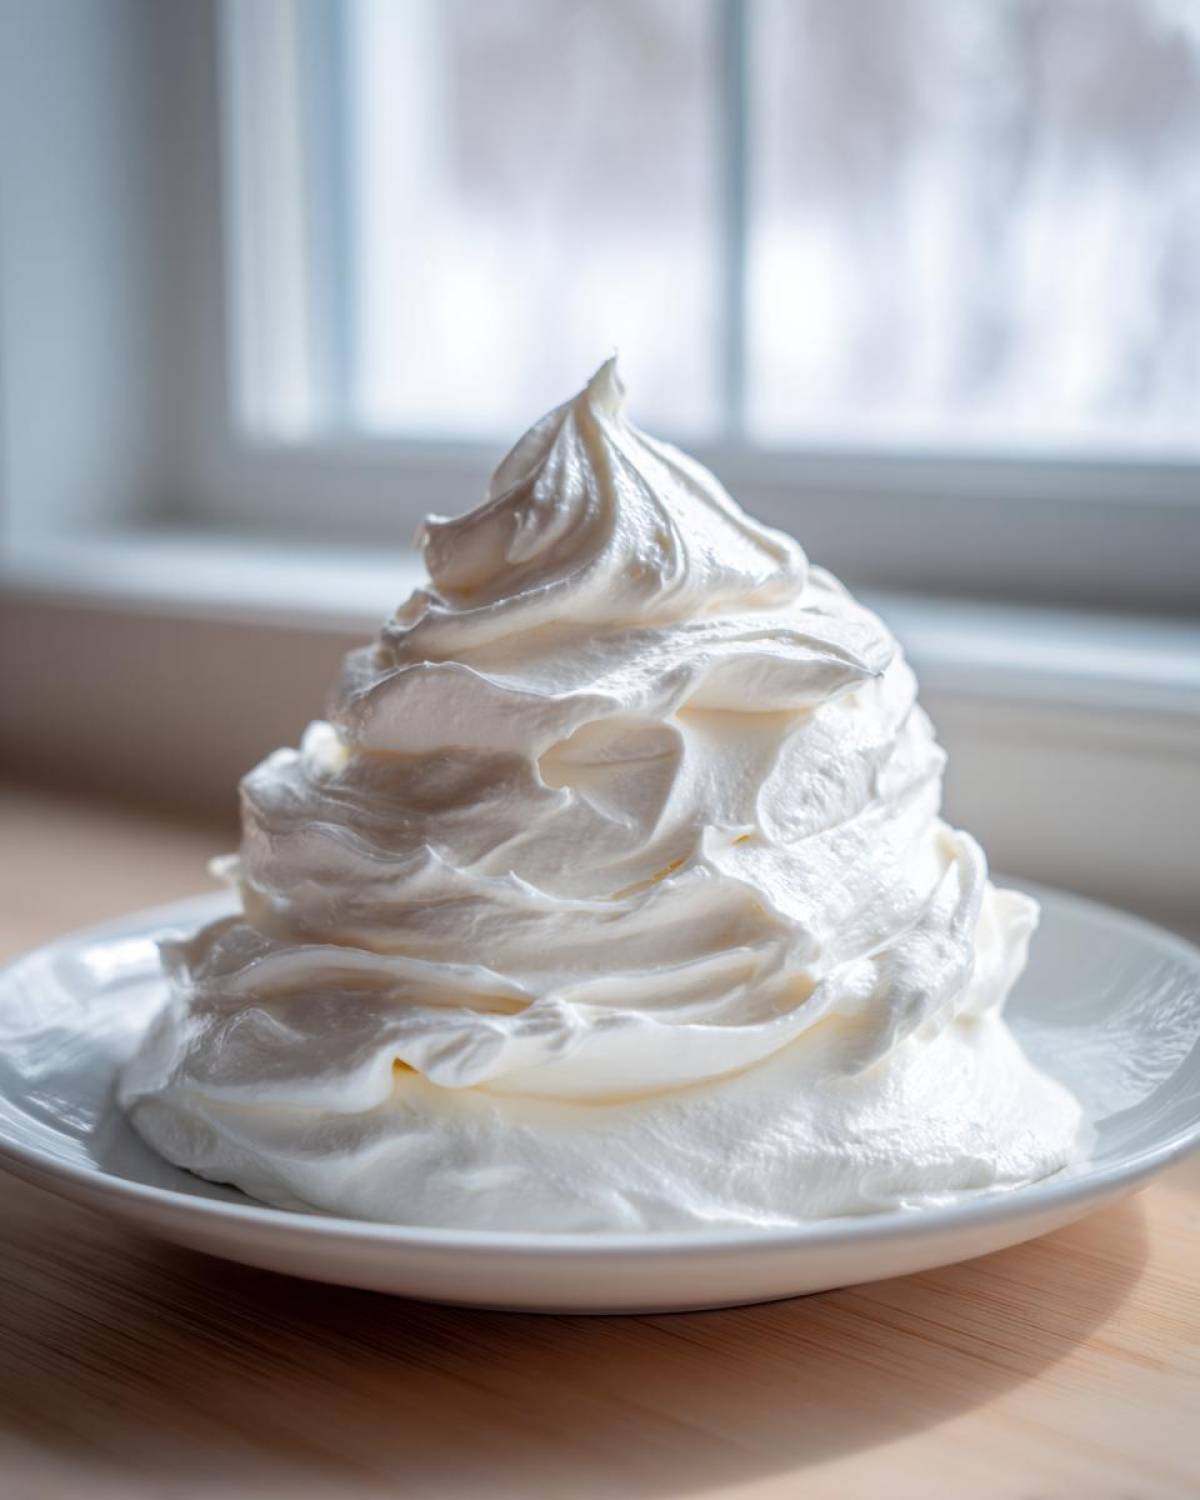
And don’t forget carrot cake! This cream cheese frosting for cinnamon rolls recipe works perfectly as a cream cheese topping for that dense, spiced flavor. It’s the marriage everyone expects and loves. Just remember: softer for drizzling on warm things, firmer for piping on cakes!
Storage and Making Ahead Tips
This is one of my favorite things about this wonderful cream cheese frosting recipe: it is amazing for making ahead! I know planning can be tough, so I often double the batch and have freezer stash ready to go for unexpected baking emergencies. Ethan always laughs because I label the containers with the date and what it’s for (like “Bunny Cake 2024!”).
If you are planning ahead, the best place for a sealed container of this classic cream cheese frosting is the refrigerator. It should keep well in an airtight container for about a week to ten days. It’s dense enough that the freshness stays locked in. You can steal a peek at how House of Nash Eats seals theirs up—they have great tips on keeping fillings fresh too, which is helpful!
Now, when you pull that cold frosting out, don’t even think about taking a spatula to it! It will be rock solid. You have to let it sit on the counter for a good hour, maybe an hour and a half, until it’s mostly soft all the way through but still cool to the touch. Then, toss it back into the mixer and whip it again on medium-high for about two minutes. That simple re-whip brings all the air back in, turning that stiff block into that beautiful, fluffy cream cheese frosting that looks freshly made.
Can you freeze it? Yes, you absolutely can! If you know you won’t use it for longer than a week, the freezer is your friend. Make sure you put plastic wrap directly on the surface of the frosting before sealing the container—this prevents those weird little dry patches from forming. Frozen frosting can last for about two months. When you thaw it overnight in the fridge, follow that same re-whip cue the next day, and it will be ready for spreading or piping!
Troubleshooting Common Frosting Issues
Even with the *best* recipe in the world, sometimes things just don’t go to plan, right? Don’t panic! This is usually just chemistry throwing a little fit. Ethan always reminds me, “Maya, it’s just fat, sugar, and cheese. We can fix it!” Making this cream cheese frosting too soft or too stiff happens to everyone, so let’s run through the quick fixes that will get you back to beautiful piping in no time flat.
We want this to be your go-to for a classic cream cheese spread, and knowing how to rescue it builds confidence big time.
If Your Frosting is Too Soft or Runny
If you look down and realize your batter looks more like a thick glaze than a spreadable cake icing, your first thought might be to dump in more sugar. Stop! That often makes the texture gritty later on. The best solution here is simple chilling. Pop that bowl right into the refrigerator for about 20 to 30 minutes. Because the base is heavy on the fat (butter and cream cheese), it will firm right back up once it cools down a bit. This works perfectly if you’re just looking for a lovely cream cheese topping that you can gently spread around a cake.
If you’re in a huge rush and just need it slightly firmer, you *can* mix in a tablespoon of powdered sugar at a time, but chilling is always the safest bet for keeping that fantastic smooth texture.
If Your Frosting is Too Stiff or Crumbly
This usually happens if the butter or cream cheese was too cold to begin with, so you have a stiff, almost whipped-butter texture that won’t spread. This is the opposite of the “no lump frosting” issue, but fixable! You need a tiny bit of liquid to loosen it up gently. I mean *tiny*! Start by adding just one teaspoon of milk or heavy cream. Beat it on low, scrape down the sides, and see how it feels. It should loosen up quickly.
Slowly add more liquid, half a teaspoon at a time, maybe up to one or two teaspoons total, until you get that perfect consistency for spreading. This slight addition keeps it tasting rich without ruining the structural integrity needed for pipeable cream cheese frosting.
Fixing an Overly Sweet Flavor
If you followed the recipe but took a taste and thought, “Wow, that’s way too much sugar for my liking,” we have two easy dials to turn. Remember how we talked about the essential tanginess? If you want to counteract sweetness when you’ve already mixed everything, you need an acid or a deep salt note. Try adding another small pinch of salt; it really helps mute the sweet flavor.
Ethan sometimes adds a *very* small squeeze of lemon juice right at the end. This bumps up that tangy cream cheese icing profile beautifully and cuts the sweetness without adding more bulk or texture issues. Remember to taste it after every tiny addition!
Frequently Asked Questions About Homemade Cake Icing
It’s funny—even after walking through the whole process, people always have a couple of last-minute questions about making sure their homemade cake icing turns out just right. Ethan and I put our heads together, Maya researching the chemistry and Ethan tasting the results, to answer the things we hear most often! Hopefully, this helps you feel super confident serving up this batch of cream cheese frosting.
Can I use low-fat or Neufchâtel cream cheese instead of full-fat?
Oh boy, this is the most asked question about any cream cheese dessert recipe, and I have to be firm here: please don’t! Low-fat versions have way more water content than the full-fat block. If you use it, your frosting will end up thin, soupy, and won’t ever set up into that pipeable cream cheese frosting we worked so hard to achieve. Stick to the full-fat block; it’s the only way to guarantee that rich flavor and structure.
How do I make this frosting hard enough to crust for decorating?
If you are aiming for a crusting effect—where the edges set up slightly firmer than the middle—that simply means you need to boost the sugar content a bit and make sure you chill it well! We mentioned that using the full 4 cups of powdered sugar helps make it firmer. After you mix it, cover it tightly and pop it in the fridge for at least 30 minutes. The cold rigidifies that fat/sugar structure faster than it would at room temperature. It’s a great smooth buttercream alternative when you need it to hold up against heat!
Can I thin this out to create a simple cream cheese glaze?
Absolutely! Sometimes you just want a simple cream cheese glaze drizzle over your warm muffins or loaf cake, not a thick layer. To thin this out from being a whipped cream cheese topping into a glaze, you need to add more liquid very slowly. I suggest adding about one teaspoon of milk or cream at a time while mixing on low speed. Keep adding until it drizzles easily off your spatula, but stop before it becomes translucent. It’s a simple fix, and you can find more tips on making an easy dessert topping like this on our mousse post, believe it or not!
Is this cream cheese frosting recipe stable enough for piping sharp details?
Yes, it totally is! We call this basic cream cheese icing recipe both spreadable *and* pipeable, which is hard to do! The stability comes from the high ratio of powdered sugar and the fact that we beat the base until it’s incredibly fluffy before adding the sugar. If you plan on doing detailed piping, make sure you use the high end of the sugar recommendation (4 cups) and then chill the finished frosting for at least an hour before loading it into your piping bag. It will hold crisp lines beautifully!
Estimated Nutritional Information
Now, I know we aren’t exactly whipping up health food here, but I always feel better knowing what we’re working with! Ethan tends to skip right over this part, but I believe that good testing means documenting everything. Below are the estimated nutritional facts for one serving size of this cream cheese frosting recipe. We calculated these based on the full yield of the recipe, divided into 16 standard servings (about 1/4 cup each). Please keep in mind this is a general guideline, and your final numbers might shift slightly depending on the exact brands of butter and sugar you use in your kitchen!
- Serving Size: 1/4 cup
- Calories: 350
- Fat: 22g
- Saturated Fat: 14g
- Trans Fat: 0g
- Cholesterol: 60mg
- Carbohydrates: 38g
- Sugar: 40g
- Fiber: 0g
- Protein: 2g
- Sodium: 120mg
See? Plenty of fat and sugar to make it delicious, but at least we know where we stand! The good news is that this topping is so rich, a little bit goes a long way! You won’t need an excessive layer when it tastes this good. It’s the perfect reward after putting in all that effort baking something wonderful.
Share Your Tasty Tipster Creations
Well, that’s it! You’ve officially mastered what I truly believe is the best, smoothest cream cheese frosting out there. It’s so satisfying watching that mixer start churning out something that looks this professional right in your own kitchen. Ethan and I get so much joy knowing you’ve tried something we’ve spent hours testing and arguing over—in the best way, of course!
Now, we need to see what beautiful things you’ve decorated! Whether you slathered this on a warm batch of cinnamon rolls, iced a towering carrot cake, or used it as a pipeable cream cheese frosting for a big birthday, we want the scoop. Drop down below and give us that star rating so other bakers know how reliable this recipe truly is. It helps us out tremendously and encourages us to keep sharing all our best kitchen discoveries!
Also, leave us a comment! Tell me honestly: did you stick to the exact recipe, or did you add a little secret zest like Ethan sometimes does? What did you frost? We love hearing about your successes! If you ever have questions after reading through all the tips, don’t hesitate to reach out to us directly through our contact page. We read every single note. Happy decorating, Tipsters!
PrintThe Best Classic Cream Cheese Frosting: Smooth, Tangy, and Pipeable
You need a reliable cream cheese frosting recipe that is smooth, rich, and holds its shape for decorating. This recipe delivers a perfect balance of sweetness and tang, making it the best homemade cake icing for red velvet cake, carrot cake, or cinnamon rolls.
- Prep Time: 10 min
- Cook Time: 0 min
- Total Time: 10 min
- Yield: About 3 cups
- Category: Dessert Topping
- Method: Mixing
- Cuisine: American
- Diet: Vegetarian
Ingredients
- 8 ounces full-fat cream cheese, softened to room temperature
- 1/2 cup (1 stick) unsalted butter, softened to room temperature
- 3 to 4 cups powdered sugar, sifted
- 1 teaspoon pure vanilla extract
- 1/4 teaspoon salt
Instructions
- Place the softened cream cheese and softened butter into the bowl of a stand mixer fitted with the paddle attachment. Beat them together on medium speed until completely smooth and creamy, about 2 minutes. Scrape down the sides of the bowl as needed.
- Add the sifted powdered sugar one cup at a time, mixing on low speed until just combined after each addition. This prevents a sugar cloud in your kitchen.
- Once all the sugar is incorporated, add the vanilla extract and salt. Increase the mixer speed to medium-high and beat for 2 to 3 minutes until the frosting is light and fluffy. This whipping time is key for a smooth texture.
- Taste the frosting. If you prefer it sweeter, add more powdered sugar, a quarter cup at a time. If you want a tangier flavor, add a tiny splash of lemon juice (optional).
- If the frosting seems too soft for piping, chill it in the refrigerator for 15 to 30 minutes before using it to frost cakes or cinnamon rolls.
Notes
- For the smoothest result, make sure both your cream cheese and butter are truly at room temperature. Cold ingredients cause lumps.
- Sifting the powdered sugar removes any small clumps before they enter your frosting mixture.
- If you are using this pipeable cream cheese frosting for detailed decorating, use 4 cups of powdered sugar and chill it well before piping.
- This recipe makes enough frosting for one 9-inch two-layer cake or about 18 standard cupcakes.
Nutrition
- Serving Size: 1/4 cup
- Calories: 350
- Sugar: 40
- Sodium: 120
- Fat: 22
- Saturated Fat: 14
- Unsaturated Fat: 8
- Trans Fat: 0
- Carbohydrates: 38
- Fiber: 0
- Protein: 2
- Cholesterol: 60