

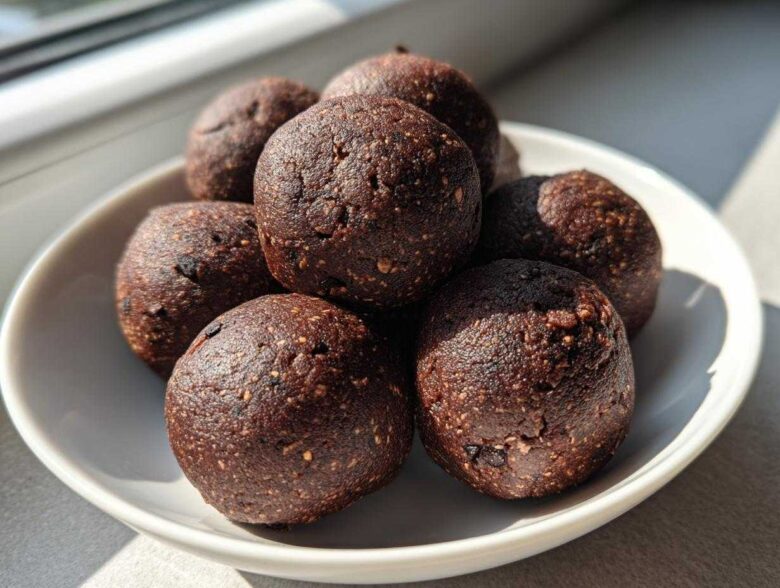
Oh my gosh, I totally get it. You cave for a chocolate fix, right? But then the guilt hits because you need protein, not just empty calories. For ages, I struggled to find a snack that delivered that deep, fudgy, decadent brownie hit while actually being good for me. Well, I finally cracked the code! Forget those chalky, boring discs you sometimes get stuck with. These Chocolate Brownie Protein Balls are the real deal – seriously fudgy and they require zero oven time. I’ve been meal prepping these all month because they satisfy my sweet tooth instantly, and honestly, they taste way better than most actual baked brownies I’ve made. Trust me, this recipe is going to change your snack game completely.
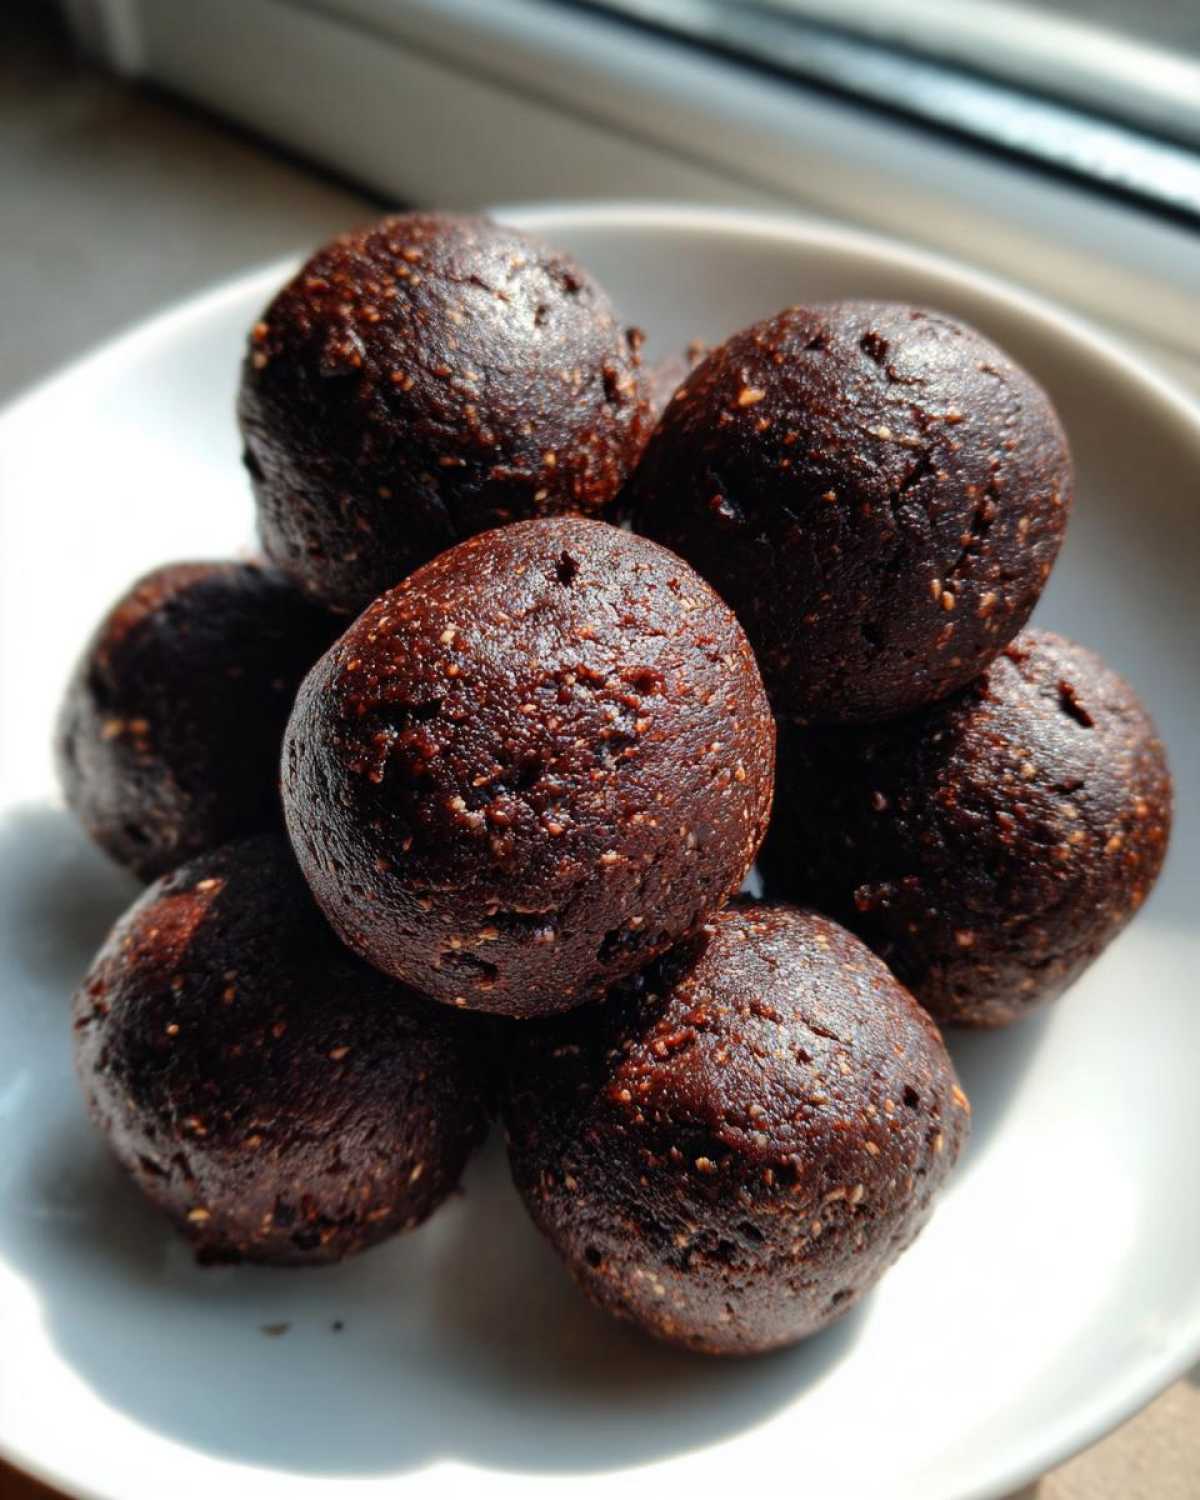
Why You Will Love These Chocolate Brownie Protein Balls
Honestly, these are the best no-bake things I’ve ever thrown together. You get that rich, satisfying flavor without any fuss or turning on the oven, which is perfect for those hot afternoons. They are speedy, too!
- They deliver truly fudgy chocolate protein treats—no dry, crumbly mess here!
- Perfect for busy schedules; this is a genuine quick protein snack recipe.
- Simple ingredients mean minimal grocery runs.
- Keep them on hand for an amazing energy boost before hitting the gym.
If you’re looking for something even faster, you should check out my post on easy 5-ingredient protein bars, but nothing beats the brownie flavor!
Essential Ingredients for Fudgy Chocolate Brownie Protein Balls
The secret to making these taste like genuine fudgy brownie bites is trusting the quality of your ingredients, especially the dates. We need that rich, sticky binding power! You’ll notice we aren’t using tons of sugar, so those Medjool dates have to be soft and ready to go.
Here is exactly what you need on hand to make this happen:
- One whole cup of rolled oats—and remember, we are pulsing these down first!
- Half a cup of your favorite chocolate protein powder. Whey or plant-based works, but stick to a good brand for the best flavor.
- Half a cup of pitted Medjool dates. These are the magic glue!
- A quarter cup of pure, unsweetened cocoa powder for that deep chocolate punch.
- A quarter cup of natural peanut butter or almond butter—no sugary stuff here, please!
- Two tablespoons of chia seeds or flax seeds; they help thicken everything up.
- One teaspoon of vanilla extract to round out the flavor profile.
- Two to four tablespoons of water or milk, just depending on how sticky your dough gets.
- Optional, but highly recommended: A quarter cup of sugar-free chocolate chips because everything is better with extra chocolate, right?
If you need a fantastic guide on different types of binders, my post on peanut butter energy bites goes into detail about nut butter textures!
Ingredient Notes and Substitutions for Your Chocolate Brownie Protein Balls
Okay, let’s talk powder. The type of chocolate protein powder you use makes a real difference in binding! Whey tends to absorb liquids a little faster, so you might need that extra splash of water sooner. If you are using plant-based protein, sometimes it’s naturally a bit drier, so watch that consistency closely during mixing.
My biggest tip here is not to skimp on the dates; they carry the entire fudgy texture! If you want these to be completely nut-free, don’t sweat it. Just swap out that peanut butter for sunflower seed butter. It gives a slightly different taste, but it works brilliantly for binding and keeps them delicious. These little swaps mean everyone can enjoy what everyone else is eating!
Step-by-Step Guide to Making No Bake Protein Snacks
This is where the magic happens, and it’s so fast, you barely need to break a sweat! Grab your food processor—this gadget is essential for getting that dense, amazing cookie-dough texture we’re after. Remember, since this is a no bake protein snack, the consistency we create now is what holds everything together forever.
Processing the Dry Base for Chocolate Brownie Protein Balls
First things first: the oats! You want to put the rolled oats right into the processor bowl. Pulse, pulse, pulse until it looks like a coarse, sandy flour. This step is non-negotiable. If you leave them too chunky, your final balls won’t hold their shape well. Once you’ve got that fine oat flour, toss in the protein powder, cocoa powder, and chia seeds. Just a quick pulse to marry those dry flavors together is all you need before moving on.
Achieving the Perfect Fudgy Texture in Your Chocolate Brownie Protein Balls
Now is the time for the sticky stuff! Drop in the dates, nut butter, and vanilla. Process until it starts clumping, looking sort of like thick, dark playdough. My personal experience is that when you think it’s ready, it’s probably still a little too dry. This brings us to the crucial step four. If the mixture is still super crumbly and won’t stick when you squeeze it, add water or milk one tablespoon at a time while the machine is running. You are looking for a dough so sticky and rich that it just pulls away cleanly from the sides of the processor bowl. If you manage to get it just right—that perfect, deeply fudgy chocolate protein treats consistency—then you know you’ve nailed the texture. Finally, fold in those chips by hand so you don’t totally crush them. Then, roll them into those perfect one-inch spheres. You’ll know they’re ready to chill when they don’t stick horribly to your fingers anymore!
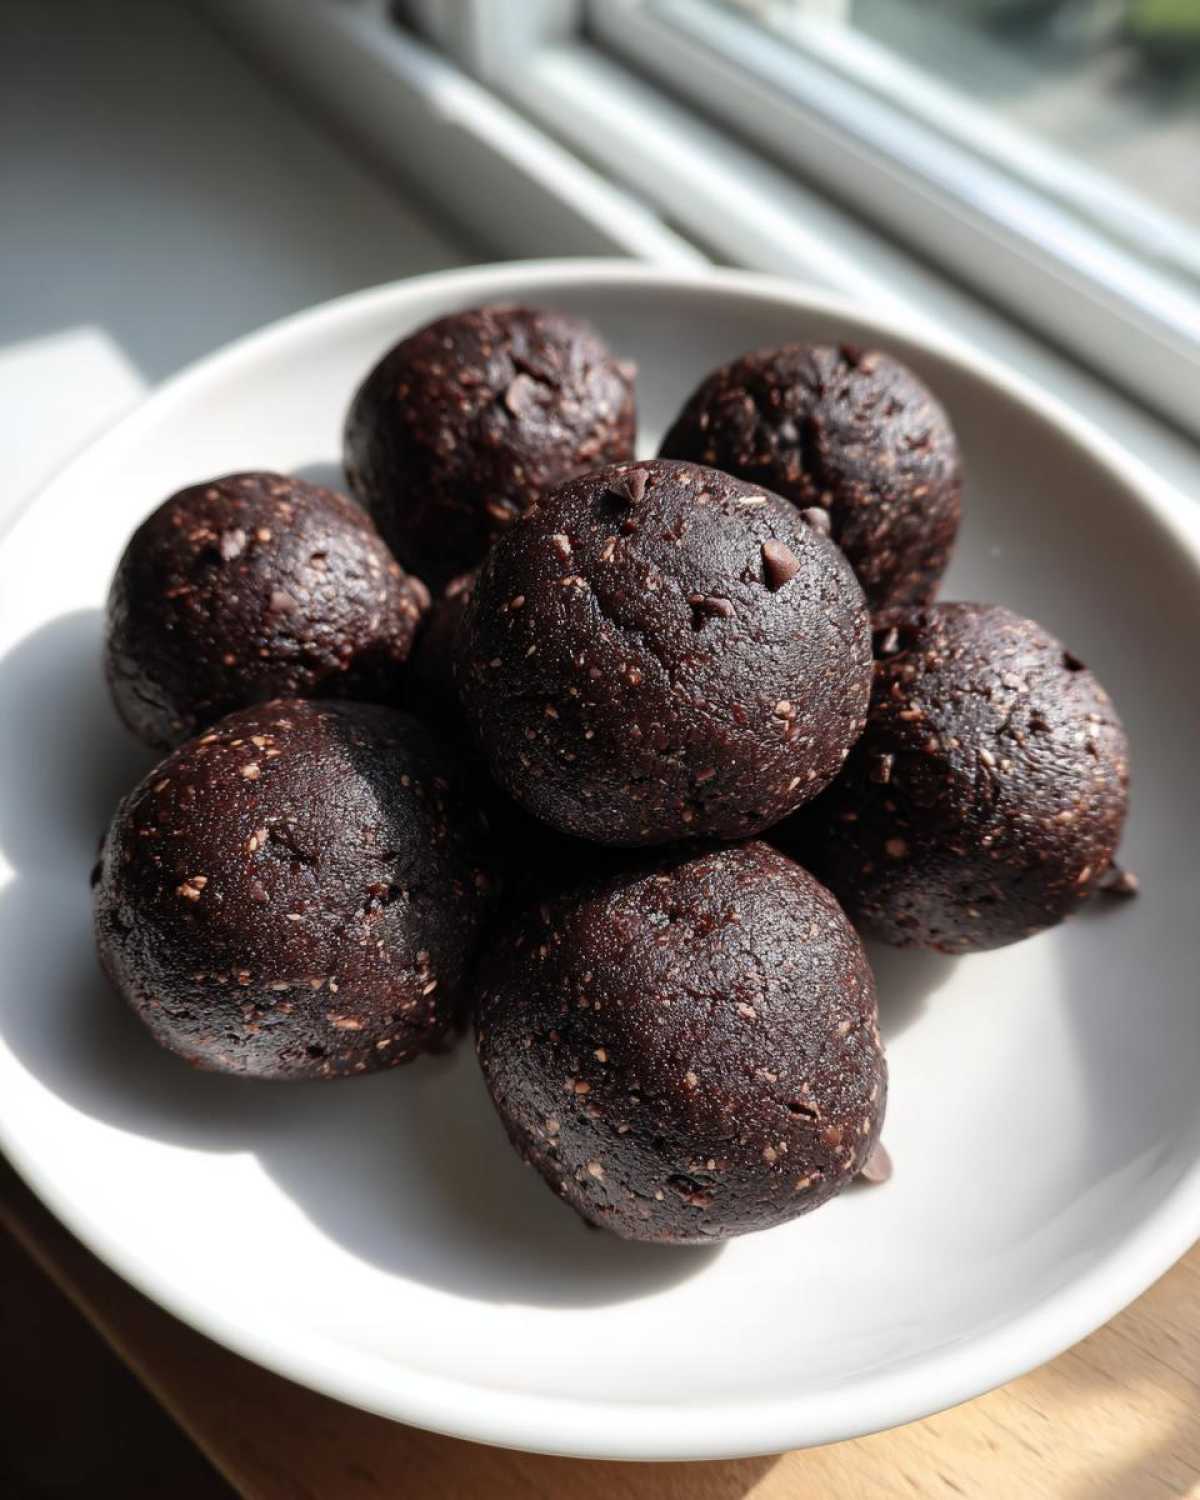
If you want to see a similar technique used for shaping, my guide on no bake peanut butter bars shows how to press down a similar mixed base!
Tips for Success with Your Rich Chocolate Protein Spheres
You’ve got your amazing dough—don’t mess it up now! The most important thing after rolling is patience. You absolutely *must* let these chill. That quick 30 minutes in the fridge isn’t just for looks; it’s what firms up the fats and lets the oats absorb the moisture, turning them from a sticky mess into perfectly structured rich chocolate protein spheres. If you’re rushing them, they’ll fall apart!
Also, when you roll them, use slightly damp hands if the mixture is sticking too much to you specifically. It helps the dough adhere to itself instead of your skin. For the best results when you eventually eat them later, make sure you store them right away in the fridge so they stay firm. If you’re planning ahead for the week, you can learn more about keeping them fresh for longer on my overview of meal prep protein balls!
Storage and Making Ahead: Meal Prep Protein Balls
Listen, these are designed to be your secret weapon when hunger strikes, right? That’s why they shine as meal prep protein balls! Once you roll them, you want them totally cooled down. Pop them into an airtight container—make sure it seals tight! You can keep them happily sitting in the refrigerator for up to a full week.
Honestly, they taste almost better on day three once the flavors have fully melded. If you need them to last longer than that, I stick mine in the freezer! They freeze beautifully, and you can just grab one on your way out the door. For more ideas on freezing snacks, check out how I manage my freezer-friendly breakfast sandwiches; the concept is the same!
Serving Suggestions for Post Workout Chocolate Energy
These balls are fantastic just on their own as a quick dose of post workout chocolate energy, but if you want to make them a full snack moment, I have a couple of ideas! Their rich chocolate flavor pairs wonderfully with something bright or acidic. Try one alongside a crisp apple—seriously, the crunch is perfect!
For a bigger recovery hit, crumble one over a small bowl of Greek yogurt. It makes the yogurt taste like a decadent chocolate dessert! We talked about making these ahead of time on my post about protein breakfast burritos; having these ready really keeps my whole week on track!
Frequently Asked Questions About Chocolate Brownie Protein Balls
Whenever I share these on my social media, people always have questions about tweaking them, and that’s totally fair! They are supposed to be the best tasting protein balls, after all, so getting it right matters. I’ve rounded up the few things folks ask most often below!
Can I make vegan Chocolate Brownie Protein Balls?
You absolutely can! The dates and nut butter are already plant-based heroes here. The only swap you need to worry about is the protein powder. Just make sure you use a good quality plant-based chocolate protein powder—like pea or brown rice protein. Sometimes plant protein needs a tiny bit more liquid to bind, so just have that water or milk ready on standby while you’re mixing!
How do I ensure these taste like actual brownies?
This is the most important question if you’re aiming for healthy brownie bites! Two things matter here: first, use really, really good cocoa powder. If your cocoa powder tastes dusty, your balls will, too. Second, the dates! They provide that deep, caramel-like sweetness and density that mimics the fudgy texture of a baked brownie edge. Don’t try to swap them out for maple syrup, or you’ll end up with a soft blob instead of a firm ball!
If you want to see some other great general tips, my main blog page has tons of quick fixes for common recipe problems!
Estimated Nutritional Data for Chocolate Brownie Protein Balls
Since these are one of the best-tasting protein balls out there, I know you’re going to be curious about the nutrition facts. I ran the numbers for you based on the standard ingredient list—no extra chocolate chips added in this basic calculation, just so you have a baseline!
Remember, because everyone uses different brands of protein powder and nut butter (which can change fat and sugar content wildly!), these are just solid estimates. Think of this as a ballpark for tracking your macros.
- Serving Size: 1 ball
- Calories: 130
- Protein: 10g (Yes, TEN grams in one bite!)
- Total Fat: 6g
- Carbohydrates: 15g
- Sugar: 5g
See? That is a fantastic trade-off for that rich chocolate flavor. You get a high-protein, low-sugar little powerhouse that fits perfectly into any meal prep plan. Keep ’em chilled, and enjoy that awesome sneak attack on your sweet tooth!
PrintFudgy Chocolate Brownie Protein Balls
Make rich, fudgy chocolate protein balls that taste like brownies without baking. These are simple to prepare for a quick, high-protein snack.
- Prep Time: 15 min
- Cook Time: 0 min
- Total Time: 15 min
- Yield: 12 servings
- Category: Snack
- Method: No Bake
- Cuisine: American
- Diet: Vegetarian
Ingredients
- 1 cup rolled oats
- 1/2 cup chocolate protein powder (whey or plant-based)
- 1/2 cup pitted Medjool dates
- 1/4 cup unsweetened cocoa powder
- 1/4 cup natural peanut butter or almond butter
- 2 tablespoons chia seeds or flax seeds
- 1 teaspoon vanilla extract
- 2-4 tablespoons water or milk (as needed for binding)
- 1/4 cup sugar-free chocolate chips (optional)
Instructions
- Place the rolled oats in a food processor and pulse until they reach a coarse flour consistency.
- Add the protein powder, cocoa powder, and chia seeds to the food processor. Pulse briefly to combine the dry ingredients.
- Add the dates, nut butter, and vanilla extract. Process the mixture until it starts to come together.
- If the mixture is too dry and crumbly, add water or milk one tablespoon at a time while processing until the mixture forms a sticky dough that holds its shape when pressed.
- Stir in the chocolate chips by hand, if using.
- Roll the dough into uniform balls, about 1 inch in diameter.
- Place the finished balls on a parchment-lined plate or tray.
- Refrigerate for at least 30 minutes to firm up before serving.
Notes
- Store these protein balls in an airtight container in the refrigerator for up to one week.
- For a different flavor, substitute peanut butter with sunflower seed butter for a nut-free option.
- If you prefer a smoother texture, soak the dates in warm water for 10 minutes before using, then drain well.
Nutrition
- Serving Size: 1 ball
- Calories: 130
- Sugar: 5
- Sodium: 50
- Fat: 6
- Saturated Fat: 1
- Unsaturated Fat: 5
- Trans Fat: 0
- Carbohydrates: 15
- Fiber: 3
- Protein: 10
- Cholesterol: 5