

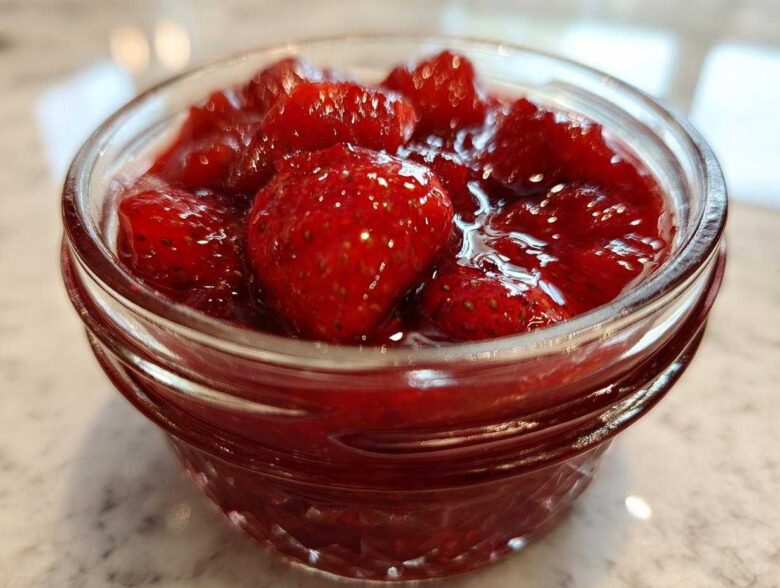
Listen, I know there are jars of strawberry jam everywhere you look these days, but let me tell you a secret: most of them are missing the soul! If you want that deep, concentrated, almost caramelized strawberry flavor, you need to go back in time just a little bit. We’re skipping the fast-set, added pectin shortcut. This recipe is for true, thick Old-Fashioned Strawberry Preserves, made the way my grandmother insisted. It takes patience, sure, but trust me, that long, slow simmer concentrates the fruit flavor into something truly spectacular. When you taste this, you’ll understand why we never buy the store-bought stuff anymore. It’s the authentic summer flavor we look for every year. If you want to read more kitchen secrets and tips, be sure to check out the main recipe index over at my recipe blog!
Why This Old-Fashioned Strawberry Preserves Recipe Works
When you talk about true, thick strawberry preserves, you’re talking about making the fruit work for you, not rushing it with extra chemicals. This whole process relies on time, which is what creates that incredible texture we’re aiming for in these Old-Fashioned Strawberry Preserves. We aren’t fighting nature here; we’re using the natural sugar and natural pectin already in the strawberries, just helping them along with a long soak and a slow cook.
The Magic of Maceration for Old-Fashioned Strawberry Preserves
That first four-hour (or overnight!) step is mandatory, so don’t try to skip it! Maceration means we toss the fruit with the sugar and just let it sit. What happens is pure kitchen magic: the sugar pulls all the liquid right out of the strawberries. This means when you finally turn on the heat, you’re not spending an hour just cooking off excess water. Instead, you’re immediately cooking concentrated strawberry juice, which deepens the color and the flavor instantly. Plus, the fruit isn’t sitting dry at the bottom of the pot, so you worry way less about scorching it.
Achieving the Perfect Set Without Added Pectin
If you want that jammy, thick set—the kind that holds its shape perfectly on a biscuit—you need to rely on natural pectin. Pectin is released when the fruit acid hits the sugar under high heat over a long period. That’s why we cook it so long! The lemon juice isn’t just for tang; it provides the necessary acid balance to help that natural pectin grab hold and thicken up beautifully. If you follow the setting test, you’ll see it wrinkle up perfectly, proof that science and tradition still work better than anything on the shelf!
Ingredients for Authentic Old-Fashioned Strawberry Preserves
Okay, let’s talk about what you need. This is a recipe that respects its ingredients, so we aren’t loading it down with stabilizers or weird extracts. When you’re making Old-Fashioned Strawberry Preserves, the quality of the fruit really shines through!
- 2 quarts fresh strawberries, hulled and sliced
- 4 cups granulated sugar
- 1 tablespoon fresh lemon juice
Ingredient Notes and Substitutions
The berries are the star, honestly. You absolutely must use fruit that is ripe but still firm. If they are mushy before you even start, you are going to end up with strawberry soup, not preserves! I know it’s tempting to grab the cheapest container, but take your time choosing these.
For the sugar, stick to plain white granulated sugar here. We aren’t fooling around with brown sugar or molasses because that changes the final set and muddies that bright, fresh strawberry color we love. The lemon juice? That’s critical. If, for some reason, you are short on fresh lemons, you can use bottled lemon juice, but use slightly less—maybe just two teaspoons—because the bottled stuff can be a little more acidic than the fresh juice.
Step-by-Step Instructions for Old-Fashioned Strawberry Preserves
Alright, deep breaths! This part is slow, but it is so satisfying. Once that sugar has worked its magic sitting with the berries, we move everything to the stovetop. Remember, with Old-Fashioned Strawberry Preserves, timing and temperature are everything because we aren’t using any pectin cheats!
Maceration and Initial Heating
Take the pot with your sugared strawberries and juice and put it over medium-high heat. Now, this is important: keep stirring gently until you see every last grain of sugar disappear into the liquid. If you’ve got sugar crystals clinging to the bottom when you start boiling, they will burn almost instantly and ruin the whole batch! Once it’s totally dissolved, you’re moving to a full, rolling boil. That’s when you can take a breath, but not for long!
The Slow Simmer for Deep Flavor Strawberry Preserves
Once you hit that aggressive boil, ease the heat back just enough so it stays boiling hard but doesn’t splash everywhere. This is where the magic happens—the slow cook that builds that gorgeous, deep flavor. You need to stir often, scrape the bottom especially, for maybe 45 minutes, maybe an hour, maybe even 75 minutes! It changes depending on how juicy your berries were. Keep at it; you’re concentrating that summer sunshine.
Testing the Set Point for Thick Strawberry Preserves
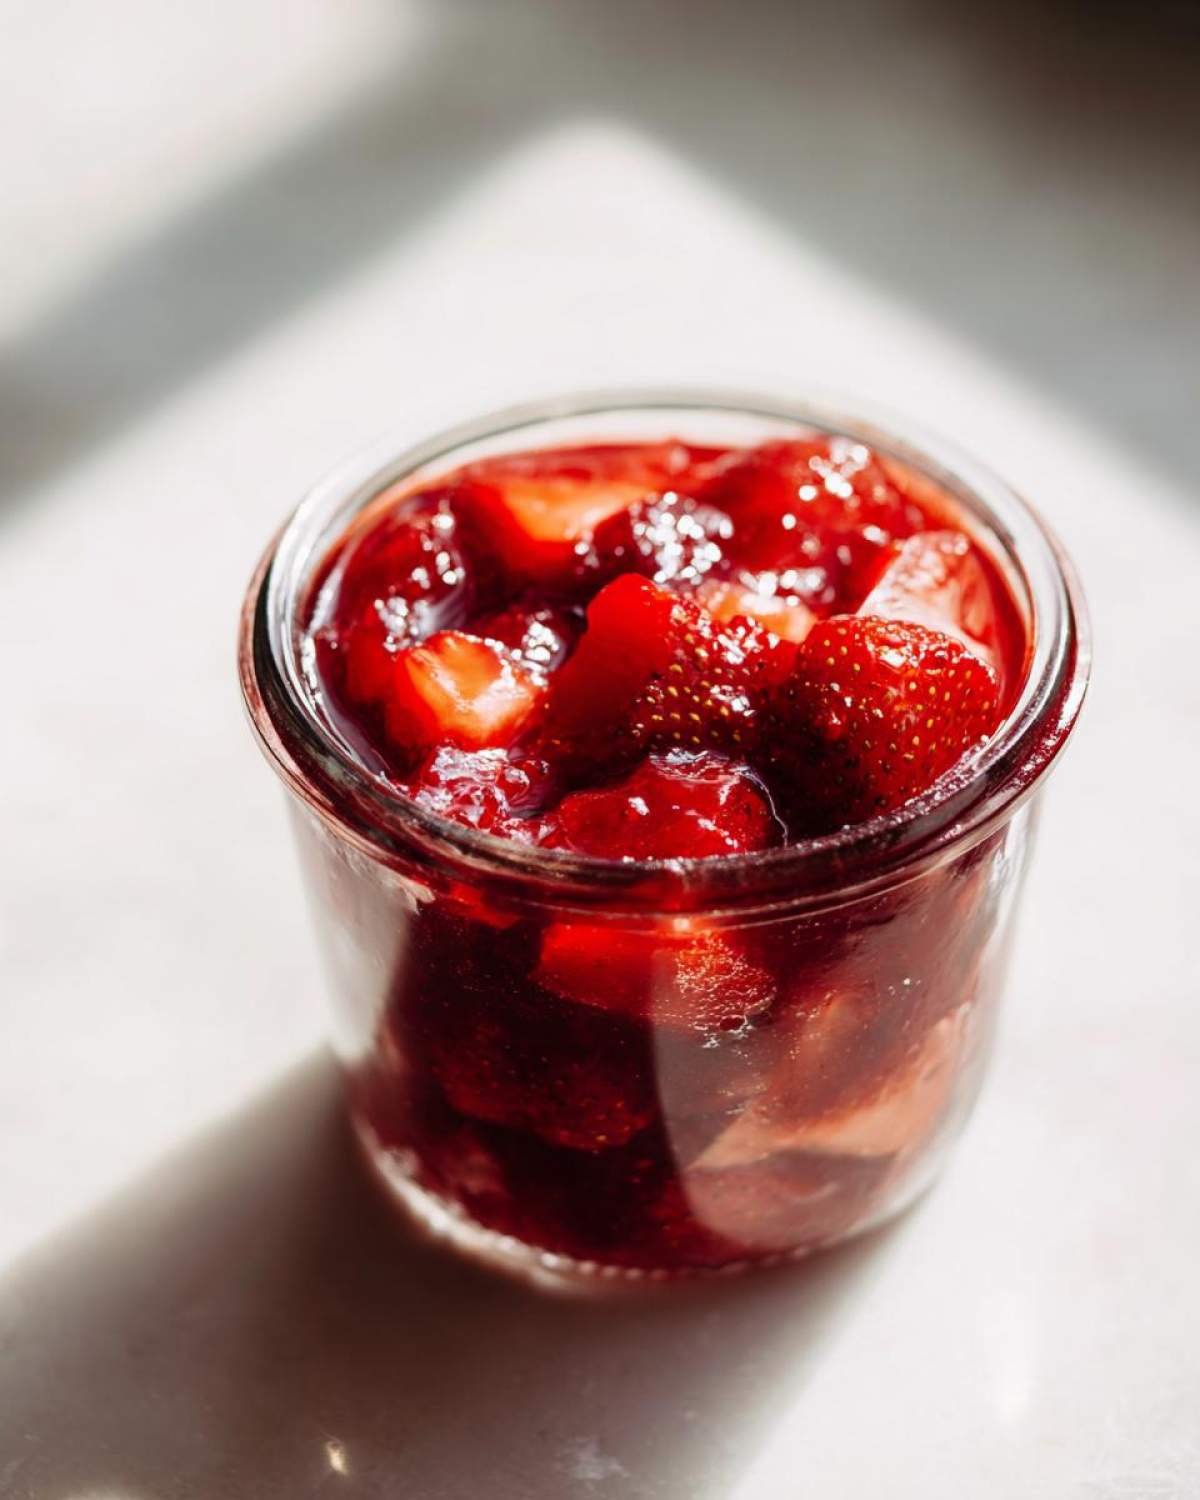
How do you know it’s done without guessing? You get ready *before* you start cooking by hiding a small plate in the freezer. When you think it’s ready, pull the pot off the heat, put a little dollop onto that ice-cold plate, and pop it back in the freezer for sixty seconds. When you pull it out, stick your finger in the edge and push against the preserve. If the surface wrinkles up nicely, you nailed that set! If it just slips away like syrup, back on the heat for another five minutes, then test again.
Jarring and Processing Homemade Strawberry Jam Canning
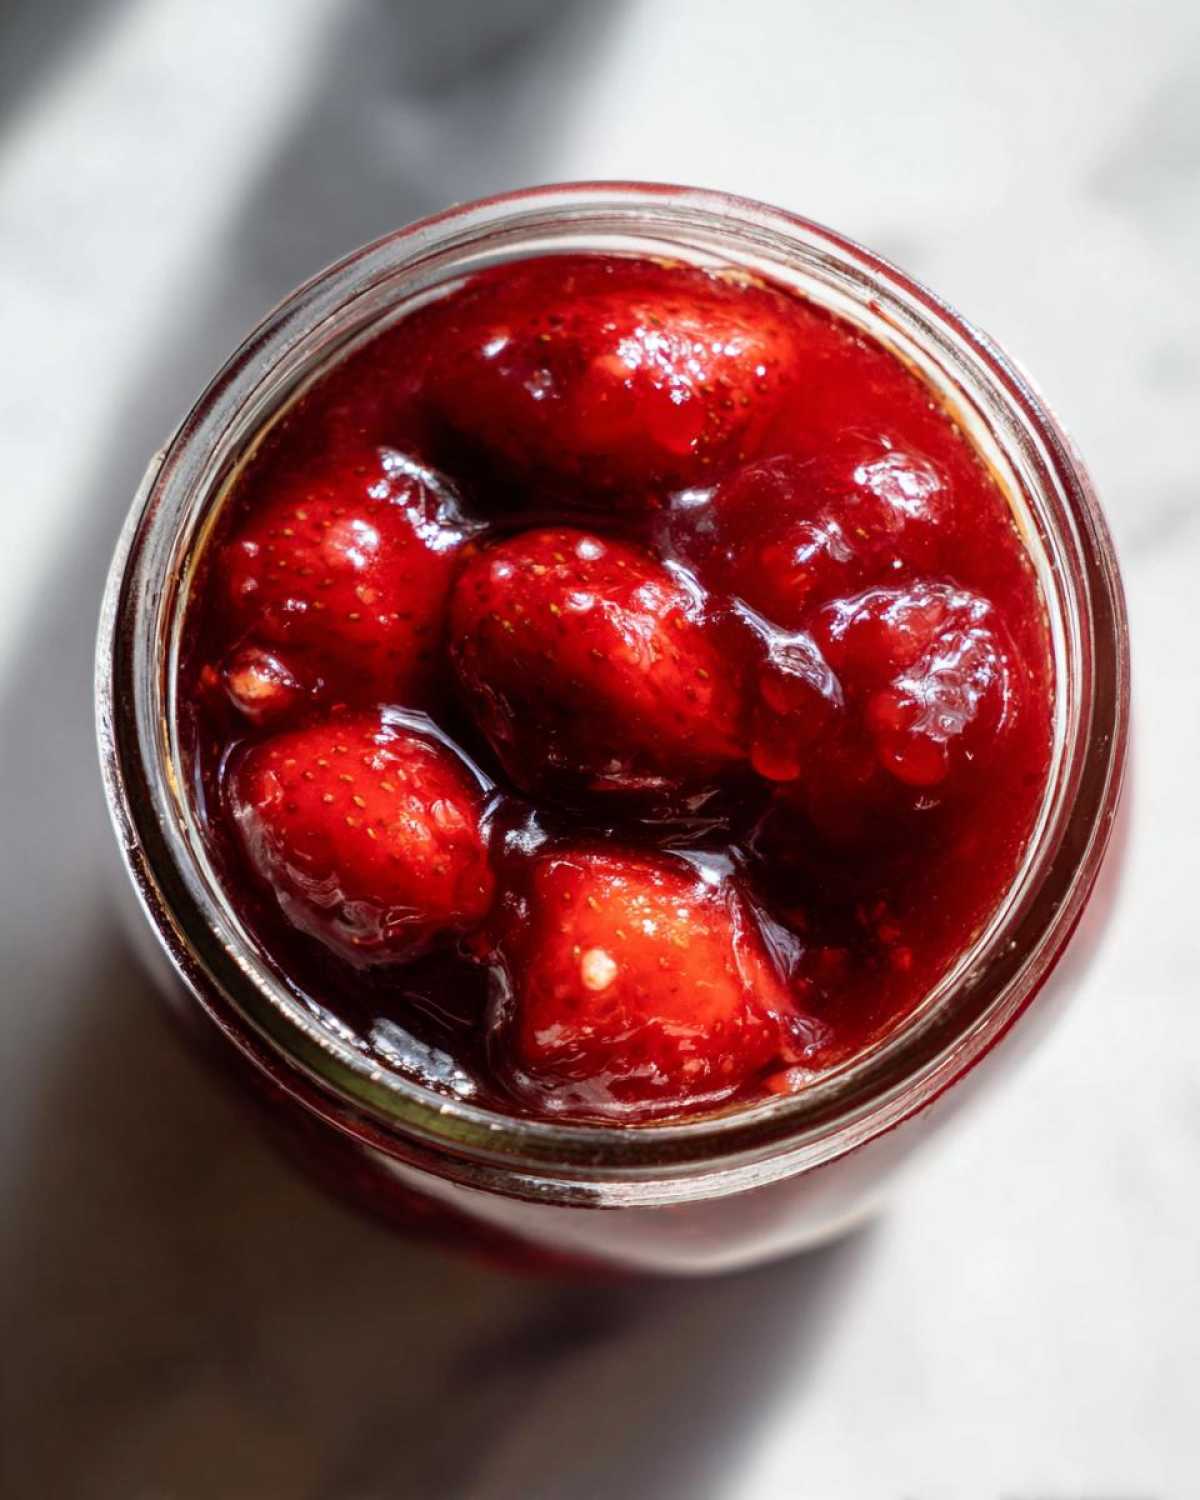
When it wrinkles, you’re done simmering! Skim off any cloudy foam floating on top—we want pristine preserves! Then, carefully ladle the hot mixture into your sterilized jars. Make absolutely sure you leave 1/4 inch of space at the top, we call that headspace. Wipe the rims clean—no sticky residue allowed! Then, process those full jars in boiling water for exactly 10 minutes. Just pull them out and let them cool undisturbed on a thick towel. You’ll hear those beautiful little seals pop as they cool down!
If you want to see my secret to getting jars spotless before filling, check out this guide on easy home canning strawberries. It makes jar prep way less stressful!
Tips for Success with Your Old-Fashioned Strawberry Preserves
Making preserves the old way takes a little thought upfront, but that’s what guarantees success! Since we’ve committed to Old-Fashioned Strawberry Preserves without pectin, we have to make sure our setup is perfect before we even turn on the stove. Don’t panic; these tips are simple organization hacks that save you real heartache later on, especially when dealing with slow cooking.
Equipment Needed for Canning Strawberries Without Pectin
You need the right gear, plain and simple. First up is a huge, wide, heavy-bottomed pot. Seriously, don’t use a skinny saucepan because the liquid will boil over, or worse, scorch on the bottom. You also need a large, non-reactive glass or ceramic bowl for that long soak. Sterilized jars are non-negotiable, of course, and you need your water bath canner ready to go! My most important piece of gear? That little plate you keep chilling in the freezer—never skip that temperature test!
If you want a full breakdown of how I manage my whole preservation day, I laid out all my best organizational secrets in my guide on summer strawberry preservation tips!
Storage and Reheating Instructions for Preserved Strawberries
The best part about making a big batch of Old-Fashioned Strawberry Preserves is having all that deliciousness ready to go for months! Once your jars are sealed—and you hear those satisfying pings as they cool—you need to treat them right.
Store the sealed jars in a cool, dark spot. A pantry or basement is perfect. If you keep them out of direct sunlight and away from any heat source, these preserves can easily last you a full year, maybe even longer. The flavor stays bright and concentrated because of that high sugar content we added!
Now, what happens if a jar doesn’t seal? Don’t get stressed! That just means you didn’t get a perfect vacuum seal during processing. That jar needs to go straight into the refrigerator. You’ll want to eat those open jars within about three to four weeks, just to be safe, so make sure those are the first ones you grab for your morning toast!
Serving Suggestions for Your Best Old Fashioned Fruit Preserves
Now that you’ve gone through all that effort to create these amazing, thick Old-Fashioned Strawberry Preserves, you absolutely need to use them in the best ways possible! Honestly, slathering them on a warm, crusty scone is my absolute favorite way to honor the technique. That deep flavor really cuts through the richness of the butter.
But don’t stop there! They are unbelievable dolloped right on top of vanilla ice cream or a slice of homemade cheesecake. Since these preserves have so much body, they hold up beautifully on top of any baked good, like my chewy sugar cookies. They taste like concentrated summer!
Frequently Asked Questions About Making Old-Fashioned Strawberry Preserves
I’ve collected a few questions that always pop up when folks try making their first batch of Old-Fashioned Strawberry Preserves. Don’t worry if you run into trouble; sometimes that slow cooking takes a little practice!
Why is my homemade strawberry jam runny even after cooking?
If you’ve followed all the steps, the most common reason is simply that you pulled it off the heat too soon. Since we are canning strawberries without pectin, you *must* trust the freezing plate test! Don’t rely only on sight. If it didn’t wrinkle, it needed more boiling time to concentrate the natural pectin. Keep boiling for 5-minute bursts and testing until you get that satisfying wrinkle for true thick strawberry preserves.
What is the proper way to sterilize jars for this recipe?
Sterilizing is key for safe homemade strawberry jam canning! Place your clean jars and lids in a large pot of water, making sure the water covers the jars by at least an inch. Bring the water to a boil and let it boil for 10 minutes. Keep the jars submerged in that hot water right up until the very second you fill them with hot preserves. This stops them from cracking when you pour the hot preserves in.
For other kitchen safety notes, always check out my full recipe disclaimer page!
Estimated Nutritional Data for Sweetened Preserved Strawberries
Now, let’s be real for a second. When you’re making Old-Fashioned Strawberry Preserves the traditional way, you’re using a lot of sugar, and that’s what makes them safe for canning and so delicious!
I always tell people to think of this as a condiment or a treat, not a health food, because we aren’t cutting corners here. The estimates below are based on using the exact measurements listed in the recipe for a standard serving size. Remember, every batch is slightly different based on how ripe your berries were!
- Serving Size: 2 tablespoons
- Calories: 100
- Sugar: 25g
- Sodium: 1mg
- Fat: 0g
- Carbohydrates: 26g
Just a quick note, this breakdown is just an estimate, of course. If you’re using super sweet berries, the total sugar count might be slightly lower, but basically, treat this as a wonderful, sugary topping for your favorite breakfast items!
Share Your Vintage Strawberry Preserve Recipe Experience
I truly hope you roll up your sleeves and give this traditional method a try! There is nothing like that thick, jewel-toned jar of Old-Fashioned Strawberry Preserves sitting on your shelf, knowing you did it the old-fashioned way. It’s a real accomplishment, especially when you skip the pectin!
Once you’ve tasted the difference that slow cooking makes, I want to hear all about it! Did your batch set perfectly on the first try? Did you use them on my favorite scones? Please drop a rating for the recipe below—five stars if it brought you straight back to your grandmother’s kitchen! And if you snapped a picture of your jars, I’d love to see them. Feel free to reach out to me directly if you have any feedback or want to share your results; you can always find my contact page right here. Happy canning, friends!
PrintOld-Fashioned Strawberry Preserves
Make thick, flavorful strawberry preserves using a traditional slow-cooking method without added pectin.
- Prep Time: 4 hours 30 min
- Cook Time: 1 hour 15 min
- Total Time: 5 hours 45 min
- Yield: About 4 half-pint jars
- Category: Dessert Topping
- Method: Stovetop Boiling
- Cuisine: American
- Diet: Vegetarian
Ingredients
- 2 quarts fresh strawberries, hulled and sliced
- 4 cups granulated sugar
- 1 tablespoon fresh lemon juice
Instructions
- Combine the sliced strawberries and sugar in a large, non-reactive bowl. Stir gently to coat the fruit. Cover the bowl and let it stand at room temperature for at least 4 hours, or preferably overnight, until the sugar has drawn out a significant amount of juice.
- Transfer the fruit and juice mixture to a large, heavy-bottomed pot or Dutch oven. Add the lemon juice.
- Place the pot over medium-high heat. Stir constantly until the sugar is completely dissolved and the mixture begins to boil vigorously.
- Once boiling, reduce the heat slightly to maintain a steady, rolling boil that is not likely to scorch. Cook, stirring frequently to prevent sticking, for 45 to 75 minutes. The cooking time depends on the water content of your berries and the heat level.
- Test for the setting point. To do this, place a small plate in the freezer before starting to cook. When you think the preserves are ready, remove the pot from the heat. Place a teaspoon of the hot liquid onto the chilled plate and return it to the freezer for 1 minute. Push the edge of the liquid with your finger; if it wrinkles, the preserves have set. If it remains liquid, continue cooking for another 5 to 10 minutes and test again.
- Once the setting point is reached, remove the pot from the heat. Skim off any foam that has formed on the surface using a large spoon.
- Ladle the hot preserves into sterilized canning jars, leaving 1/4 inch headspace. Wipe the rims clean.
- Process the jars in a boiling water bath canner for 10 minutes, adjusting for altitude if necessary. Remove jars and let them cool undisturbed on a towel-lined counter until sealed. Check seals after 24 hours.
Notes
- For the best flavor and texture, use ripe, firm strawberries.
- Stirring frequently during the long simmer prevents scorching on the bottom of the pot.
- If you prefer a clearer preserve, you can gently mash some of the berries against the side of the pot during the first 30 minutes of cooking.
Nutrition
- Serving Size: 2 tablespoons
- Calories: 100
- Sugar: 25g
- Sodium: 1mg
- Fat: 0g
- Saturated Fat: 0g
- Unsaturated Fat: 0g
- Trans Fat: 0g
- Carbohydrates: 26g
- Fiber: 0g
- Protein: 0g
- Cholesterol: 0mg