

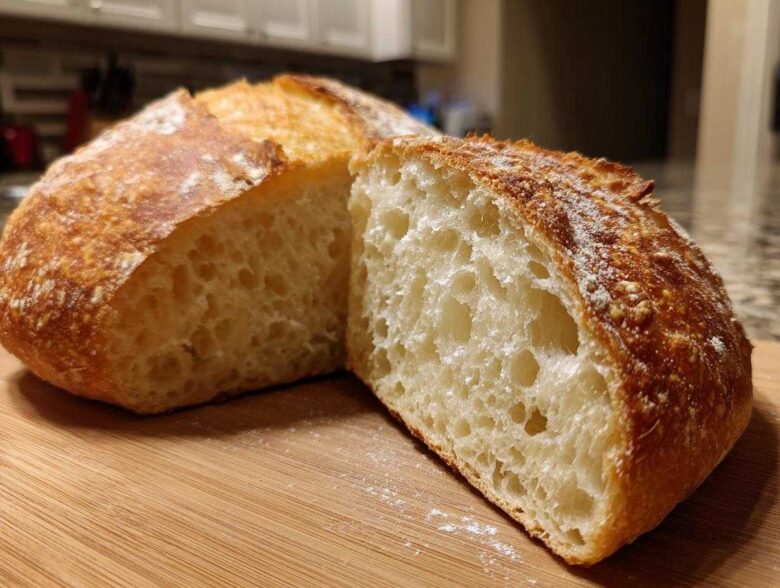
Oh, you know that smell, right? The one that instantly makes your kitchen feel like the coziest place on earth? That’s the scent of fresh, warm bread baking, and for me, nothing beats the aroma of a perfect loaf of Italian bread filling the air. Ethan always insists he can tell if the yeast is happy just by sniffing the sink, but I rely on the science!
Well, after weeks of testing and combining my research notes with Ethan’s gut feelings, we have finally nailed it. This Easy Crusty Homemade Italian Bread recipe is my new go-to. We’re talking about achieving that gorgeous, bakery-style crust that *shatters* when you slice it, but keeping the inside soft and wonderfully chewy. Trust me, you don’t need to be a professional baker to ace this loaf. We designed this specifically for home cooks who want big results with simple pantry staples.
Why This Easy Crusty Homemade Italian Bread Recipe Works (E-E-A-T Focus)
We know you’ve probably seen a million recipes promising the world on a crust, but this one just *works*. Baking bread successfully is all about setting up the right environment, and that’s where Maya’s research comes in handy! Ethan always insists he can tell if the yeast is happy just by sniffing the sink, but I rely on the science!
Well, after weeks of testing and combining my research notes with Ethan’s gut feelings, we have finally nailed it. This Easy Crusty Homemade Italian Bread recipe is my new go-to. We’re talking about achieving that gorgeous, bakery-style crust that *shatters* when you slice it, but keeping the inside soft and wonderfully chewy. Trust me, you don’t need to be a professional baker to ace this loaf. We designed this specifically for home cooks who want big results with simple pantry staples. If you love the idea of super easy bread, you should definitely check out how we made our no-knead Dutch oven bread too!
Achieving the Bakery Style Italian Loaf Crust
That golden, crunchy crust you dream about? It comes down to steam—seriously! When you preheat that extra pan and add hot water right before baking, the steam keeps the surface of your dough moist for the first few minutes. This delays the crust from setting up too fast, allowing the loaf to expand fully. When the steam finally dissipates, the outer starches gelatinize perfectly, giving you that authentic Bakery Style Italian Loaf snap.
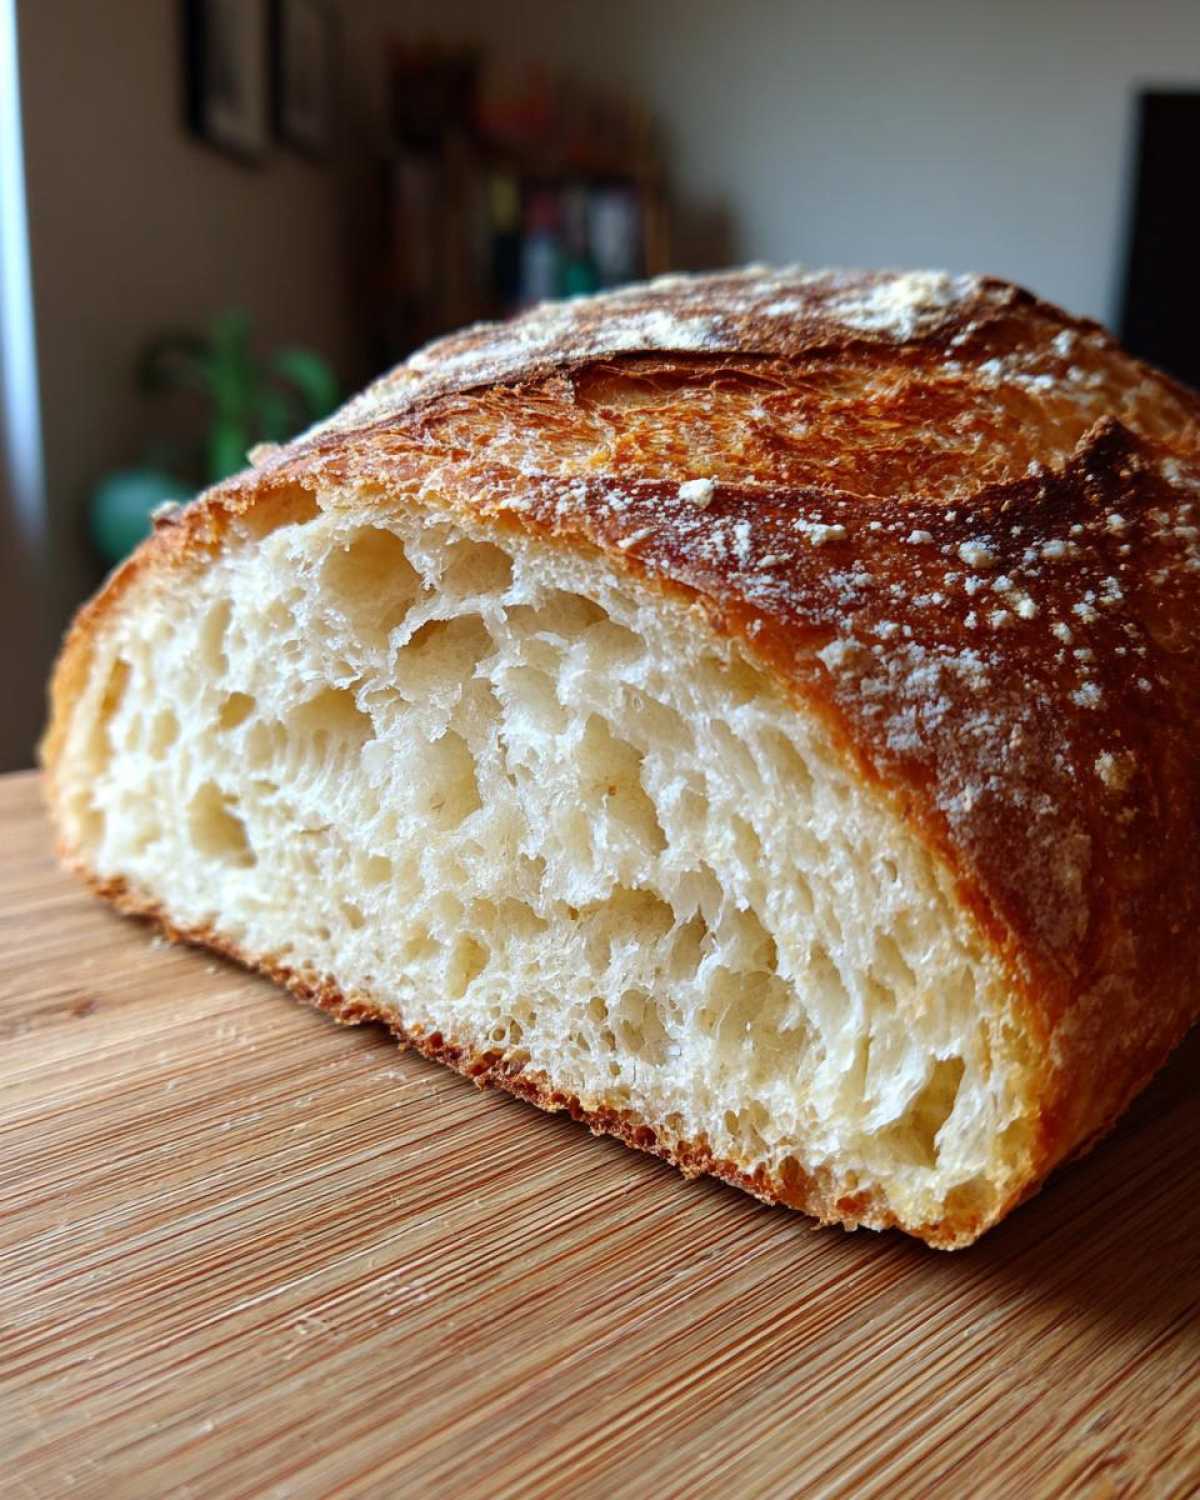
Simple Ingredients for Classic Italian Baking
Seriously, look at the ingredient list; it’s almost embarrassing how simple it is! Flour, water, salt, sugar, yeast, and olive oil. That’s it. The only requirement that Maya drilled into me was that the water temperature has to be just right—not too hot that it kills the yeast, and not too cold that it makes it sleepy. Getting the yeast happy is the foundation of all Classic Italian Baking!
Ingredients for Your Homemade Italian Bread Recipe
Okay, so you saw how successful we were getting that beautiful crust, right? Now let’s talk about what goes into this fantastic loaf of Homemade Italian Bread Recipe. Honestly, this is the best part because the ingredient list is ridiculously short. I love that there’s no fancy sourdough starter required, just things I always have in the pantry. Follow these measurements exactly, especially the water temperature guidance, and you’ll be golden!
- 3 1/2 cups all-purpose flour
- 1 1/2 teaspoons salt
- 1 teaspoon granulated sugar
- 2 1/4 teaspoons active dry yeast (that’s usually one standard packet!)
- 1 1/2 cups warm water (aim for between 105°F and 115°F—test it on your wrist first!)
- 1 tablespoon olive oil, plus a little extra to grease your bowl
Step-by-Step Instructions for Perfect Italian Bread
Alright, here is the roadmap to getting incredible Italian bread on your table tonight! I’ve broken down the steps Ethan and I use every time we bake. Don’t feel rushed during the rising times; that’s when the flavor develops. Just trust the process and the dough will tell you when it’s ready! For more tips and tricks from our kitchen experiments, check out our main blog page.
Activating the Yeast and Mixing the Dough
First things first, we wake up the yeast! Mix your warm water, sugar, and yeast together in a big bowl. You have to wait about five to ten minutes until it looks foamy and bubbly on top. If it doesn’t foam, your water was too hot or too cold, and you’ll need to start over—that foam is our confirmation that our yeast is ready for action! Once you see that foam, stir in the flour, salt, and olive oil until you get what I call a ‘shaggy mess.’
Kneading for a Chewy Italian Loaf Texture
Now for the fun part, or maybe the arm workout part, depending on your mood! Turn that shaggy dough out onto a lightly floured counter. You need to knead this for a good 8 to 10 minutes. Don’t cheat this step! You are developing the gluten structure that makes this a true Chewy Italian Loaf. Don’t worry if it feels a little sticky at first; keep working it until it feels smooth, soft, and elastic under your hands.
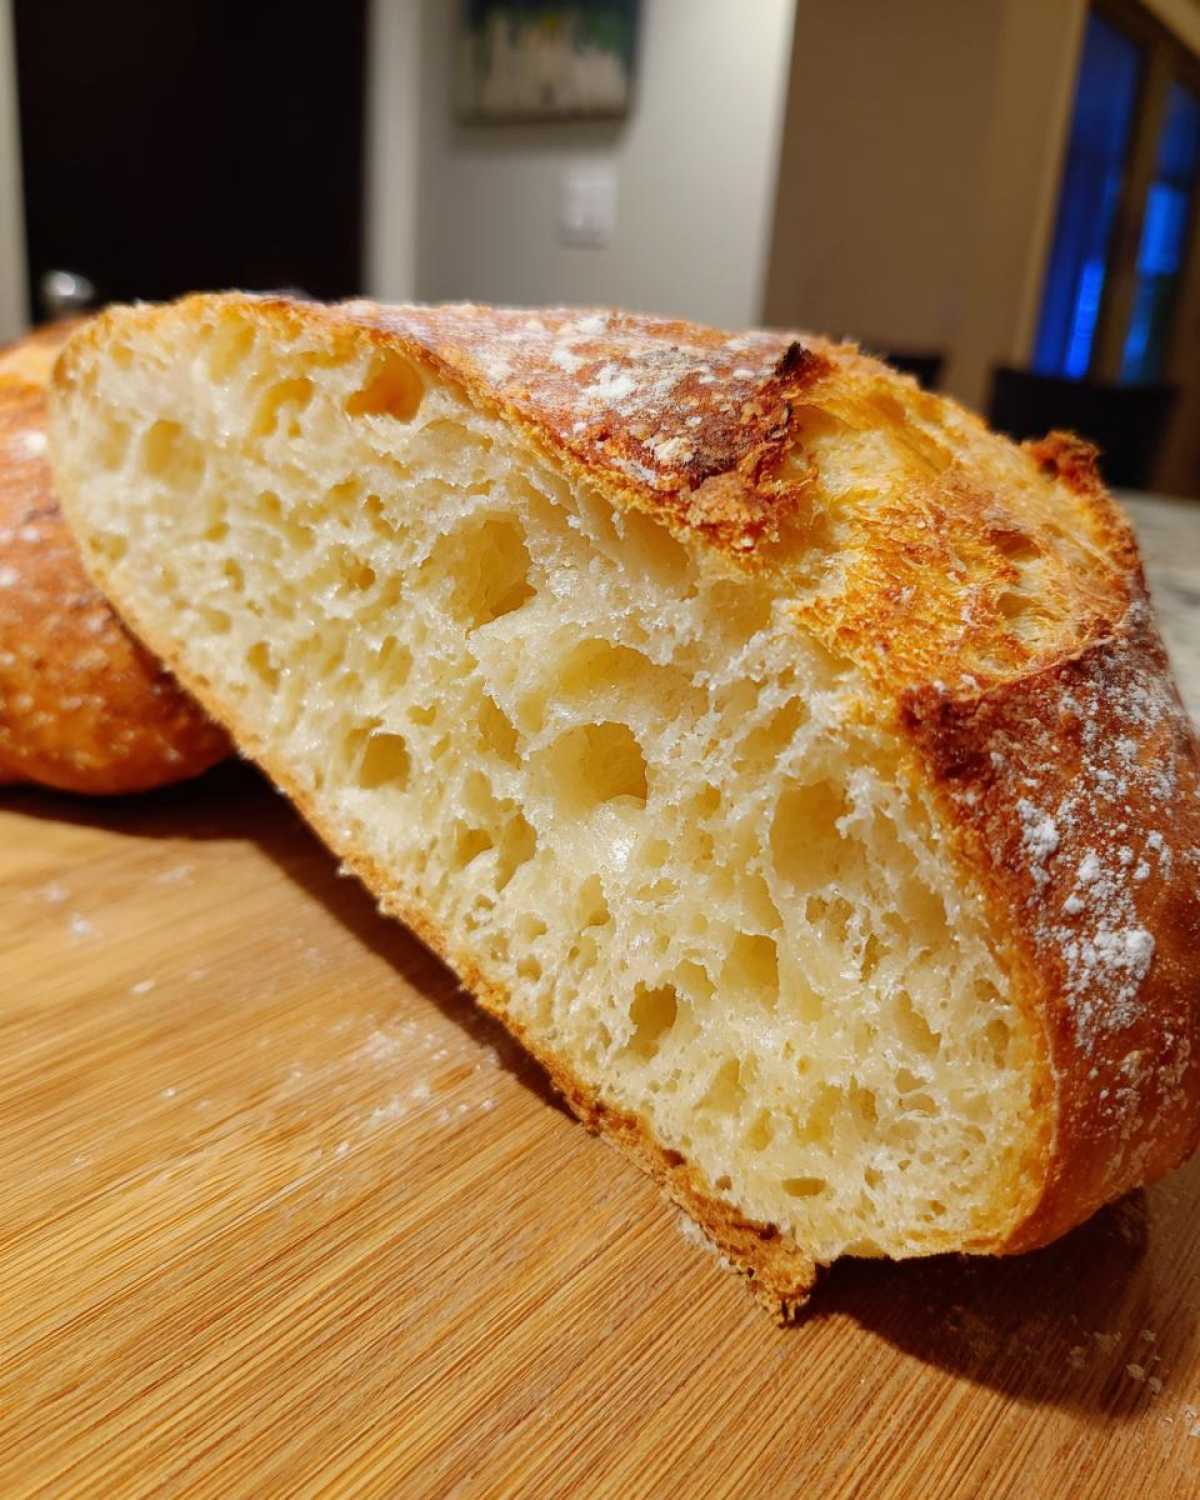
The First Rise: Allowing Your Italian Bread to Double
Once it’s gorgeous and smooth, lightly grease a bowl with a little olive oil—just enough to keep the dough from sticking. Pop the dough in, turn it over once to coat, cover it up tight with plastic wrap, and find a warm spot. We usually just use the top of the warm fridge or a slightly preheated oven that’s been turned off. Give this 1 to 1.5 hours. It needs to look totally doubled in size for this Quick Italian Bread Tutorial to work!
Shaping and the Second Rise
When the dough has puffed up, go ahead and gently punch it down—yes, it’s satisfying! Now you shape it. You can make one big, rustic loaf or divide it for two smaller loaves. Make sure you pull the edges underneath when shaping to create a nice, tight skin on the top. Place the loaf(s) on parchment paper on a baking sheet, cover them softly, and let them rest again for 30 to 45 minutes. This final rest is key!
Baking Your Golden Brown Crust Bread with Steam
Right before that second rise finishes, get your oven screaming hot at 400°F (200°C). This is where we pull out the trick Ethan’s uncle taught us: steam! Put a shallow metal pan on the bottom rack while it preheats. When you slide your prepared Italian bread into the oven, carefully—and I mean carefully, hot steam is no joke!—pour about half a cup of hot water into that preheated pan and immediately shut the door. Bake for 30 to 35 minutes. You are looking for a deep, wonderful color on that Golden Brown Crust Bread. When you tap the bottom, it should sound hollow. That means perfection!
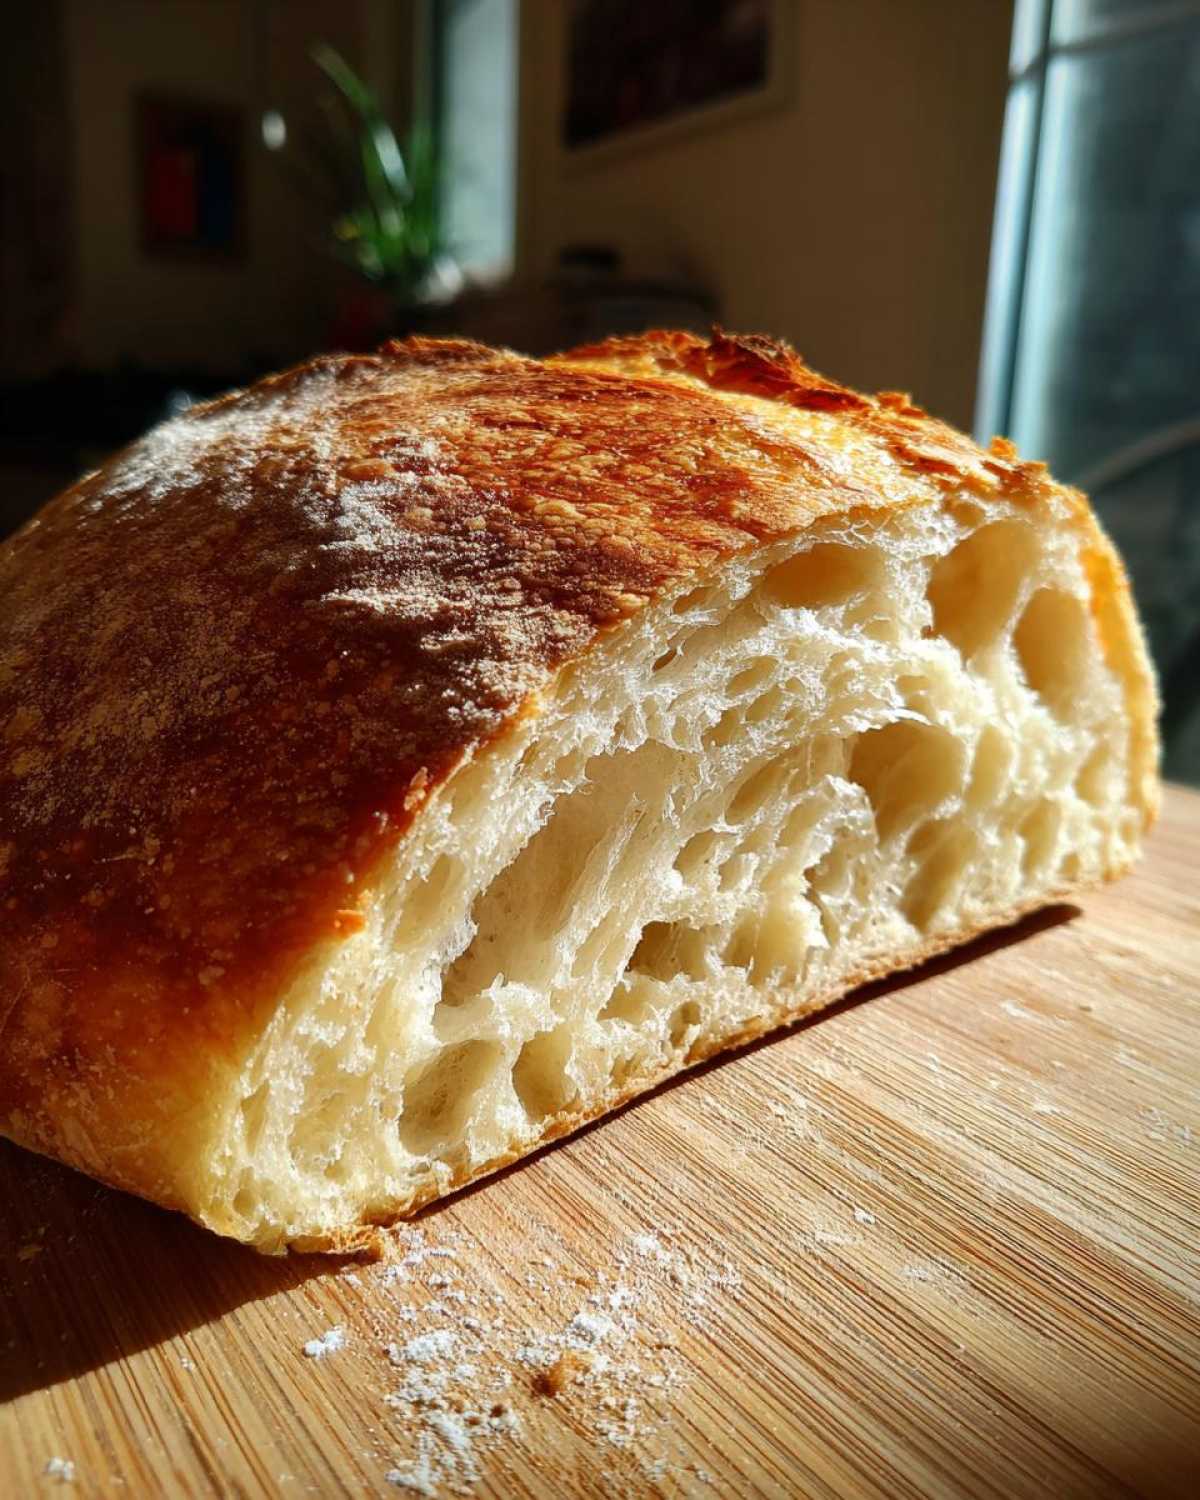
Tips for Success When Baking Italian Bread
Baking bread can feel intimidating when you first start out, but this recipe is truly set up for Beginner Bread Making success! Once you understand the dough, you can start tweaking it for your exact preferences. We’ve found that small adjustments based on what you plan to eat this delicious Italian bread with can change the whole experience. For instance, if you ever want to dip your dough in something richer than olive oil, check out the dipping sauce techniques we use for our creamy chicken enchiladas!
Crust Adjustments: Soft vs. Extra Crisp
If you’re planning on making sandwiches the next day and prefer a softer bite, skip the steam pan method entirely! After you pull the hot loaf out of the oven, brush the top immediately with a little melted butter. That softens the crust right up as it cools. For that super crisp, crackly texture we talked about—the kind that shines on the dinner table—you absolutely need that steam, or you can slide the dough onto a scorching hot baking stone, as Maya suggests in her notes. It all comes down to personal preference, remember that!
Serving Suggestions for Fresh Baked Bread Aromas
We’ve talked about how great this Italian bread smells, but the real payoff is how it tastes with a meal! Honestly, leaving this loaf on the table is the best way to invite people to dig in. It’s just fantastic for soaking up every last bit of sauce from a big pasta pot. Ethan loves tearing off big hunks for pure dipping pleasure.
For effortless entertaining, serve it warm with a little bowl of good olive oil seasoned with salt and pepper—those are the best Dipping Bread Recipes! It also makes the absolute best base for quick lunchtime sandwiches. Any meat or cheese tastes better when it’s tucked inside crusty homemade goodness, trust me on that one.
Storage and Reheating Instructions for Leftover Italian Bread
Okay, I know it’s almost impossible to have leftovers of this perfect Italian bread, but life happens! If you do manage to save a piece, keeping that beautiful crust crisp is tough because bread naturally wants to go stale quickly. Don’t wrap it tightly in plastic wrap right away; that traps moisture and turns the crust leathery overnight. Instead, let the loaf cool *completely* on a wire rack first.
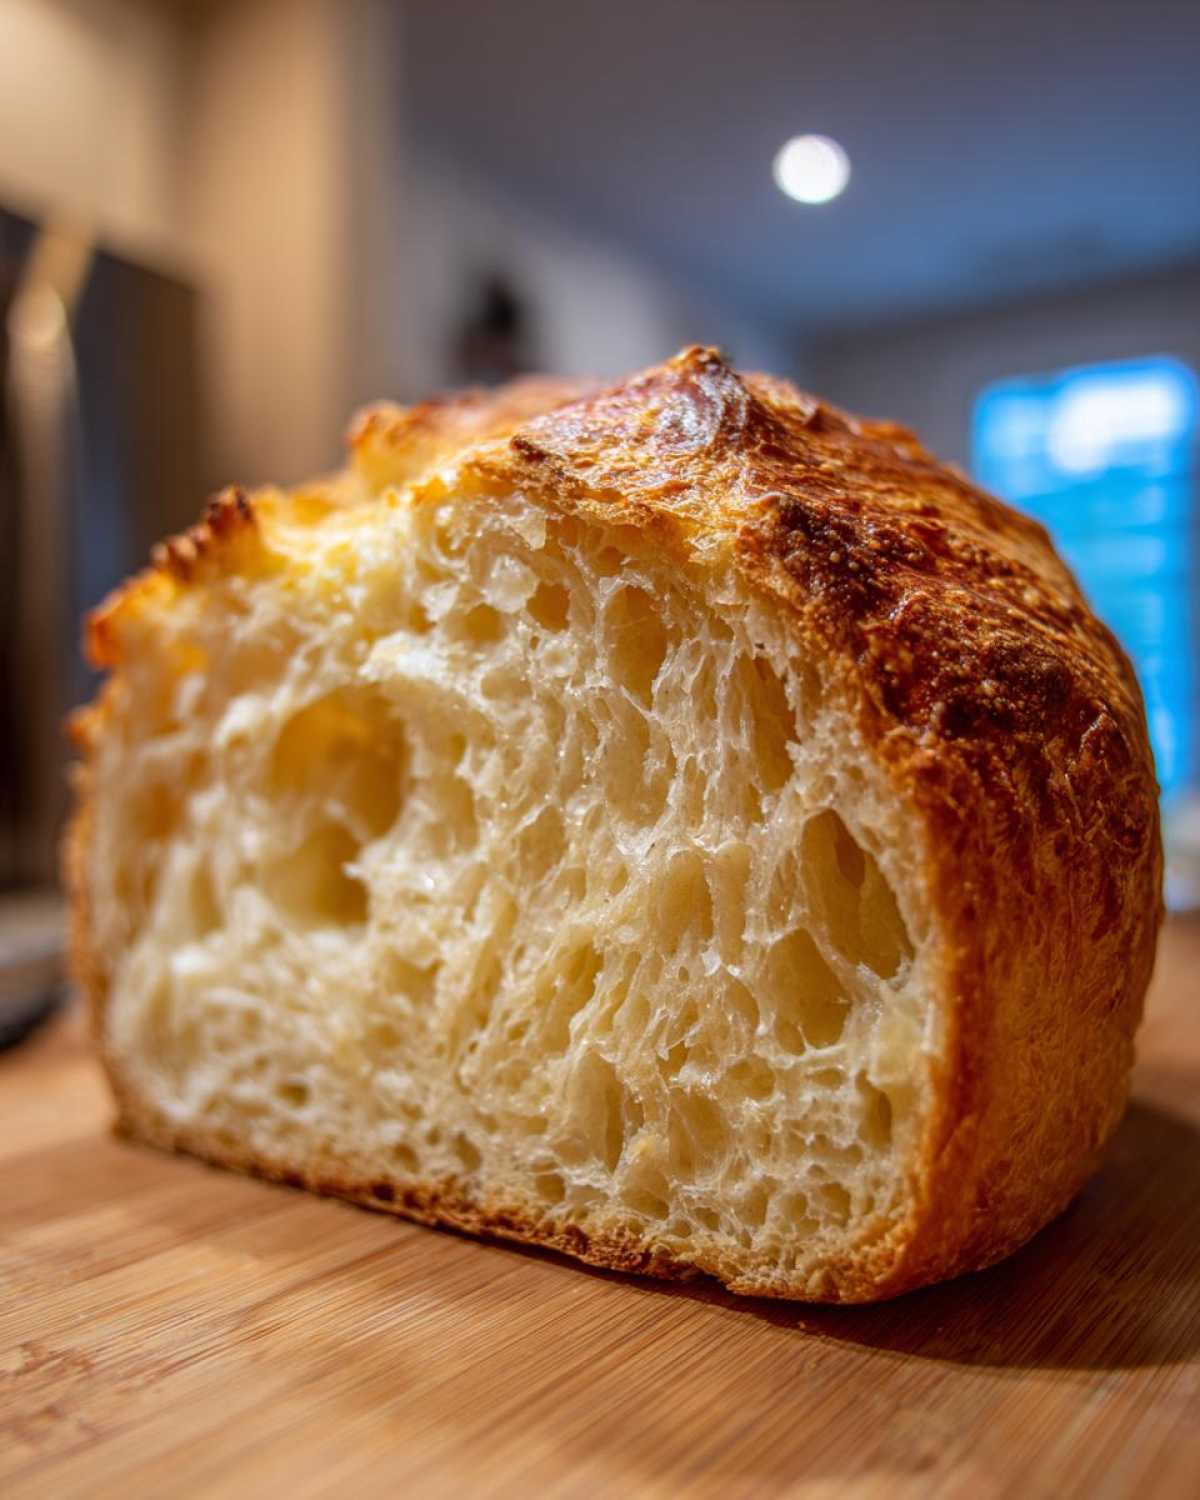
When you are ready to eat it the next day, you need to wake that crust back up! The reheat is super easy and brings back that fresh-baked magic. You just put the whole loaf—or a large hunk—back into a 350°F oven for about five to eight minutes. You’ll hear that crust start to crackle again, and I promise, the aroma will fill your kitchen just like the first time you baked it!
Frequently Asked Questions About This Italian Bread
It’s funny how, even with the clearest instructions, people always have questions, but that’s totally fair! Baking is a learning process, and I’m happy to chat more about what makes this recipe work for everyone. If you have even more questions after reading this, feel free to reach out; you can always find us on the contact page!
Can I make this a No Knead Italian Bread recipe?
That’s a common question when people are looking for speed! For this specific loaf, I recommend against trying to make it truly no-knead. Kneading is what builds the basic structure needed to hold up to that fantastic steam bath we use for the crust. If you absolutely can’t kneel, maybe check out a true no-knead option if time is extremely limited, but this recipe shines because of that hand-worked chewiness!
How long does it take to make this bread if I skip the first rise?
Oh, I wish we could skip the rising time, haha! That first rise is where all the flavor develops, so even for a Quick Italian Bread Tutorial, you cannot skip it. You *might* be able to slightly shorten that second rise to about 20 minutes if you’re desperate, but cutting out the first rise will result in a very dense, heavy loaf that won’t have that lovely airy interior, like some of the extremely fast methods you see online, such as those found here: Quick and Easy Loaf.
What flour type is best for an Artisan Bread at Home?
We used all-purpose flour here because we wanted this to be accessible for Beginner Bread Making. It works absolutely great! However, if you want to push that chewiness up a notch and get closer to a true Artisan Bread at Home texture, switching to bread flour will give you more protein, which means a stronger gluten network. It’s a great next step once you master this recipe!
Estimated Nutritional Data for Italian Bread
Okay, I know that for most of us, eating homemade bread isn’t about counting every gram, but I do review the nutritional breakdown for my own peace of mind, and I figure you might want to peek too! Since Ethan’s method involves simple ingredients, the numbers aren’t too wild. Remember, these figures are just estimates based on dividing the whole loaf into what we think a reasonable slice size is. These numbers can change based on how thick you slice those gorgeous end pieces!
- Serving Size: 1 slice
- Calories: 150
- Fat: 1.5g
- Carbohydrates: 30g
- Protein: 5g
- Sugar: 1g
- Sodium: 250mg
Please keep in mind that these are just estimates we calculated based on the basic flour, yeast, and oil we used. If you decide to add an egg wash, or maybe brush it with butter like some of you lovely people do for a softer crust, the values will shift a little. But for the classic, pure Italian bread recipe we shared, these numbers should give you a good ballpark!
Share Your Homemade Italian Bread Success
Now that you’ve followed along and hopefully experienced that glorious moment when you pull that deeply colored, aromatic loaf out of the oven, it’s your turn! Ethan and I live for hearing how our tips and recipes work out in *your* kitchens. Did you get that perfect crackle on the crust? Did the steam pan trick work its magic?
Please, please, please leave a rating for this Italian bread recipe right below where you see this. More importantly, drop a comment and tell us how it went! Did you eat it dipped in olive oil, or did you devour it making the world’s best sandwich? Snap a picture of your results, especially that beautiful interior crumb, and tag us on social media. We love seeing your successes and helping troubleshoot if anything went sideways—that’s what we’re here for! And while you’re here, take a quick peek at our privacy policy, just so you know how we handle all your lovely comments and tags!
PrintEasy Crusty Homemade Italian Bread: Bakery-Style Loaf
Bake a bakery-style Italian loaf at home with this easy recipe. You get a golden, crunchy crust and a soft, chewy interior using basic pantry ingredients. This recipe is perfect for beginners.
- Prep Time: 20 min
- Cook Time: 35 min
- Total Time: 2 hours 5 minutes
- Yield: 1 large loaf
- Category: Baking
- Method: Baking
- Cuisine: Italian
- Diet: Vegetarian
Ingredients
- 3 1/2 cups all-purpose flour
- 1 1/2 teaspoons salt
- 1 teaspoon granulated sugar
- 2 1/4 teaspoons active dry yeast (1 packet)
- 1 1/2 cups warm water (about 105-115°F)
- 1 tablespoon olive oil, plus more for the bowl
Instructions
- In a large bowl, mix the warm water, sugar, and yeast. Let this stand for 5 to 10 minutes until the mixture becomes foamy. This shows the yeast is active.
- Add the flour, salt, and olive oil to the yeast mixture. Mix everything with a wooden spoon until a shaggy dough forms.
- Turn the dough out onto a lightly floured surface. Knead the dough for 8 to 10 minutes until it becomes smooth and elastic. You want it soft but not sticky.
- Lightly oil a clean large bowl. Place the dough in the bowl and turn it over to coat the surface with oil. Cover the bowl with plastic wrap or a clean kitchen towel.
- Let the dough rise in a warm place for 1 to 1.5 hours, or until it has doubled in size. This is your first rise.
- Gently punch down the risen dough to release the air. Shape the dough into a tight loaf or two smaller loaves.
- Place the shaped loaf(ves) on a baking sheet lined with parchment paper or in a prepared loaf pan. Cover loosely and let it rise again for 30 to 45 minutes. This is your second rise.
- Preheat your oven to 400°F (200°C) about 20 minutes before the second rise finishes. For extra crust, place a shallow pan on the bottom rack while preheating to create steam.
- Just before baking, lightly brush the top of the loaf with water or an egg wash for color. You can score the top with a sharp knife if you wish.
- Bake for 30 to 35 minutes, or until the crust is deep golden brown and sounds hollow when tapped. If you used a steam pan, carefully pour 1/2 cup of hot water into the pan and quickly close the oven door to create steam for a crispier crust.
- Remove the bread from the oven and transfer it to a wire rack to cool completely before slicing. Enjoy your homemade Italian bread!
Notes
- For a crispier crust, place a baking stone or heavy baking sheet in the oven while preheating. Slide the dough onto the hot surface for baking.
- If you want a softer crust, brush the loaf with melted butter immediately after it comes out of the oven.
- This bread is excellent for dipping in olive oil or serving alongside pasta dishes.
Nutrition
- Serving Size: 1 slice
- Calories: 150
- Sugar: 1
- Sodium: 250
- Fat: 1.5
- Saturated Fat: 0.2
- Unsaturated Fat: 1.3
- Trans Fat: 0
- Carbohydrates: 30
- Fiber: 1
- Protein: 5
- Cholesterol: 0