

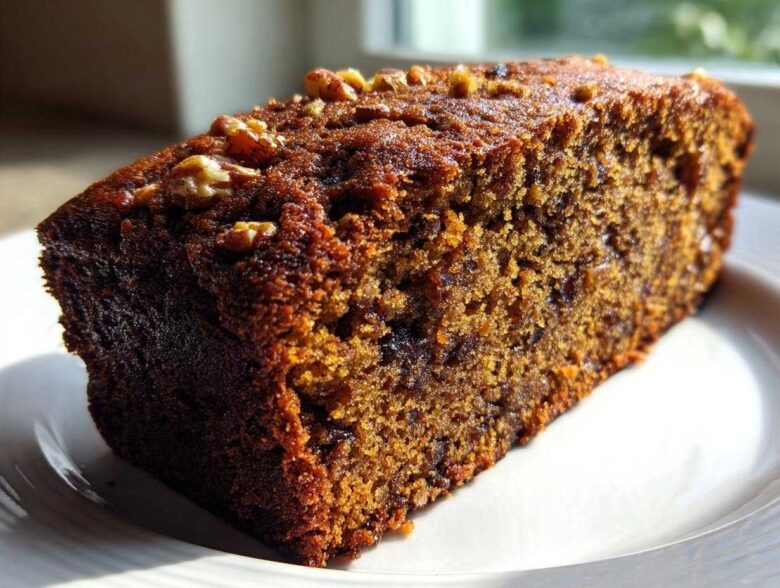
If you ask Ethan what the ultimate comfort food baking smells like, he’ll instantly say cinnamon and sweet, dark caramelizing sugar. Mine? It’s that warm, earthy scent of slow-cooked dates mingling with toasted walnuts. That’s why we absolutely had to nail the recipe for the Easy, Moist, Old-Fashioned Date Nut Bread. Baking used to be a point of contention in our kitchen—me with my spreadsheets and him with his gut feelings—but this loaf is where our styles finally merged perfectly! I researched the science behind maximum moisture retention, and Ethan’s instinct guided the spice blend. Trust me, this quick bread is the culmination of our best kitchen conversations, ensuring you get a truly fantastic, wholesome snack bread every single time. You can read more about how we found our rhythm over at our story.
Why This is the Best Date Nut Bread Recipe You Will Make
Finding a truly moist date nut bread recipe that sticks around is tough, right? So many quick breads end up dense or, worse, dry after a day. That’s why I fought to make this recipe foolproof. This is the quintessential old fashioned nut bread experience—rich, spiced, and absolutely tender. My favorite research tip, the one that guarantees moisture, involves microwaving the dates with the baking soda and hot water. That reaction actually helps break down some of the date’s structure, allowing it to absorb more liquid during baking instead of drying out. It’s science meeting comfort! If you want to read more about how we ensure perfect moisture in all our loaf recipes, check out my post on Moist Date Nut Bread Secrets.
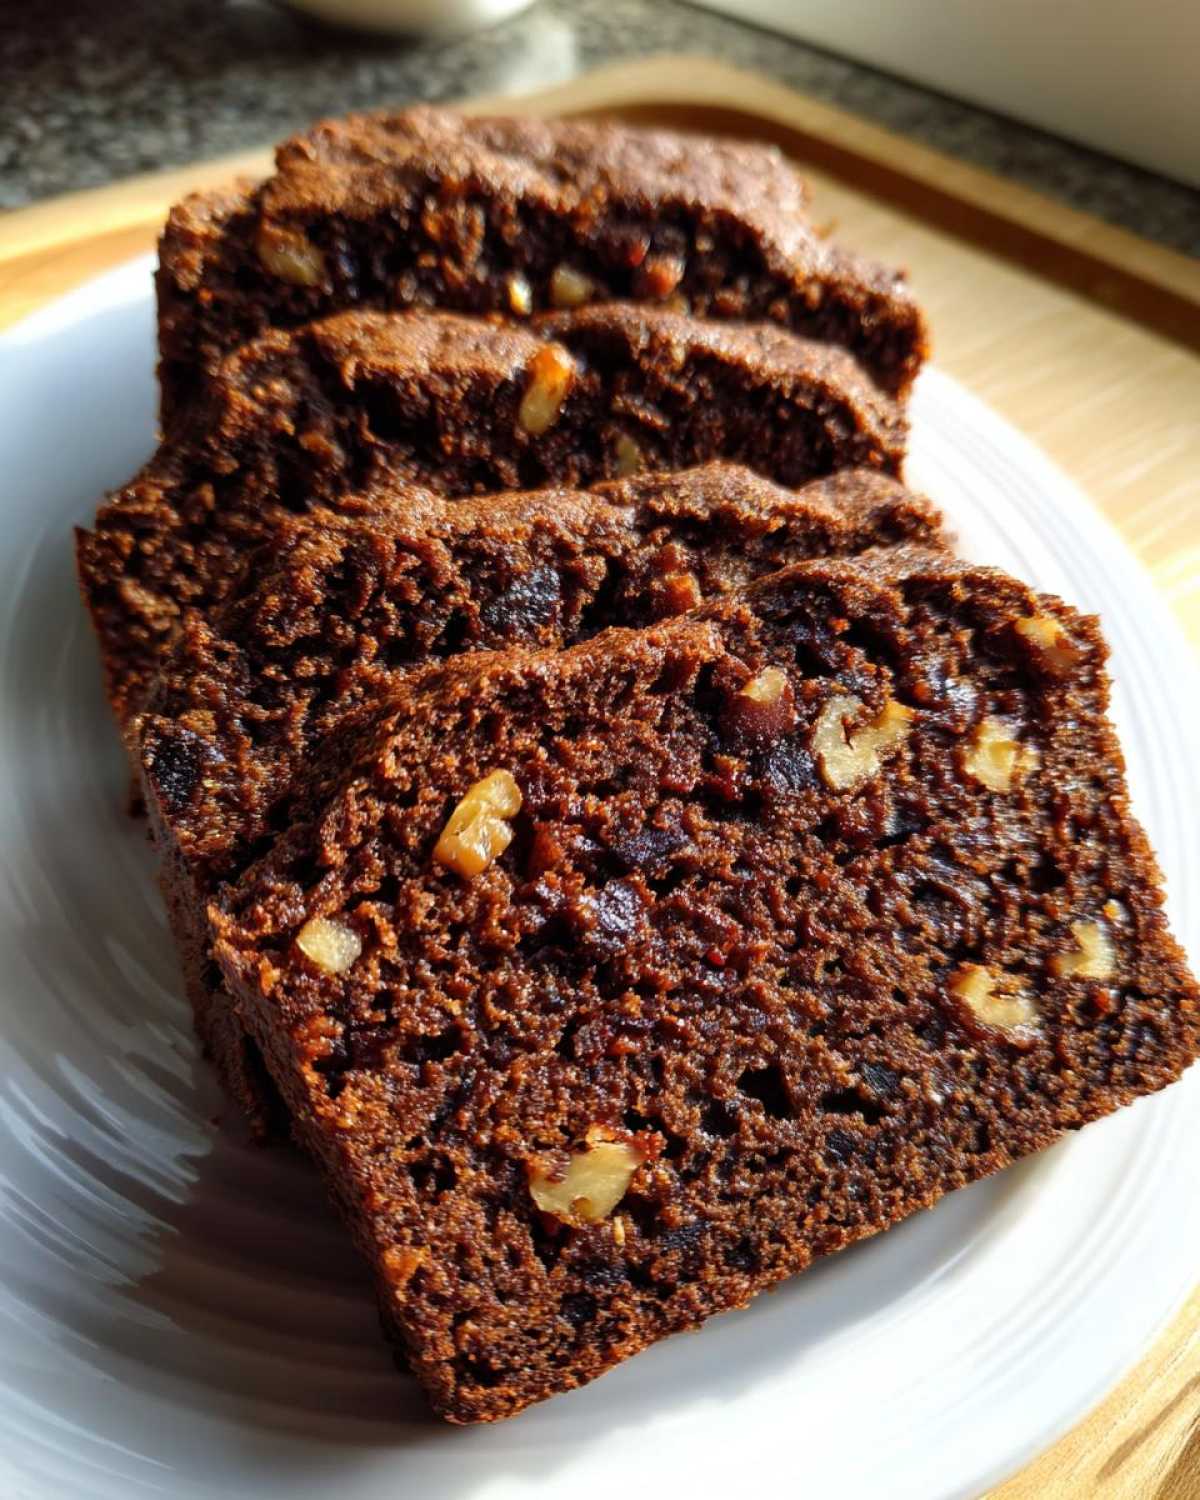
Quick Bread Baking Success: Time and Yield
This is truly your go-to easy date loaf recipe when you need something fast but impressive. We’ve kept this as simple as possible. Prep time is only about 15 minutes, and then it bakes up while you clean the kitchen! You get one lovely loaf that yields about 10 slices, making it a perfect breakfast loaf recipe for busy week mornings or just slicing off a piece for an afternoon pick-me-up. You won’t believe how simple it is to make something this comforting.
Gathering Ingredients for Your Date Nut Bread
Okay, let’s get our ingredients lined up! This isn’t the time for guesswork, especially when we’re aiming for that perfect texture. When you measure out that light brown sugar, make absolutely sure it’s packed down into the cup—that molasses is crucial for our flavor. For the star of the show, you need pitted dates, chopped up nice and small before they meet that boiling water. Also, don’t skimp on the walnuts; good nuts make a great date and walnut bread! You can see the full required list, but these little checks are what pull us into the ‘best’ category. If you’re new to working with dates, I put together a whole guide on all things baking with dates that you might find super helpful!
Ingredient Notes and Substitutions for Date Nut Bread
Now, Ethan always likes to sneak some whole wheat flour in here when I’m not looking, and honestly? I don’t mind! If you want to make this a slightly more wholesome snack bread, swap half of the all-purpose flour out. It keeps the loaf soft enough but adds a lovely earthiness. If you’re thinking you want it even richer and sweeter, you absolutely can add about a half cup of mashed ripe banana when you mix in the wet ingredients—that creates a delicious banana date nut bread variation, just like my friend over at The Baking Chocolatess does sometimes!
Step-by-Step Instructions for Moist Date Nut Bread
Alright, let’s get this date nut bread into the oven! First things first, get organized, because this is what Ethan calls a “just throw it together” recipe, but organization is key for speed. You’ll want to preheat your oven to 350°F (175°C) right away. Grease and flour that 9×5 inch loaf pan so you aren’t racing the clock when the batter is ready. If you want to see more of my organizational tips for fast baking, check out how I approach quick bread baking.
Now for the secret weapon that makes this loaf wonderfully moist: the dates. Follow the instructions exactly here: chop them up, put them in a bowl, and pour that full cup of boiling water over them, stirring in the baking soda. Let that sit for a full 10 minutes! This little soaking step is what activates everything and ensures a tender crumb.
While that’s happening, you’ll handle the regular creaming stuff—butter and brown sugar until fluffy, then eggs one by one. In a separate bowl, whisk together your flour, salt, and that warming cinnamon. This is where we build the structure for our simple spiced bread.
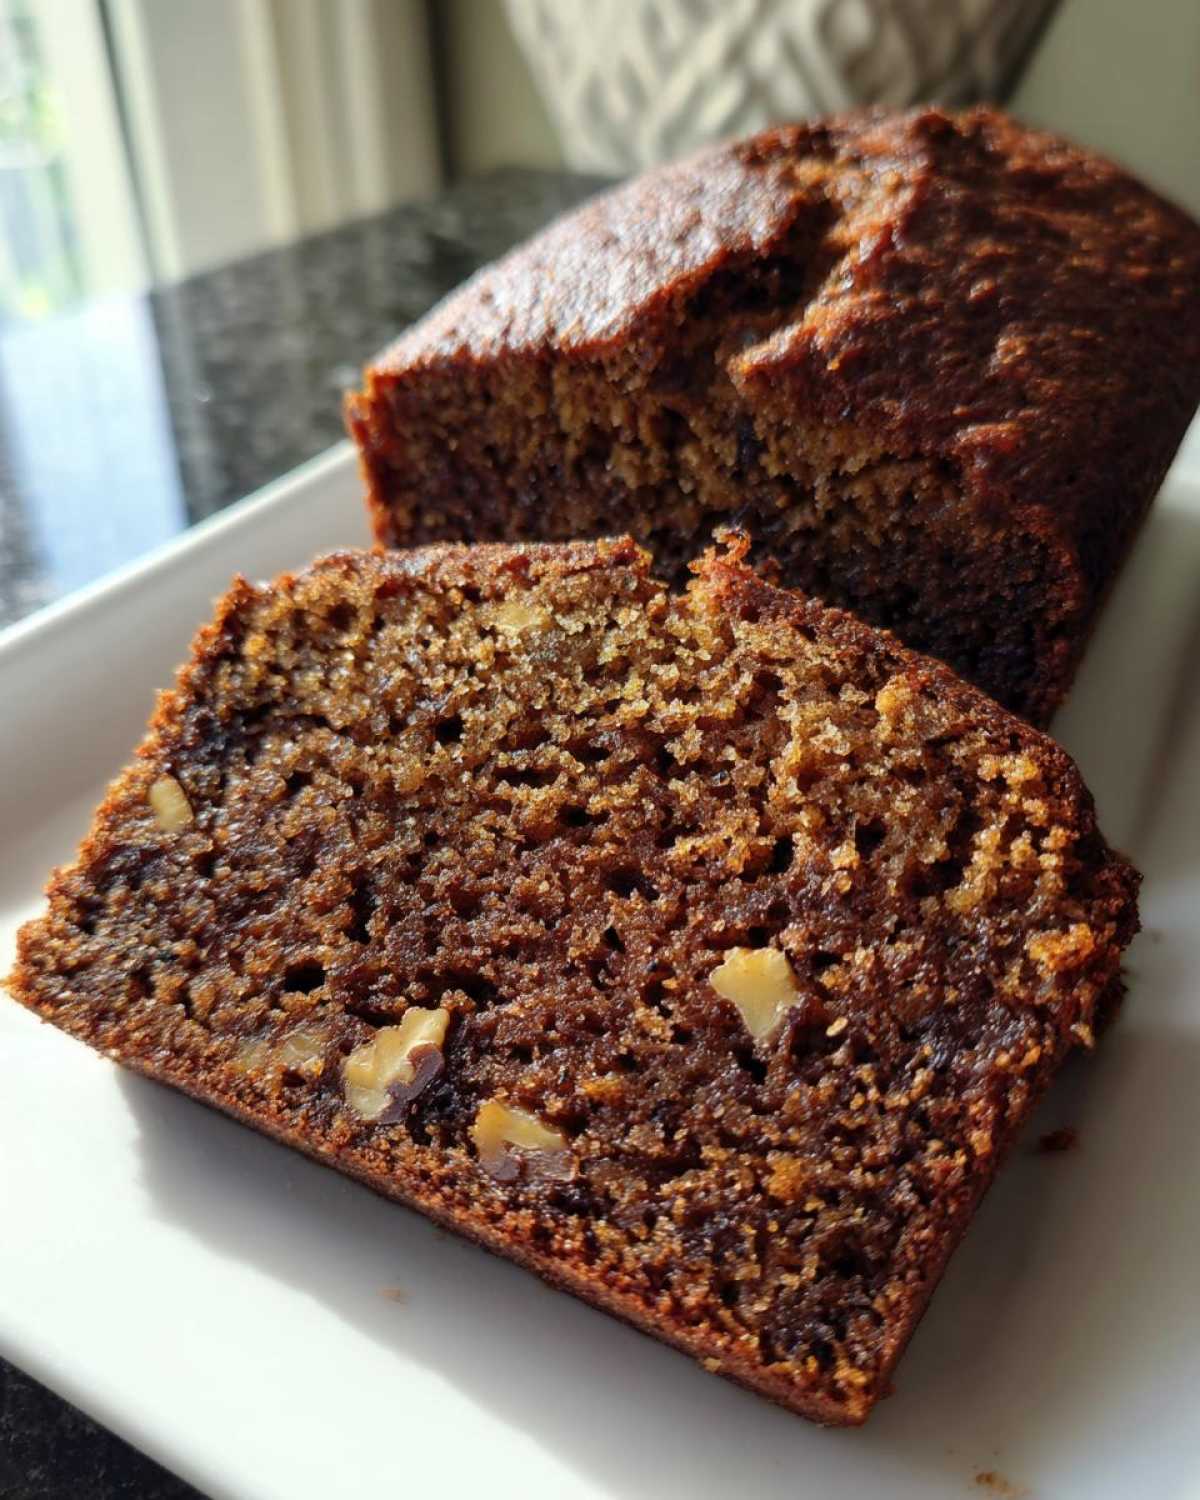
When you combine them, remember my research rules: add those dry ingredients to the wet mixture slowly, mixing only until you see no more streaks of flour. Then, gently fold in that amazing date mixture—liquid and all! Don’t stir too much, or you’ll knock all the air out.
Baking and Cooling Your Date Nut Bread Loaf
Pour that beautiful batter into your prepared pan and sprinkle on those extra walnuts if you love that crunchy top. It usually takes 55 to 65 minutes to bake through. Here’s a crucial tip Maya learned from testing: if the top starts getting too dark before the center is done, just loosely drape a piece of aluminum foil over it for the last fifteen minutes. That way, the outside stays perfect while the inside finishes cooking through.
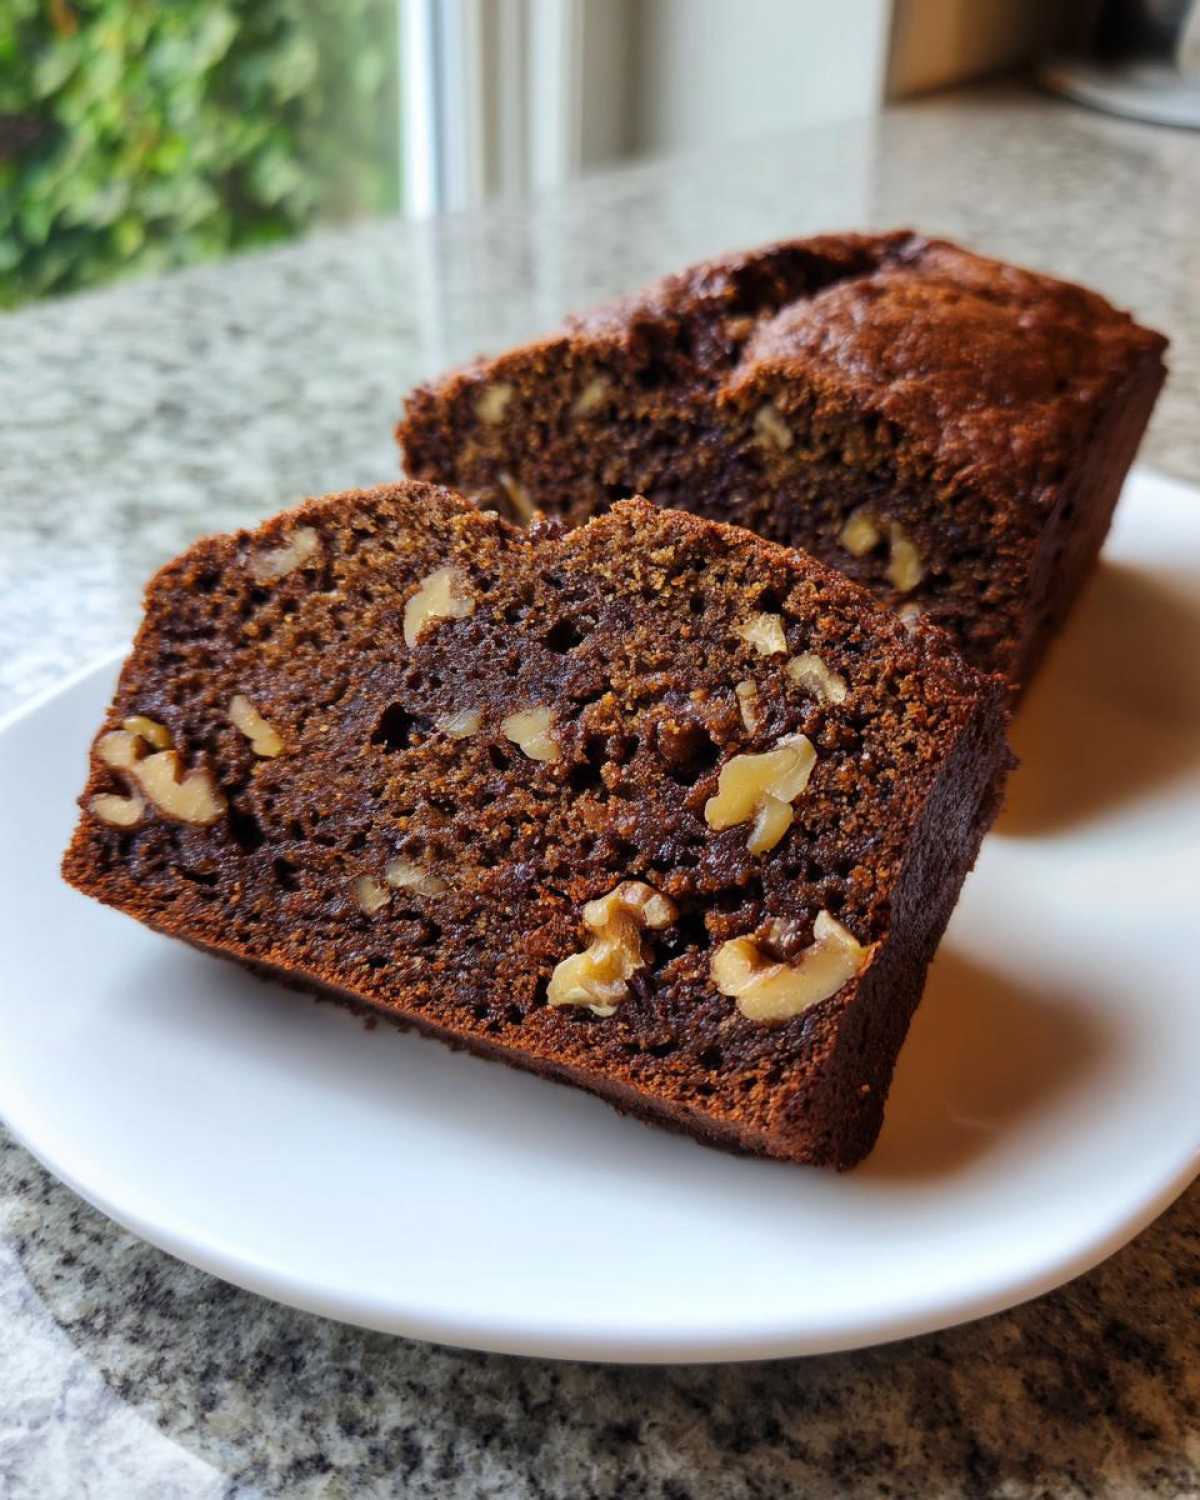
When the skewer comes out clean, don’t pull it out immediately! Let your date nut bread cool right there in the pan for about 10 minutes. This small pause lets the loaf firm up just enough so when you turn it out onto the cooling rack, it stays intact. Perfect loaf guaranteed!
Tips from Maya and Ethan for Perfect Date Nut Bread
You know, this is where Ethan’s instinct really shines. While I’m glued to the oven timer, he just leans down and sniffs deeply. He says that once the primary scent shifts from just sweet spices to something richer, almost like toffee, it’s nearly done. That’s his unique ‘smell test’ for perfect comfort food baking!
From my research side, the key to keeping this a proper classic quick bread and not a brick is that initial creaming of the butter and sugar. When we beat them up long enough until they are light and fluffy, we are physically whipping tiny air pockets into the fat. Those little pockets expand in the heat, giving you a tender crumb, not a flat, heavy one. It’s a non-negotiable first step for me!
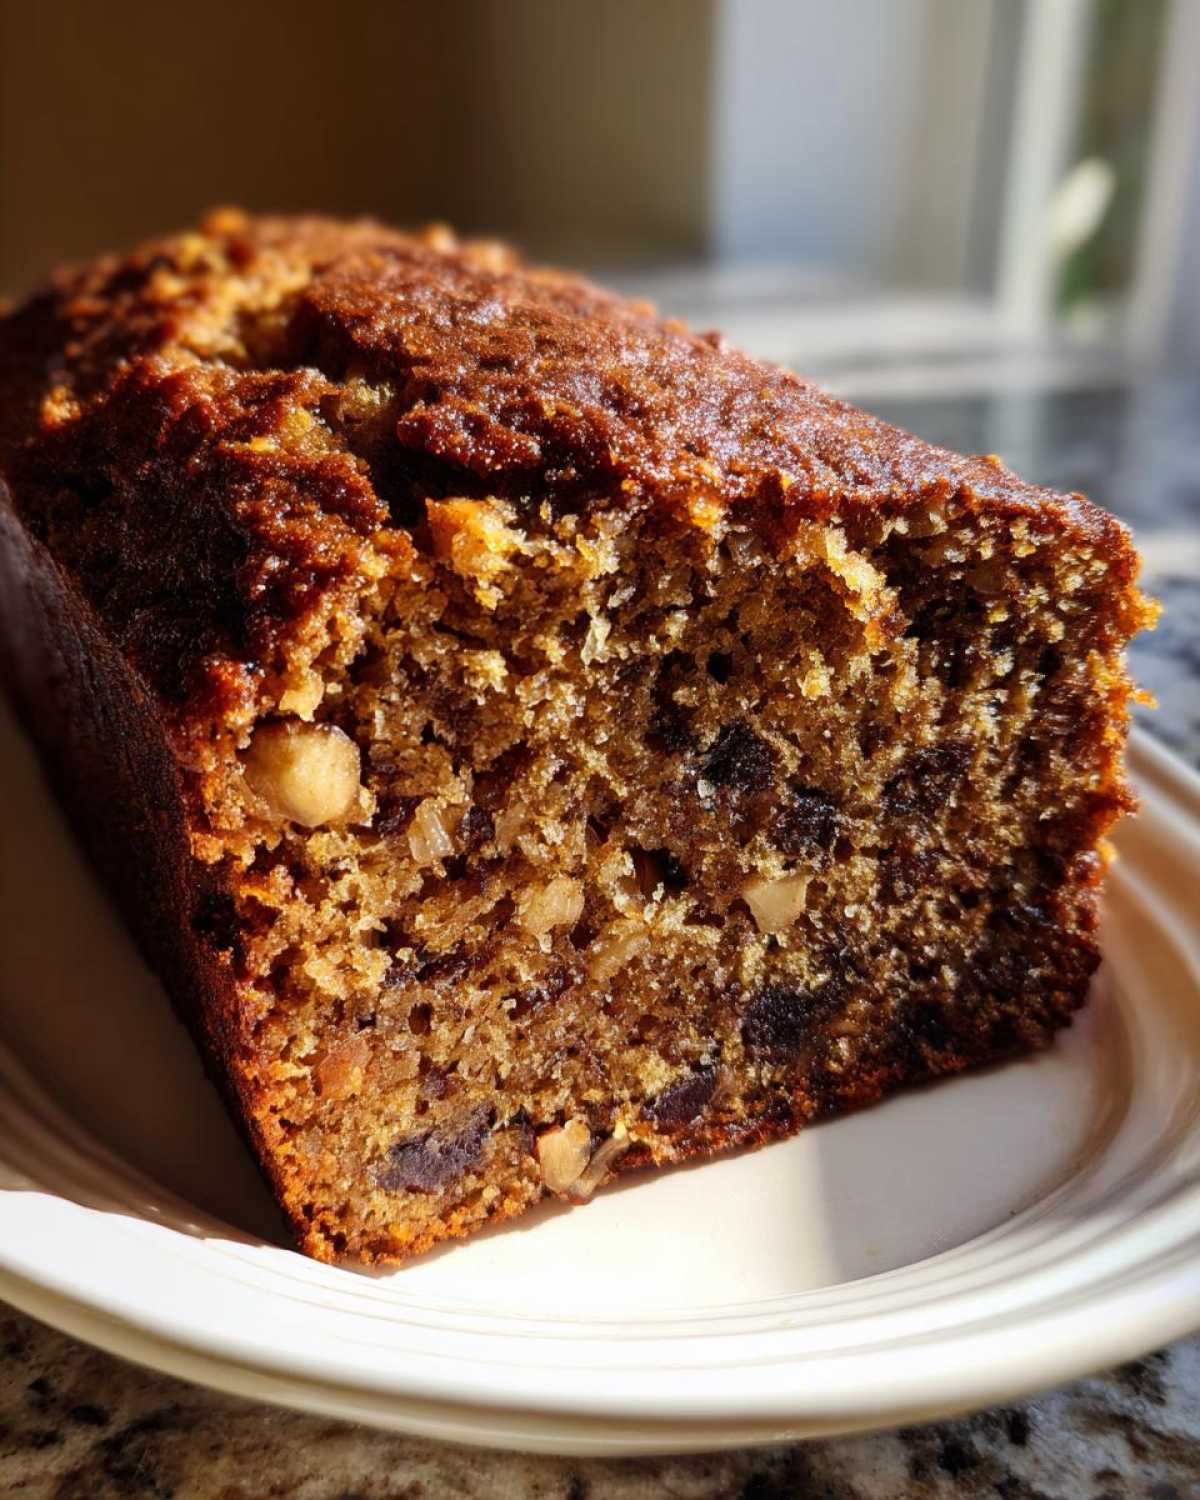
We love seeing what you all create! Share your bakes with us. If you want to see how others have adapted this recipe, there’s a great version over at The Baking Chocolatess, and you can always share your own tips on our blog!
Serving Suggestions for Your Homemade Date Nut Bread
We never wait for a holiday to enjoy this loaf; it’s perfect any time! Ethan’s absolute favorite way to eat this date nut bread is warm, right after it has cooled slightly, slathered thick with real butter. It truly melts right into that soft center.
If you’re serving it up for brunch, or maybe you’ve made a beautiful holiday date loaf for gifting, whipping up some sweetened cream cheese with a tiny splash of vanilla is amazing on top. For a simple afternoon treat, slice up a piece and just enjoy it with a hot, strong cup of coffee. It’s wholesome goodness that feels like a hug!
We love seeing how you eat your homemade quick breads! Don’t forget to check out all our favorite breakfast recipes for weekend inspiration!
Storage and Freezing Instructions for Date Nut Bread
One of the best parts about making a big loaf of any homemade quick breads? You get leftovers! And honestly, this date nut bread tastes even better the next day once the spices have really deepened overnight. If you plan to keep it on the counter, just wrap that cooled loaf up really well—I mean TIGHTLY—in plastic wrap, and then maybe toss it into a resealable bag or wrap it in foil again.
It should stay perfectly soft on the counter for about three days this way. If you’ve made this far in advance, or you just want to save some for a rainy day, freezing is totally the way to go. The recipe notes mentioned that it freezes like a dream, and I second that!
My suggestion for freezing: Wait until the loaf is completely cool. Then, wrap it super tightly in a layer of plastic wrap first, making sure you press out all the air so moisture can’t escape. After that, wrap it again in aluminum foil. This double wrap is critical for preventing freezer burn. You can keep it frozen solid for up to three months. When you’re ready to eat it, just thaw it slowly on the counter still wrapped up. For more bread tips, you might want to check out my guide on easy no-knead bread, which uses a similar double-wrap method for storage!
Frequently Asked Questions About Date Nut Bread
Can I use different nuts besides walnuts in my date nut bread?
Oh, absolutely! While I love the classic flavor of walnuts in this date nut bread, Ethan has thrown pecans in there, and they are magnificent—super buttery! You can use almonds, or even a mix of seeds if you want to make it feel more like a wholesome snack bread. Just make sure whatever nuts you choose are lightly toasted beforehand. Toasting really wakes up their flavor and makes them crunchier so they don’t get soft in the batter.
How do I prevent my quick bread loaf from sinking in the middle?
Sinking loaves usually mean one of two things: either the oven temperature wasn’t quite right, or we added too much liquid without enough structure. Make sure your baking soda and powder are fresh—old leaveners make the cake rise weakly and then collapse. Also, when we talk about making a moist date nut bread, we have to temper that moisture! Make sure you are not letting the date mixture sit for much longer than 10 minutes, or you risk having too much liquid that the structure can’t support. If you try to sneak in too much banana, that can weigh it down too, so be careful with that Banana Date Nut Bread Variation!
I’m in a rush—can I skip the boiling water and date-soaking step?
Oh, sweetie, please don’t! That step is the secret to our best date nut bread recipe. When you pour boiling water and baking soda over the dates, it chemically starts to soften them up even before they hit the oven. If you skip it, those dates basically act like little sponges, sucking up moisture from the rest of your batter while baking, which is exactly how you end up with a dry loaf. You need that liquid in the batter, not pulled out of the flour! You can learn more about the chemistry behind this simple trick over at Leia Recipes, who also champions the soaking method.
What is the main thing that makes this date nut bread so incredibly moist?
It really is that amazing chemical reaction between the dates and the baking soda, which is something I learned researching for our recipe development. The baking soda neutralizes some acids in the dates and creates beautiful carbon dioxide bubbles that give a softer lift. But beyond that vital first step, the combination of softened butter and just the right amount of liquid ensures that the flour particles are coated well. My research shows it keeps the bread tender, making this a superior loaf for comfort food baking!
If you have any other burning questions, please don’t hesitate to reach out to us through the contact page!
Estimated Nutritional Snapshot for Date Nut Bread
Because Ethan and I always want to know what we’re putting into our bodies, sharing the nutritional information is super important to me. Remember, these numbers are just estimates, okay? If you start swapping butter for oil or using maple syrup instead of brown sugar (which you totally can, though it changes the flavor profile!), these numbers will shift. This snapshot reflects the recipe exactly as written above, assuming 10 slices per loaf.
For a single serving (one slice) of this incredible date nut bread, you’re looking at approximately 280 calories. The fat content sits around 12 grams total, with about 5 grams of that being saturated fat from the lovely butter we use. Carbohydrates come in around 42 grams, and this loaf offers about 5 grams of satisfying protein per slice. Like most wonderful homemade quick breads, it does have a bit of sugar, coming in around 25 grams, which is natural from the dates and that dark brown sugar—it’s that classic, rich flavor coming through!
Share Your Date Nut Bread Creations
That’s it, folks! You’ve mixed, you’ve baked, and now you have the most satisfying, aromatic loaf of date nut bread sitting on your cooling rack. Doesn’t that smell just incredible? Ethan always says that the best part of baking for him is the sharing, and I couldn’t agree more.
I really, truly hope you found this recipe easy and that it delivers that perfect moisture we talked about. If you tried this Best Date Nut Bread Recipe, please come back and let us know how it went! Leave a 5-star rating right below this section—it helps other bakers know they can trust our tested tips.
Did you slather it with butter? Did you manage to save any for tomorrow morning? Share your photos and tell us about any tweaks you tried in the comments! We absolutely love seeing your kitchen successes. If you enjoyed this recipe, don’t forget to check out our standard recipe disclaimer before you dive in!
PrintEasy, Moist, Old-Fashioned Date Nut Bread
Bake a comforting, moist date nut bread that tastes like classic homemade comfort food. This easy quick bread recipe is perfect for breakfast, snacking, or holiday gifting.
- Prep Time: 15 min
- Cook Time: 60 min
- Total Time: 75 min
- Yield: 1 loaf (about 10 slices)
- Category: Quick Bread
- Method: Baking
- Cuisine: American
- Diet: Vegetarian
Ingredients
- 1 cup boiling water
- 1 cup packed pitted dates, chopped
- 1 teaspoon baking soda
- 1/2 cup (1 stick) unsalted butter, softened
- 1 cup packed light brown sugar
- 2 large eggs
- 1 teaspoon vanilla extract
- 1 3/4 cups all-purpose flour
- 1 teaspoon ground cinnamon
- 1/2 teaspoon salt
- 1 cup chopped walnuts, plus extra for topping
Instructions
- Preheat your oven to 350°F (175°C). Grease and flour a standard 9×5 inch loaf pan.
- Place the chopped dates in a small bowl and pour 1 cup of boiling water over them. Stir in the baking soda. Let this mixture sit for 10 minutes to soften the dates. This step is key for a moist loaf.
- In a large bowl, cream together the softened butter and brown sugar until light and fluffy. Beat in the eggs one at a time, then mix in the vanilla extract.
- In a separate medium bowl, whisk together the flour and salt.
- Gradually add the dry ingredients to the wet ingredients, mixing just until combined. Do not overmix.
- Stir in the softened date mixture (including any remaining liquid) and the chopped walnuts until they are evenly distributed throughout the batter.
- Pour the batter into the prepared loaf pan. Sprinkle a few extra chopped walnuts over the top, if desired.
- Bake for 55 to 65 minutes, or until a wooden skewer inserted into the center comes out clean. If the top browns too quickly, loosely tent it with aluminum foil for the last 15 minutes of baking.
- Let the date nut bread cool in the pan for 10 minutes before turning it out onto a wire rack to cool completely. Slice and serve warm with butter for the best flavor.
Notes
- For an extra rich flavor, substitute half of the all-purpose flour with whole wheat flour. This keeps the bread wholesome while maintaining texture.
- If you prefer a sweeter loaf, you can add 1/2 cup of mashed ripe banana along with the wet ingredients.
- This bread freezes well. Wrap the cooled loaf tightly in plastic wrap and then foil before freezing for up to three months.
Nutrition
- Serving Size: 1 slice
- Calories: 280
- Sugar: 25
- Sodium: 180
- Fat: 12
- Saturated Fat: 5
- Unsaturated Fat: 7
- Trans Fat: 0
- Carbohydrates: 42
- Fiber: 2
- Protein: 5
- Cholesterol: 55