

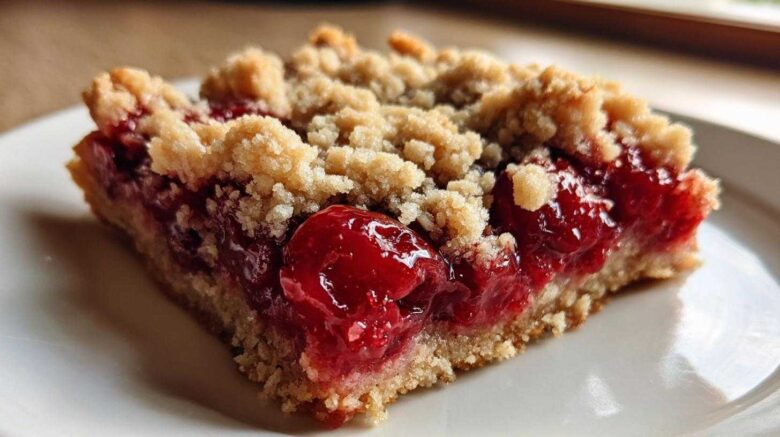
Glazed Cherry Pie Bars: A Sweet Taste of Home
Remember those cozy kitchen arguments Maya and I used to have? It felt like we were speaking different baking languages. I’d wing it with Grandma’s instincts, and she’d follow the recipe’s blueprint precisely. Then, we learned to talk it out, blending our styles. That’s exactly how these Glazed Cherry Pie Bars came to be. They capture that perfect harmony: the comforting, familiar taste of cherry pie, but in a wonderfully easy-to-handle bar form. This recipe truly embodies our journey, a delicious testament to finding our rhythm together in the kitchen. It’s a sweet taste of home, made with love and a little bit of teamwork.
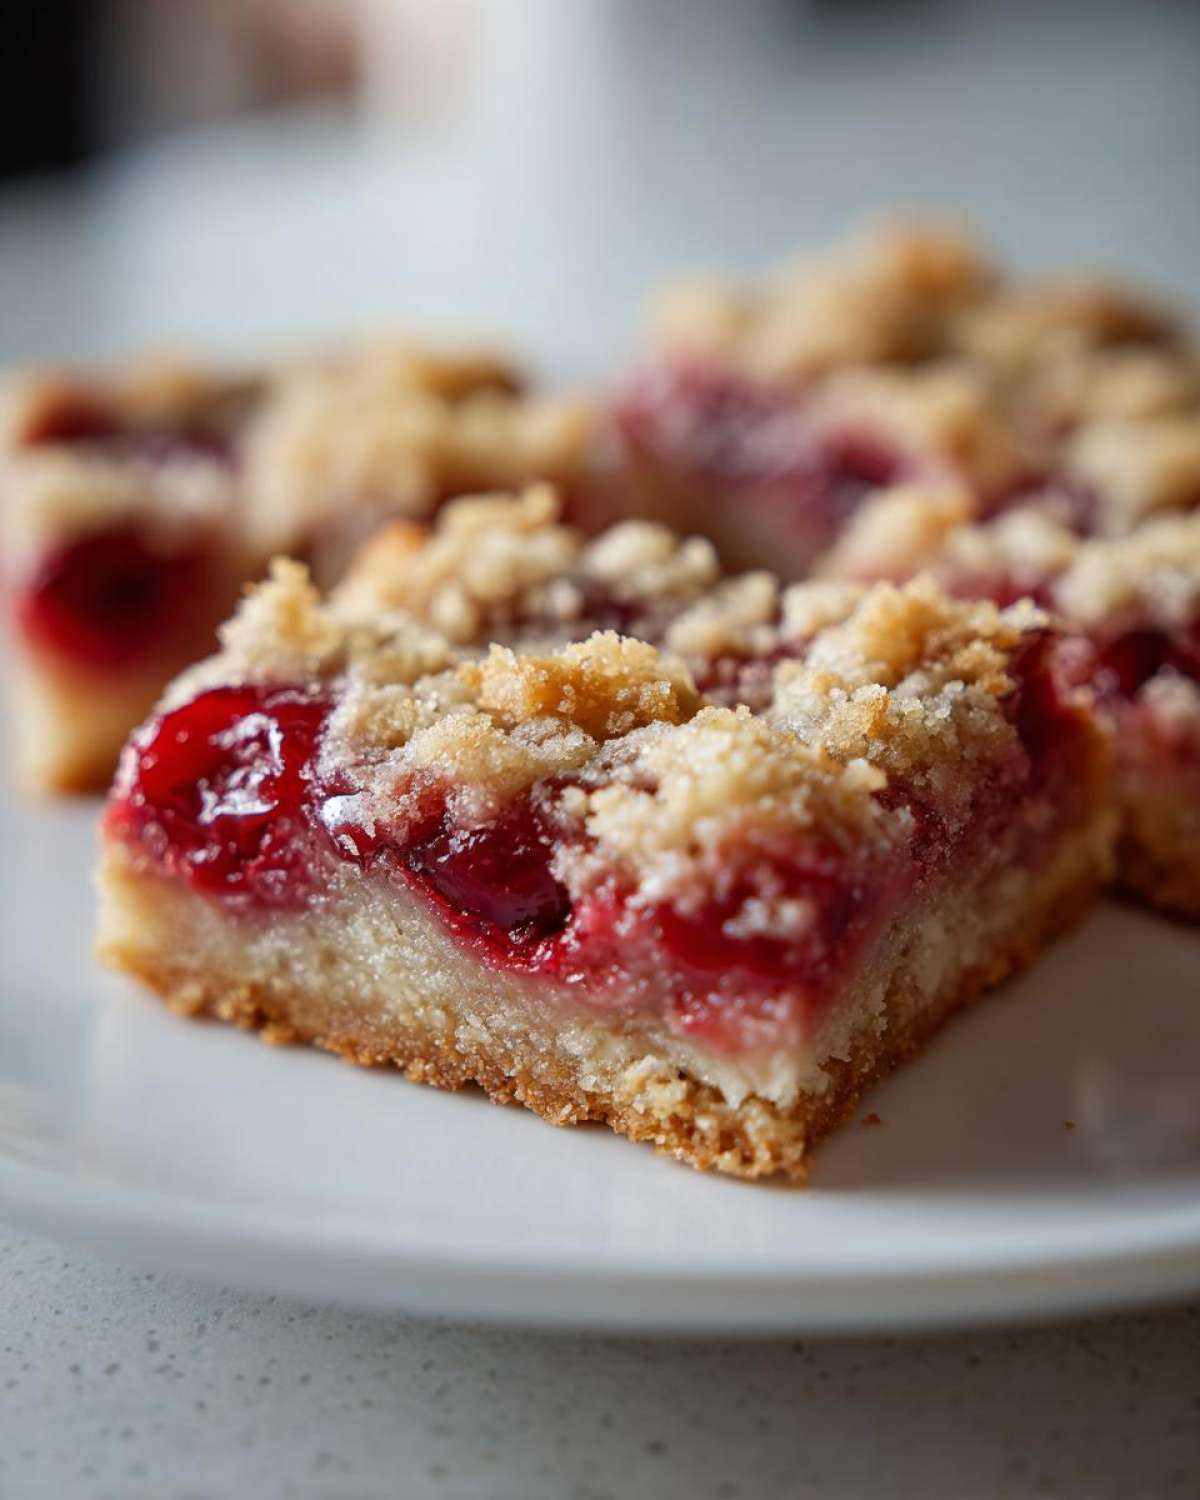
Why You’ll Love These Glazed Cherry Pie Bars
Get ready to fall in love with these cherry pie bars! They’re a total game-changer.
* **So Easy to Make:** Forget fiddly pie crusts. These bars are a breeze.
* **Deliciously Fruity:** Packed with sweet cherry goodness.
* **Perfect for Sharing:** Great for picnics, parties, or just because.
* **A Crowd-Pleaser:** Everyone adores a good cherry dessert.
You’ll want to make these glazed cherry pie bars again and again. They truly are a delightful cherry treat!
Gathering Your Ingredients for Glazed Cherry Pie Bars
Let’s get everything ready to whip up these delightful Glazed Cherry Pie Bars. Having all your ingredients prepped makes the whole process smooth and enjoyable, just like our kitchen has become. We’ve found that laying everything out beforehand really helps. It’s like having our own little recipe blueprint ready to go. You’ll need a few pantry staples and some sweet cherries for this classic American dessert.
Crust and Filling Ingredients
- 1 cup (2 sticks) unsalted butter, softened
- 1 cup granulated sugar
- 2 large eggs
- 1 teaspoon vanilla extract
- 2 1/2 cups all-purpose flour
- 1 teaspoon baking powder
- 1/4 teaspoon salt
- 1 (21 ounce) can cherry pie filling
Glaze Ingredients
- 1/2 cup powdered sugar
- 2 tablespoons milk
- 1/2 teaspoon almond extract (optional)
Crafting Your Glazed Cherry Pie Bars: Step-by-Step
Now for the fun part: bringing these Glazed Cherry Pie Bars to life! It’s a simple process, really. Think of it like building a delicious little flavor tower. We’ll start with a sturdy base, add a burst of fruity goodness, and finish with a sweet hug of glaze. Follow these steps, and you’ll have a wonderful cherry dessert in no time.
Preparing the Base Crust
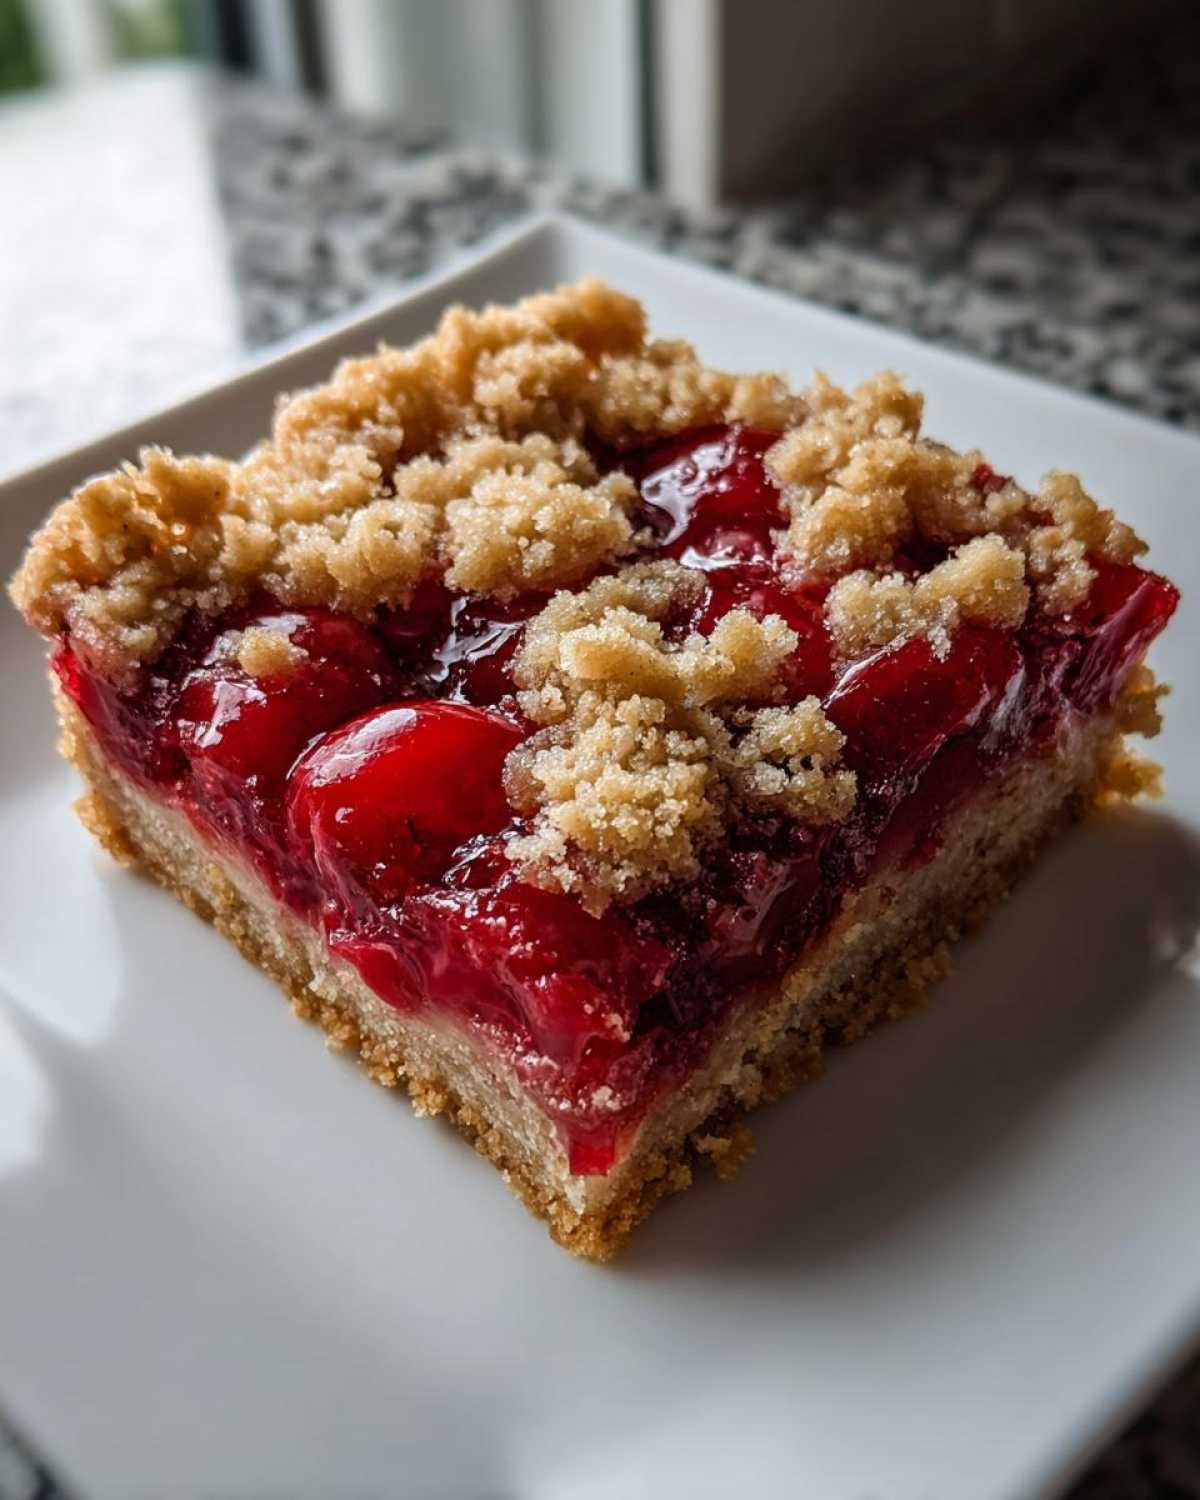
First, preheat your oven to 350°F (175°C). Get your 9×13 inch baking pan ready. Grease and flour it well. In a big bowl, cream together your softened butter and sugar. Beat them until they look light and fluffy. This is key for a tender crust. Then, add your eggs, one at a time. Stir in the vanilla extract. In another bowl, whisk your flour, baking powder, and salt. Gradually add these dry bits to your wet mix. Just combine them. Don’t overmix! Press about two-thirds of this dough into your greased pan. This forms your lovely crust.
Assembling the Glazed Cherry Pie Bars
Next, it’s time for that sweet cherry filling. Spread the can of cherry pie filling evenly over your pressed crust. Get it right to the edges. Then, take the rest of your dough. Crumble it loosely over the cherry layer. Don’t worry about making it perfect. A rustic crumble looks and tastes amazing. This topping adds a wonderful texture contrast.
Baking and Cooling the Bars
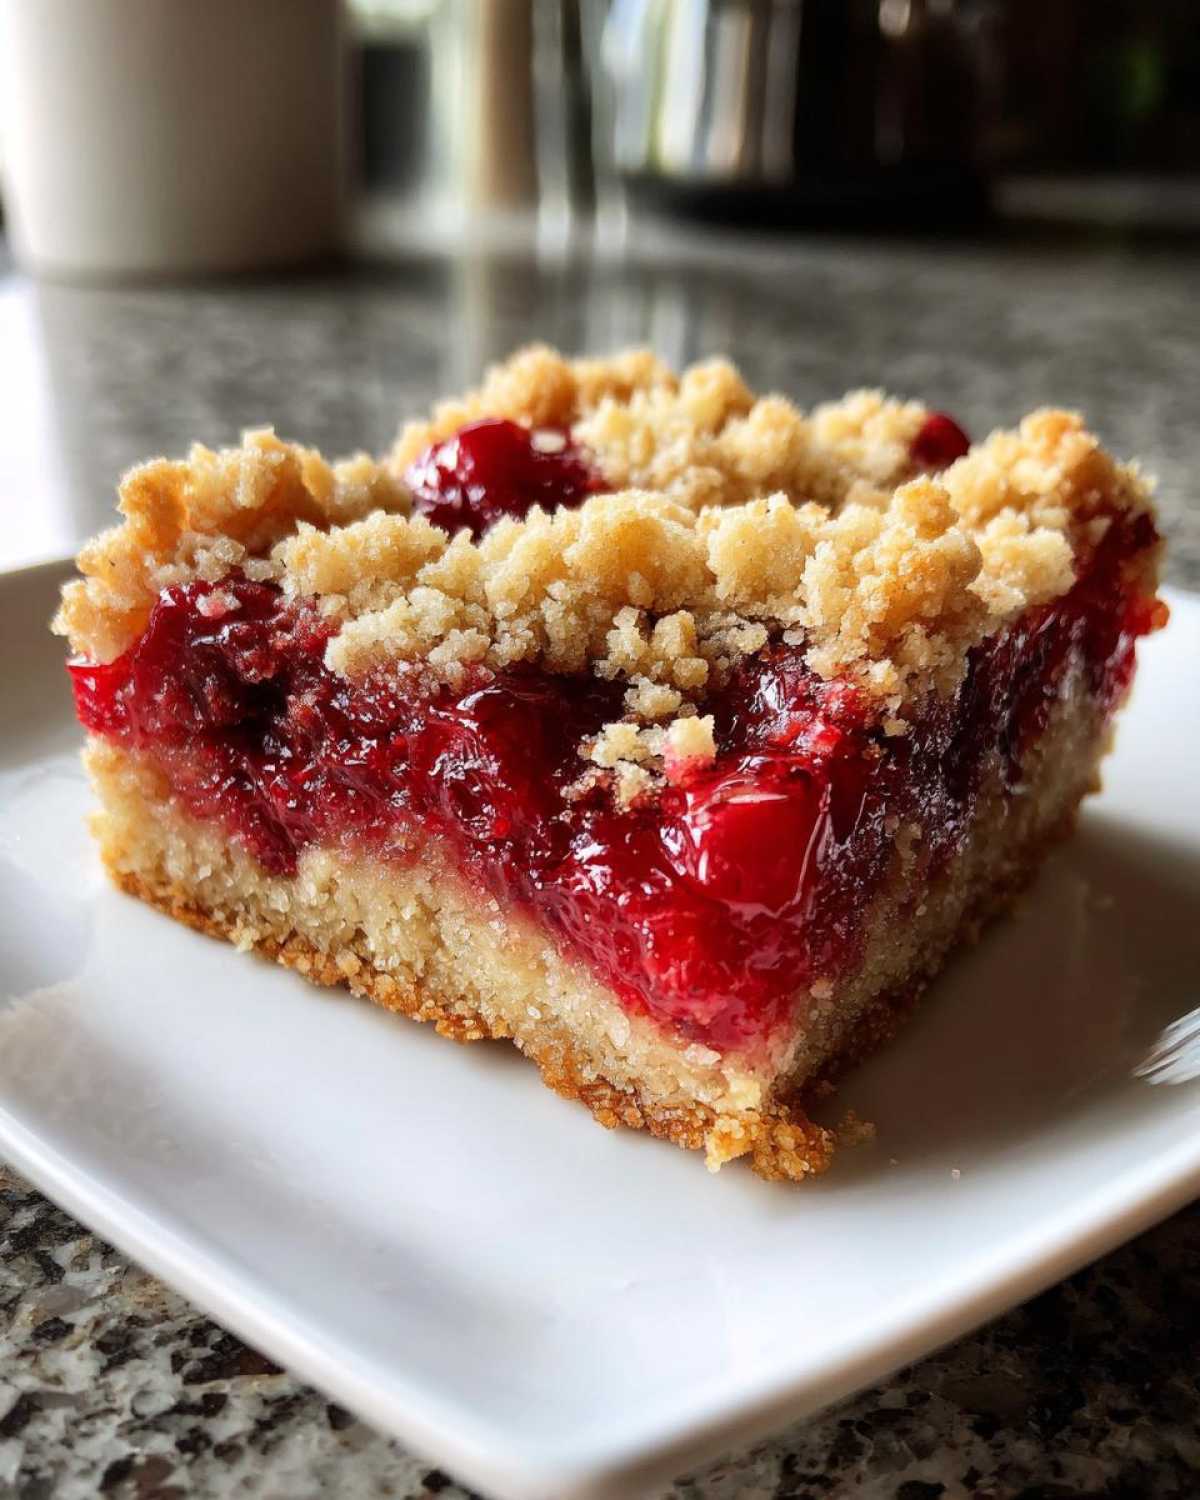
Pop the pan into your preheated oven. Bake for about 35 to 45 minutes. You’re looking for a golden brown crust. The filling should be bubbly and inviting. Once they’re done, take them out. Let the bars cool completely in the pan on a wire rack. This step is super important! Trying to glaze warm bars will make a mess. Patience is a virtue here, and it pays off.
Creating and Applying the Glaze
While the bars cool, make your glaze. In a small bowl, whisk the powdered sugar and milk together. If you like, add the almond extract. It gives a lovely subtle flavor. Whisk until it’s smooth and drizzly. Once your bars are totally cool, drizzle this sweet glaze all over them. You can use a spoon or a piping bag. Let the glaze set for a bit before cutting. Then, slice them into bars. Enjoy your delicious creation!
Tips for Perfect Glazed Cherry Pie Bars
Want your Glazed Cherry Pie Bars to be absolutely perfect every time? I’ve picked up a few tricks. If you like a really crisp crust, try blind baking it for about 10 minutes before adding the filling. It makes a difference! For a little extra warmth, a pinch of cinnamon in the crumble topping is divine. It really brings out the cherry flavor. Don’t rush the cooling step; it’s crucial for neat glazing. And remember, when crumbling the top, a bit of unevenness is charming. It gives these cherry pie bars that homemade feel we love so much.
Storing and Reheating Your Glazed Cherry Pie Bars
Got leftovers? Lucky you! Store your Glazed Cherry Pie Bars in an airtight container. They’ll keep well at room temperature for up to 3 days. No need for the fridge usually. If you prefer them warm, a quick reheat is perfect. Just pop a bar on a microwave-safe plate for about 10-15 seconds. They’ll be delightfully soft and tasty again. These cherry pie bars are just as good the next day!
Frequently Asked Questions About Glazed Cherry Pie Bars
Got some questions about our Glazed Cherry Pie Bars? We’ve got answers! It’s always good to know the little details for your fruit bars.
Can I use fresh cherries instead of canned pie filling?
Yes, you absolutely can! If using fresh cherries, you’ll need about 4 cups. Pit them and toss them with 1/2 cup sugar, 1/4 cup cornstarch, and a tablespoon of lemon juice. Cook them on the stovetop until thickened before using. This makes a wonderfully fresh cherry dessert.
What if I don’t have almond extract?
No problem at all! The almond extract adds a subtle background note, but it’s optional. You can simply omit it, or add a little extra vanilla extract to the glaze. The bars will still be delicious!
Can I make these bars gluten-free?
You sure can try! For a gluten-free cherry pie bar, swap the all-purpose flour with a good quality gluten-free all-purpose baking blend. You might need a little more or less, so keep an eye on the dough consistency. It’s a great way to adapt this easy bar recipe.
My crumble topping looks a bit messy. Is that okay?
Absolutely! The beauty of these bars is their rustic charm. A slightly uneven crumble topping is perfectly fine. It adds texture and looks wonderfully homemade. Don’t stress about perfection with this cherry dessert!
Enjoying Your Delicious Glazed Cherry Pie Bars
Now that you’ve baked these wonderful Glazed Cherry Pie Bars, we’d love to hear about it! Did you share them at a party? Did your family rave about this cherry dessert? Drop a comment below or rate the recipe. Your feedback truly makes our day and helps other bakers too!
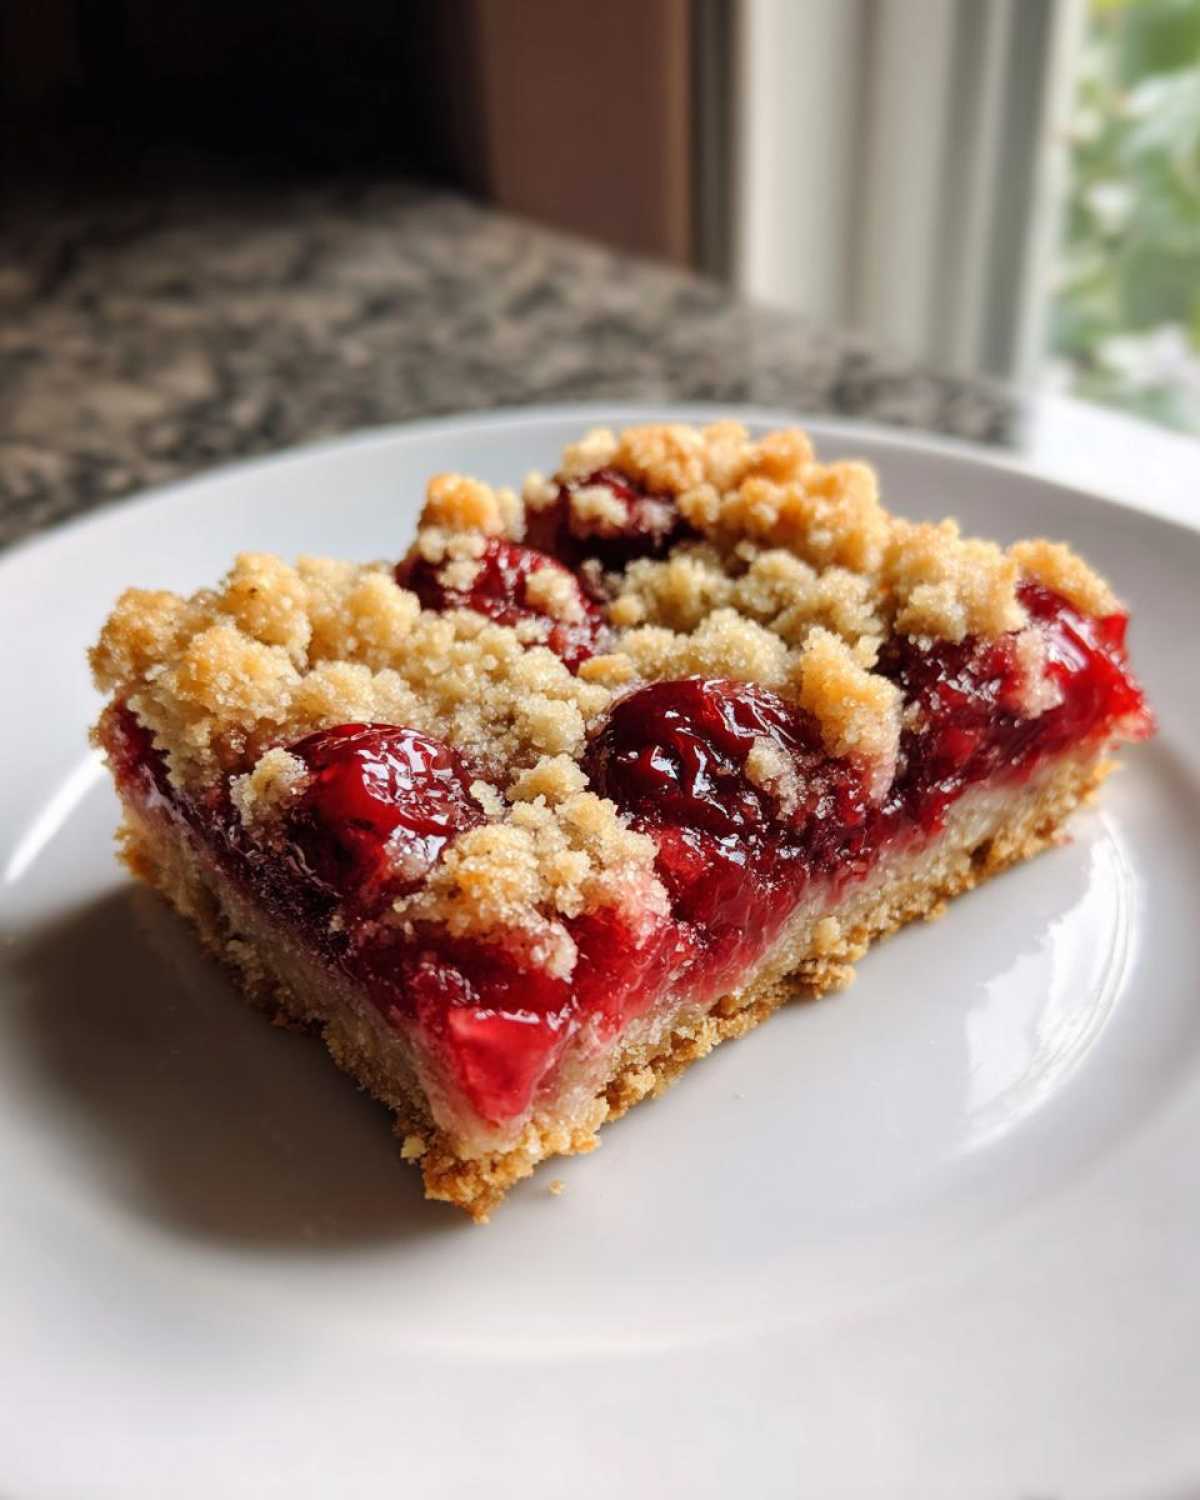
Nutritional Estimate for Glazed Cherry Pie Bars
We know many of you like to keep track of what you’re eating. So, here’s a little peek at the estimated nutritional info for our Glazed Cherry Pie Bars. Think of this as a friendly guide, not a strict rulebook! We’ve put in our best effort to estimate these values for a single bar.
- Serving Size: 1 bar
- Calories: Approximately 250
- Fat: Around 12g
- Saturated Fat: About 7g
- Trans Fat: 0g
- Cholesterol: Roughly 40mg
- Sodium: Near 50mg
- Carbohydrates: About 35g
- Fiber: Roughly 1g
- Sugar: Around 25g
- Protein: Approximately 2g
Keep in mind these numbers can change a bit depending on the exact ingredients you use. It’s just a helpful estimate for this lovely cherry dessert!
Glazed Cherry Pie Bars: 1 Amazing Taste of Home
Enjoy the classic taste of cherry pie in an easy-to-eat bar form. These Glazed Cherry Pie Bars are perfect for picnics, potlucks, or any time you want a delightful cherry treat.
- Prep Time: 20 minutes
- Cook Time: 40 minutes
- Total Time: 1 hour
- Yield: 24 bars
- Category: Dessert
- Method: Baking
- Cuisine: American
- Diet: Vegetarian
Ingredients
- 1 cup (2 sticks) unsalted butter, softened
- 1 cup granulated sugar
- 2 large eggs
- 1 teaspoon vanilla extract
- 2 1/2 cups all-purpose flour
- 1 teaspoon baking powder
- 1/4 teaspoon salt
- 1 (21 ounce) can cherry pie filling
- 1/2 cup powdered sugar
- 2 tablespoons milk
- 1/2 teaspoon almond extract (optional)
Instructions
- Preheat your oven to 350°F (175°C). Grease and flour a 9×13 inch baking pan.
- In a large bowl, cream together the softened butter and granulated sugar until light and fluffy.
- Beat in the eggs one at a time, then stir in the vanilla extract.
- In a separate bowl, whisk together the flour, baking powder, and salt.
- Gradually add the dry ingredients to the wet ingredients, mixing until just combined.
- Press about two-thirds of the dough into the prepared baking pan to form the crust.
- Spread the cherry pie filling evenly over the crust.
- Crumble the remaining dough over the cherry filling.
- Bake for 35-45 minutes, or until the crust is golden brown and the filling is bubbly.
- Let the bars cool completely in the pan before glazing.
- In a small bowl, whisk together the powdered sugar, milk, and almond extract (if using) until smooth.
- Drizzle the glaze over the cooled bars. Let the glaze set before cutting into bars.
Notes
- For a crispier crust, you can blind bake the crust for 10 minutes before adding the filling.
- Feel free to add a pinch of cinnamon to the crumble topping for extra flavor.
- Store any leftover bars in an airtight container at room temperature for up to 3 days.
Nutrition
- Serving Size: 1 bar
- Calories: 250
- Sugar: 25g
- Sodium: 50mg
- Fat: 12g
- Saturated Fat: 7g
- Unsaturated Fat: 5g
- Trans Fat: 0g
- Carbohydrates: 35g
- Fiber: 1g
- Protein: 2g
- Cholesterol: 40mg