

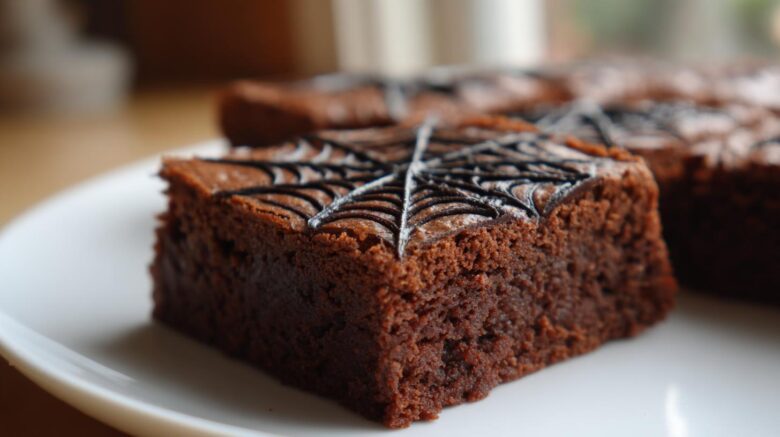
Spiderweb Brownies: Your Spookiest Halloween Treat
Halloween parties are my absolute favorite. There’s just something magical about transforming my kitchen into a spooky wonderland. For years, I’ve been on the hunt for that perfect, show-stopping Halloween treat. And guess what? I’ve found it. These spiderweb brownies are incredibly easy to make. They look super impressive too! My kids absolutely adore them. They’re the hit of every party I host. You’ll love making these spiderweb brownies. They definitely impress everyone. They are my go-to for creating Halloween magic.
Why You’ll Love These Spiderweb Brownies
These spiderweb brownies are a total win for so many reasons!
- They’re super easy to whip up.
- They have that perfect spooky Halloween vibe.
- Everyone raves about them at parties.
- They’re ideal for any Halloween gathering.
You’ll be the star host. These treats are a guaranteed crowd-pleaser.
Gather Your Ingredients for Spiderweb Brownies
Getting ready to bake these spooky spiderweb brownies is super simple. You won’t need any fancy ingredients. Most of them are probably already in your pantry!
Here’s what you’ll need to gather:
- 1 box brownie mix (plus the eggs, oil, and water your box calls for)
- 1 cup white chocolate chips
- 2 tablespoons vegetable shortening
- Black gel food coloring
I always keep a box of brownie mix handy. It’s a lifesaver for last-minute treats. For the spiderwebs, white chocolate chips work best. They melt smoothly. The shortening helps make the chocolate extra glossy. And for that deep, spooky black, gel food coloring is key. It gives you the best color payoff without thinning out your chocolate too much. Make sure your ingredients are ready to go!
Step-by-Step Guide to Making Spiderweb Brownies
Now for the fun part! Making these spiderweb brownies is like a little edible art project. Don’t worry if you’re not an artist; the process is quite forgiving. We’ll go from a delicious brownie base to a spooky masterpiece in no time. Just follow these simple steps, and you’ll have amazing Halloween treats.
Preparing the Brownie Base
First, let’s get our brownie base ready. Prepare your favorite brownie mix right according to the package directions. Mix in the eggs, oil, and water. Pour the batter into your prepared baking pan. Bake them until a toothpick inserted into the center comes out with moist crumbs. This is crucial! Let the brownies cool completely. I mean, really cool. This might take an hour or two. Warm brownies and melted chocolate don’t mix well.
Crafting the Spiderweb Effect
Once your brownies are totally cool, it’s time for the magic. Grab your white chocolate chips and vegetable shortening. Put them in a microwave-safe bowl. Microwave in 30-second bursts. Stir after each burst. Keep going until it’s smooth and melty. This mixture is our canvas base.
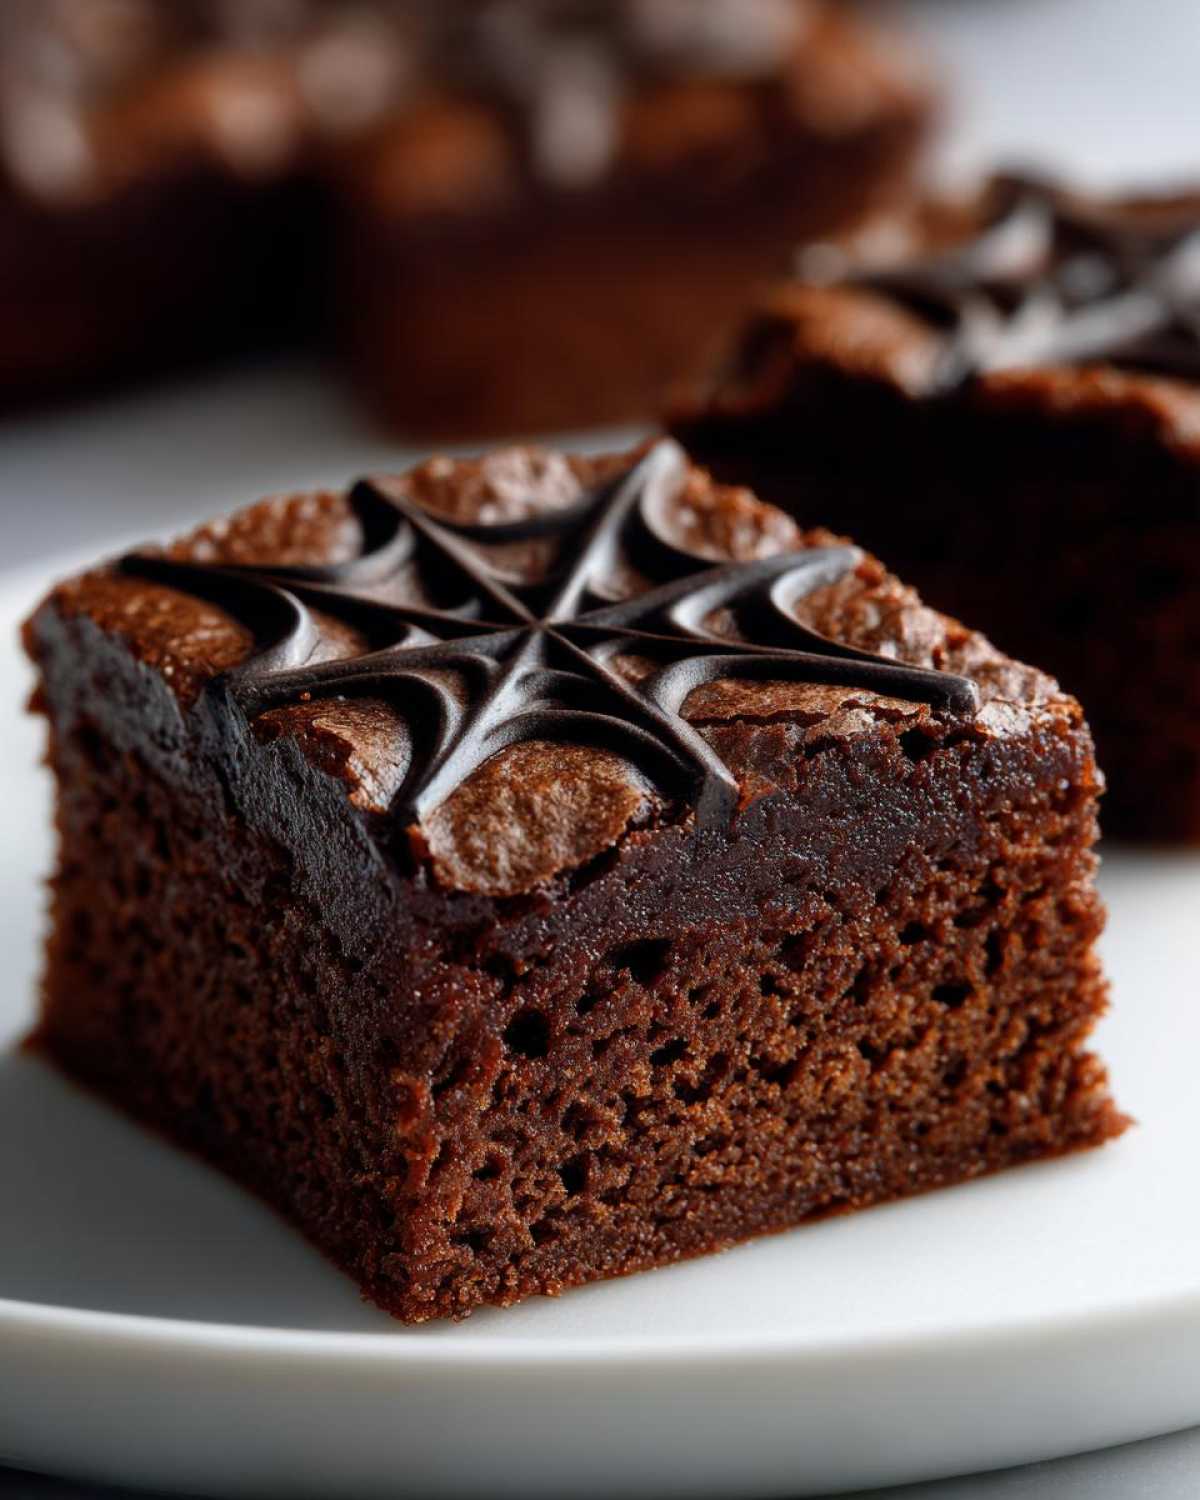
Next, add your black gel food coloring. Start with a little. Stir it in well. Keep adding tiny bits until you get a deep, spooky black. This is where the transformation happens!
Now, transfer this black chocolate magic into a piping bag. A zip-top bag with a tiny corner snipped off works too. Pipe concentric circles onto your cooled brownies. Start from the center and work your way out. Don’t worry about perfection here.
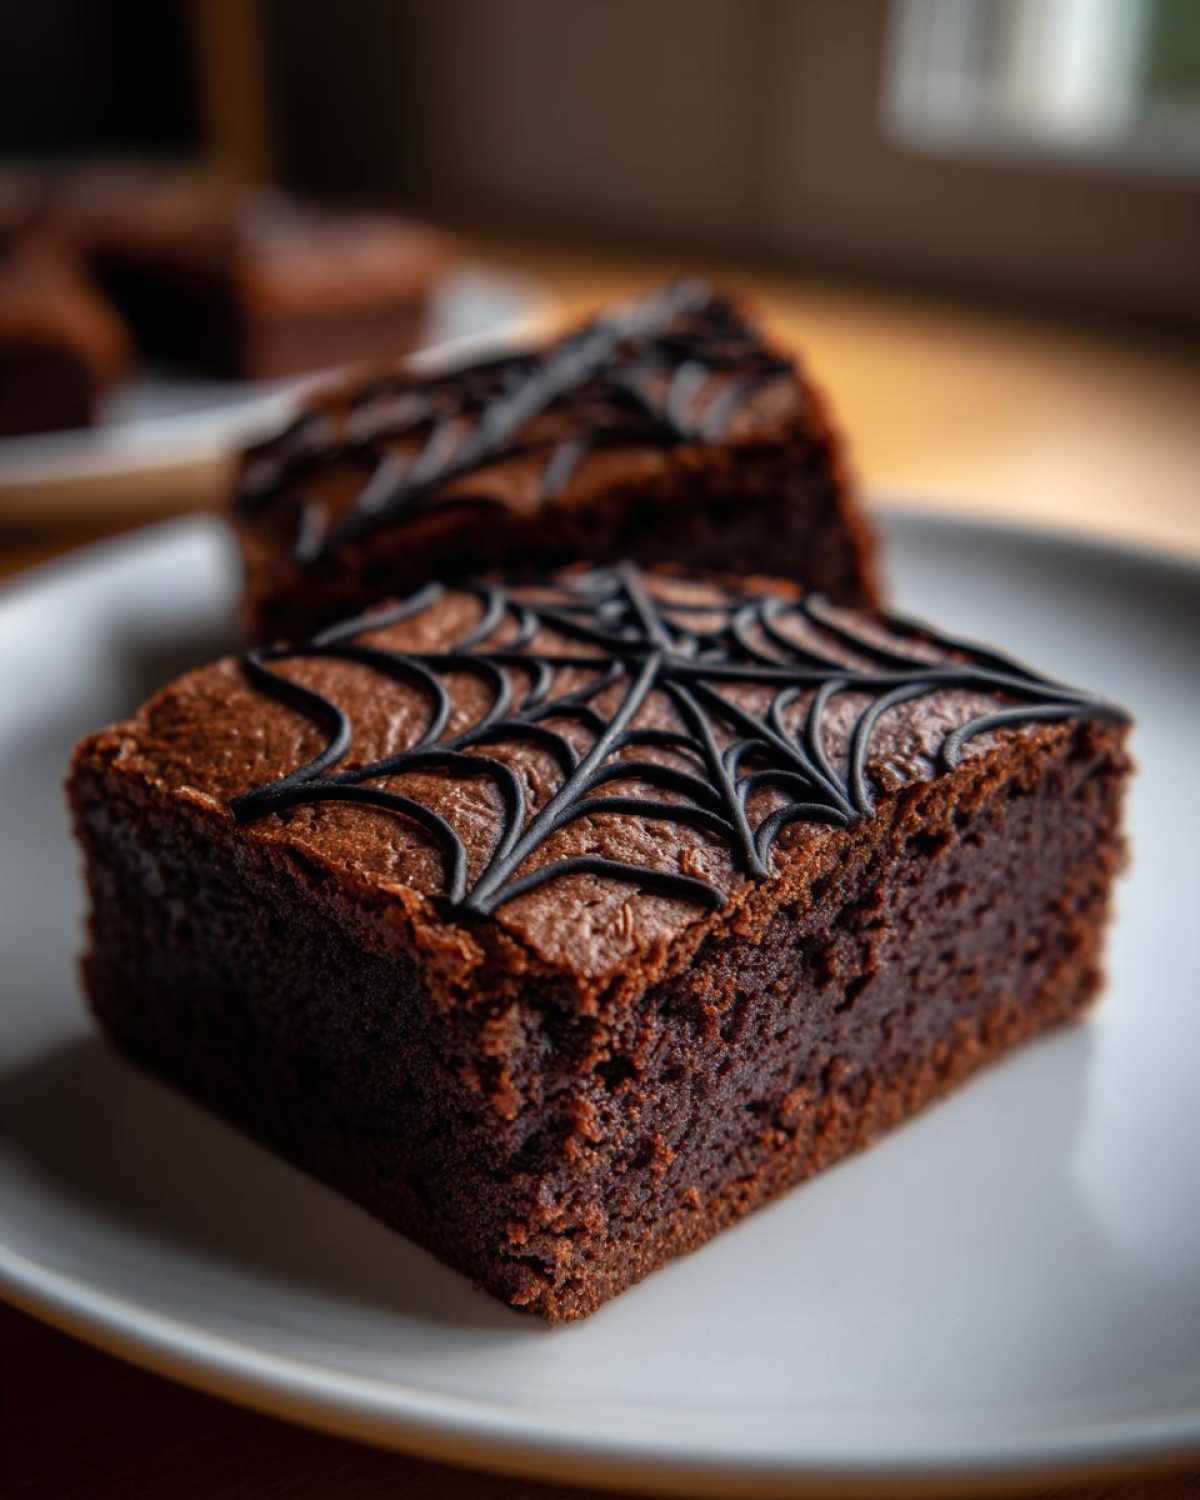
Then, take a toothpick or a thin skewer. Gently drag lines from the center of the brownie outwards. Pull through those black circles. This creates the classic spiderweb look. Wipe your toothpick between each drag for cleaner lines. Let the chocolate set completely. They’ll be ready to serve!
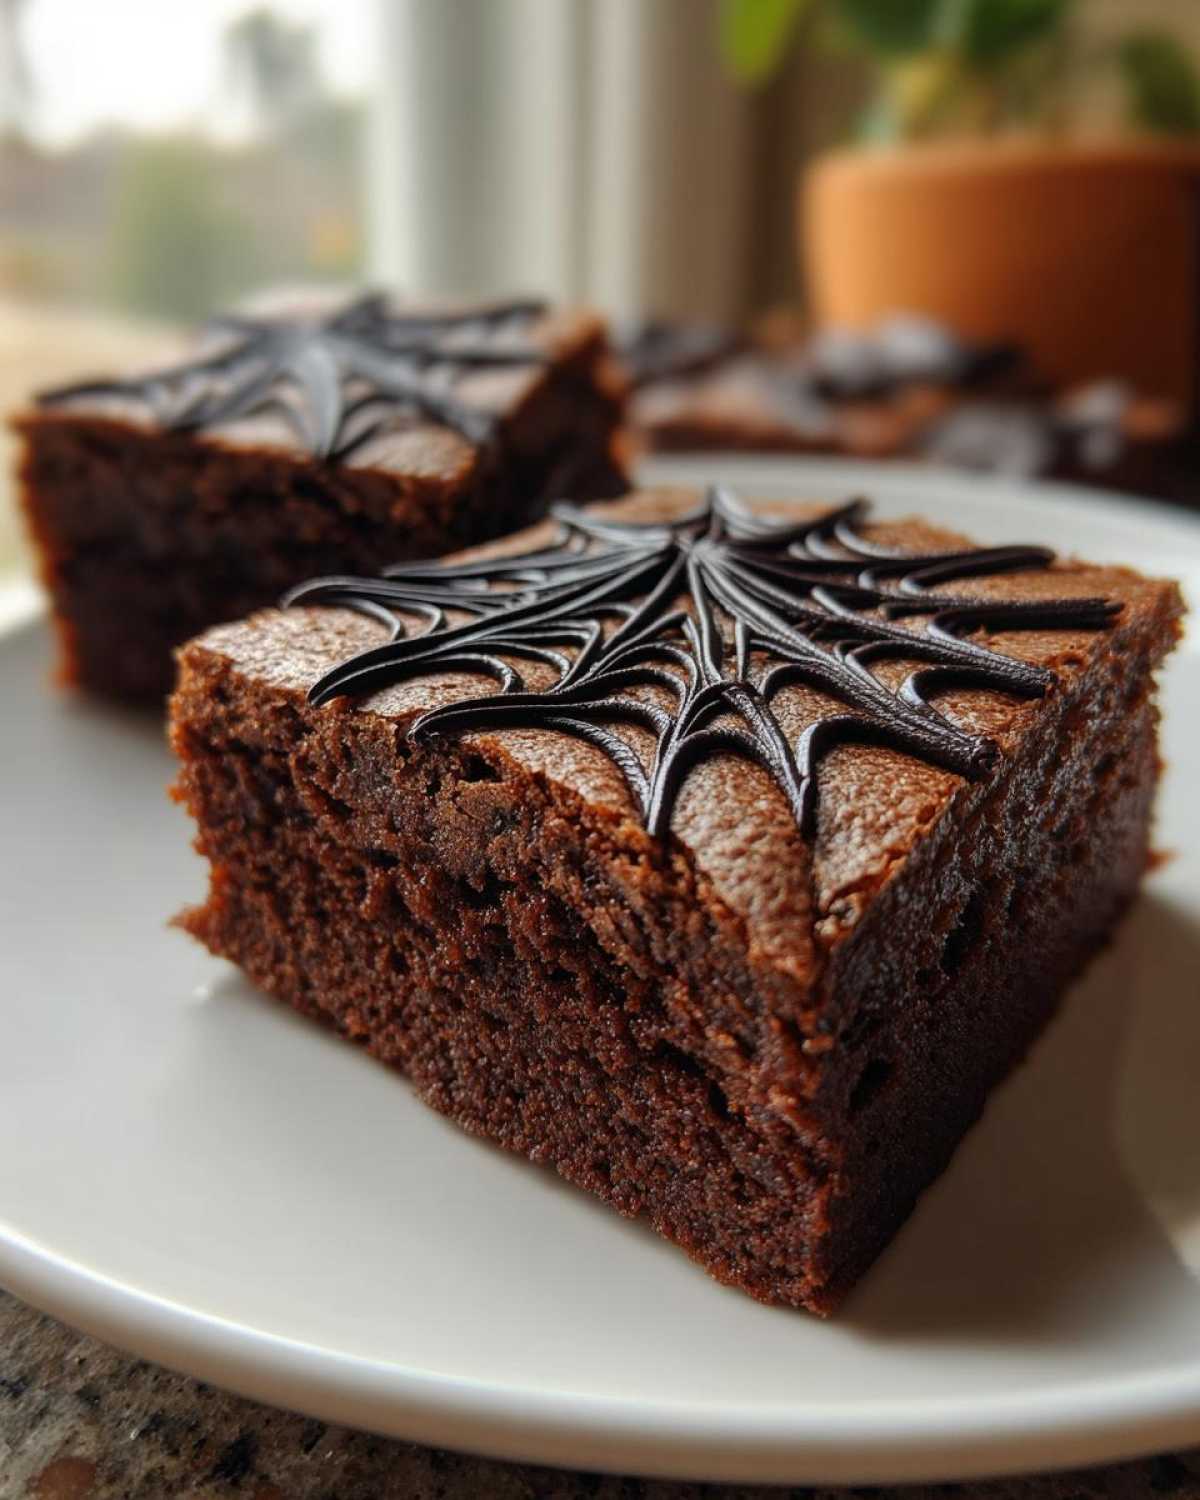
Tips for Perfect Spiderweb Brownies
Want your spiderweb brownies to be extra special? I’ve learned a few tricks over the years. For a richer, deeper chocolate flavor, try using a dark chocolate brownie mix. It really makes the spiderwebs pop.
A little secret I love is adding a few drops of vanilla extract to the white chocolate mixture. It adds a lovely subtle flavor. It’s a small step that makes a big difference.
The most important tip, though? Make sure your brownies are completely cool before you start decorating. Seriously, let them cool for at least an hour, maybe even two. If they’re even a little warm, the chocolate will melt and won’t give you those crisp, clean spiderweb lines. Patience here pays off!
Creative Variations for Your Spiderweb Brownies
Want to make your spiderweb brownies even more unique? You can play around with the colors! Try using a spooky green or purple frosting for the webs instead of black. It adds a fun twist.
Another idea is to add some festive Halloween sprinkles. Sprinkle them onto the wet chocolate right after you make the webs. They’ll stick perfectly. This adds a bit of sparkle and crunch. Get creative and have fun with it!
Serving and Storing Your Spiderweb Brownies
These spiderweb brownies are perfect for a Halloween party. Serve them on a spooky platter. They look amazing with some extra green or purple sprinkles.
Got leftovers? No problem! Store them in an airtight container. Keep them at room temperature. They should stay fresh for up to three days. This makes them great for making ahead of time.
Frequently Asked Questions About Spiderweb Brownies
Got some questions about making these awesome spiderweb brownies? I’ve got you covered! These are some common things people ask me.
Can I use regular food coloring instead of gel?
While you *can* use regular liquid food coloring, I really recommend gel. Gel coloring is much more concentrated. It gives you that deep black color without adding too much liquid. Too much liquid can make your melted chocolate runny. This makes it harder to get those nice, sharp lines for your spooky Halloween treats.
How do I get clean lines for the spiderweb?
Getting clean lines is all about your tools and technique. First, make sure your brownies are completely cool. Then, pipe the chocolate circles evenly. For the web lines, use a clean toothpick. Drag it from the center outwards. Wipe the toothpick clean after each line. This prevents smudging. A ruler can help you keep your lines straight too!
Can I make these ahead of time?
Yes, you absolutely can! Bake your brownies a day or two in advance. Once they are completely cool, you can even pipe the spiderwebs. Just store them in an airtight container. This is perfect for busy Halloween hosts. You’ll have one less thing to worry about on party day!
Nutritional Information
When you’re whipping up these fun spiderweb brownies, it’s good to have an idea of what you’re serving. Keep in mind that these numbers are just estimates. They can really change depending on the brownie mix you use. Also, the amount of chocolate and shortening can affect the totals.
Here’s a general idea per brownie:
- Calories: Around 250-300
- Fat: Roughly 15-20g
- Protein: About 3-4g
- Carbohydrates: Approximately 30-35g
- Sugar: Around 25-30g
These estimates give you a good baseline for your delicious Halloween treats. Enjoy every spooky bite!
Share Your Spooky Creations
I absolutely love seeing your creations! Did you make these spiderweb brownies for your Halloween party? I’d be thrilled if you shared your experience.
Leave a comment below with your thoughts. Or, give this recipe a star rating. You can also tag me on social media with your amazing photos. Seeing your spooky brownies makes my day!
PrintSpooktacular Spiderweb Brownies: An Easy Halloween Treat
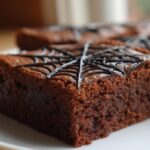
Create spooky spiderweb brownies perfect for Halloween parties. This recipe is easy to follow and will impress your guests.
- Prep Time: 15 minutes
- Cook Time: 30 minutes
- Total Time: 45 minutes
- Yield: 16 brownies
- Category: Desserts
- Method: Baking and Decorating
- Cuisine: American
- Diet: Vegetarian
Ingredients
- 1 box brownie mix (plus ingredients called for on the box)
- 1 cup white chocolate chips
- 2 tablespoons vegetable shortening
- Black gel food coloring
Instructions
- Prepare brownies according to package directions. Let cool completely.
- Melt white chocolate chips and shortening in a microwave-safe bowl in 30-second intervals, stirring between each, until smooth.
- Stir in black gel food coloring until you achieve a deep black color.
- Transfer the black melted chocolate to a piping bag or a zip-top bag with a corner snipped off.
- Pipe concentric circles of the black chocolate onto the cooled brownies, starting from the center and working outwards.
- Use a toothpick or skewer to drag lines from the center outwards through the black circles, creating a spiderweb effect.
- Let the chocolate set before cutting and serving.
Notes
- For a richer brownie, use a dark chocolate brownie mix.
- You can add a few drops of vanilla extract to the white chocolate mixture for extra flavor.
- Ensure the brownies are completely cool before decorating to prevent the chocolate from melting.
Nutrition
- Serving Size: 1 brownie
- Calories: Approximately 250-300
- Sugar: Approximately 25-30g
- Sodium: Varies based on brownie mix
- Fat: Approximately 15-20g
- Saturated Fat: Approximately 5-7g
- Unsaturated Fat: Approximately 10-13g
- Trans Fat: 0g
- Carbohydrates: Approximately 30-35g
- Fiber: Approximately 1-2g
- Protein: Approximately 3-4g
- Cholesterol: Varies based on brownie mix