

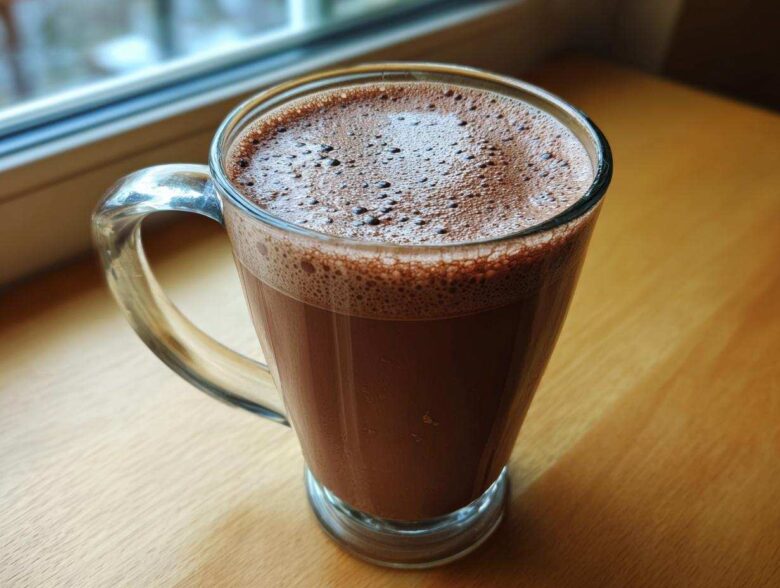
There is absolutely nothing like wrapping your hands around a steaming mug when the world outside is cold and grey. That rich, chocolatey warmth is pure comfort, right? But honestly, those store-bought packets of hot cocoa mix can taste… dusty. Ethan and I got tired of it, so we put our heads together—my research skills and his incredible instinct for flavor—to create the ultimate blend.
This is our Ultimate Creamy, Big Batch Homemade Hot Cocoa Mix. It’s better than anything you buy, incredibly easy (seriously, no cooking needed!), and perfect for making ahead or packaging up as a thoughtful, cozy gift, just like we talk about over at our own little corner of the internet. We’ve nailed the ratios so every single cup tastes velvety and decadent, not weak or overly sweet. Trust me, once you try this, that cardboard-tasting stuff stays on the shelf!
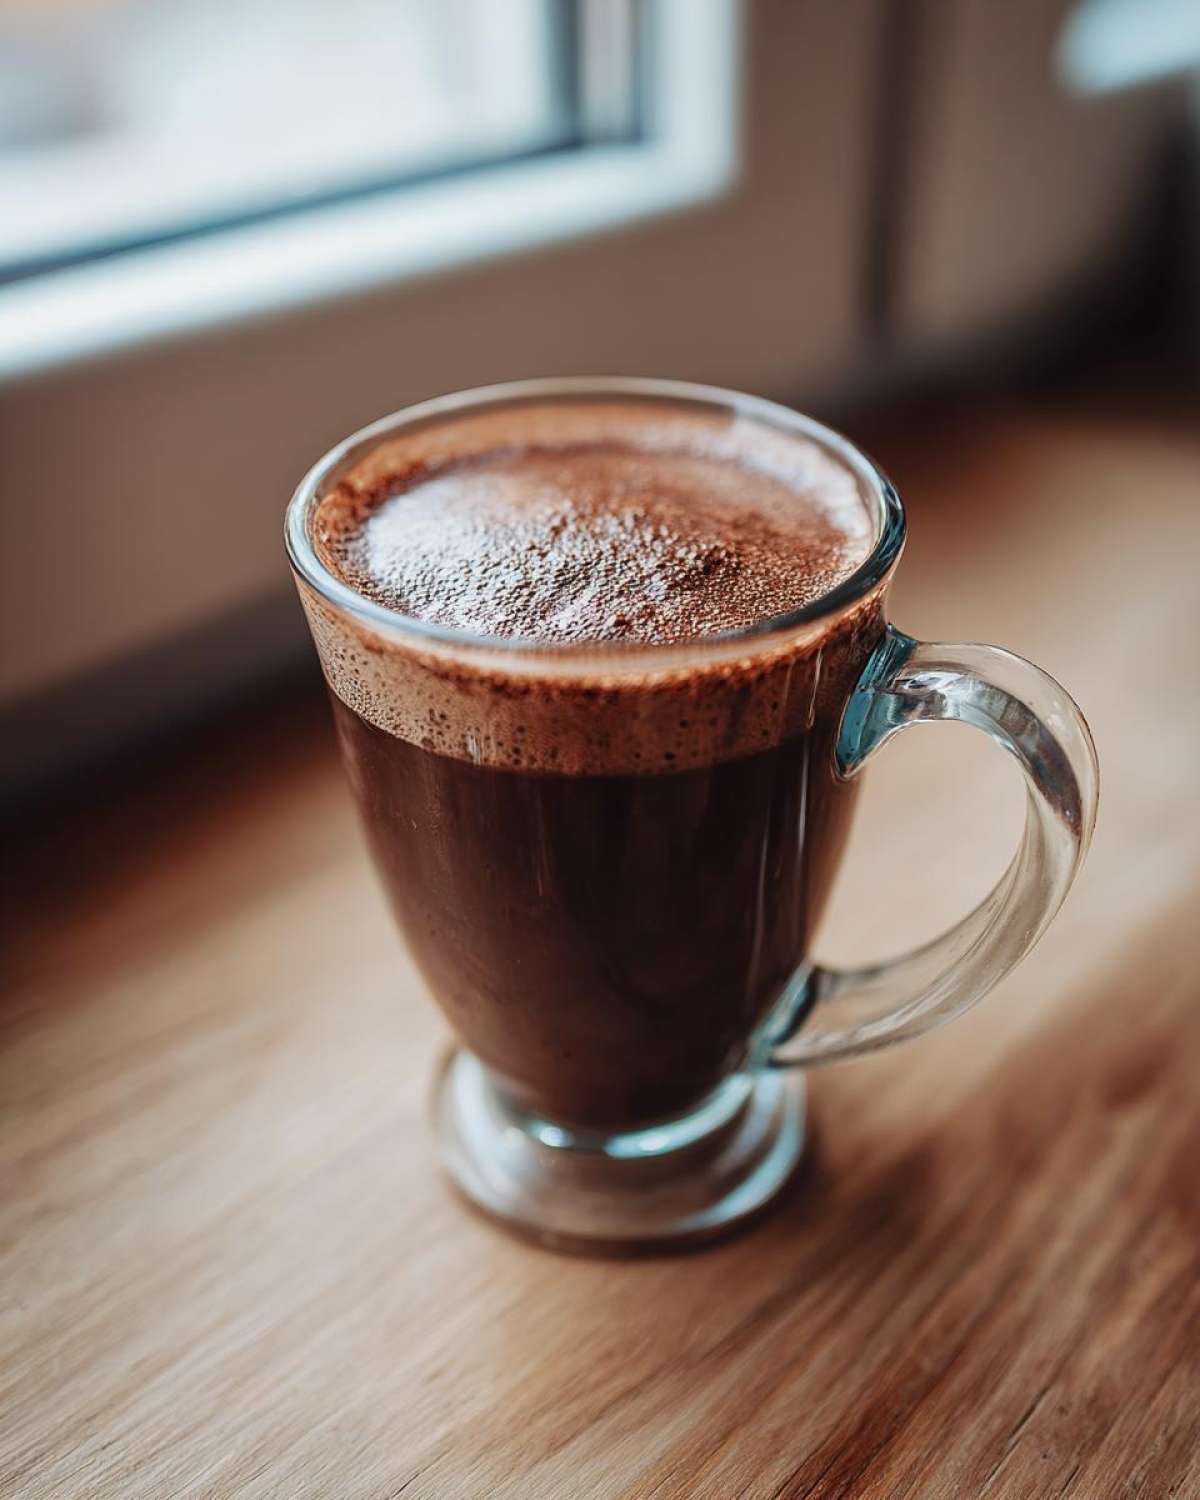
Why You Need This Rich and Creamy Hot Cocoa Mix Recipe
I know what you’re thinking: why bother mixing up a simple dry mix when I can grab a box? Well, the quality difference is night and day, I promise! Ethan always says you can taste the love, or in this case, you can taste the lack of cheap additives.
This recipe is truly the superior choice because it nails all the things you’re looking for in a cozy winter drink:
- It’s a fantastic big batch hot cocoa mix—you make it once and you’re set for weeks of chilly mornings.
- The final product is genuinely rich and creamy hot cocoa mix that tastes miles better than store-bought convenience stuff.
- It’s completely no-cook! We just whisk everything together. It’s faster than finding your favorite mug sometimes.
- Because it’s so simple and beautiful when jarred up, it makes for the best homemade gift when the holidays roll around. Who doesn’t want a warm hug in a jar?
Gathering Ingredients for Your Big Batch Hot Cocoa Mix
Okay, let’s talk about what actually goes into this magic powder. Since this is a dry mix, we are focusing purely on quality pantry staples, which makes it so easy to whip up anytime. We start with six cups of powdered sugar, which keeps everything smooth and sweet when dissolved.
Next comes the chocolate backbone: two full cups of unsweetened cocoa powder. You can choose natural or Dutch-process here, but I tend toward Dutch because it gives a deeper color. The dry milk powder is optional—if you’re dairy-free, just skip it! It’s there mainly for that extra creaminess we love, but plant-based milk works just as well when you’re serving it.
Now for Ethan’s favorite part, which he insists on, and he’s always right about spices: a teaspoon of ground cinnamon. He says it just makes the whole thing taste richer and enhances that natural chocolate flavor. Don’t forget the small hit of salt to balance the sweetness, and maybe that espresso powder if you want a really deep, almost mocha flavor. It’s all about precision here, just like when I’m perfecting my French Onion Soup!
Step-by-Step Guide to Making Your Homemade Hot Cocoa Mix
This is where the magic happens, or rather, where *no* magic happens because it’s so easy it feels like cheating! Since this is a no cook cocoa mix, we just need bowls and a whisk. First, get all your dry ingredients—the powdered sugar, cocoa, optional milk powder, cinnamon, salt, and espresso powder—and dump them into one big mixing bowl. I mean, really big, because we’re making a big batch hot cocoa mix!
You need to whisk this together with purpose for a solid two minutes. I know, two minutes feels long when all you want is a cup of cocoa, but trust me on this one. You can’t just gently stir it; we need to make sure every single bit of salt and spice is distributed evenly so you don’t get a bland scoop or a super salty blast.
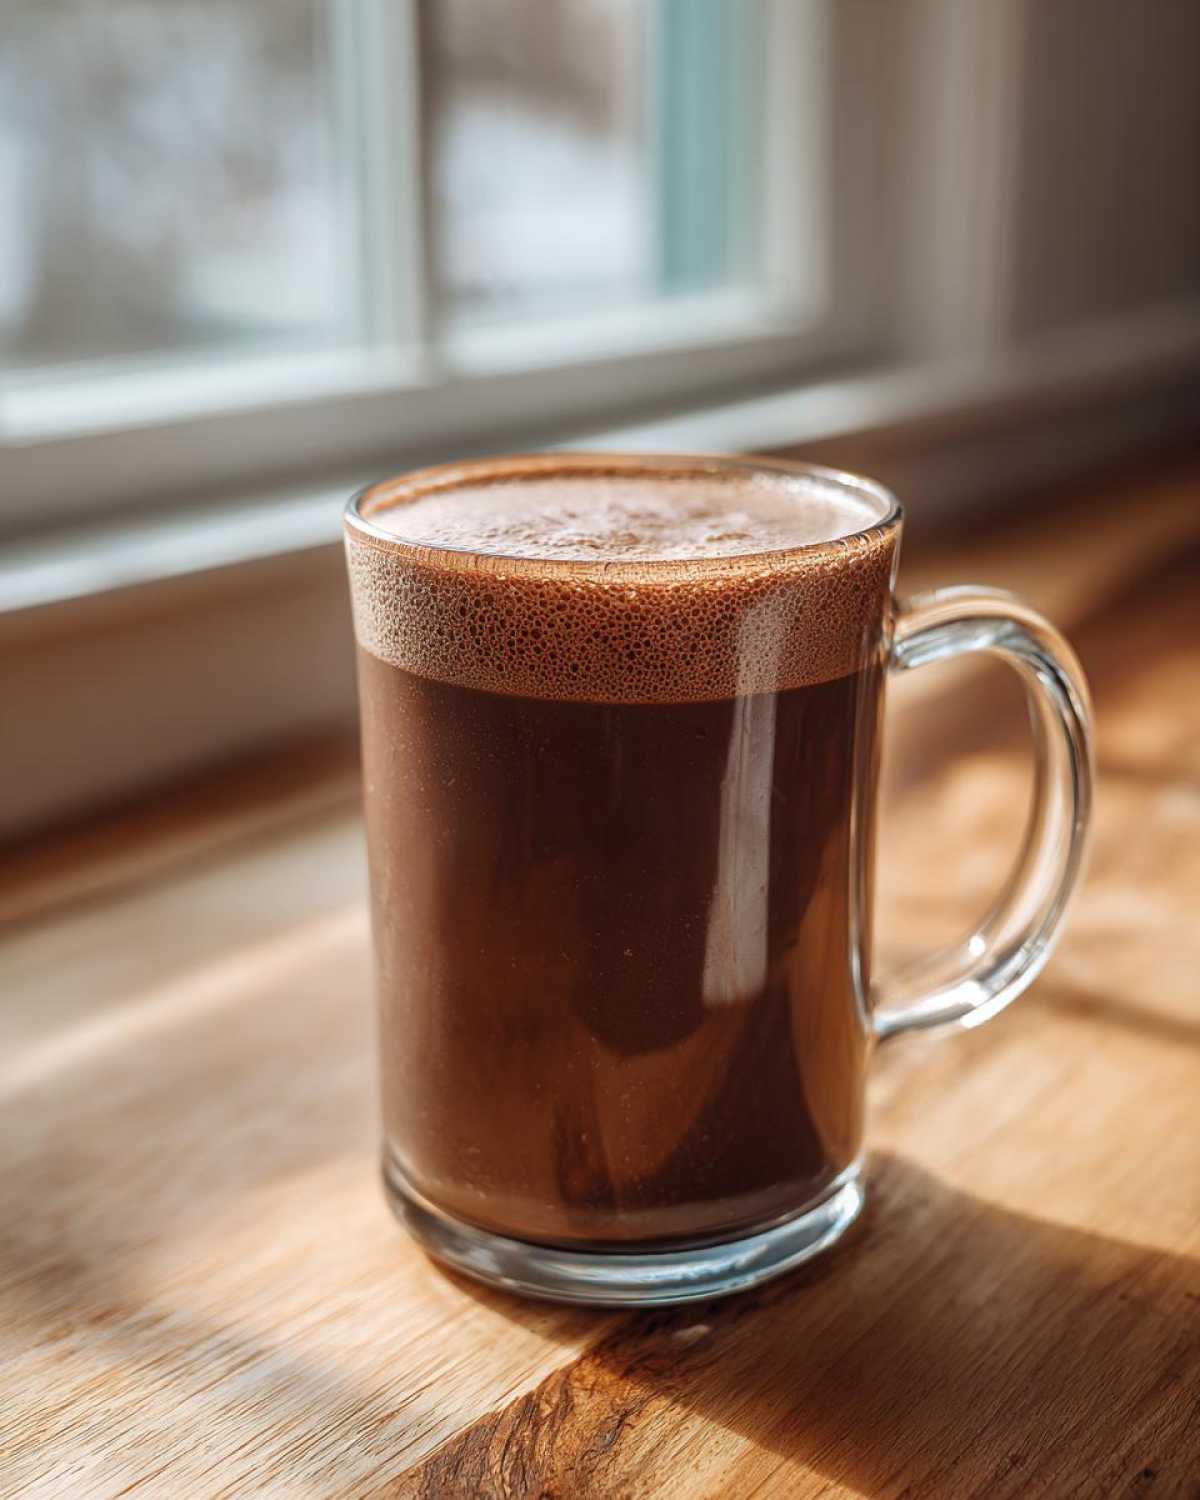
Once everything is fully incorporated and looks uniform—like a uniform chocolate dust—give it a little test run mixed with hot milk or water. This lets you adjust the sweetness right now to create your perfect simple hot chocolate powder. Remember when I wrote about testing my chocolate mousse? It’s the same concept: taste as you go!
The Importance of Thorough Mixing for Your Hot Cocoa Mix
Ethan always grumbles when I tell people they need to spend two full minutes whisking this. He says, “It’s just powder, Maya!” But he’s forgetting about physics! Cocoa powder and powdered sugar LOVE to clump up together. If you don’t mix it long enough, you end up with pockets of pure sugar, or worse, big clumps of undissolved cocoa when you try to make a cup later.
That long whisk isn’t just about mixing; it’s about aerating the whole batch. It helps break down those tiny lumps *before* they hit the hot milk. This extended effort ensures that every scoop of your finished powder dissolves smoothly for that creamy texture we’re aiming for. Don’t skip the whisking!
Tips for a Velvety Hot Cocoa Dry Mix Texture
This is where our styles really merge—Ethan’s instinct for texture and my deep-dive research into the science of sipping! We want this dry mix to turn into something luscious, not watery. The secret weapon for that restaurant-quality mouthfeel? A tiny bit of cornstarch.
I’ve tested it repeatedly: adding just one teaspoon of cornstarch per serving to the powder before you add the hot liquid gives your beverage the signature thick, velvety hot cocoa dry mix texture people rave about. It thickens it up just enough to coat your mouth beautifully.
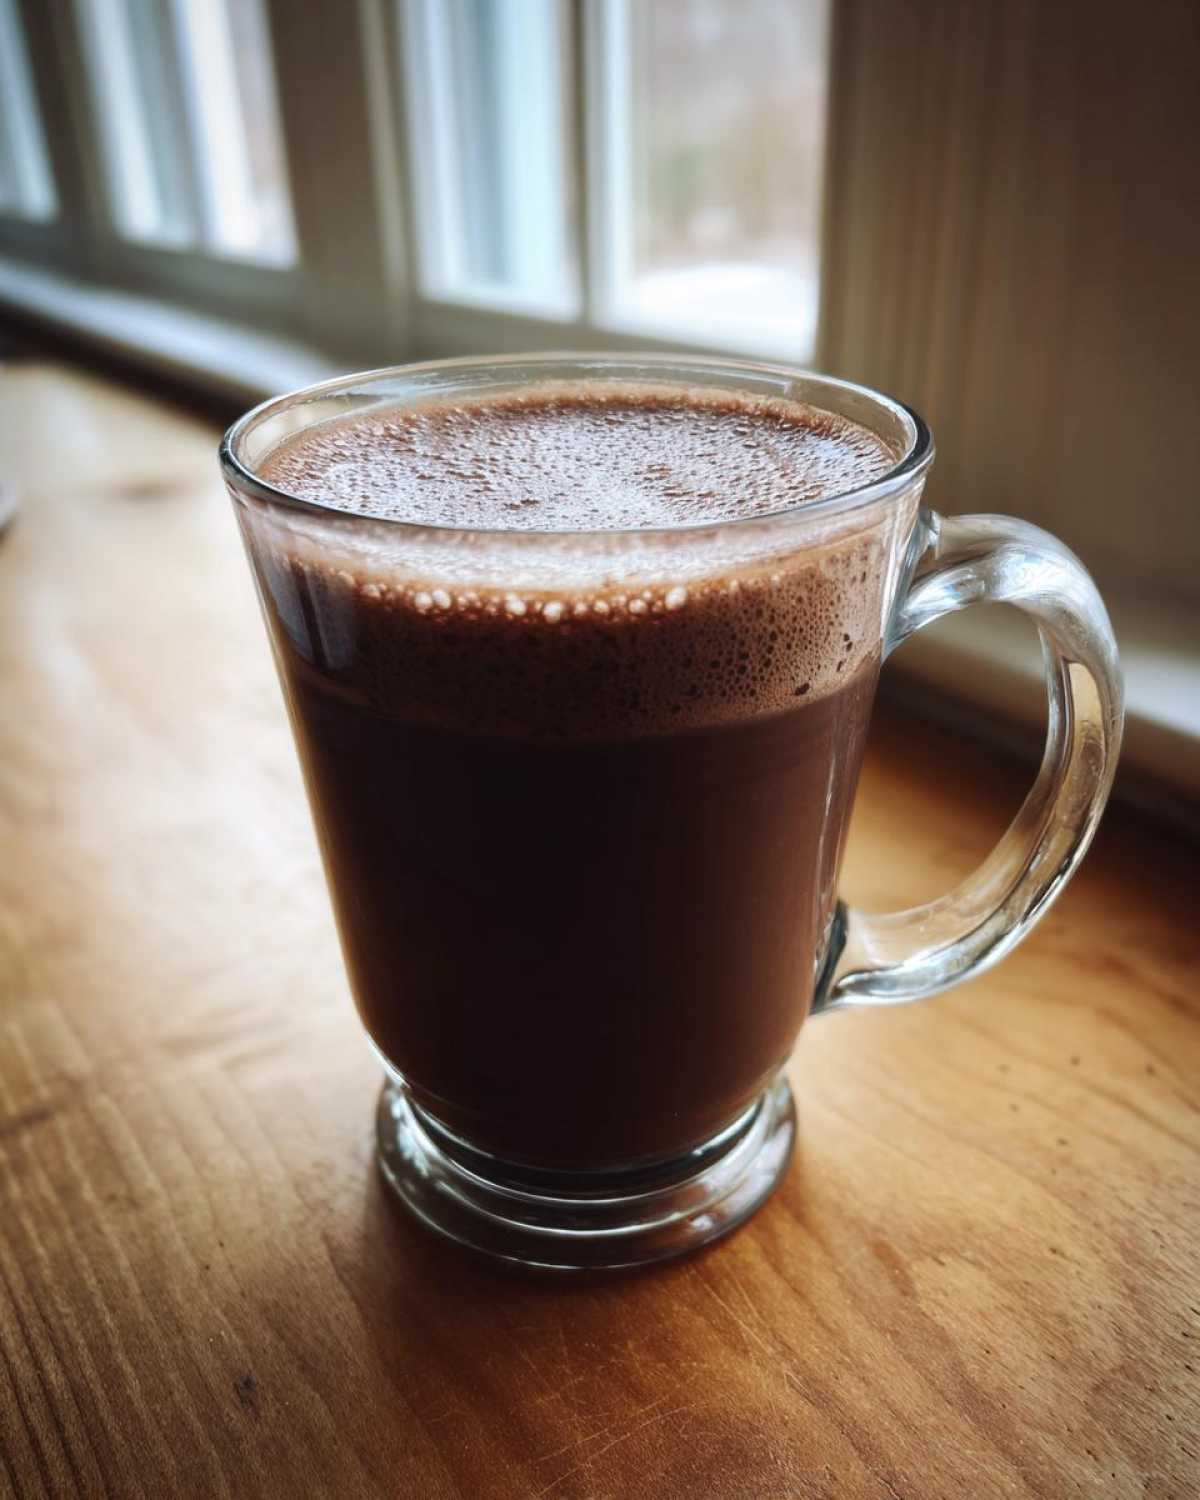
When it comes to sweetness, Ethan always says, “Taste it *before* you serve!” Since we made a big batch, taste-testing a spoonful mixed with hot water lets you adjust. If it tastes dull, add a tiny bit more sugar. If it’s too sweet, an extra microscopic pinch of salt will balance everything out perfectly. It’s all about making this mix your ultimate favorite before you even store it away.
Customizing Your Hot Cocoa Mix Without Powdered Milk
A lot of folks write to us asking specifically about making a hot chocolate mix without powdered milk, either because they’re dairy-free or they just don’t keep it in the pantry. That’s totally fine! Ethan’s base recipe easily skips the dry milk powder without losing its rich chocolate punch.
When you leave out the milk powder, you get a fantastic dairy-free mix that stores beautifully. The main difference is in the serving cup, not the powder itself. You just need to remember to pair that pure chocolate powder with your favorite rich liquid when you are ready to drink. Oat milk steams up beautifully for a surprisingly creamy mouthfeel, or even just hot water works if you’ve loaded the powder up with that extra dash of cinnamon we talked about.
If you want something extra luxurious, try adding a teaspoon of coconut milk powder instead, though that will change the calorie count slightly! For more ideas on making things creamy without dairy, you might want to check out how I adapted my creamy lemon pasta sauce to be dairy-free!
Remember, too, that if you’re looking for inspiration on other great creamy beverages, you can always see how we handled the flavor profile in this big batch cocoa over at Wow Chocolate.
Storage and Serving: Getting the Best Flavor from Your Hot Cocoa Mix
Since this is mostly sugar and cocoa, and there’s no moisture in the powder, we’ve created a true make ahead hot cocoa mix that lasts forever—well, almost forever! As long as you keep it in a truly airtight container and store it in a cool, dark pantry, it’s good for many months. I stored a batch for nearly a year before we finished it, and the flavor was still spot-on. Ethan always checks the lid seal twice, just in case!
Now, for the serving size, this is where you need to pay attention to the quantity you mixed up. We found that for a rich cup—the way Ethan likes it—you need about 1/3 cup of our dry mix for every 1 cup of liquid. Remember, this ratio is for milk or water heated up hot! Never just dump this powder into cold liquid; it won’t dissolve right, and you’ll end up with gritty chocolate sludge at the bottom of your mug. Take a peek at some other great drink ideas on the blog, but stick to this ratio for the best results!
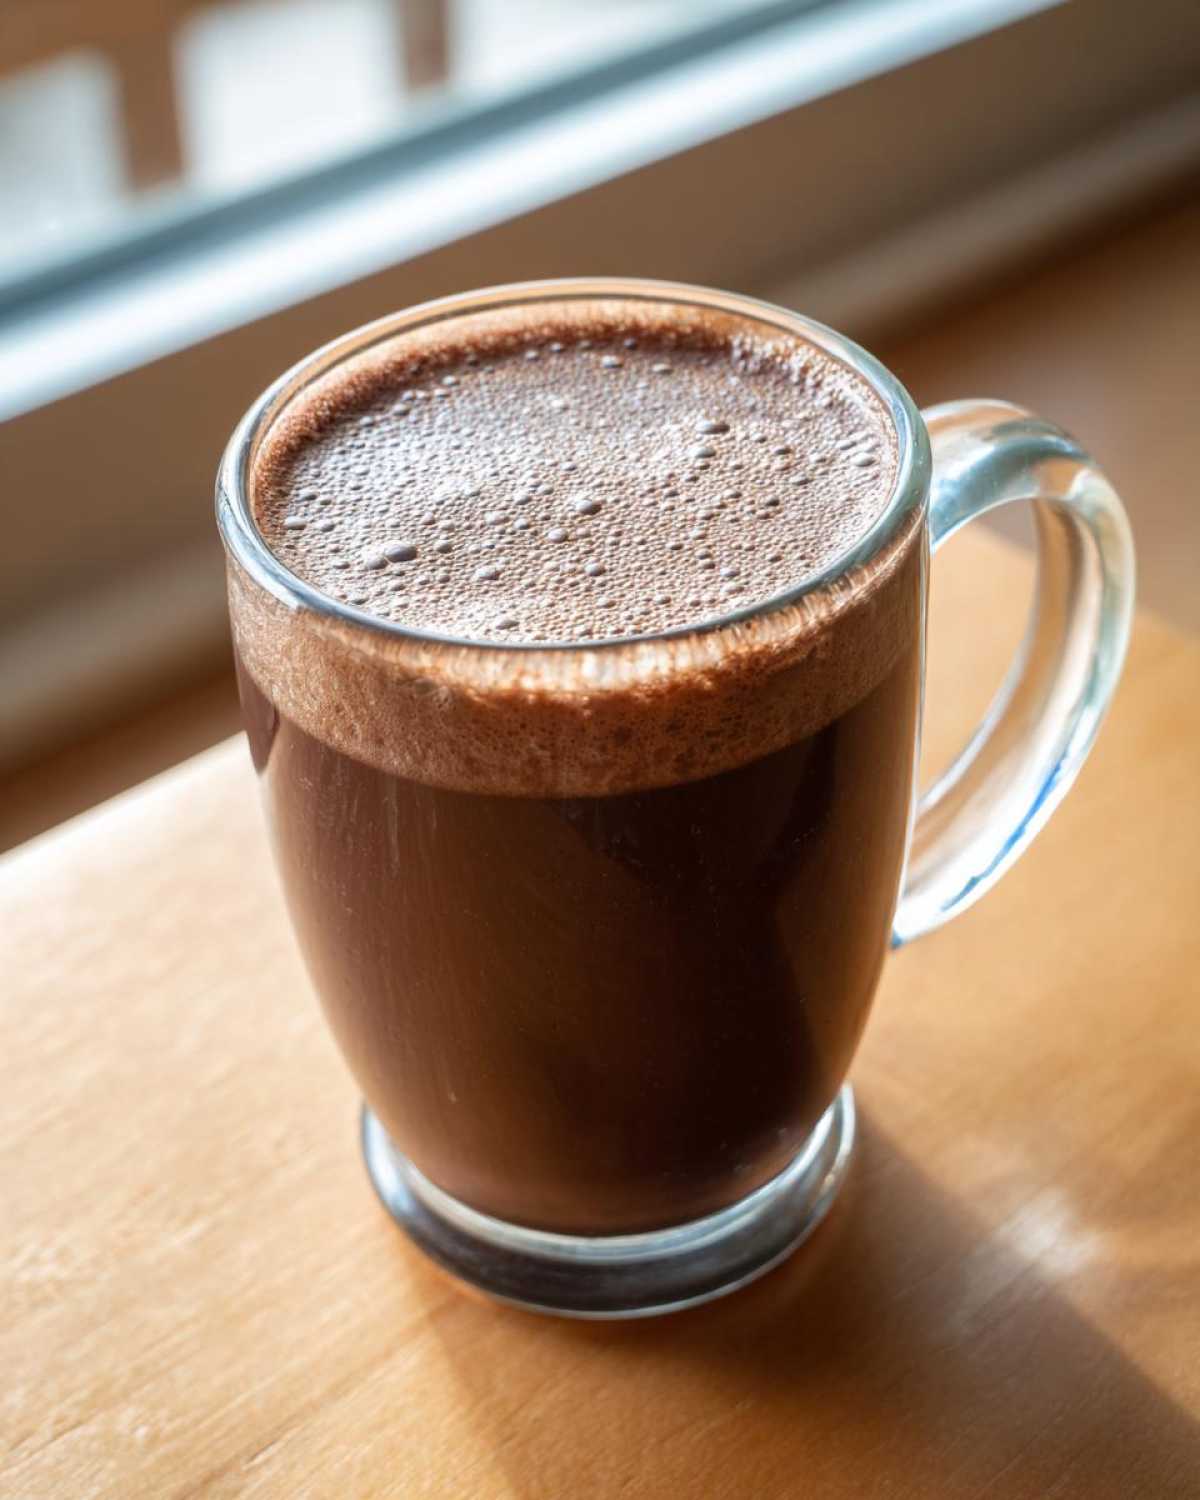
If you want a slightly lighter cup, you can use 1/4 cup of the mix instead. But honestly, why skimp when we went to all the trouble of making it perfectly rich? If you’re looking at how others serve up their mixes, check out this great recipe from Organized Island for inspiration!
The Perfect Hot Cocoa Mix for Gifting
You know, once you realize how easy this recipe is, you immediately think, “I need to give this to everyone I know!” This hot cocoa mix for gifting has become my go-to item for neighbors, teachers, and holiday party favors. It’s just so much lovelier than a store-bought tin, right?
When we put this together for my sister last year, Ethan insisted on packaging it in these cute glass jars. You’ll want to layer the dry ingredients artistically—maybe sugar on the bottom, then a layer of the dark cocoa, and a final colorful layer of cinnamon on top. It looks beautiful, like a little edible present!
Remember the recipe notes about adding extra stuff? Layering chocolate chips or tiny marshmallows on top of the mix looks fantastic, but just make sure you seal that lid really tight so they don’t absorb any humidity.
Don’t forget the tag! I always include a quick instruction tag so they know exactly how to make the perfect cup. It’s the little things that make a homemade gift feel special. For more ideas on cute food gifts, check out our recipe for candied pecans; they are fantastic layered in jars too!
If you need inspiration on labeling or presentation styles, I saw some gorgeous examples on Coffee Copycat that really inspired our layout this year!
Frequently Asked Questions About This Hot Cocoa Mix
I know we covered a ton of information on perfecting this DIY hot chocolate powder, but my research brain always needs to circle back to the details. Ethan usually says, “Just make the drink, Maya!” but I need the certainty! Here are some common things people ask about our perfect dry mix.
How long does this DIY hot chocolate powder last on the shelf?
Since we are keeping this as a true pantry staple drink mix, as long as you keep it sealed up tight away from heat and humidity, this bulk hot cocoa mix lasts for ages. We’ve had batches sit happily in the pantry for 6 to 8 months without any flavor degradation at all. Just make sure your container has a good gasket seal!
Can I use Dutch-process cocoa powder instead of natural?
Absolutely! Ethan usually leans toward Dutch-process because it gives that darker, richer color that feels super decadent, but either one works fine here since we aren’t relying on chemical reactions with baking soda. Both give you a fantastic chocolate base for your homemade hot cocoa mix recipe.
What if I want a much thicker, more classic hot chocolate?
This is my favorite tip that Ethan discovered! If you want that super thick, almost pudding-like texture—the nice heavy coating that’s better than store-bought—you need a thickener. Stir in about 1 teaspoon of cornstarch per serving into your dry mix before you add the hot liquid. It makes a huge difference and gives you that glorious, velvety result!
I’m out of powdered milk. Can I still make a good cup?
Yes, you can totally make a great cup! That’s why we made the dry milk optional. If you are avoiding dairy or just don’t have it, simply treat this as a pure chocolate powder. You will need to use hot milk (like whole dairy or oat milk) when you serve it to replicate that creaminess, but the cocoa base itself will be outstanding. If you are looking for other creamy recipes, you can check out how we make our creamy chicken enchiladas!
A Quick Look at the Details of This Cozy Drink Mix Recipe
Since we’re serious about making sure this recipe is repeatable and you know exactly what you’re getting, here are the nuts and bolts of this amazing pantry staple. It’s super fast to pull together, which I love when I’m also working on something that needs afternoon simmering, like my chicken taco soup!
Here are the essential details for this classic hot chocolate recipe:
- Prep Time: Only 10 minutes! See? So fast.
- Total Time: 10 minutes. It’s a no-cook wonder.
- Category: Beverage / Cozy Drink Mixes Recipe.
- Yield: About 9 cups of powder, which gives you roughly 27 perfect servings.
- Method: Simple mixing.
Ultimate Creamy, Big Batch Homemade Hot Cocoa Mix (Customizable & Gift-Ready)

Create your own rich, velvety hot cocoa powder using simple pantry staples. This big batch recipe is easy to make, tastes better than store-bought mixes, and is perfect for gifting during the holidays or keeping stocked for cozy winter beverages.
- Prep Time: 10 min
- Cook Time: 0 min
- Total Time: 10 min
- Yield: About 9 cups of mix (approximately 27 servings)
- Category: Beverage
- Method: Mixing
- Cuisine: American
- Diet: Vegetarian
Ingredients
- 6 cups powdered sugar
- 2 cups unsweetened cocoa powder (natural or Dutch-process)
- 1 cup non-fat dry milk powder (optional, omit for dairy-free)
- 1 teaspoon fine sea salt
- 1 teaspoon ground cinnamon (Tasty Tip: This enhances the chocolate flavor)
- 1/2 teaspoon instant espresso powder (optional, deepens chocolate taste)
Instructions
- Gather all your dry ingredients: powdered sugar, cocoa powder, dry milk powder (if using), salt, cinnamon, and espresso powder.
- Place all ingredients into a very large bowl.
- Whisk the ingredients together thoroughly for at least two minutes. You must mix well to break up any clumps and distribute the salt and cinnamon evenly throughout the sugar and cocoa.
- Taste a small amount mixed with hot water or milk to check sweetness. Adjust sugar or cocoa powder as desired for your perfect rich and creamy hot cocoa mix.
- Store the finished mix in an airtight container. This bulk hot cocoa mix keeps well in a cool, dark pantry for several months.
- To serve, mix 1/3 cup of the dry mix with 1 cup of hot milk or water. Stir until completely dissolved and enjoy your homemade hot chocolate powder.
Notes
- For a dairy-free version, simply omit the dry milk powder. The mix still creates a delicious drink when combined with hot water or plant-based milk.
- If you are making this hot cocoa mix for gifting, layer the ingredients in decorative jars, leaving space at the top for marshmallows or chocolate chips. Attach a tag with the serving instructions.
- Ethan’s Flavor Tip: For an extra decadent cup, add 1 teaspoon of cornstarch per serving to the dry mix before adding hot liquid. This creates a thicker, more velvety texture.
Nutrition
- Serving Size: 1/3 cup dry mix
- Calories: 180
- Sugar: 35g
- Sodium: 55mg
- Fat: 2g
- Saturated Fat: 1g
- Unsaturated Fat: 1g
- Trans Fat: 0g
- Carbohydrates: 38g
- Fiber: 3g
- Protein: 2g
- Cholesterol: 0mg