

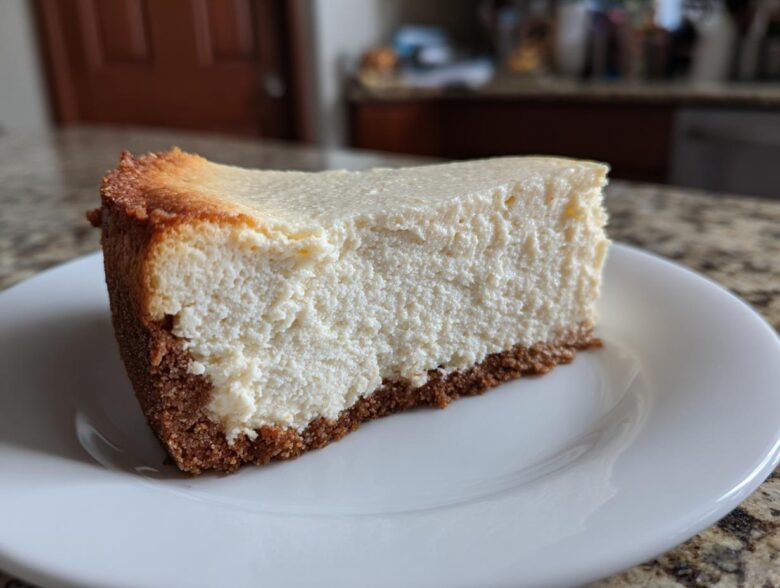
Oh, I know that feeling! You get that massive, overwhelming craving for something rich, creamy, and utterly indulgent, but then the fitness voice in your head screams, “Absolutely not!” For ages, Ethan and I struggled with that—me researching low-carb crusts and him trying to sneak in Greek yogurt wherever possible. We wanted that glorious, classic baked texture, not some weird, rubbery substitute. So, we put our heads together, and I finally nailed the blueprint for the Ultimate Healthy Baked Protein Cheesecake that actually tastes like the real deal. Believe me when I say this recipe packs an insane 35 grams of protein per slice! It’s the perfect marriage of my obsessive testing and Ethan’s uncanny ability to figure out what flavor tweak makes everything sing. This Protein Cheesecake is proof you don’t have to choose between your goals and dessert anymore! If you want to see some of our other favorite quick hits, check out our main recipe index.
Why This Baked Protein Cheesecake Is Your New Favorite Healthy Cheesecake Dessert
Honestly, when I first saw the nutrition breakdown on this one, I almost didn’t believe it. Ethan had been fiddling with adding cottage cheese to everything, and I thought, “This is going to taste like my fifth-grade diet food.” Wrong! This Healthy Cheesecake Dessert feels sinful but works perfectly for us. It’s genuinely a game-changer because it actually delivers that texture we love!
Here’s the quick rundown on why this recipe stole my heart:
- Major Protein Punch: We’re talking 35g of the good stuff per piece! It makes this a fantastic post-workout snack or a proper Dessert with High Protein Content that actually keeps you full.
- Incredibly Creamy Protein Dessert: We use drained cottage cheese, which Maya’s research confirmed is the secret to a velvety texture without loading up the fat.
- Macro Friendly Cheesecake: It’s naturally low in sugar, thanks to our preferred sweetener, making it a wonderful Low Calorie Cheesecake option.
It hits all the right spots without any guilt. Trust me, once you taste it, you’ll wonder why you ever bothered with the old versions!
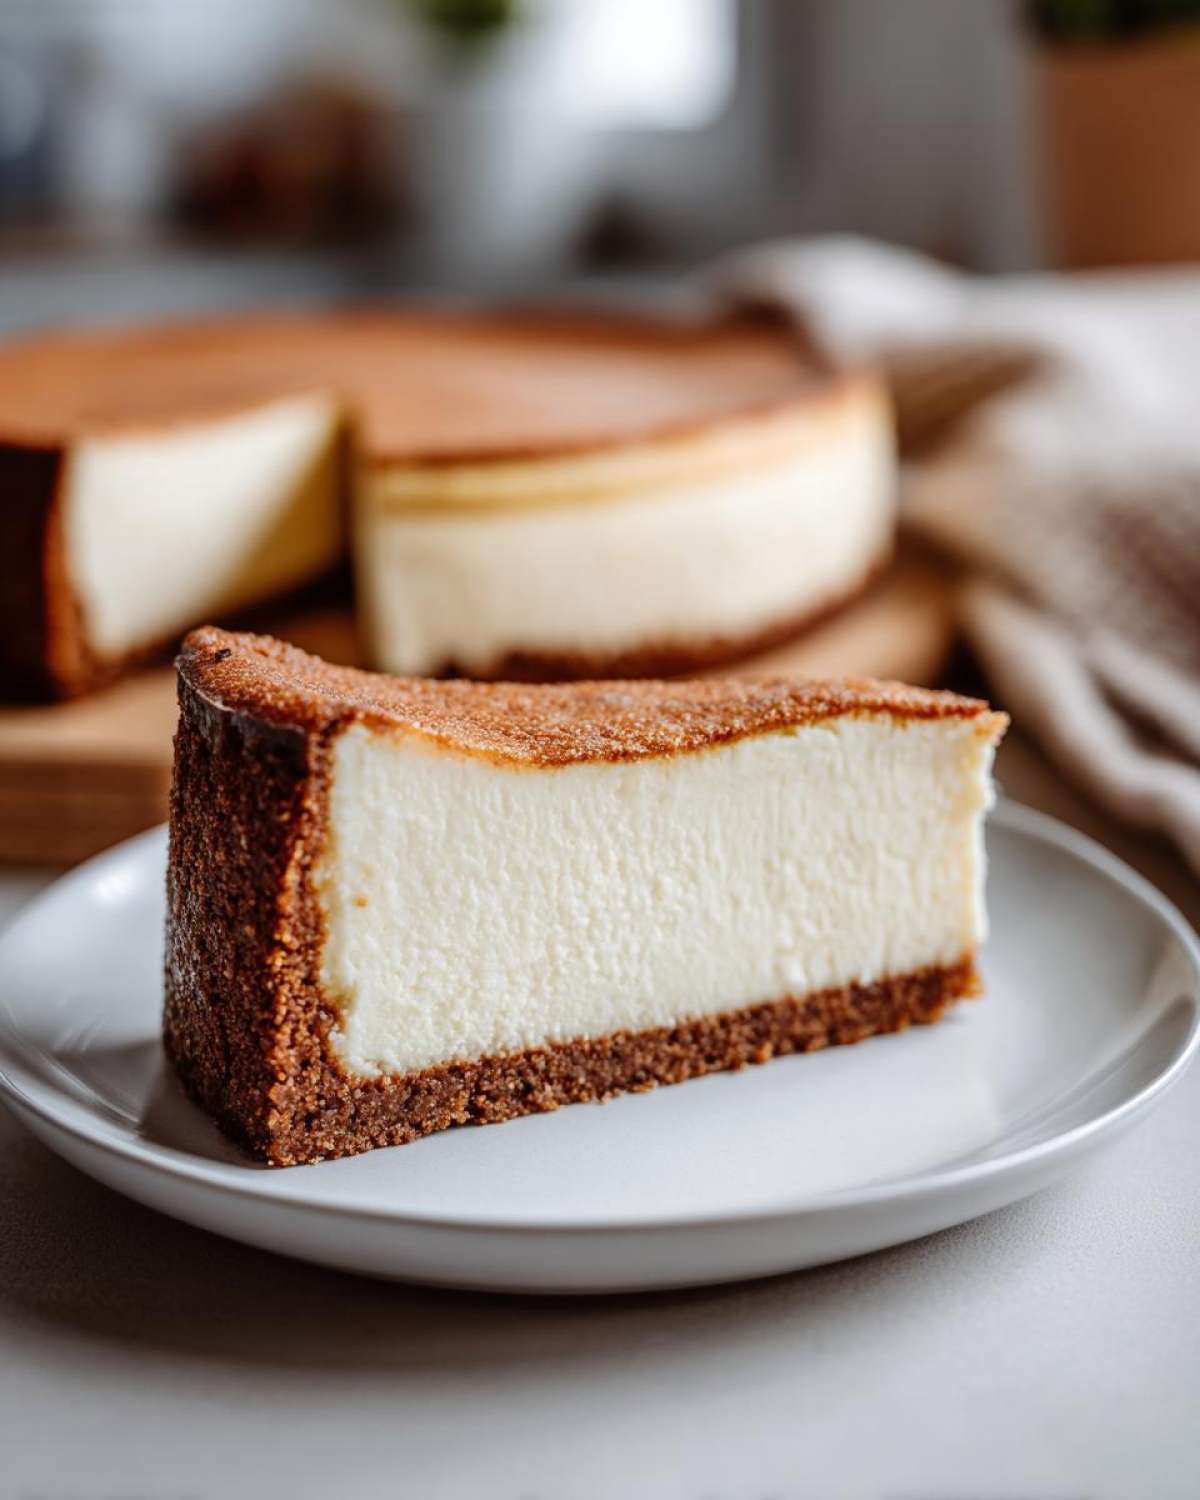
Ingredients for the Ultimate Baked Protein Cheesecake
Okay, this is where Maya’s research side really comes out! If you want that dense, rich texture that tastes like a real cheesecake, you absolutely cannot eyeball these components. We are going for maximum structure here, which means a few steps are non-negotiable, especially with the cheese. We organize everything so you can streamline this. Remember, a good blueprint makes everything smoother in the end!
For the Almond Flour Crust
We start with the base! This crust is fantastic because it’s naturally Gluten Free Cheesecake-friendly. It bakes up firm without needing traditional flour or tons of sugar. You just need to mix these simple items until they resemble wet sand:
- 1 cup almond flour
- 1/4 cup erythritol or preferred sweetener (make sure it’s the granular kind here!)
- 1/4 teaspoon salt
- 4 tablespoons melted coconut oil
For the Creamy Protein Filling
Now for the star! This is the part where we pump up the volume on macros while keeping the flavor right where it needs to be. Ethan always reminds me that the key here—and please listen closely—is making sure you drain that cottage cheese really, really well. If it’s watery, your cheesecake just won’t set right. It’s worth the extra time!
- 16 ounces low-fat cottage cheese, drained well (I mean it, press out that liquid!)
- 8 ounces light cream cheese, softened (leave it out on the counter for an hour)
- 1/2 cup vanilla protein powder (we prefer a whey or casein blend for that perfect structure)
- 1/2 cup erythritol or preferred sweetener (powdered works best, but granular is fine if you blend thoroughly)
- 1 teaspoon vanilla extract
- 2 large eggs (fresh eggs make a difference, trust me!)
- 1 tablespoon lemon juice (this brightens everything up!)
- 1/4 cup water (this is optional, only if the batter seems way too thick after blending)
Step-by-Step Instructions for Your High Protein Cheesecake Recipe
Okay, now for the fun part—bringing this amazing meal prep treat to life! If you follow these steps in order, you are going to get the best High Protein Cheesecake Recipe results. The key things to remember are mixing the base thoroughly before the eggs go in, and patience during the cooling phase. Ethan always says to treat the baking process like assembling one of our favorite protein bars; every layer has a purpose!
Preparing the Crust and Pre-Baking
First thing: preheat your oven to 325°F (160°C). Get your 7-inch springform pan ready—a light grease or a parchment circle on the bottom works wonderfully. While the oven warms up, mix those dry crust ingredients together, pour in the melted coconut oil, and press the crumbs evenly into the bottom. Pop that crust in for just 8 minutes of pre-baking. Once those 8 minutes are up, pull it out right away so it can cool slightly before we pour the filling on top.
Creating the Smooth Protein Filling
This step determines if you get a creamy texture or a grainy mess, so pay attention! Get your drained cottage cheese and light cream cheese in a food processor or a large bowl. This is where Ethan swears by his processor—blend those cheeses until they are completely, utterly smooth. Seriously, stop and scrape down the sides until you see no lumps whatsoever. This forms the base for our Light Cheesecake Recipe. Next, add your protein powder, the remaining sweetener, and vanilla. Mix that in until it’s happy. Finally, add the eggs one by one, mixing just until they disappear. Stop mixing the second they are incorporated—overmixing the eggs is how cracks happen!
Baking and Cooling the Protein Cheesecake
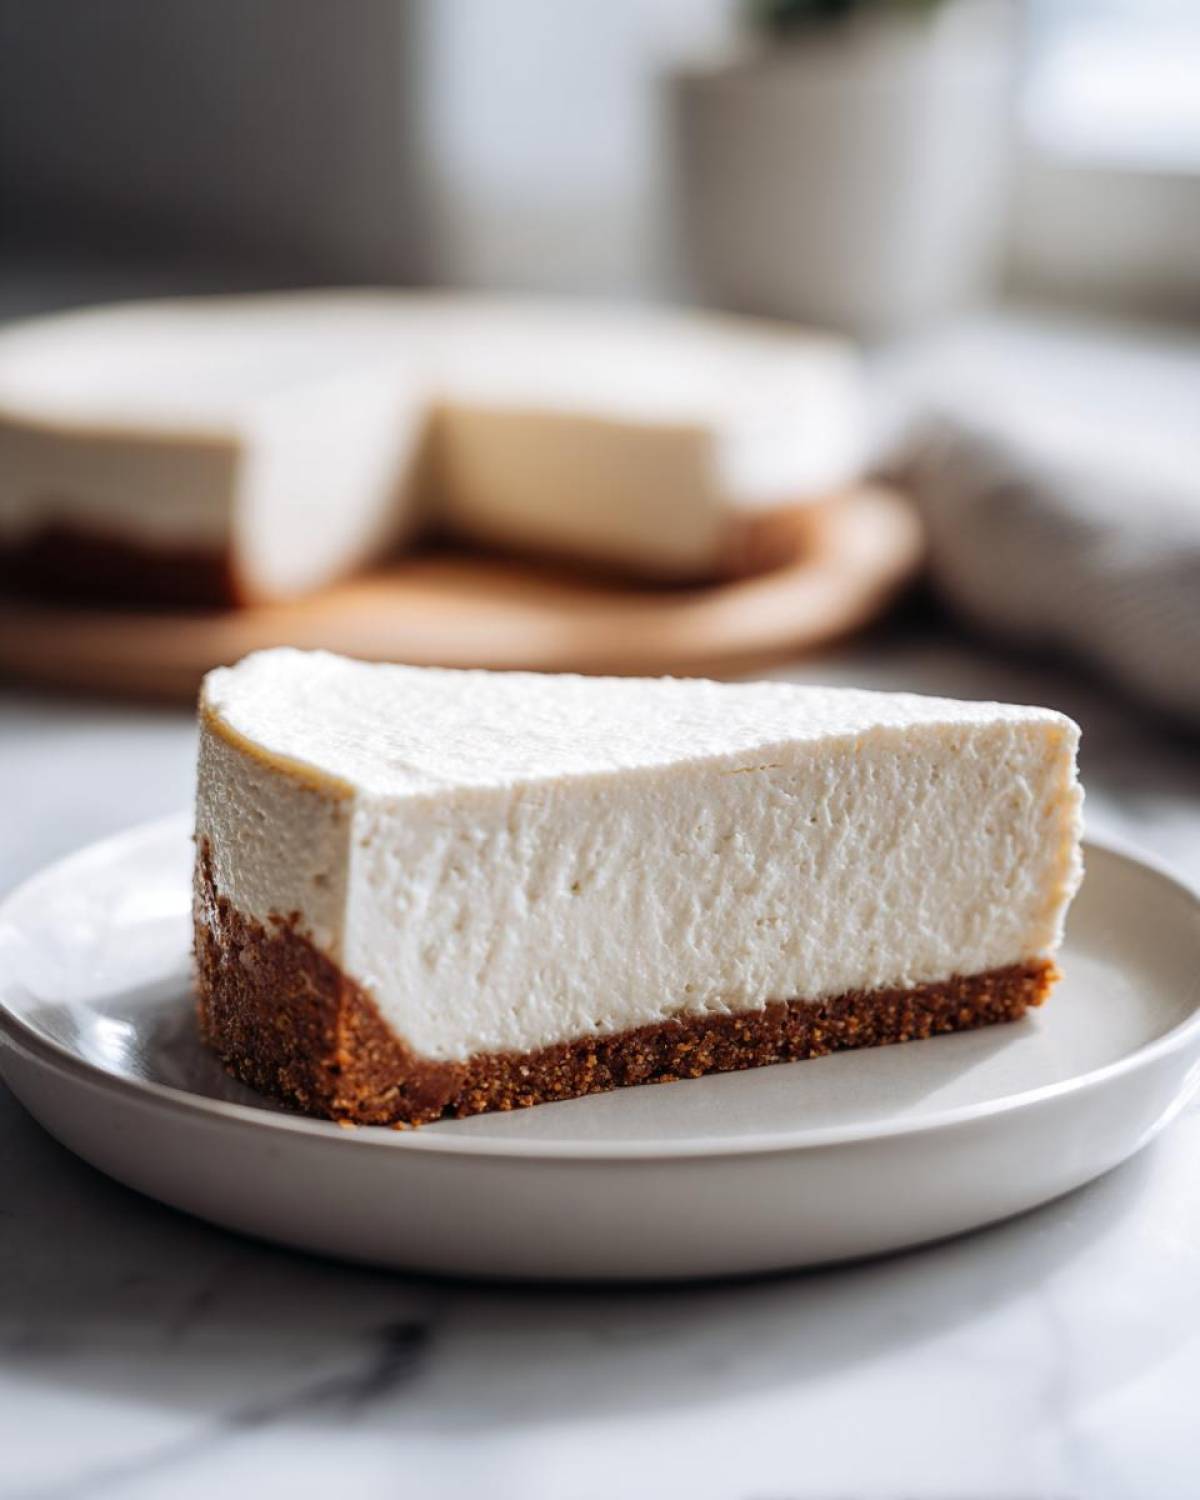
Pour that glorious batter over your pre-baked crust. Give the pan a gentle tap on the counter to get any big air bubbles out. Bake this beauty for about 45 to 55 minutes. You’re looking for edges that look totally set, but a little wobble right in the center. Here is the big secret for E-E-A-T flavor trust: turn the oven off, crack the door open just a little bit, and let the cheesecake stay in there for a full hour. It slowly cools down, which keeps that top smooth. After the hour, take it out, let it finish cooling on the counter, and then cover it up and chill it overnight. It needs at least 6 hours before slicing!
Tips for the Best Baked Protein Cheesecake Results
We learned these little tricks through trial and error, and trust me, trial and error can involve eating a lot of slightly runny cheesecake! If you’re making a Cottage Cheese Cheesecake Recipe, you want that firmness you expect from a classic dessert. Don’t skip these little nuggets of wisdom. We want guaranteed success for you the first time around!
First off, let’s talk about the cottage cheese again, because I can’t stress this enough. You need to drain it until it’s almost dry. I toss it into a mesh sieve lined with a couple of layers of cheesecloth—or just paper towels if you’re in a hurry—and place it over a bowl in the fridge for at least 30 minutes, sometimes longer. I even gently press down on it a few times while it drains. That water has to go if you want structure!
Then there’s the protein powder. If you’re aiming for that really thick, decadent slice, Ethan insisted that casein powder works wonders because it absorbs moisture and creates density as it chills. If you only have whey, that’s totally fine because it blends beautifully, but you might find you need to skip that optional water entirely, or even let it chill for an extra hour.
If your final batter seems just a hair too thick—like scraping cement off the sides of the bowl thick—we add that water one tablespoon at a time. But never add more than half the amount listed, or you risk compromising that high protein content we worked so hard to achieve. Remember, a slight jiggle in the middle when baking is perfect, because residual heat finishes the job during that slow cooling process. We share more of our kitchen secrets over on the blog, so feel free to browse around while your cheesecake chills!
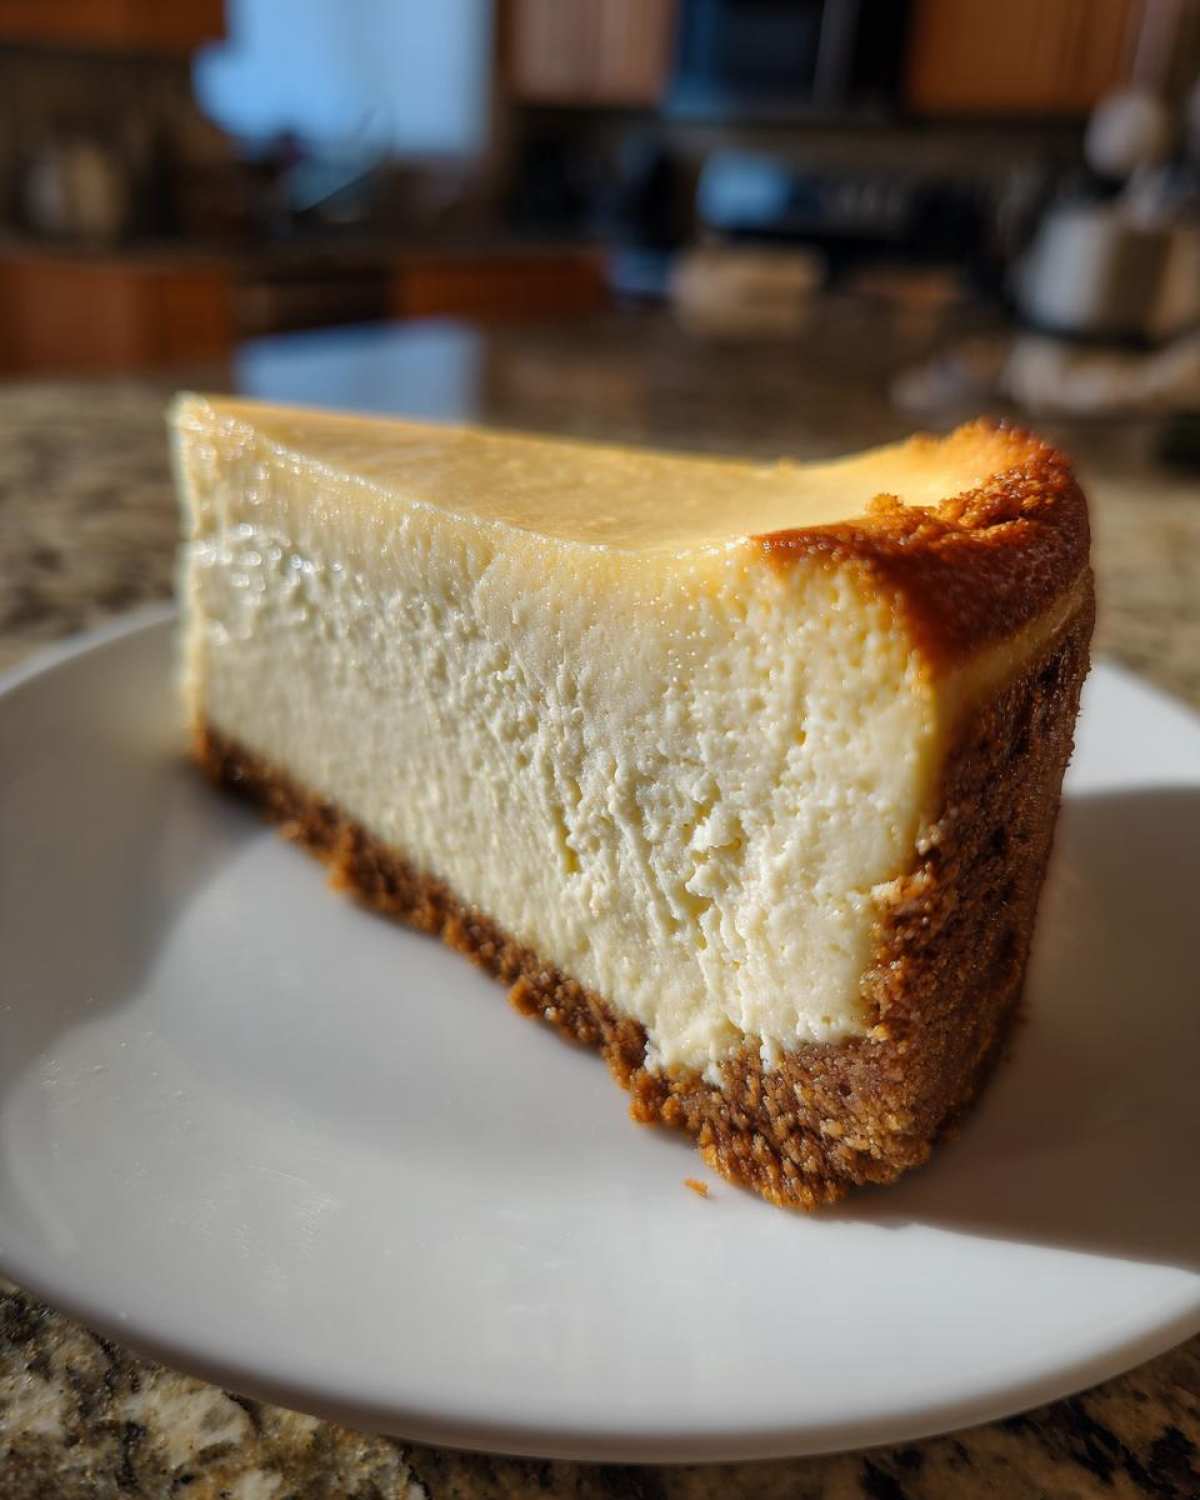
Variations: Making No Bake Protein Cheesecake or Mini Protein Cheesecakes
I know some days you just can’t wait for the oven to preheat, or maybe baking isn’t your favorite thing. That’s usually when Ethan jumps in with his “quick fixes,” and honestly, we’ve figured out how to adapt this recipe for faster results, too! Since we are dedicated to giving you the best High Protein Dessert Ideas, let’s look at swapping out the baking step entirely or making them perfectly portion-controlled.
If you’re dying for a truly quick fix, you can certainly pivot this recipe into a delightful No Bake Protein Cheesecake. The biggest thing you need to swap out is the structure provided by the two eggs. In a no-bake scenario, you must add a stabilizer. We usually use about one teaspoon of unflavored gelatin mixed into a quarter cup of warm water—make sure it blooms properly! Stir that right into your filling mixture *after* combining the cheese and sweet fillings, but *before* you chill it. You essentially skip all the oven steps, pour it into your desired vessel—maybe some cute Easy Cheesecake Jars—and let it set in the fridge for about four hours minimum. Keep a close eye on it; this sets up beautifully!
Now, maybe you want the baked version—which I still think gives the best texture—but you want instant portion control. Hello, Mini Protein Cheesecakes! This is such a smart way to meal prep, giving you satisfying little squares or small cups that are perfect for grabbing on the go. If you use a standard muffin tin lined with paper liners, you need to significantly cut down your baking time. Since the heat hits all sides quickly, those little guys only need about 20 to 25 minutes at that same 325°F. They will look slightly less set in the center than the big one, so be vigilant with pulling them out! You can even check out some great inspiration for other protein treats if you’re feeling adventurous—I saw a fantastic recipe for a different style of protein cheesecake that you might want to try later.
The bottom line is that whether you’re waiting for the oven to finish or you skip it altogether, this recipe is versatile enough for your busiest days. We just promise that baking it slow and low gives you that legendary dense, creamy finish that makes this Guilt Free Cheesecake Treat so incredibly satisfying.
Storage and Reheating Instructions for Your Protein Cheesecake
I know you’re going to be tempted to cut into this the second it comes out of the fridge, but trust me, fighting that urge is part of the magic. This Protein Cheesecake only truly firms up and hits peak flavor after it’s had time to chill properly. If you’re doing this for Protein Dessert Meal Prep, you’re going to love how well it holds up!
The absolute minimum time it needs in the refrigerator is six hours, but if you can manage to wait until the next day, honestly, you’ll be rewarded ten-fold. The longer it sits, the more the flavors meld together, and that texture just gets unbelievably dense and creamy—it’s shocking how much better it is after an overnight rest.
Once it’s completely chilled and set, wrap that springform pan tightly—or transfer slices to an airtight container. Stored properly in the fridge, this cheesecake is fantastic for up to five days. We’ve often had leftovers sitting there, and they are just as good on day four as they were on day one, which is a huge win for a healthy treat!
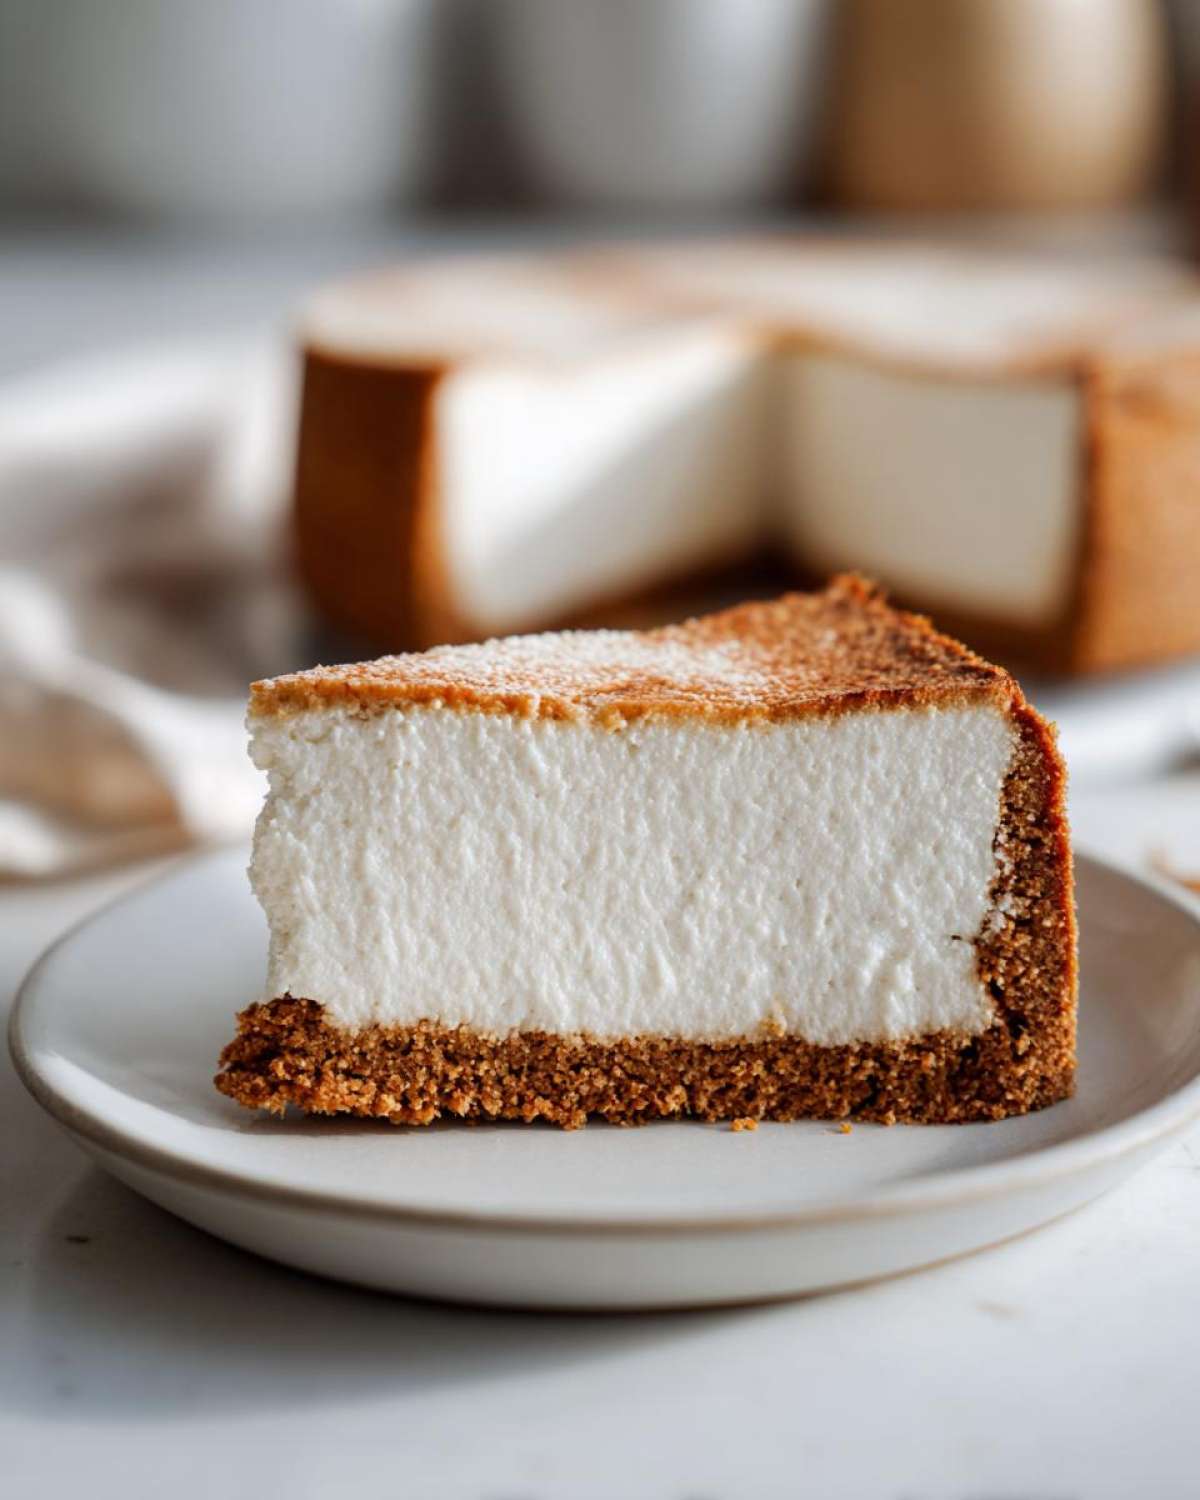
Now, about reheating: most cheesecakes, especially these lower-fat, higher-protein versions, are best served cold or straight from the fridge. They don’t reheat super well because the structure relies on being chilled. If you just *must* have a warm dessert experience, try warming a small slice for maybe 5 or 10 seconds in the microwave—but truly, just let it sit on the counter for 15 minutes before you’re ready to eat it. That little bit of coming back to room temperature wakes up the flavors so much better than microwaving it!
Frequently Asked Questions About This Macro Friendly Cheesecake
I know when you’re following a health plan, you have a million little questions before you commit to baking something new. We get it! Ethan always says that having all the answers upfront is key to sticking to your goals. So, we put together answers to the most common things people ask about this Macro Friendly Cheesecake—hopefully, this helps you feel confident diving right in!
What is the best protein powder to use for this Protein Cheesecake?
This is a huge point! Because we rely on the protein powder for both sweetness and structure, the type matters a little bit. We’ve had the best luck using a whey/casein blend. The casein helps it thicken up beautifully as it bakes and chills, leading to that dense, satisfying texture we are aiming for in a Protein Cheesecake. If you use 100% whey, it mixes very easily, but sometimes it can be slightly softer. If you go all casein, it might be a touch too stiff, so the blend is usually the sweet spot!
Can I make this a Sugar Free Protein Dessert using different sweeteners?
Absolutely, this is a huge part of what makes it a great Sugar Free Protein Dessert! We used erythritol because it bakes relatively consistently, but you can swap it out for another zero-calorie granulated sweetener you love, like monk fruit blends. Just make sure you are measuring by volume accurately! The only place you have to be a little cautious is if you switch to a liquid sweetener, like liquid stevia or monk fruit drops. If you use those, you absolutely shouldn’t add that optional 1/4 cup of water, and you might even need to reduce the amount of lemon juice slightly, otherwise, you risk making the filling too loose. We want that firm set!
Speaking of low-sugar options, if you need something quick and easy while this big beauty is chilling, check out my recipe for easy creamy chicken enchiladas—sometimes you just need a savory meal prep option, too!
Is this truly a Low Calorie Cheesecake?
It really is fantastic for keeping your calories in check! Because we are swapping out heavy cream cheese for light cream cheese and using low-fat cottage cheese, we managed to keep the slices right around 240 calories, which is wild for cheesecake. That’s why we call it our go-to Low Calorie Cheesecake option. Ethan often pairs a slice with his green smoothie the next morning because it feels like such a real treat for so few calories.
Can I easily turn this into Easy Cheesecake Jars?
Yes! If you don’t want to mess with springform pans and cooling times, making Easy Cheesecake Jars is a brilliant solution for portion control. You can still bake this exact recipe! Just prepare your crust in the bottom of small glass jars (like small Mason jars). The total bake time in the jars will likely be a little less, maybe closer to 35-40 minutes, because they are smaller heat vessels. Once they are baked and cooled (you still need the slow cool-down!), you can top them with a little fruit layer or just a sprinkle of cinnamon when you’re ready to eat them straight from the fridge.
Nutritional Snapshot: Dessert with High Protein Content
I totally get it—when you’re eating for fuel and hitting those fitness goals, you need to know exactly what you’re putting into your body, even when that body is screaming for dessert! This is why having the nutritional info right up front is so important for making this Protein Cheesecake fit into your plan. Ethan always reminds me that nutrition facts are like a recipe blueprint for your body!
Keep in mind that these numbers are just estimates based on the specific low-fat and sugar-free ingredients we used in the recipe above (like low-fat cottage cheese and erythritol). If you swap out the protein powder or the sweetener, the numbers *will* change slightly. But this snapshot gives you a fantastic idea of why this is such an incredible Dessert with High Protein Content.
Look right here at that protein number—35 grams! That’s huge for a dessert this creamy and delicious. It’s what makes this truly a Macro Friendly Cheesecake.
- Serving Size: 1 slice
- Calories: 240
- Protein: 35g (Can you believe it?!)
- Fat: 12g (Mostly healthy fats from the coconut oil/almonds)
- Carbohydrates: 10g
- Sugar: 5g (Naturally occurring, virtually no added sugar!)
For only 240 calories, getting 35 grams of protein is pretty much unheard of for something that tastes this decadent. It’s a real win-win situation!
Share Your Guilt Free Cheesecake Treat Experience
And there you have it! Our Ultimate Healthy Baked Protein Cheesecake, perfected through years of trying to balance nutrition with that truly satisfying, rich dessert feeling. I really hope you give this method a try. Ethan and I put our heads together—my love of testing and his nose for flavor—to make sure this recipe delivered big time on protein without sacrificing texture.
Now that you’ve baked this incredible Guilt Free Cheesecake Treat, we want to hear all about it! We thrive on connecting with you all, seeing how our kitchen conversations turn into your family favorites. Did you manage that perfect, slow cool-down, or did you sneak a slice early? (We won’t judge!)
Did you manage to pull off that super-smooth blend? Did you stick to the vanilla, or did you add a swirl of low-sugar berries? Let’s talk about toppings in the comments below! Maybe you put a sprinkle of cinnamon on top, or perhaps you went a little wild with some sugar-free chocolate drizzle.
Seriously, drop us a rating below—five stars means we nailed the balance for you! If you have any lingering questions or brilliant tweaks you discovered along the way, please head over to our contact page and send us a note. We are always looking for new ways to perfect our shared kitchen knowledge. Happy eating, everyone!
PrintUltimate Healthy Baked Protein Cheesecake (35g Protein Per Slice)
You can enjoy a creamy, satisfying cheesecake that supports your fitness goals. This baked recipe uses cottage cheese for a high-protein boost and delivers over 30 grams of protein per serving.
- Prep Time: 20 min
- Cook Time: 50 min
- Total Time: 70 min
- Yield: 8 servings
- Category: Dessert
- Method: Baking
- Cuisine: American
- Diet: Low Fat
Ingredients
- 1 cup almond flour
- 1/4 cup erythritol or preferred sweetener
- 1/4 teaspoon salt
- 4 tablespoons melted coconut oil
- 16 ounces low-fat cottage cheese, drained well
- 8 ounces light cream cheese, softened
- 1/2 cup vanilla protein powder (whey or casein blend recommended)
- 1/2 cup erythritol or preferred sweetener
- 1 teaspoon vanilla extract
- 2 large eggs
- 1 tablespoon lemon juice
- 1/4 cup water (optional, for texture adjustment)
Instructions
- Preheat your oven to 325°F (160°C). Lightly grease a 7-inch springform pan or line it with parchment paper.
- Prepare the crust: In a bowl, mix the almond flour, 1/4 cup sweetener, and salt. Pour in the melted coconut oil and mix until the crumbs hold together. Press this mixture evenly into the bottom of the prepared pan. Bake the crust for 8 minutes, then remove it from the oven.
- Prepare the filling: In a large bowl or food processor, combine the drained cottage cheese and light cream cheese. Blend until completely smooth. Stop and scrape down the sides as needed.
- Add the protein powder, 1/2 cup sweetener, and vanilla extract to the cheese mixture. Blend until fully incorporated and smooth.
- Add the eggs one at a time, mixing just until combined after each addition. Do not overmix once the eggs are in. Stir in the lemon juice. If the batter seems too thick, add the optional water one tablespoon at a time until you reach a thick, pourable consistency.
- Pour the filling over the pre-baked crust. Gently tap the pan on the counter a few times to release any large air bubbles.
- Bake for 45 to 55 minutes. The edges should look set, but the center should still have a slight jiggle when gently nudged.
- Turn off the oven, crack the door open slightly, and let the cheesecake cool inside the oven for 1 hour. This prevents cracking.
- Remove the cheesecake from the oven and let it cool completely on a wire rack. Once cool, cover and refrigerate for at least 6 hours, or preferably overnight, before slicing.
Notes
- Draining the cottage cheese is crucial for a firm texture. Press it between paper towels or use a fine-mesh sieve for at least 30 minutes.
- For a truly macro friendly cheesecake, use unflavored casein protein powder, as it thickens well and slows digestion.
- If you prefer a no-bake version, skip the crust baking step, chill the filling for 4 hours, and use gelatin or xanthan gum as a stabilizer in the filling mixture instead of eggs.
Nutrition
- Serving Size: 1 slice
- Calories: 240
- Sugar: 5
- Sodium: 350
- Fat: 12
- Saturated Fat: 6
- Unsaturated Fat: 6
- Trans Fat: 0
- Carbohydrates: 10
- Fiber: 2
- Protein: 35
- Cholesterol: 65