

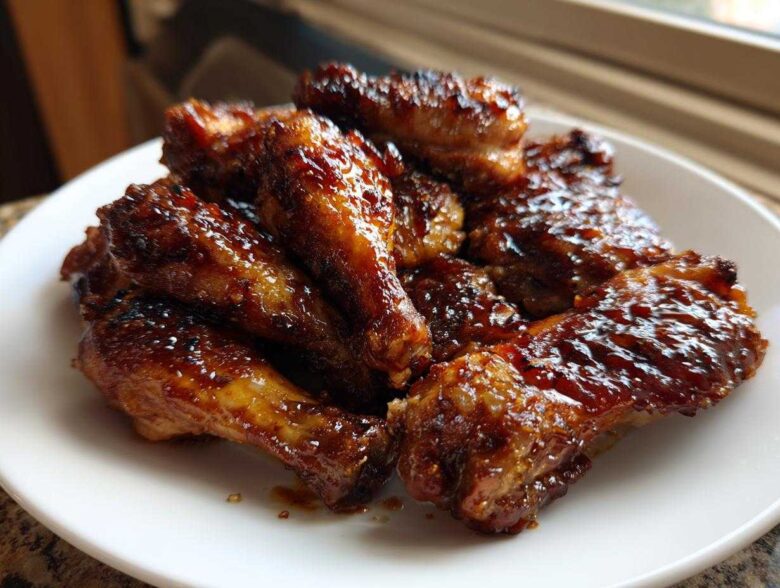
Oh my goodness, are you tired of baked chicken drumsticks that promise flavor but end up just… soggy? I know I was! There’s nothing worse than biting into what should be crispy chicken skin only to find a sad, limp coating drowning in run-off sauce. Trust me, I spent ages wrestling with this problem, perfecting the timing so the glaze adheres perfectly. This is my ultimate, battle-tested guide to making Sticky Honey Garlic Chicken Drumsticks Crispy. We nail that sweet, savory punch you crave while ensuring the skin crackles instead of collapses. If you’re looking for that perfect texture marriage—thick, sticky sauce married to genuinely crisp chicken legs—you’ve found your forever recipe. I tested batches until my kitchen smelled like straight-up heaven, and I finally cracked the code on that bake-glaze-bake sequence! If you want a slightly faster version while you wait for this baked batch to finish, check out my 30-minute honey garlic chicken.
Why This Recipe Delivers the Best Sticky Honey Garlic Chicken Drumsticks Crispy
You might be looking around at other recipes thinking, “What makes *this* one different?” It’s all about respecting the two main components: the chicken skin and the glaze. Other recipes just toss everything together, right? Oops! We separate the steps to manage moisture, which is the mortal enemy of crisp, sticky chicken. This method is what guarantees you get truly Sticky Honey Garlic Chicken Drumsticks Crispy every single time. It takes a few extra moments, but wow, is it worth the payoff. For more inspiration on how I cook, you can always check out my general kitchen blog when you have a moment!
Achieving Maximum Crispiness on Chicken Drumsticks Baked
My number one rule here is: dry, dry, dry! You must pat those drumsticks down with paper towels until you think they couldn’t possibly absorb any more moisture. After a quick seasoning coat, we raise the heat to 400°F, which gives us that initial blast needed for rendering the fat under the skin. Putting them on a wire rack is non-negotiable, too! It lets the hot air circulate underneath so you don’t end up steaming the bottom. That air flow is what makes the skin brittle and golden.
The Perfect Thick and Sticky Glaze Consistency
When it comes to the sauce, we don’t mess around. If you just dump raw honey and soy sauce onto the chicken at the start, it never thickens—it just burns or makes a puddle. We cook the sauce separately until it’s simmering nicely, and then, before we ever touch the chicken with it, we whisk in a cornstarch slurry. That slurry locks in the thickness! Applying the sauce halfway through baking ensures it caramelizes onto the chicken instead of soaking in immediately, locking in that perfect sticky texture.
Essential Ingredients for Sticky Honey Garlic Chicken Drumsticks Crispy
Okay, let’s get down to business! Getting the best Sticky Honey Garlic Chicken Drumsticks Crispy starts way back here, before the oven is even hot. Ingredient quality matters, but honestly, the way we combine them is where the real magic happens. I’ve laid out exactly what you need below. You’ll notice the seasonings are simple—we let the honey and garlic do the heavy lifting in the glaze! If you’re looking for tasty vegetable sides to pair with this, I always love making my roasted carrots with honey garlic butter alongside these, but you can use whatever you love!
Chicken Preparation and Seasonings
For this recipe, you absolutely need the skin on your drumsticks; that’s where all the crispiness comes from! Don’t skimp on patting them dry (we talked about that earlier, right?). Here’s the quick rundown for your chicken prep step:
- 2 lbs chicken drumsticks, skin on (Seriously, keep the skin on!)
- 1 tablespoon olive oil
- 1 teaspoon salt – use your favorite kind
- 1/2 teaspoon black pepper
- 1/2 teaspoon garlic powder
Crafting the Signature Honey Garlic Sauce
This sauce has to be thick enough to cling, but not so sticky that it burns instantly. The key here is simmering it down a bit and using that cornstarch slurry for body. That slurry is your secret weapon!
- 1/4 cup honey (The real stuff, please!)
- 1/4 cup soy sauce (I use low sodium, but use what you normally keep stocked)
- 4 cloves garlic, minced (Don’t even think about using jarred flakes here—fresh is best!)
- 1 tablespoon rice vinegar (A little acid brightens everything up)
- 1 teaspoon grated fresh ginger (Fresh ginger makes a huge difference in the aroma)
- 1 teaspoon cornstarch mixed with 1 tablespoon cold water (This is your slurry for thickening!)
Step-by-Step Instructions for Sticky Honey Garlic Chicken Drumsticks Crispy
Alright, let’s put this plan into action! Getting those perfect Sticky Honey Garlic Chicken Drumsticks Crispy means following this sequence exactly. If you rush the timing between adding the glaze, you’ll end up with a mess, so stick with these few controlled steps. Once you nail this method, you’ll never go back to just tossing everything on a sheet pan. When you’re looking for other ways to use garlic in your dinner rotation, I’ve got a fantastic creamy garlic parmesan chicken skillet recipe that cooks up super fast on the stovetop!
Prepping the Chicken and Oven Setup
First things first: we need maximum heat and maximum dryness! Go ahead and preheat your oven right now to 400°F (200°C). Get a baking sheet lined with foil—that’s for easy cleanup later—and then place a nice wire rack right on top of the foil. Remember what I said? The rack is crucial for airflow. Now, grab your drumsticks and pat every single one until they feel almost chalky dry. Toss them with that olive oil and those seasonings (salt, pepper, garlic powder) until they look evenly seasoned. Arrange them in one layer on that rack. Don’t overcrowd them; they need space to breathe and crisp up!
Making the Thick Honey Garlic Glaze
While that initial heat works on the chicken skin, let’s build that gorgeous, thick glaze in a small saucepan. Whisk together your honey, soy sauce, minced fresh garlic, rice vinegar, and that little bit of ginger. Bring this whole mixture up to a gentle simmer over medium heat. Let it bubble away for about three minutes. Now, here is the critical thickening step: Whisk that cornstarch slurry (cornstarch mixed with cold water) into the simmering sauce. Keep stirring! It will almost immediately start to look glossy and thick enough to coat the back of a spoon. Once it does, take it right off the heat. We don’t want to cook it any further or it gets gummy, but it must be thick before applying.
Baking and Glazing Sequence for Crispy Finish
Your chicken should be halfway done right about now—that’s 25 minutes in. Pull the tray out carefully. Take about half of that lovely, thick honey garlic sauce and brush it generously over the tops and sides of the drumsticks. Don’t worry about flipping them yet! Back they go into the 400°F oven for another 10 minutes. This sets that first layer of glaze. After those 10 minutes, pull them out again. Brush on the rest of your sauce. We need one final crisping blast! Bake them for 5 more minutes. Check the internal temperature; you are aiming for 165°F (74°C). If they look golden and the skin is sizzling, they are done! Serve these beauties immediately while they are hot and ridiculously crispy.
Expert Tips for Perfect Sticky Honey Garlic Chicken Drumsticks Crispy
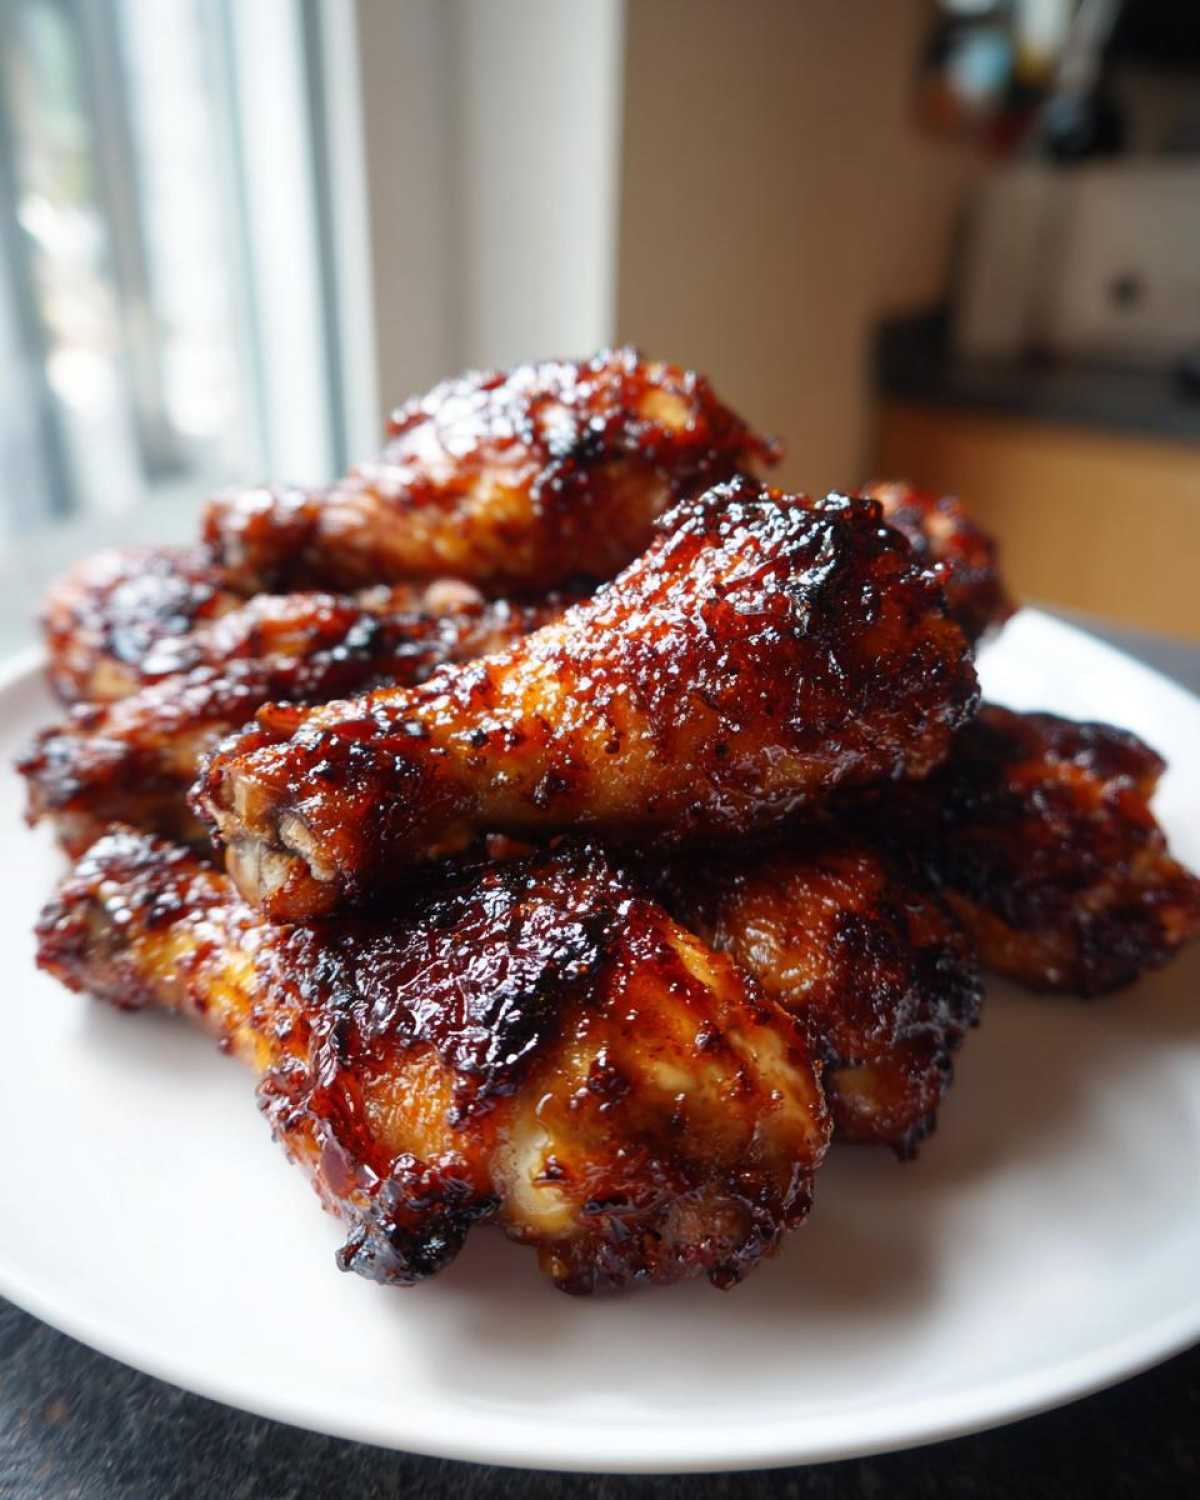
Whew! We’ve got the drumsticks cooked and glazed, but since this recipe is all about nailing that texture, I wanted to share a couple of my absolute cheat codes. Getting Sticky Honey Garlic Chicken Drumsticks Crispy isn’t just about the order of operations; it’s about those tiny details that separate good chicken from legendary chicken. If you follow the main instructions, you’ll be thrilled, but these extra notes will make your batch truly shine—especially if you’re ever serving these at a party! If you love learning these pro tricks, check out my guide on how to make crispy chicken skin for more inspiration.
The Secret to Crispy Chicken Skin
Listen, if you want skin that truly snaps, there’s one trick my friend Barbara taught me years ago, and I use it for every baked chicken recipe now. Before you toss the drumsticks with the oil and salt, gently sprinkle them with about 1 teaspoon of baking powder. Yes, baking powder! It works wonders by raising the pH level of the skin, which helps it dry out and brown much faster when it hits the heat. This makes a massive difference in achieving that satisfying crunch, even under a layer of glaze.
Alternative Cooking Method: Air Fryer Sticky Drumsticks
If you’re short on time, or maybe it’s too hot to turn the oven on, the air fryer is your best friend here! The process is slightly compressed but follows the same principles. You’ll toss those seasoned, dried drumsticks and cook them in the air fryer basket at 380°F (195°C) for about 18 minutes total—just make sure you flip them halfway through so they brown evenly. Then, pull them out, brush them with your sauce, and pop them back in for 3 to 5 more minutes until that glaze is tacky and bubbling. Super fast!
Serving Suggestions for Your Honey Garlic Chicken Drumsticks Recipe
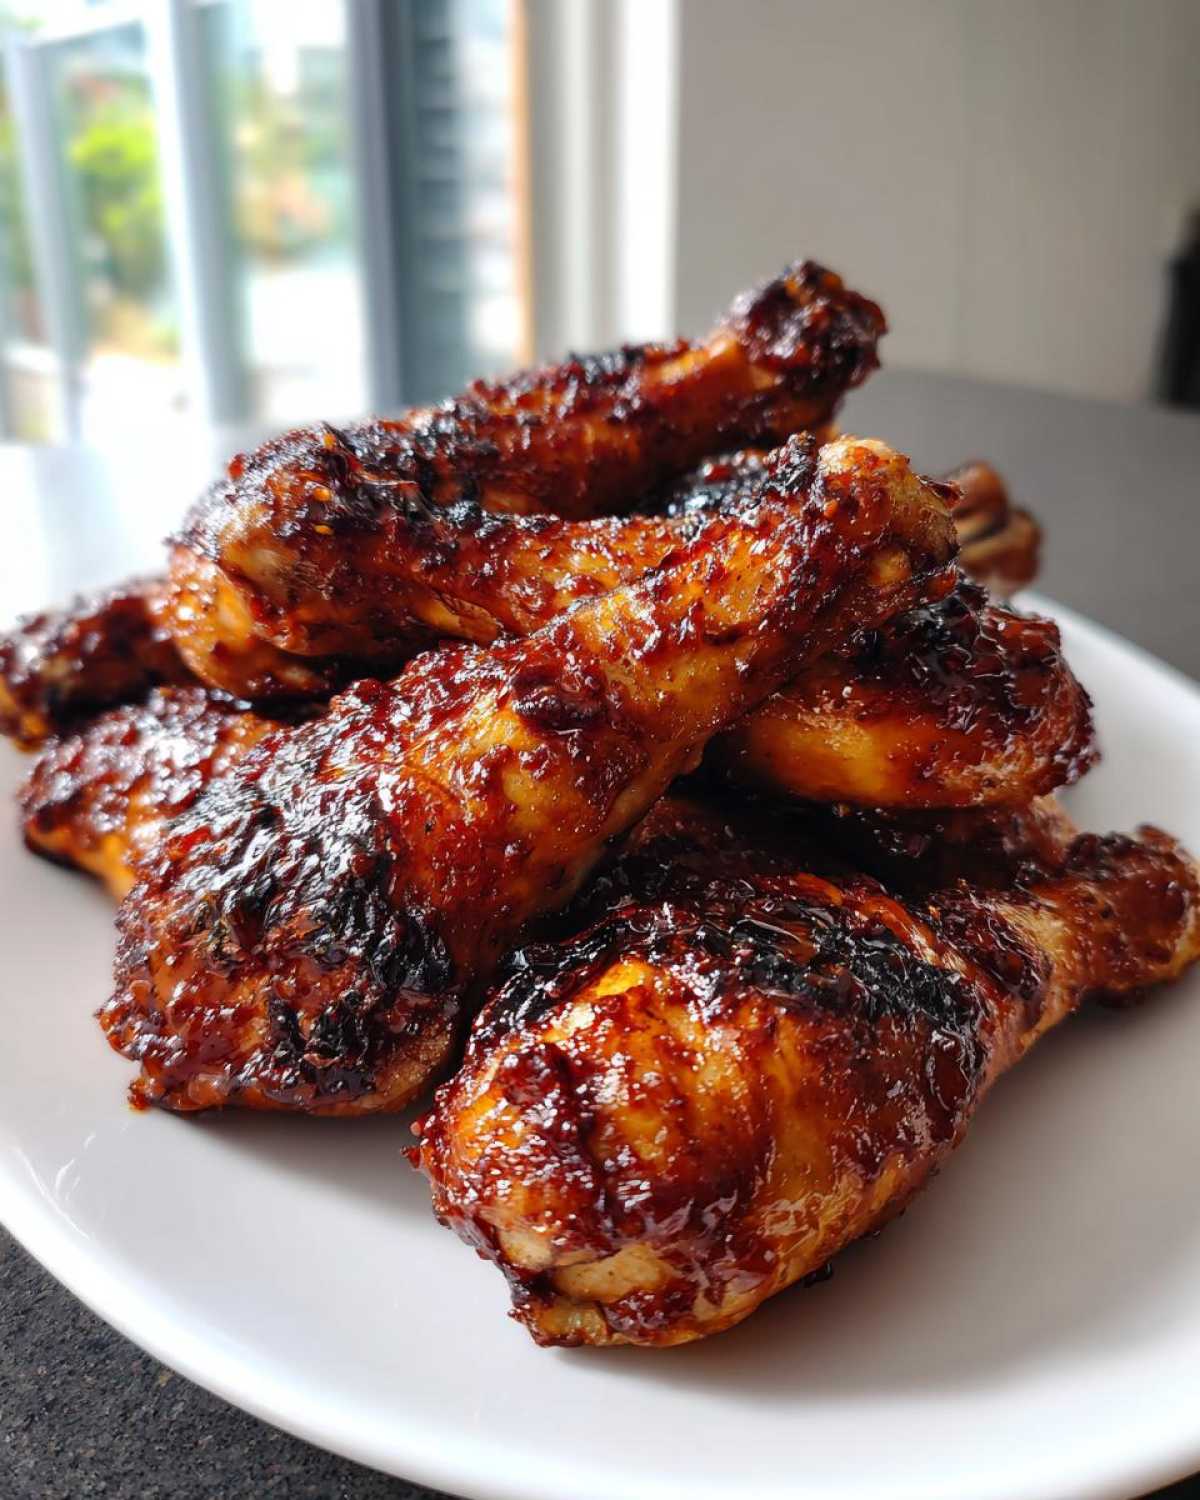
Now that you have this gorgeous, sticky, crispy main event, you need some side dishes that can stand up to the amazing flavor without fighting it! Since these drumsticks are rich, sweet, and savory, I always lean toward sides that are either cooling, light, or offer a nice, simple starch to soak up any extra bits of sauce left on the plate. This combo instantly turns a serious cooking project into an easy weeknight chicken dinner that feels like a weekend treat.
For those times when you need something truly classic and comforting beneath those glazed drumsticks, you absolutely cannot go wrong with my recipe for creamy mashed potatoes. The saltiness from the soy sauce in the glaze pairs so well with the butter and cream in the mash. Seriously, it’s a match made in heaven!
If you want to keep things brighter and lighter, especially if you’re eating these in the warmer months, fresh, crunchy vegetables are the way to go. Think about whipping up a simple cucumber salad tossed in rice vinegar and a tiny bit of sesame oil, or maybe some steamed green beans tossed quickly with citrus zest. Something simple lets that honey garlic flavor really shine.
Another dinner idea that I adore is pairing this with a soup! It sounds odd, but trust me on this one: have a small bowl of creamy roasted garlic and cheddar cauliflower soup alongside a couple of drumsticks. It’s warm, it’s cozy, and the slight sharpness of the cheddar cuts through the sweetness of the glaze beautifully. You get a multi-course meal that still comes together fast!
Storage and Reheating Instructions for Glazed Chicken Drumsticks Recipe
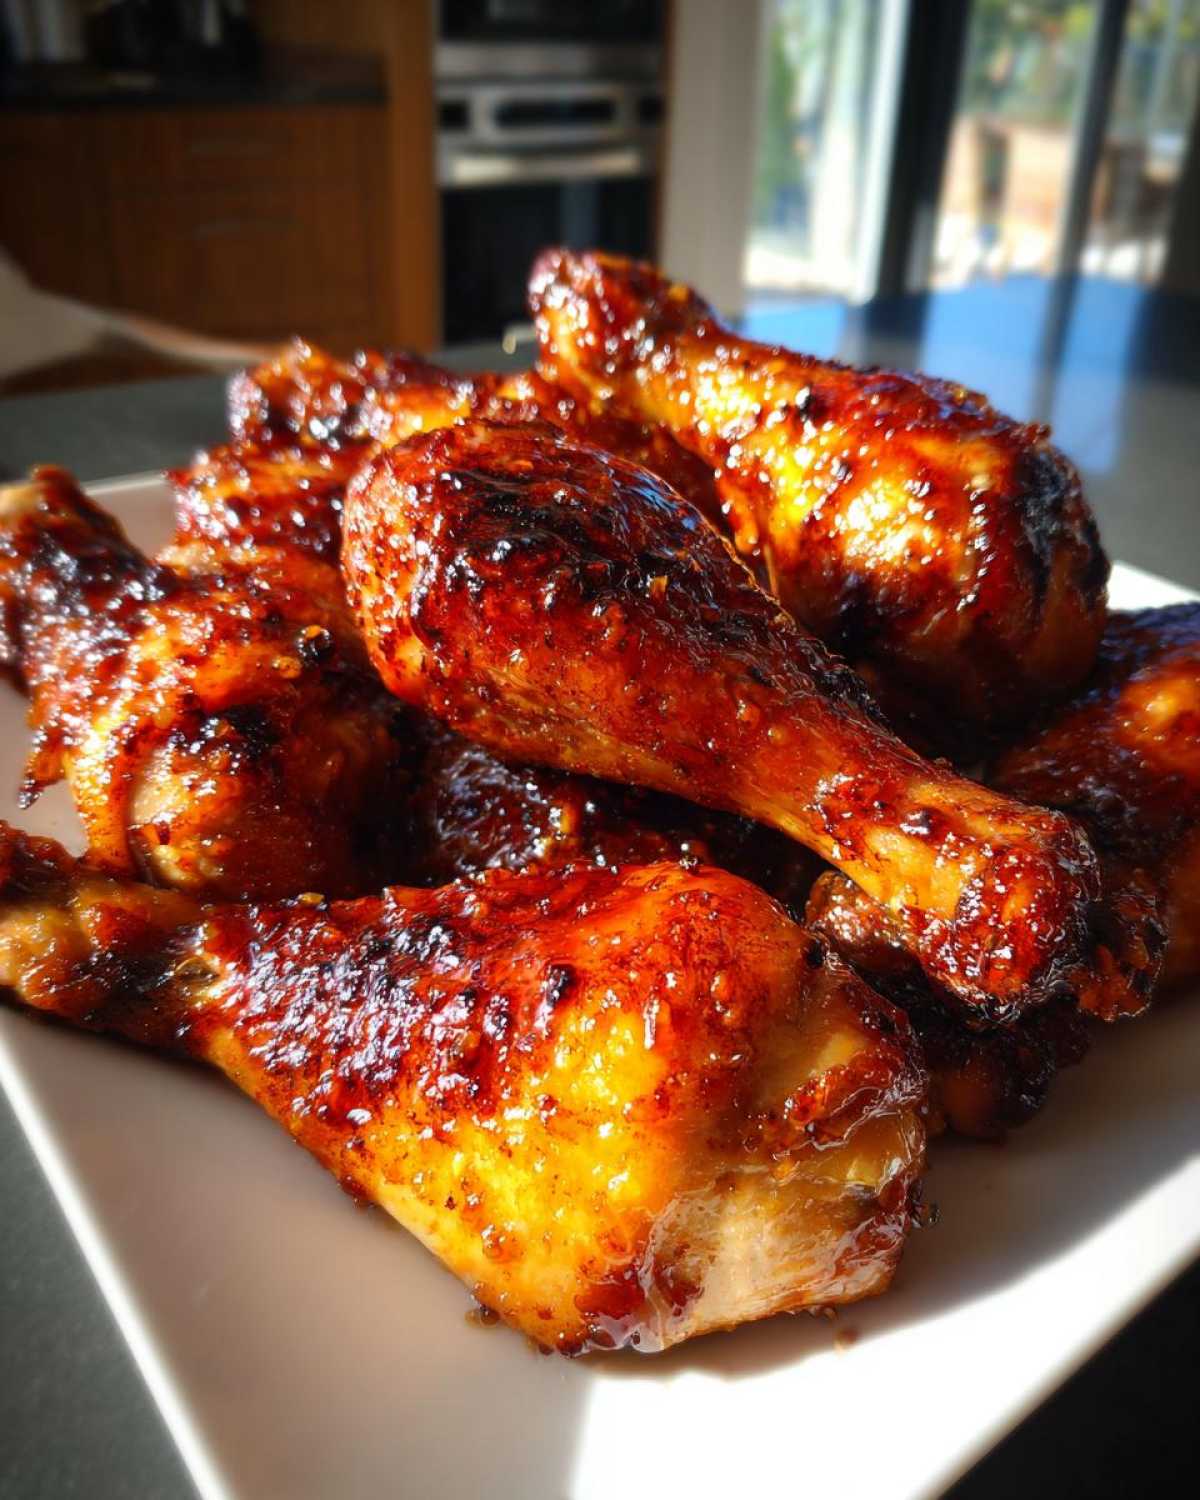
Okay, you made a huge batch—because who doesn’t want leftovers of amazing chicken?—and now you need to know how to keep them fresh without turning into sweet, sticky mush later. That honey-soy glaze is powerful, and moisture management is key even when storing these guys! If you find yourself with leftovers, don’t reach straight for the microwave; trust me, that’s the fastest way to ruin any chance of crispiness you managed to achieve earlier.
For storage, let the chicken cool down completely first. If you put warm chicken in a container, the steam gets trapped immediately, and that moisture ruins the skin. Once cooled, store your drumsticks in a shallow, airtight container. I usually try to fit them in a single layer if I can, or at least not stack them too high.
You should be good to keep these tasty legs in the fridge for about three to four days. Any longer than that, and I’d start thinking about the freezer! If you are prepping ahead for a big party or just busy nights, I have some great tips in my guide on making freezer-friendly meals that can be adapted for this chicken, too, but you need to wrap these very tightly to avoid freezer burn.
The Best Way to Reheat for Maximum Crunch
This is where the real dedication to texture comes in! If you try to reheat these in the microwave, the glaze will melt completely, and the skin will steam itself into oblivion. We cannot allow that to happen!
The absolute best way to bring these back to life is using dry, high heat. If you have an oven or toaster oven, preheat it to about 350°F (175°C). Place the cold drumsticks right onto a foil-lined baking sheet—no rack needed this time, since we aren’t trying to crisp more, just reheat gently. Warm them for about 10 to 12 minutes, just until they are heated all the way through. The dry heat will help revive any lingering crispness on the skin without making the glaze overly sloppy.
If you happen to have that air fryer still handy, that works even faster! Pop them in at 325°F (160°C) for just 6 to 8 minutes, flipping halfway. It gives a slightly better result than the oven because the circulating air is more intense, often giving you a nice little *snap* back from the skin!
Frequently Asked Questions About Sticky Honey Garlic Chicken Drumsticks Crispy
I get so many messages once folks try this recipe, and honestly, you all ask the same great questions! It’s smart to double-check timing and texture before you start cooking. I’ve gathered the most common things people ask about making sure their Sticky Honey Garlic Chicken Drumsticks Crispy turn out absolutely perfect. Let’s clear up any last-minute doubts!
Can I make the sauce ahead of time for this Sticky Honey Garlic Chicken Drumsticks Crispy?
You totally can! That’s half the battle won early, right? You can prepare the entire honey garlic glaze, thicken it with the cornstarch slurry just like the recipe says, and store it in an airtight container in the fridge for up to four days. When you’re ready to glaze your chicken during the baking process, you’ll need to gently reheat it on the stovetop. It will be quite firm when cold, so heat it slowly until it’s back to that nice, thick, brushable consistency. Don’t let it boil vigorously when reheating!
What if I don’t have a wire rack? How do I keep the bottoms from getting soggy?
Oh, that happens! A wire rack really is the best tool for letting air hit those bottoms, but if you don’t have one, don’t panic. The next best thing is creating a makeshift “rack” using aluminum foil. Take a large piece of heavy-duty foil and loosely scrunch it up into long, snake-like ropes. Lay these foil ropes across your foil-lined baking sheet, spaced about an inch apart. Place the seasoned drumsticks right on top of those foil ropes. It creates just enough lift to mimic the rack and lets some air flow underneath, saving you from mushy bottoms!
How can I make these Sweet and Savory Chicken Legs spicier?
If you like a little fire with your sweetness, this is easy to adjust! The best place to add the heat is directly into the honey garlic sauce while it’s simmering on the stovetop. I find that about half a teaspoon of red pepper flakes (or maybe a full teaspoon if you really like the heat!) blends in beautifully with the garlic and ginger. If you prefer a sharper kind of heat, you can also whisk in about a teaspoon or two of Sriracha or your favorite chili garlic sauce right at the end when you take the glaze off the heat. Taste it before you use it, though! You want it spicy, but you still want that honey flavor to come through. If you have questions about any part of the process, feel free to reach out via my contact page!
Nutritional Estimate for This Family Favorite Chicken Recipe
I know a lot of you track macros or just like to keep an eye on what goes into our favorite dishes, so here’s a quick snapshot of what you can expect from this recipe. Remember, these numbers are just an estimate, based on using standard ingredients and the portion size listed below. Real-life results will vary depending on the size of your drumsticks and exactly how much sauce you brush on (and if you lick the bowl clean!). For best accuracy, you’d need to input the specific brands you use into a dedicated nutrition tracker.
- Serving Size: 2 drumsticks
- Calories: 350
- Sugar: 18g
- Sodium: 650mg (Soy sauce adds up, so watch your intake elsewhere!)
- Fat: 18g
- Saturated Fat: 5g
- Carbohydrates: 20g
- Protein: 28g
Even with the sticky glaze, this is a wonderfully balanced dish, offering a great punch of protein for a satisfying meal!
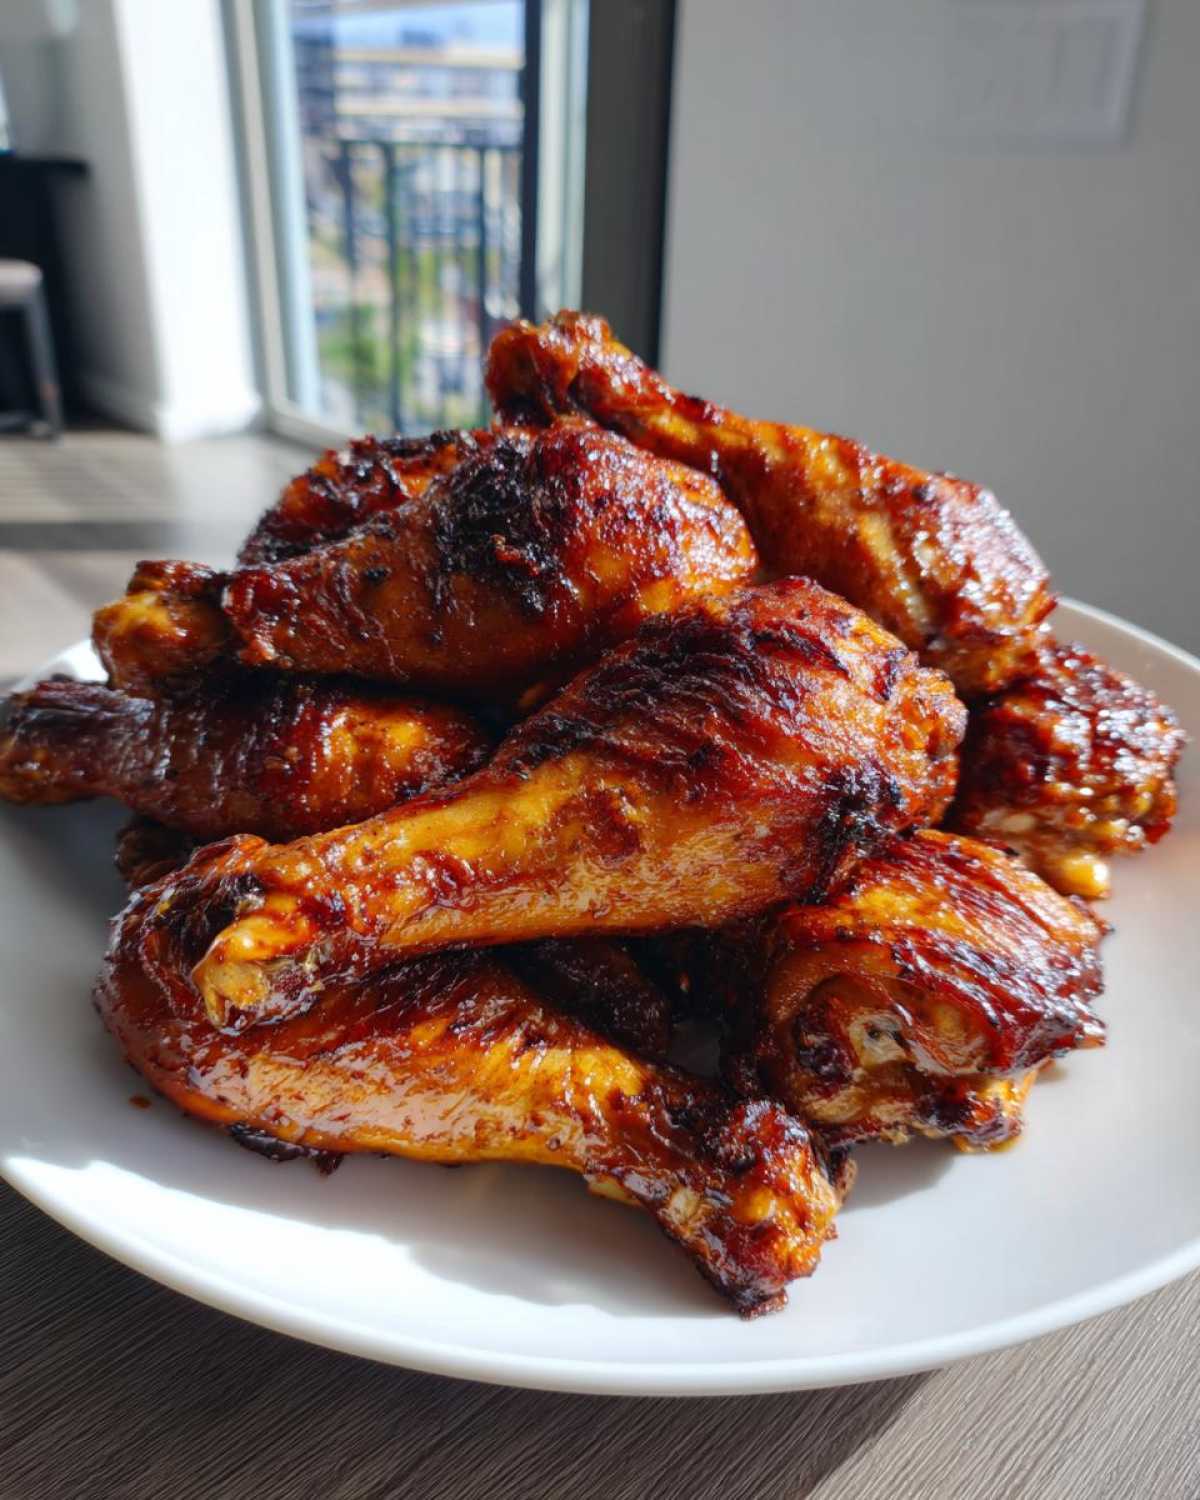
Share Your Crispy Honey Garlic Chicken Drumsticks Success
Honestly, seeing all of you loving this recipe is the best part of sharing my kitchen adventures! I put my heart into getting that crispy texture just right, and I love hearing when it works out in your homes, too. Cooking is meant to be shared, so please, let me know what you think!
Once you’ve pulled those perfectly glazed, crackly drumsticks out of the oven, take a picture! I always love seeing how your kitchen turns out. Tag me on social media so I can admire your work. Did you manage to keep the skin crispy right down to the last bone? Let me know!
And if you wouldn’t mind, leaving a rating and a quick comment right here on the page helps other home cooks decide to try this recipe next time they’re craving that perfect sweet and savory bite. Head over to my About Us page if you want to know more about how I developed this whole cooking philosophy!
Nutritional Estimate for This Family Favorite Chicken Recipe
I know a lot of you track macros or just like to keep an eye on what goes into our favorite dishes, so here’s a quick snapshot of what you can expect from this recipe. Remember, these numbers are just an estimate, based on using standard ingredients and the portion size listed below. Real-life results will vary depending on the size of your drumsticks and exactly how much sauce you brush on (and if you lick the bowl clean!). For best accuracy, you’d need to input the specific brands you use into a dedicated nutrition tracker.
- Serving Size: 2 drumsticks
- Calories: 350
- Sugar: 18g
- Sodium: 650mg (Soy sauce adds up, so watch your intake elsewhere!)
- Fat: 18g
- Saturated Fat: 5g
- Carbohydrates: 20g
- Protein: 28g
Even with the sticky glaze, this is a wonderfully balanced dish, offering a great punch of protein for a satisfying meal!
Share Your Crispy Honey Garlic Chicken Drumsticks Success
Honestly, seeing all of you loving this recipe is the best part of sharing my kitchen adventures! I put my heart into getting that crispy texture just right, and I love hearing when it works out in your homes, too. Cooking is meant to be shared, so please, let me know what you think!
Once you’ve pulled those perfectly glazed, crackly drumsticks out of the oven, take a picture! I always love seeing how your kitchen turns out. Tag me on social media so I can admire your work. Did you manage to keep the skin crispy right down to the last bone? Let me know!
And if you wouldn’t mind, leaving a rating and a quick comment right here on the page helps other home cooks decide to try this recipe next time they’re craving that perfect sweet and savory bite. Head over to my About Us page if you want to know more about how I developed this whole cooking philosophy!
PrintCrispy Sticky Honey Garlic Chicken Drumsticks
Follow this recipe to make flavorful chicken drumsticks with a crispy skin coated in a thick, sticky honey garlic glaze.
- Prep Time: 10 min
- Cook Time: 40 min
- Total Time: 50 min
- Yield: 4 servings
- Category: Main Course
- Method: Baking
- Cuisine: American
- Diet: Low Lactose
Ingredients
- 2 lbs chicken drumsticks, skin on
- 1 tablespoon olive oil
- 1 teaspoon salt
- 1/2 teaspoon black pepper
- 1/2 teaspoon garlic powder
- 1/4 cup honey
- 1/4 cup soy sauce
- 4 cloves garlic, minced
- 1 tablespoon rice vinegar
- 1 teaspoon grated fresh ginger
- 1 teaspoon cornstarch mixed with 1 tablespoon cold water (slurry)
Instructions
- Preheat your oven to 400°F (200°C). Line a baking sheet with foil and place a wire rack on top.
- Pat the chicken drumsticks very dry with paper towels. This step helps achieve crispiness.
- In a bowl, toss the drumsticks with olive oil, salt, pepper, and garlic powder until evenly coated.
- Arrange the drumsticks on the wire rack in a single layer.
- Bake for 25 minutes.
- While the chicken bakes, prepare the sauce. In a small saucepan, combine honey, soy sauce, minced garlic, rice vinegar, and ginger. Bring the mixture to a simmer over medium heat.
- Simmer for 3 minutes, stirring occasionally.
- Whisk the cornstarch slurry into the simmering sauce. Continue to cook and stir until the sauce thickens enough to coat the back of a spoon, about 1 minute. Remove from heat.
- After the initial 25 minutes of baking, brush half of the honey garlic sauce over the drumsticks.
- Return the chicken to the oven and bake for another 10 minutes.
- Remove the chicken, brush with the remaining sauce, and bake for a final 5 minutes, or until the internal temperature reaches 165°F (74°C) and the skin is crispy.
- Serve immediately.
Notes
- For extra crispy skin, you can lightly dust the seasoned drumsticks with 1 teaspoon of baking powder before baking.
- If you prefer an air fryer, cook at 380°F (195°C) for 18 minutes, flipping halfway, then brush with sauce and cook for 3-5 more minutes until glazed.
- Do not skip drying the chicken skin; this is key for crispiness.
Nutrition
- Serving Size: 2 drumsticks
- Calories: 350
- Sugar: 18
- Sodium: 650
- Fat: 18
- Saturated Fat: 5
- Unsaturated Fat: 13
- Trans Fat: 0
- Carbohydrates: 20
- Fiber: 0
- Protein: 28
- Cholesterol: 100